
1. Sheer Rose Nude with Glassy Topcoat
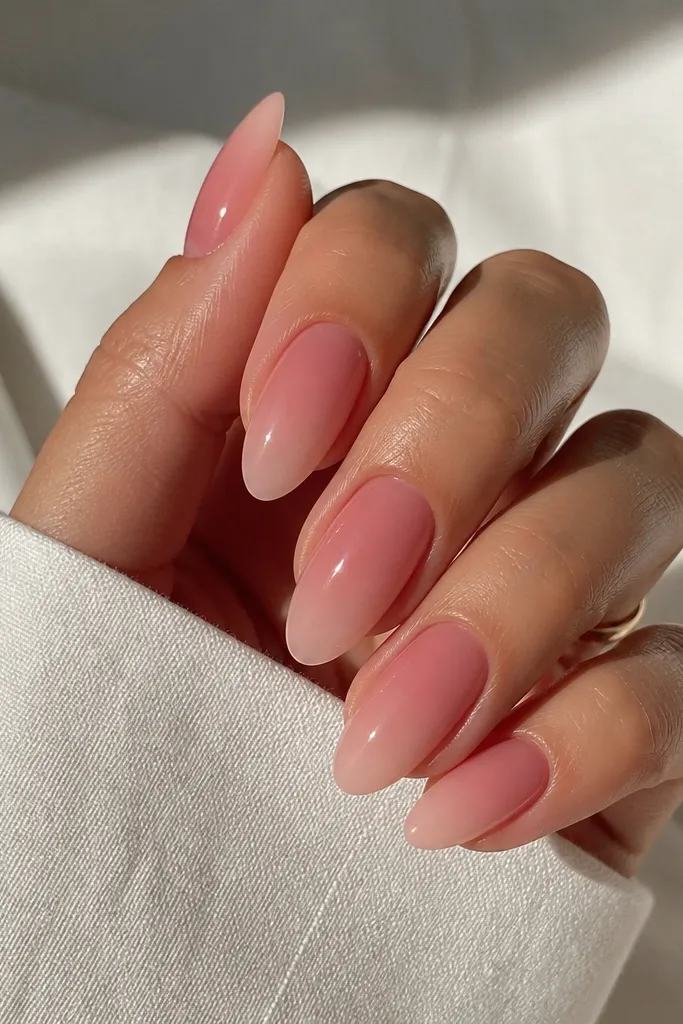
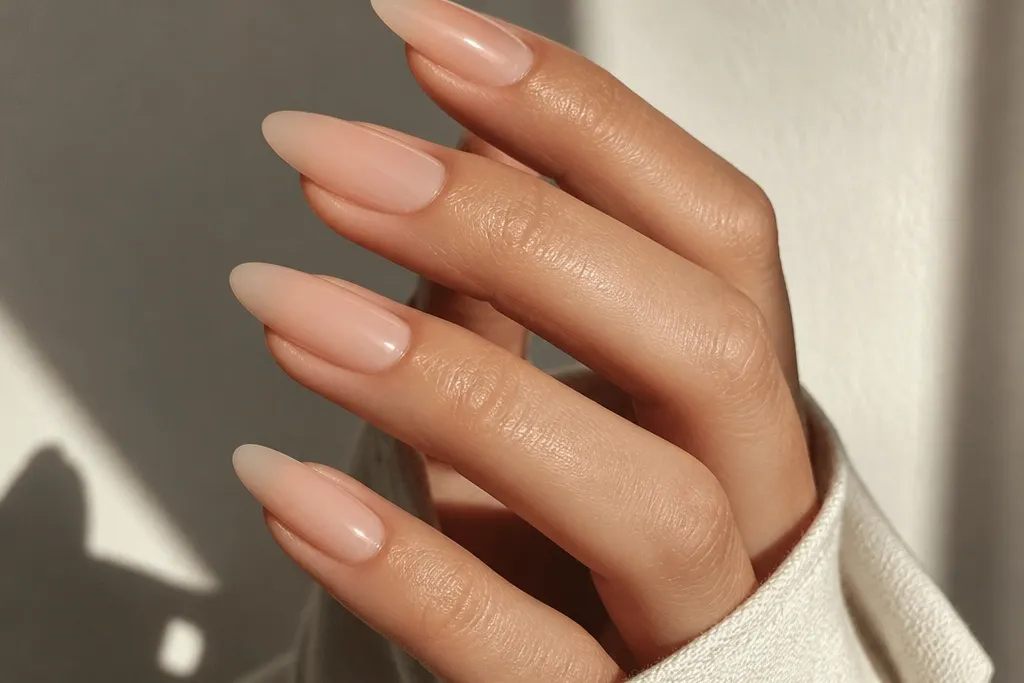
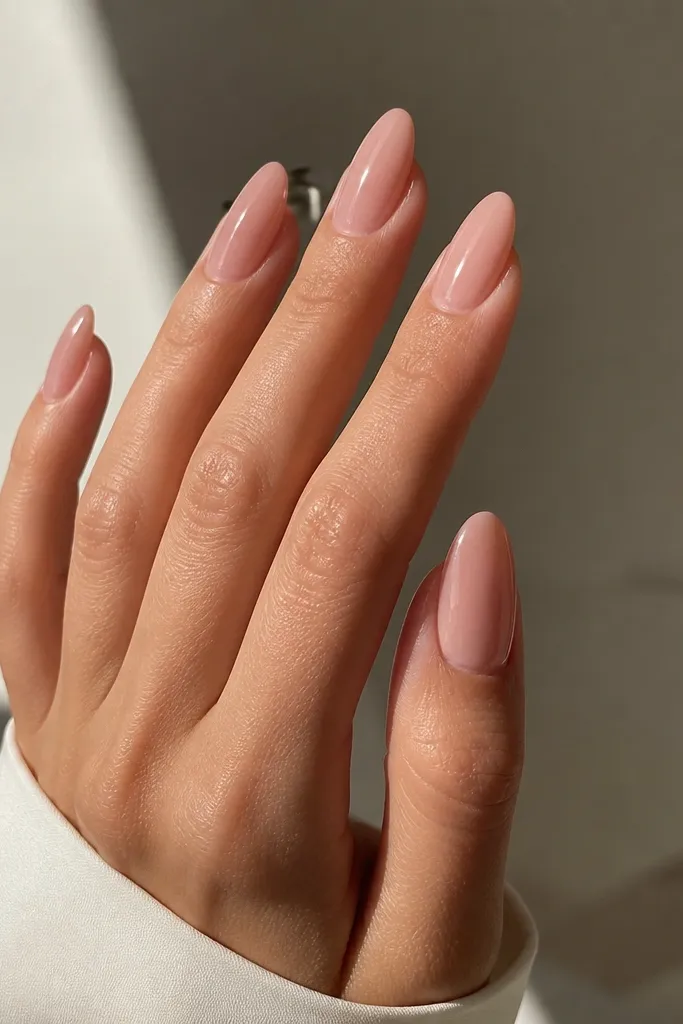
This is the nude that looks like your nails, just better. The base is a sheer rose nude that stays see-through, so your natural nail tone shows through. The darker cuticle zone adds structure, and the glossy topcoat makes it look hydrated instead of dry.
Ask for long almond or file to a rounded almond tip with a soft apex. Build the nude in two steps: sheer rose for the main nail, then a thin line of slightly deeper rose at the cuticle. Finish with a thick, even gloss so the surface catches light like glass.
Pro tipFor extra realism, keep the free edge slightly more translucent than the center - it makes the nail look longer.
Watch outAvoid opaque beige - it kills the "skin-like" effect and reads flat in photos.
2. Warm Taupe Nude French Tip
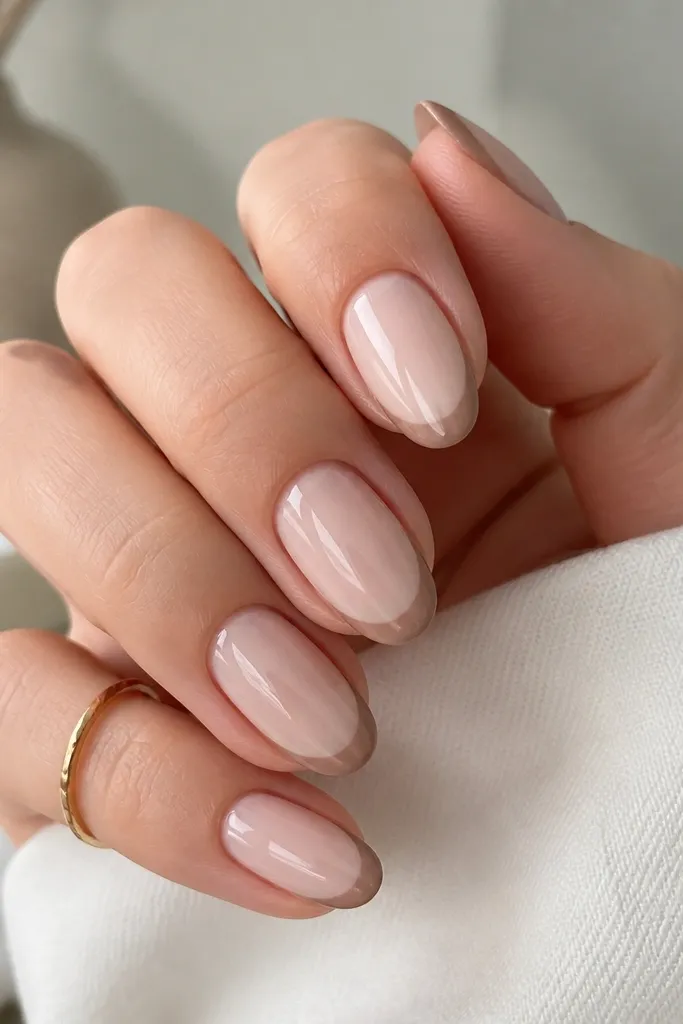
French tips can look harsh in nude sets, so this one uses a warm taupe that stays gentle. The tips are thin, so they frame the nail without turning into a "paint stripe." The sheer base keeps everything airy and gives that clean, put-together vibe.
Use an oval shape with a short-to-medium length so the French line has room to look crisp. Paint the base sheer nude, then create a taupe French smile with a striping brush - keep it under 1 mm thick. Clean the edges with a flat brush dipped in acetone-free remover.
Pro tipIf your taupe pulls gray, swap it for a taupe with a hint of caramel (it warms up instantly).
Watch outDon't make the French tip too wide - nude French gets sloppy fast.
3. Nude Milky Pink Aura Fade
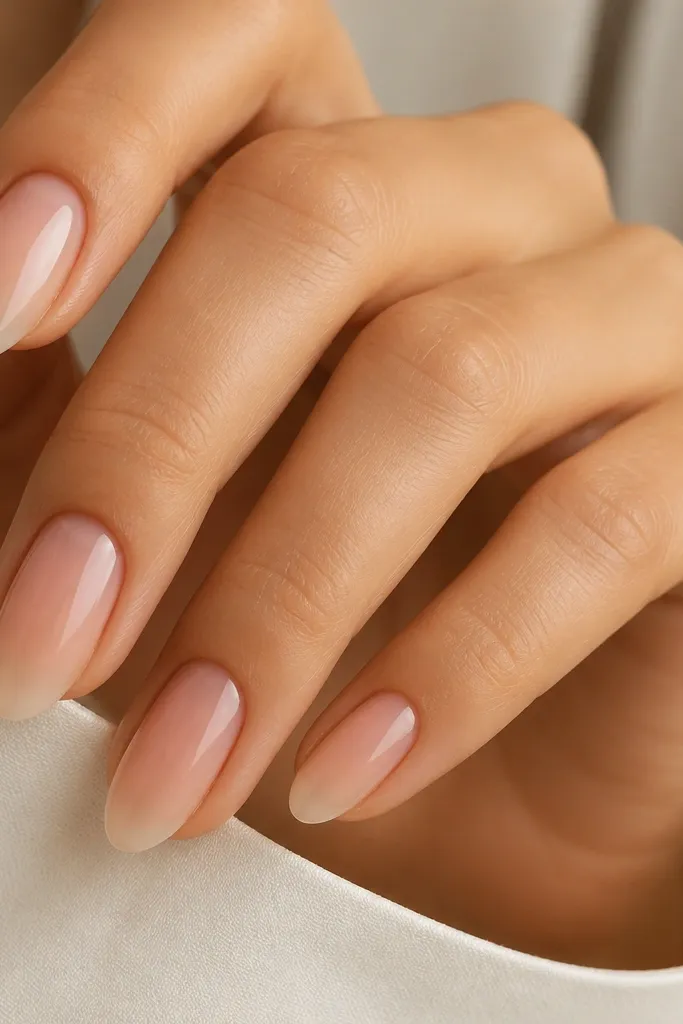
Aura nails work because the effect is soft and nude-friendly. The cuticle area is milky pink nude, then it fades into a transparent nude wash toward the sidewalls. It reads airy, not painted-on, and it makes your hands look brighter without looking loud.
Go shorter with this one so the fade doesn't get muddy. Sponge or airbrush the milky pink into the center near the cuticle, then blend outward with a sheer nude overlay. Seal with gloss so the fade looks smooth instead of speckled.
Pro tipKeep the aura concentrated - if it spreads too far, it looks like a stain.
Watch outAvoid harsh edges around the cuticle - that's where aura designs look cheap.
4. Caramel Nude with Micro Glitter Cuticle
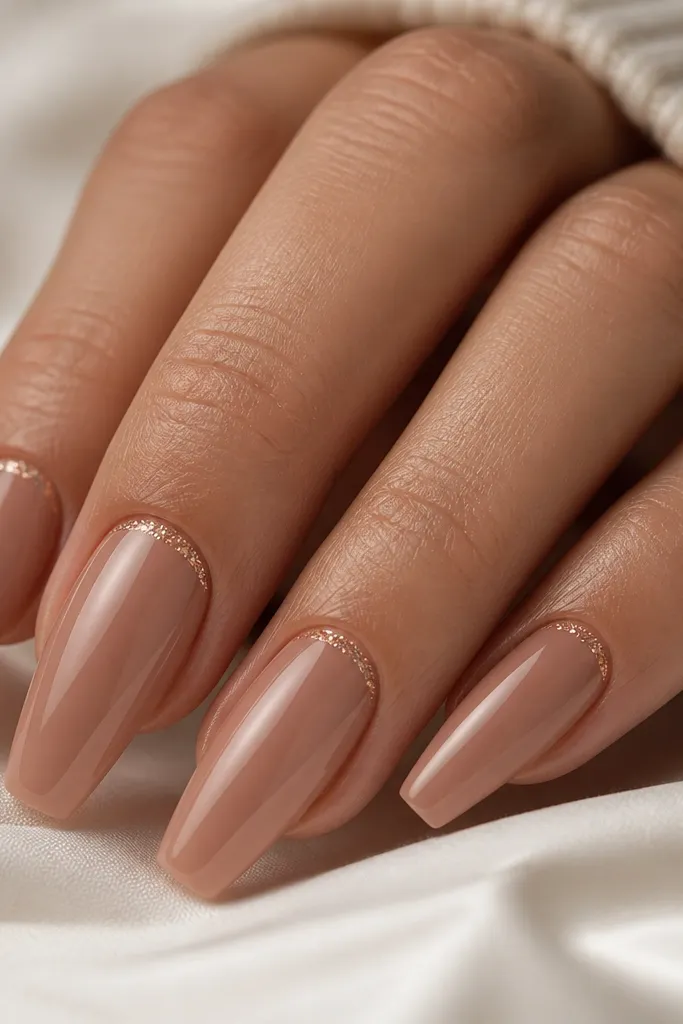
Caramel nude looks expensive because it warms up your skin tone and adds depth even without art. The micro glitter at the cuticle acts like jewelry - it catches light when you move, but it stays classy because it's only one narrow zone.
Use a medium coffin or squoval - either gives the caramel nude enough surface. Apply caramel nude as the main color, then add a thin band of fine micro glitter gel at the cuticle. Keep the glitter band 1-2 mm wide so it doesn't turn into a halo.
Pro tipPress a tiny amount of glitter gel into the cuticle with a silicone tool so it lays flat.
Watch outSkip chunky glitter - it makes nude look costume-y.
5. Sheer Nude with Thin Nude-Brown Outline
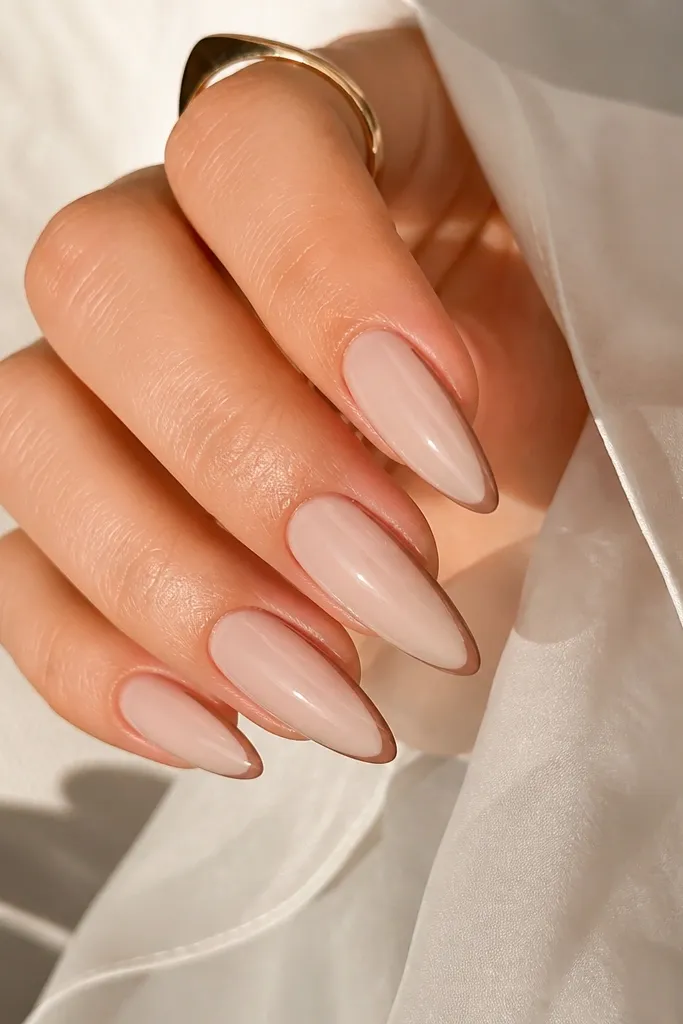
This is minimalist but not boring. The base is sheer nude, then a nude-brown outline gives shape and length. Because the outline is close to the natural nail edges, it looks like a refined manicure rather than nail art.
Use long almond for best effect and keep the outline very thin, like 0.5 mm. Paint the base sheer nude first. Then use a detail liner brush to draw two side lines from just above the cuticle to near the tip, leaving the center clear.
Pro tipFor a smoother line, drag the brush once per side and stop - multiple passes thicken it.
Watch outDon't outline the entire nail in a boxy shape - it shortens the look.
6. Nude Creamy Marble Vein Accent
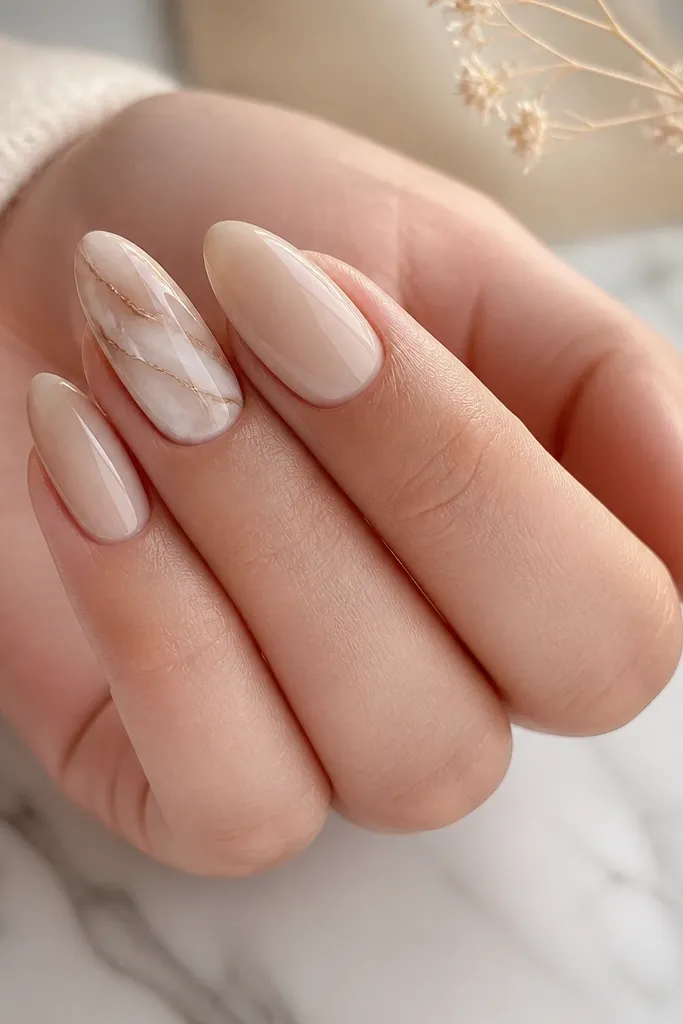
Marble looks gorgeous on nude when it stays soft. You want creamy nude as the background, then thin veins in white and taupe that look like they're floating under glass. It gives dimension without turning the set into full-on art nails.
Pick almond or squoval so the marble doesn't stretch too long. On accent nails, place one main vein from mid-nail toward the tip, then add 2-3 thinner offshoot lines. Use a liner brush and keep the veins semi-transparent by wiping most paint off the brush.
Pro tipSeal marble with two thin coats instead of one thick one to prevent bubbles.
Watch outAvoid heavy white swirls - they look chalky on nude.
7. Matte Nude with Glossy Cuticle Dot
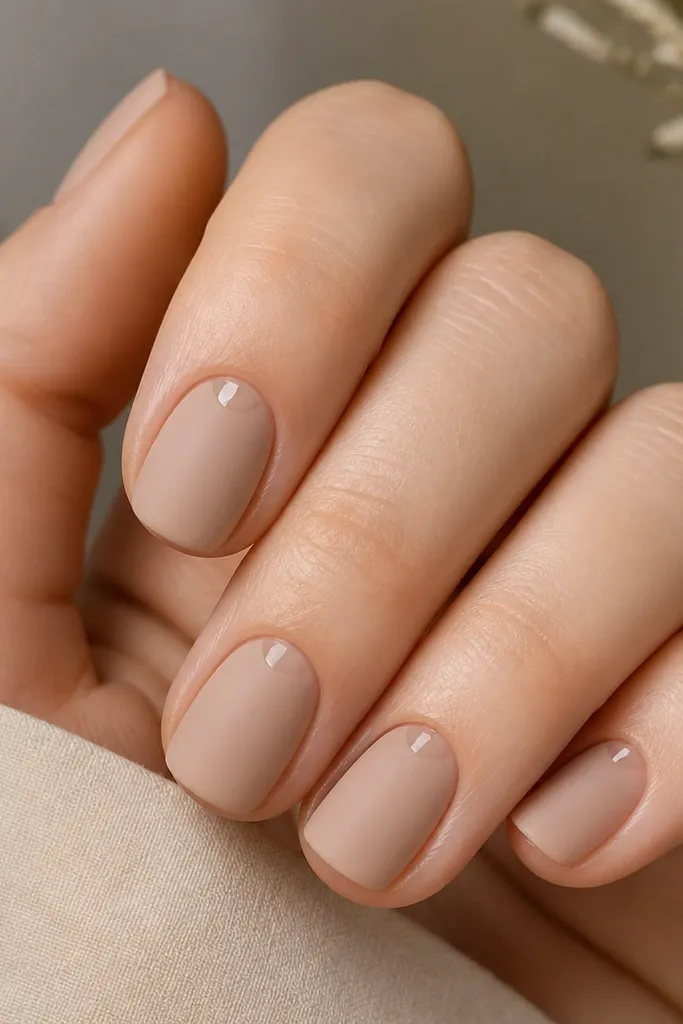
Matte nude can look flat if it's all matte. The glossy dot gives a focal point and makes the matte feel intentional. It also hides tiny imperfections because matte softens shine, while the glossy dot looks crisp.
File short square with clean corners - matte shows edge roughness. Apply nude acrylic, then cure, then use matte topcoat across the nail. With a dotting tool, add a tiny bead of clear gel at the cuticle and cure for a glassy contrast.
Pro tipMake the dot small - about the size of a pinhead - so it reads like a highlight.
Watch outDon't go matte on long stiletto if you have dry cuticles - it can make hands look rough.
8. Rose Beige Nude with Side Glaze Shimmer
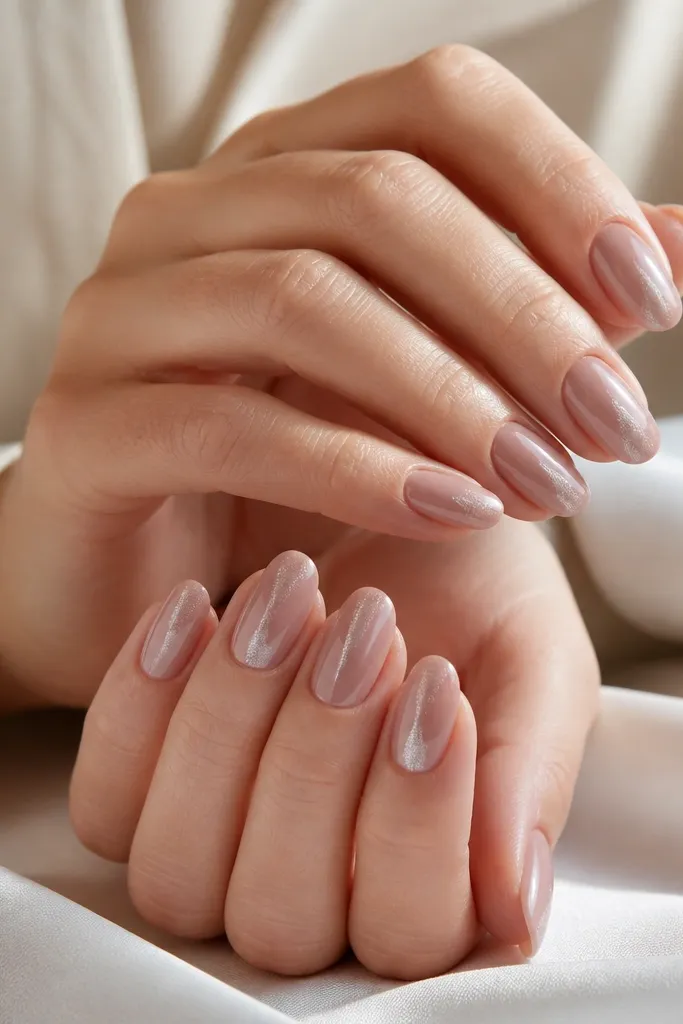
Side shimmer is flattering because it visually adds length and keeps the design off the center. The shimmer is sheer, like a glaze, so it looks refined rather than sparkly. Rose beige nude makes the shimmer look romantic instead of icy.
Use medium oval or long almond. Apply rose beige nude as a base, then paint a thin side strip of sheer shimmer gel on one side only, stopping about 1-2 mm from the cuticle. Cure and seal with gloss so the shimmer looks suspended.
Pro tipAngle the shimmer strip slightly toward the tip for a subtle lifting effect.
Watch outAvoid full-coverage glitter - it turns nude into disco.
9. Nude Acrylic with Tiny Brown Demi-Lunes
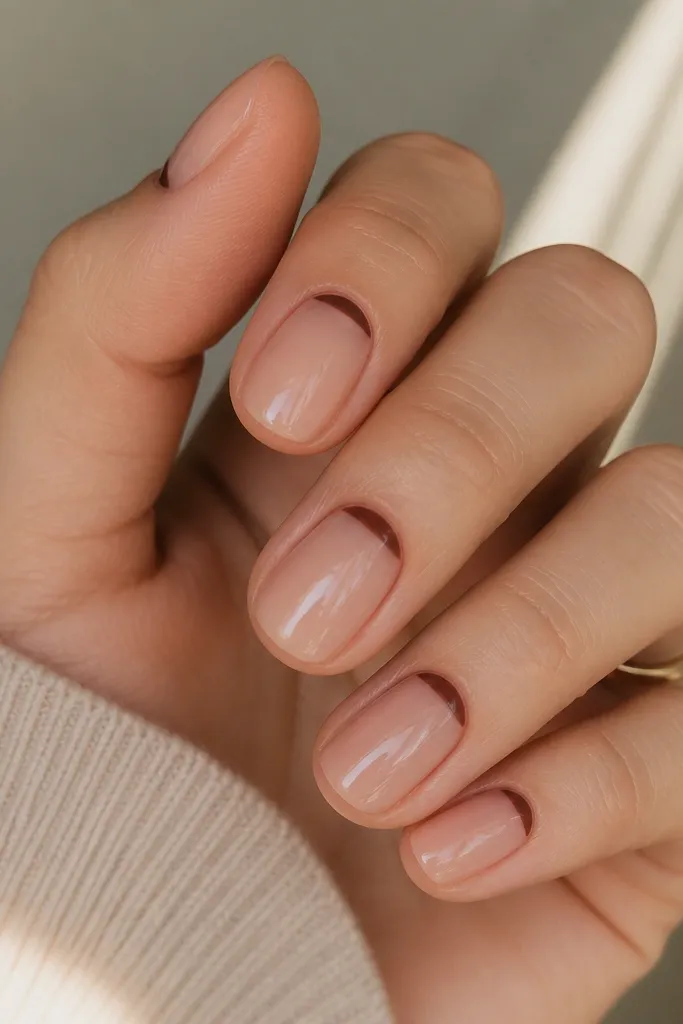
These tiny demi-lunes look like designer nail details, but they're simple. The brown crescent frames the cuticle, giving the nail a clean border without a thick French tip. It's especially flattering if you like a nude manicure that still has definition.
Keep nails short so the crescents stay proportional. Paint the sheer nude base, then use a thin liner brush to place a small half-moon at the cuticle center. Cure and finish with glossy topcoat.
Pro tipMake the crescents asymmetrical by a hair - one side slightly larger - it looks more organic.
Watch outDon't make the crescents too big - they start looking like a reversed French.
10. Nude Ombré with Blush Tip Gradient
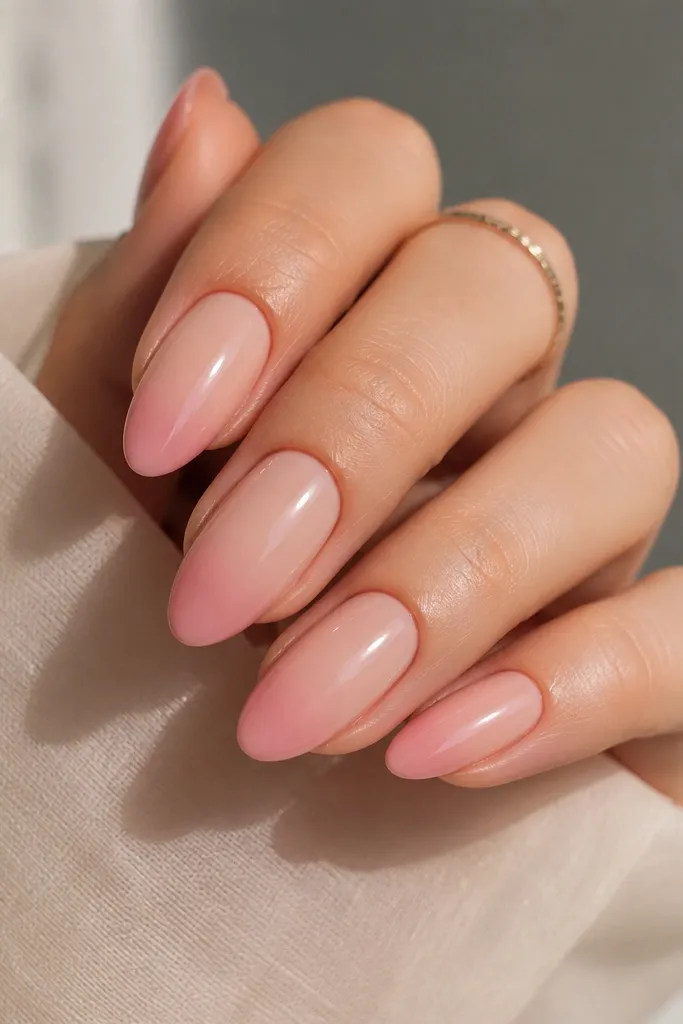
Ombré looks best on nude when the fade is smooth and the tip tint is light. The blush tip keeps the set from looking too plain, and the gradient makes the nail look longer. This one is a crowd-pleaser for weddings, work, and everyday wear.
Use a medium almond or long squoval. Blend blush powder or gel into the top third only, then feather it downward into the nude. Leave the center mostly nude so the fade doesn't turn into a full blush nail.
Pro tipBlend with a sponge in thin layers, curing each layer - one thick layer looks streaky.
Watch outAvoid a harsh line at the fade edge - it kills the ombré effect.
11. Nude Base with Clear Negative Space Cutout
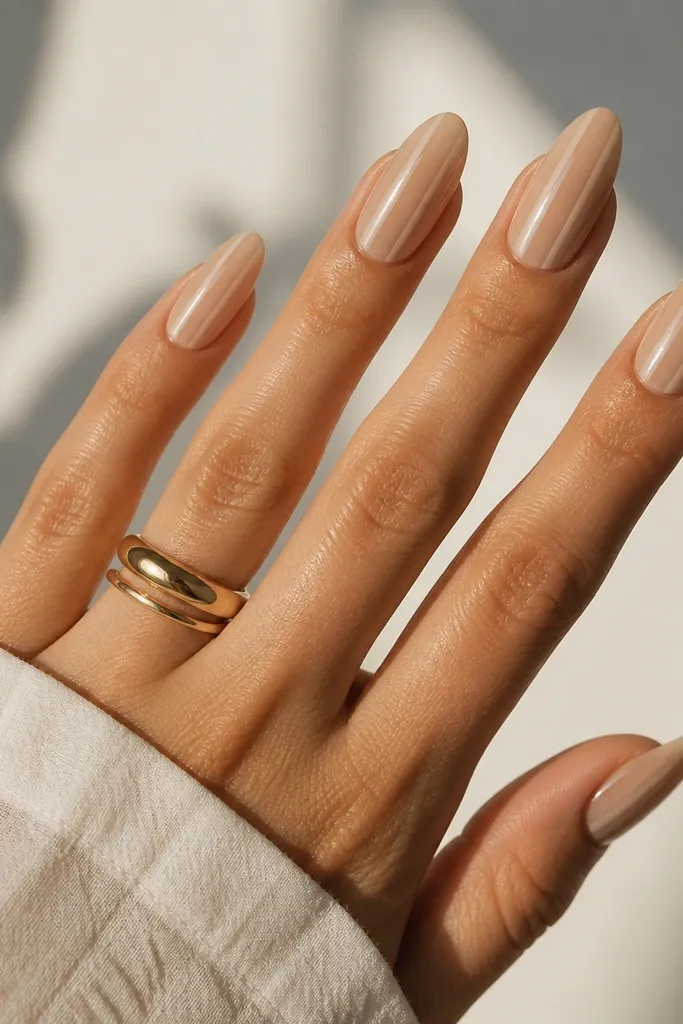
Negative space makes nude look modern instantly. The clear strip breaks up the solid nude so your nails look lighter and more architectural. When the strip is narrow and centered, it lengthens your nails without needing art.
On the form, build nude around a thin center guide strip so the center stays clear. After curing, remove the guide and cap lightly with clear gel for smoothness. Keep the clear strip about 1 mm wide for a delicate look.
Pro tipUse a gel striping tool or a thin brush and measure once - freehand strips wander.
Watch outDon't make the clear cutout too wide - it turns into a gap instead of a design.
12. Nude Smoky Taupe Fade
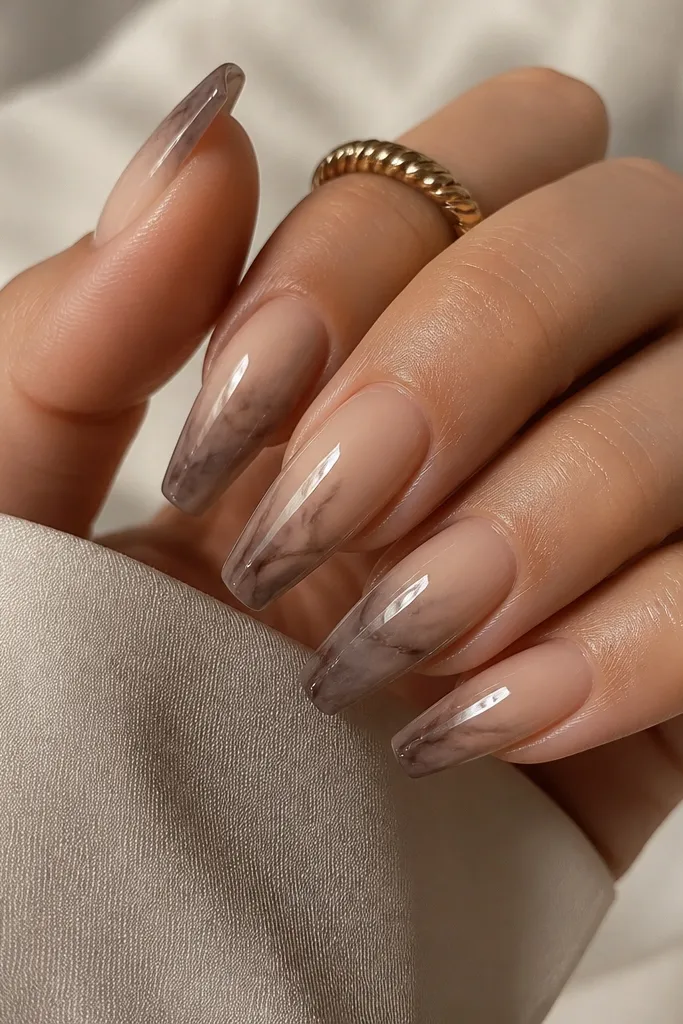
Smoky taupe sounds heavy, but on nude it turns into a soft contour. The taupe is concentrated at the edges and tip, which makes the nail look slimmer and longer. It also looks great with cool undertones because taupe doesn't fight your skin.
Use a medium coffin or almond. Sponge taupe onto the sides and top edge, then blend into the nude with a sheer nude overlay. Keep it semi-transparent - the goal is haze, not solid color.
Pro tipWipe your sponge lightly between nails so the fade stays soft.
Watch outSkip dark brown - it reads muddy on nude.



