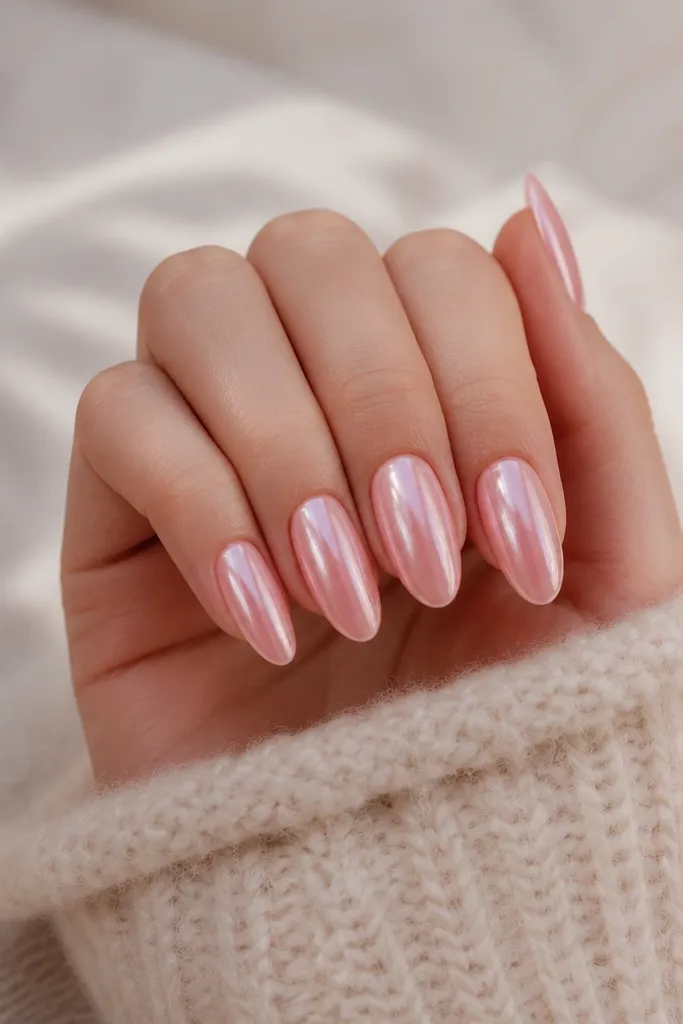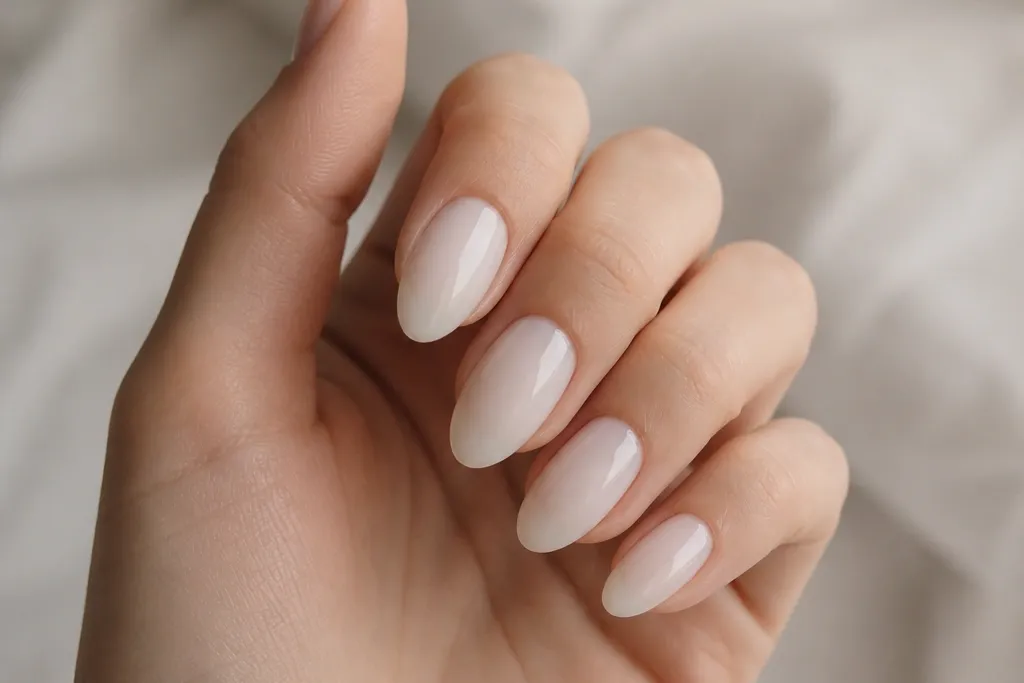
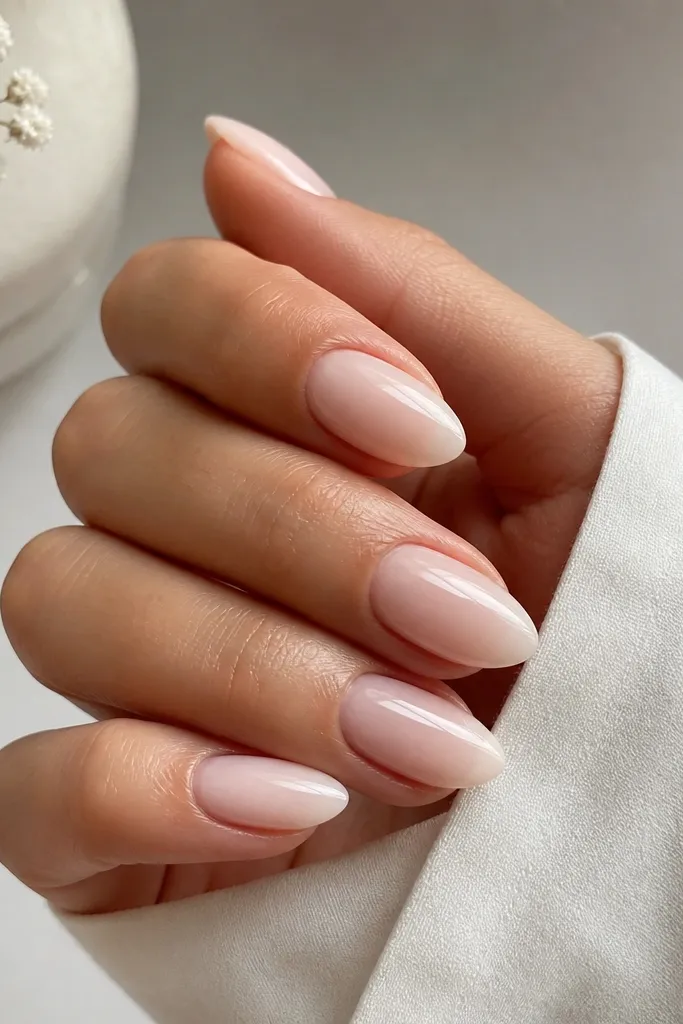
1. Classic Milky Cloud Almond (no art)
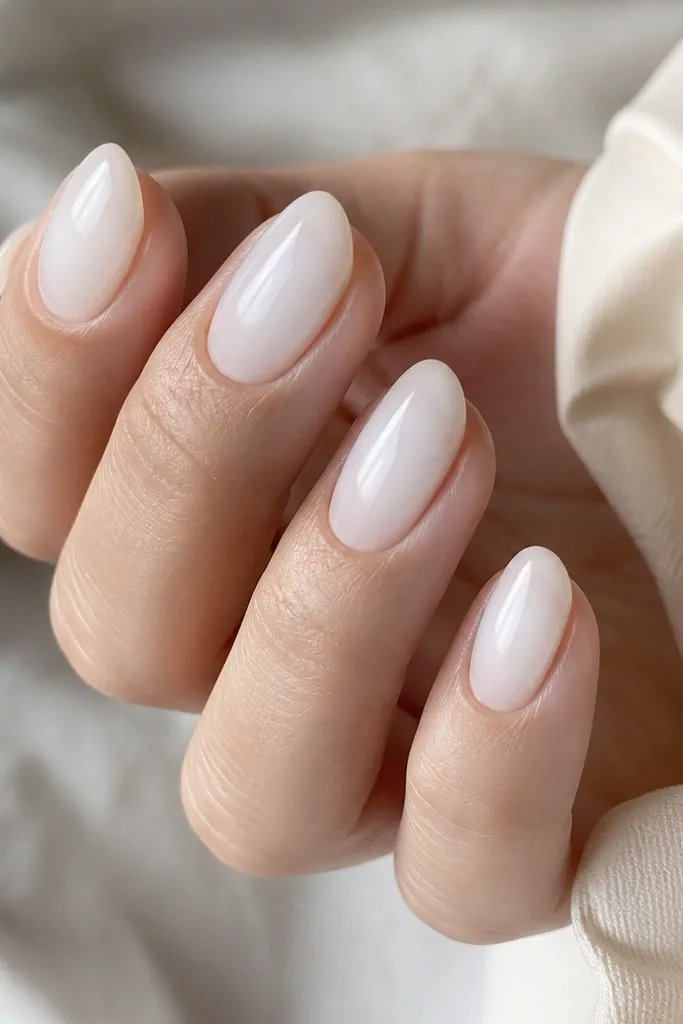
This is the design I hand to first-timers because it looks finished even when you're still learning placement. The milky white here is sheer enough that it glows against your natural nail tone, so it never looks chalky. A high-gloss top coat makes the milky layer look like frosted glass instead of paint.
Apply a thin base, then two thin coats of milky white jelly/builder gel, curing between coats. Keep the first coat extra sheer near the cuticle and build coverage toward the tip. Finish with a thick, even top coat and cap the free edge.
Pro tipIf you see streaks, stop and do a third ultra-thin coat rather than thickening the second.
Watch outDon't use opaque bright white - it turns milky nails into blocky nail paint.
2. Milky White French Almond (soft smile line)
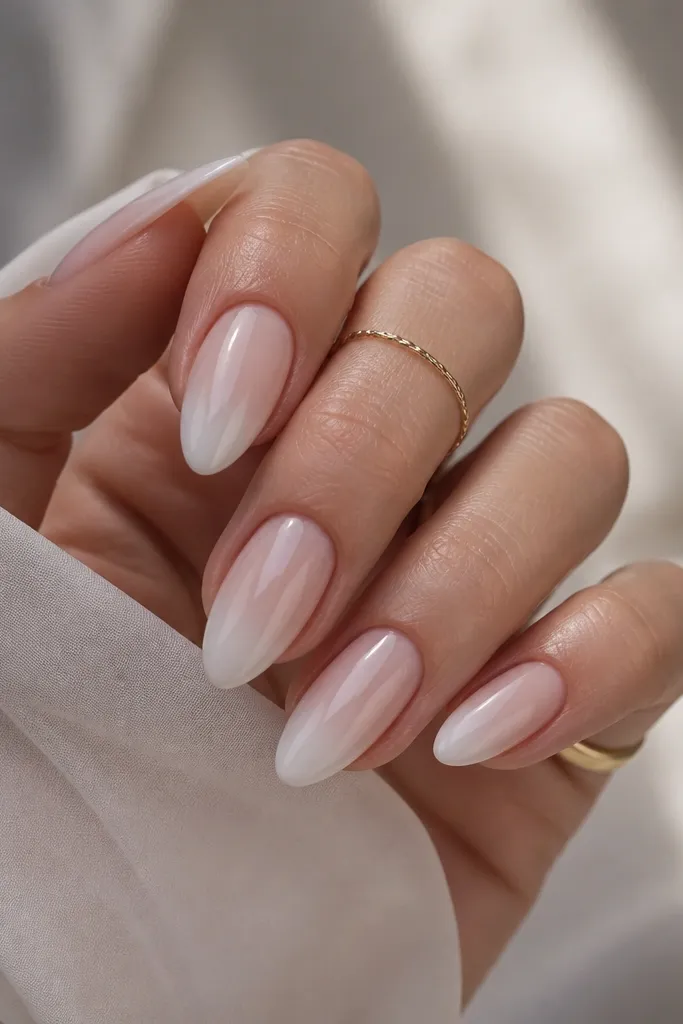
A French tip works because it gives structure to the almond shape. Milky white makes the tips look softer than classic white, so your smile line can be imperfect and still look intentional. The blend is what makes it feel modern, not school-manicured.
Paint a sheer milky base first. For the tips, use a fine brush to place milky white only where the smile line sits, then lightly drag the edge down 0.5 mm for a soft blur. Cure, then top coat.
Pro tipUse tape or a nail guide sticker only for the tip area - keep the smile line hand-drawn for that cloudy look.
Watch outDon't make a thick, straight French line - it looks like a sticker.
3. Half-Moon Milky Cuticle Glow
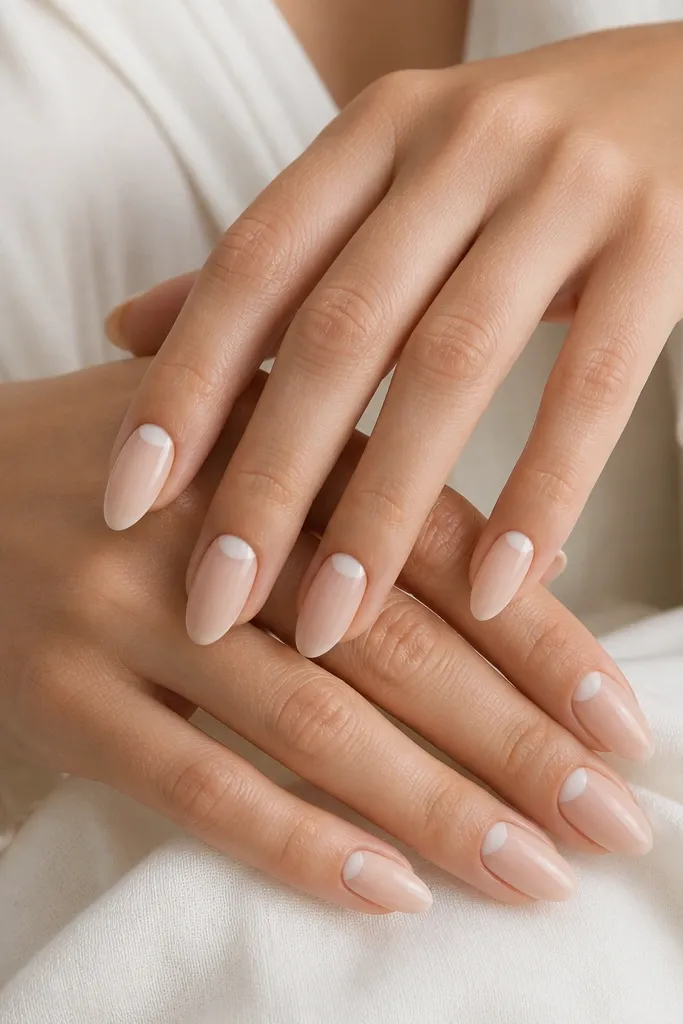
This design makes your cuticle area look intentional without adding clutter. The half-moon in milky white creates a bright "spotlight" effect that frames the nail bed. Because the color is milky and soft, it doesn't look harsh on shorter almond nails.
Start with a nude or pink base gel, then cure. Place milky white at the cuticle as a half-moon shape (about 1/3 of the nail width), leaving a thin gap from the skin. Blend the edges with a soft brush or sponge so it looks like glow, not sticker lines.
Pro tipIf your half-moon feels too small, widen it by 0.5 mm instead of thickening the white.
Watch outDon't paint over the skin - clean edges matter more than the shape.
4. Milky White + Micro Gold Line
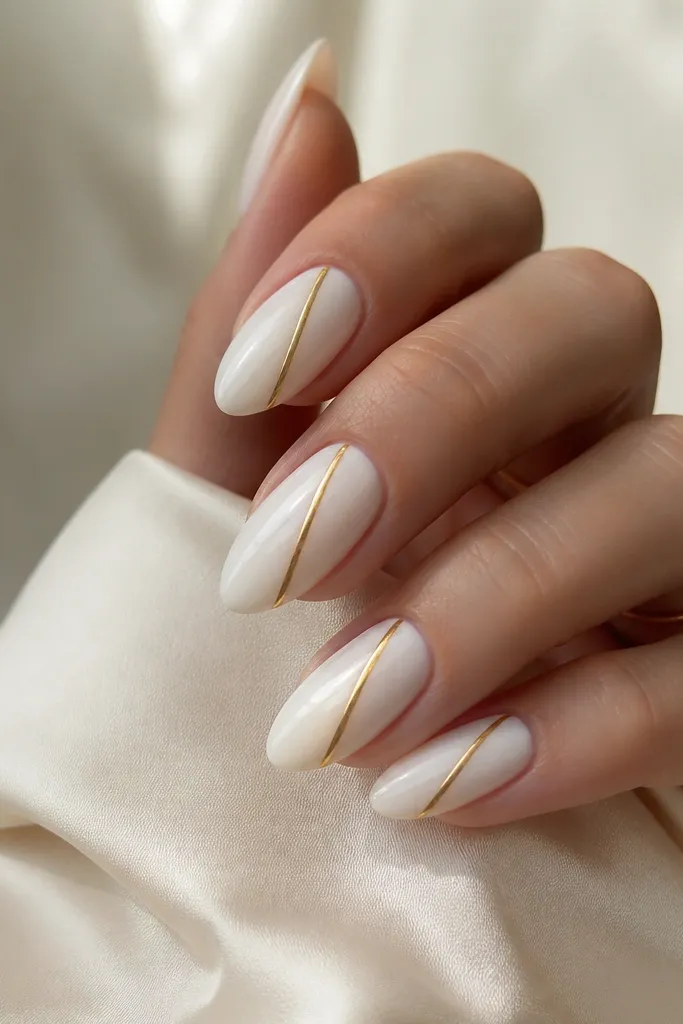
A single micro line is the easiest way to add luxury. The gold doesn't compete with milky white; it just gives direction and a little sparkle when light hits. I like diagonal placement because it elongates the almond tip.
Do your milky base in two thin coats. Add the gold line with a striping brush and gold gel (or gel pen for beginners), starting 2 mm away from the cuticle. Cure and then top coat, making sure the top coat bridges the line so it doesn't snag.
Pro tipDot the start and end points first with a tiny brush - then connect them in one smooth stroke.
Watch outDon't put the line too close to the cuticle - it makes the nail look crowded.
5. Pearl Dot Milky Almond (one accent nail)
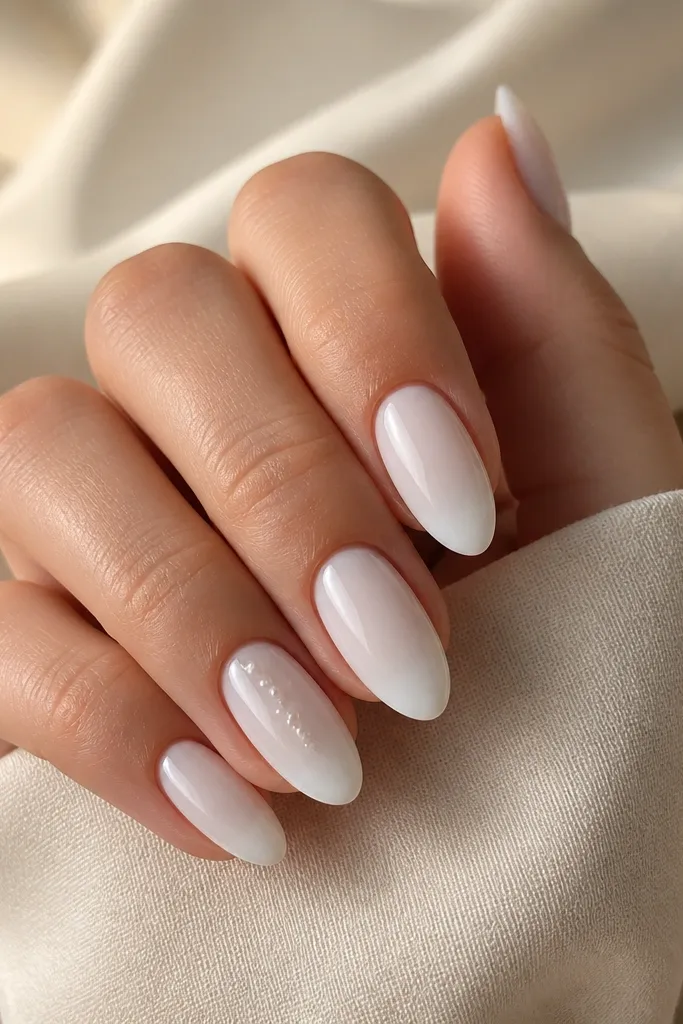
This is the "pretty but easy" combo. Milky white gives softness, and tiny pearls add texture without needing complex drawing. Keeping it to one accent nail makes your manicure look curated even if you're practicing.
Use milky white base on all nails. On the accent nail, place three micro dots using a pearl gel or a dotting tool with white gel, then cure. Add top coat carefully so the dots stay slightly raised or glassy, depending on your finish.
Pro tipUse a dotting tool tip that's smaller than your dot size target. Big tips make pearls look smeared.
Watch outDon't flood dots with top coat - they lose the pearl look.
6. Milky White Marble Veil (soft gray lines)
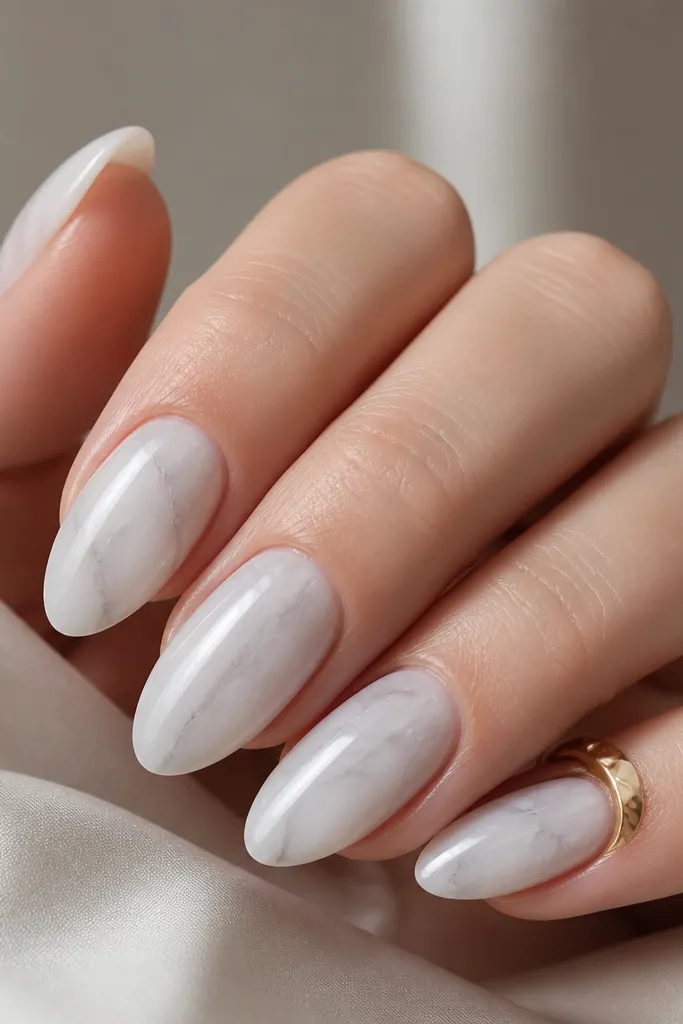
Marble works because it adds movement while staying gentle. Use gray instead of black and keep the lines thin so the milky layer still feels airy. This design looks great on medium almond because the veining follows the nail's natural curve.
Start with milky white base. Add gray gel in very thin strokes using a striping brush or marble tool, then soften by lightly tapping with a clean brush tip before curing. Seal with a glossy top coat.
Pro tipMake fewer lines than you think - milky white hides detail, so less reads more expensive.
Watch outDon't make thick black veins - it turns milky marble into a heavy stamp.
7. Milky White Negative Space Side Stripe
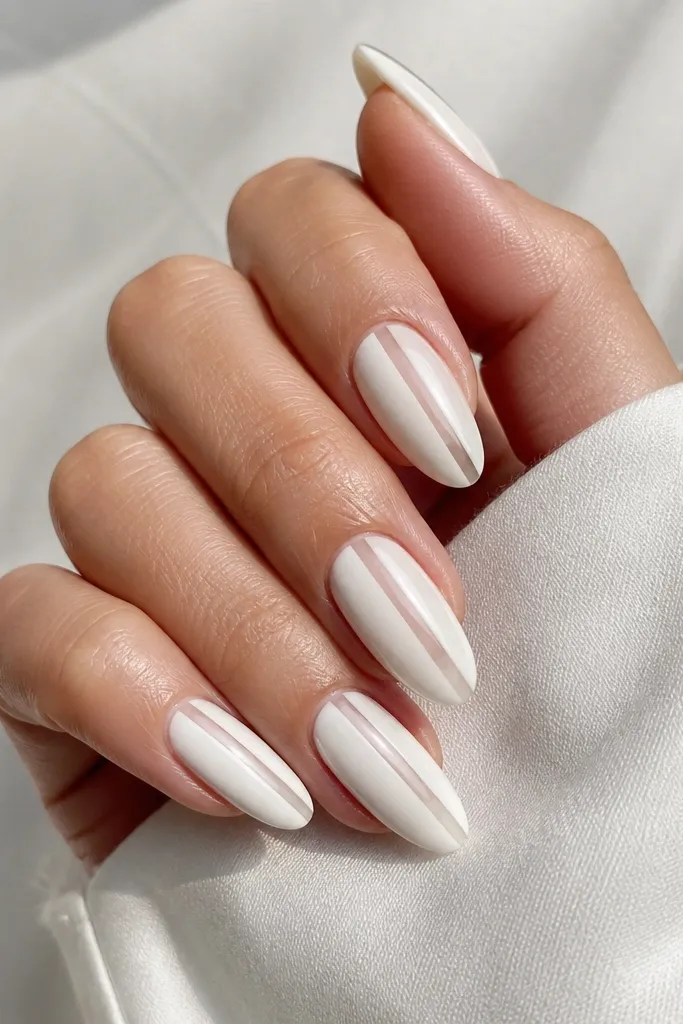
Negative space is the cheat code for beginners. It gives you a crisp graphic element without needing tiny decorative art. The side stripe also makes almond nails look slimmer and longer, especially on shorter hands.
Do a sheer nude base, then apply milky white over most of the nail. Use nail tape to mask a thin vertical panel (about 1.5-2 mm wide) near one sidewall, then remove tape after curing so the panel stays clear. Add top coat and cap the edges.
Pro tipPress tape firmly at the corners of the almond tip so paint doesn't creep under it.
Watch outDon't make the stripe too wide - it breaks the milky look.
8. Milky White Aura Tips (glow gradient)
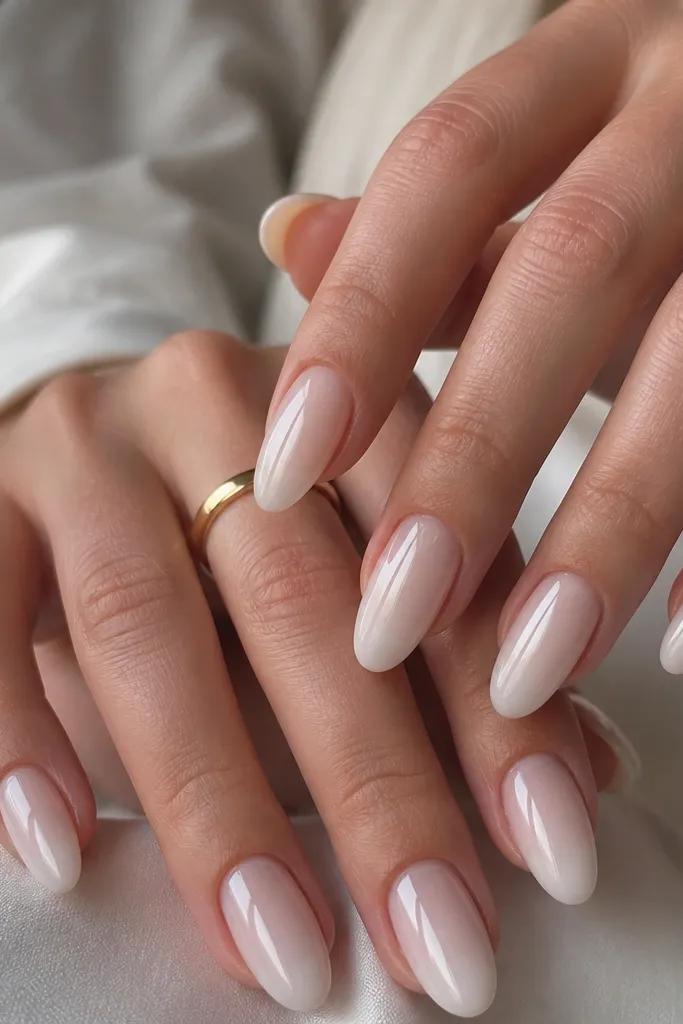
Aura tips look like soft light hitting the nail. The center stays brighter so you get a focal point, but the fade keeps it milky and wearable. This is one of the most forgiving designs because the edges can be blended.
Start with a medium milky white base (not too opaque). Sponge a slightly brighter white gel at the tip center, then lightly blend outward with a clean makeup sponge. Cure in short bursts if needed, then top coat.
Pro tipDo the sponge in two light layers instead of one heavy application.
Watch outDon't over-saturate the sponge - thick white blobs look chalky.
9. Milky White + Clear Crystal Corner
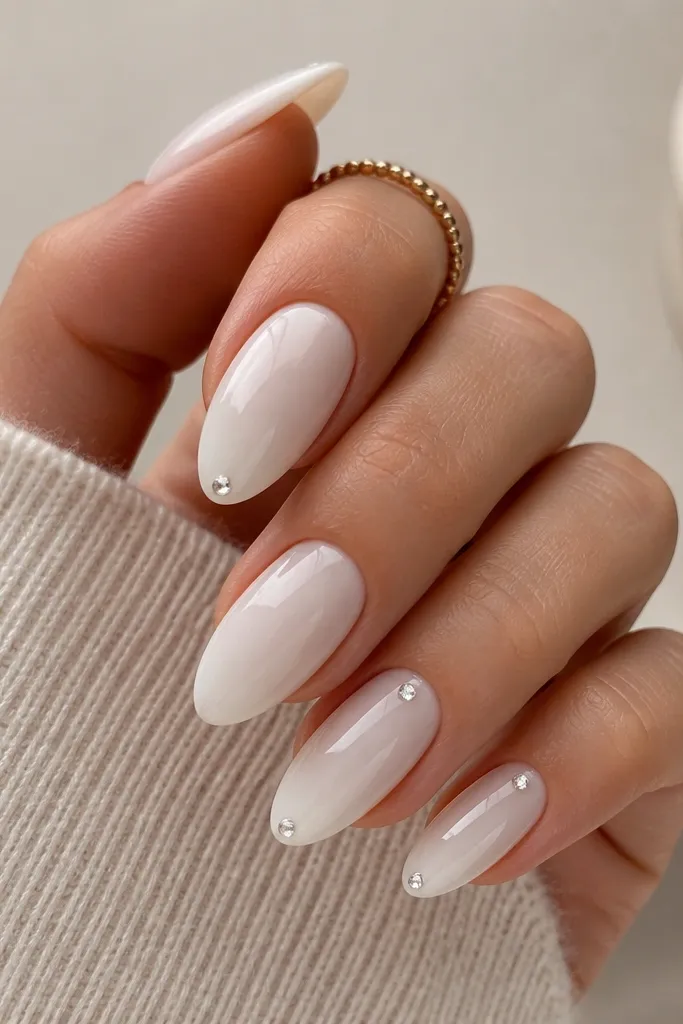
A corner crystal makes the manicure sparkle when you move your hand, without turning it into a full rhinestone situation. Clear stones work with milky white because they catch light and disappear into the glossy surface. It's a clean look for weddings, holidays, and everyday glam.
After milky base and cure, place a single small crystal using clear rhinestone gel. Keep it about 2-3 mm from the tip edge and 2 mm from the sidewall. Cure and then top coat around it, avoiding a thick bump.
Pro tipUse tweezers and place the stone, then nudge it once. More nudging makes the gel slide.
Watch outDon't stack stones - one crystal looks intentional; multiple looks messy.
10. Milky White Almond with Sheer Nude Base (two-tone depth)
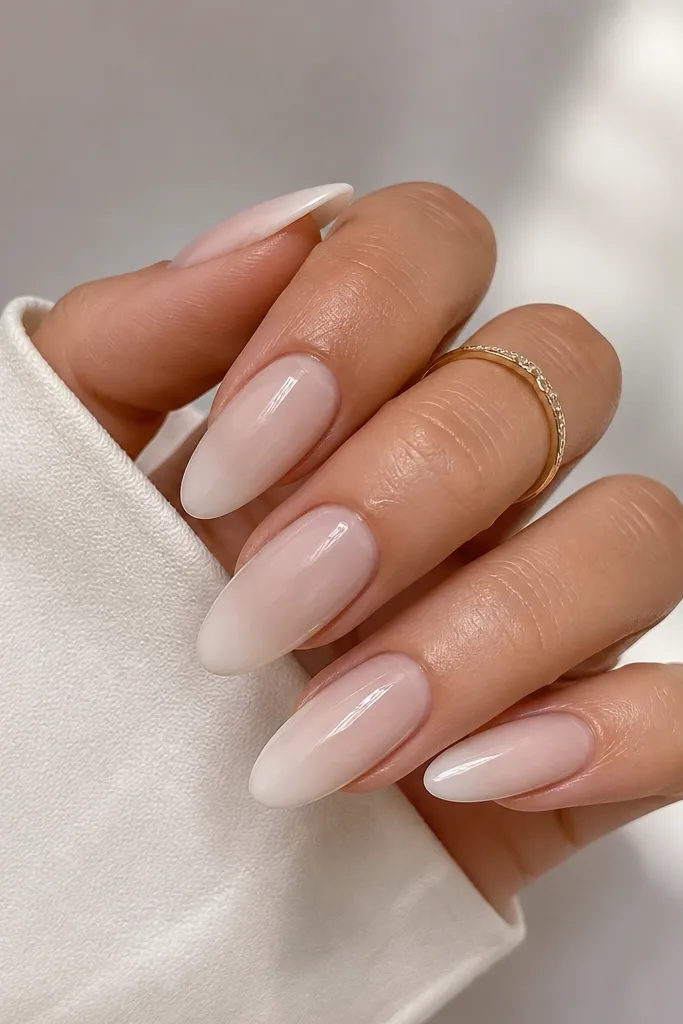
This layering trick gives you depth without complicated art. The nude base warms the milky white so it looks flattering and not icy. When light hits, the milky layer looks dimensional, like a soft glaze.
Paint nude sheer base, cure. Then apply milky white overlay from mid-nail to tip, leaving a thin nude window near the center. Blend the boundary with a brush so it fades, then cure and top coat.
Pro tipKeep the nude window consistent across nails - it makes the set look designed.
Watch outDon't make a hard line between nude and white - it reads like a mistake.
11. Milky White + Tiny Heart Outline (one nail)
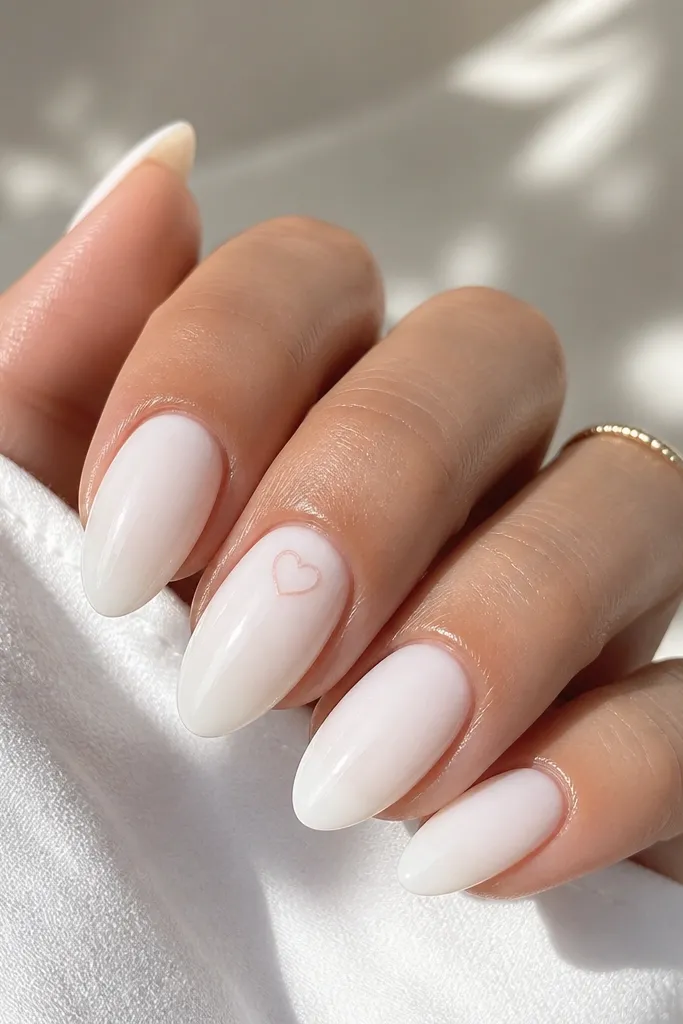
A tiny outline heart is cute without being childish. Because the heart is an outline, the milky white stays dominant, and you don't get a chunky sticker look. Blush outline keeps it soft and beginner-friendly.
Do milky white on all nails. On one nail, use a liner brush to draw a small heart about 3-4 mm wide, placed 1-2 mm away from the cuticle. Cure, then top coat with a smooth layer over the outline.
Pro tipSketch the heart lightly first with the brush tip, then trace the final line.
Watch outDon't fill the heart solid - filled hearts look too heavy on milky bases.
12. Milky White + Skinny Glitter Fade (tip only)
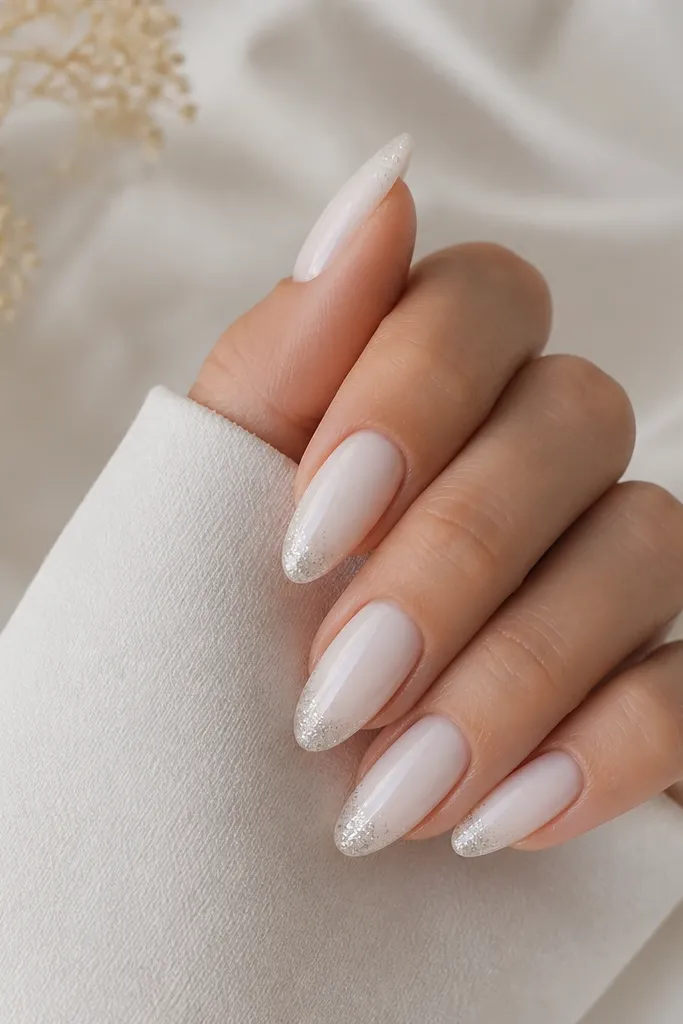
Glitter works best when it's controlled. A skinny tip fade looks clean and makes the almond tip sparkle without distracting from the milky color. It's also easy to fix if your placement is slightly uneven - the fade hides it.
Apply milky white base and cure. Dab a fine holographic glitter gel or loose glitter mixed with clear gel at the tip center, then drag slightly upward. Keep it only on the last 15-20% of the nail length, cure, then top coat.
Pro tipUse a small makeup sponge to blend the glitter edge so it doesn't look like a strip.
Watch outDon't pack glitter all the way down - it turns milky into gritty.