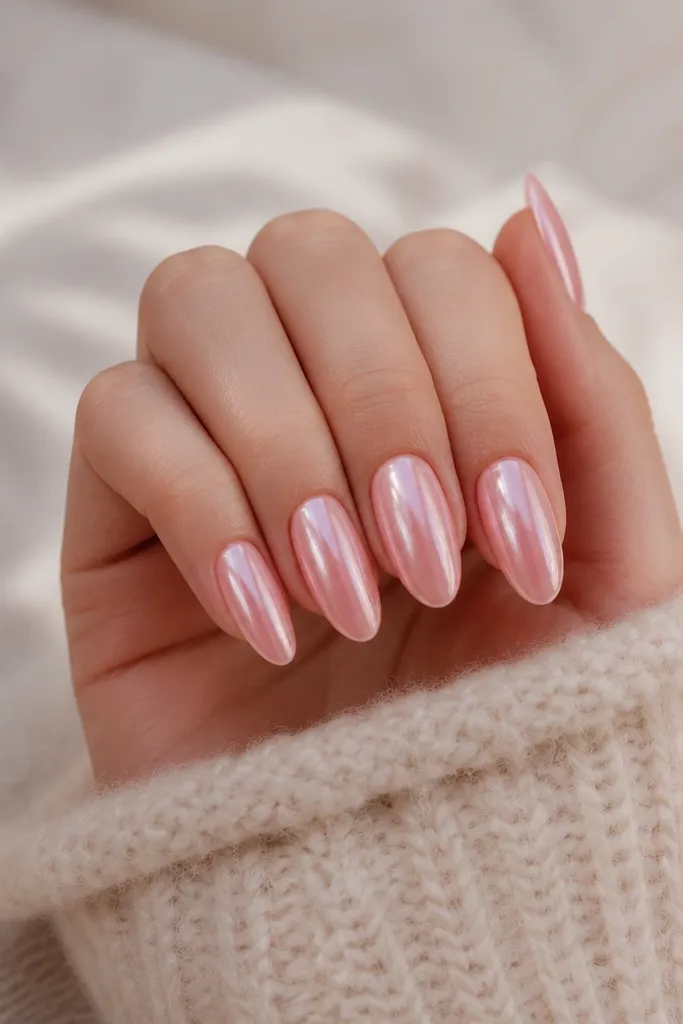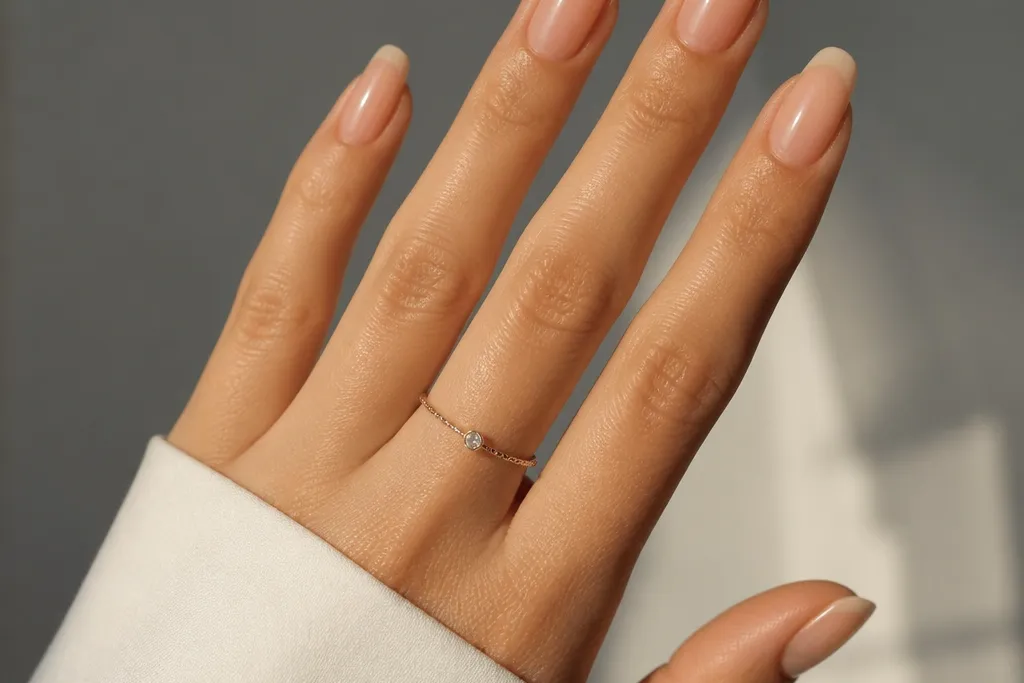

1. Milky Sheer Nude with Glass Topcoat
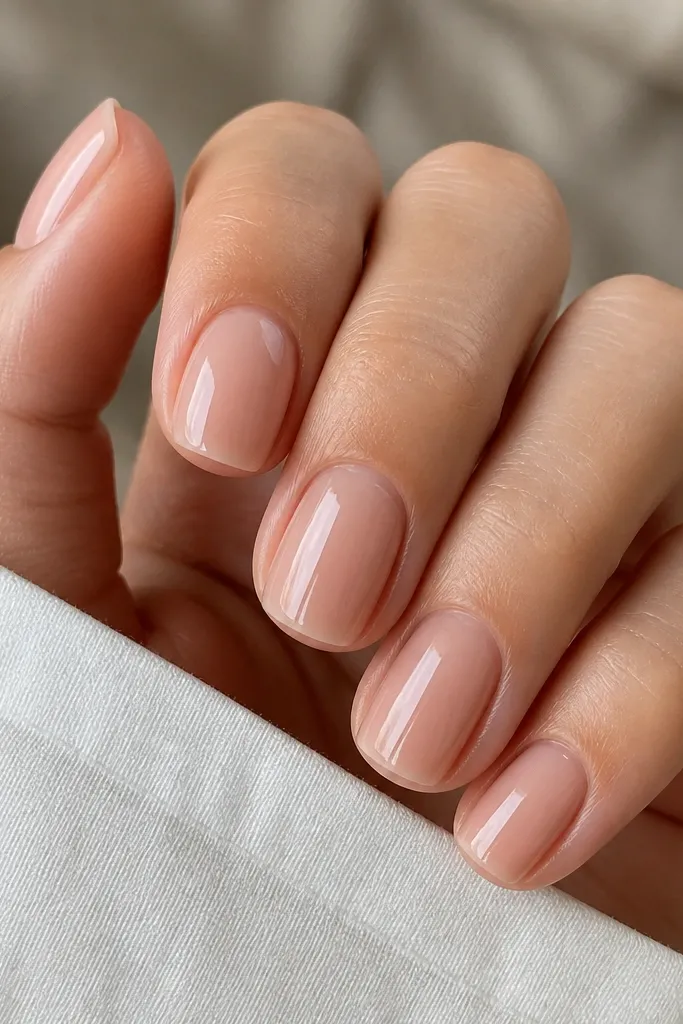
This look uses a milky nude acrylic that stays translucent at the edges, so your nail still looks like your nail. The glossy topcoat makes the nude catch light instead of looking flat or chalky. Because it is sheer, it also grows out more gracefully and does not show harsh lines.
Build in three thin layers: clear or nude base, milky nude overlay, then a final thin cap. Keep the free edge about 1.5 mm so the nail stays short and tidy. File the surface smooth with 240 grit before topcoat so it shines evenly.
Pro tipIf your nude looks streaky, wipe your brush on a paper towel and do thinner beads - thick beads cause uneven opacity.
Watch outDo not use a super opaque nude in one thick layer; it turns patchy at the sides.
2. Warm Beige Nude Short Almond
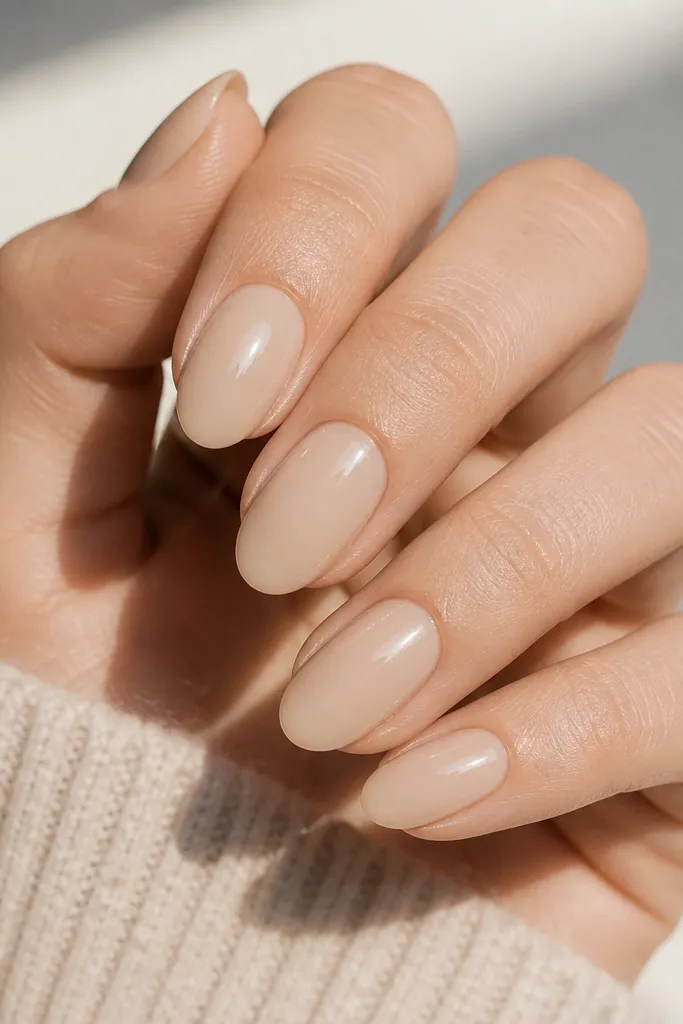
Warm beige nude gives that "healthy nail bed" effect. It flatters hands with yellow or golden undertones and looks especially good with gold rings. The slight warmth keeps it from reading like a grayish taupe in daylight.
Shape to short almond with a soft taper - do not over-point it. Apply a nude that is beige-pink, not pure tan, then seal with a glossy topcoat. Keep the sides slightly rounded so the nail does not look boxy.
Pro tipAsk for a nude that looks pink-beige in the bottle, not brown-beige - brown pulls too heavy on short nails.
Watch outAvoid taupe nudes if you want a fresh, not muddy, look.
3. Cool Mauve Nude with Soft Shine
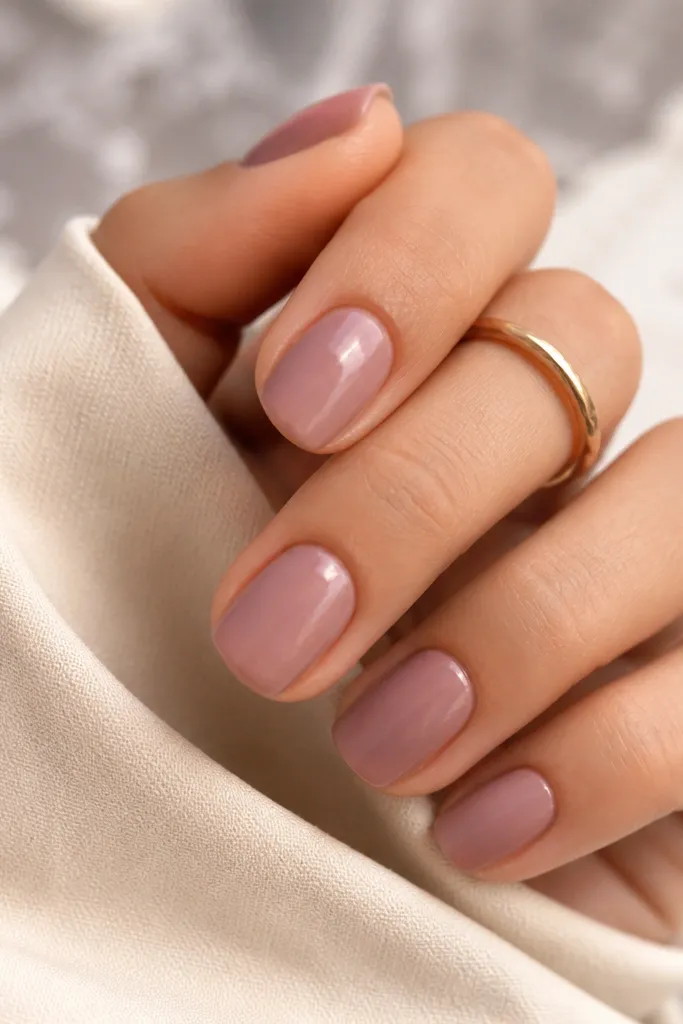
Cool mauve nude makes short nails look polished without looking like pink nail polish. It reads more modern than beige because it has a rose tint. In photos, mauve nude keeps your hands looking even-toned.
Do a gentle gradient: a slightly deeper mauve at the cuticle, then blend thinner toward the edge. Keep the finish glossy, not mirror-matte, so it looks like a salon set. Shape squoval with rounded corners for an "effortless" vibe.
Pro tipUse a damp lint-free wipe to clean the cuticle area right after you cure - it prevents that dusty look.
Watch outDo not let the mauve sit too dark near the cuticle; it should look like a tint, not a band.
4. Nude Micro French on One Accent Nail
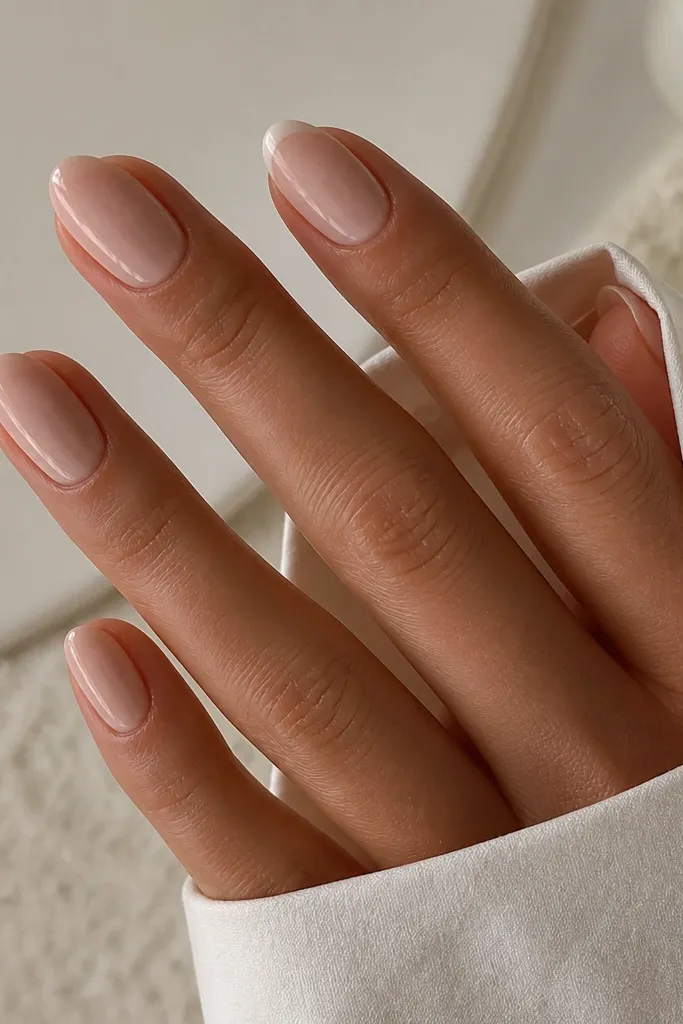
Micro French keeps things classy because the line is thin enough to look like the nail's natural edge. Doing it on one accent nail keeps the set from looking like a full French manicure that can feel dated. Nude-on-nude also makes it look expensive even on short lengths.
Use a nude-pink liner or a diluted acrylic paint for the French line. Measure placement by eye: it should sit 1 mm from the very tip, not up the side. Topcoat everything the same gloss so the line looks crisp.
Pro tipIf your line wobbles, clean the edges with a tiny brush dipped in acetone after curing - it fixes most mistakes fast.
Watch outAvoid thick French tips; they make short nails look stubby.
5. Half-Moon Nude Cuticle Glow
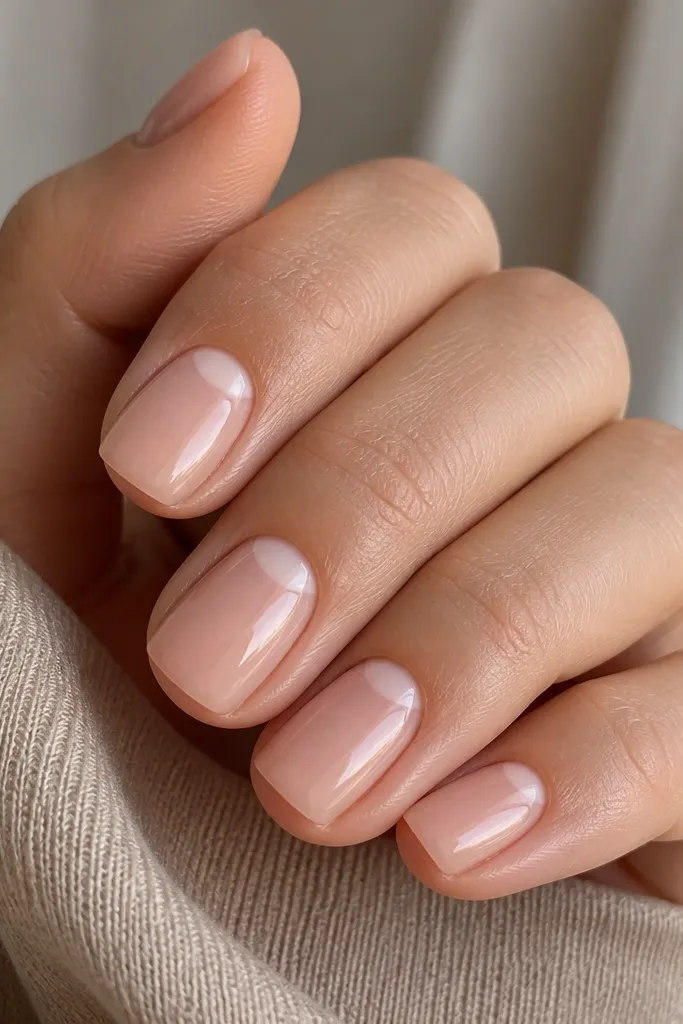
The half-moon effect lifts the cuticle area and makes your nail bed look longer, even when the nail is short. Use a lighter nude shade than your base so the glow reads soft, not stark. This is the kind of detail that looks good with bare skin and no jewelry too.
Apply base nude first, then use a lighter sheer pink or milky nude for the half-moon. Keep it narrow - about 2 mm tall at the center. Seal with a glossy topcoat that covers the edges smoothly.
Pro tipUse a small dotting tool for the half-moon, then drag the shape a hair outward to match the nail curve.
Watch outDo not make the half-moon too wide; it can look like a growth line.
6. Sheer Nude with Tiny Nude Dot Grid
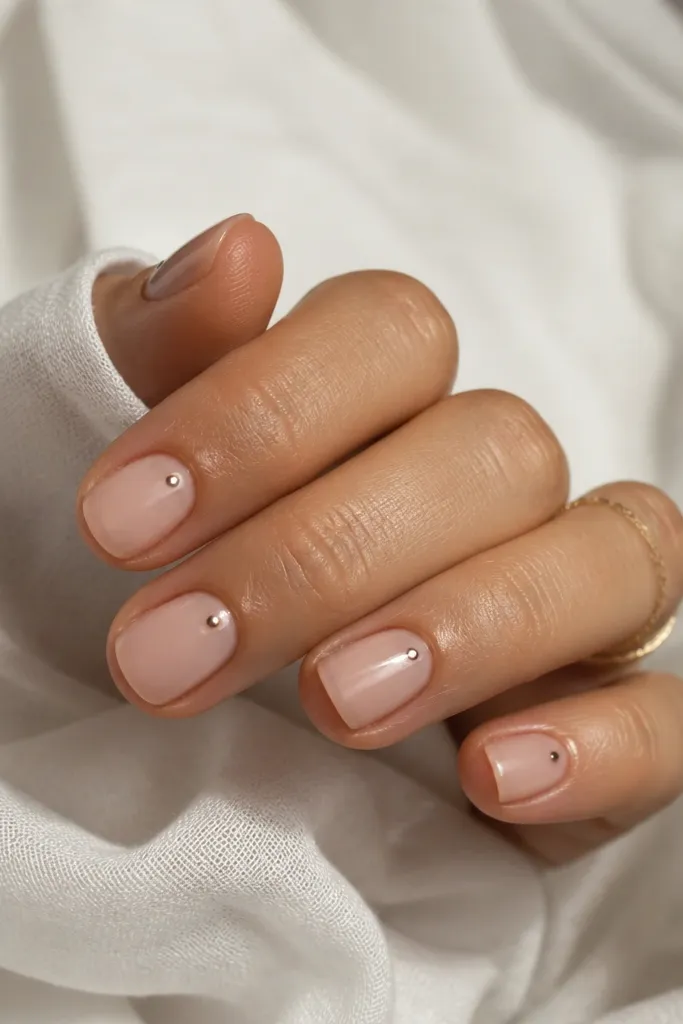
Dot art in nude tones looks clean because it does not fight with your skin. The tiny dot cluster also draws attention to the center of the nail, which flatters short shapes. Keep the dots close together so it reads like a pattern, not random marks.
Use a darker nude (like a soft rose-beige) for the dots on top of a sheer nude base. Place 2-3 dots per nail, centered 2-3 mm from the cuticle. Cure, then topcoat with a smooth layer to prevent texture.
Pro tipIf you use gel paint for dots, cure each finger for 30-60 seconds before moving on so dots do not smear.
Watch outSkip big dots; large dots make short nails look cluttered.
7. Nude Marble Accent with Clear Veins
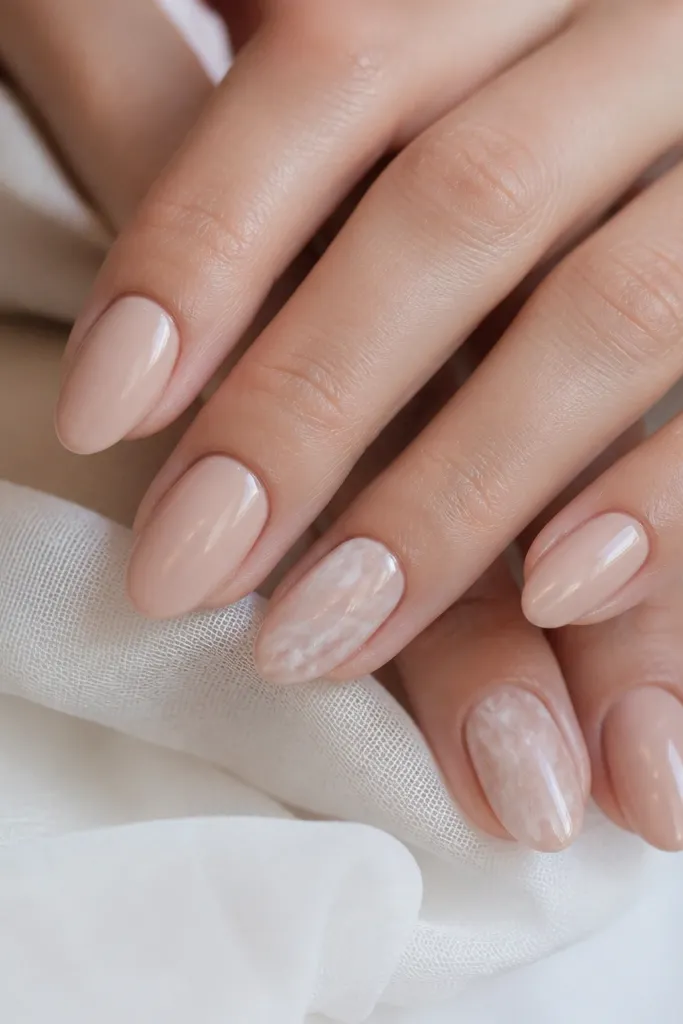
Marble looks fancy even on short nails when the veins are translucent and thin. Nude marble also keeps the set wearable because the colors are close to your base. I like using clear or semi-transparent white veining so the marble does not look like thick sticker art.
Base everything in sheer nude. On an accent nail, drag thin lines of milky white and pale taupe using a striping brush, then soften with a clean brush tip. Add a final topcoat layer to smooth the surface.
Pro tipPractice on a spare nail tip first; marble looks best when the veins vary in thickness.
Watch outDo not paint heavy opaque marble blocks; it looks chunky on short nails.
8. Matte Nude with One Glossy Stripe
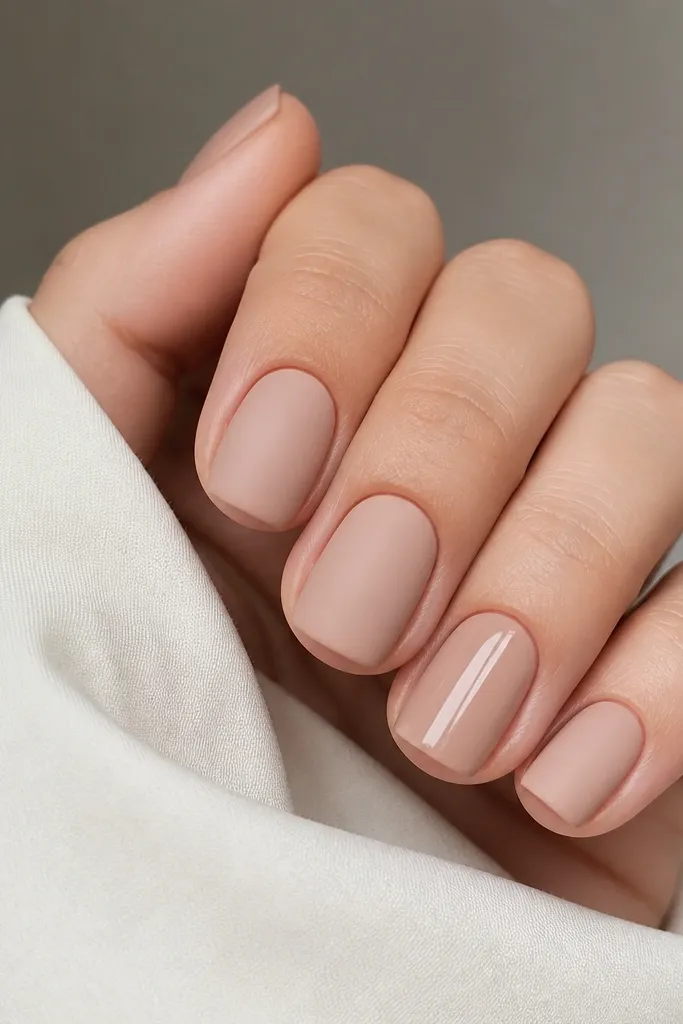
Matte nude looks modern and hides tiny surface imperfections better than full gloss. One glossy stripe adds dimension and makes the nails look more "designed" without adding color. The stripe also makes short nails look longer vertically.
File for smoothness, apply matte topcoat to all nails. Pick one nail (or two) and paint a thin vertical stripe with clear gel, then cure and topcoat glossy only on that stripe area. Keep stripe width around 1 mm.
Pro tipUse a striping brush and pull one steady line from cuticle area to near the tip, then clean edges with a flat brush.
Watch outAvoid matte on art; it can dull the stripe edges and look messy.
9. Nude Ombre Fade from Cuticle
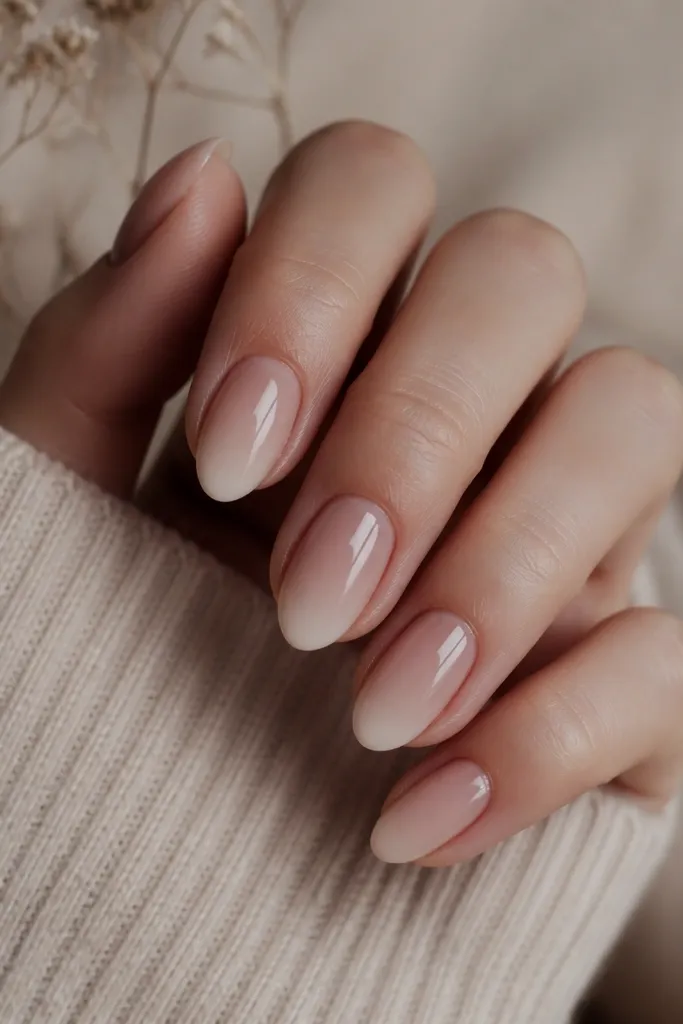
A nude ombre makes the nail bed look smoother and more dimensional. The fade is what creates that "expensive" look because it mimics how nails look naturally with light. You still get the budget-friendly benefit because you only need one nude palette - no bright colors.
Start with a deeper nude at the cuticle, then sponge-blend toward the tip using a makeup sponge cut small. Feather until it looks like a haze, not a line. Seal with glossy topcoat so the fade looks buttery.
Pro tipLess is more - build the fade gradually. One heavy layer makes it look like paint.
Watch outDo not leave a visible boundary between shades; it reads as a sticker effect.
10. Glossy Nude with Micro Rhinestone Cuticle Line
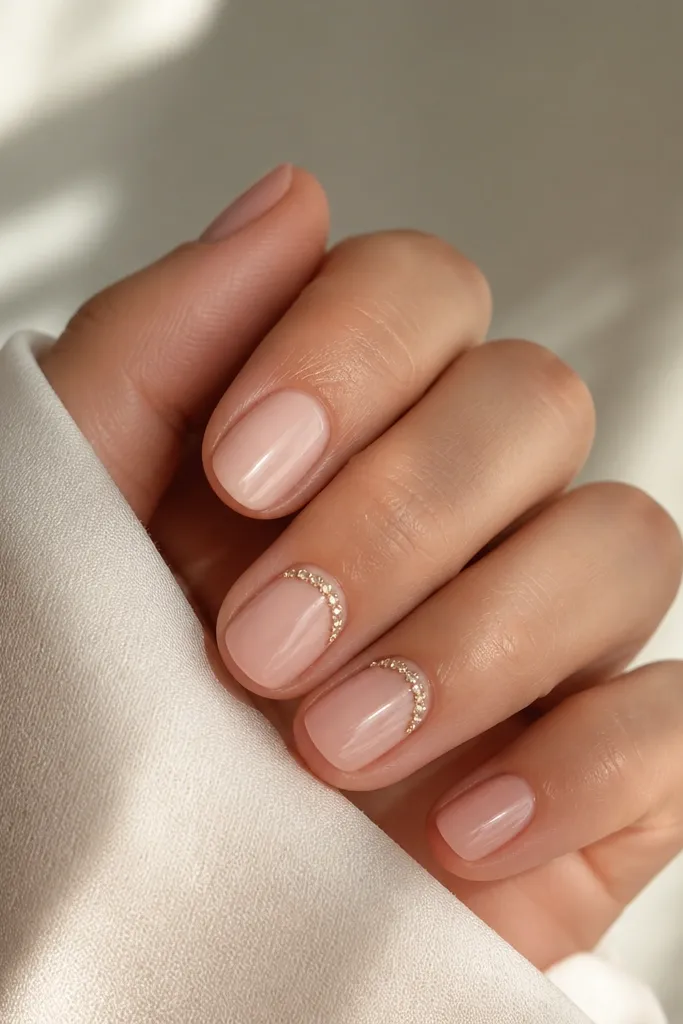
Tiny rhinestones near the cuticle make your hands look dressed up while staying subtle. The key is using micro stones and placing them in a straight, narrow line so it does not look like a full bling nail. On short nails, cuticle placement looks more flattering than big stones at the tip.
Use a clear gel adhesive line where you want the stones. Place 6-10 micro stones across the center, leaving a small gap at each side so it still looks clean. Cure, then topcoat carefully around stones without flooding them.
Pro tipPress each stone gently with a silicone tool so it sits flat - uneven stones catch light weirdly.
Watch outSkip big stones; short nails need micro sparkle to stay chic.
11. Nude + Tiny Gold Foil Specks
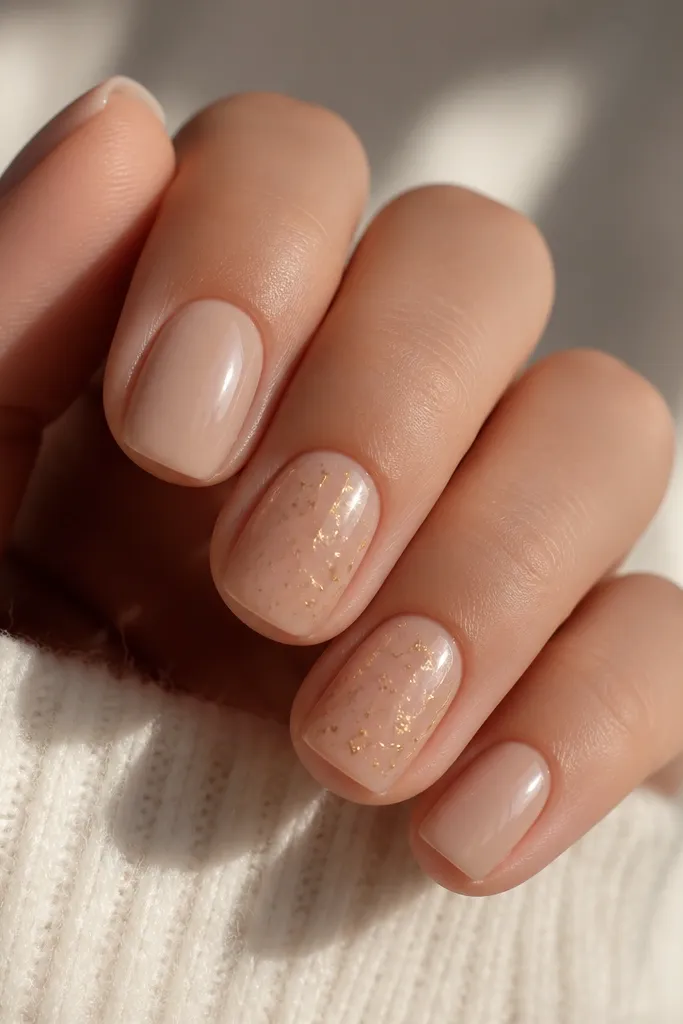
Gold foil specks look like jewelry dust and catch light when you move your hands. Nude keeps it classy, not party. This is one of my favorite ways to add "something" without committing to a full design.
Base with nude acrylic. Tap tiny pieces of gold foil onto a tacky layer or a thin gel spot, then press lightly with a flat tool. Seal with a glossy topcoat, and keep the foil concentrated around the center so it does not look random.
Pro tipUse less foil than you think - one or two clusters look intentional; more looks messy fast.
Watch outDo not rub the foil around; it smears and turns dull.
12. Nude Glass Nails with Clear Edge Seal
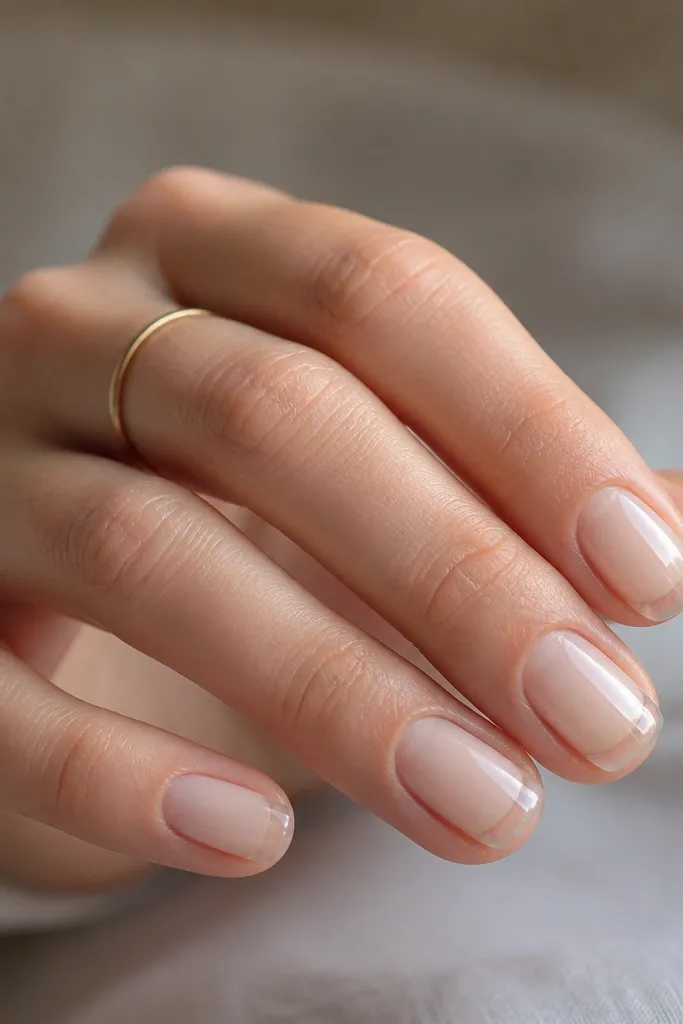
This look has a slightly glassy edge that makes the nail look freshly filled. The clear edge seal keeps the tip from looking dry and helps the nude look more dimensional. It is especially flattering on short almond because the edge becomes a clean highlight line.
Apply nude acrylic in the center panel, then cap the free edge with a thin clear layer. Blend the clear into the nude so there is no hard line. Finish with high-shine topcoat and cure fully.
Pro tipIf you see a line at the transition, file with 240 grit lightly and re-topcoat.
Watch outDo not make the clear edge too thick; it can look like a separate layer.