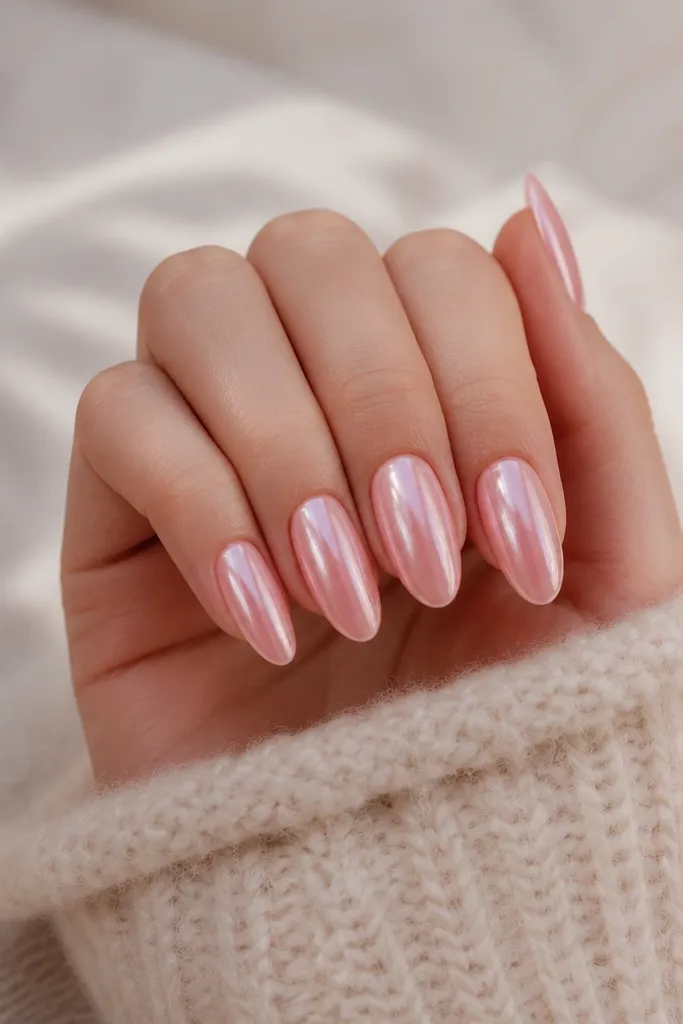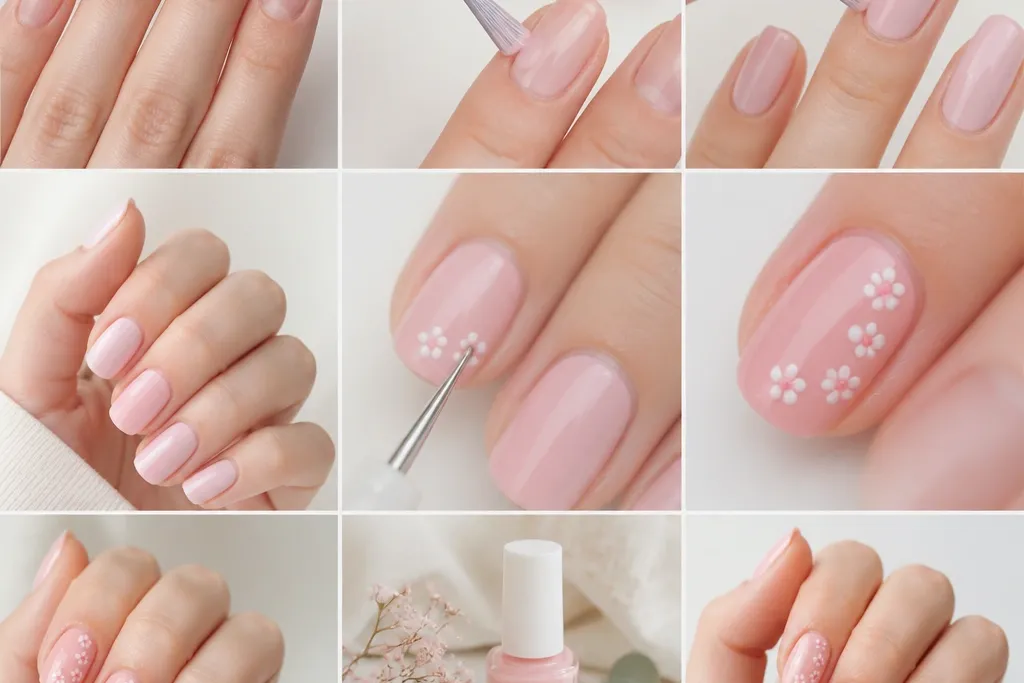

1. Single-tone baby blush with glossy top coat
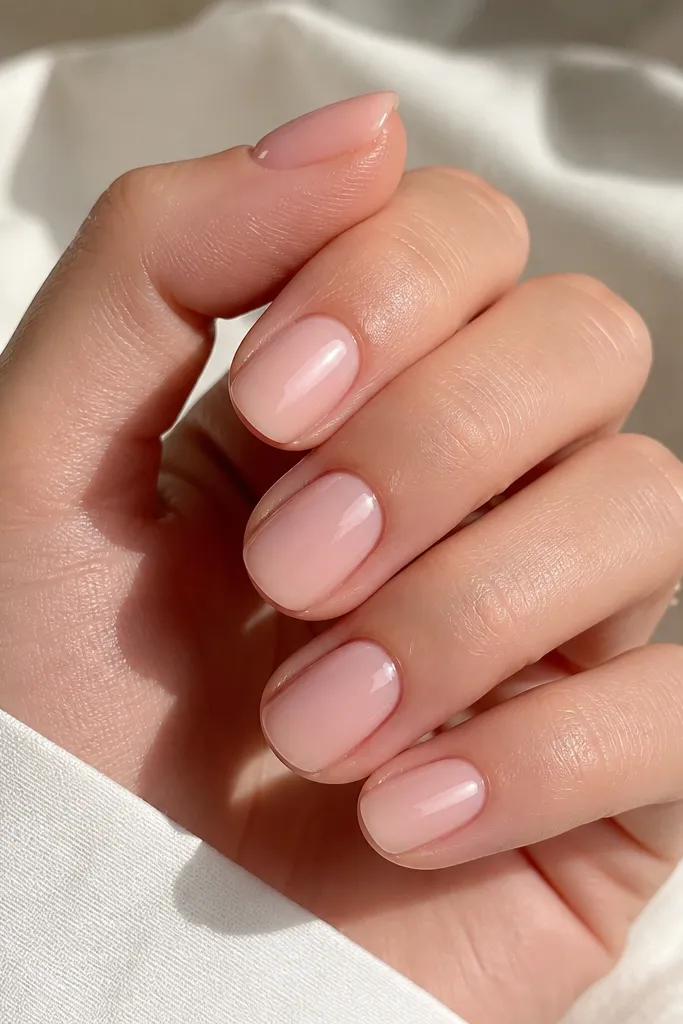
This is the easiest win: a sheer baby blush that still lets the nail bed tone show through. The reason it looks expensive is the light coverage - it reads fresh instead of flat. A full glossy finish makes the pink look smooth and "new" even if your application is simple.
Use a sheer blush in 2 thin coats. Cap the free edge on each coat so tip wear doesn't show as quickly. Shape your nails to a consistent almond or short oval so the color stays uniform across the nail bed.
Pro tipAfter your second coat, hold the brush to the center and drag outward once - don't keep going back and forth.
Watch outAvoid thick coats; they cause soft pink to look streaky and cloudy at the edges.
2. Soft pink French tips with micro white line
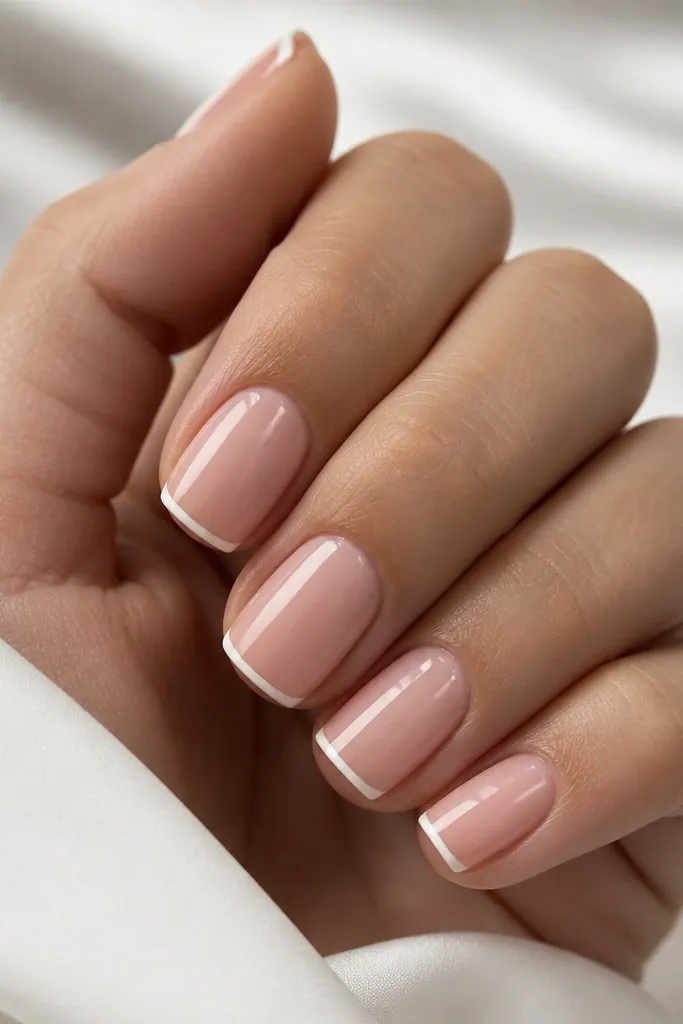
French tips look clean with soft pink because the pink acts like a "skin tone" base, and the white adds crisp contrast. Keeping the white line micro makes it beginner-friendly and prevents the tip from looking too wide. The look stays delicate rather than bold.
Paint soft pink as your base in 2 coats. Place a thin guide with a striping brush dipped lightly in white gel or polish, then draw a second pass only if the line needs opacity. Keep the tip width about 1-2 mm for short nails.
Pro tipUse a striping brush that's slightly stiff; it holds a straight line with less shaking.
Watch outSkip the thick French tip; it looks bulky on soft pink and hides uneven shaping.
3. Half-moon blush negative space (cuticle crescent)
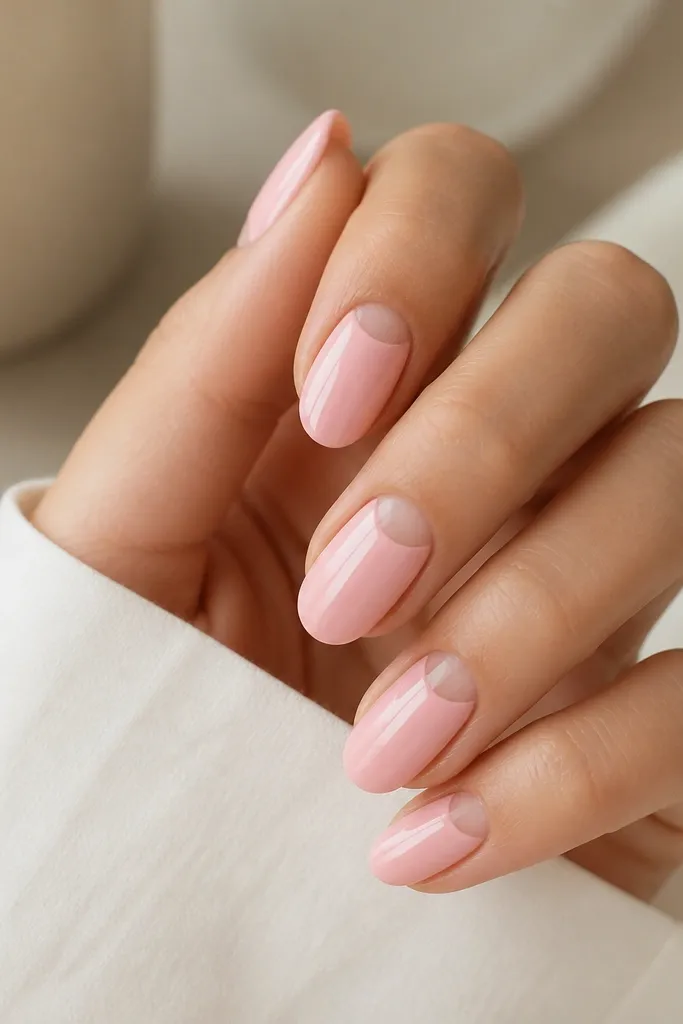
Negative space half-moons make soft pink look intentional without needing detailed art. The bare crescent keeps the design light and draws attention to your cuticle shape. It's also forgiving - small gaps still look like part of the design.
Leave a curved crescent near the cuticle bare by using small half-moon nail stickers or by carefully painting around with a thin brush. Fill the rest with soft pink in 2 thin coats. Seal with a glossy top coat, and remove stickers only after the polish is fully set.
Pro tipIf you do it by hand, angle your brush so the crescent edge is thicker at the center and thinner at the sides.
Watch outDon't overfill the half-moon area; it kills the negative space effect.
4. Blush ombre with a champagne shimmer center
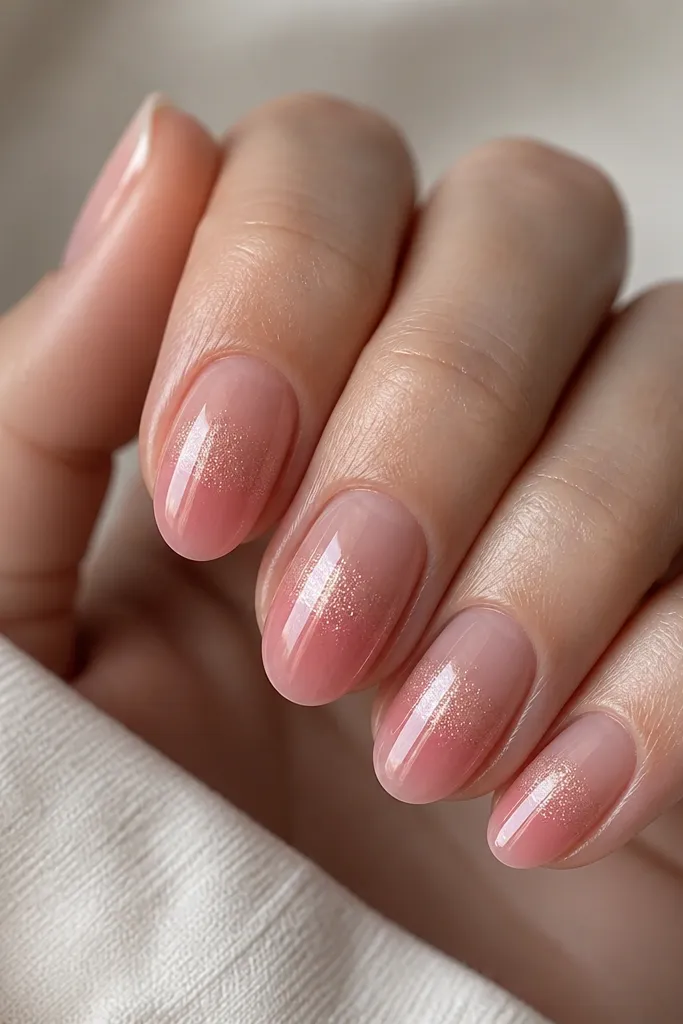
Soft pink ombre can look messy if you blend too many directions, so this design keeps the blend simple. You're adding a shimmer band in the middle, which gives the ombre a focal point. Champagne shimmer pairs well because it warms the pink instead of turning it purple.
Apply sheer blush at the cuticle, then add slightly deeper blush at the tip. Blend with a makeup sponge using 2-3 light taps, not wiping. Dab a thin line of champagne shimmer polish across the middle, then top coat to smooth texture.
Pro tipLet each layer set a little before blending again; it prevents muddy edges.
Watch outAvoid dark pink tips; soft pink ombre should still look airy.
5. Matte soft pink with glossy heart accent (one nail)
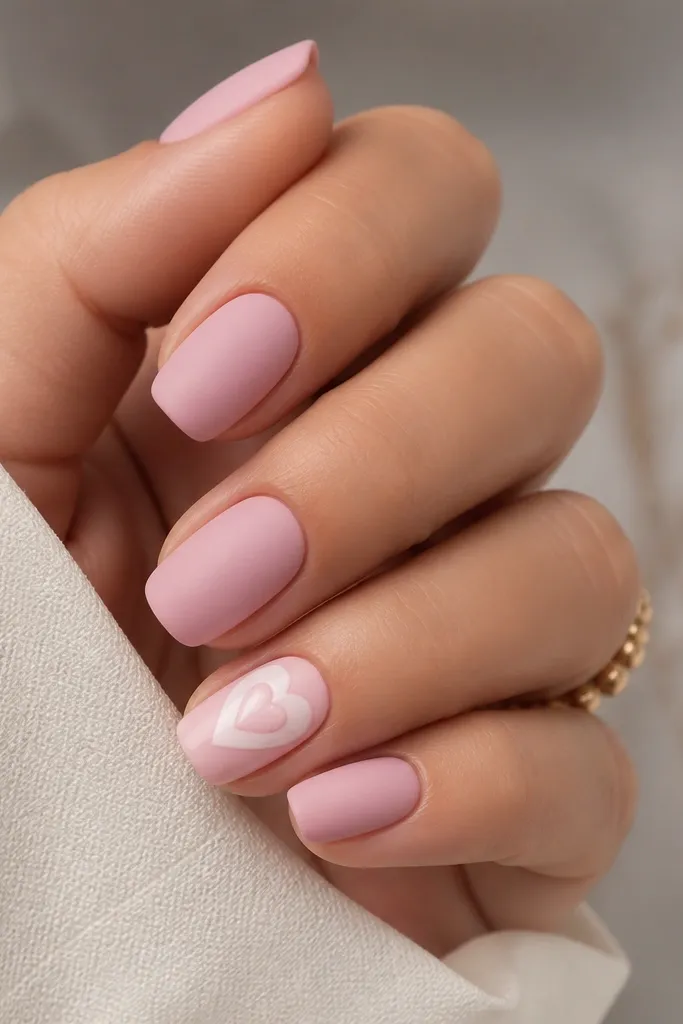
Matte top coat makes soft pink look like velvet, which instantly upgrades a basic manicure. Putting a glossy heart on just one nail adds a focal point without needing intricate art everywhere. The heart stays cute, not childish, when it's small and centered.
Paint all nails with soft pink, cure or set, then apply matte top coat everywhere except the heart nail's heart area. Use a dotting tool with white polish to place the heart base, then add a tiny blush dot for depth. Seal the heart with glossy top coat only over the heart.
Pro tipKeep the heart about the width of your pinky fingernail's center - small looks cleaner.
Watch outDon't matte the whole accent nail; matte over art makes it look dull and smudged.
6. Soft pink swirl lines with nude-brown twist
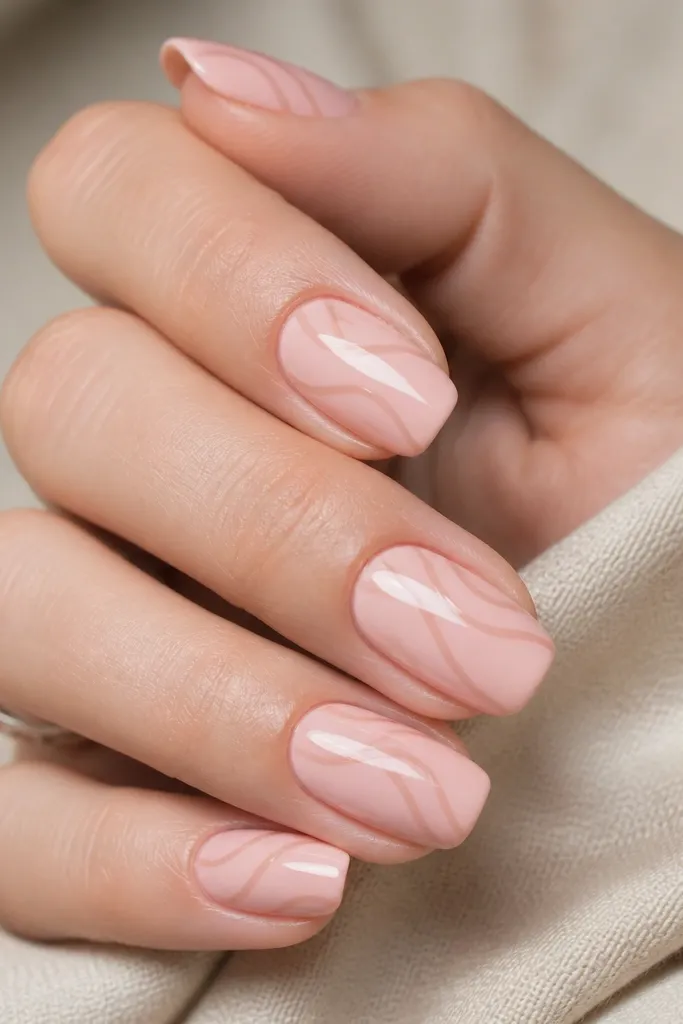
Swirl lines look harder than they are because you can keep them thin and controlled. Nude-brown gives warmth and depth against soft pink, so the design reads "grown-up" instead of cartoonish. Glossy top coat keeps the lines from looking dry or chalky.
Base coat with soft pink in 2 coats. Use a striping brush to draw one diagonal curve, then add a second line that follows it like a ribbon. Leave some clear space so the design breathes. Top coat after the lines have set.
Pro tipDrag the brush lightly; press only at the start and lift at the end for a tapered line.
Watch outSkip black outlines; they can overpower soft pink and look harsh.
7. Blush marble tips with sheer white veining
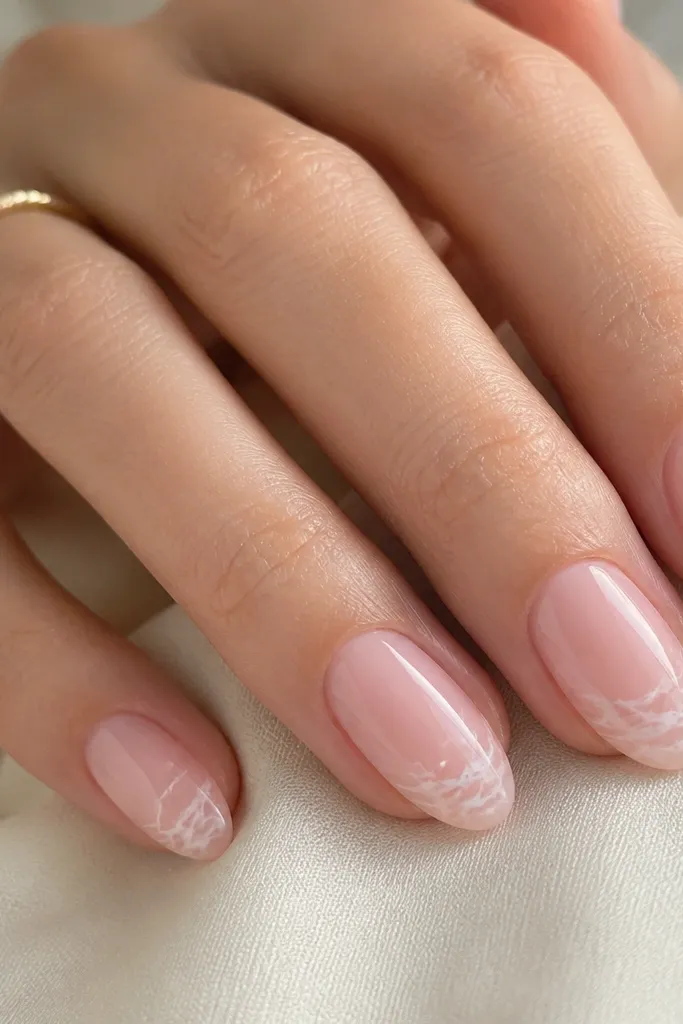
Marble can look heavy when the white is too opaque. This version keeps the veining sheer and concentrated at the tip, so it feels light. Soft pink is the "base stone," and the thin white veins mimic natural movement.
Paint a base of soft pink in 2 coats. For the tips, add a translucent layer of white (or white gel wiped thin) and drag it with a fine brush to create wispy lines. Blend edges with a makeup sponge lightly, then top coat.
Pro tipUse a damp brush tip to soften only one edge of each vein so it looks natural.
Watch outDon't cover the whole nail in marble; too much pattern makes it look busy.
8. Pearl micro-dot trail on one accent nail
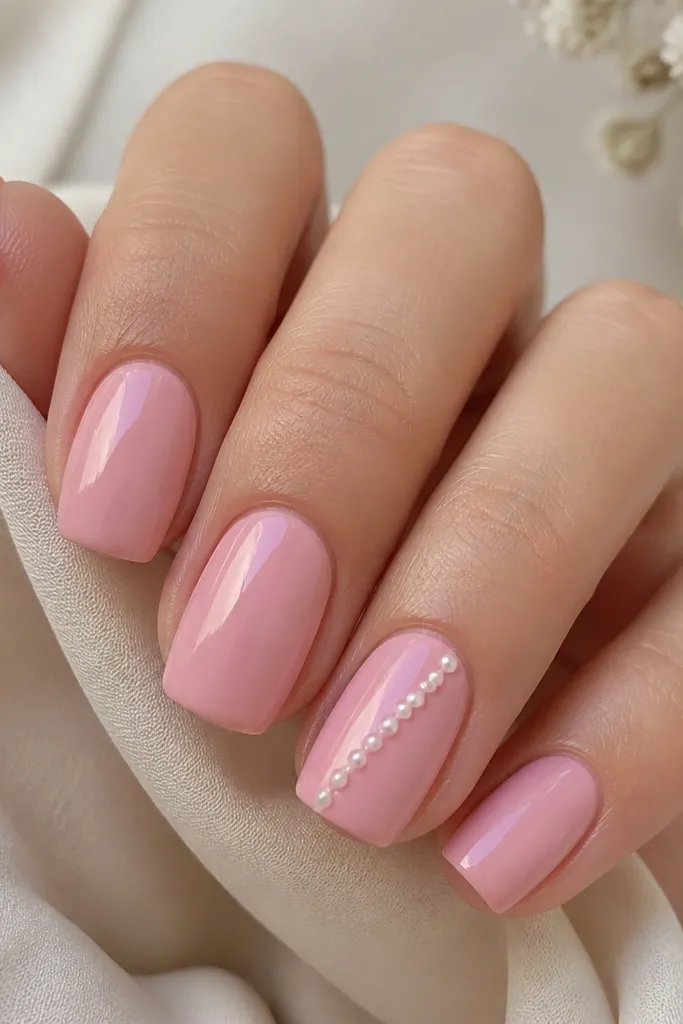
Tiny pearl dots are one of the cleanest ways to add detail while staying beginner-friendly. Soft pink makes the pearls look like they belong, not like sticker overload. A diagonal trail keeps your hand looking long and tidy.
Paint all nails soft pink. On the accent nail, place 6-10 micro dots using a dotting tool and pearl polish or gel with fine shimmer. Space them about 2-3 mm apart and keep the trail slightly curved. Seal with a glossy top coat in a thin layer so dots stay raised just a bit.
Pro tipIf dots smear, let the base cure fully and work with a tacky layer on the accent only.
Watch outAvoid big dots; they turn into blobs on soft pink.
9. Soft pink glitter fade from tip to center
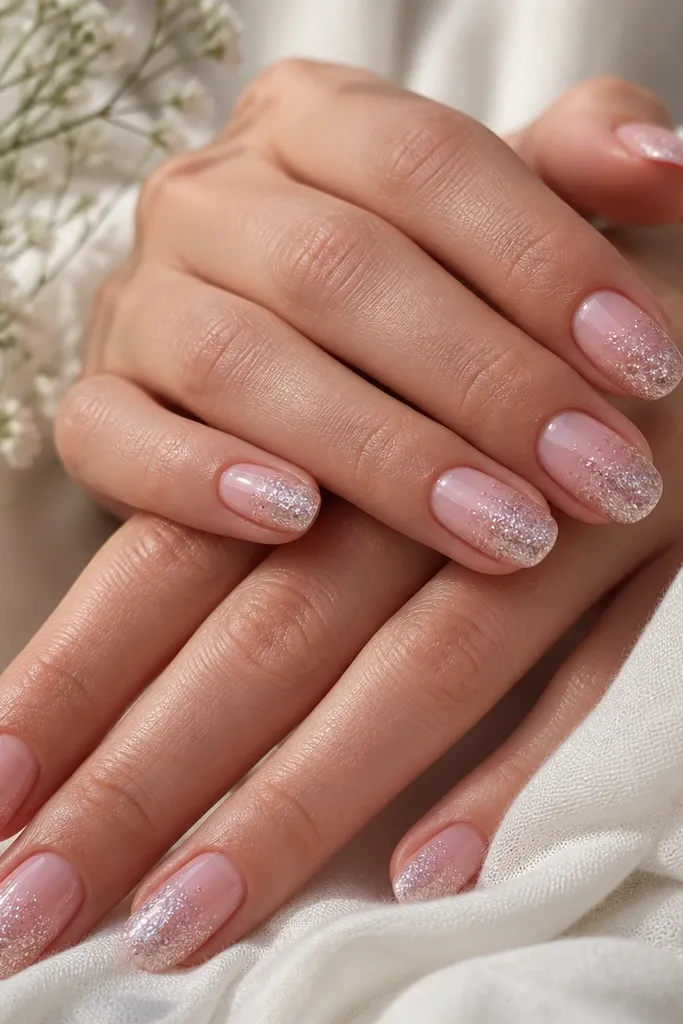
A glitter fade looks clean because it follows the natural gradient of the nail tip. Soft pink keeps the glitter from looking too loud. This is one of the easiest "wow" looks because you're only blending one direction.
Apply soft pink base. Dab glitter polish at the tip and blend upward with a sponge or a dry brush. Keep the densest area in the last 2-3 mm. Add top coat to smooth the glitter and lock it in.
Pro tipUse a sponge that's slightly dry so glitter doesn't flood into the cuticle.
Watch outDon't glitter all the way to the cuticle; it looks messy and catches on hair.
10. Thin rose-gold line along the sidewall
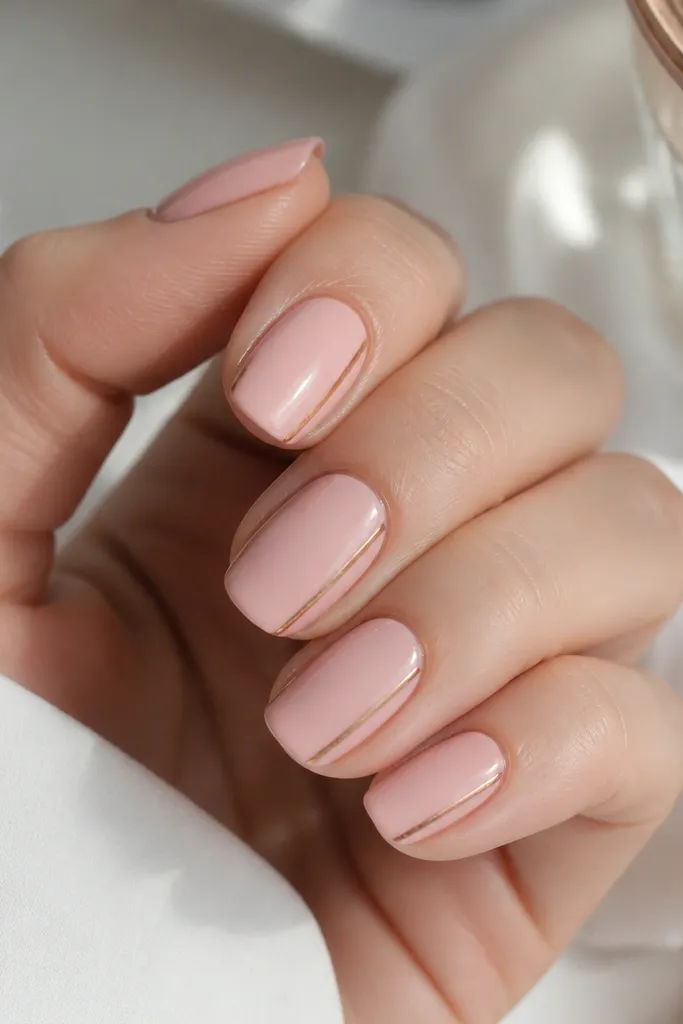
Side lines elongate your nails without adding bulk. Rose gold looks softer than gold against pink, so it keeps the manicure gentle. The trick is the line thickness - thin reads classy, wide reads costume.
Paint soft pink base in 2 coats. Use a striping brush or a thin line tape to place one line on the sidewall. If you use tape, remove while the polish is still slightly tacky for a crisp edge. Top coat after the line sets.
Pro tipStabilize your hand on a folded towel so the line doesn't wobble.
Watch outAvoid double lines; two stripes look heavy on short nails.
11. Soft pink "nude French" with a blush border
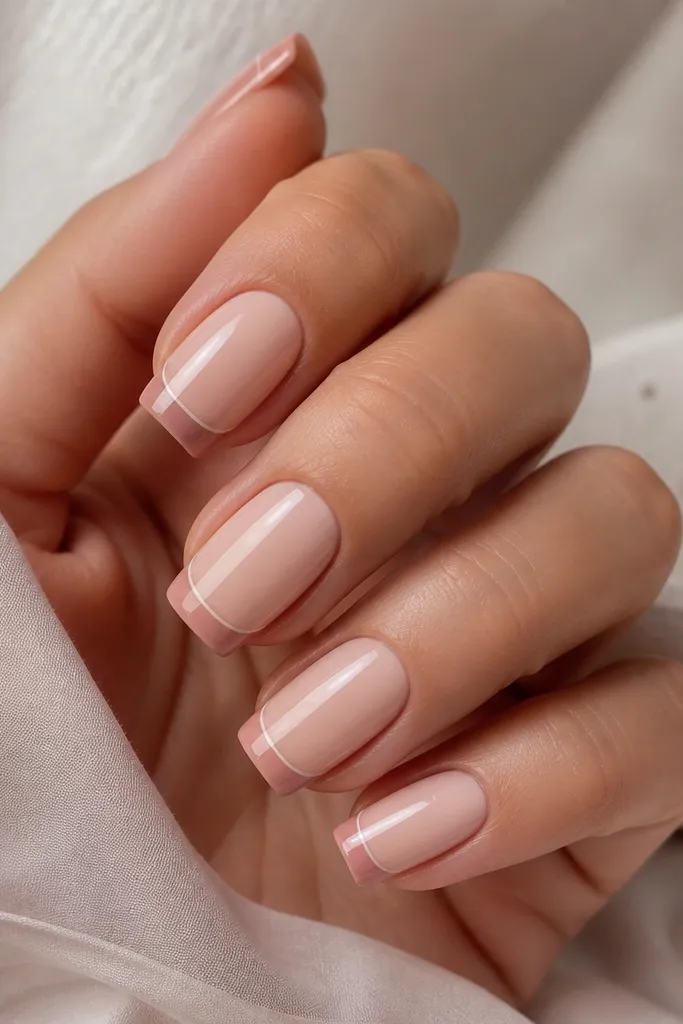
This is French-adjacent but softer. You're making a gentle outline instead of painting a full white tip, so it looks flattering on every skin tone. The lighter border gives definition even when the main tip color is close to the base.
Use one shade of soft pink for the base and a slightly deeper blush for the tip. Paint the tip first, then add a thin line with a lighter pink along the outer edge. Keep the border about the width of a thin striping brush bristle.
Pro tipLet the tip layer set fully before drawing the border so it doesn't smear.
Watch outSkip a stark color jump; the border should blend, not shout.
12. Clear jelly soft pink with visible nail bed
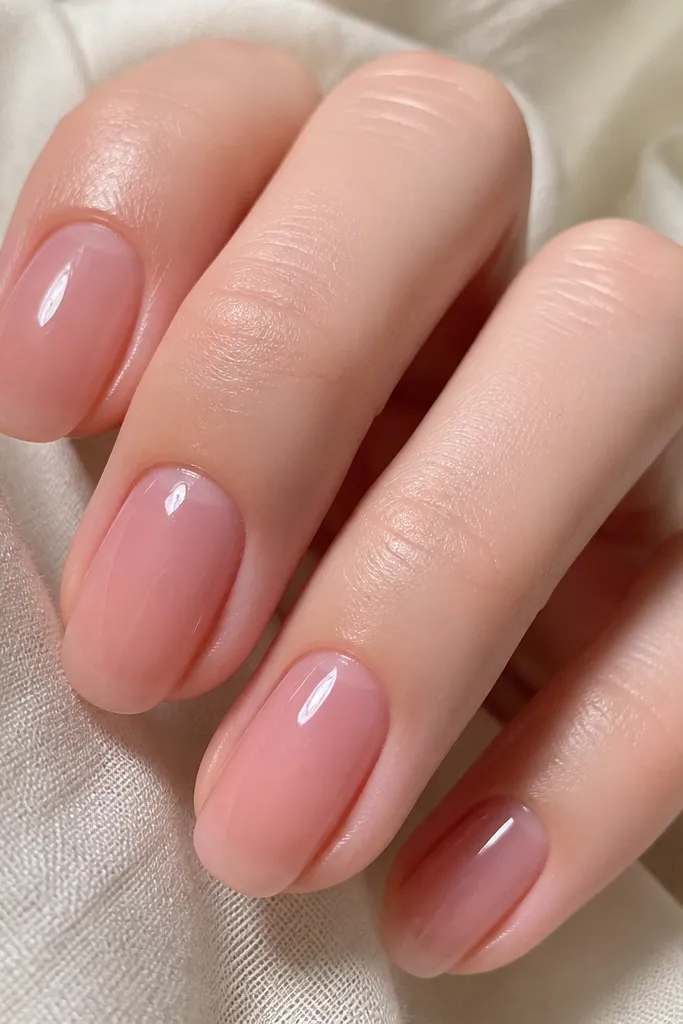
Jelly finishes make soft pink look fresh and juicy, like you used a sheer tint. The translucency makes the manicure look lighter and more natural, which is why it works for beginners. It also hides minor brush streaks better than opaque colors.
Choose a jelly soft pink that looks slightly see-through in the bottle. Apply 2 thin coats - you're building opacity slowly. Don't overwork the brush; jelly self-levels when you stop touching it. Finish with a high-gloss top coat.
Pro tipIf it looks patchy after coat one, stop and cure/set - it usually evens out after coat two.
Watch outAvoid opaque pinks here; they won't create the same jelly glow.