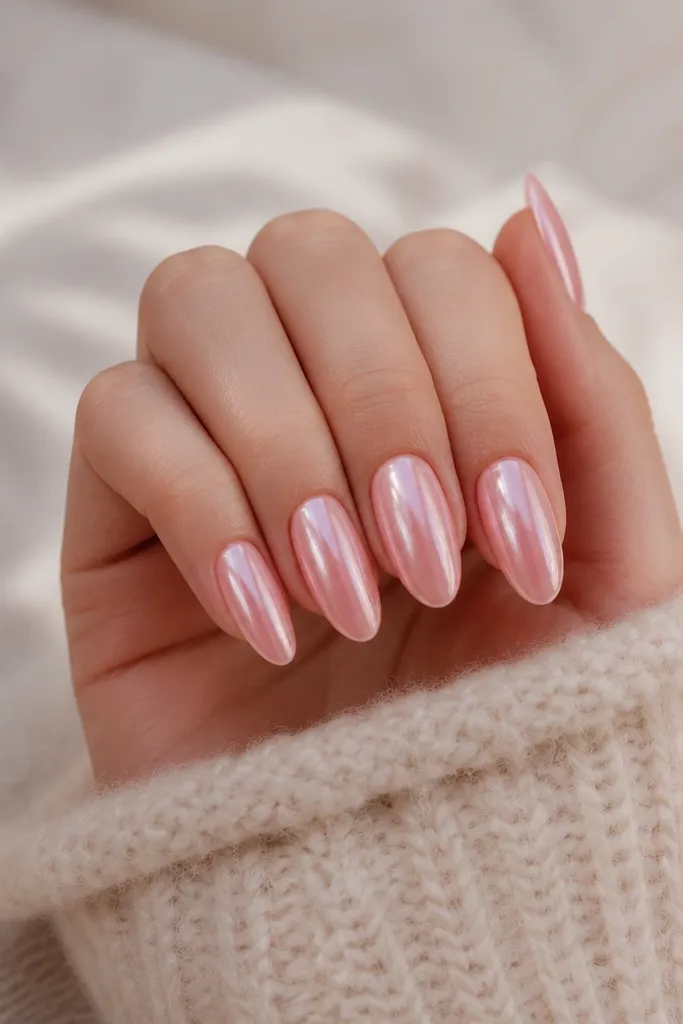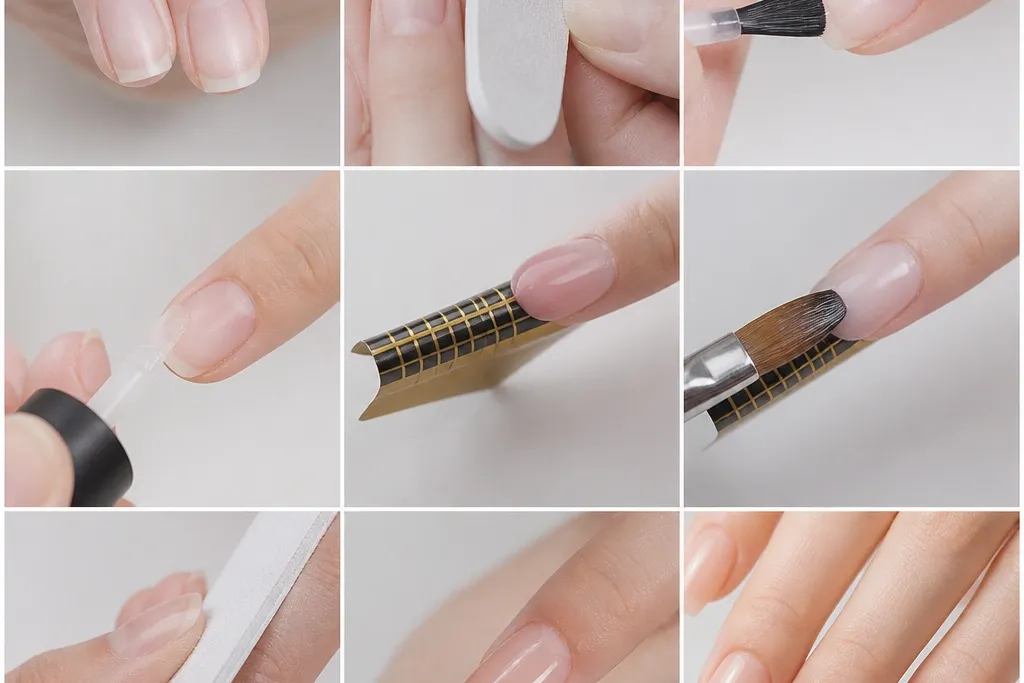
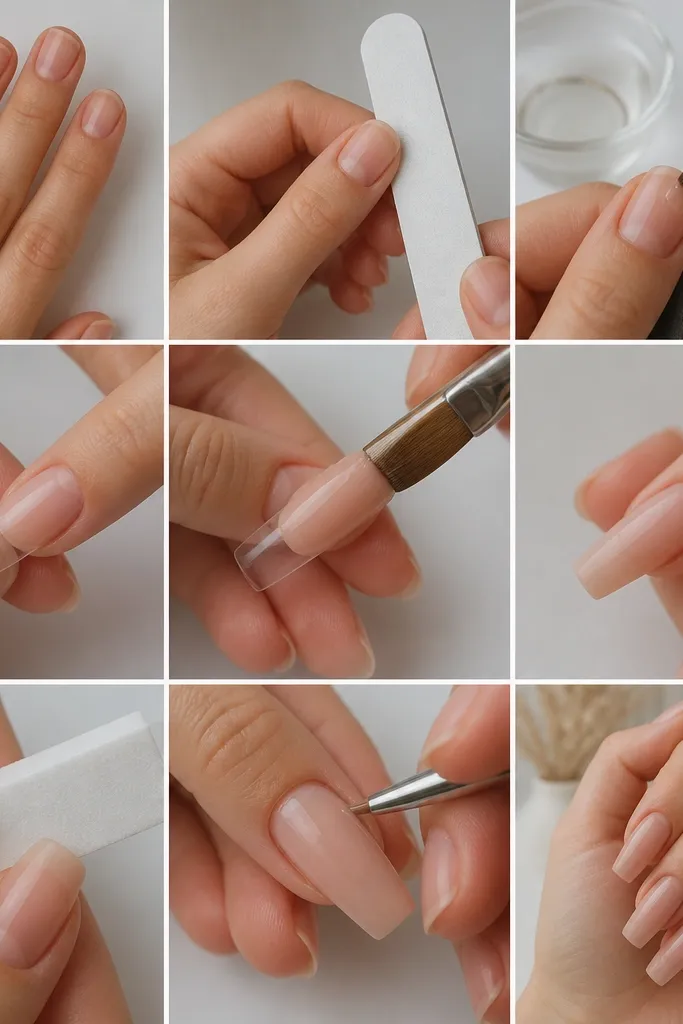
1. Milky Pink Nude with Clear Cuticle Gloss
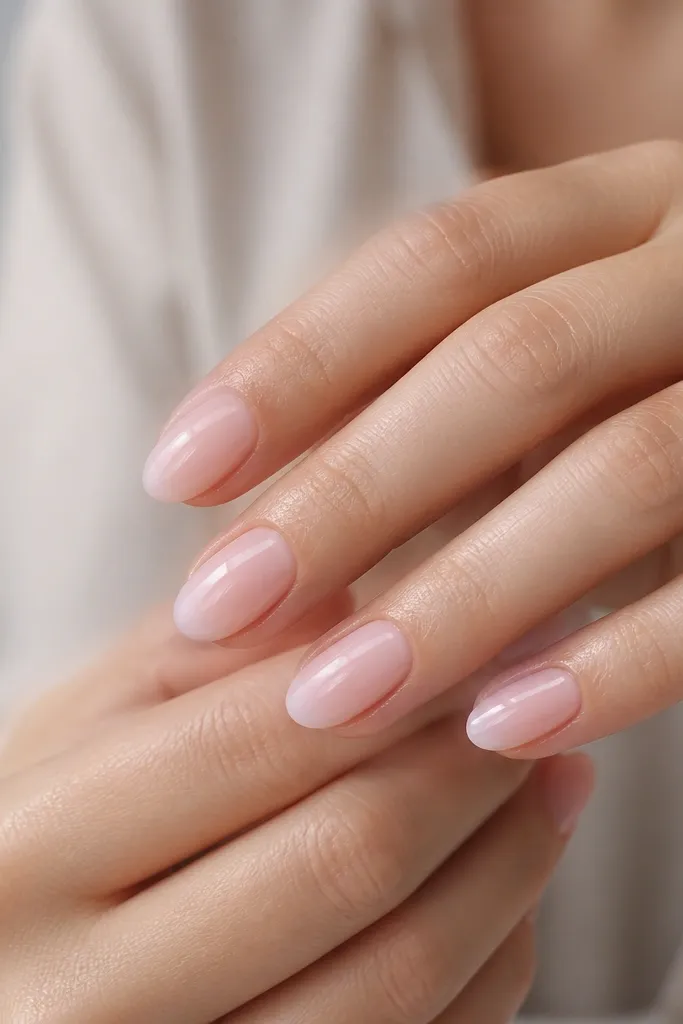
This look uses a sheer milky pink for a "my nails but better" effect. The slight clarity near the cuticle makes your nail bed look longer and cleaner, especially if you have dry cuticles or uneven natural growth. Gloss is key because milky shades can look flat if the top coat is too thin.
File into a short almond or soft squoval. Apply a sheer milky pink acrylic over the whole nail, then keep the first 1 mm around the cuticle more transparent before you cap the apex. Finish with two thin top coats so the surface stays glassy, not thick.
Pro tipWhen you blend the cuticle, drag the product in a single direction so you don't create streaks.
Watch outAvoid using an opaque pink nude as the whole base - it can make your nails look thick and chalky.
2. Beige Nude French Tip (Micro, 1.5mm Line)
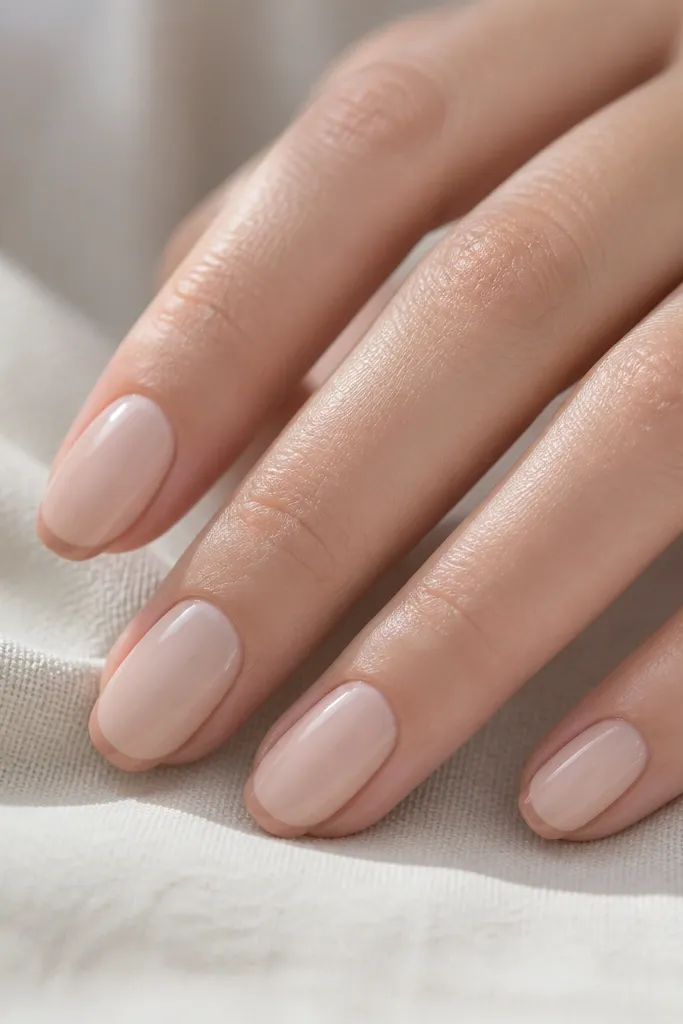
Micro French tips keep nude nails looking polished without adding bulk. The tip is just a shade deeper than the base, so it frames the nail without looking like a "sticker French." Beige works well on beginners because it hides minor staining and is forgiving if your smile line isn't perfect.
Use a nude-beige acrylic base (sheer to medium opacity). For the tip, apply a beige slightly deeper and keep it narrow - aim for 1.5mm at the widest part. Cap with clear acrylic to smooth the edge so the line doesn't catch on hair or fabric.
Pro tipUse a striping brush and rest your hand on a table. Paint the tip line in one slow pass, then lightly correct the ends.
Watch outDon't make the tip line too wide - wide French on short nails reads heavy.
3. Sheer Nude with Tiny Cuticle Rhinestone Row
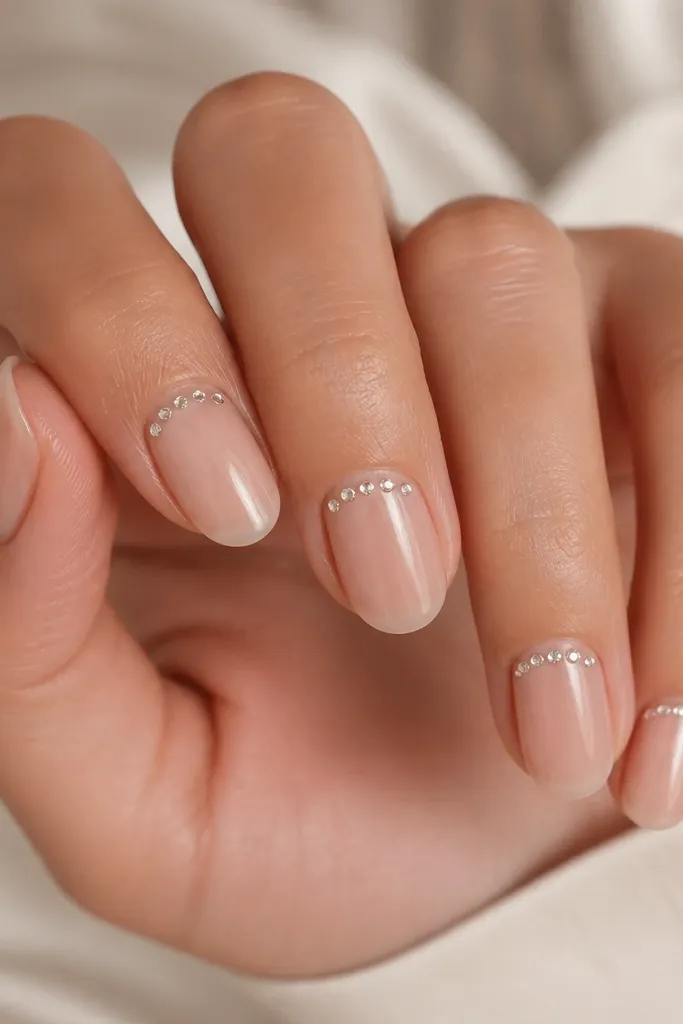
A tiny rhinestone row at the cuticle makes nude acrylics look dressed up but still clean. Because the base is sheer, the stones don't look like a full glitter bomb. Flat-back stones also sit flatter than chunky gems, which keeps the nail feeling smooth.
Build a sheer nude base first. Place 3-5 small rhinestones starting 1 mm from one sidewall and stopping 1 mm before the other sidewall. Seal them with a thin clear acrylic cap so the top feels smooth when you run your finger over it.
Pro tipIf you feel a stone edge, add a second clear cap and buff lightly - it should feel like glass.
Watch outSkip big stones. They overpower nude and snag on sweaters.
4. Peach Nude with One Thin Gold Foil Stroke
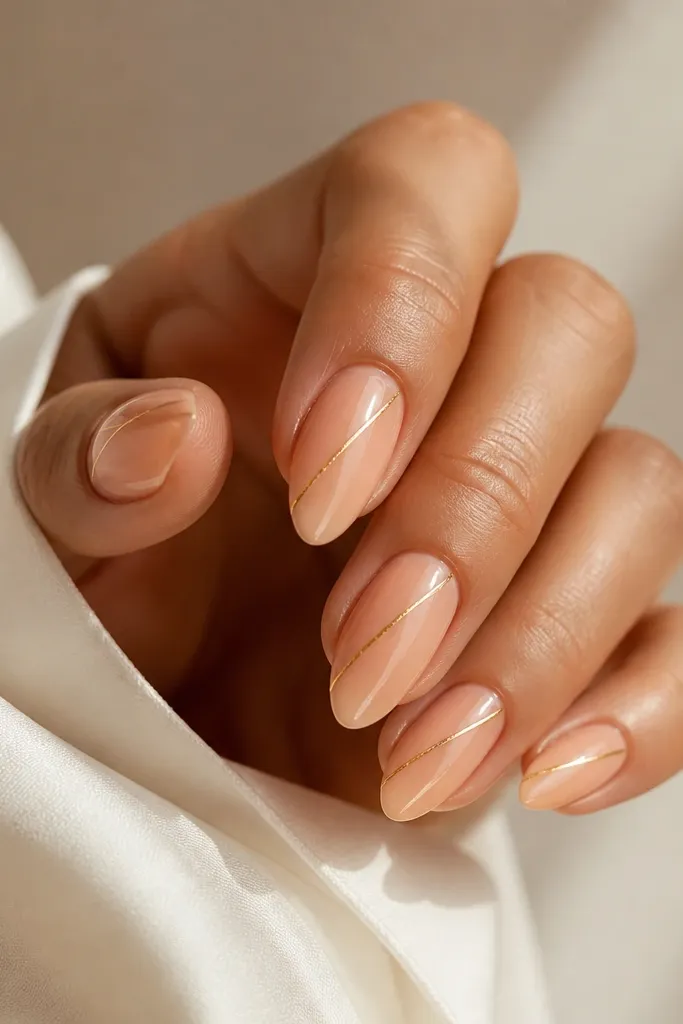
Peach nude looks warm and healthy, and gold foil makes it feel intentional. One thin diagonal stroke gives movement without covering the nail bed. Foil is forgiving because it has natural uneven edges, which looks more organic than a perfect painted line.
Use a peach nude acrylic base with a satin-gloss top coat so the foil sticks better. Apply gold foil transfer on a small diagonal section, then seal with clear acrylic. Keep the foil width around 0.8mm so it stays delicate.
Pro tipPress the foil with a silicone tool for 3-5 seconds, then lift slowly. Quick pulls smear it.
Watch outDon't cover the whole nail with foil. That turns it into a trend nail, not a timeless nude.
5. Nude Swirl Micro-Accent (Only on Ring Finger)
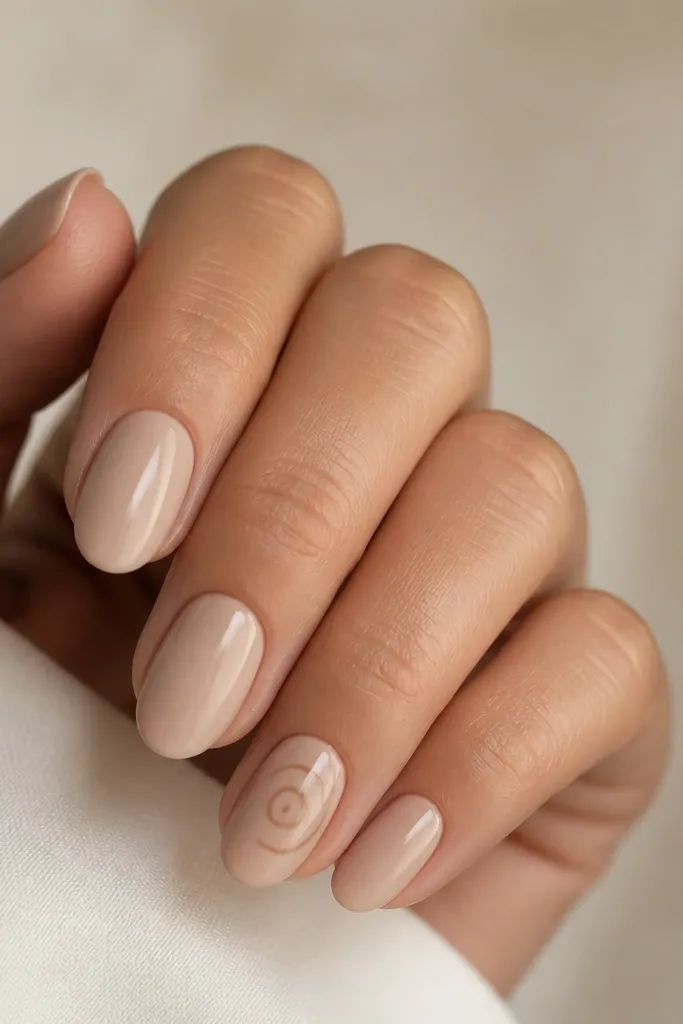
This is the fastest way to add personality without making every nail busy. The darker-nude swirl reads like nail art, but it still blends because it's in the same color family. I like placing it just off-center so the nail looks longer.
Paint nude beige on all nails. On the ring finger only, use a thin striping brush to draw a small S-shaped swirl about 3-4 mm tall. Seal with clear acrylic or a thick gel top coat so the line doesn't sink.
Pro tipPractice the swirl on paper first. Your first real attempt on the nail is where beginners mess up.
Watch outAvoid putting the swirl too close to the free edge - it looks cramped on short nails.
6. Ombre Nude Fade (Barely There, Toward the Tip)
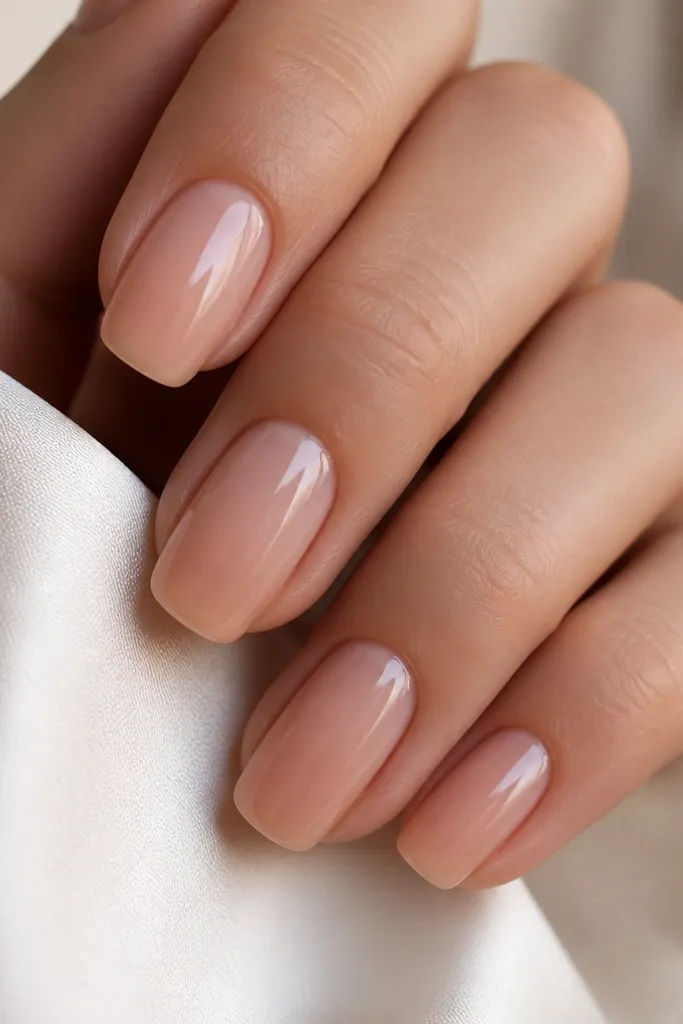
A nude ombre that fades toward the tip makes your nails look dimensional without adding decoration. The key is subtlety: the tip should be only 1-2 shades deeper. This hides uneven nail tone and makes the nail bed look smoother.
Apply a sheer nude base across the nail. Sponge a deeper nude at the tip using a makeup sponge cut into a small wedge, then blend upward with a clean sponge. Cap with clear acrylic and buff for a glass-smooth transition.
Pro tipUse light pressure with the sponge. Heavy pressure creates a harsh line.
Watch outDon't use a stark contrast nude - it turns into a visible gradient that feels less timeless.
7. Taupe Nude with Matte Top Half
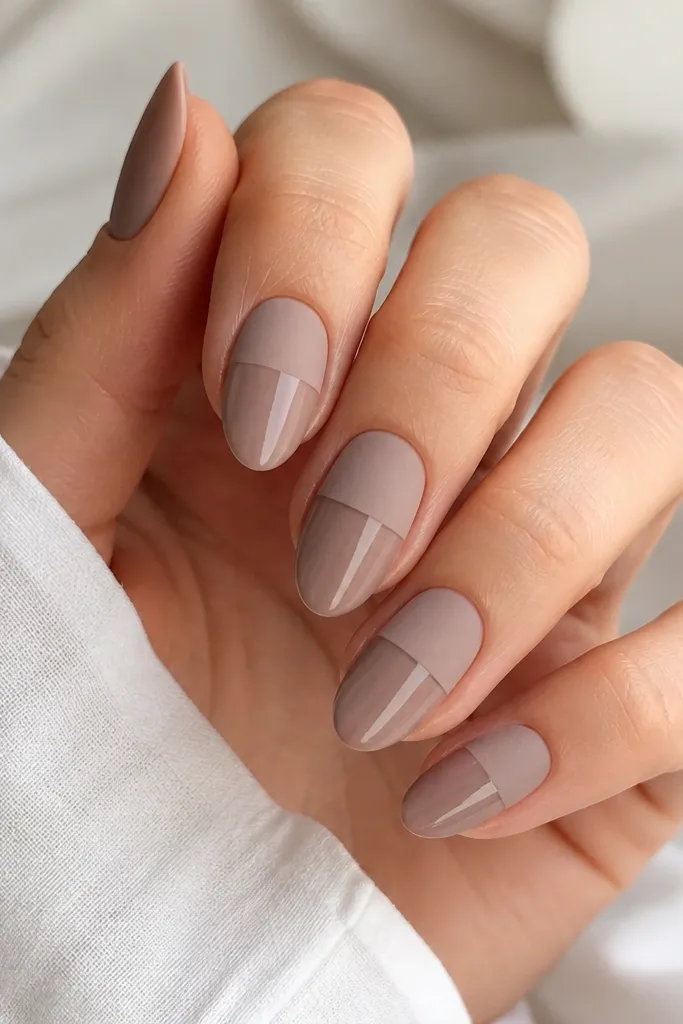
This design looks modern because it mixes finishes, not colors. Taupe nude hides staining and looks sophisticated even on plain nails. The matte top half reduces shine and gives a soft-focus effect around the cuticle area.
Build taupe nude acrylic. Apply glossy top coat first, then tape a straight line at the point where you want the matte start. Remove tape and apply matte top coat only on the top section. Cap edges lightly so the tape line doesn't smear.
Pro tipUse painter's tape and press it flat with your finger pad - any lifted edge creates a ragged line.
Watch outDon't matte the entire nail - it can look dusty on beginners' acrylic surfaces.
8. Nude Base with Micro Glimmer at the Cuticle
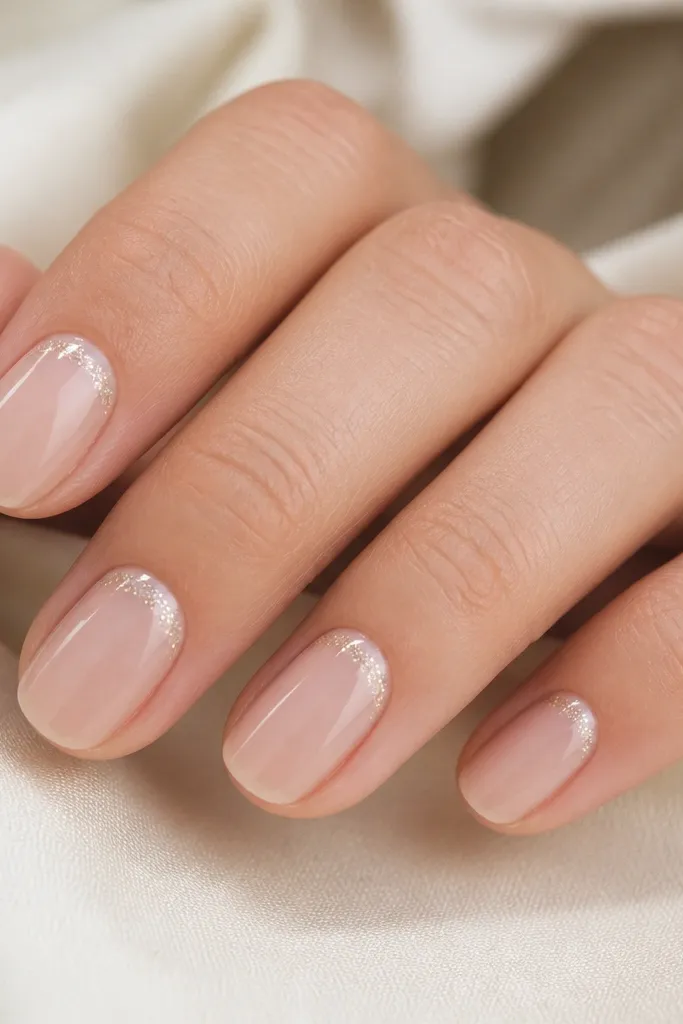
A micro-glitter halo makes nude nails sparkle when you move your hands, but it stays subtle in daylight. The cuticle placement is flattering because it visually lifts the nail bed. Micro glitter also hides slight imperfections in the acrylic surface near the cuticle.
Use a sheer nude base. Apply a thin clear gel/acrylic at the cuticle area only, then tap micro glitter into it with a small brush or sponge. Blend the edges so the glitter fades out by mid-nail. Seal with a clear top coat so it doesn't catch.
Pro tipKeep glitter powder tiny. Chunky glitter makes the nail feel rough.
Watch outAvoid putting glitter on the free edge. It looks messy and chips faster.
9. Rosy Nude with One Tiny Dot Cluster
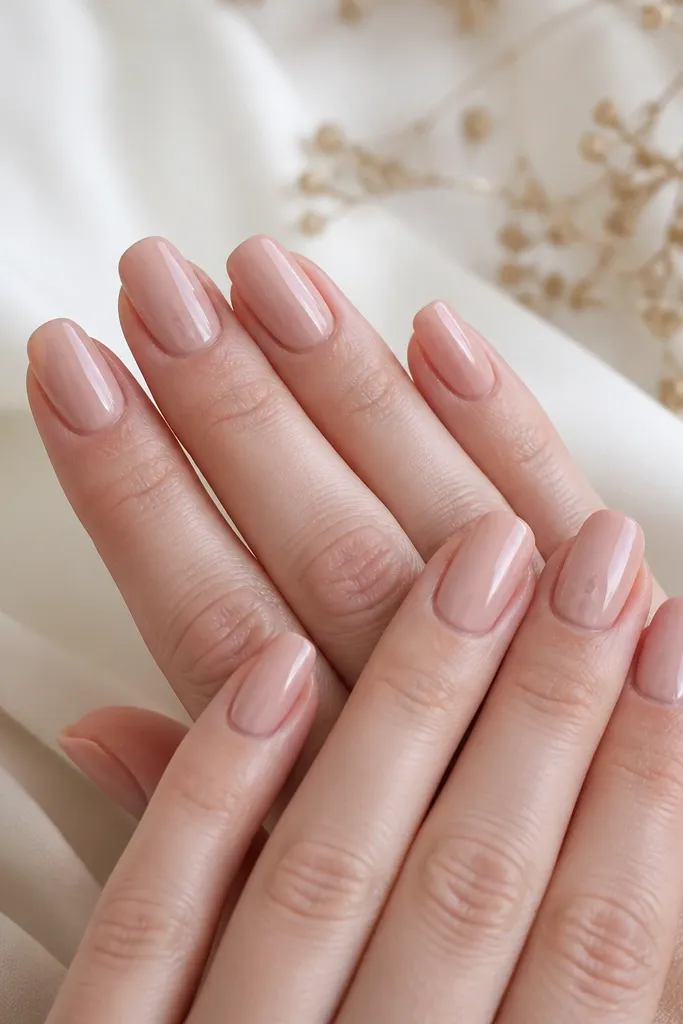
Dot clusters look cute and grown-up because they're simple shapes. Using a darker rose dot set on a rosy nude base keeps it cohesive. It also draws the eye toward the center, which makes the nail look longer.
Use rosy nude on all nails. On an accent nail, place three dots using a dotting tool: one center dot and two smaller dots flanking it. Keep the cluster about 2-3 mm wide and seal it with clear acrylic.
Pro tipWipe your dotting tool between dots so you don't drag pigment.
Watch outDon't spread the dots too far apart. Wide spacing makes it look random.
10. Classic Nude with Thin White Half-Moon
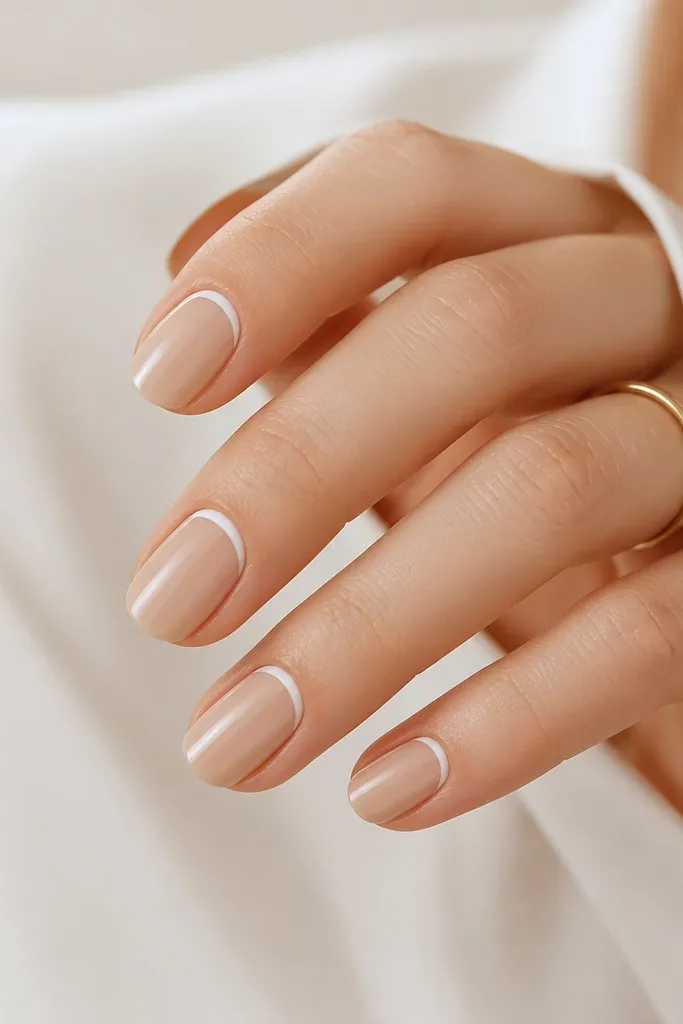
A half-moon detail is the French-tip cousin, but it sits at the cuticle where it's more flattering. The thin white line makes the nude base look crisp and intentional. It also helps camouflage any cuticle line irregularities because it frames the area.
Build your nude acrylic first and keep it even. Use a fine liner brush to paint a half-moon outline right at the cuticle line, leaving a tiny gap between the line and the cuticle. Fill the half-moon with white gel or acrylic paint, then cap with clear for smoothness.
Pro tipFor a clean curve, paint the outline first, then fill lightly.
Watch outDon't make the half-moon thick. Thick white can look like a sticker.
11. Nude Acrylic with Barely-There Marble Vein
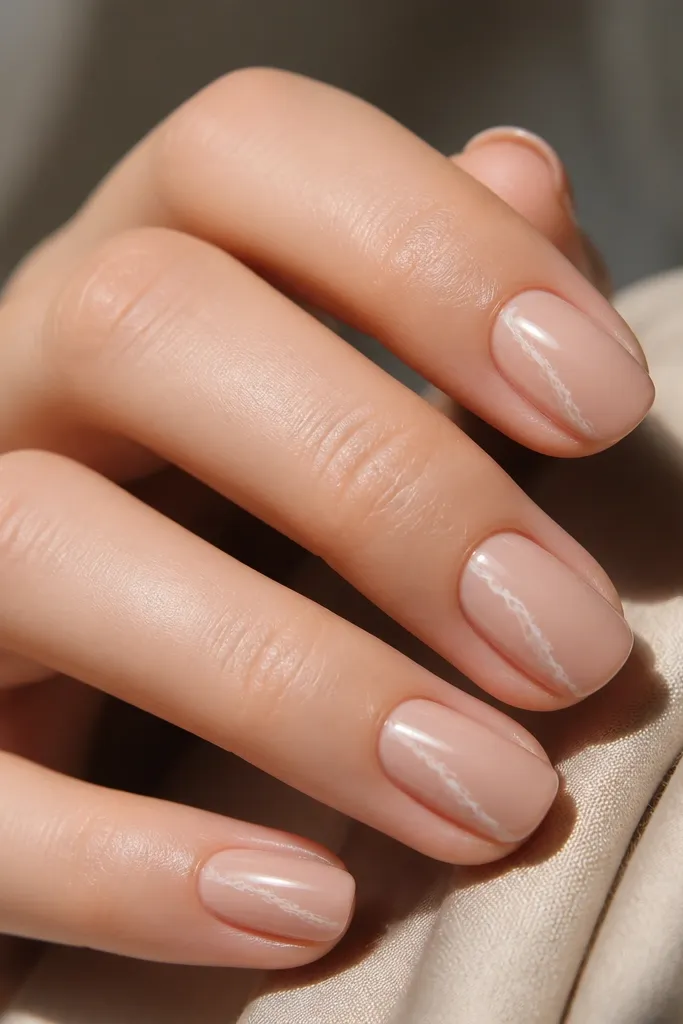
Marble looks hardest, but this version is beginner-friendly because the vein is subtle. Off-white veining over nude reads like "soft stone," not nail art. It's also forgiving if your line isn't perfectly symmetrical.
Use a sheer nude beige base. With a thin brush, drag off-white acrylic paint in 2-3 wispy strokes along one side, then lightly smudge the edges with a clean brush. Seal with clear acrylic and buff lightly so it doesn't feel raised.
Pro tipKeep the vein on one side only. Center marble makes nails look busy fast.
Watch outAvoid heavy black marble veins. They overpower nude and look stark.
12. Chocolate-Tinted Nude with Glossy Center Stripe
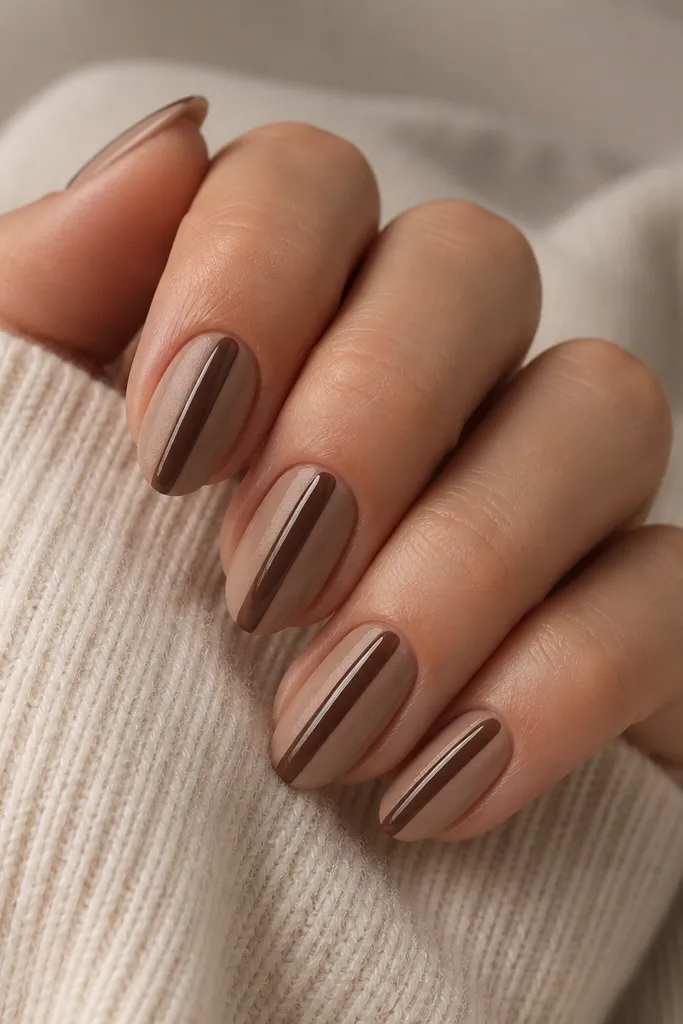
This look uses a single darker stripe to add structure. The chocolate tint makes the nude feel rich without turning into a brown manicure. When the center stripe is shinier than the rest, it creates a subtle optical length effect.
Build a warm nude base, then apply matte or satin top coat across the whole nail. With a gel top coat, paint a thin center stripe (about 1 mm wide) and cure, then apply glossy top coat over the stripe only. Buff the edges so the stripe doesn't snag.
Pro tipUse tape as a guide for the stripe line if your freehand is shaky.
Watch outDon't make the stripe wider than 1.5mm or it turns into a chunky design.