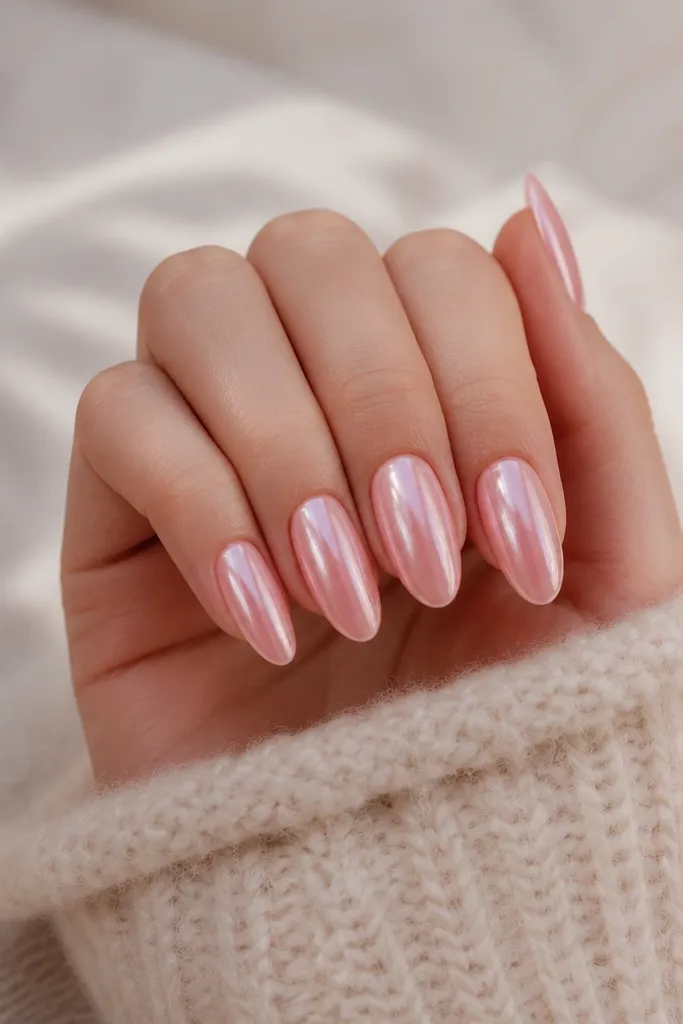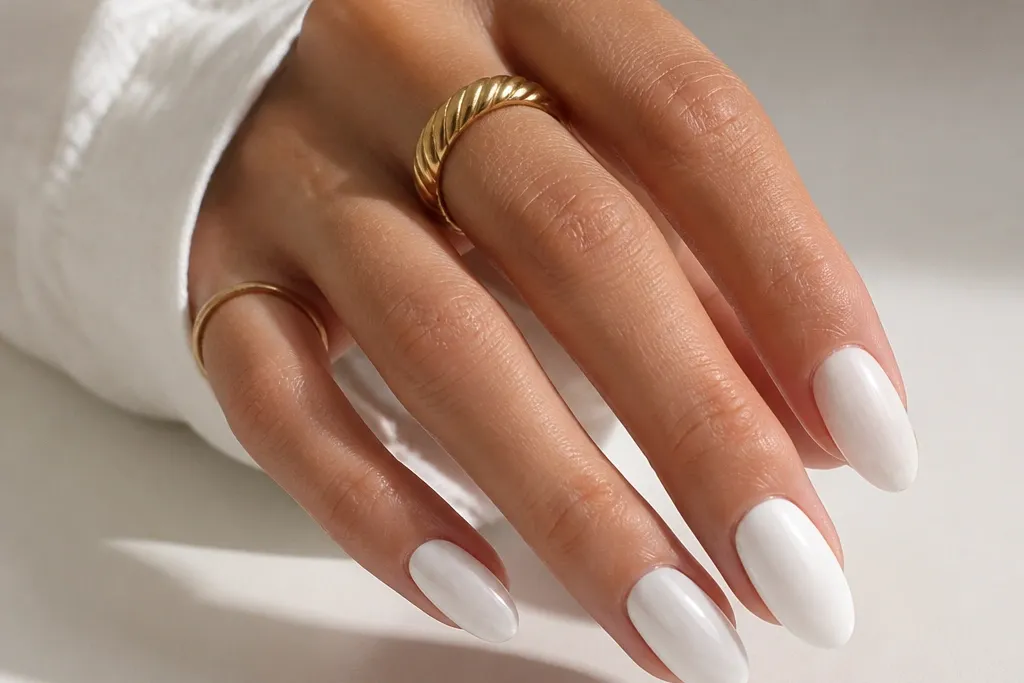

1. Milky White Almond + Nude Baby Pink Base
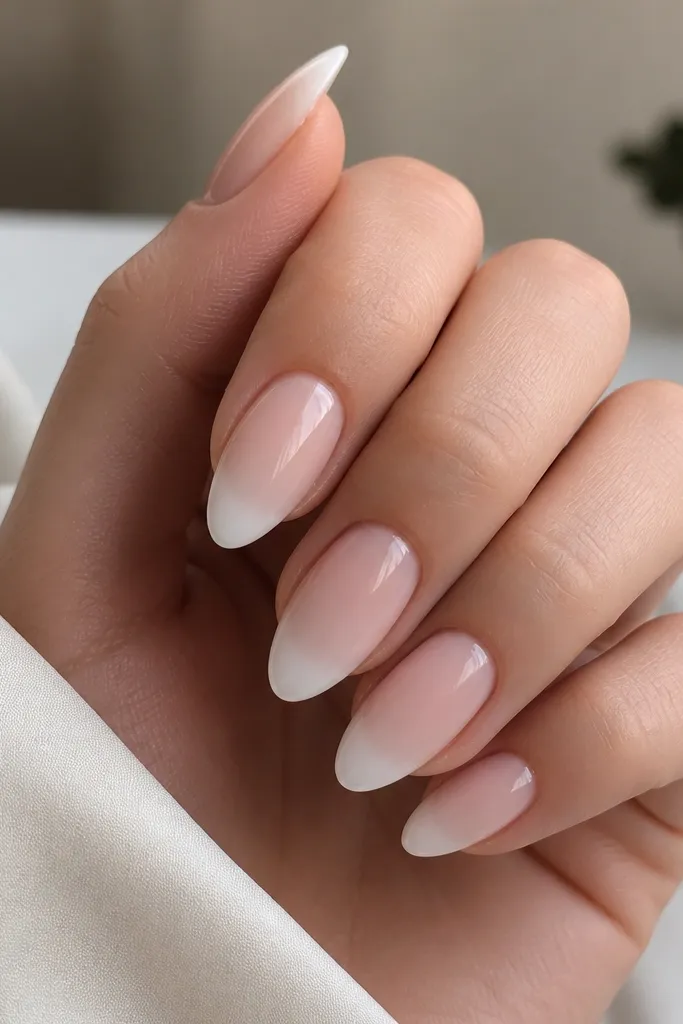
This is the safest "white almond nails budget" look because it hides small imperfections. The nude base warms up the hand, while the milky white tip looks creamy instead of stark. I like a soft fade (not a hard line) because it forgives uneven filing and makes the almond shape look longer.
Keep the tip coverage about 35-40% of the nail length. Use a milky white polish or gel that you can build in two coats. Finish with a high-gloss top coat so the white looks smooth, not dry.
Pro tipAfter the first white layer, lightly wipe the brush on a paper towel so the second coat goes on thicker and more opaque.
Watch outAvoid a single coat of bright white - it turns patchy at the sides of almond nails.
2. Classic French Almond with Thick White Smile Line
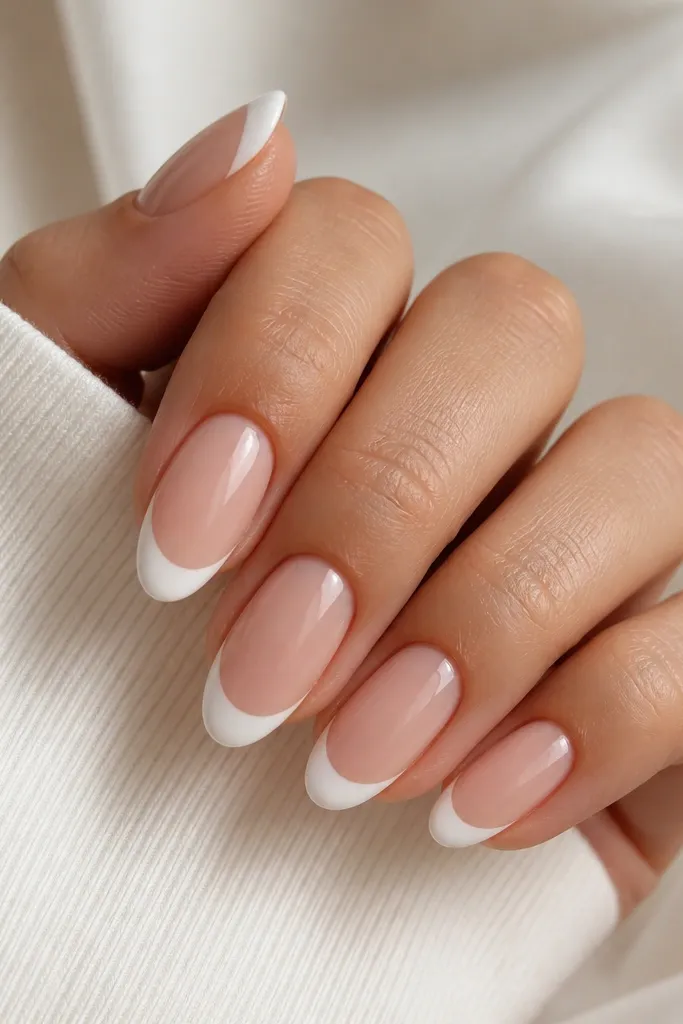
A thick French line tricks your eye into reading the nails as "salon done." The trick is that almond nails need a curved smile line that matches the nail's sidewalls - when it follows the shape, it looks sharp. Keep everything else nude so the white has the spotlight.
Paint a nude base first, then use a French guide or freehand with a striping brush. The smile line should sit about 1-2 mm below the very tip so it doesn't look like paint blobs at the edge.
Pro tipIf your line wobbles, clean the edges with a tiny brush dipped in acetone before curing.
Watch outDon't place the white right at the edge of the almond point - it chips faster there and looks messy.
3. White Half-Moon Almond (Cuticle Reverse French)
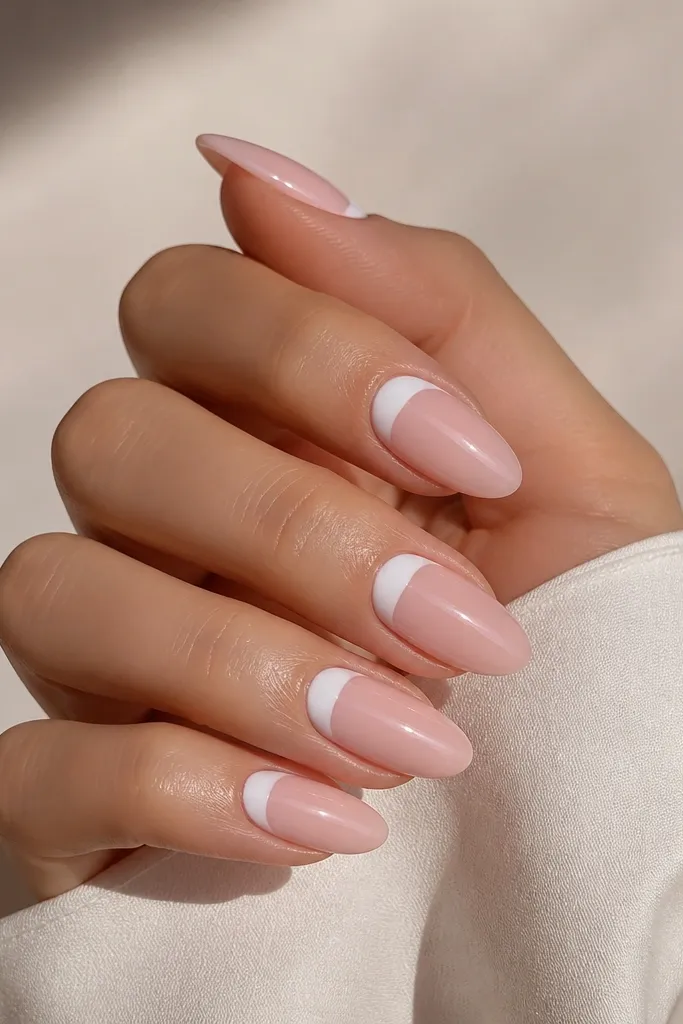
Reverse French makes white feel modern without covering the whole tip. The half-moon sits in the natural highlight area near your cuticle, so it looks crisp even if your tip work isn't perfect. Sheer pink keeps it light and wearable.
Use a sheer pink base (or sheer nude gel). Then paint the half-moon with white gel using a small curved brush. Keep the half-moon thickness about the width of a striping brush tip - too thick looks like a band.
Pro tipPress a small dot of white gel onto the cuticle area, then drag it into a smooth curve so it doesn't streak.
Watch outSkip smudging the half-moon into the cuticle - leave a tiny clean gap for a sharper look.
4. White Almond + Thin Gold Line Accent
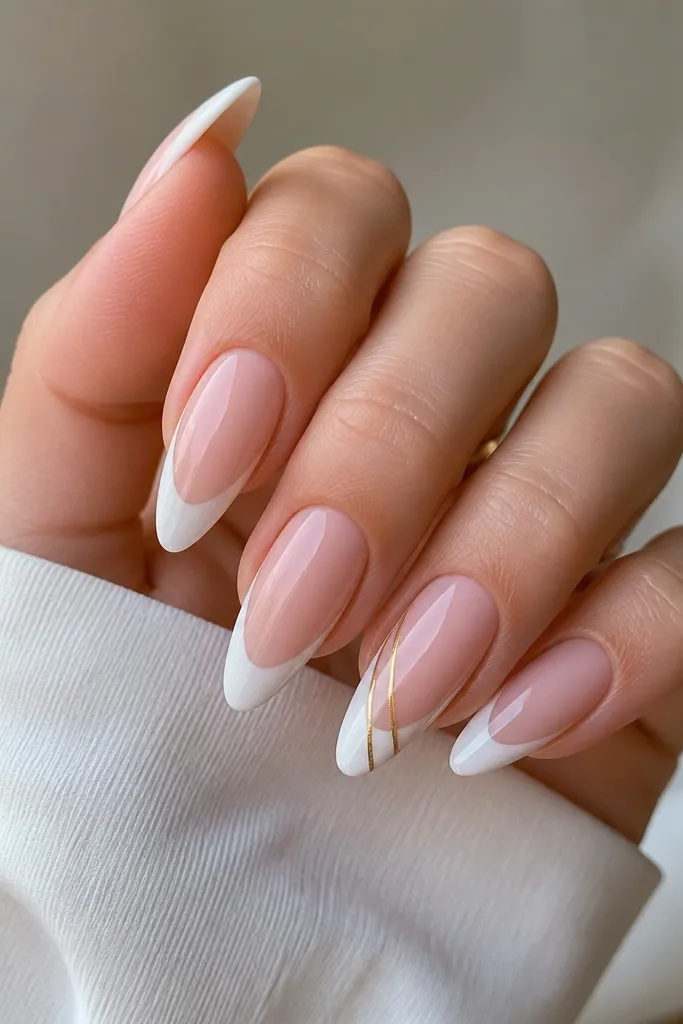
Gold makes white look intentional. A single thin line reads "jewelry" instead of "decor," and it balances the starkness of white. Keep the gold line narrow so it doesn't thicken the nail visually.
Do milky white tips on all nails, then choose two accent nails for the diagonal gold. Use gold striping tape or a metallic gel liner. Cure each piece carefully if you're using gel.
Pro tipIf you're using striping tape, press it down with the back of a spoon so it seals smoothly at the almond curve.
Watch outAvoid thick metallic paint - it looks chunky on almond tips and chips at the edges.
5. Matte White Tips with Glossy Nude Center
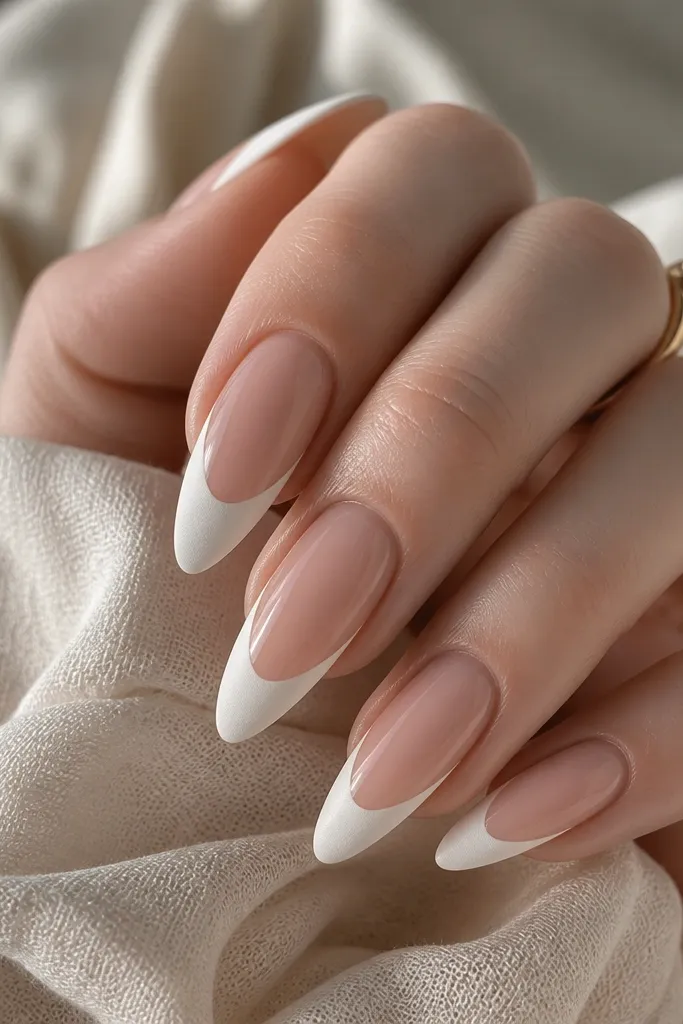
This contrast is what makes budget nails look styled. Matte on the tip hides tiny brush streaks, while the glossy nude center keeps the manicure looking polished. It also makes the white feel softer than high-gloss white.
Start with a glossy nude base. Paint the tip white, then top it with a matte top coat only on the tip area. Use a small strip of tape to mask the boundary so the line between matte and gloss stays clean.
Pro tipAfter applying matte top, don't touch the nails with acetone wipes - it can dull the glossy center.
Watch outDon't matte the entire nail if you want crisp shaping - it can make the almond look flatter.
6. Pearl Dot White Almond (3 Tiny Clusters)
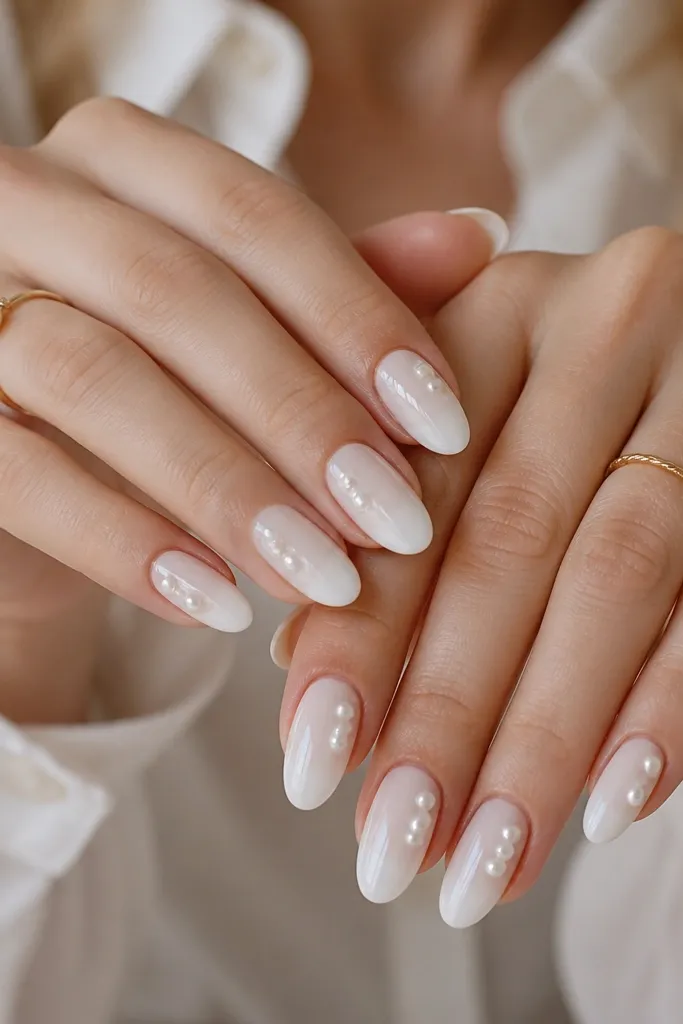
Tiny pearls add texture without covering the whole nail. White pearls on a milky base look clean and bridal, while the diagonal placement makes almond nails look longer. This design looks like you paid for nail art because the dots are deliberate.
Use milky white tips or full milky white if you prefer. Place three pearls using gel glue: one near the upper outer third, one slightly below it, and one closer to the lower third. Keep pearls small - think 1 mm to 2 mm.
Pro tipUse a toothpick to move pearls - metal tools can scratch gel while it's still tacky.
Watch outAvoid big pearls. They catch on fabric and pop off sooner than you want.
7. White Almond + Micro Star Confetti
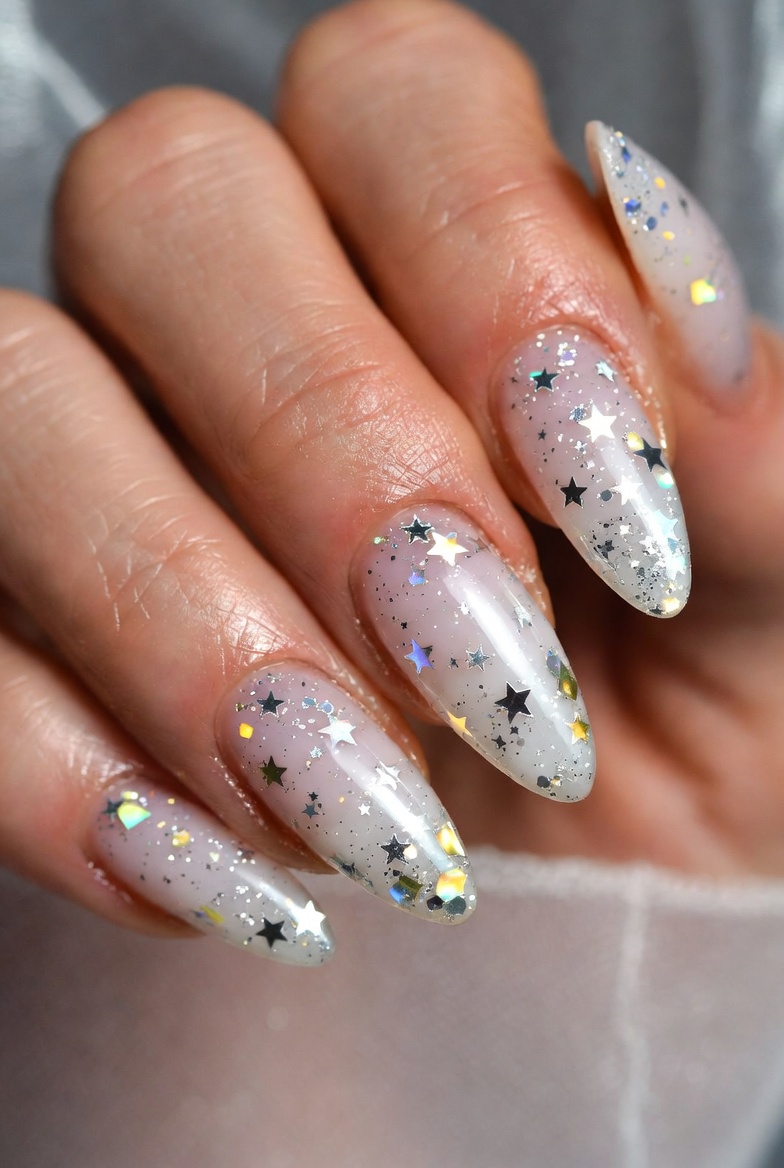
Micro stars give sparkle without looking like chunky glitter. The white tip gives the "clean canvas," and the silver stars add just enough movement when you move your hand. This one is easy to do with a small star confetti mix.
Paint a nude base. Add a white tip in two layers. Tap micro star confetti onto the tacky top layer right below the tip line, then seal with a glossy top coat.
Pro tipIf stars sink into gel, apply a thin layer of clear gel first, then dab the stars onto the tacky surface.
Watch outSkip thick glitter top coats - they hide the almond shape line and feel rough.
8. White Almond with Single Red Outline Tip
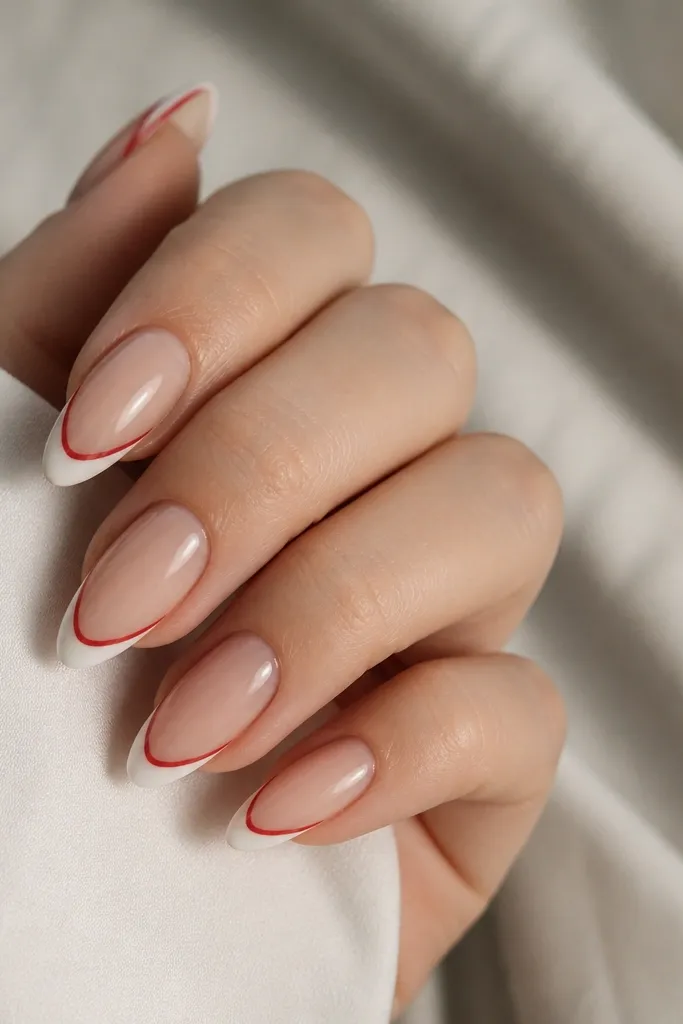
A single red outline makes white feel crisp and graphic. It looks like clean nail art from a salon because the line follows the almond curve. The red is the accent, not a full second color block, so it stays budget-friendly.
Do a nude base and milky white tip. Use red striping gel or a fine liner brush to trace the outer edge of the tip. Keep the outline thickness about the width of a hairline brush stroke.
Pro tipOutline after your white is fully cured and sealed with a thin clear coat - it prevents the red from bleeding into the white.
Watch outDon't freehand the red on wet polish - it will feather into the white.
9. White Almond + Light Blue Skim Coat (French Edge)
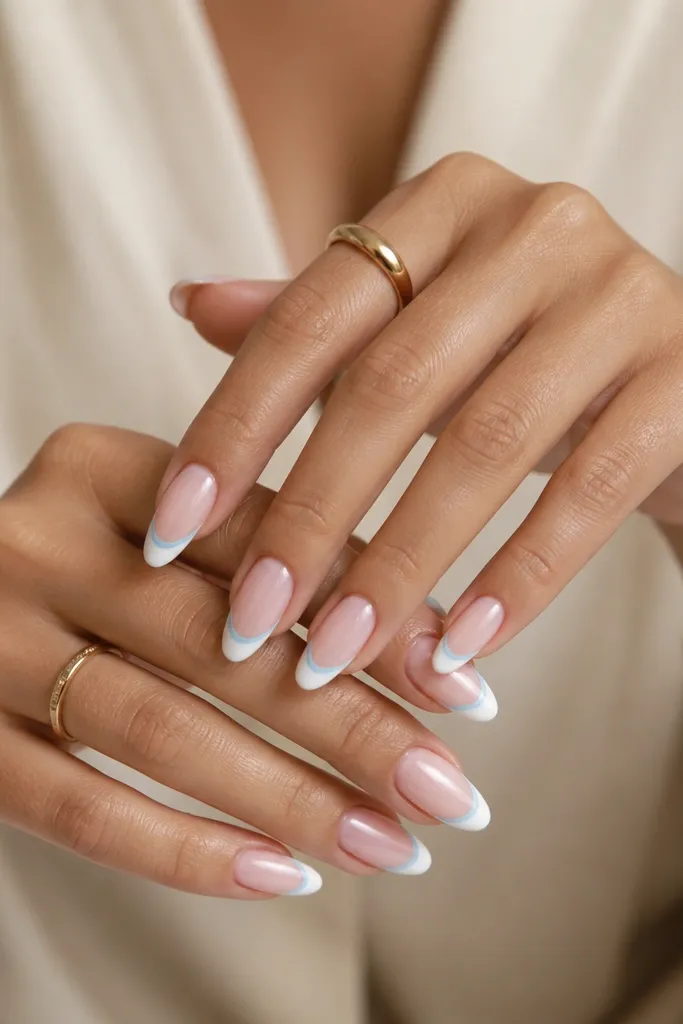
That thin blue line gives a fresh, cool twist without changing the whole design. It also makes your white look intentional because the line defines the tip boundary. I like light blue because it looks airy next to white.
Paint the white tip first. Then add a light-blue line 1 mm below the tip edge, using tape as a guide if you're not confident. Seal with glossy top coat.
Pro tipUse gel liner for the blue if you're prone to wobble - it levels smoothly after curing.
Watch outAvoid navy. It turns the manicure heavy and makes the white look dirty.
10. White Almond Ombre Fade Back to Nude
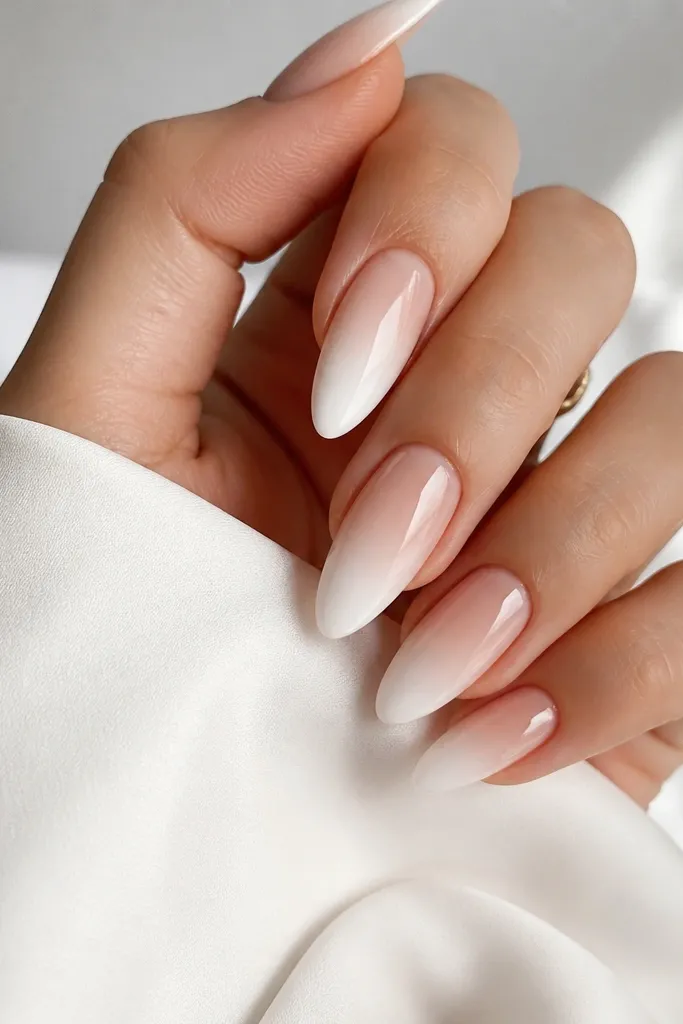
Ombre is forgiving because it hides minor brush marks. White-to-nude gradients look expensive when the blend is smooth and the fade line stays soft. This works great if your almond tips are slightly different lengths - the gradient makes them look consistent.
Use a makeup sponge for the blend. Sponge milky white at the tip area, then lightly feather toward the center until you get a smooth fade. Clean up the edges with a brush dipped in acetone or gel cleanser.
Pro tipDo two lighter ombre passes instead of one heavy one - heavy white makes the gradient look chalky.
Watch outSkip pressing hard with the sponge. It leaves speckled texture.
11. White Almond with Clear Jelly Center
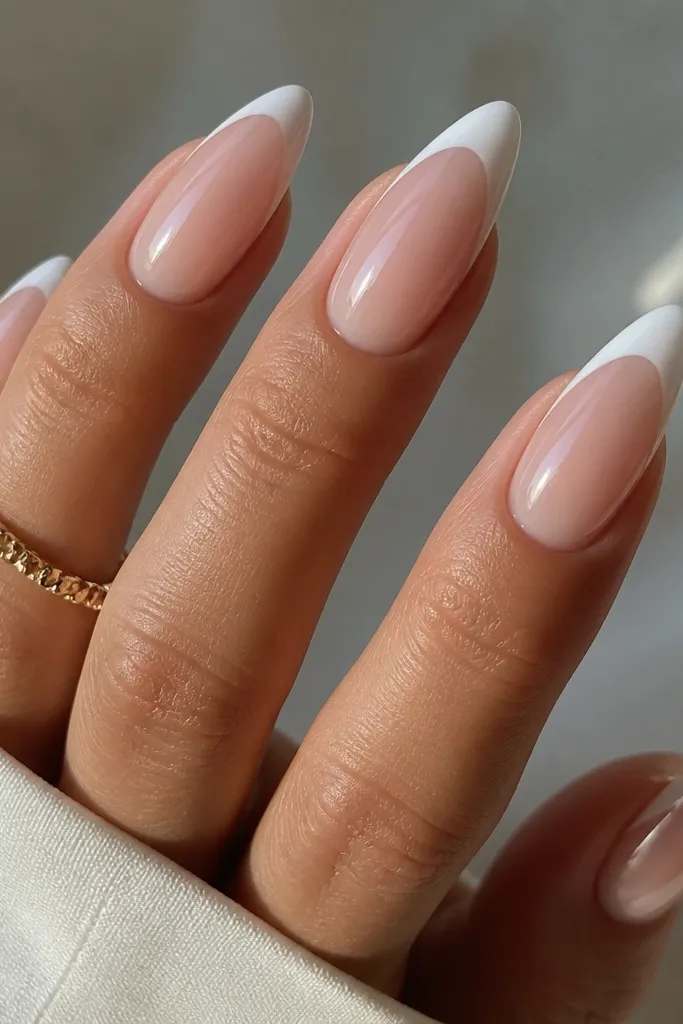
A jelly center makes white feel modern and adds depth. The clear area catches light and gives that "glass nail" vibe without needing complex art. It also makes the manicure look fresh longer because the transition is soft.
Build your base with a clear jelly gel (or a sheer clear builder). Then add white only on the tip portion. Cap everything with clear top coat so it looks smooth and rounded.
Pro tipUse a slightly thicker white layer on the tip so the jelly center doesn't make the white look thin.
Watch outDon't skip capping. If the edges aren't sealed, the white tip line lifts and catches.
12. White Almond Marble Swipe (No lines, just swirls)
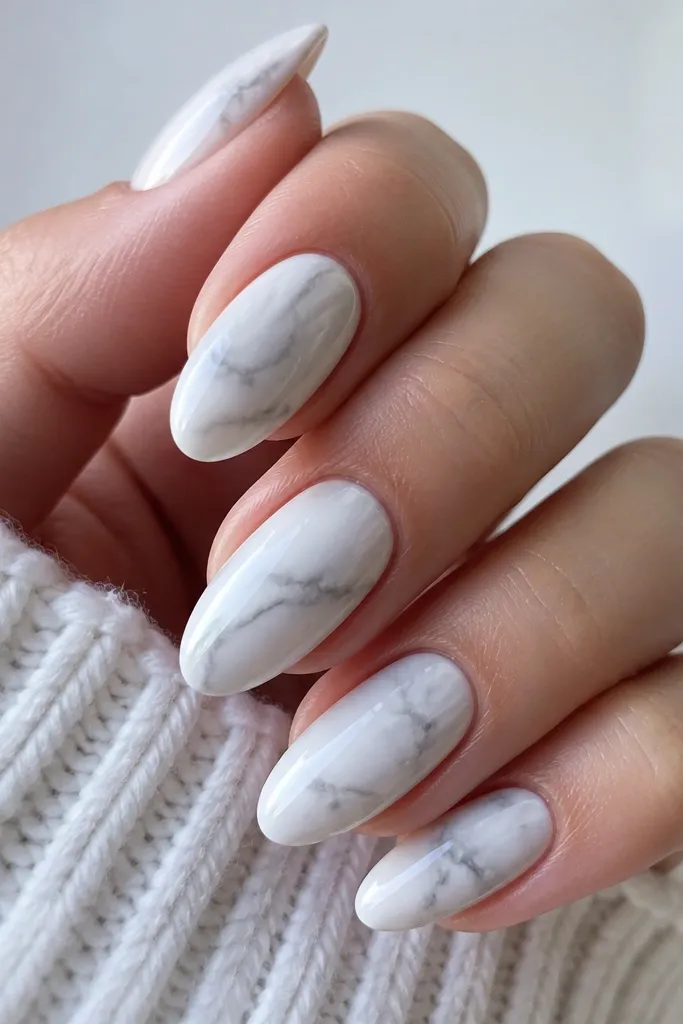
Marble looks hard, but the swipe method is easy and looks expensive when it's cloudy. Instead of drawing sharp veins, you drag a thin gray/charcoal gel through white so it looks like stone. White marble also pairs well with budget gray polishes.
Start with milky white. Add a thin gray gel in a couple streaks, then use a dotting tool or silicone tool to swipe through lightly. Keep the veining sparse so the almond tip still reads white.
Pro tipPractice on one nail first. You want soft swirls, not full gray coverage.
Watch outAvoid heavy black veins - it looks harsh and cheap against white.