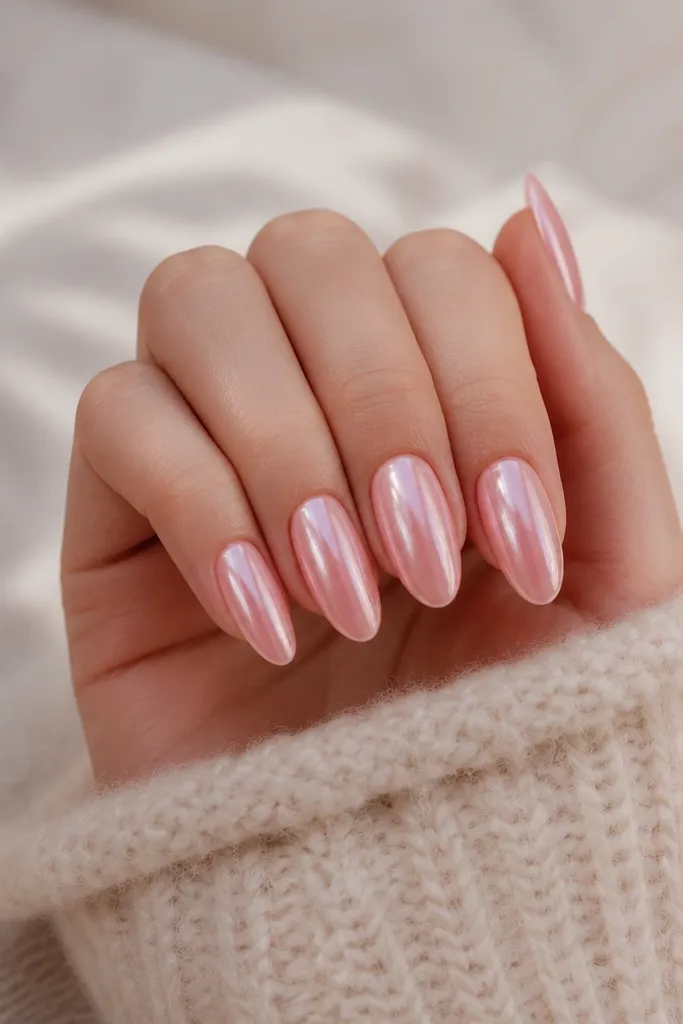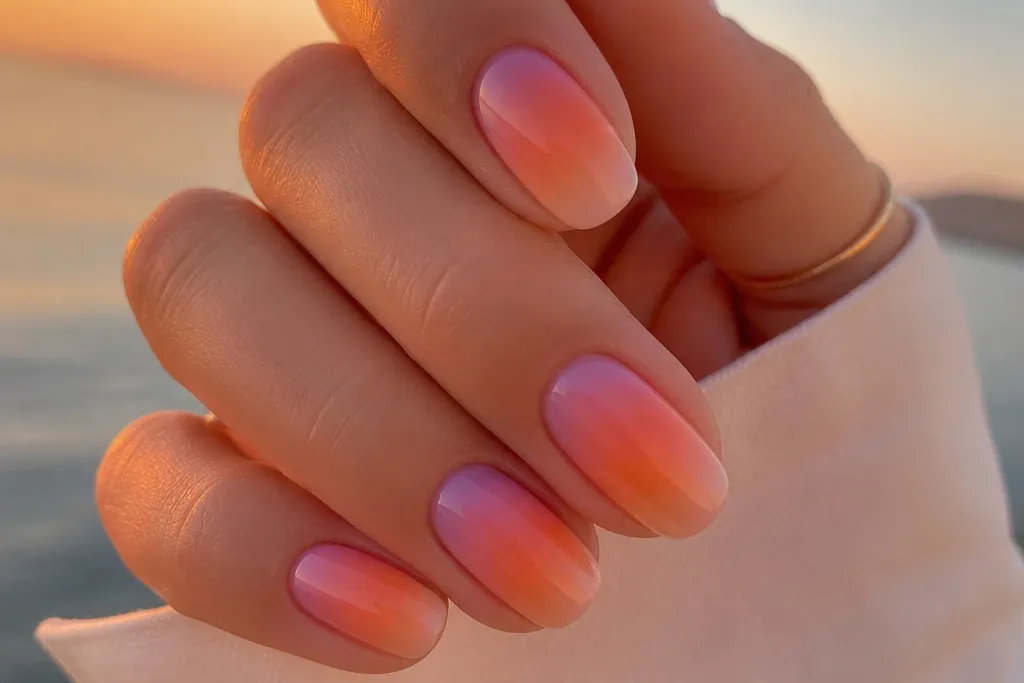
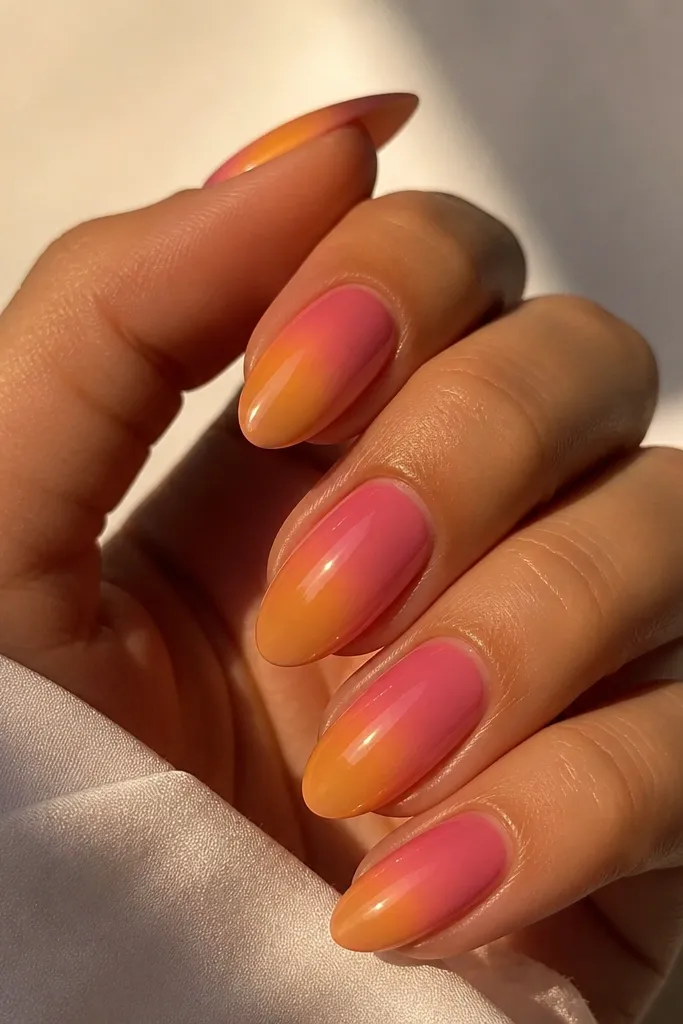
1. Peach Glow Sunset Aura with Tiny Stars
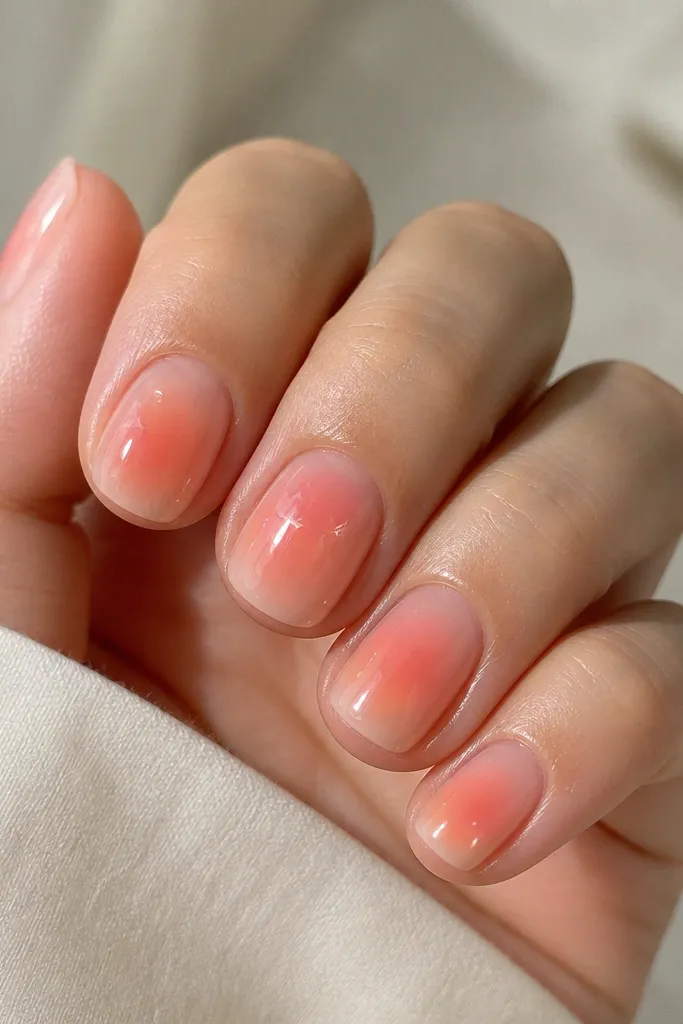
This one looks like the sun is rising behind a soft haze. The key is the pale peach center - it reads as light, not just another shade. I use orange on the outer edges, coral/rose in the mid zone, then a cream-peach dot in the middle. White micro stars add that "evening sky" feeling without clutter.
Start with a nude base or milky pink base. Sponge orange on the outer half, then coral on top of it lightly, keeping the center lighter. Dot a small pea-sized amount of cream-peach in the middle and tap it with a dry brush so it blooms. Add 3 to 5 star dots using a fine liner and finish with a thick top coat.
Pro tipFor beginner-friendly stars, use the dotting end of a toothpick - press once, lift straight up. Keep stars only on two accent nails so the set stays clean.
Watch outDon't drag the sponge across the whole nail - that turns aura into a full-on gradient band.
2. Orange to Berry Aura with Foil Crescent Moon
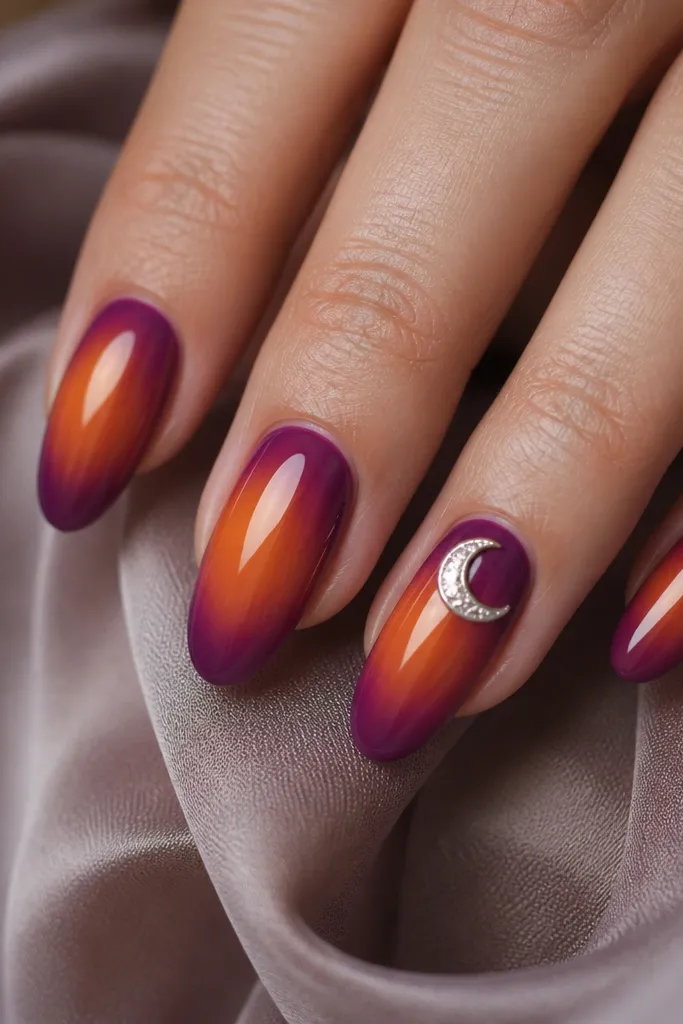
The foil crescent gives a crisp focal point while the aura stays soft. Orange and berry create strong sunset contrast, so even a light blend looks intentional. The moon near the cuticle makes your nail look longer and adds a night-sky vibe.
Sponge orange and coral around the sides first, leaving the center mostly nude. Then lightly sponge berry/purple at the outer edges, staying away from the center. Apply a small crescent of silver chrome or foil near the cuticle - leave a 1 mm gap from the skin. Seal with a top coat that's thick enough to lock foil edges.
Pro tipPress foil onto a small piece of tacky gel or sticky base coat, then trim extra with a liner brush for a clean crescent edge.
Watch outSkip placing the moon in the exact middle - it fights the aura glow and makes the nail look flat.
3. Sunset Aura French Tips with Peach Center
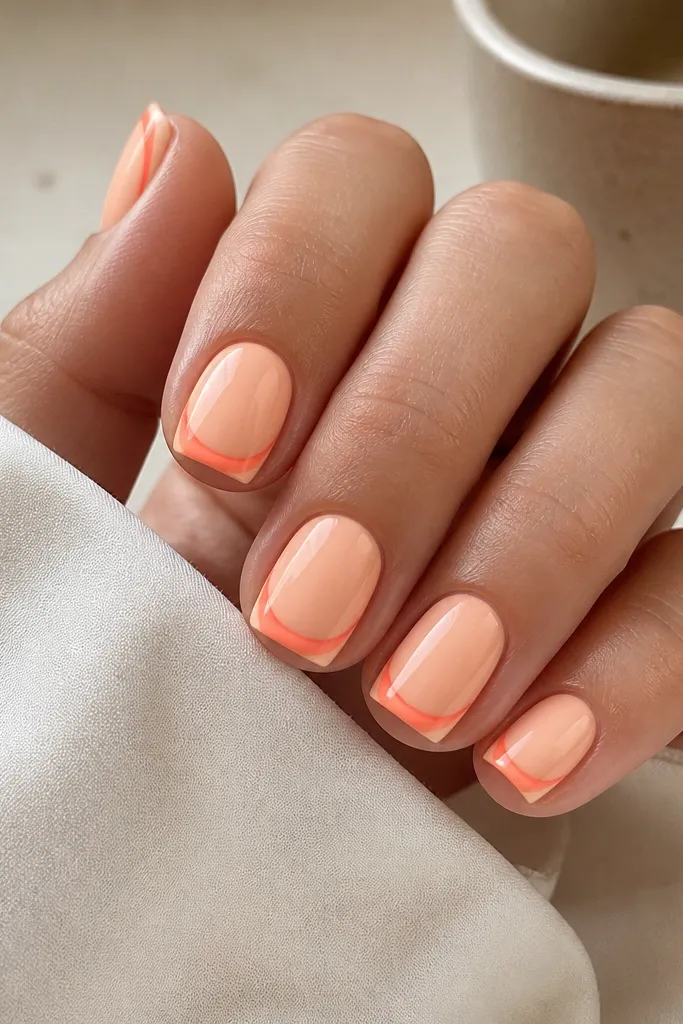
This design gives you structure. The French tip acts like a guide, so beginners don't have to freehand a whole sunset. Keep the tip gradient warm (orange to coral) and let the center glow do the aura work. It reads "sunset over the horizon," not random color.
Use nail tape or a French guide strip at the tip. Sponge orange at the tip band, tap coral on top, then remove the tape carefully. With a small makeup sponge, tap pale peach in the center and blend outward with a dry brush. Finish by painting a thin line of nude over the tape edge so it looks crisp.
Pro tipWork with tape at a slight angle so the tip line follows the natural smile of your nail.
Watch outDon't make the tip too thick. If the French band is wider than 2 mm, the aura looks crowded.
4. Milky Nude Base with Rose-Orange Aura and Gold Glitter Horizon
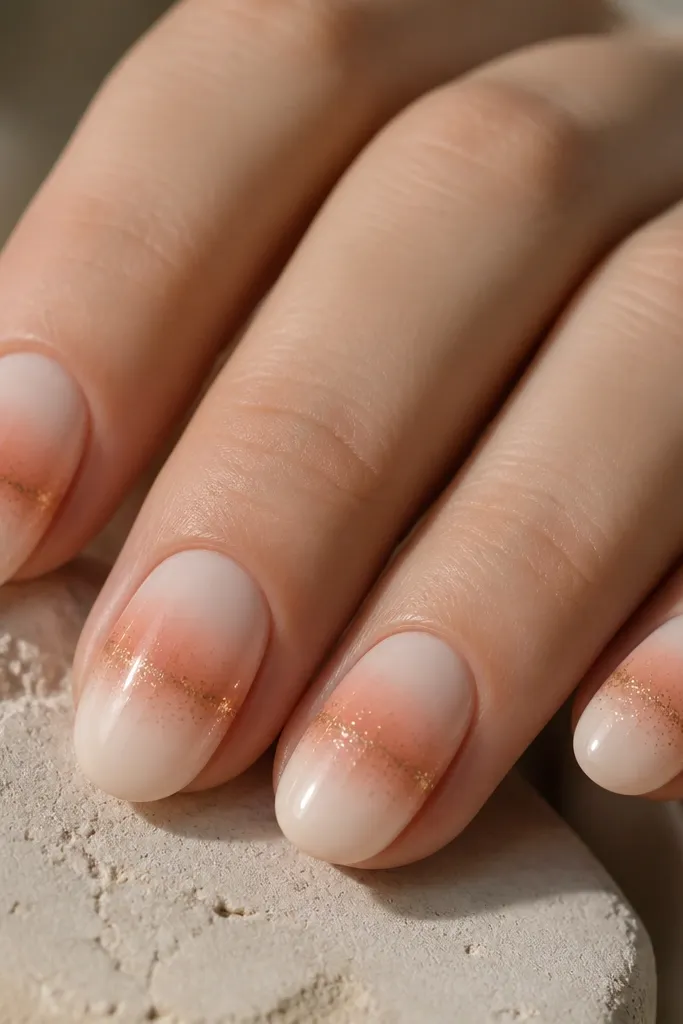
A milky nude base makes the sunset look airy and expensive. The rose-orange aura stays soft, and the gold glitter horizon adds sparkle where your eye naturally lands. Because the horizon is thin, the glitter doesn't overwhelm the aura.
Start with a milky nude base (builder gel or gel polish). Sponge rose/coral around the center, then tap orange just outside it. For the horizon, use a flat brush with loose gold glitter mixed in clear gel and drag a single thin line. Feather glitter 1 to 2 mm up and down using a clean brush.
Pro tipUse fine gold glitter, not chunky. Chunky glitter makes the horizon look bumpy under top coat.
Watch outDon't put glitter at the very tip. It makes chips show faster on the edge.
5. Purple Smoke Aura Sunset with Matte-to-Gloss Contrast
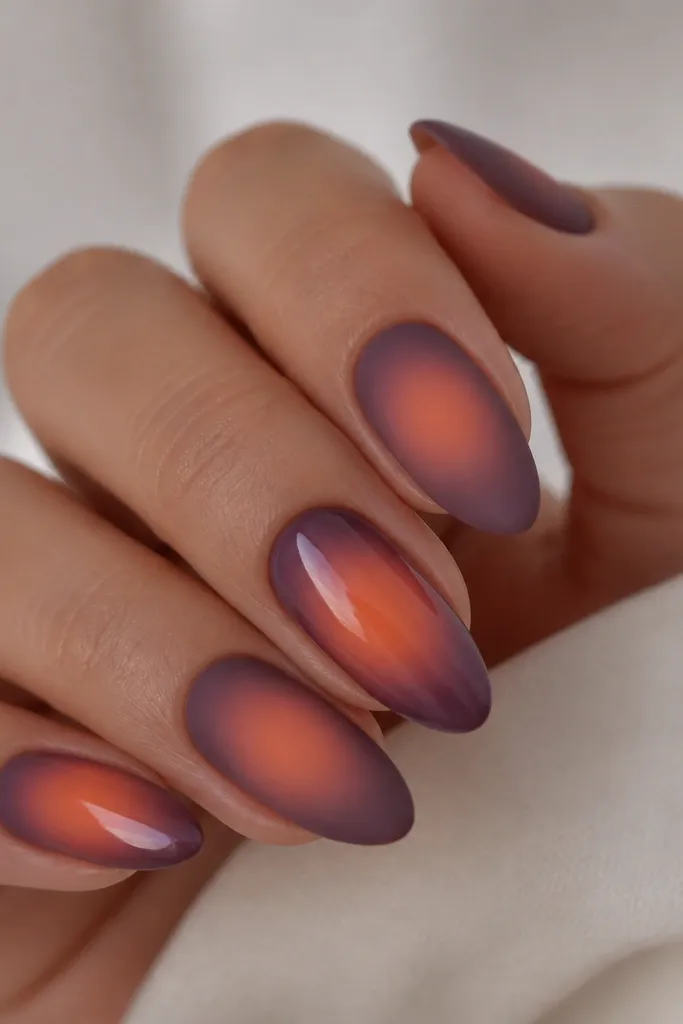
Purple smoke aura is dramatic and still doable. Orange in the center makes it feel like the sun is burning through the night. Matte vs gloss contrast makes the center pop without adding more art.
Sponge purple around the edges, then lightly tap orange into the middle. Blend once with a dry brush so the orange stays brightest at the center. Seal with top coat, then apply matte top coat to all nails except the accent ones. On glossy accents, skip matte and keep them fully shiny.
Pro tipIf your matte top coat dries patchy, wipe the nail with an alcohol wipe before matte and apply in two thin coats.
Watch outDon't overblend the purple - if it turns even all over, the aura loses that smoky edge.
6. Orange Coral Aura with Reflective Silver Drip Accent
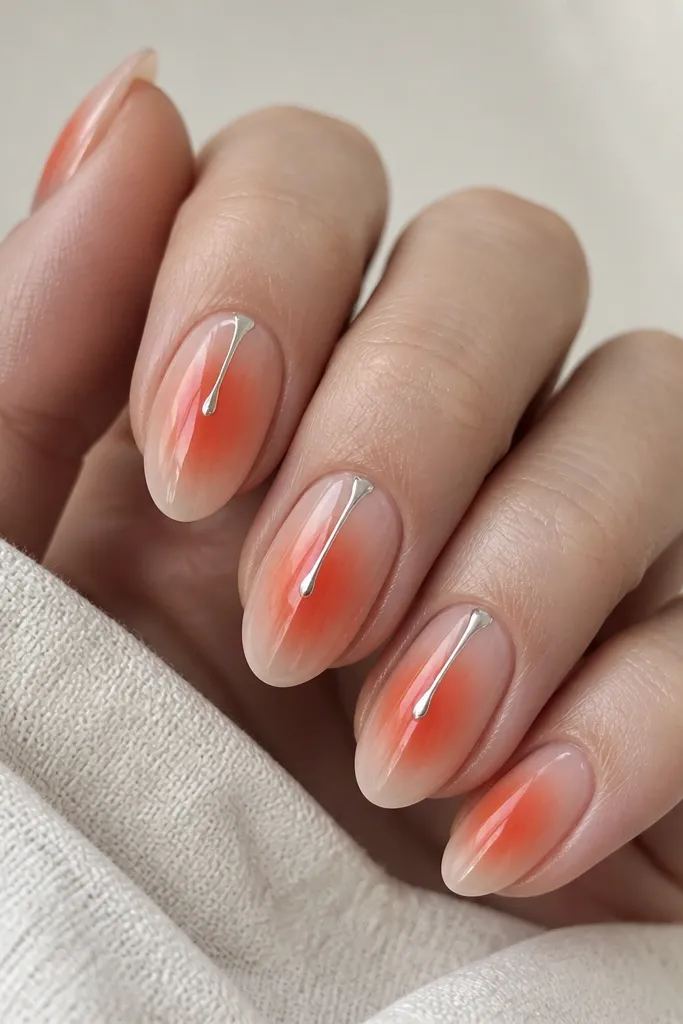
This looks like sunset light meets metallic rain. The reflective drip gives movement while the aura holds the color story. Use a thin drip - it should feel like a highlight, not a big decoration.
Sponge orange on outer edges, then coral in the mid zone, leaving the center slightly nude. For the drip, use chrome gel or silver reflective polish and pull a line down with a detail brush. Keep the drip width under 1 mm. Cure, then top coat twice on the accent nails so the drip edge is smooth.
Pro tipDo one drip per accent nail. Two drips can feel busy fast.
Watch outDon't use thick metallic paste - it stays raised and catches on fabric.
7. Stamp-and-Sponge Sunset Aura (Cloud Silhouette)
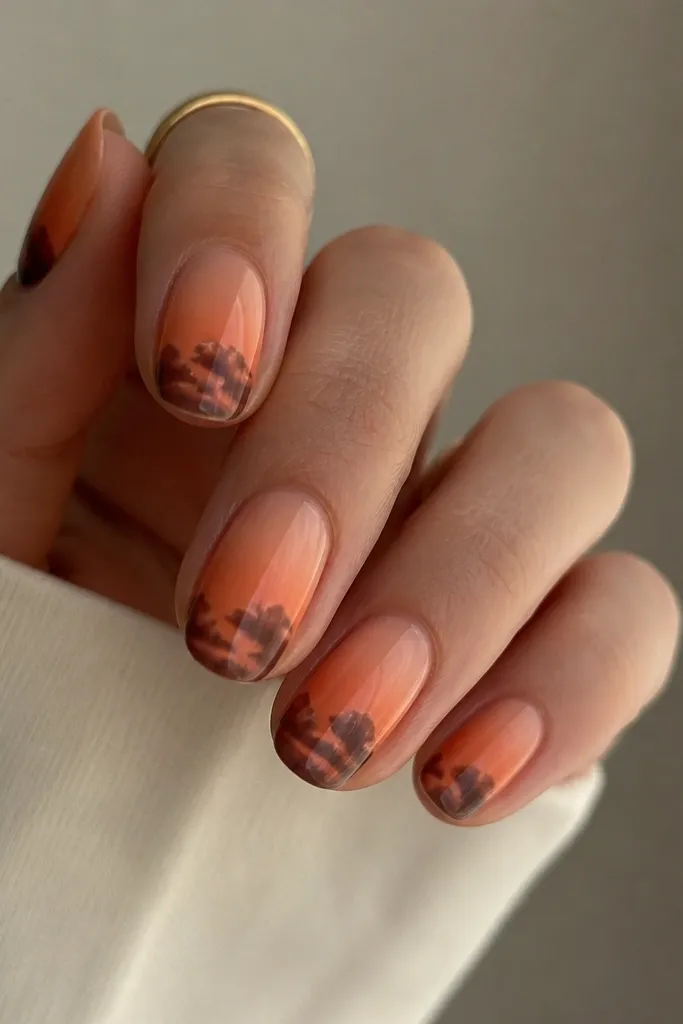
If you want it to look clean without hand-drawing, use stamping for the clouds. The aura does the color, and the silhouette gives crisp shapes. Dark brown/black clouds look more natural than pure black on sunset colors.
Sponge orange and coral across the middle and fade into nude near the cuticle. Stamp cloud image in dark brown/black and place it in the bottom third. Clean the stamp edges with a cotton swab if needed. Seal with a glossy top coat, then apply a second top coat on the stamped nails.
Pro tipStamp before you add any glitter so you can cover small stamp gaps with top coat texture smoothing.
Watch outDon't stamp over wet sponge. Wait until the aura is fully cured or the design will smear.
8. Tangerine Aura with Neon Pink Center Dot
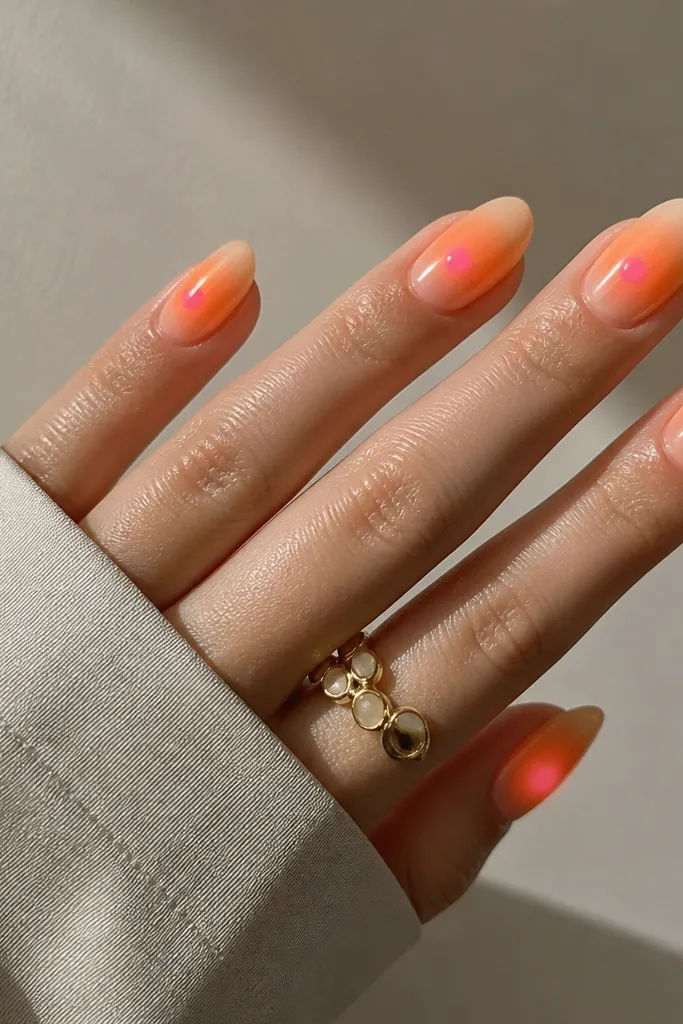
This is for when you want sunset but with a punchy, modern twist. The neon pink center reads like the sun's core, and the orange tangerine turns it into a warm halo. The contrast is strong, so your blending only needs to be good at the edges.
Sponge tangerine orange around the center and blend outward with a dry brush. Then dot neon pink in the middle - a small, round dot, about the size of a sesame seed. Tap the dot's edge once with a clean brush so it blooms slightly. Cure and top coat with a glossy finish.
Pro tipIf neon stains, use a base coat with good opacity and apply neon in a thin layer, then cure again.
Watch outDon't smear the neon dot outward. If it spreads too far, it looks like an accident.
9. Sunset Aura with Opal Chrome Center
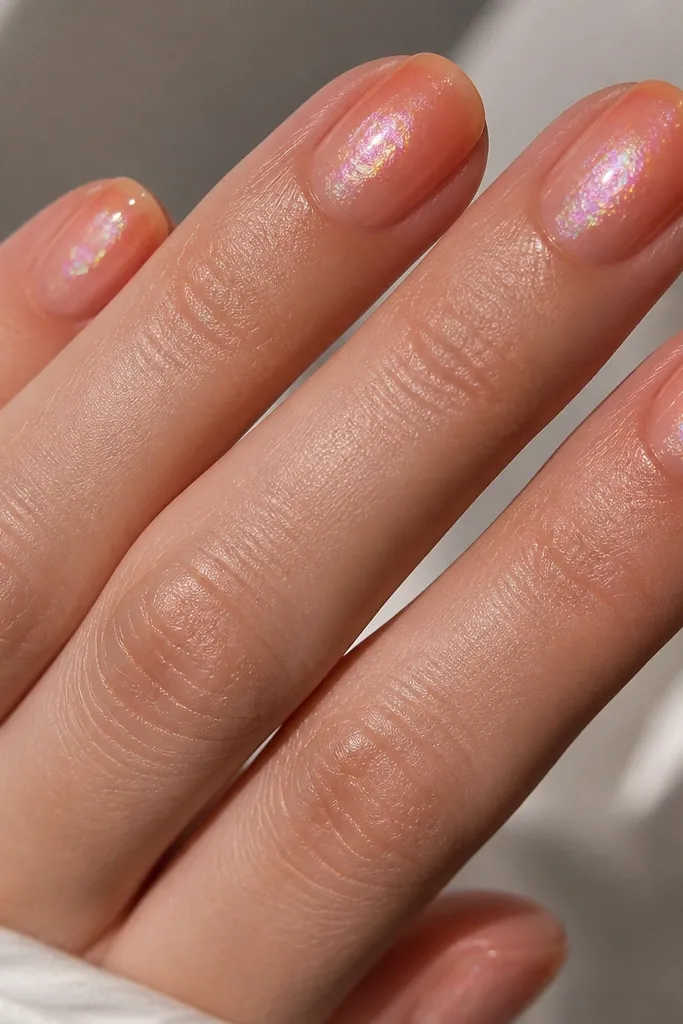
Opal chrome in the center makes the aura look lit from inside. The orange/rose is your sunset, and the opal is your glow. I like this one because it looks impressive even with minimal blending.
Sponge orange on the sides and coral near the top half, leaving a small center area nude. Apply chrome powder or foil to a small cured gel dot in the center (about 2 mm wide), then buff gently so it's reflective. Top coat over chrome with a gel-friendly top coat so it doesn't dull.
Pro tipUse a small piece of sponge to keep the opal area tiny. Bigger chrome patches kill the aura effect.
Watch outDon't rub chrome too hard. You'll end up with streaks and dull spots.
10. Rose-to-Orange Aura with Micro Heart Confetti
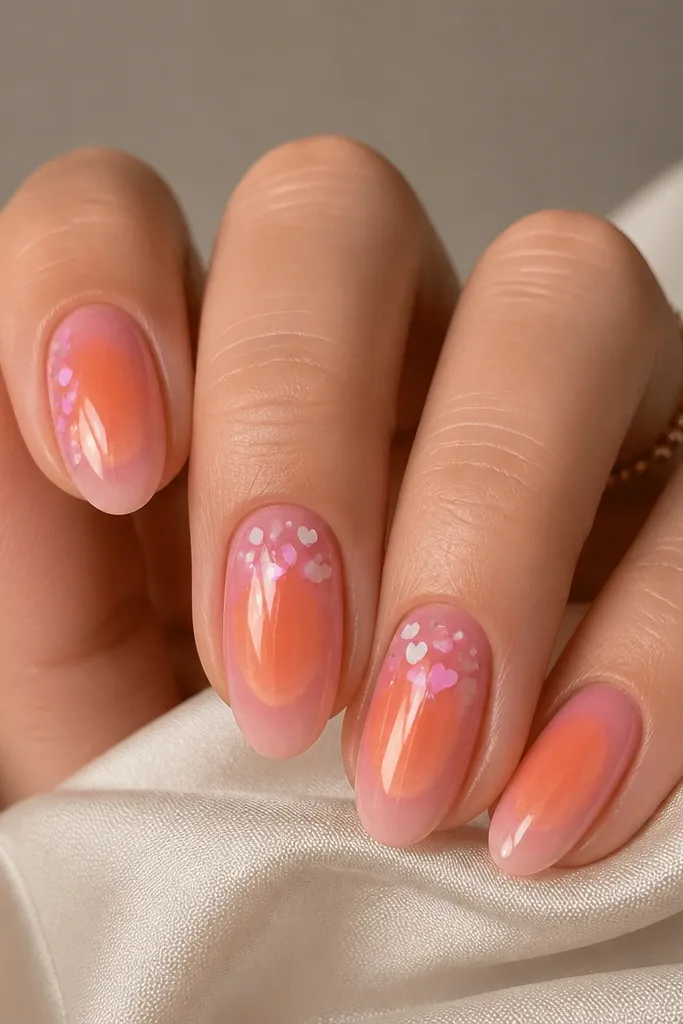
Hearts can work with sunsets if you keep them micro and sparse. The aura stays the main event, and the confetti hearts add a sweet, romantic sky detail. Use light pink and white hearts so the colors still match the sunset.
Sponge rose/coral and orange in the middle of each nail, keeping edges feathered. Add micro hearts using tweezers or a dotting tool with a clear gel tack layer. Place hearts in a small cluster of 6 to 10 pieces on accent nails only. Cure, then seal with top coat in two thin layers.
Pro tipPress hearts down for 2 seconds with a silicone tool so they lie flat under top coat.
Watch outDon't cover the whole nail in hearts. It turns into sticker overload fast.
11. Berry Aura Sunset with Orange Spiral Line
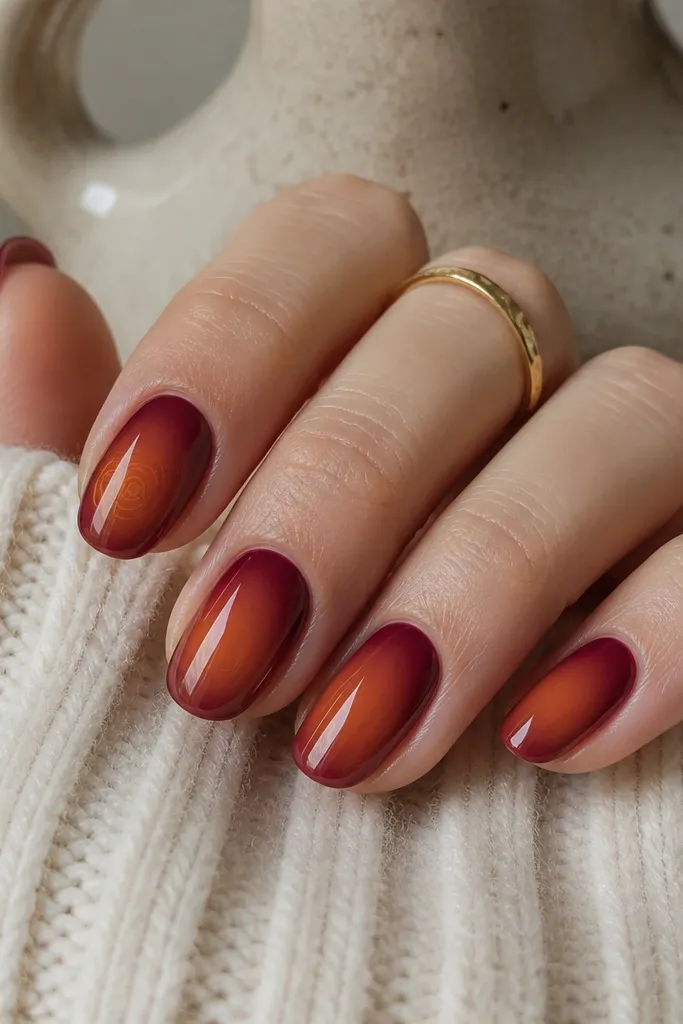
A spiral line adds motion like a swirling sunset breeze. The berry aura gives depth, while the orange glow keeps it warm. Use the spiral on one nail only so the set stays wearable.
Sponge berry/purple at the outer edges and feather toward the center. Tap orange into the center, then blend outward with a dry brush. For the spiral, use a thin striping brush and orange gel, drawing a loose coil starting near the cuticle and curving toward the side seam. Cure and top coat twice.
Pro tipIf the spiral wobbles, don't fix it by repainting. Re-draw over the original line with a second pass once the first layer is cured.
Watch outSkip thick striping. Thick lines look raised and cheap on small nails.