
1. Peach-to-Coral Glow Fade
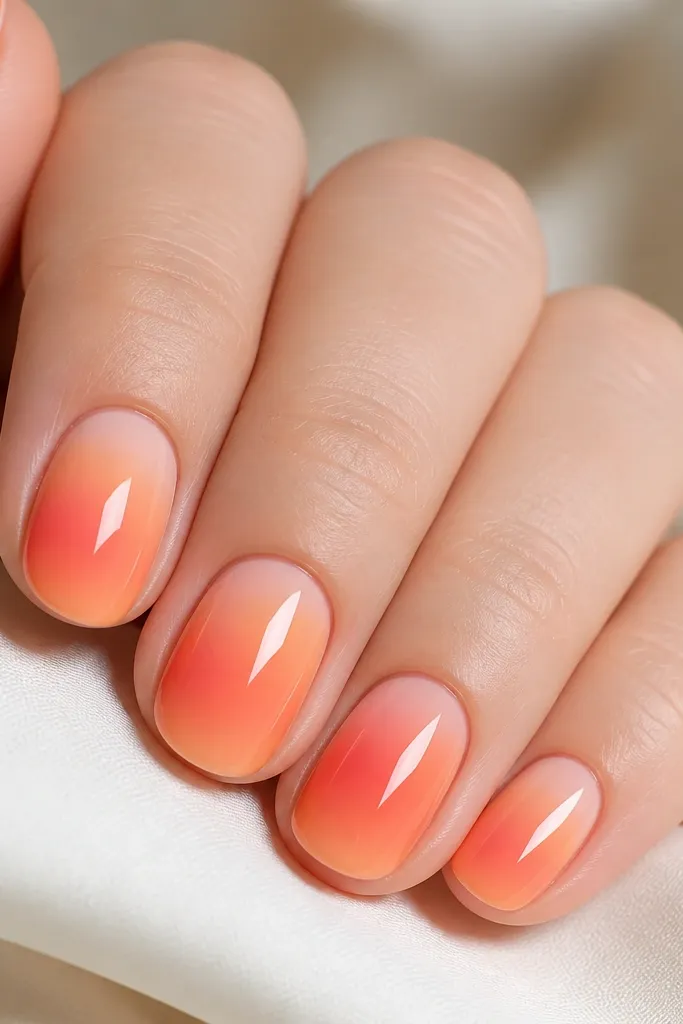
This one looks like sunrise because the warm colors stay close in tone. Peach at the base keeps it soft, coral in the center adds heat, and apricot at the tip makes it look lit from within. It flatters most skin tones because it avoids cool purples and heavy contrast.
Paint a sheer peach base. Dab coral sponge in the center third, then tap apricot only at the outer tip area. Use two thin layers instead of one thick one so the fade stays foggy, not streaky.
Pro tipAfter the gradient, use a thin brush to lightly pull the edges down 1-2 mm so the blend looks intentional.
Watch outDon't drag the sponge back and forth - that creates lines.
2. Orange Sunset Over Nude Base
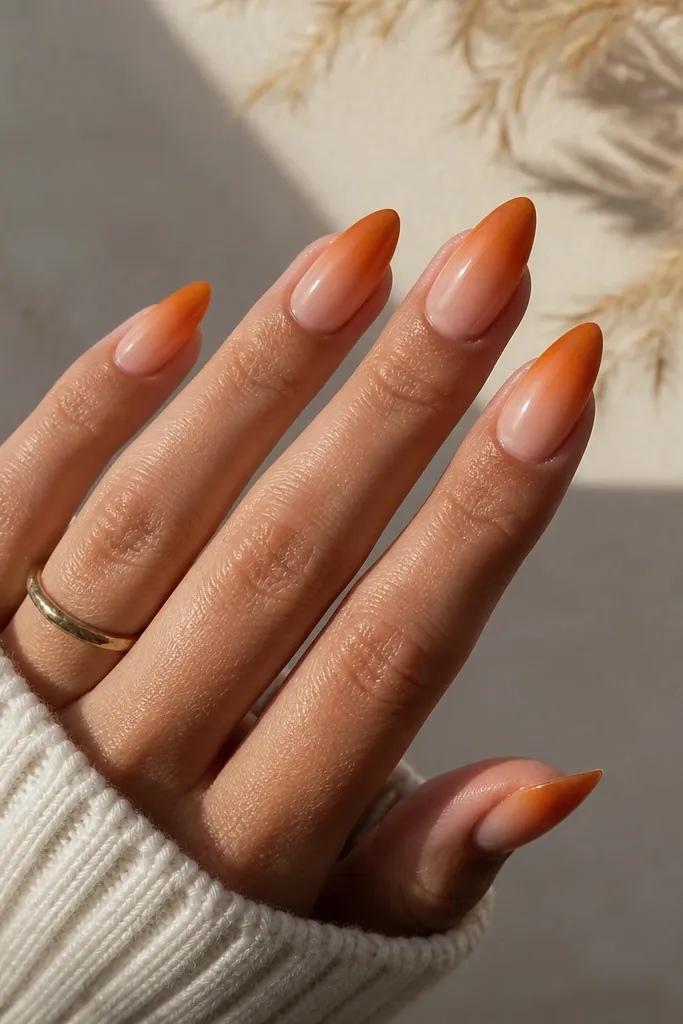
A nude base makes the orange look like it's glowing through the nail. The key is smoky blending - orange should feel like haze, not a solid stripe. This is the most wearable sunset ombre for everyday because it doesn't scream neon.
Start with a nude jelly polish. Sponge orange starting slightly below the cuticle, then build burnt orange at the very tip. Keep the darkest color to the last 20-25% of the nail length.
Pro tipIf your orange looks too strong, add a thin layer of nude jelly over the gradient before top coat.
Watch outAvoid starting the orange right at the cuticle - it can look like a dirty stain.
3. Rose and Tangerine Sky
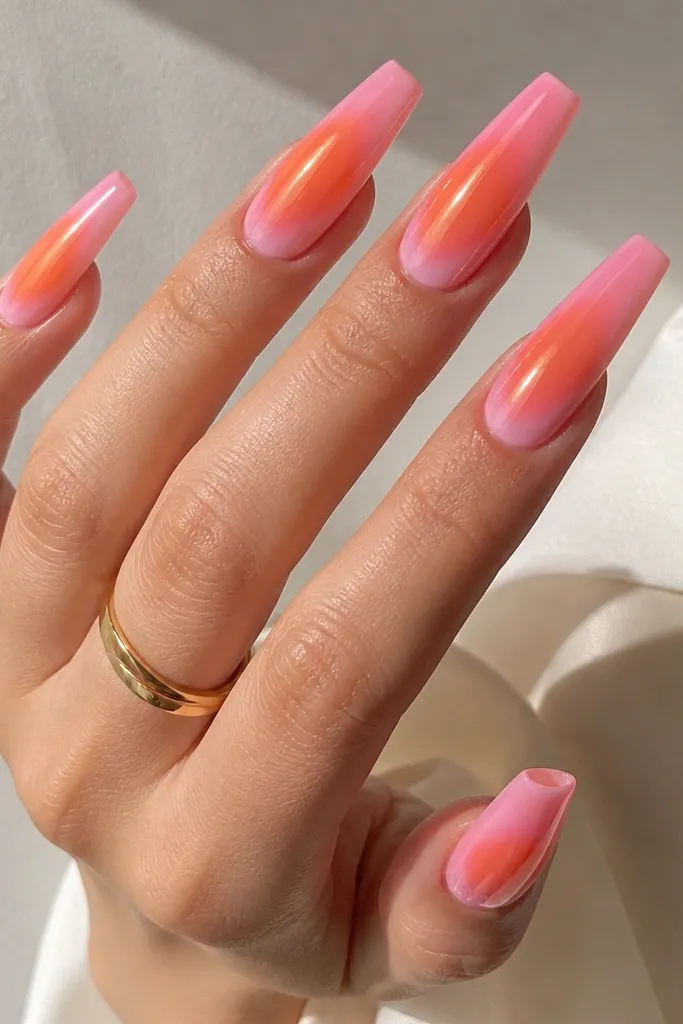
This sunset reads like a warm sky with a pink haze. Rose anchors the look so it doesn't go too yellow, while tangerine adds that "sun on the horizon" feeling. The tip staying lighter keeps it airy and flattering on longer shapes.
Base coat in rose jelly. Sponge tangerine in the center, then lightly sponge rose again at the tip so the gradient returns to pink. Blend with 2-3 light dabs per nail, not one heavy pass.
Pro tipUse a slightly damp sponge (just a tiny mist on the sponge, then blot) for a softer melt.
Watch outDon't add a dark third color here - it makes the sky look muddy.
4. Magenta Dusk Ombre
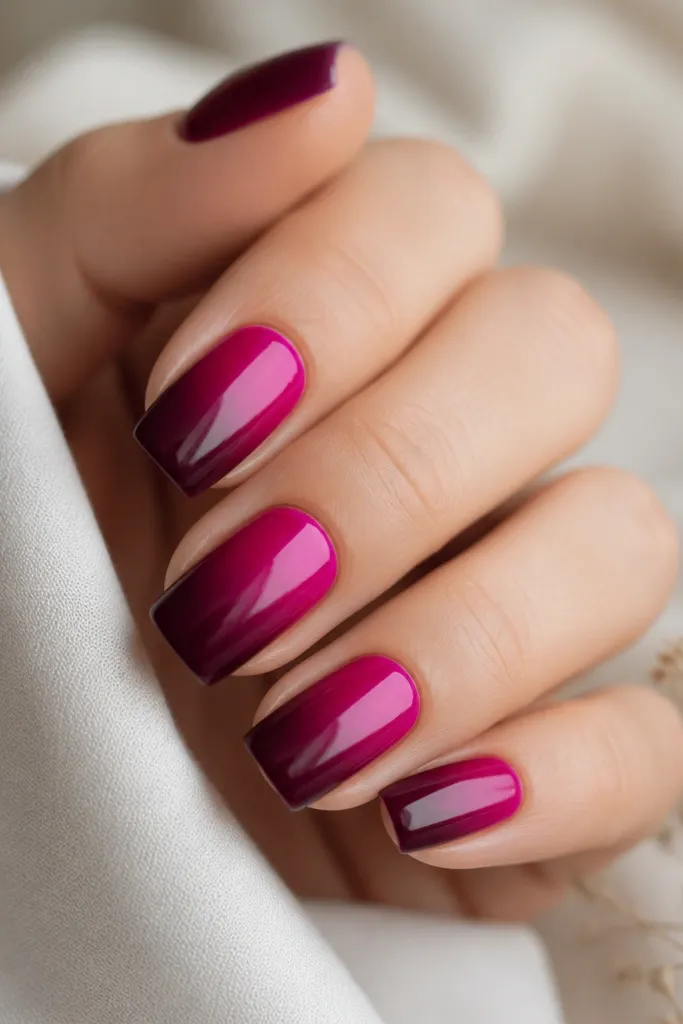
Magenta to plum looks like dusk because it shifts from hot to cool without turning purple-black. The smoky edge is what makes it sky-like. If you want a sunset vibe that still feels dramatic, this is the one.
Use a bright magenta base layer. Sponge plum only on the outer third and blend inward by 1-2 mm. Keep the gradient tight so the nail still looks clean and crisp.
Pro tipFinish with a glossy top coat that levels well; matte makes this look chalky.
Watch outSkip thick glitter top coats - they can blur the gradient.
5. Sun Flare Glitter Tip
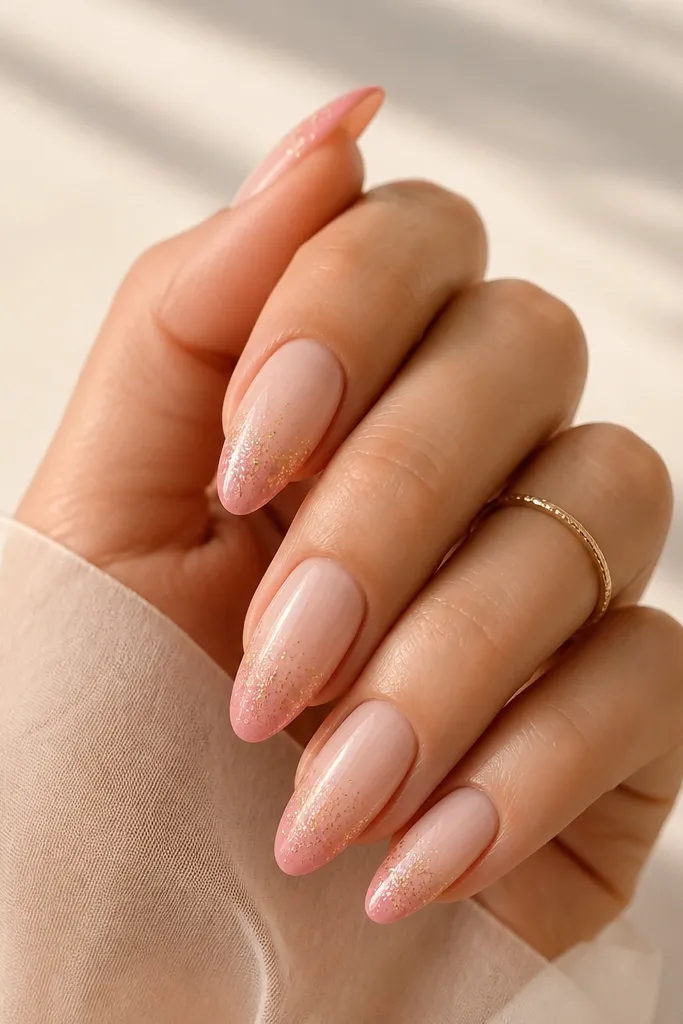
The flare detail makes this look like the sun hitting the horizon. The glitter is only at the tip, so the ombre stays the star. Gold works with peach and pink because it reads warm, not icy.
Do a peach-to-pink sponge ombre. Then dab gold micro-glitter gel on just the last 15% of the nail, using a small brush to keep it in a flare shape (wider at the center, thinner at the sides). Cure and top coat.
Pro tipUse gold glitter that's fine (not chunky) so it doesn't look textured like craft glitter.
Watch outDon't glitter the whole nail - you lose the sunset gradient.
6. Coral Heat Wave Fade
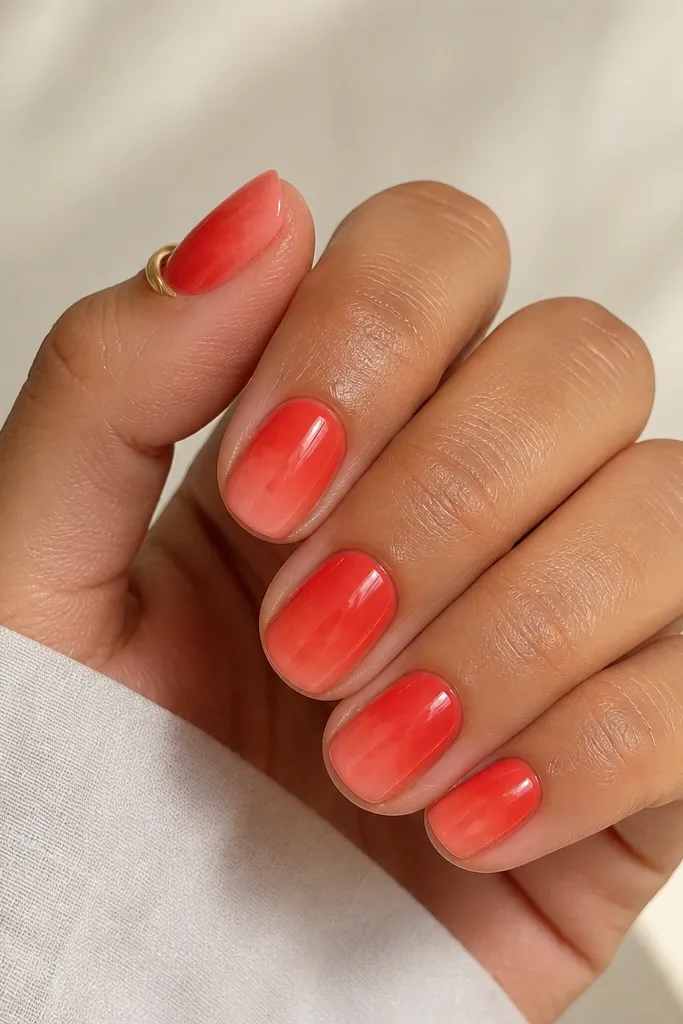
This one is a sunset with motion. The lighter tip keeps it from looking like a straight ombre block. It's also forgiving if your sponge blends unevenly because the "heat wave" feel hides minor streaks.
Base in coral. Sponge orange-red in the middle third. After that dries/cures, sponge a very light coral wash over the tip area to bring the fade back up.
Pro tipDo the second coral wash with a half-dry sponge so it looks hazy instead of solid.
Watch outDon't overbuild the middle shade - it should glow, not turn into a stripe.
7. Peach Sunset French Ombre
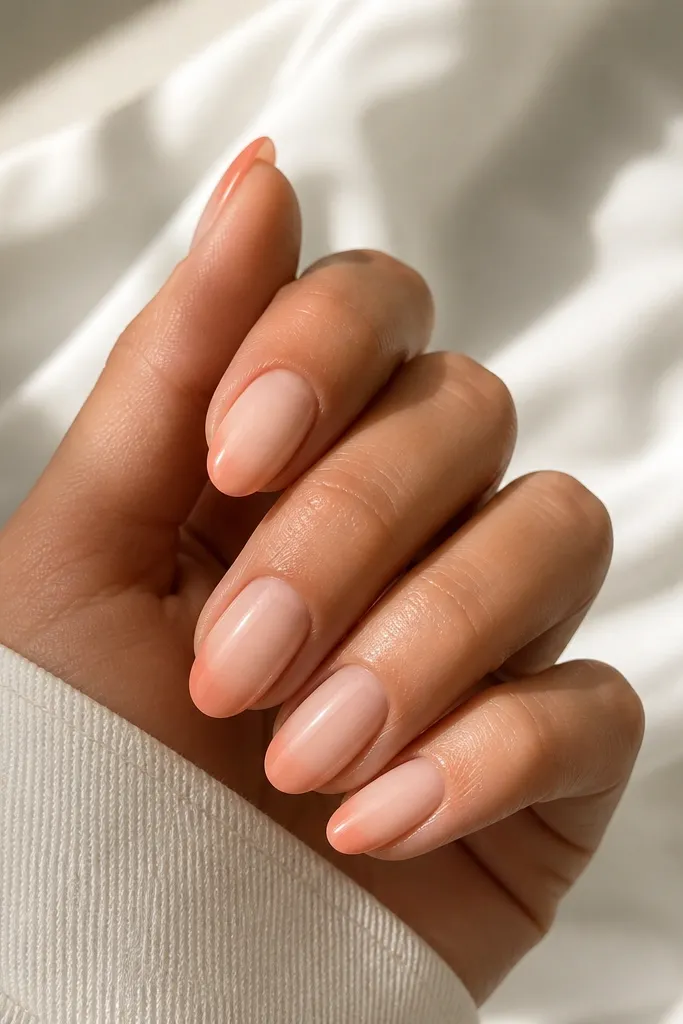
French ombre feels clean but still sunset. The "French" placement makes it look intentional, even if you're new to sponge blending. Peach stays warm and flattering, and nude keeps it office-friendly.
Start with nude base. Sponge peach only across the tip area, then blend inward until it hits about halfway down the nail. Clean up the sides with a brush dipped in remover.
Pro tipUse a thin strip of tape as a guide under the tip while you sponge, then peel carefully.
Watch outDon't flood the tip - thin layers look smoother.
8. Teal Night to Sunset Tips
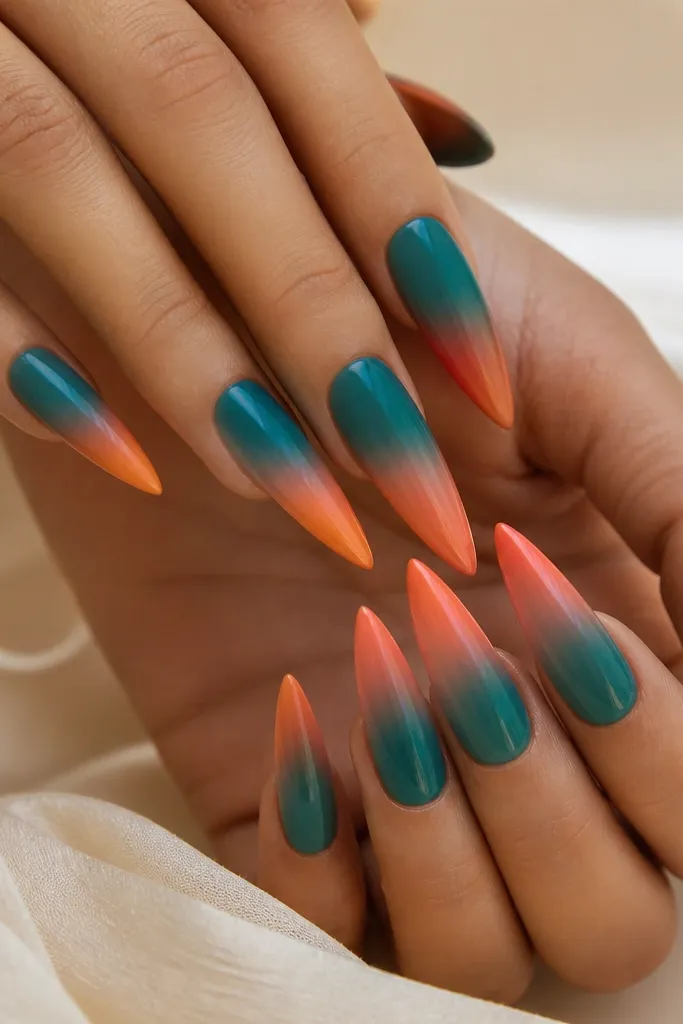
This reads like night turning into sunset. The contrast is bold, but it works because the gradient is still one continuous fade. Teal makes the coral pop without needing neon shades.
Base in teal jelly. Sponge coral-orange beginning around the middle third and deepen it to burnt orange at the outer tip. Blend the meeting point until it looks hazy, not striped.
Pro tipIf teal stains your sponge, wipe it with remover right away so it doesn't contaminate the coral.
Watch outDon't use black in this combo - it turns the sunset gray.
9. Lavender Cloud Sunset
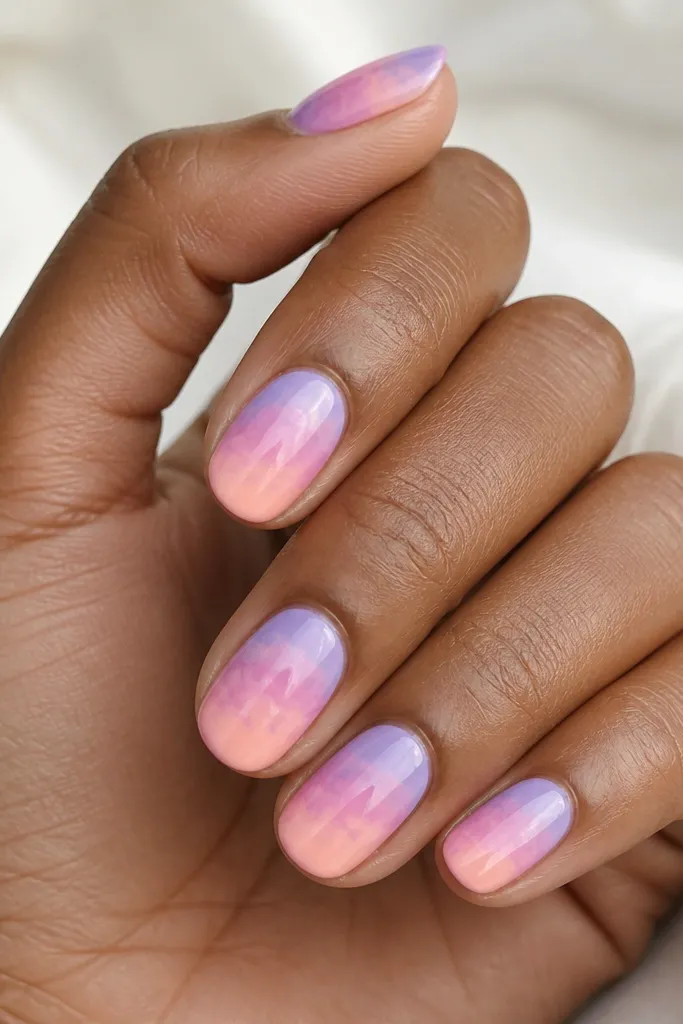
Lavender cloud ombre makes a sunset look soft and dreamy. The cool base keeps it modern, and the peach at the tip keeps it warm. It's a great option if you want sunset nails that still feel light.
Base with lavender jelly. Sponge rose in the center, then tap peach at the tips only. Keep the top layer sheer so it looks like a haze over the nail.
Pro tipAdd a single drop of clear gel over the sponge gradient before curing to smooth the surface.
Watch outDon't make the lavender too opaque or it kills the sunset warmth.
10. Dawn Peach with Micro-Star Accent
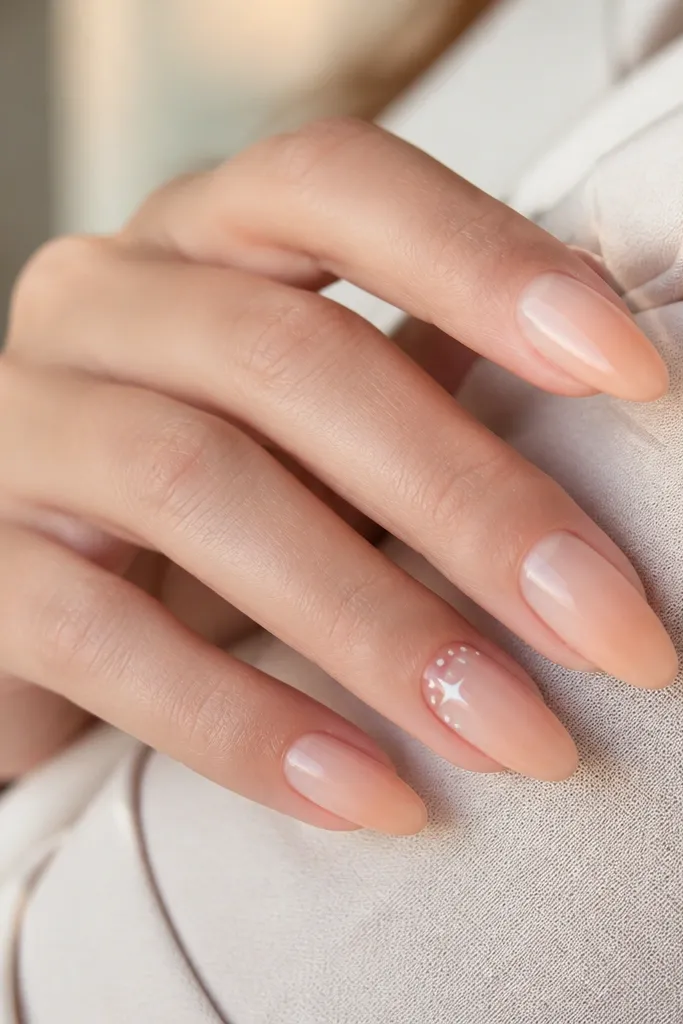
The star detail makes it feel like the sky after sunset, not just a gradient. Keeping the stars small makes them look intentional and not like stickers. White pops against peach without clashing.
Do a peach-to-pink ombre on all nails. On one accent nail, dot micro white stars using a liner brush or dotting tool, starting 2-3 mm away from the cuticle. Seal with top coat.
Pro tipUse a matte top coat on the stars only, then glossy over the rest for contrast.
Watch outAvoid oversized stars - they look childish fast.
11. Sunset Ombre with Thin Gold Line
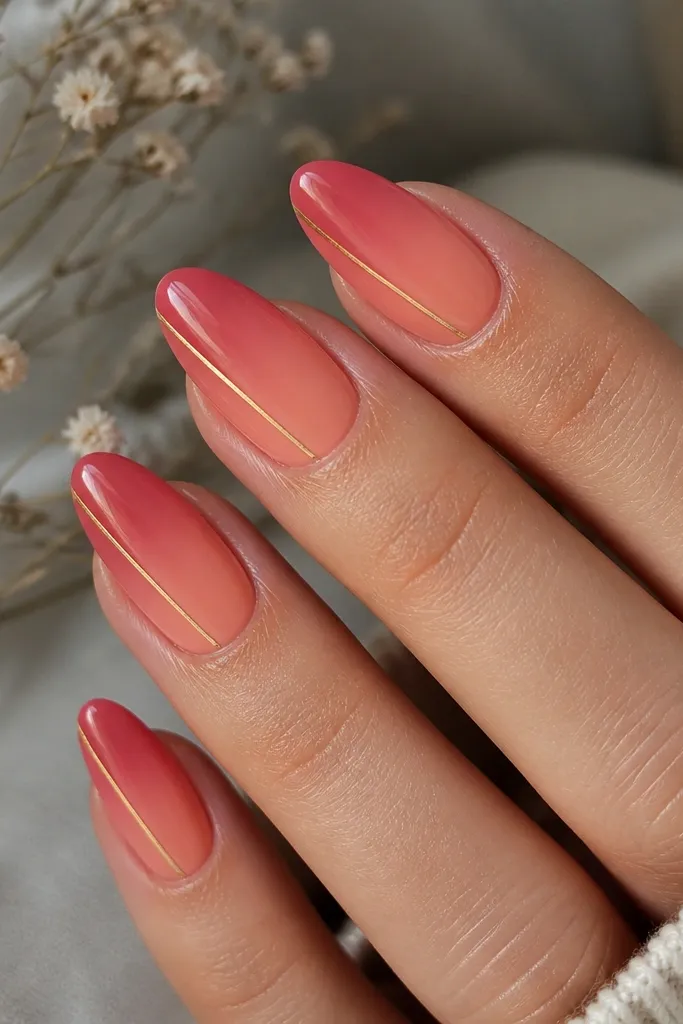
A single line makes the gradient look like it's styled, not random. Gold gives you that late-day warmth. Diagonal placement keeps it modern and draws the eye across the fade.
Sponge coral at the base and rose at the tips. Apply a thin gold strip (or paint gold gel with a striping brush) across the nail at a 30-40 degree angle, crossing the middle of the ombre. Cure and top coat.
Pro tipIf you're painting the line, do two thin passes instead of one thick one.
Watch outDon't put the line too close to the cuticle or it can lift and catch on hair.
12. Apricot to Pink Fade with Negative Space Tip
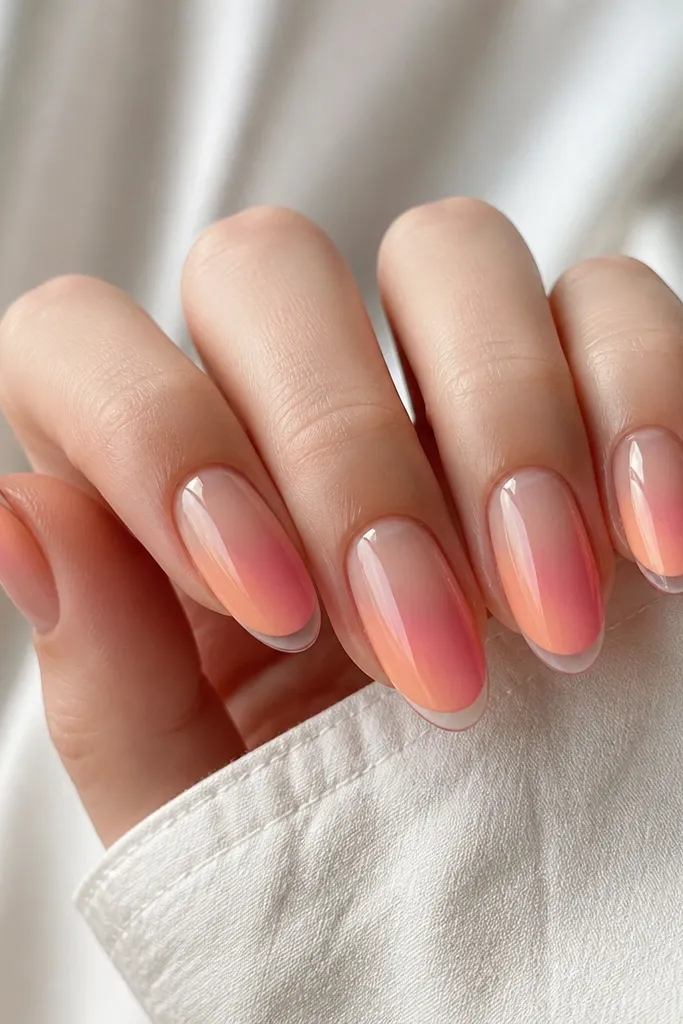
Negative space makes the ombre look crisp and expensive. The clear tip edge also stops the colors from feeling too heavy. This is a great option if you want sunset nails that still look clean and minimal.
Base with apricot jelly. Sponge pink in the outer third, but leave a thin 1-2 mm clear strip at the tip. You can use a small piece of tape to block the tip while you sponge.
Pro tipAfter top coat, remove any tiny smudges with a thin cotton swab dipped in remover.
Watch outDon't leave a big clear gap - it breaks the sunset illusion.