
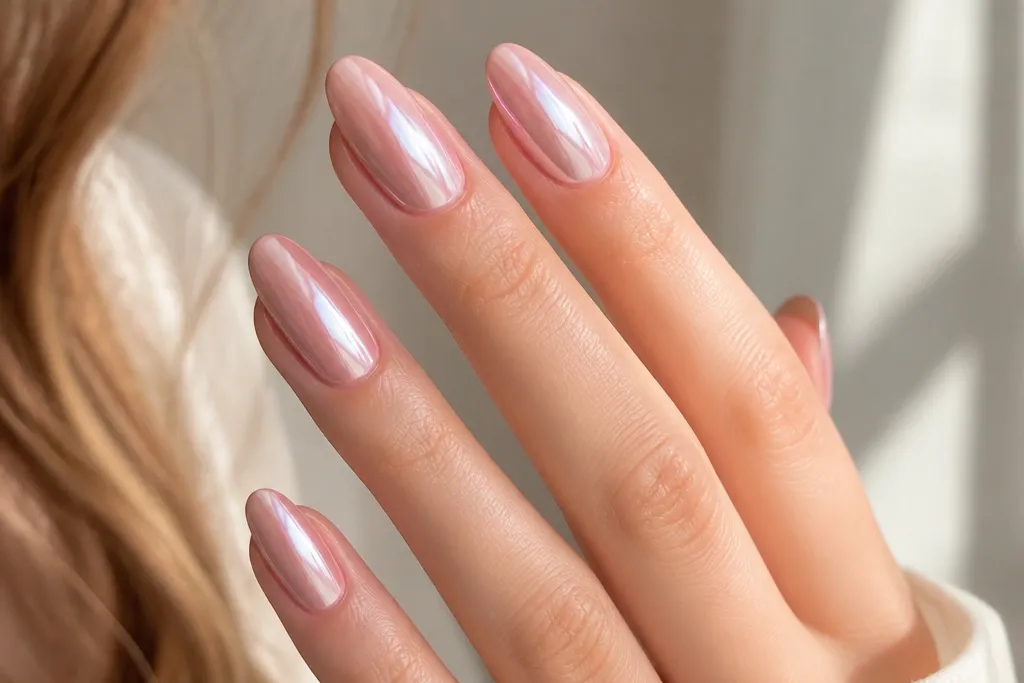
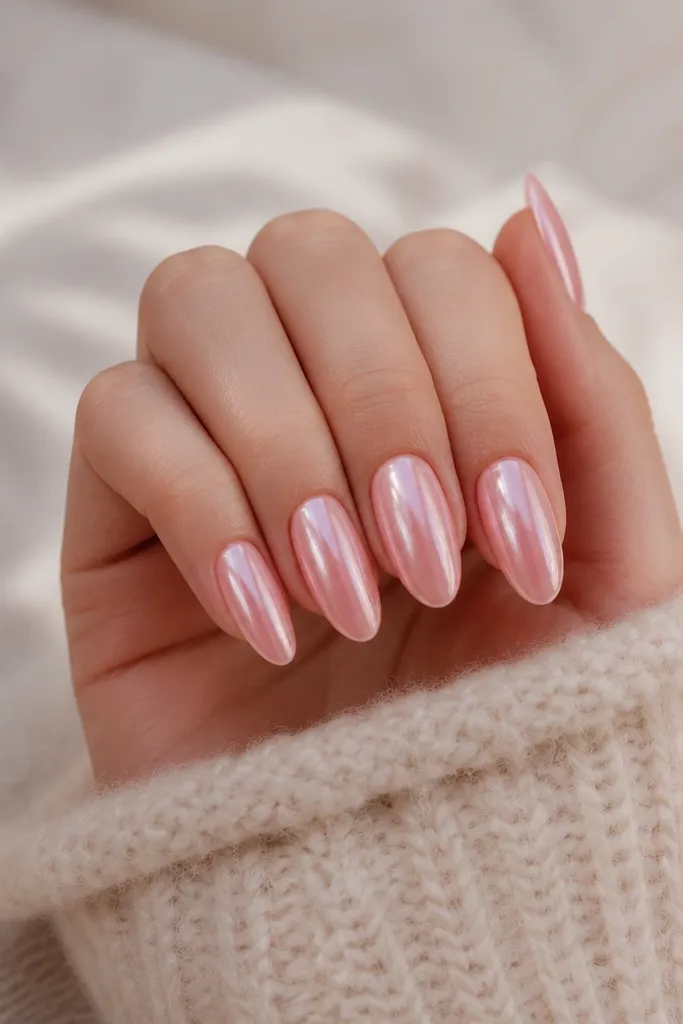
1. Milky Blush Full Chrome Almond
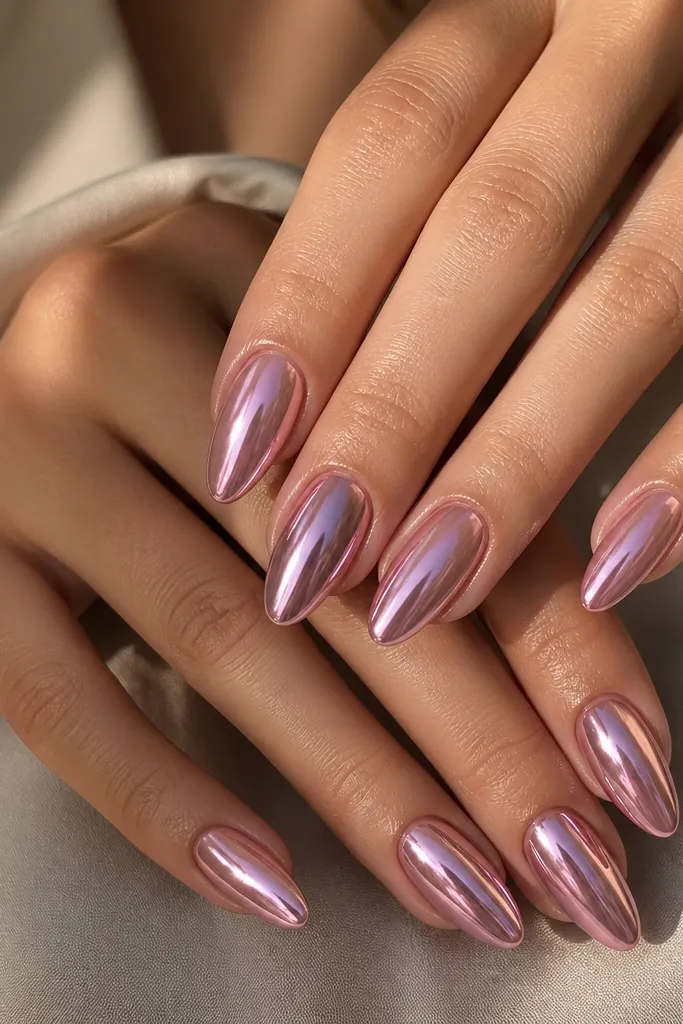
This is the set I reach for when I want "expensive" without doing complicated art. The milky blush base makes the chrome read as soft pink instead of silver. Full coverage gives that clean, high-gloss impact, especially under indoor lighting. It's also easy to repeat with any budget chrome powder because the look is one color and one finish.
File to almond with a gentle taper, keep free edge around 4-5 mm if you want comfort. Use a sheer milky blush gel for opacity - I do two thin coats, cure each. Apply chrome powder over the tacky layer, then buff lightly with a soft brush before top coat.
Pro tipUse a non-wipe top coat that cures hard. I've found it keeps the mirror from dulling at the edges.
Watch outDon't cure the pink base fully, then wait too long before chrome - the surface loses the tack and you get bald spots.
2. Soft Pink Chrome Tips on Short Squovals
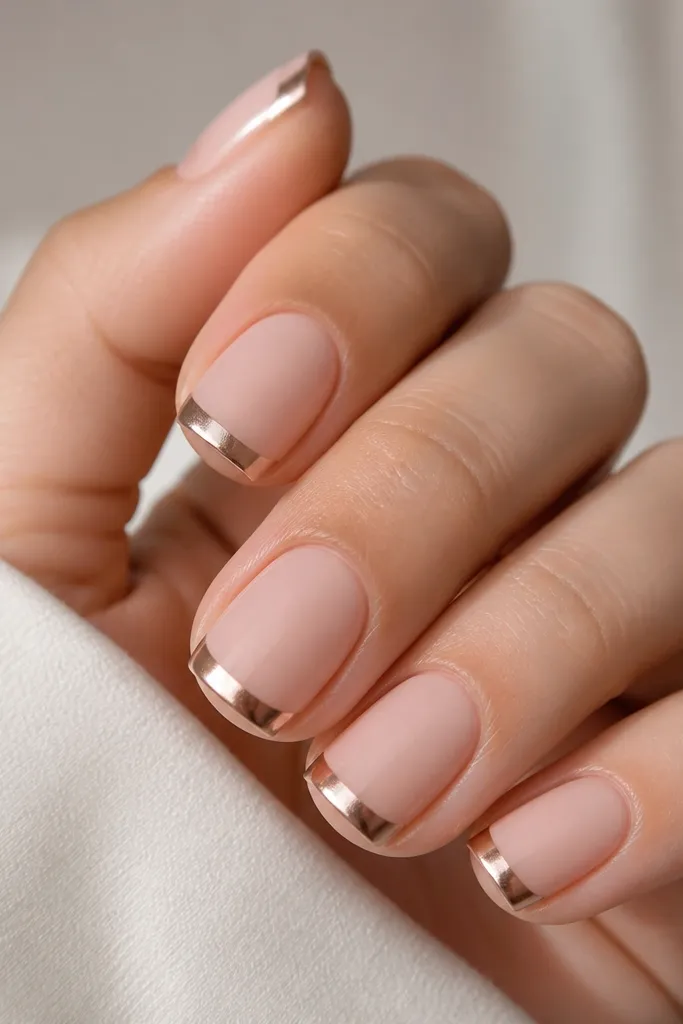
Chrome at the tips looks luxe because it frames your nail bed and catches light every time your hands move. Keeping the rest soft pink and slightly less reflective makes the chrome pop without needing full coverage. This is a great choice if you want shine but you hate chips at the very end.
Use a sheer soft pink base and keep it slightly translucent. For the chrome, mask a thin smile line with foil or a silicone strip, then apply chrome powder only inside the arc. Seal with top coat, but keep the tip coverage even so the line stays crisp.
Pro tipMake the chrome arc thinner than you think - 1.5-2 mm - for a more "clean salon" look.
Watch outDon't drag chrome powder across the whole nail and try to clean it up later; it smears and looks messy.
3. Half-Moon Pink Chrome Accent
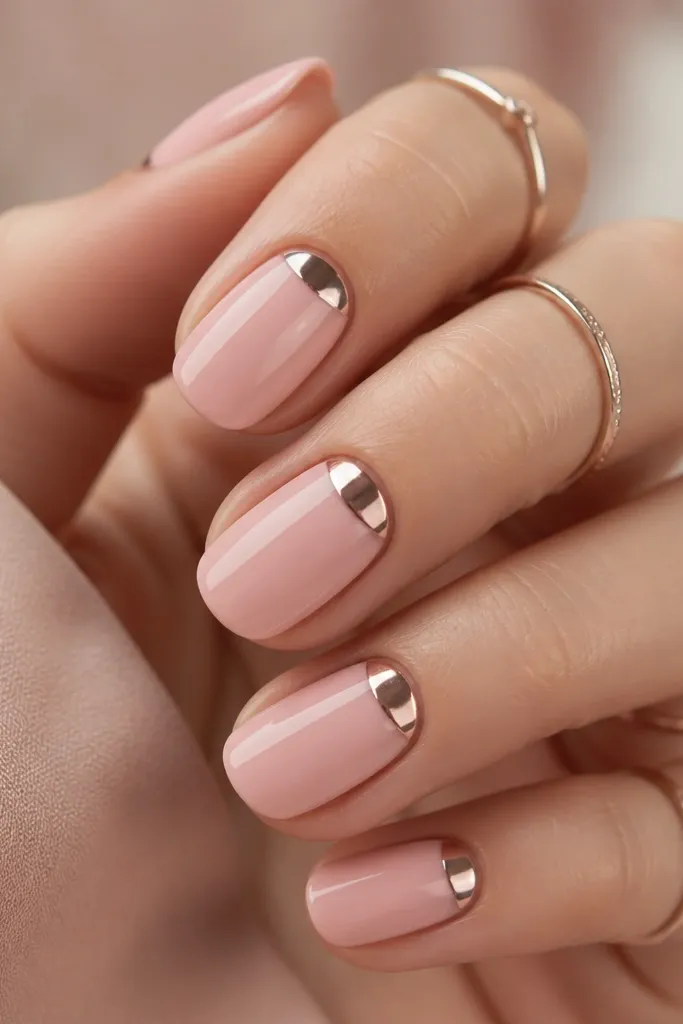
The half-moon shape gives structure and makes your nails look longer even when they're short. Chrome in that small crescent area reflects light where people naturally look - around the fingers. Soft pink background keeps it wearable and not too flashy.
Paint a sheer blush base, cure, then use a small detail brush to trace a half-moon at the cuticle. Apply chrome powder only inside the traced area. Use a small amount of top coat at the cuticle line so it doesn't flood and smear the shape.
Pro tipWipe the half-moon outline with micellar-free nail cleanser before chrome so the edge stays sharp.
Watch outDon't make the half-moon too wide; past about 2 mm from the sidewalls, it starts to look like a chip.
4. Pink Chrome Marble Veins
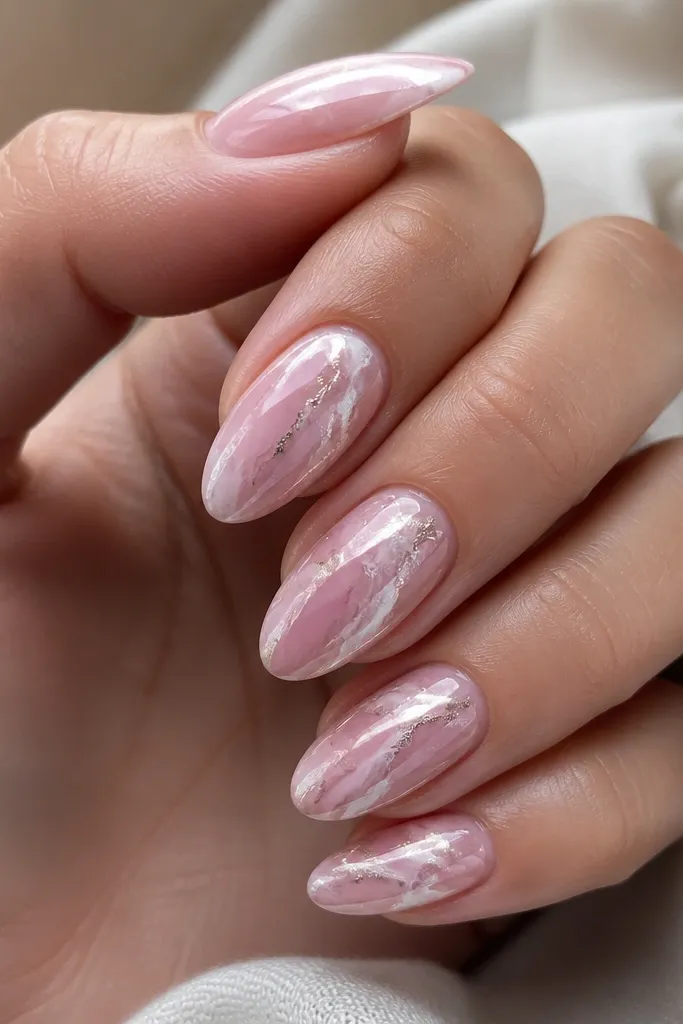
Marble works because the chrome only hits the raised-looking lines, so it feels dimensional even on a budget. The soft pink base keeps the marble gentle. When the chrome follows the vein direction, it looks like light is trapped inside the design.
Start with a milky blush base. Add thin marble veins using a pale pink gel and a tiny amount of white gel, then cure. Apply chrome powder along the cured vein grooves while the surface tack is present.
Pro tipKeep the veins uneven - one thick, two thin. Real marble never looks perfectly uniform.
Watch outDon't overdo the chrome coverage on marble; if every line is fully mirrored, it turns into a flat glittery mess.
5. Soft Pink Chrome Dots in a Row
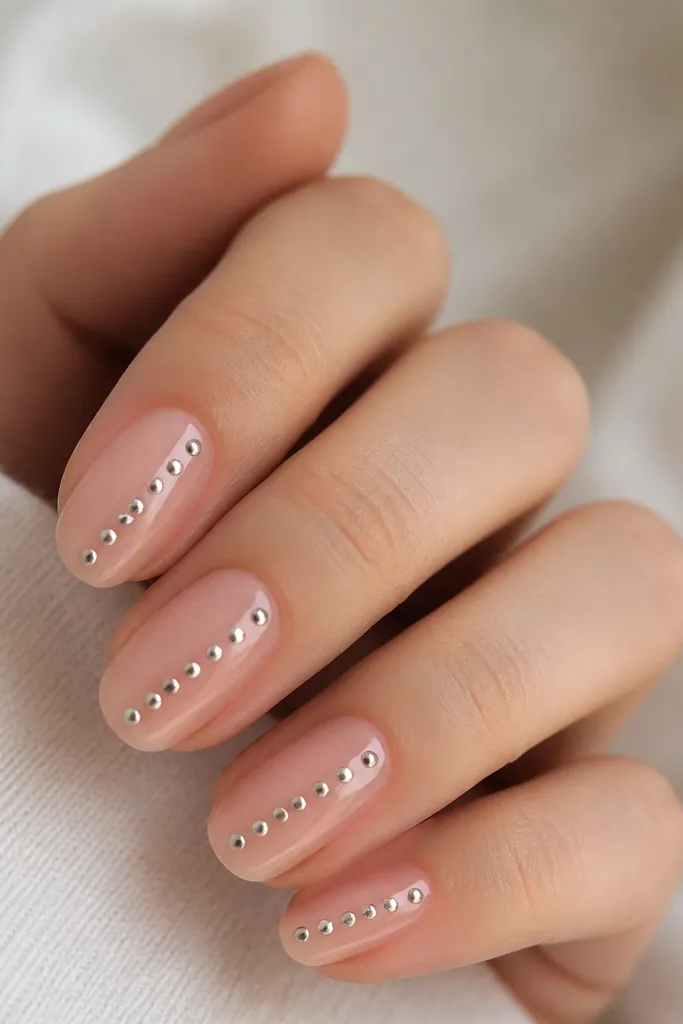
Dots are the easiest way to look intentional. A diagonal row makes your nails look longer and adds movement. Chrome dots catch light like tiny highlights, and the rest of the nail stays calm.
Use a sheer blush base with two thin coats. Place dots using the end of a dotting tool dipped in tacky gel, cure, then press chrome powder onto each dot. Seal with top coat carefully around dot edges so they don't smear.
Pro tipAim for 5-6 dots per nail, not more. Too many and it starts looking like random glitter.
Watch outDon't flood the nail with clear gel under the dots; it spreads and makes the dots look cloudy.
6. Rose Quartz Chrome Swirls
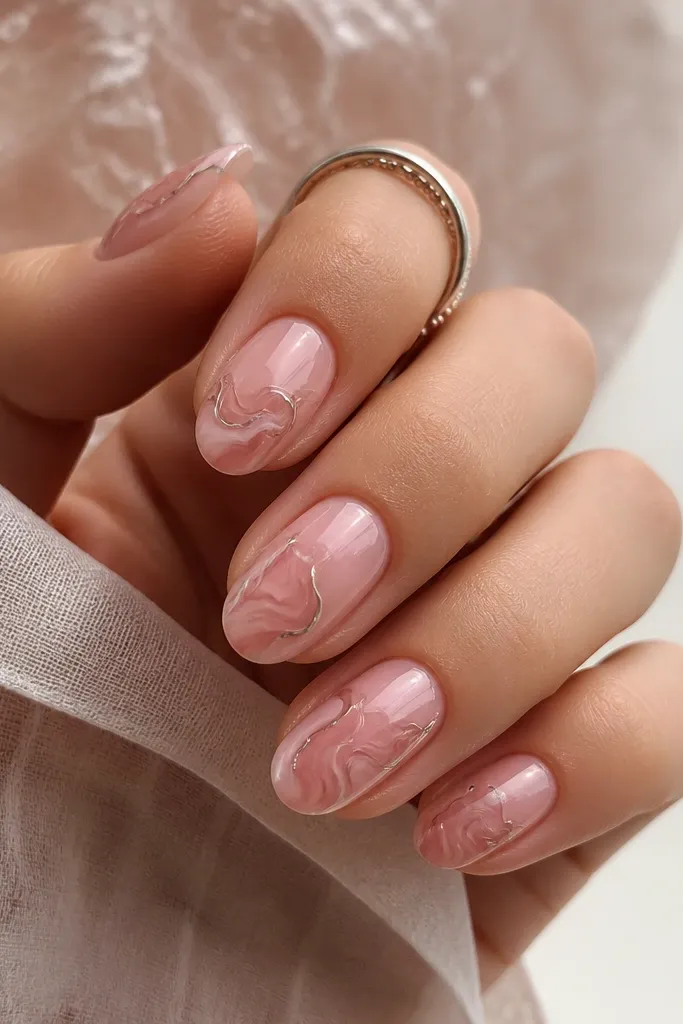
This design looks expensive because it mimics the actual veining and glow of quartz. The chrome outlines make the cloudy shapes look crisp and intentional. It reads soft and romantic, but still gives that mirror shine.
Use a base that's slightly more opaque than your usual sheer pink. Create rose-quartz patches by stippling pale pink and a tiny bit of white gel in irregular shapes, cure. Trace around the patches with a thin gel line, then chrome only on that outline.
Pro tipUse a fine liner brush for the swirl edges - about 1 mm width - so it doesn't turn into a thick stripe.
Watch outDon't make the cloudy patches too dark; grayish pink makes chrome look dirty.
7. Soft Pink Chrome "Tuxedo" Half and Half
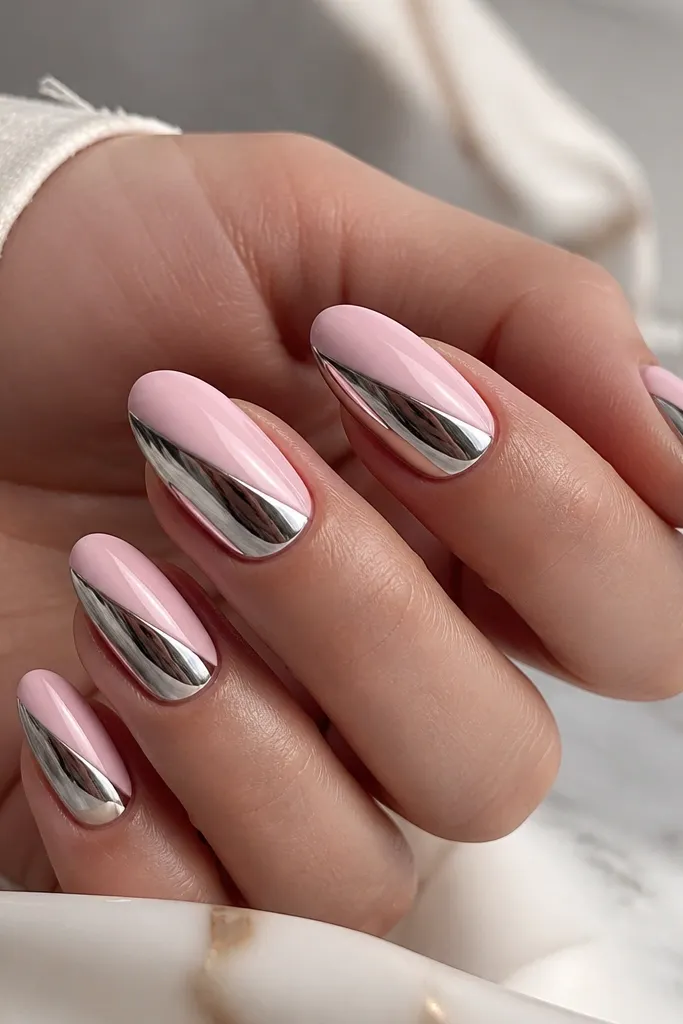
A diagonal split is graphic and modern, and chrome gives the "dressy" side. Keeping the other half a normal glossy soft pink prevents the set from looking too one-note. The sharp line is what makes it feel salon-level.
Paint the full nail soft pink first, cure. Apply a strip of tape to create the diagonal boundary, leaving one half exposed. Chrome the exposed half, cure, remove tape, then top coat. If you can see a ridge, lightly buff before top coat.
Pro tipPress tape down firmly at the edge - any lift creates a fuzzy line.
Watch outDon't use thick chrome gel under the chrome powder; it can look like a blob instead of a mirror.
8. Soft Pink Chrome Reverse French
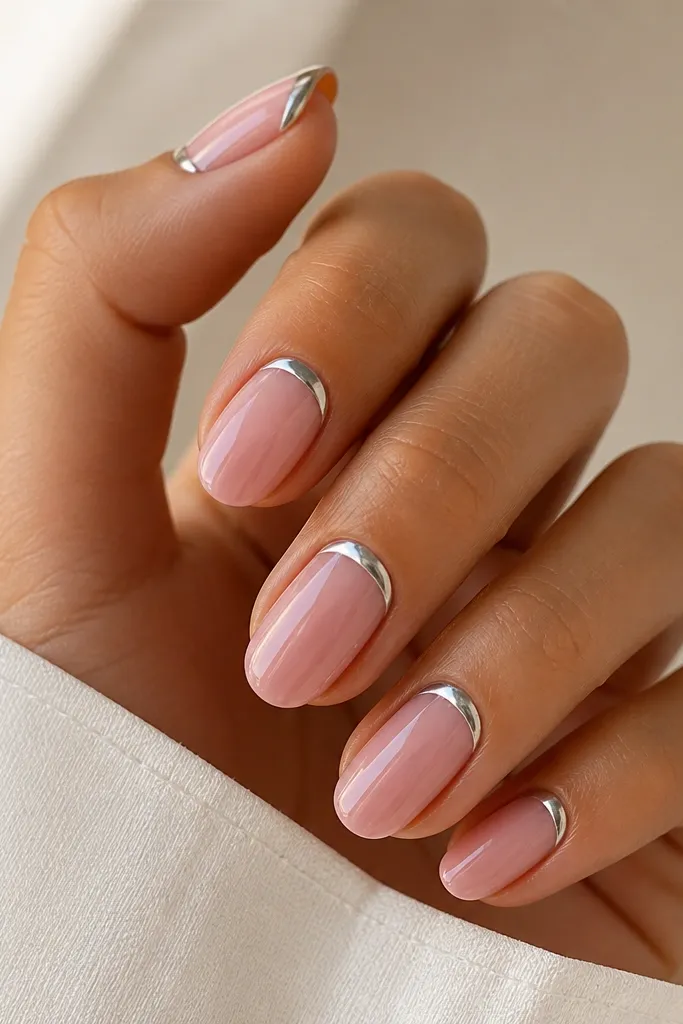
Reverse French makes your nails feel fresh without needing nail art panels. Chrome at the cuticle area frames your nail bed and looks flattering on most hand shapes. The soft pink base keeps everything wearable.
Use a smooth soft pink builder gel base, cure. Place a thin strip of vinyl or a French guide at the cuticle line to create the arc. Apply chrome powder only inside the arc, then seal with top coat so the edge stays clean.
Pro tipKeep the reverse French arc about 2 mm away from the sidewalls.
Watch outDon't let chrome touch the skin around the cuticle; it leaves stubborn residue and smudges the line.
9. Soft Pink Chrome Glitter Fade (No Bling Overload)
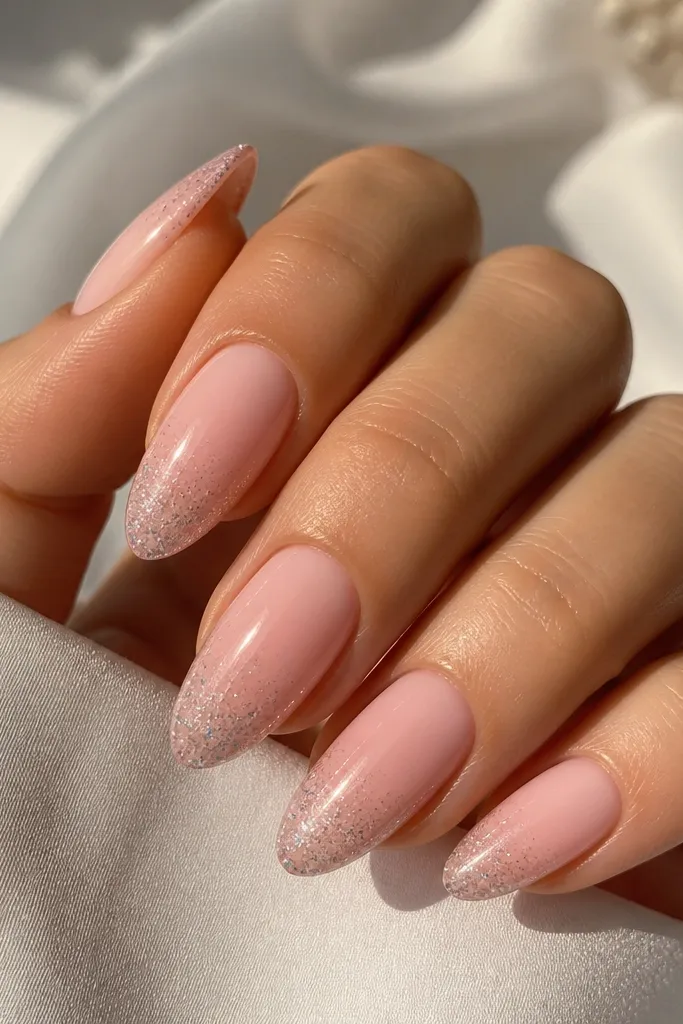
This gradient look is flattering because it feels like light is moving across the nail. The trick is controlling how far the chrome fades so it doesn't look like a patchy accident. It also hides growth because the center stays softer and less reflective.
Start with a sheer milky blush base. Apply chrome powder at the tips first, then gently buff and drag a tiny amount upward using a makeup sponge. Cure and seal carefully so the gradient stays smooth.
Pro tipUse a light hand with the sponge. Pressing hard makes the gradient look like a harsh block.
Watch outDon't overbuild chrome near the cuticle; it makes the nail look top-heavy.
10. Soft Pink Chrome Leafy Outline
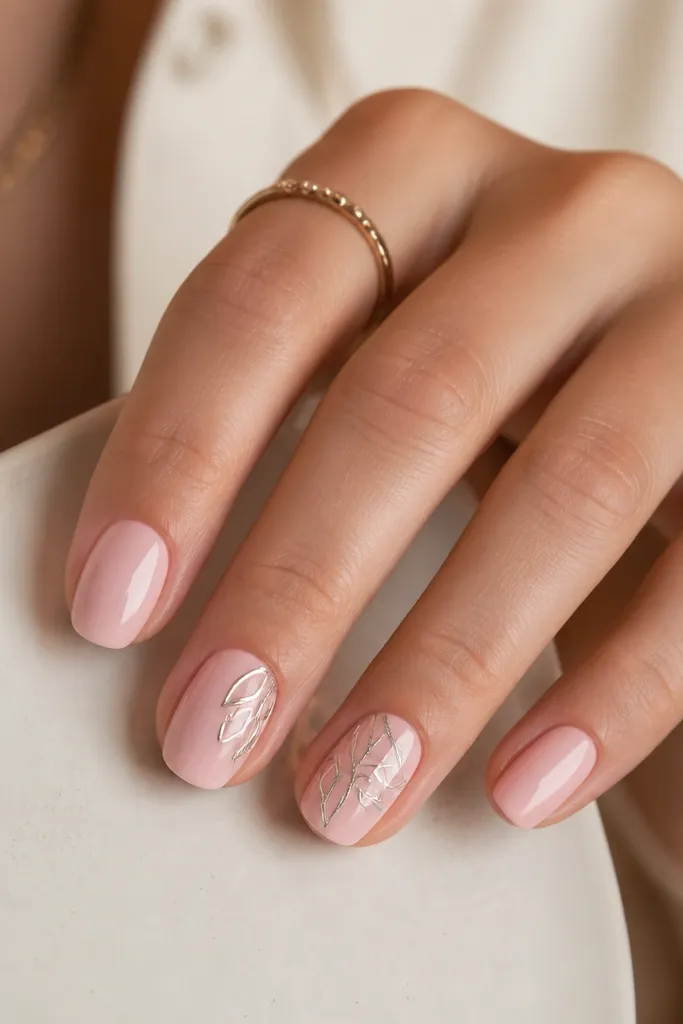
Leaf outlines look delicate, and chrome makes the lines crisp without needing actual metal charms. I like doing this on two accent nails because it keeps the set balanced and cheaper than covering every nail. The soft pink background keeps the leaves from feeling too edgy.
Paint all nails soft pink, cure. On two nails, draw small leaf outlines using a thin liner brush and tacky gel. Cure, apply chrome powder along the lines, then top coat. Don't fill the leaf shapes - just outline.
Pro tipKeep leaf shapes small - around 5-7 mm long - so they look refined.
Watch outDon't thicken the outline; thick chrome lines read like sloppy marker.
11. Soft Pink Chrome Aura Around the Cuticle
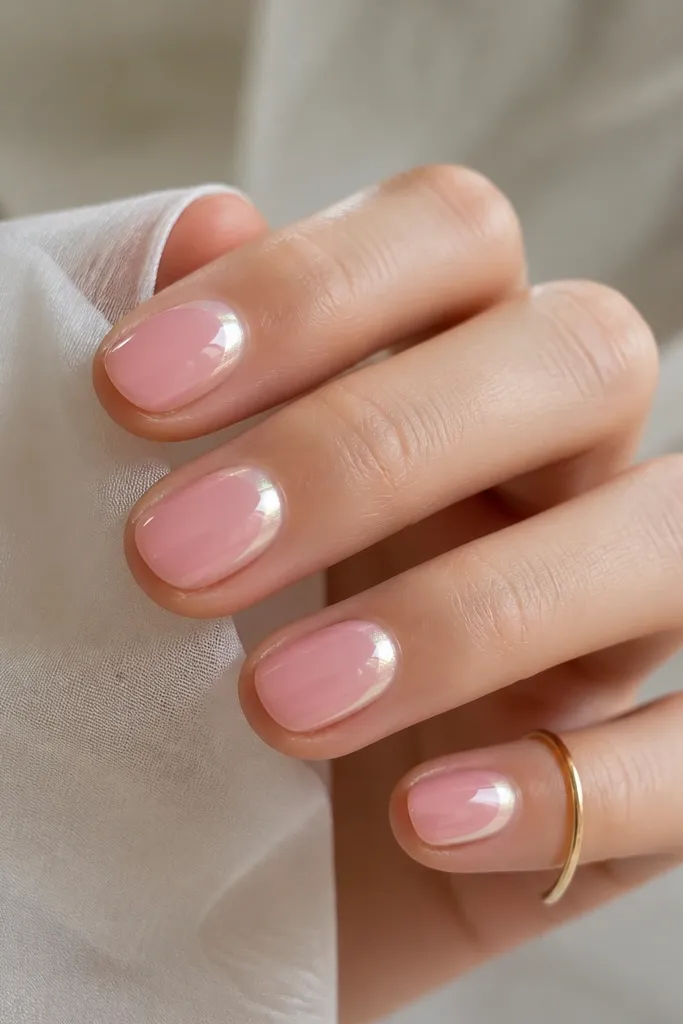
Aura nails look expensive because the gradient glow feels airbrushed. Chrome does the glow part instantly. The soft pink base makes the aura look gentle instead of icy.
Apply base blush, cure. Use a small makeup sponge to dab tacky gel in a ring around the cuticle, then cure. Press chrome powder into the ring and gently buff outward so the center stays soft. Seal with top coat.
Pro tipUse a sponge that's slightly firm, not fluffy, so you get a tight halo edge.
Watch outDon't start the aura too high on the cuticle - if it touches the skin, it smears.
12. Soft Pink Chrome Candy Stripe
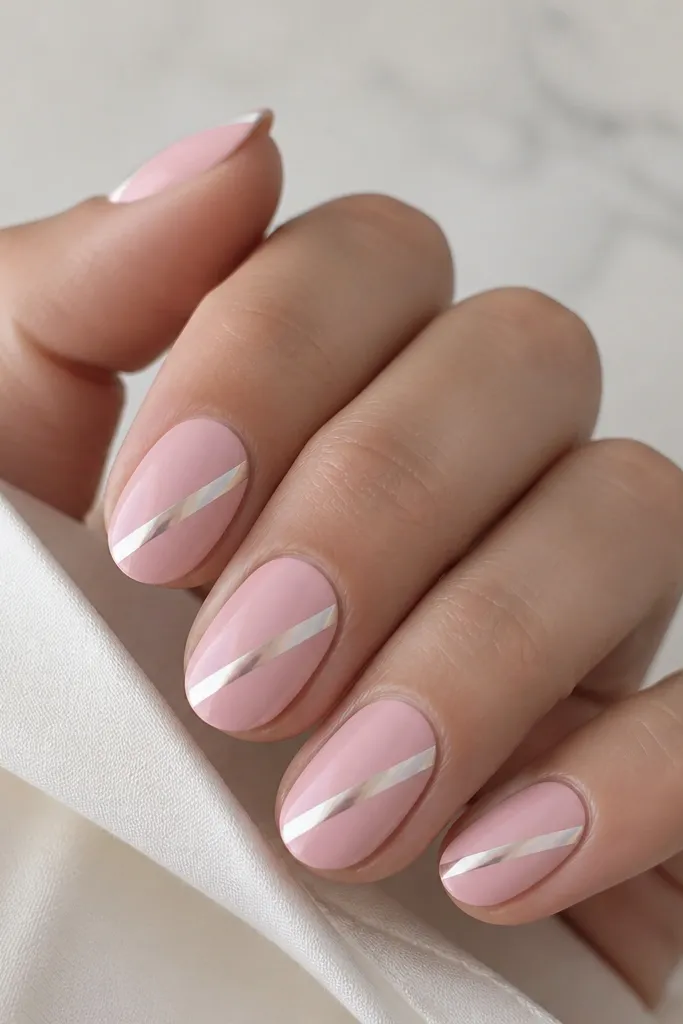
Candy stripes are playful but still classy when you keep them thin and spaced. Chrome on one stripe adds a bright highlight without making the whole nail too busy. Soft pink as the base keeps it from looking like circus glitter.
Paint a smooth soft pink base, cure. Use striping tape to place a diagonal line; keep it 1.5-2 mm wide. Apply chrome powder where the tape exposes the line, cure, remove tape, then top coat to lock the edges.
Pro tipPress the tape edges with a silicone tool so the line stays crisp after chrome.
Watch outDon't use wide tape; wide stripes make short nails look chunky.



