1. Baby Sky Half-Moon With White Micro-Line
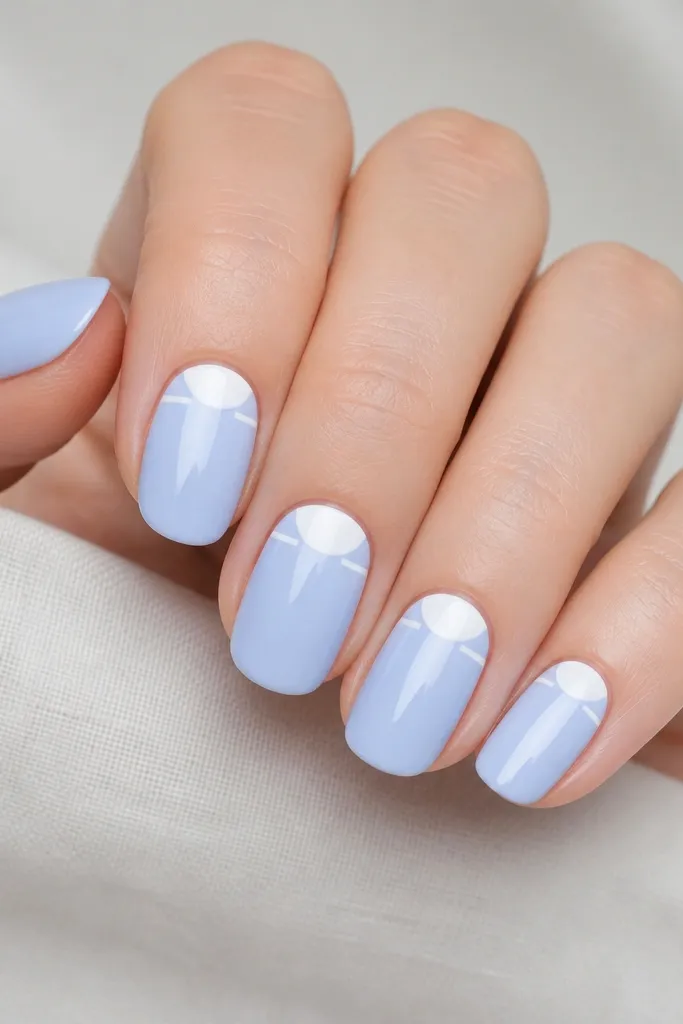
This look is airy and very forgiving because the half-moon hides tiny cuticle mistakes. The sky blue is the main color, while the white micro-line gives structure so the nails don't look flat. I like using opaque white gel or polish because it stays bright against the pastel.
Use a tape half-moon guide or cut a small arc from striping tape and place it at the cuticle. Paint sky blue first, cure/dry, then remove the tape and fill the exposed arc with white. Finish with top coat and cap the tip.
Pro tipIf your white looks streaky, do two thin coats instead of one thick coat to avoid bubbles.
Watch outDon't paint the half-moon too wide - if it reaches the middle, it starts looking like a sticker.
2. Sky Blue Ombre Fade Into Clear Tips
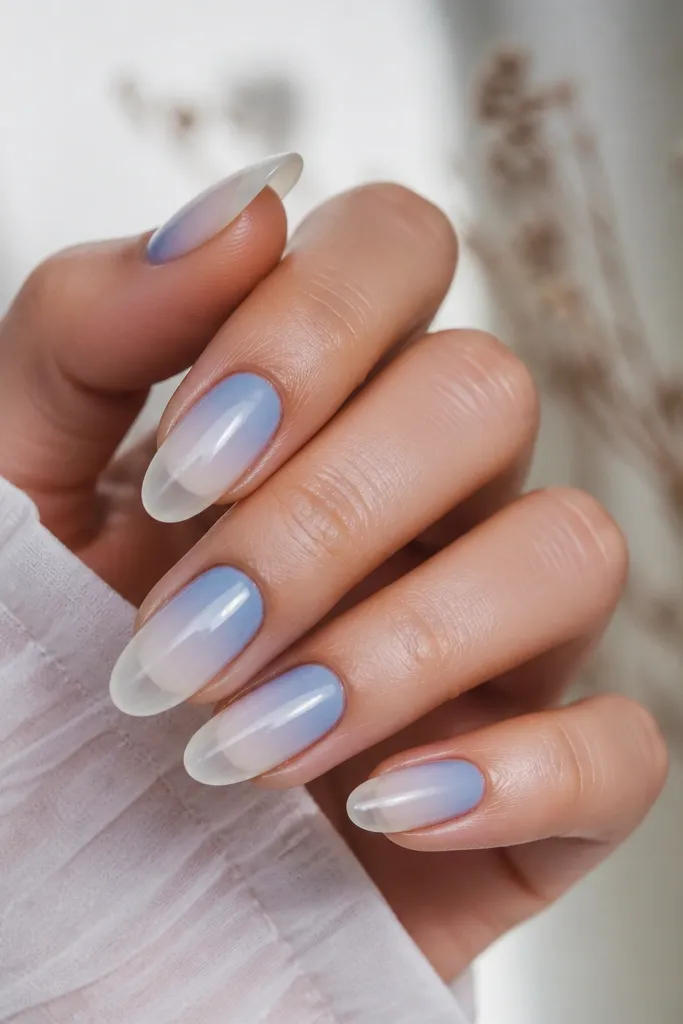
Ombre works because the blur hides application lines. Sky blue near the cuticle looks fresh, and a clear-ish tip keeps it looking light instead of heavy. I've found this design makes short nails look longer because the gradient pulls the eye upward.
Start with base coat. Sponge sky blue on from the cuticle down into the center, then gently dab the sponge upward to blend. Leave the tip mostly clear. Seal with a thick top coat so the fade looks smooth.
Pro tipWipe the sponge on a paper towel once before you dab - it prevents blobbed pigment.
Watch outSkip heavy pressure on the sponge or you'll get a muddy center.
3. Diagonal Sky Stripe With Nude Base
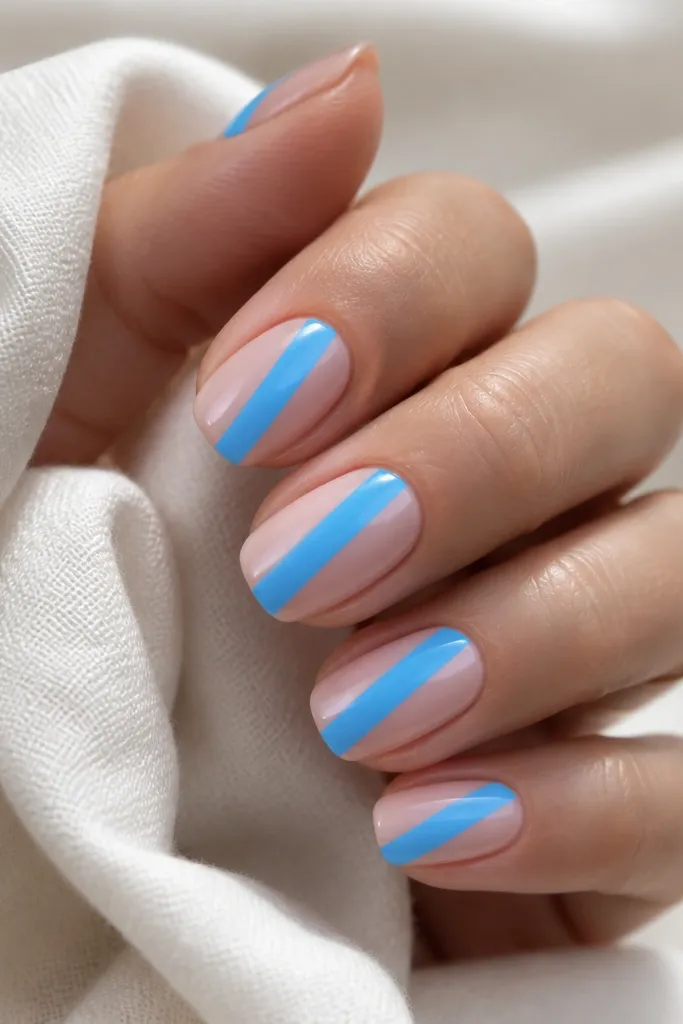
This is the cleanest beginner design because the stripe is controlled by tape. Nude under it makes the sky blue pop without looking too loud, and the diagonal angle adds movement. It looks sharp even with short nails.
Paint nude first (two thin coats). Apply striping tape diagonally at the angle you like and press down firmly. Paint sky blue over the tape, remove tape while polish is still slightly tacky, then top coat.
Pro tipUse a flat gel brush to clean the edges right after you peel the tape.
Watch outDon't remove the tape after the polish fully dries or you'll tear the edges.
4. Tiny Cloud Dots Over Sky Blue
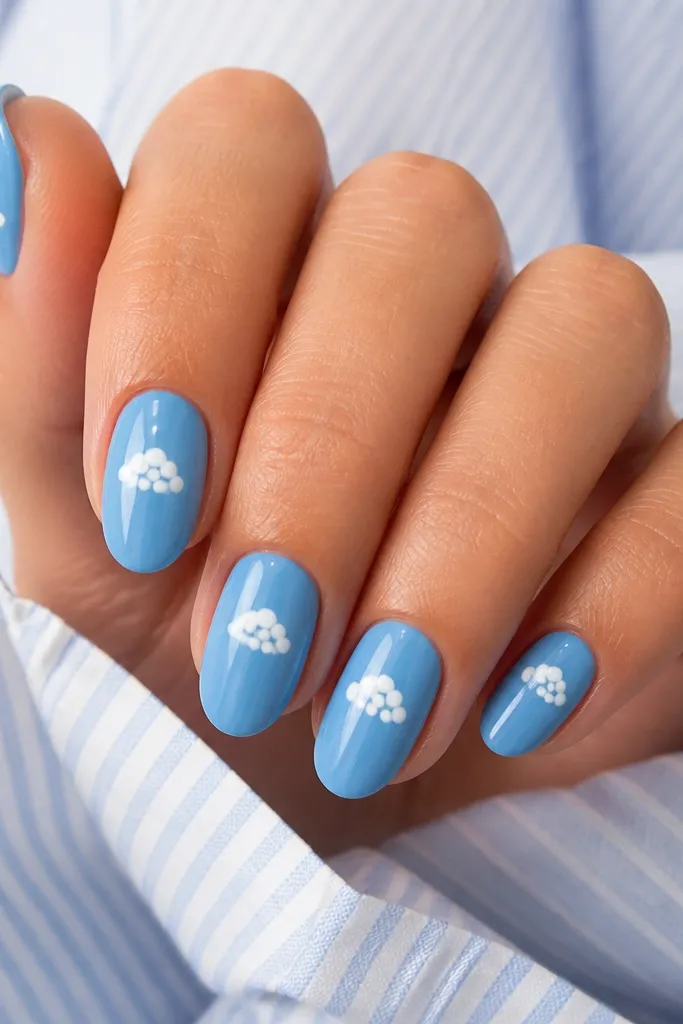
Dots are beginner-friendly because you don't need perfect drawing skills. The white dot clusters look like clouds without turning into cartoon art. Keeping them small keeps the design classy and not childish.
Paint sky blue base. Use a dotting tool (or the back of a bobby pin) to place 5-7 white dots in a cloud pattern. Add one tiny dot slightly lower for a "puff." Finish with top coat.
Pro tipIf your dots run, let your sky blue dry completely before you add white.
Watch outDon't outline the cloud with a line - it makes it look messy.
5. Silver Chrome Crescent Accent
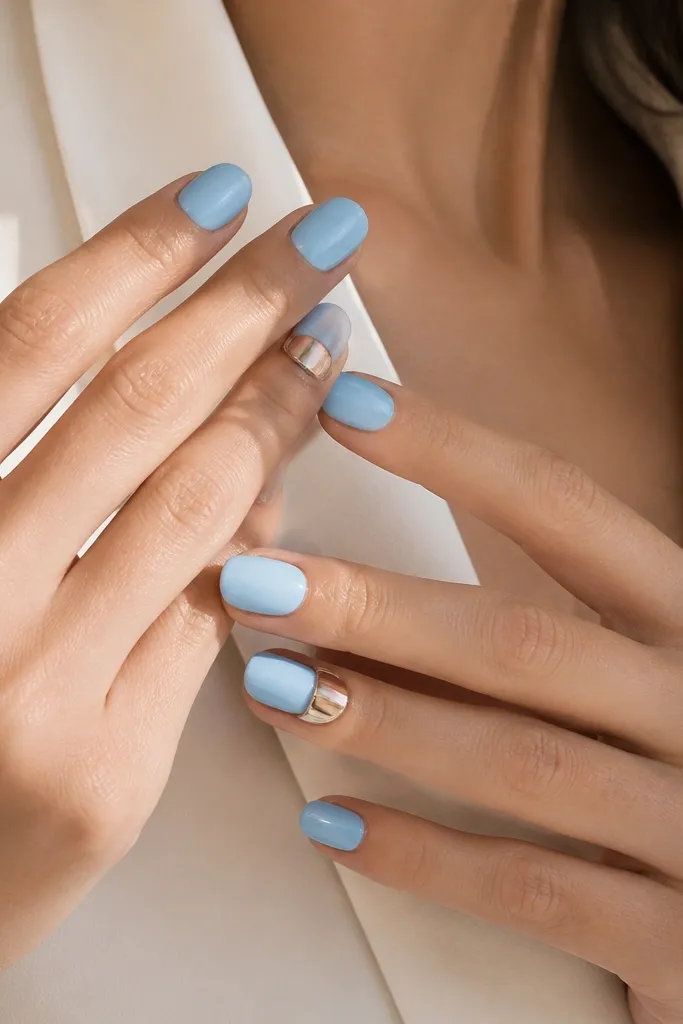
Chrome adds that "done" look instantly, and the crescent shape is easy to place. Sky blue gives a cool background, and silver chrome looks clean instead of warm. This one is great if you want something pretty but not busy.
Paint all nails sky blue. On your accent nail, place a small crescent of striping tape at the cuticle, then apply chrome powder or chrome gel over the exposed arc. Remove tape carefully and seal with top coat.
Pro tipUse a lint-free wipe after chrome so the surface stays smooth and reflective.
Watch outDon't put chrome over thick gel - it can lift or wrinkle when you cap.
6. Matte Sky Blue With Glossy White Star
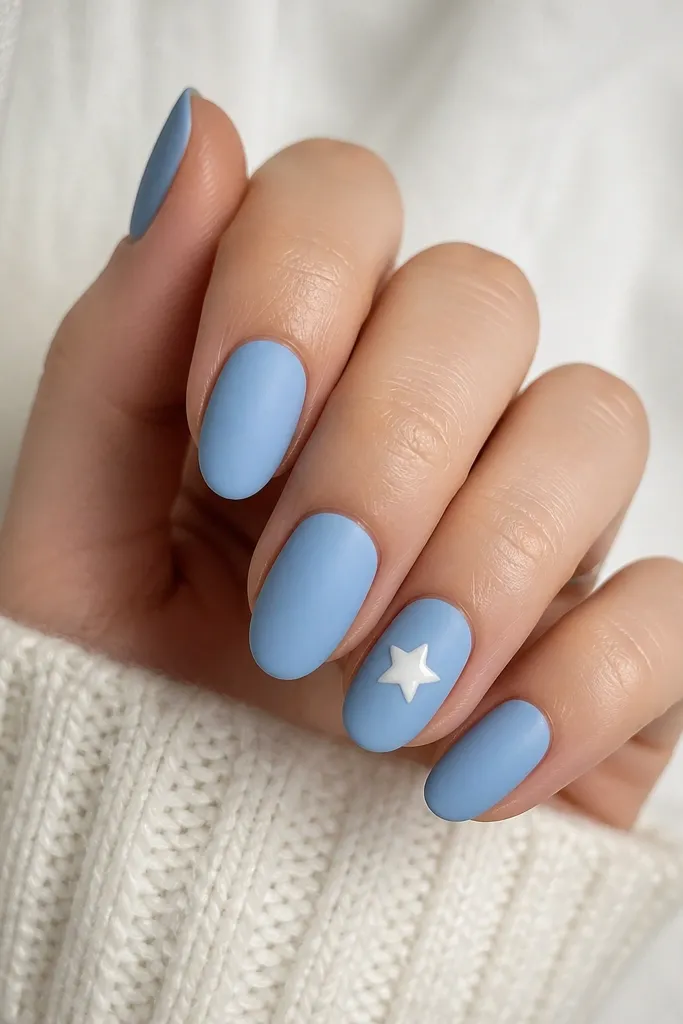
Matte polish makes sky blue look like it's lit from inside. The glossy star pops because it creates a shiny focal point. This contrast is the whole trick, and it looks intentional even with simple shapes.
Paint sky blue, let it cure/dry. Apply matte top coat to all nails except the star nail. For the star, use a small star stencil or freehand with a fine brush and white gel. Seal the star area with glossy top coat only.
Pro tipIf your star looks uneven, do it in two passes: base star shape, then thicken the edges.
Watch outSkip matte top coat over the star or the shine will disappear.
7. Sky Blue French Tips With Thin White Edge
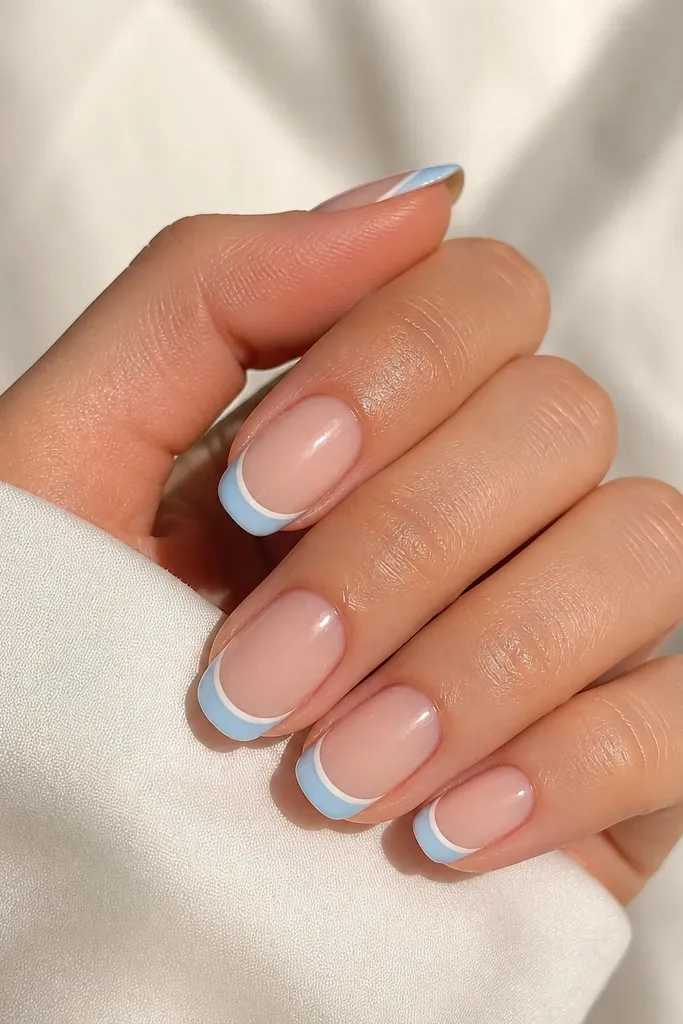
French tips look neat because the nail border is already defined. Sky blue tips keep it modern, and the thin white edge makes it crisp. This is also one of the best designs for beginners because the tape does the work.
Paint nude base. Use French tip guides or apply striping tape to mark the tip line. Paint sky blue on the tips, then brush a thin white line right at the tip edge. Top coat all nails and cap the free edge.
Pro tipUse a small angled brush for the white border so you don't flood it.
Watch outDon't make the French curve too high on short nails or the tip will look stubby.
8. Starry Night Speckles in Sky Blue
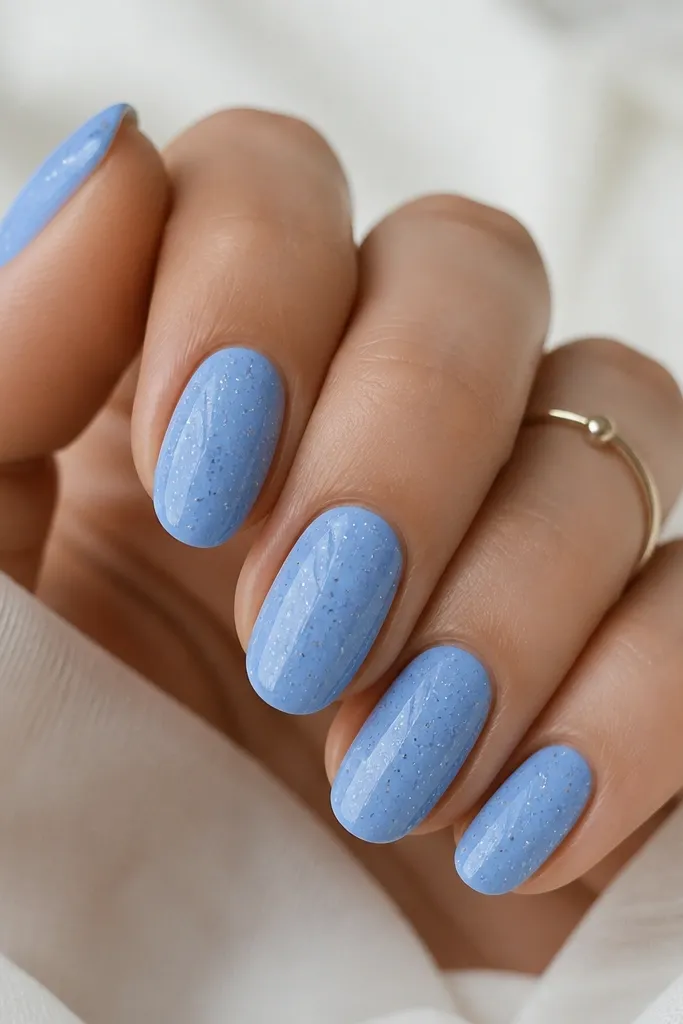
Speckles are forgiving because the pattern doesn't need symmetry. The mix of white and tiny silver dots makes the sky blue look deeper, not flat. This one reads "sky" without needing big cloud shapes.
Paint sky blue base. Dip a dotting tool into white polish and tap lightly for small dots. For silver, use fine glitter polish or a metallic acrylic paint dabbed on sparingly. Seal with a medium-thick top coat to smooth texture.
Pro tipPractice your tapping on a spare nail first - you want scattered, not clustered.
Watch outDon't use chunky glitter or you'll feel it snag on hair and fabric.
9. Clear Jelly Sky Blue With Layered Glaze
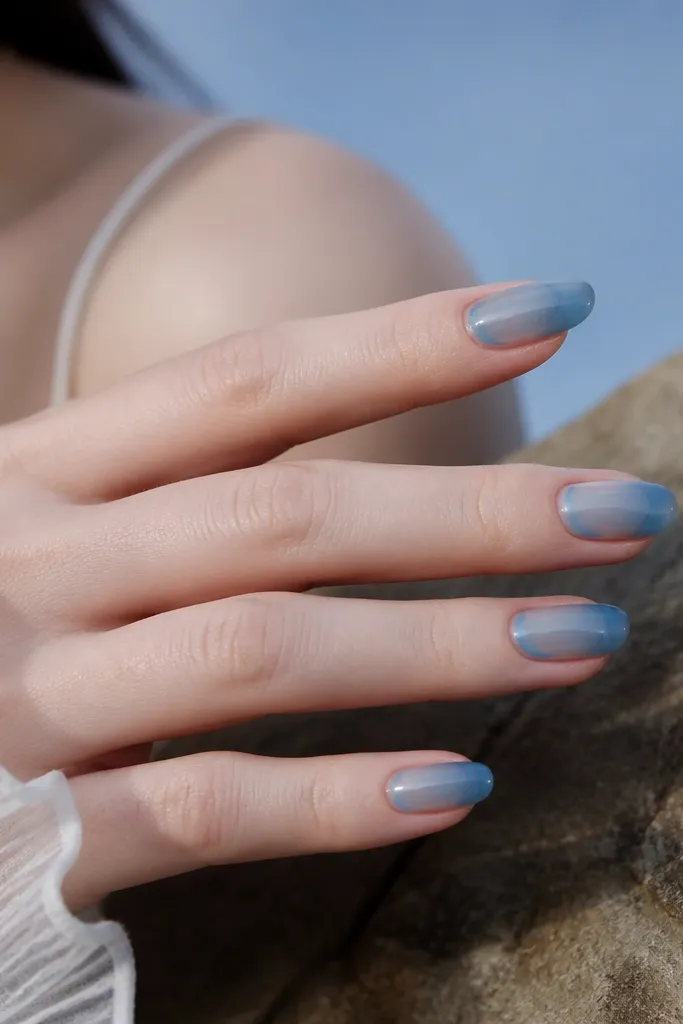
Jelly layers give a soft, expensive look because the nail still shows through. It's flattering on all lengths and hides small brush strokes. The glaze effect looks like a manicure you paid extra for.
Start with base coat. Apply a jelly sky blue in thin layers, letting it self-level between coats. Add a second layer only on the center for depth, then cap with a high-shine top coat.
Pro tipThin layers cure better and stay smooth, so do 3 light coats instead of 1 heavy coat.
Watch outDon't overwork the jelly while it's wet or it will streak.
10. Sky Blue Marble Using Soap-Swish Technique
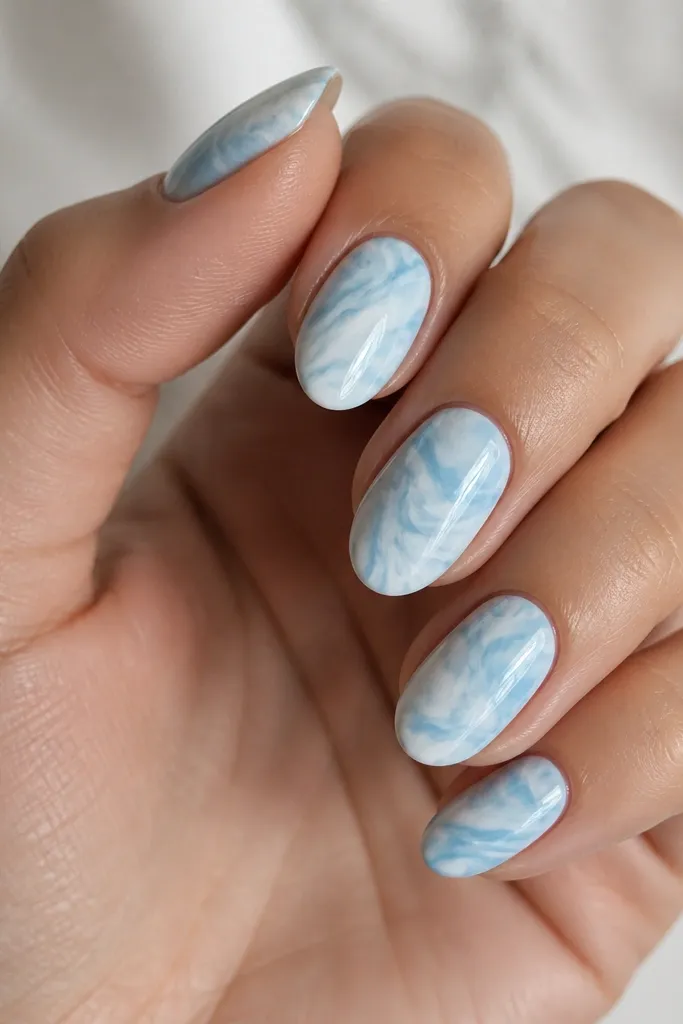
Marble scares beginners, but the soap-swish method keeps it controlled. The thin, wispy swirls look like real stone, and sky blue gives it a fresh, cool palette. I like it for hands because every nail ends up slightly different - that's what makes it look natural.
Mix a little white and sky blue polish with a drop of dish soap in a cup of water. Swish gently with a toothpick, then dip a sponge or nail (depending on your method) for a brief transfer. Clean edges with a brush, then seal with top coat.
Pro tipUse a toothpick to pull only a few lines - too much swishing makes it muddy.
Watch outDon't let the polish sit too long in the water or it will thicken and won't transfer cleanly.
11. Sky Blue Outline Hearts on Nude
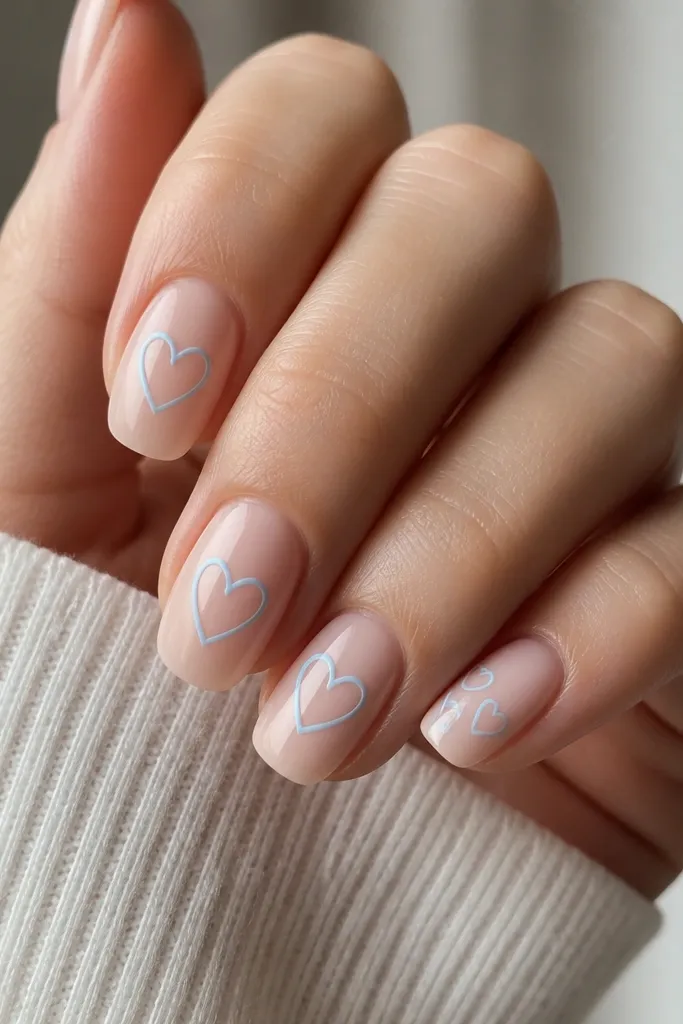
Outline hearts look cute without taking over the whole nail. Nude makes the hearts look crisp, and the thin sky blue lines keep it modern. This is a great "first nail art" because you're drawing simple shapes, not filling big areas.
Paint nude base. Use a fine nail art brush or a heart stamp if you have one. Draw two curved lines meeting at a point, then connect the bottom. Add small dots as accents if you want, then top coat.
Pro tipIf your line wobbles, wipe the brush tip and redraw the line once - don't try to thicken it in place.
Watch outSkip thick paint for outlines or it will blob at the edges.