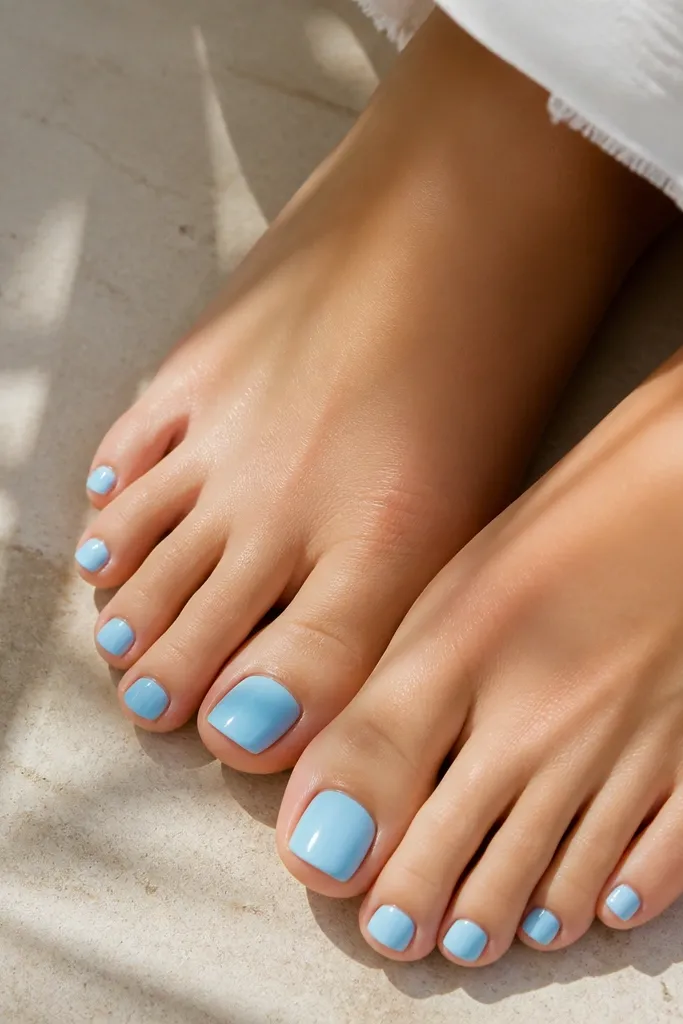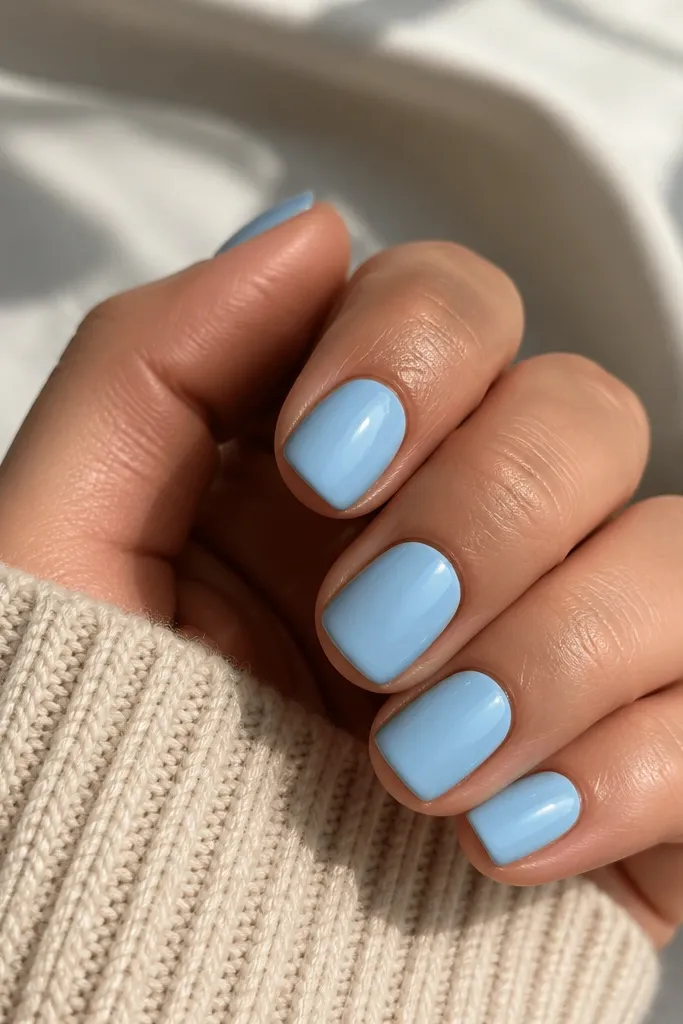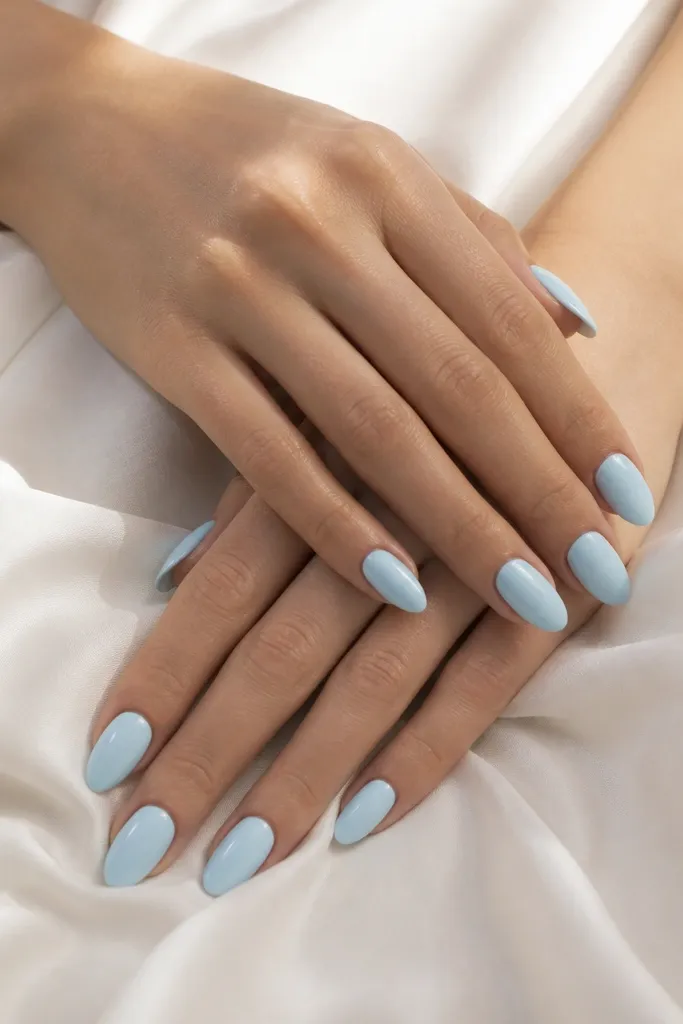
1. Cloud-Edge French on Short Squoval
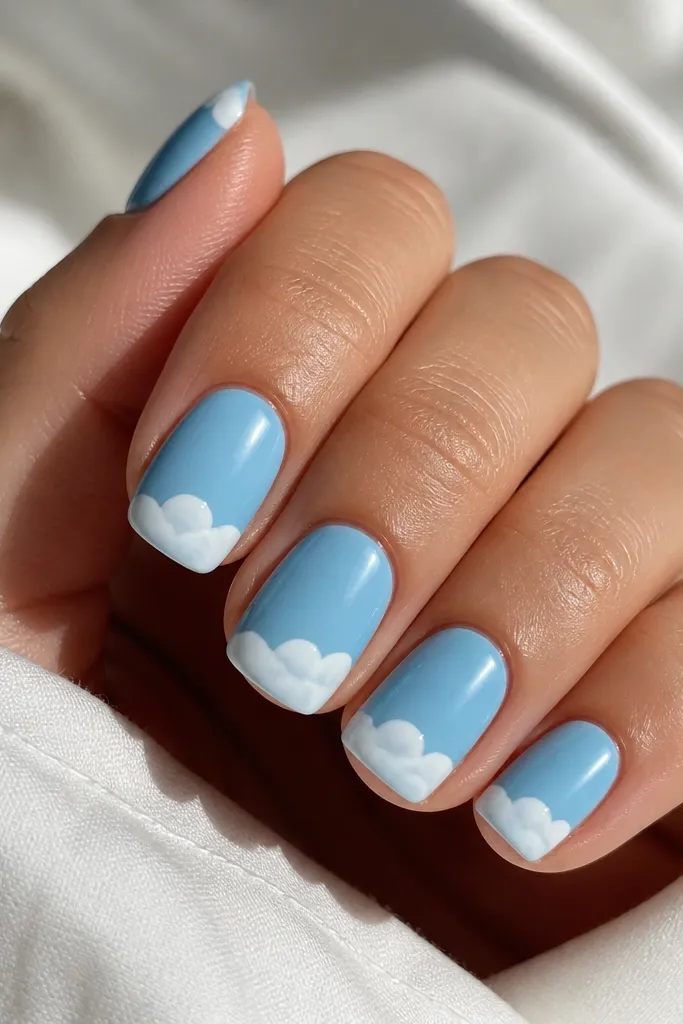
This look uses sky blue as the full base, then replaces a straight French tip with a cloud edge. The white is opaque (not translucent), so it reads as "cloud" instead of chalk. Glossy sky blue plus matte-then-gloss cloud texture gives it depth without adding length.
Paint two coats of sky blue, keeping the cuticle line crisp. Add the cloud edge with a small sponge or a thin dotting tool by tapping irregular bumps across the tip area. Let it dry/cure, then seal with a glossy top coat only after the edges feel fully set.
Pro tipIf you mess up the cloud edge, wipe with acetone on a thin brush before top coat. Once it's sealed, cleanup is way harder.
Watch outAvoid glittery white tips - they look messy on short nails and turn the cloud into a snowball.
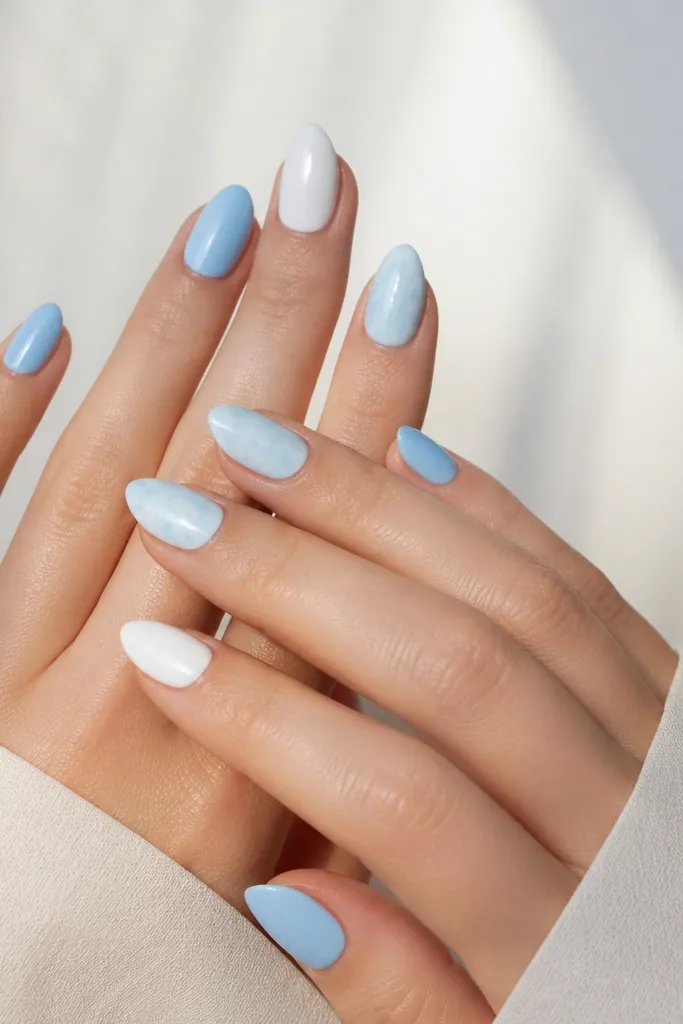
2. Sky Blue Milk Bath Marble with White Vein
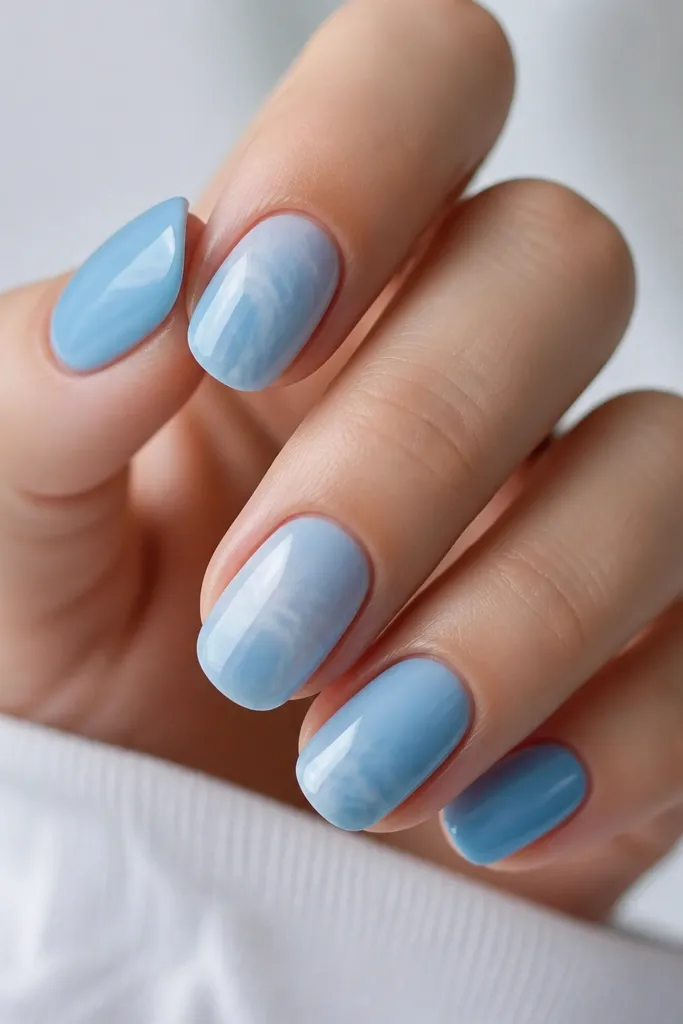
Milk bath marble gives you movement without needing long nail length. The sky blue is the "water," and the white vein pulls the eye up the nail. Because the veins are thin, the design stays airy and does not feel heavy in a compact space.
For gel, paint a base of sky blue on all nails. For the marble nails, drag small streaks of diluted white gel from cuticle to tip, then swirl once with a toothpick. Cure, then add a medium-thickness top coat so the marbling looks smooth, not bumpy.
Pro tipUse a white gel that is slightly runny; thick white looks like blobs instead of veins.
Watch outSkip big chunks of white - thick marble makes short nails look crowded.
3. Tiny Star Accent on Sky Blue Gloss
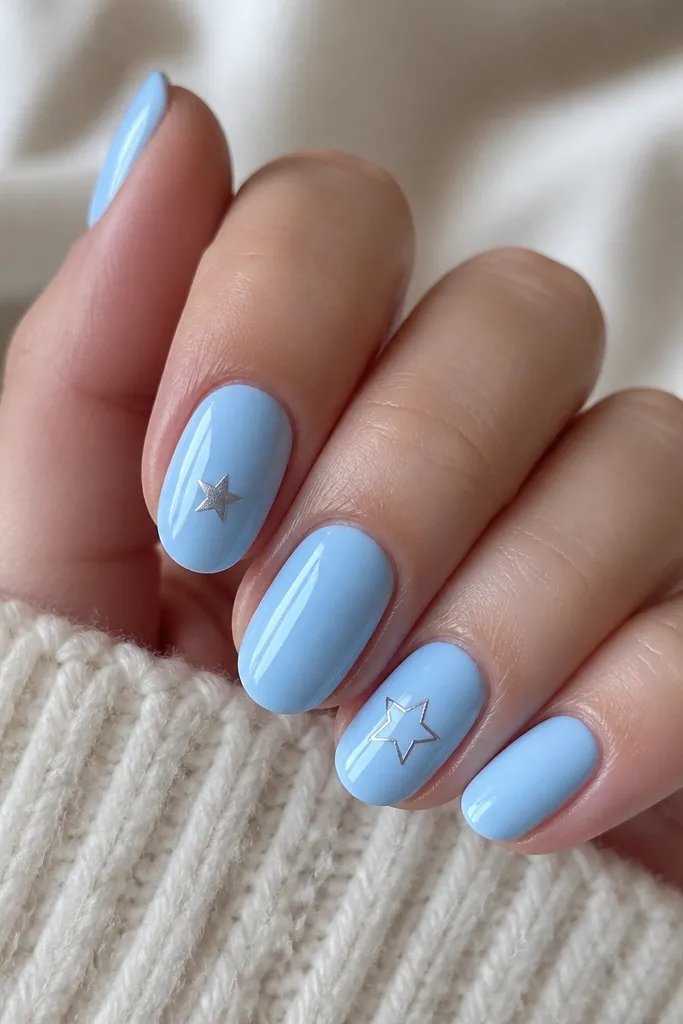
A single star makes sky blue feel playful without turning into a theme manicure. Silver works because it reflects light and adds contrast against the soft blue. The design also hides minor application imperfections because the eye goes to the center detail.
Paint two coats of sky blue and cure/dry fully. Place one star decal or hand-paint a tiny star using a dotting tool tip, then seal with top coat. Keep the star about halfway between cuticle and tip, not too close to either edge.
Pro tipPress decals down with a lint-free wipe wrapped around a fingertip. It removes air bubbles fast.
Watch outDo not put stars on every nail. On short nails it looks like a sticker sheet.
4. Matte Sky Blue with Gloss Half-Moon
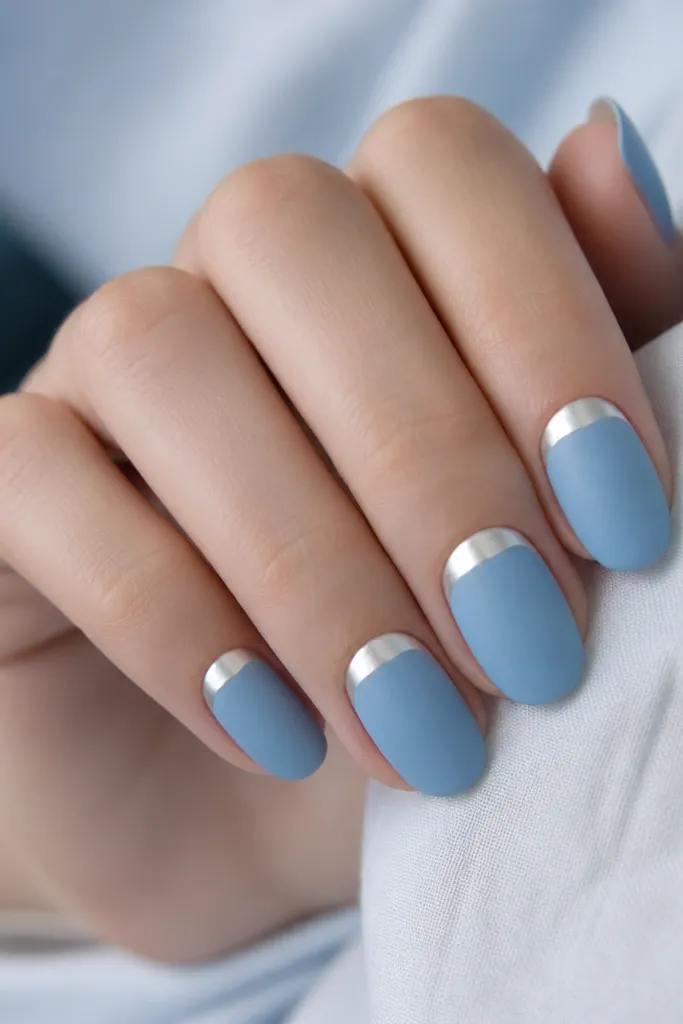
Matte makes sky blue look velvety and expensive, but matte alone can look flat. The glossy half-moon adds a bright focal point right at the cuticle, which also makes nails look a touch longer. Choose white or soft silver for the crescent so it stays clean.
Start with two coats of sky blue and cure/dry thoroughly. Apply matte top coat over the whole nail. Use striping tape to mask a half-moon shape, then apply glossy top coat or glossy gel in the crescent area and cure.
Pro tipIf your half-moon edges look fuzzy, remove the tape while the glossy gel is still slightly tacky.
Watch outAvoid thick glossy crescents - they look like a sticker edge. Keep it thin and even.
5. Diagonal Sky Blue Tape Lines on Nude Base
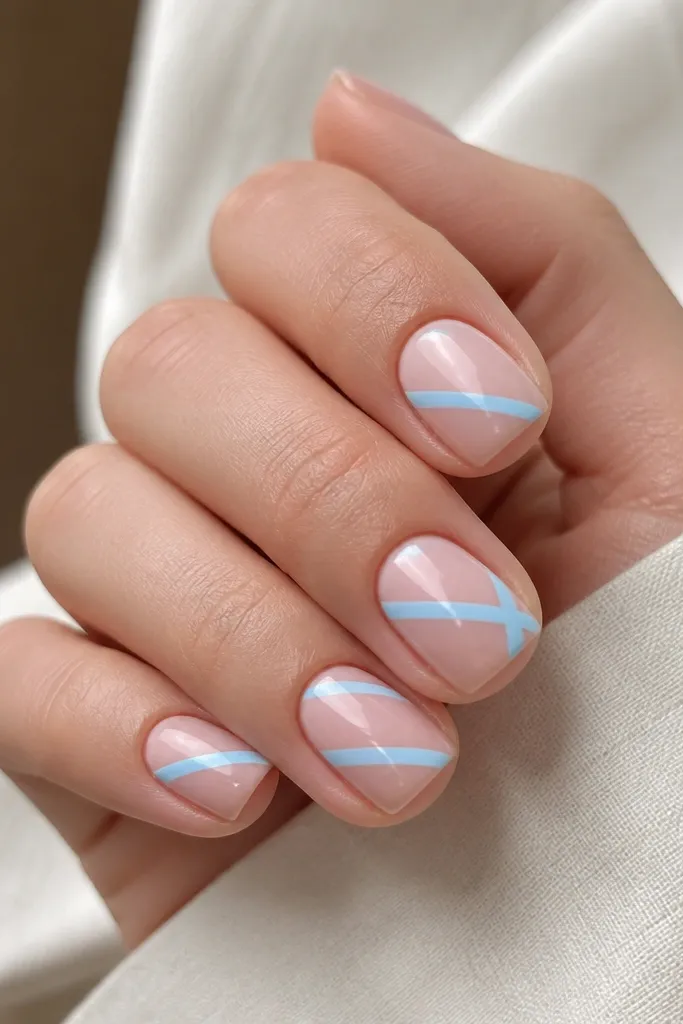
This one tricks the eye into thinking your nails are longer. The sky blue stripes are narrow, so they add color without covering the nail bed. The nude base keeps it wearable, and the diagonal angle creates movement.
Use a nude-pink base (sheer pink or milky nude) and cure/dry. Apply striping tape diagonally, then paint sky blue over the exposed sections. Remove tape before full dry, then seal with glossy top coat.
Pro tipMake the stripes about 1-2 mm wide so they look crisp, not chunky.
Watch outDo not use wide tape - it turns into blocky color on short nails.
6. Ombre Sky Blue Fade to Milky White
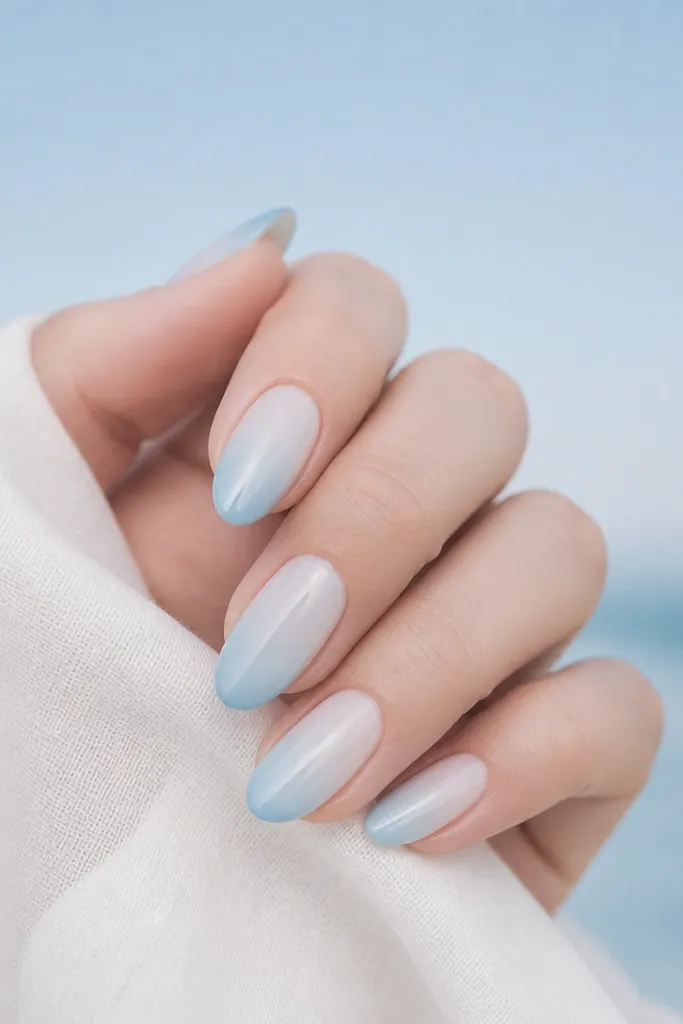
Ombre works great in small apartments because you can do it with a sponge in a few minutes. The fade makes sky blue feel gentle and airy. Milky white keeps the transition from looking like a harsh split color.
On gel, sponge sky blue starting at the tips and blending upward, then sponge milky white near the cuticle. Use a makeup sponge and dab off extra product on paper towel first. Cure in thin layers so the gradient stays smooth.
Pro tipWipe the sponge edge on a lint-free wipe between nails. It stops muddy overlap.
Watch outSkip one heavy coat of sky blue on the sponge. It creates a stripe instead of a fade.
7. Sky Blue Glaze with Clear Jelly Top Coat
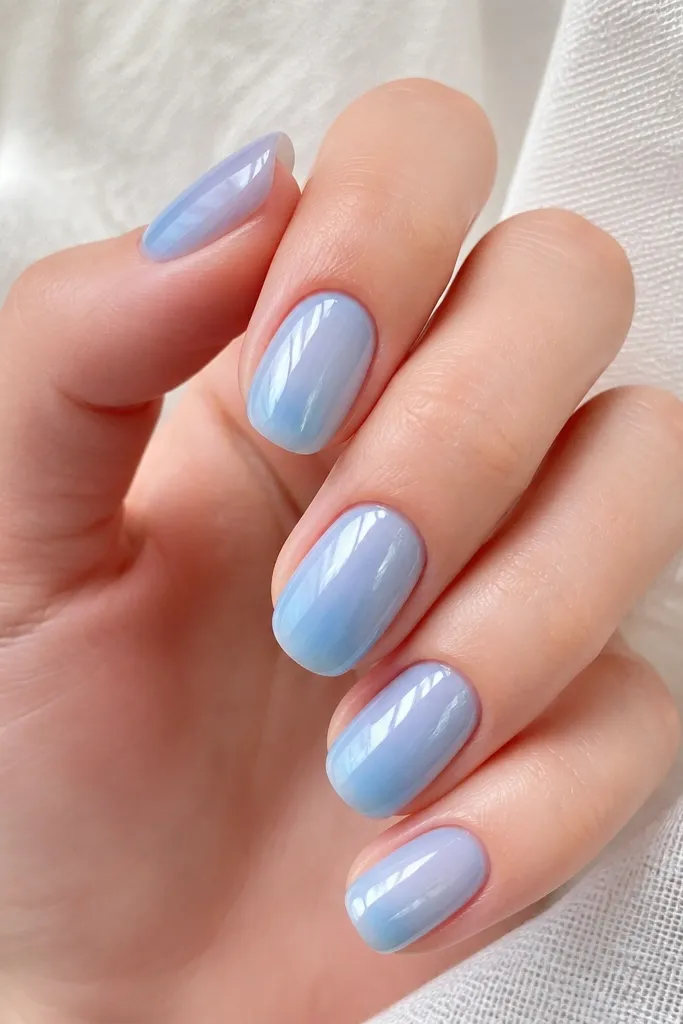
A glaze finish makes sky blue look like it's floating under a clear layer. It's especially flattering if your sky blue polish is a little translucent, because the jelly top coat evens out the look. It also looks great in photos because the light reflects in a smooth dome.
Paint sky blue as a thin base coat, not thick. After curing/drying, add a clear jelly top coat (or a clear gel layer) over the whole nail. Cure fully, then check for any streaks and add one more thin clear coat if needed.
Pro tipIf you see streaks, buff lightly with a very soft file once the base is cured, then apply the jelly top coat again.
Watch outAvoid skipping the base thickness check. Too thick under jelly looks cloudy.
8. White Dotted Sky Blue Polka Half-Moons
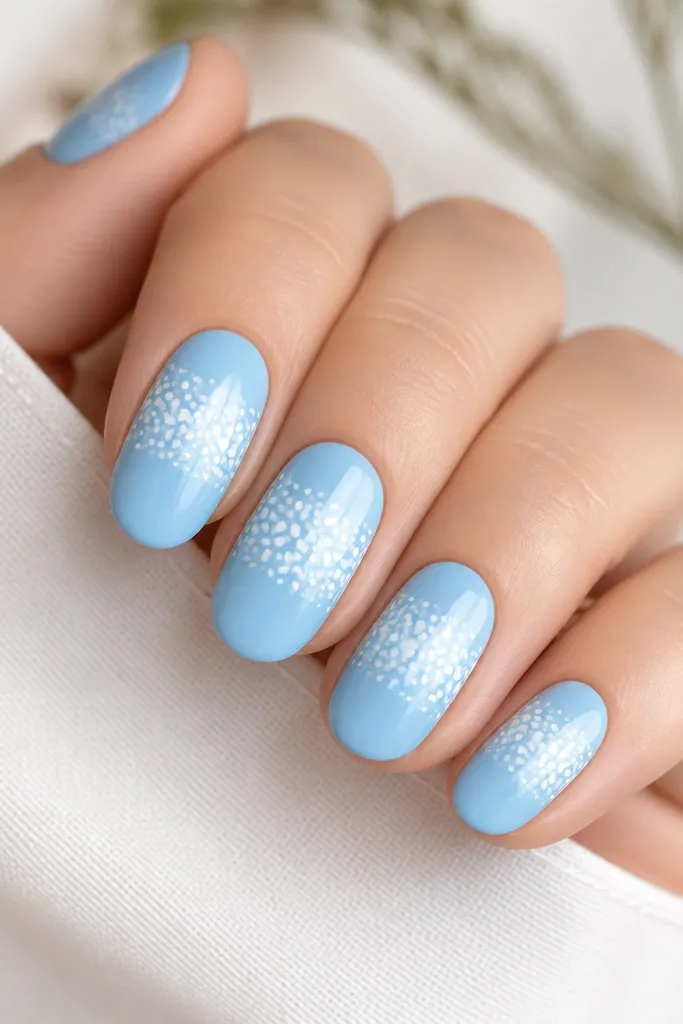
Concentrating dots into a band keeps the manicure from feeling busy. The half-moon placement centers attention and makes the nail look balanced. White dots on sky blue read crisp in both daylight and warm indoor lighting.
Paint two coats of sky blue. Use a dotting tool to place white dots in a curved band across the middle, leaving the cuticle and tip mostly plain. Keep dot spacing consistent, then seal with glossy top coat.
Pro tipDo the band first on one nail, then match the dot count on the rest so it looks intentional.
Watch outAvoid tiny dots all the way to the cuticle - it makes the nail look crowded.
9. Sky Blue Micro French with Clear Base
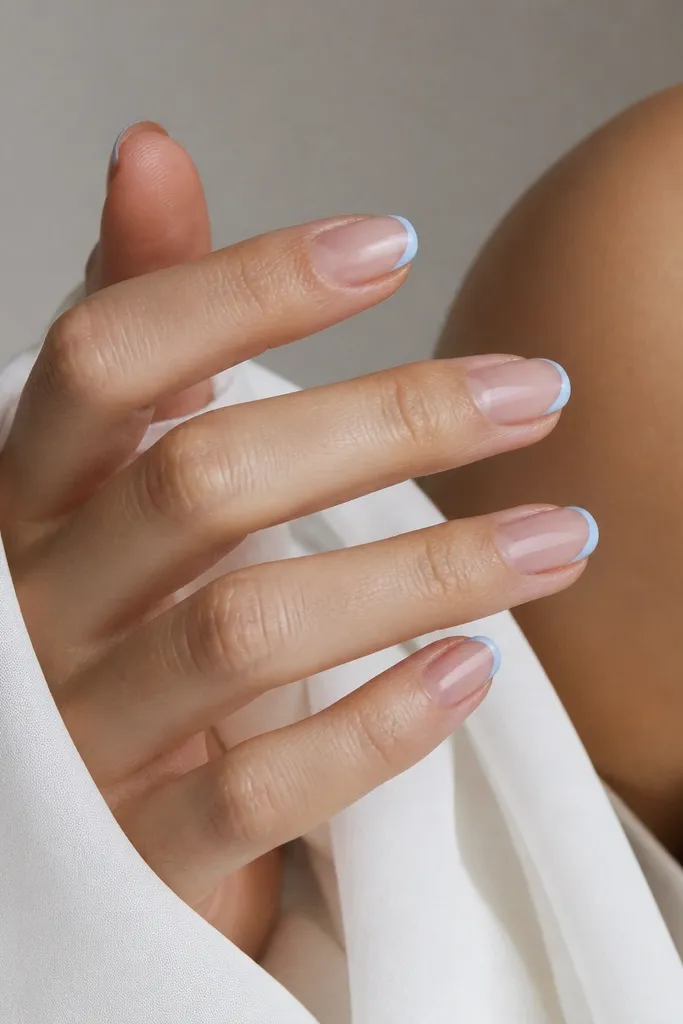
Micro French is my go-to when I want sky blue but I'm not in the mood for heavy design. The thin line makes the nails look tidy and longer, even on short lengths. Clear base keeps it light and makes the sky blue feel airy.
Use a clear builder gel or sheer nude polish as the base. Apply micro French with striping brush or tape, keeping the line under 1 mm. Cure/dry, then add a glossy top coat to smooth the tip edge.
Pro tipIf your line wobbles, use a small flat brush dipped in acetone to sharpen the sides before top coat.
Watch outSkip thick French lines - they look bulky and drag focus away from the clean base.
10. Sky Blue + Silver Chrome Cuticle Spear
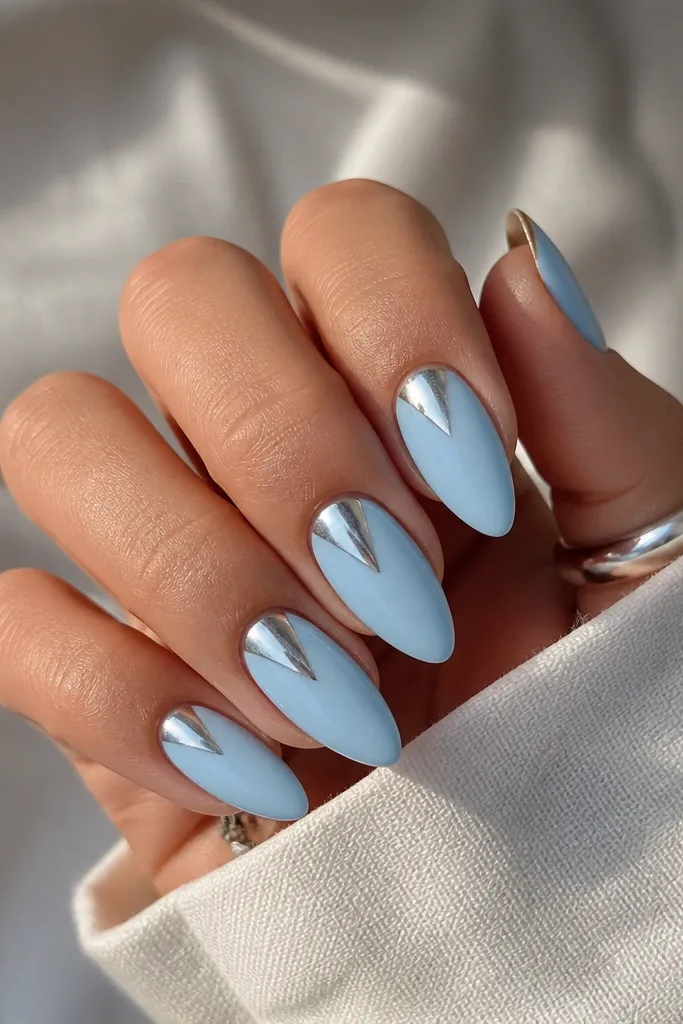
Chrome at the cuticle looks like a tiny spotlight. The spear shape gives you a vertical line, which makes nails look longer without adding length. I like silver chrome here because it stays cool and does not fight the blue.
Paint sky blue and cure/dry. Use a fine liner brush to place a small amount of base gel at the center cuticle area in a spear shape. Apply chrome powder over the tacky gel, then seal with top coat.
Pro tipUse a liner brush with a tiny tip and start with less chrome than you think. You can build it, but you cannot un-spread it.
Watch outAvoid chrome near the sidewalls on short nails. It lifts and catches on hair.
11. Sky Blue Watercolor Wash with White Borders
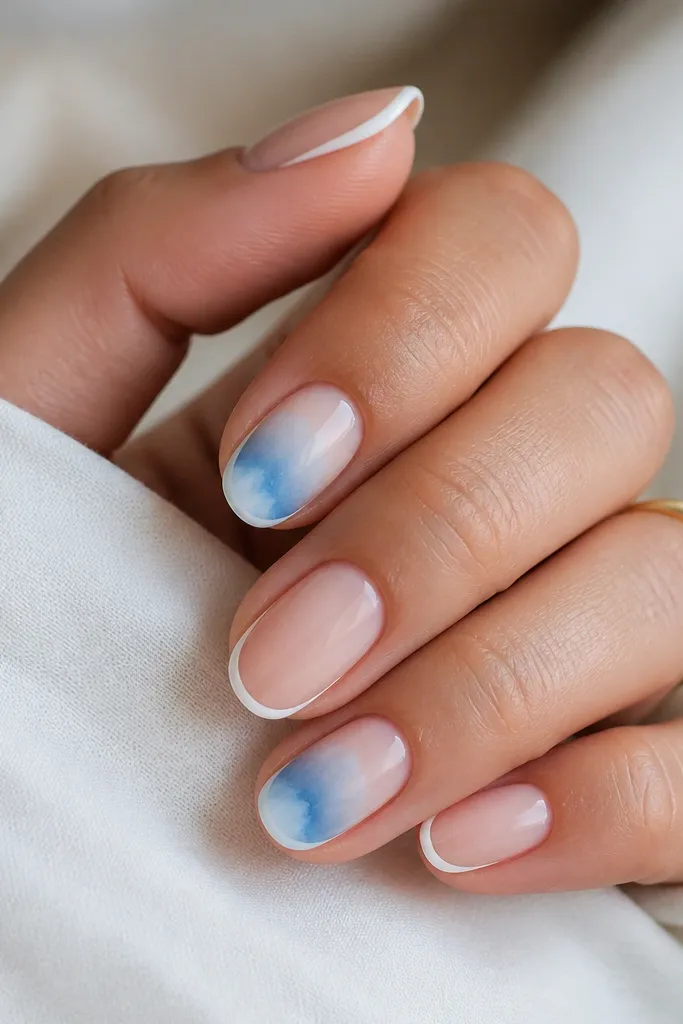
Watercolor wash makes sky blue feel artsy without needing nail art skills. The trick is framing it with thin white borders so it looks deliberate, not messy. This works well when you want something different but still wearable.
Paint a sheer base first. Sponge sky blue onto the center and let it bleed slightly into the edges. After it dries/cures, draw thin white lines along the sides and top edge, then seal with glossy top coat.
Pro tipUse two layers: one for the wash, one for the border. The border looks cleaner when the wash is fully set.
Watch outAvoid letting the wash reach the cuticle in a solid block. It makes the nail look stained.
12. Sky Blue Checkerboard Accent on Nude
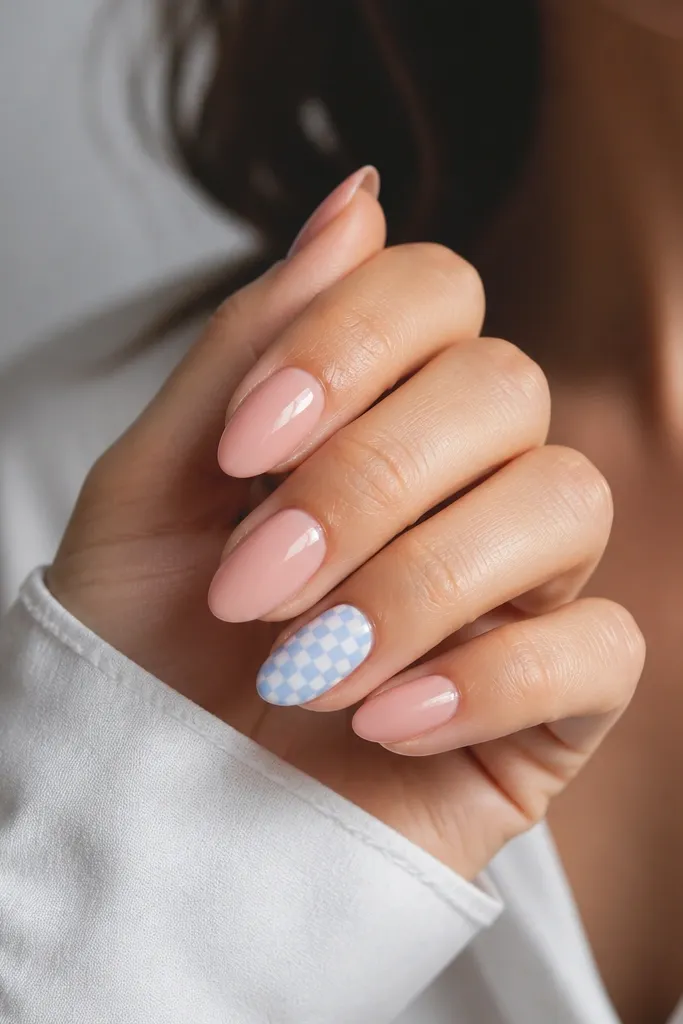
A checkerboard accent looks sharp even on short nails because the squares stay small. Keep the rest of the nails nude and glossy so the accent does the work. Sky blue squares feel playful, not childish, when the base is grown-up sheer pink.
Paint nude base on all nails. On one or two accent nails, use striping tape to create a grid, then paint sky blue. Remove tape, let dry/cure, then repeat for alternating squares if needed. Finish with glossy top coat.
Pro tipMake squares around 2-3 mm. Bigger squares look like toys on short nails.
Watch outAvoid freehand checkers. Tape makes it look expensive.