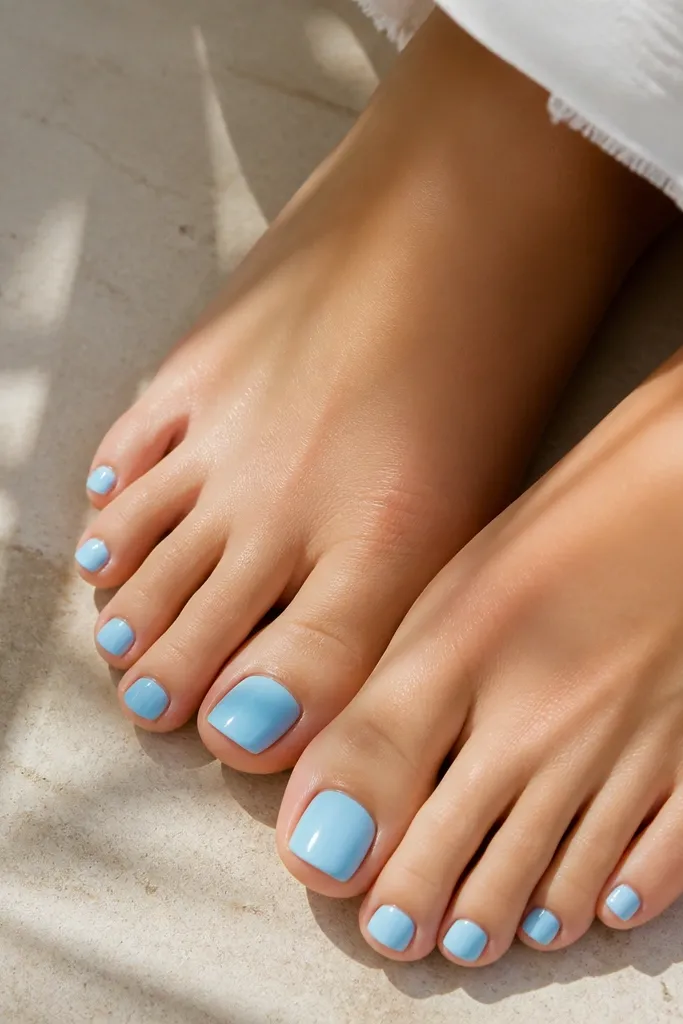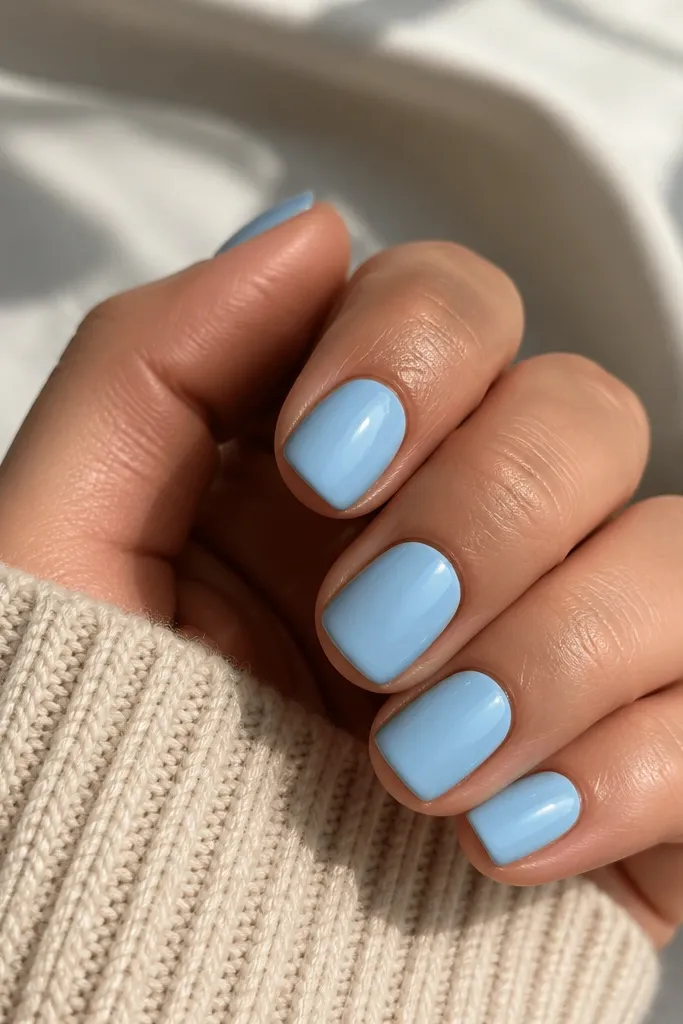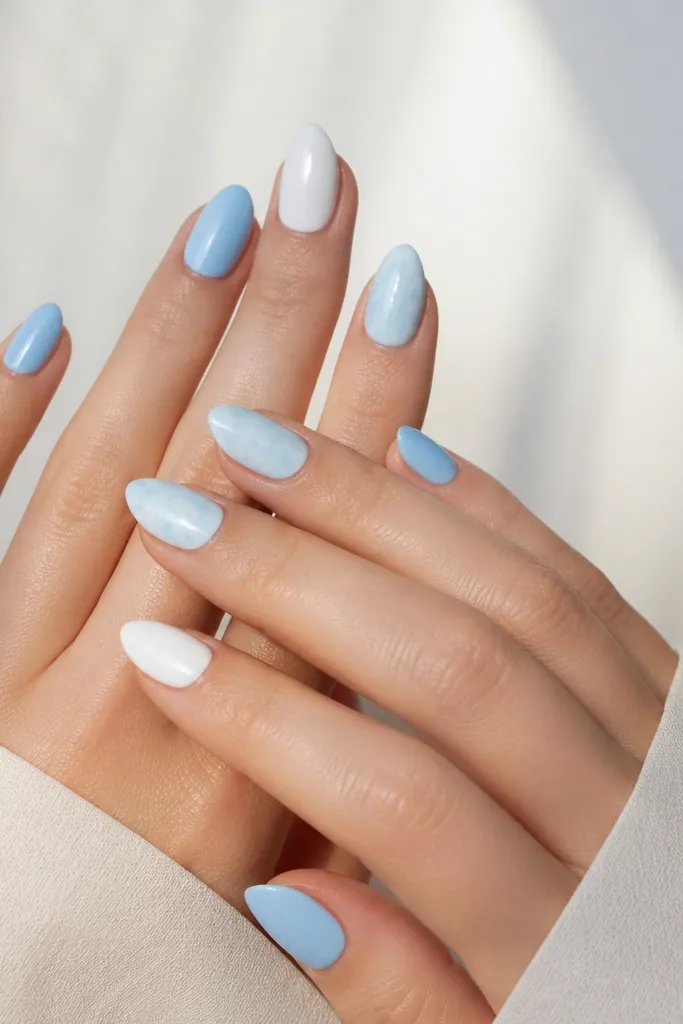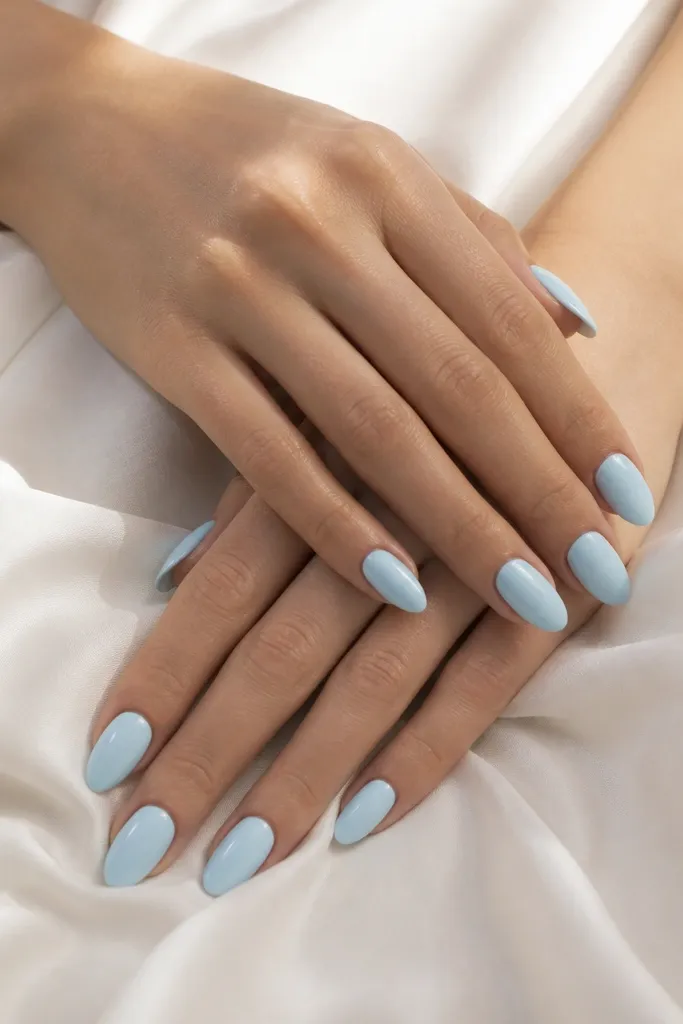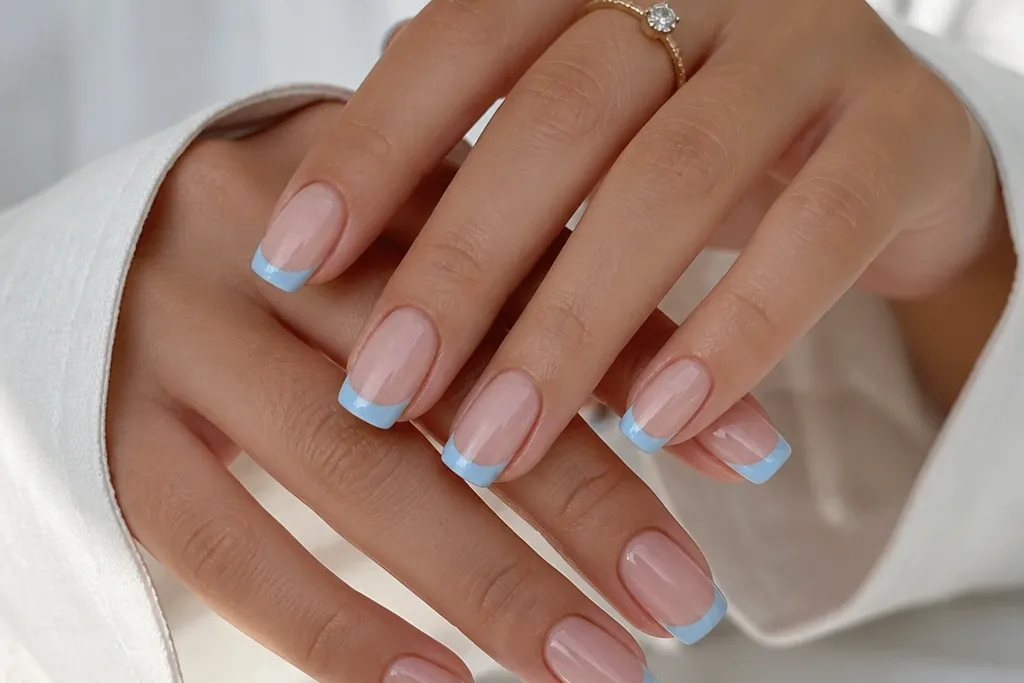
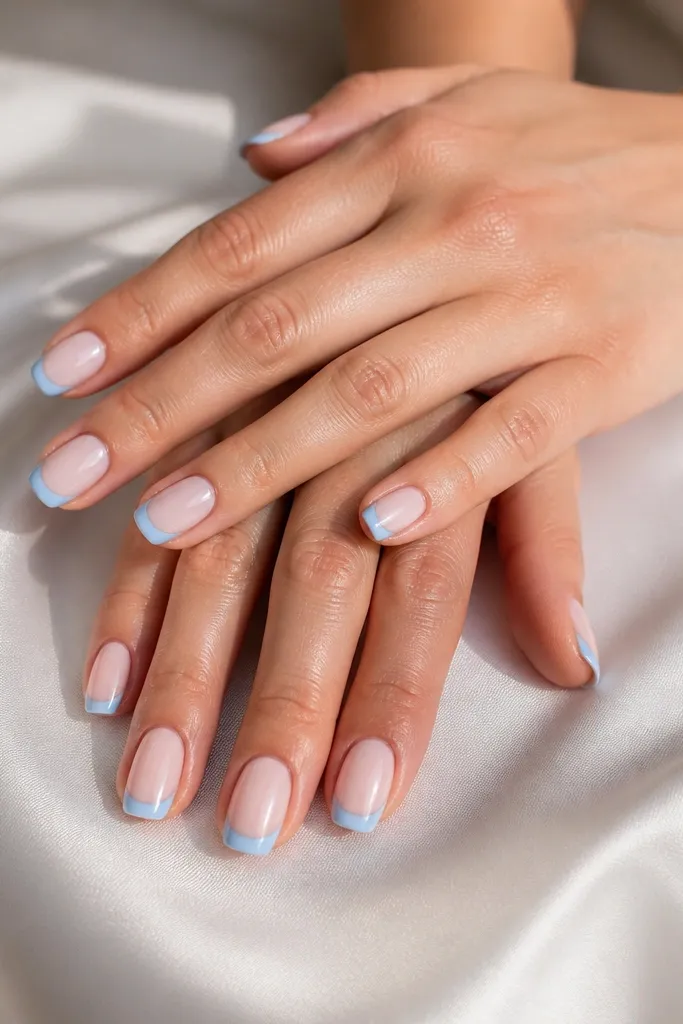
1. Classic Sky Blue Micro French
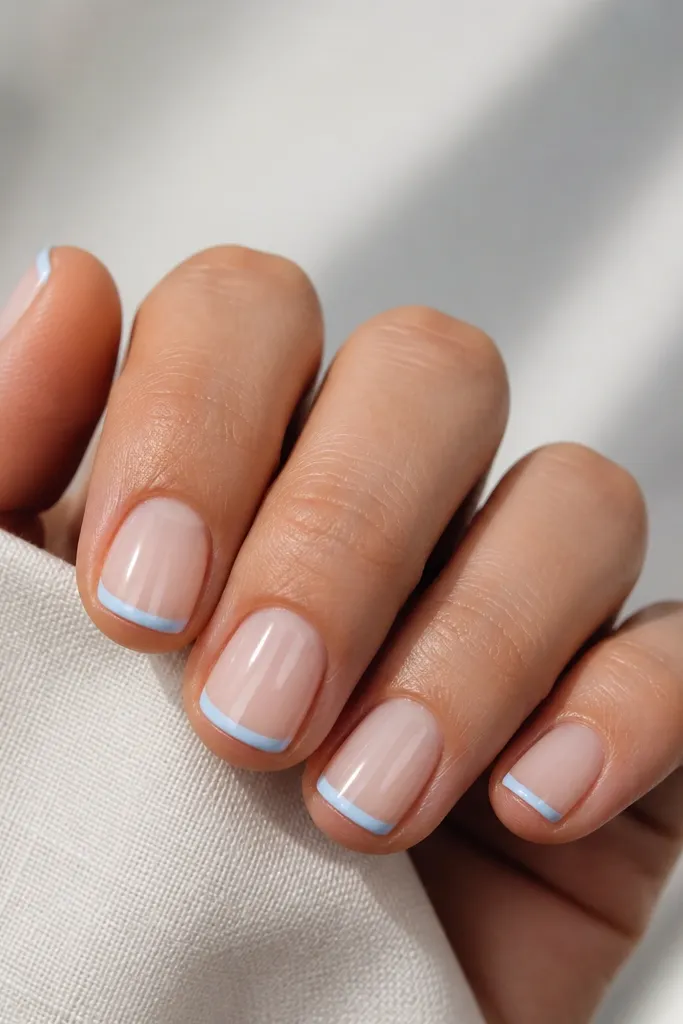
This is the version I reach for when I want "fresh manicure" without extra art. The micro tip keeps the design clean and makes sky blue look airy instead of bold. I start with a sheer nude base so the sky blue reads like a highlight along the nail edge. The straight smile also makes your nails look a little longer.
Paint a sheer nude base, then add a thin white smile line (just a whisper) where the French tip will sit. Use a small detail brush to paint sky blue only on the tip area - about 1 mm tall on short nails. Seal with a high-gloss top coat so the edge looks razor-sharp under light.
Pro tipHold your brush like a pencil and pull from center out - don't drag back and forth over the wet line.
Watch outAvoid thick sky blue in one coat; it creates a fuzzy border.
2. Sky Blue Curved Smile French
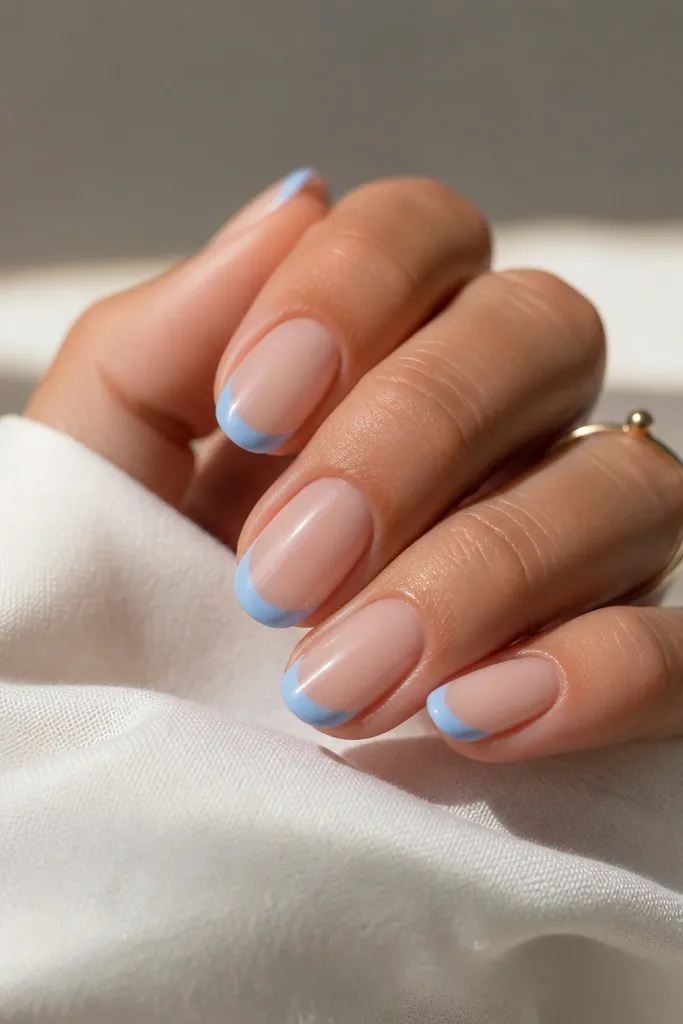
Curved smile tips look better on nails that aren't all perfectly the same length. The thicker center makes your nails look fuller, while the thinner sides keep it from looking like a block of color. Sky blue stays soft and pretty because the arc creates a natural gradient feel. It's a flattering shape for both short and medium lengths.
After nude base, paint a thin white guide along the smile curve. Then load your brush with sky blue and place it at the center first, letting it taper toward each side. Keep the tip height around 1.2 to 1.5 mm for medium nails. Finish with one glossy top coat and avoid flooding the cuticle line.
Pro tipDip your brush in polish, wipe off the excess on the bottle lip, then stamp the center point before you connect the sides.
Watch outSkip painting straight across when your nail has a strong smile - it will look off.
3. Reverse French in Sky Blue (Half-Moon + Tip)
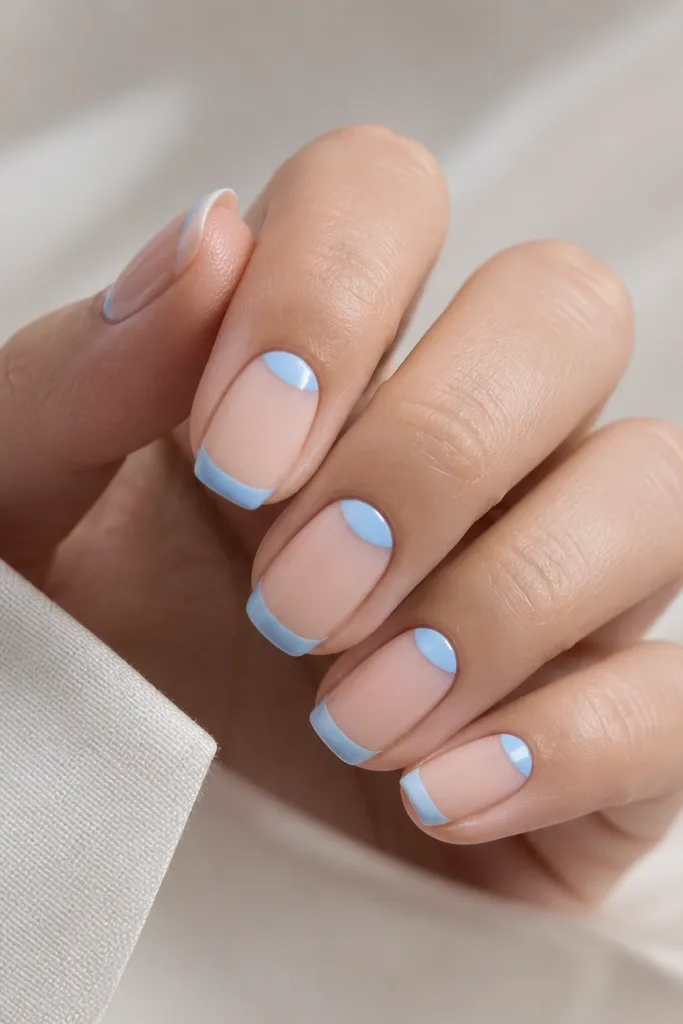
This layout makes sky blue look intentional instead of random. The half-moon anchors the design near the cuticle, while the tip keeps it fresh and summery. Because the nude gap separates them, your nails still look neat and breathable. It's great for people who love French tips but want something that stands out in photos.
Use a small striping brush. Paint a crisp half-moon at the cuticle - leave a tiny nude crescent in the middle so it looks clean, not messy. Then do a standard French tip in sky blue, same width on every nail. Seal with gel top coat or a fast-dry top coat if using regular polish.
Pro tipFor the half-moon, angle the brush tip slightly upward and stop before you hit the sidewalls.
Watch outDon't fill the half-moon all the way to the sidewalls or it will look bulky.
4. Milky Sky Blue French Tip
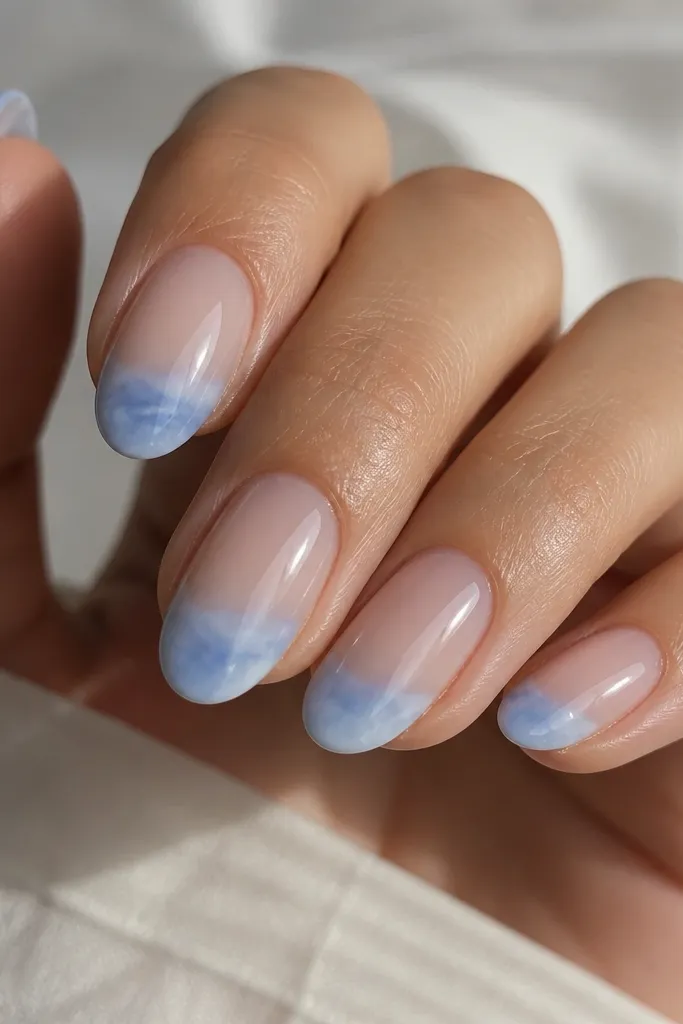
Milky sky blue feels softer than bright sky blue and hides tiny streaks. If your brush control isn't perfect, milky polish forgives it because the finish diffuses light. The semi-opaque tip also looks more expensive under daylight. This is the one I wear when I want "sky" without "loud."
Start with nude base and add a white smile guide if you want extra brightness. Then apply milky sky blue in two thin coats - stop before the edge gets too heavy. Keep the tip border slightly feathered by cleaning your brush edge with acetone-free polish remover after the first coat. Top coat to smooth it out.
Pro tipLet the first milky coat dry tacky, then add the second coat lightly instead of pressing harder.
Watch outAvoid overworking the polish after it starts to set; it turns patchy.
5. Sky Blue Ombre French (White Fade Under)
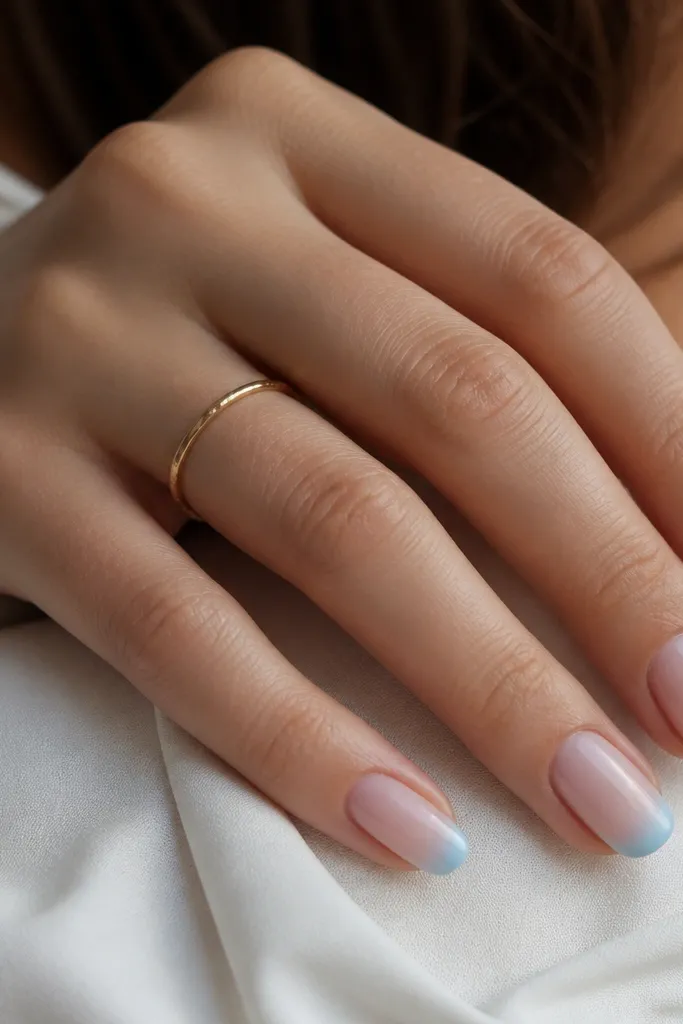
Ombre French tips look high-end because your eye reads the gradient as intentional. The white near the smile keeps the sky blue from looking dull and adds brightness. I like this on medium ovals because the fade has space to show. It also makes the tip look longer without adding length.
Paint a thin white smile guide, then sponge sky blue onto the tip area using a small makeup sponge. Tap the sponge lightly - you want the center to build more color than the sides. Blend by placing a second, lighter layer closer to the outer edge. Seal thoroughly with top coat so the gradient doesn't look textured.
Pro tipCut a tiny square of sponge and use the corner - it controls the fade better than a flat face.
Watch outDon't sponge directly onto wet polish; it smears the base.
6. Sky Blue French with Tiny White Dots
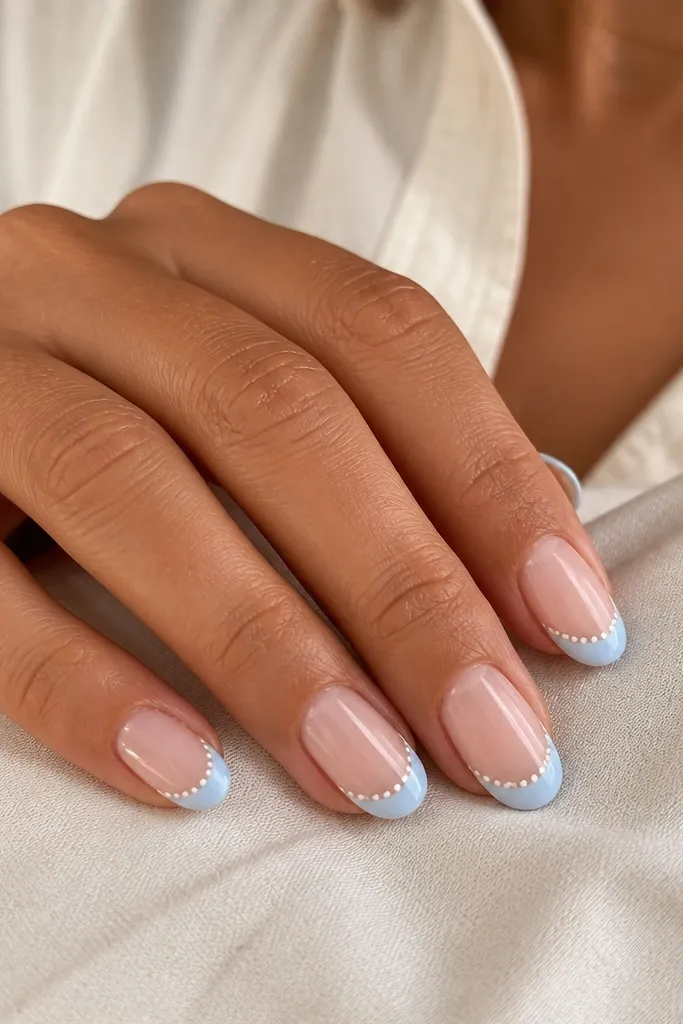
Dots make sky blue feel playful without turning into full nail art. I place the dots along the center of the tip because it looks balanced and keeps your sides clean. White dots also sharpen the sky blue under indoor lighting. This design works for short nails because the dots don't require much space.
Paint your sky blue French tip first, then use a dotting tool with white polish. Make 3 to 4 dots across the center line of the tip - stop before the dots reach the edges. For a cleaner look, keep dot size the same (about a pinhead). Top coat after the dots dry so they don't smear.
Pro tipIf you don't have a dotting tool, use the end of a bobby pin - wipe it clean between nails.
Watch outAvoid dotting over glossy wet polish; dots will drag and look smeared.
7. Sky Blue French with One Rhinestone at the Smile
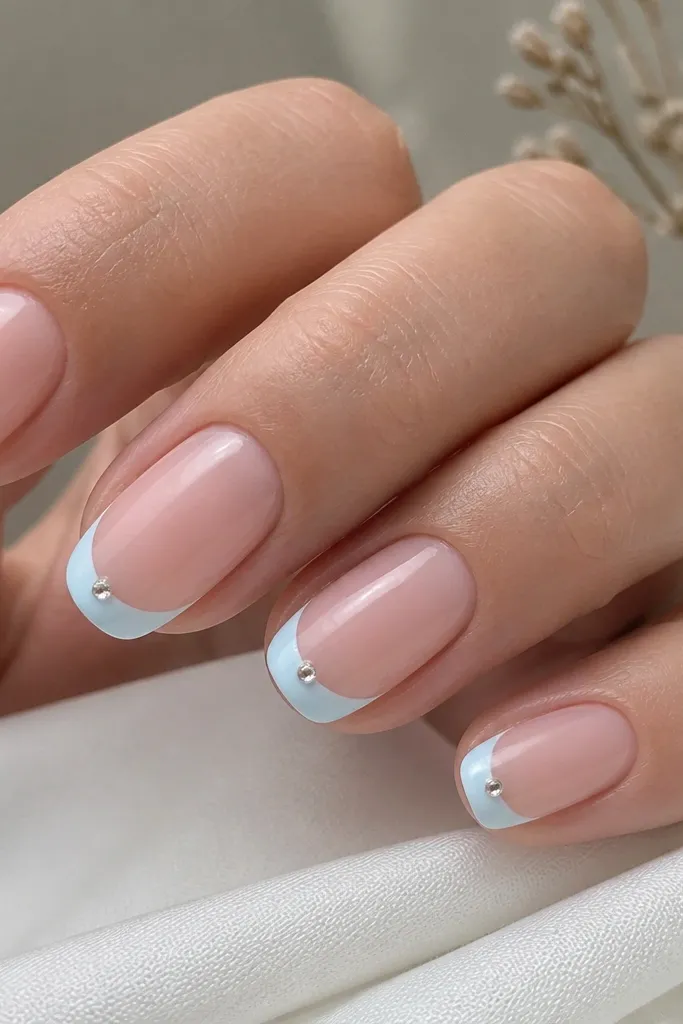
One rhinestone is enough. It catches light when you move your hands, and it doesn't clutter the nail like multiple stones do. Placing it on the smile line makes the design look anchored instead of floating. Sky blue is the perfect background because it turns the stone into a bright point.
After painting the nude base and sky blue tip, dab a tiny dot of clear gel (or nail glue) onto the center of the smile. Place a small 1.5 mm rhinestone and press gently with a flat tool. Cure if using gel, then top coat lightly around the stone so it stays secure but doesn't blur the sparkle.
Pro tipUse a matte top coat on the rest of the nail, then gloss only the rhinestone - it looks extra clean.
Watch outDon't bury the rhinestone under thick top coat or it loses sparkle.
8. Sky Blue French with Negative Space Side Lines
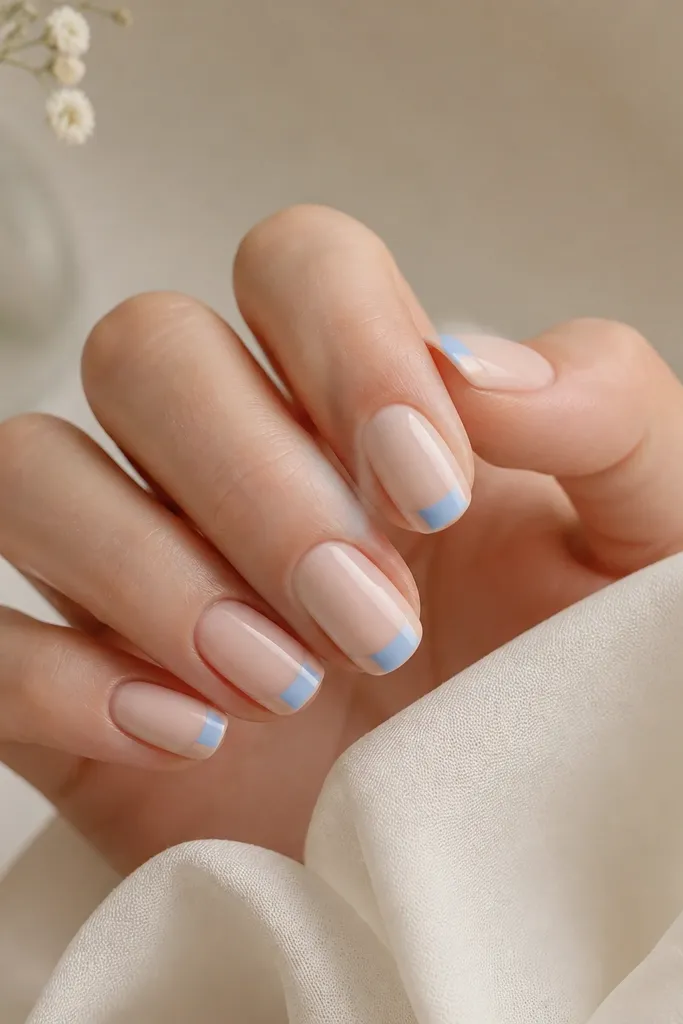
Negative space makes sky blue feel modern and less "painted on." The nude slivers frame the color and keep the tip from looking too wide. I like this on almond and squoval nails because the lines naturally follow the shape. It also hides tiny unevenness since the nude space acts like a guide.
Paint nude base first. Then tape two thin strip guides on each side of the nail tip area, leaving a center panel for sky blue. Paint sky blue in the center, remove tape while polish is still slightly tacky (for clean edges), then seal with top coat. Aim for a center panel about 2 to 3 mm wide on medium nails.
Pro tipIf tape leaks, run a thin layer of base coat along the tape edges first so polish won't seep.
Watch outAvoid freehand side lines if you want it crisp - tape is faster than correcting.
9. Sky Blue French with Tiny Silver Foil Edge
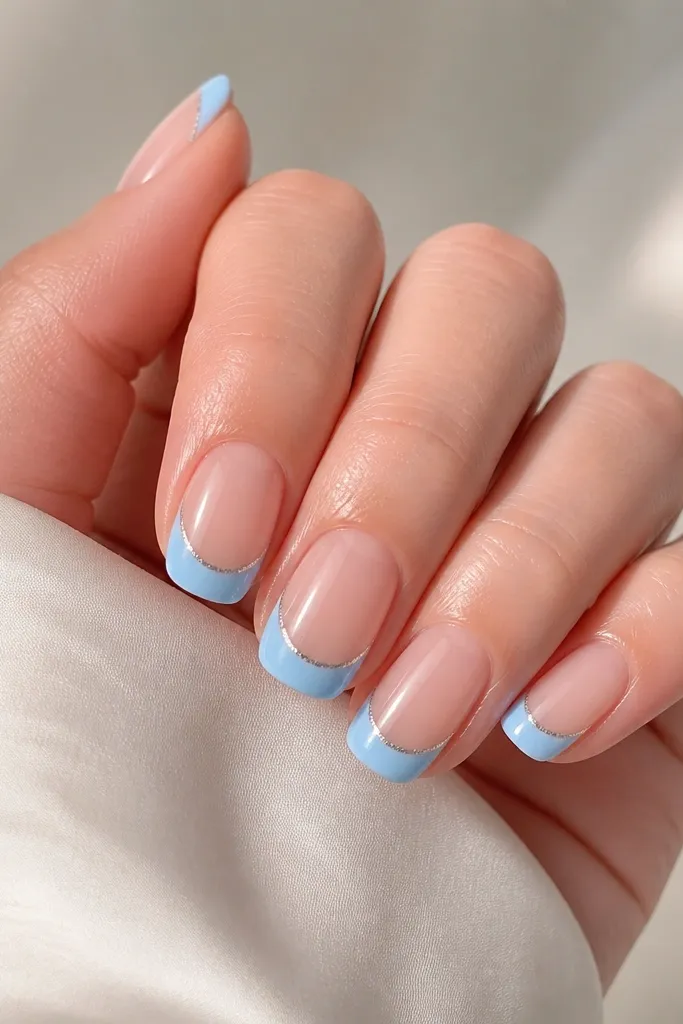
A metallic edge makes sky blue look cooler and more "night-out" without adding full glitter. The foil strip is thin, so it reads like trim. This is one of my favorite combos for parties because the foil flashes when you move. It also looks great with silver rings.
Paint nude base and do sky blue French tip. Use liquid foil adhesive or a tacky layer of clear gel, then press a tiny piece of silver foil only along the tip's outer edge. Trim with a clean brush edge so it doesn't creep down the nail. Seal once with a glossy top coat to lock it in.
Pro tipPress foil with a silicone tool, not your finger - it keeps the strip straight.
Watch outDon't cover the foil with thick glitter top coat; it dulls the shine.
10. Sky Blue French with White Marble Swirl
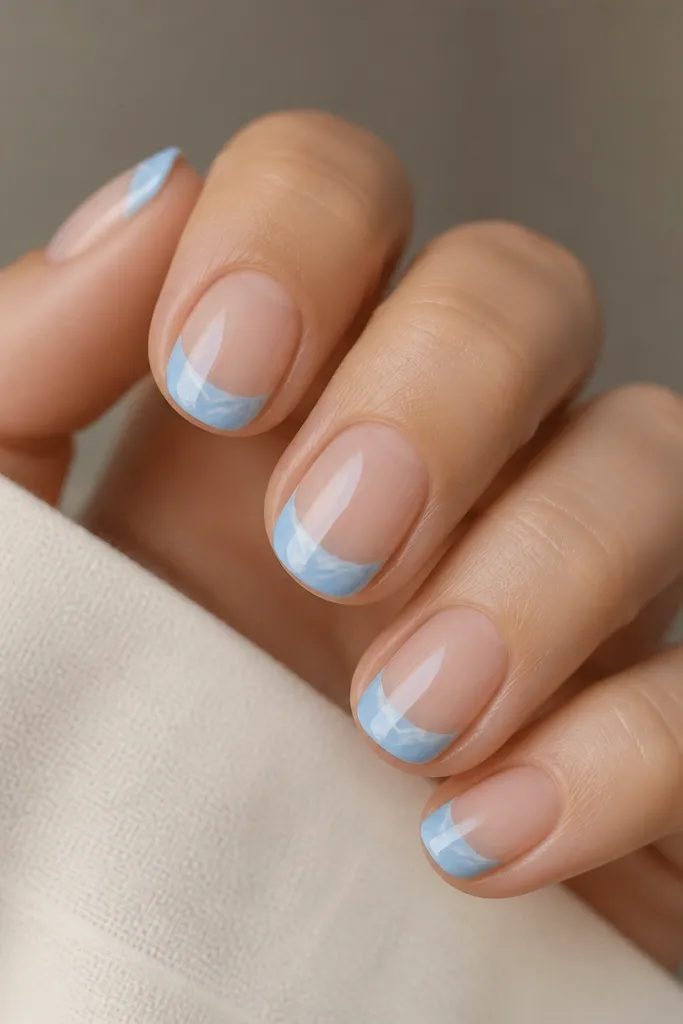
Marble details turn a simple French tip into something that looks custom. The key is keeping the marble tiny - just one swirl per nail - so it stays airy. White marble lines on sky blue look like clouds and water. This is a great option when you want a "theme" but not full nail art.
Paint nude base and sky blue tip, then use a thin liner brush with white polish (or white gel) to pull 2 to 3 curved lines. Add a second layer of slightly transparent gray-blue if you have it, so the marble looks dimensional. Swirl lines should start near the smile and end before the outer edge.
Pro tipDo one nail at a time so the marble lines don't start curing before you finish the swirl.
Watch outAvoid thick white strokes; marble should look like thin veins, not sticker lines.
11. Sky Blue French with Star Confetti
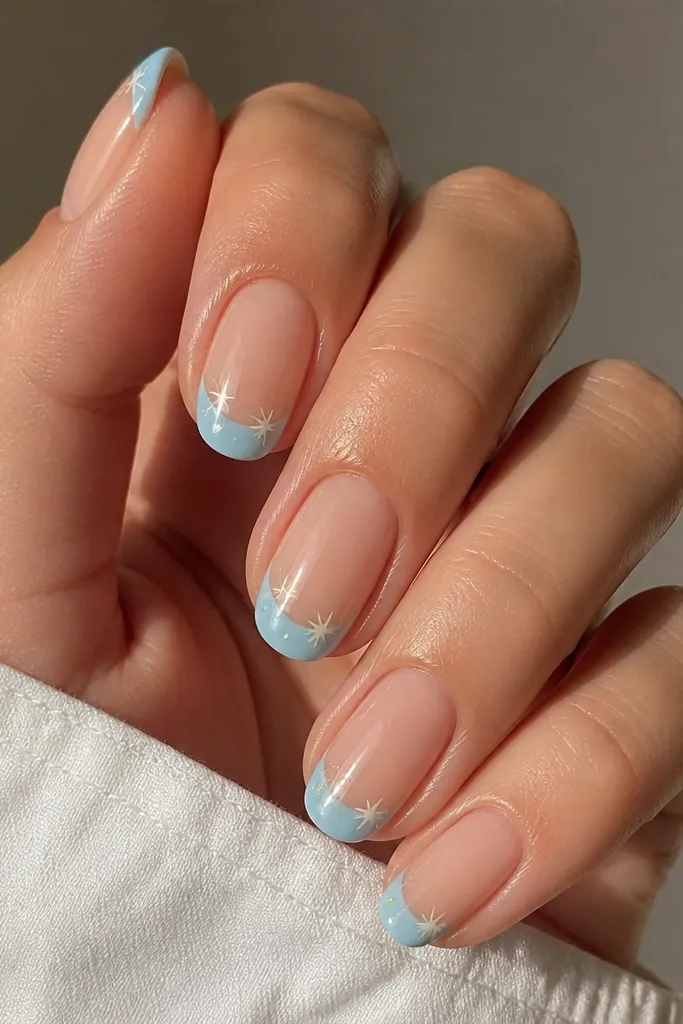
Stars add a fun, sky-themed feel that still reads clean because the decals stay on the tip. I like mixing sizes: one small star and one tiny star next to it. Sky blue is already "sky," so stars feel natural. This one is perfect for birthdays and summer weekends.
Paint nude base and sky blue French tips. Place star decals with tweezers on the center portion of the tip, then press and seal. If you're hand-painting, use a dotting tool to place star points with white first, then add tiny sky-blue shadows if you want depth. Top coat should be smooth so the stars don't catch.
Pro tipIf decals wrinkle, soak them for 8-10 seconds in water and slide them off the backing gently.
Watch outDon't place stars too close to the sides or they look crowded.
12. Sky Blue French with Reverse Glitter Base
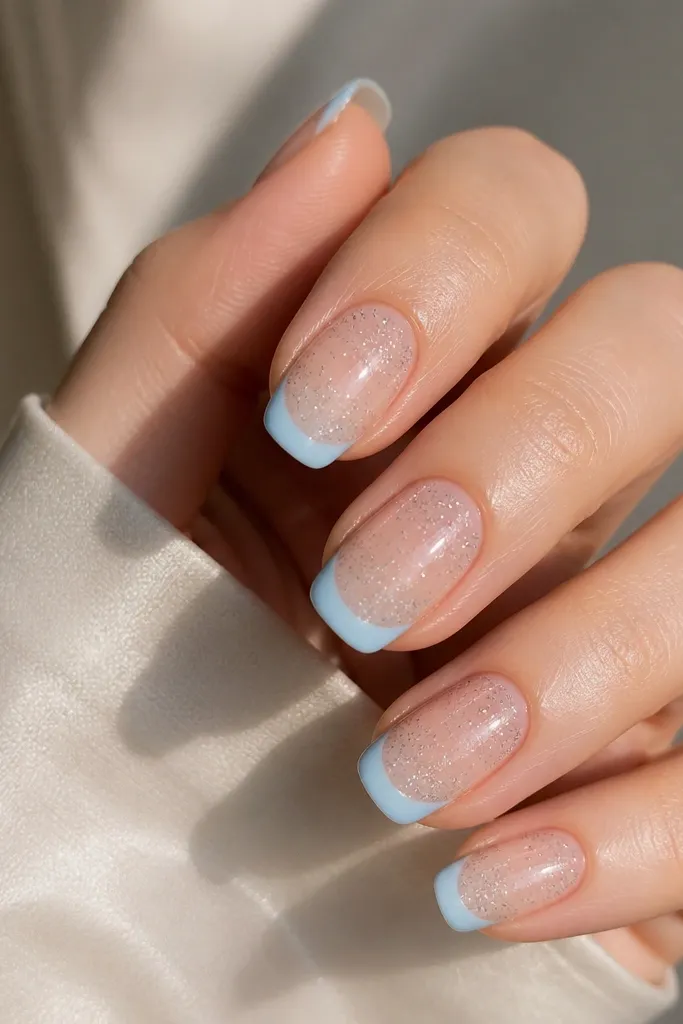
This layout flips the usual glitter placement. The glitter at the cuticle area makes sky blue tips look brighter, and it adds sparkle where your hands move most. I like using a fine holographic glitter so it doesn't look chunky. The design feels special without turning into full glitter nails.
Paint nude base. Add a small amount of fine holographic glitter near the cuticle and blend it upward with a sponge lightly, keeping the center clear. Then paint sky blue French tips on the outer edge. Seal with top coat and pay attention to the cuticle area so glitter doesn't snag.
Pro tipUse a makeup sponge for the glitter fade - brush strokes look streaky fast.
Watch outAvoid chunky glitter; it makes the transition line look dirty.