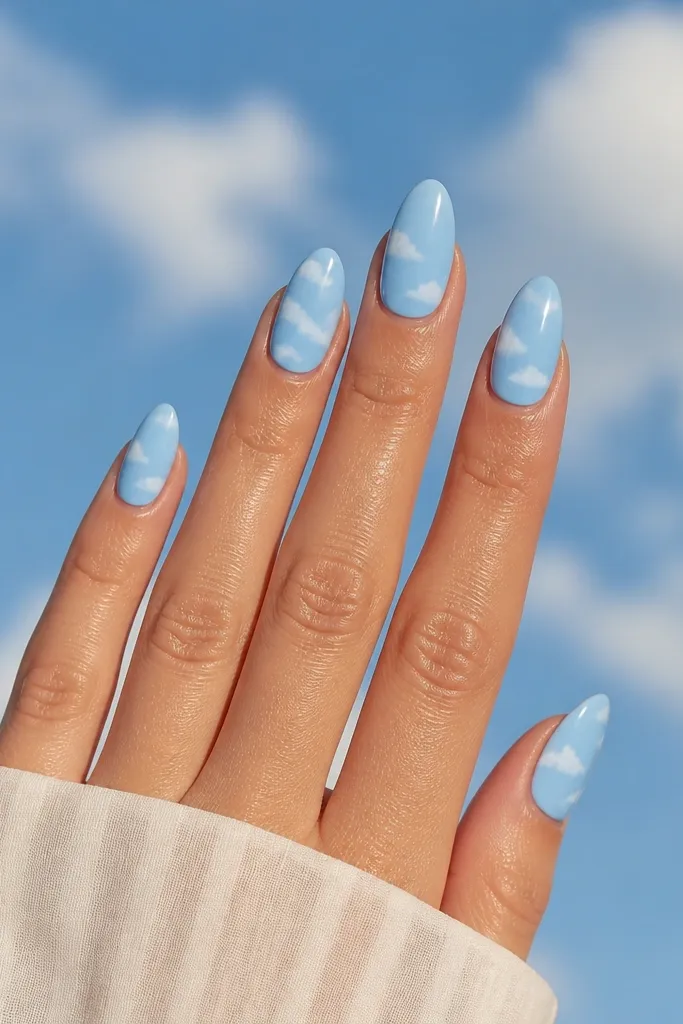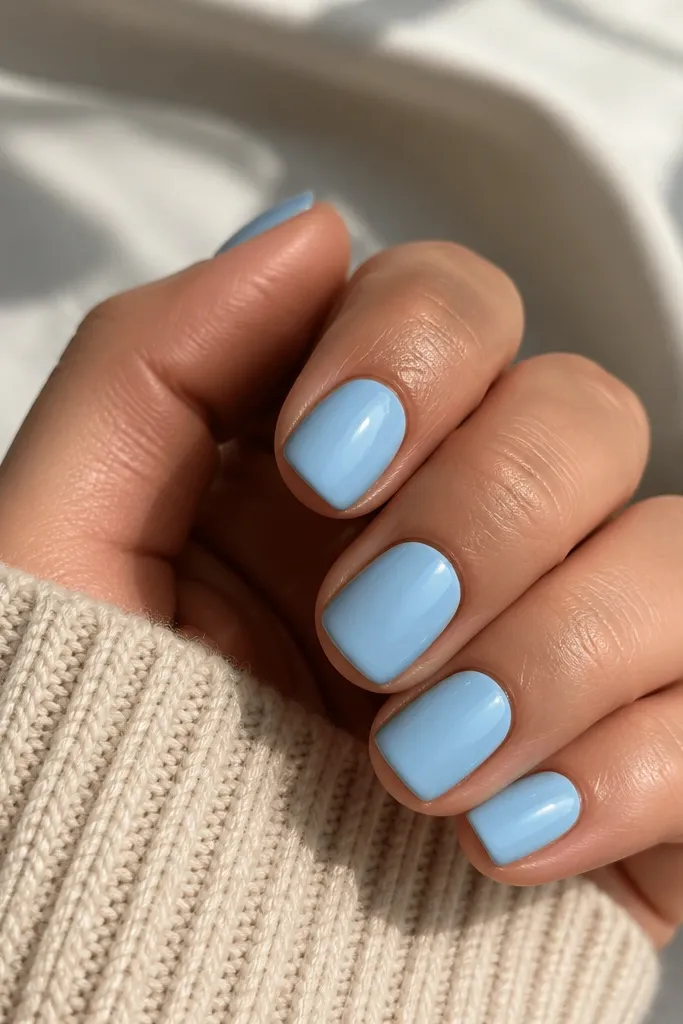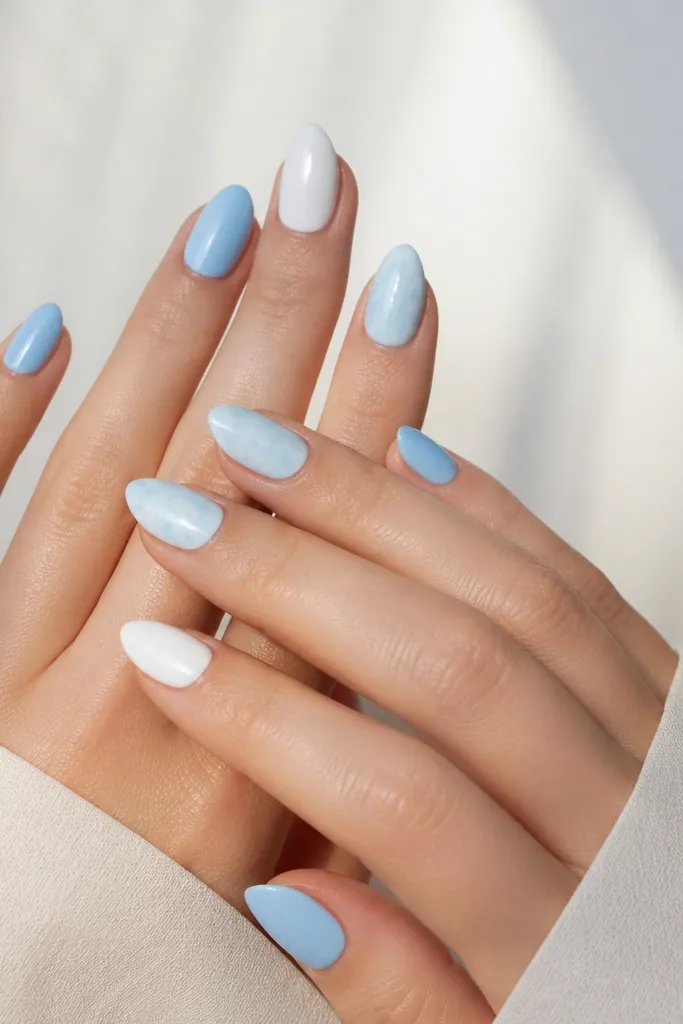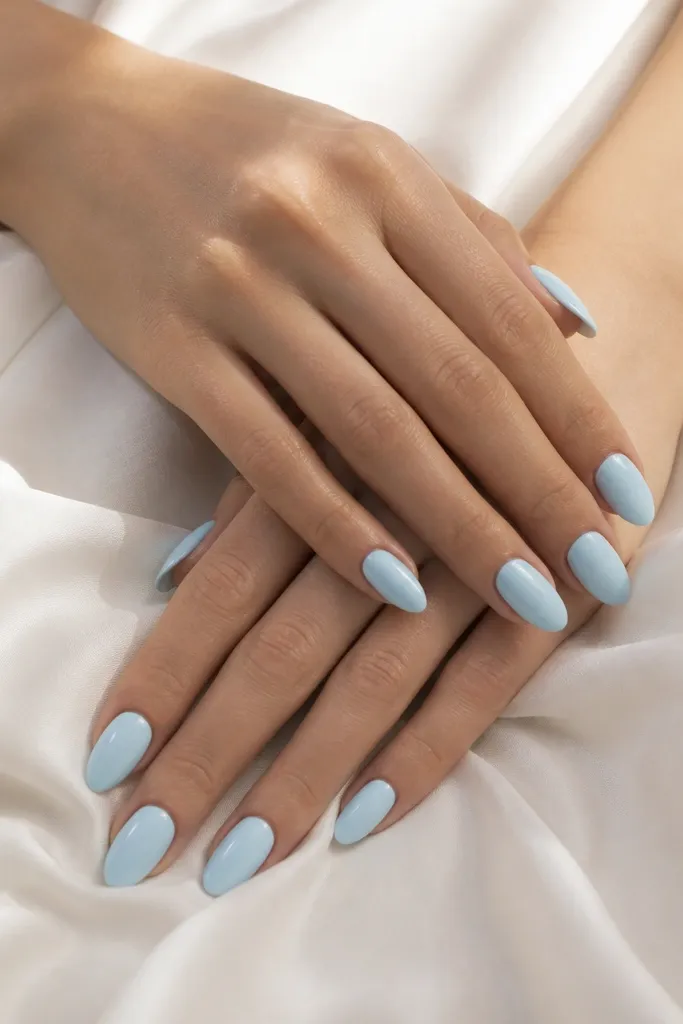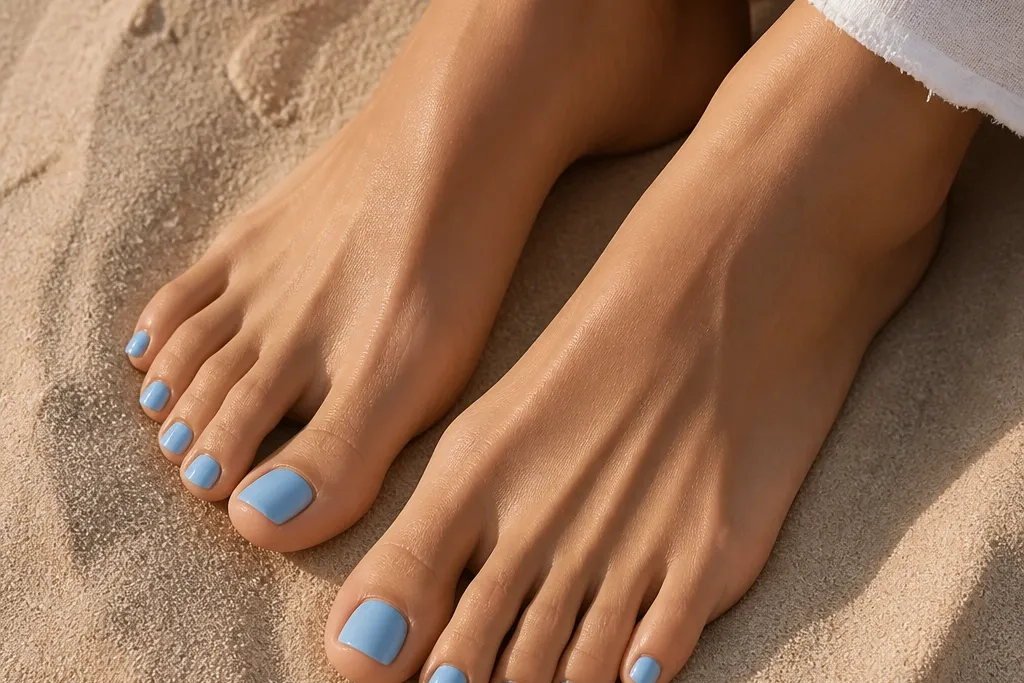
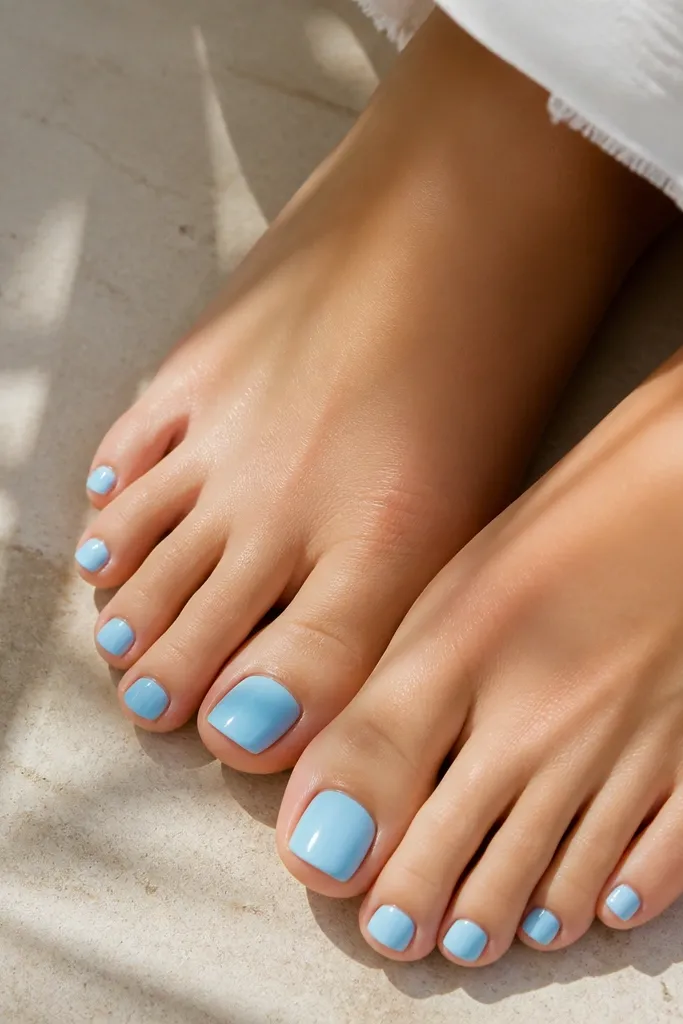
1. Classic Cloud Sky Blue with Gloss Seal
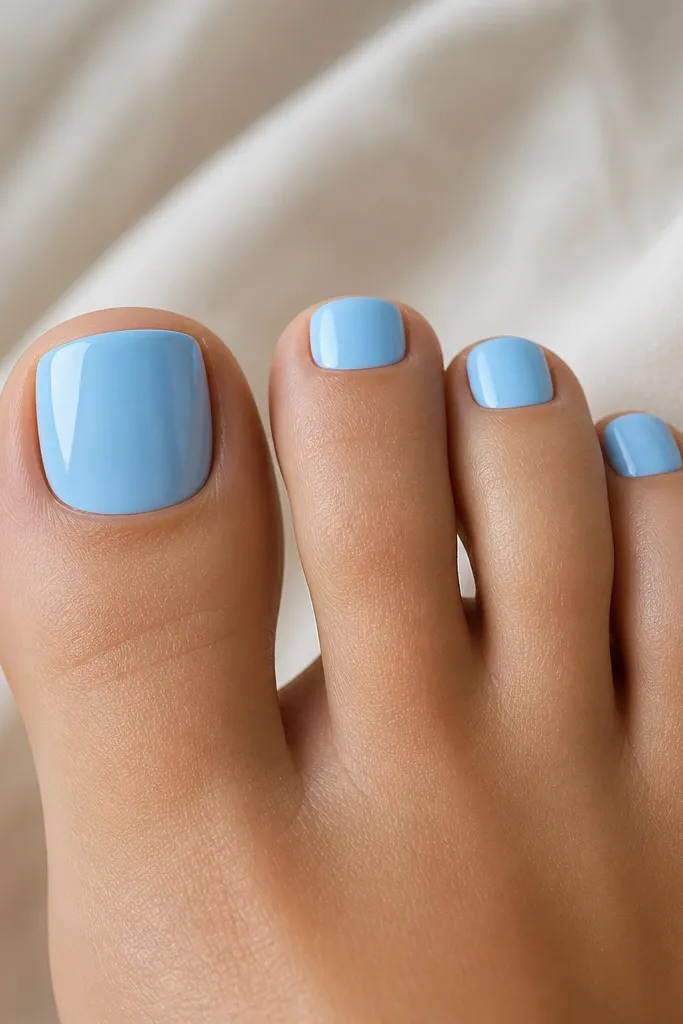
This is the "clean and expensive" version of sky blue. I use a medium-light sky blue that covers in two coats, then I seal with a thick glossy top coat so the color looks saturated instead of flat. It works because the whole look is one color with perfect coverage, so your toes look tidy even if your nail beds are slightly uneven.
Start with a base coat, then do two coats of sky blue, letting each coat fully level before curing or drying. Cap the free edge on every toe - I mean actually paint the very tip, not just the top surface. Finish with a glossy top coat and let it cure hard before sandals.
Pro tipIf your sky blue looks patchy at the cuticle, use a smaller brush and push the polish toward the center instead of adding more at the edges.
Watch outSkip thin, streaky coats - they turn sky blue into a see-through haze.
2. Tiny White Wave Lines on Sky Blue
White wave lines give sky blue that vacation feeling without turning into a full-on theme. The waves add movement while still staying minimal, and white against sky blue stays crisp in sunlight. I like placing the line around the center third so it doesn't look like a stripe across a bare nail.
Paint all toes solid sky blue first. After it's dry, use a striping brush or a nail art pen to draw one thin wave line on each nail, then add a second wave only on the big toe for emphasis. Keep the line thickness consistent - about the width of a human hair when you're drawing.
Pro tipPractice the wave on paper first so your curve is even before you touch the nail.
Watch outDon't draw thick waves - chunky lines make the manicure look like decals.
3. Silver Micro-Glitter Half-Moon Cuticle
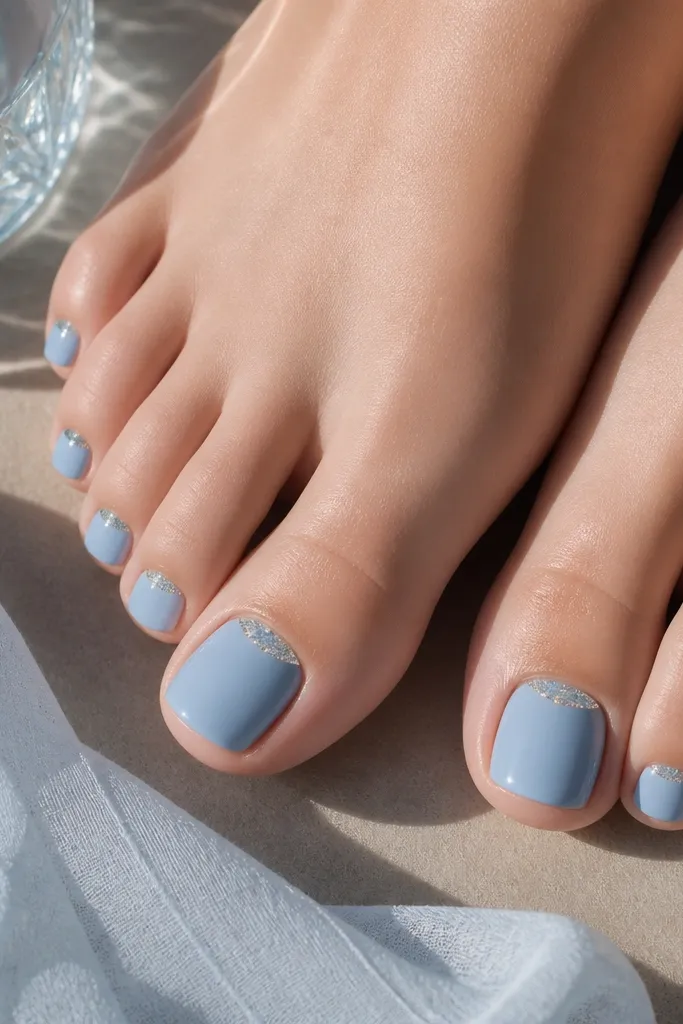
This is my go-to when you want sparkle that won't catch on anything. The micro-glitter half-moon catches light when you walk, but it stays small enough to look neat. Because it's anchored at the cuticle, it also hides minor growth-out better than glitter spread across the nail.
After two sky blue coats, use a flat detail brush to place a tiny crescent of silver micro-glitter polish near the cuticle. Leave a hairline gap so it doesn't flood the nail bed. Seal with a thick top coat so glitter locks down and feels smooth.
Pro tipIf your glitter polish is too gritty, mix a drop of clear polish into it on a palette so it spreads more evenly.
Watch outAvoid large glitter chunks near the cuticle - they snag and feel rough.
4. Sky Blue + White French Tip (Short and Sharp)
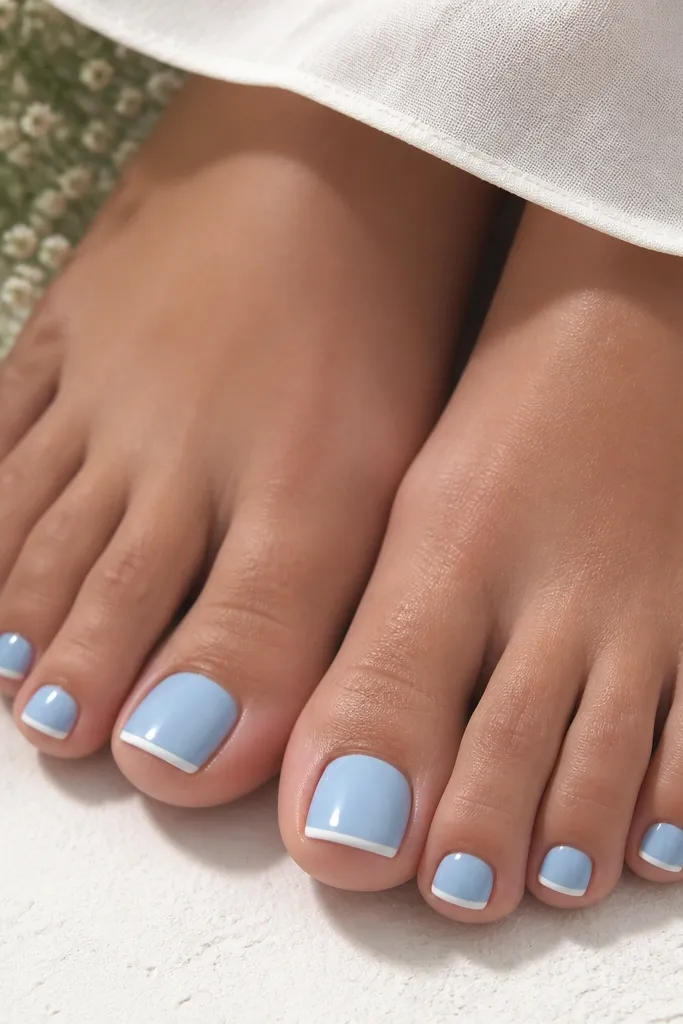
A short French tip makes sky blue feel classic instead of childish. The key is keeping the tip narrow so your toes look longer, especially for smaller nail beds. White also makes the blue look brighter, and the contrast holds up in photos.
Use a striping tape or a French guide to block the tip area. Leave a 1-2 mm gap from the sidewalls so it doesn't touch skin. Paint the tips white, then remove the tape while the polish is still slightly tacky for the sharpest edge.
Pro tipCap the top of the French tip with top coat so you don't get tip wear that shows bare nail.
Watch outDon't make the French tip too thick - it shortens the toe visually.
5. Sky Blue Dots with One Gold Star on the Big Toe
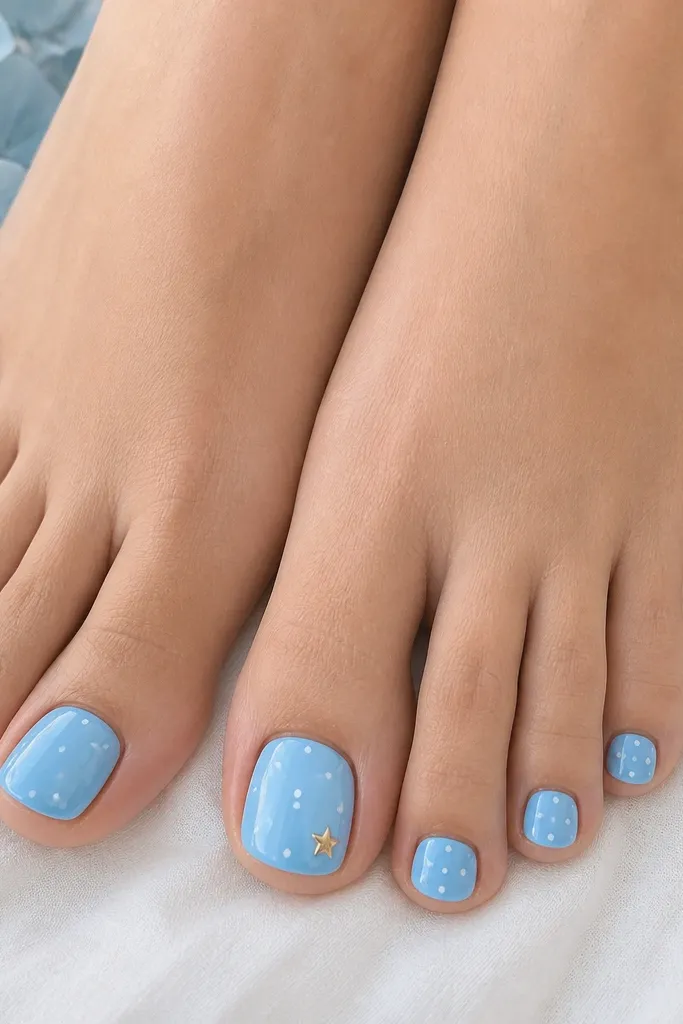
Dots keep the look playful, and placing a single tiny gold star makes it feel intentional. I like using white dots because they read clean, not muddy, next to bright summer skin. One accent only on the big toe balances the design - your eye lands there, then the rest stays calm.
Paint all toes sky blue. Use a dotting tool sized to about 1/3 the width of your nail for consistent dots. On the big toe, paint one small gold star (or use a tiny nail charm) and seal it under top coat so it doesn't lift.
Pro tipIf dots look uneven, rotate the dotting tool slightly each press so the dot edge stays round.
Watch outSkip too many stars - more than one makes it look like festival glitter.
6. Ocean Fade: Sky Blue to Seafoam Ombre
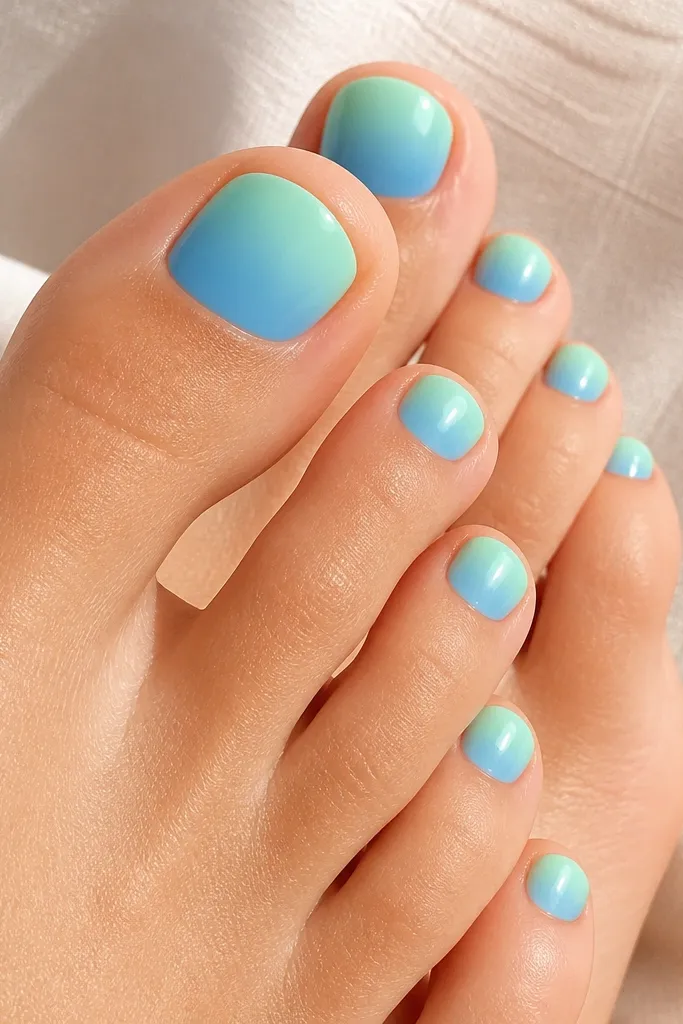
An ombre toe looks extra polished because it hides small imperfections at the cuticle. The fade also makes sky blue feel more natural, like it's moving. I use seafoam as the lighter end because it reads fresh, not yellow-green.
Paint a base sky blue, then sponge on seafoam at the tip using a makeup sponge cut small enough to control. Tap lightly so you don't flood the skin, and wipe excess polish off the skin with a cotton swab dipped in remover. Add a second pass if you want a stronger fade, then top coat heavily.
Pro tipWrap the sponge stroke slightly upward at the sides so the fade doesn't look flat.
Watch outDon't leave a dry sponge line - it shows as a streak.
7. Sky Blue Checkerboard on Two Accent Toes
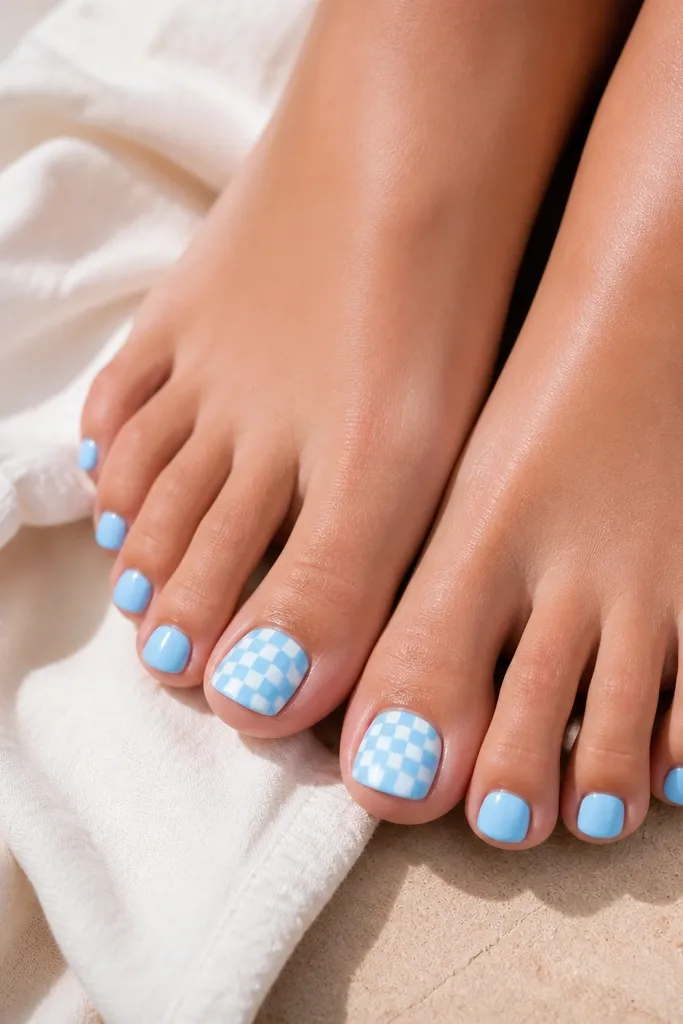
Checkerboard is one of the few patterns that still looks cute on toes without feeling childish. Keeping it to two accent nails keeps the look wearable for everyday sandals. The pattern works because the squares are small and evenly spaced, so your eye reads "clean motif," not messy art.
Paint all toes sky blue. On the big toe and one other toe, add a thin white grid using a striping brush. Fill alternating squares with white, then seal everything with top coat. Keep the squares about 1-2 mm each depending on your nail size.
Pro tipUse the side of your striping brush tip to drag straight lines instead of trying to paint perfect squares from scratch.
Watch outAvoid uneven square sizes - that's what makes checkerboard look cheap.
8. Sky Blue Marble with White Veins
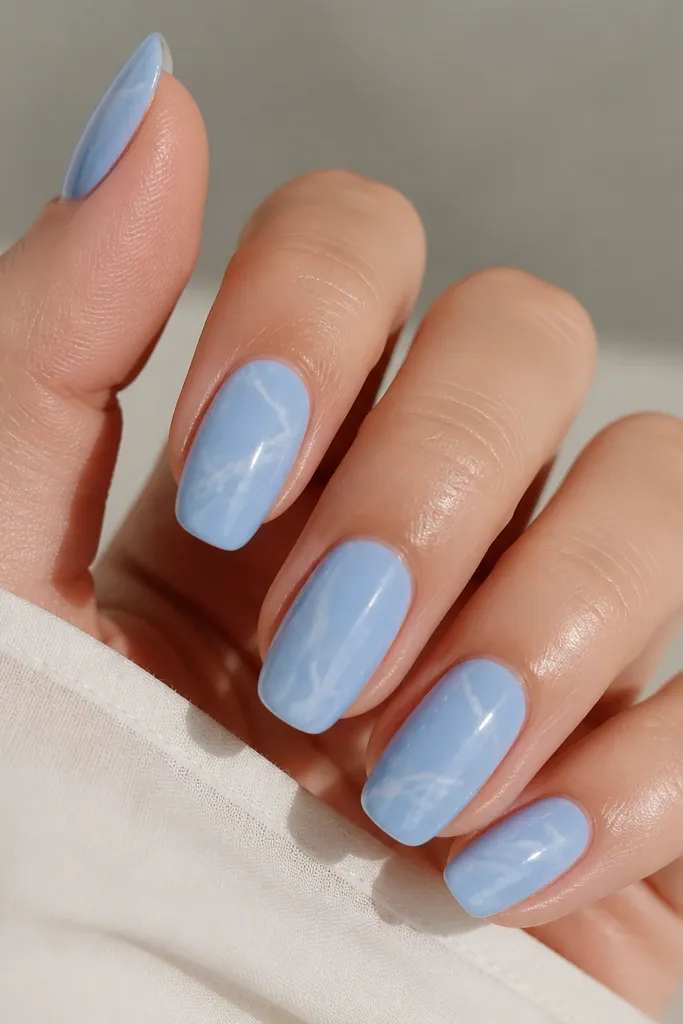
Marble makes sky blue look like it has depth, which is perfect for summer evenings when your toes get more light. White veins are the easiest because they don't fight the blue - you just need controlled swirls. I like marble when my nails have tiny ridges because the pattern pulls attention away from texture.
Start with two coats of sky blue. Use a toothpick or dotting tool to drag thin white lines through the still-tacky top coat layer (or use a gel liner if you're curing). Add a couple of cross veining strokes, then top coat thickly to smooth the look.
Pro tipLess movement is better. Two or three veins per nail looks marble-y; ten veins looks chaotic.
Watch outDon't overmix the veins - they turn into a cloudy blob.
9. Sky Blue Cat-Eye Stripe (Magnetic Line)
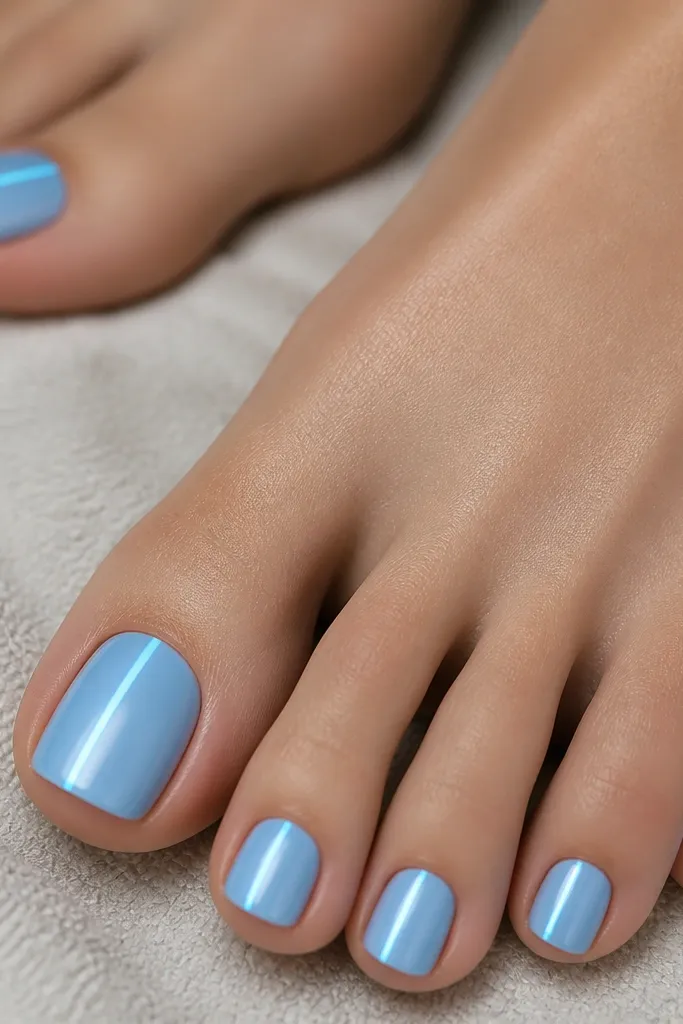
Magnetic cat-eye polish gives you a "light beam" effect without needing nail art tools. On toes, the center stripe elongates the nail and looks especially good in open-toe shoes. The trick is picking a sky blue cat-eye that has a strong reflective pigment, not a subtle shimmer.
Apply base coat, then two coats of the magnetic sky blue cat-eye, curing or drying between coats. Hold the magnet over the nail for the exact time the brand suggests - usually 10-30 seconds for gels - keeping it steady. Finish with glossy top coat.
Pro tipAngle the magnet slightly off-center to avoid a stripe that looks dead straight and flat.
Watch outDon't touch the wet magnet-polish area - it blurs the stripe.
10. Sky Blue Scallop Edge on the Big Toe
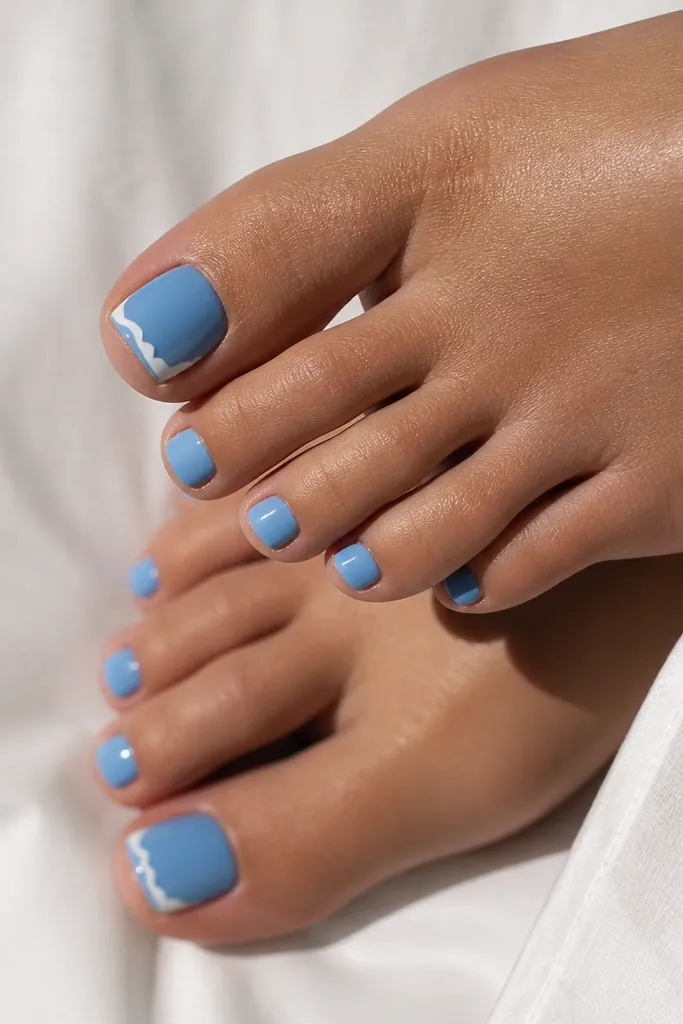
Scallops make toes look like you're wearing something cute and handmade. I keep it to the big toe because the pattern is small and eye-catching without taking over your whole foot. White scallops against sky blue look like sea foam, and the curve flatters different nail shapes.
Paint all toes sky blue. On the big toe, use a thin liner brush to draw a curved line near the tip, then add small semicircles touching each other along that curve. Seal with top coat and make sure the scallop edges are fully covered so they don't lift.
Pro tipIf scallops look wobbly, use a small dotting tool as a "stamp" for each semicircle.
Watch outAvoid scallops on every toe - it reads busy and drags the look down.
11. Sky Blue Velvet-Matte with Gloss Accent Stripe
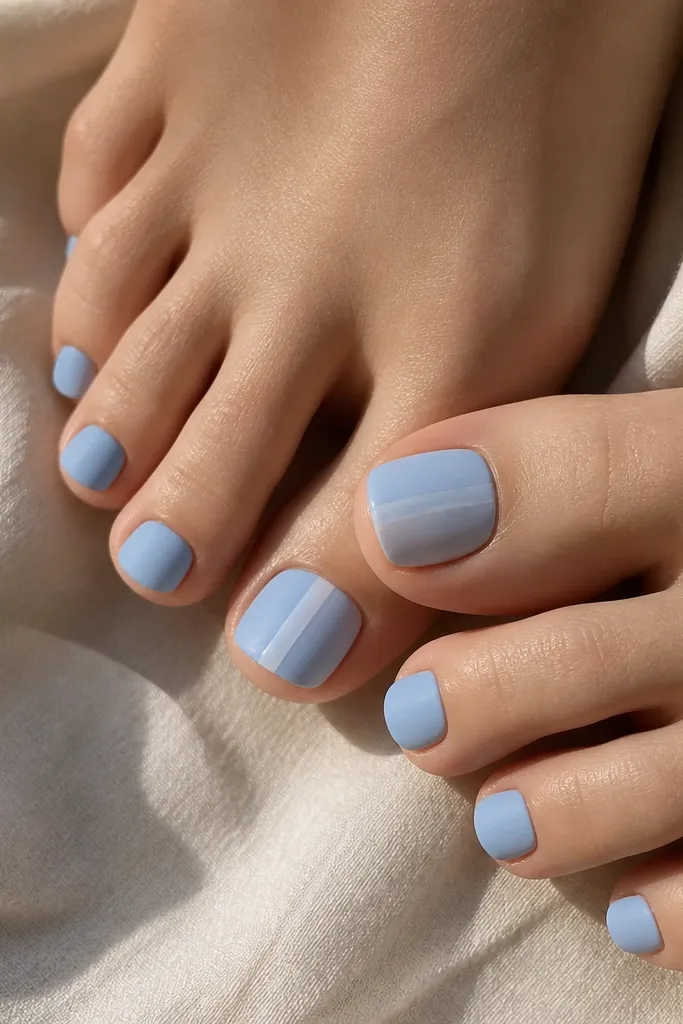
Matte makes sky blue feel modern, and the glossy stripe keeps it from looking flat. I do this when I'm going to a dinner or a wedding where my toes are seen more in photos. The contrast works because the same color in two finishes reflects differently - matte absorbs light, gloss throws it back.
Use a matte top coat over solid sky blue nails. Then pick one accent nail and paint a thin gloss stripe down the middle using clear gel with a glossy finish, or apply gloss top coat only on that stripe area. Cure/dry per product directions and keep the stripe narrow, about 1 mm.
Pro tipDo matte last. If you matte too early then add art, it can grab the brush and smear.
Watch outSkip heavy matte on the whole nail if your toes scuff fast - matte shows wear sooner.