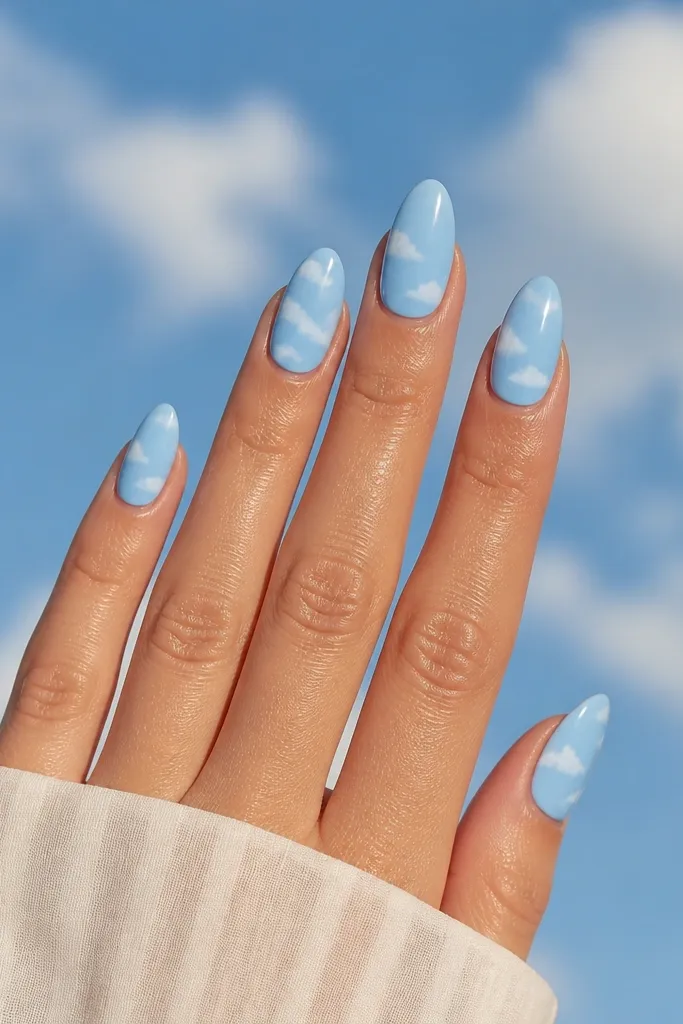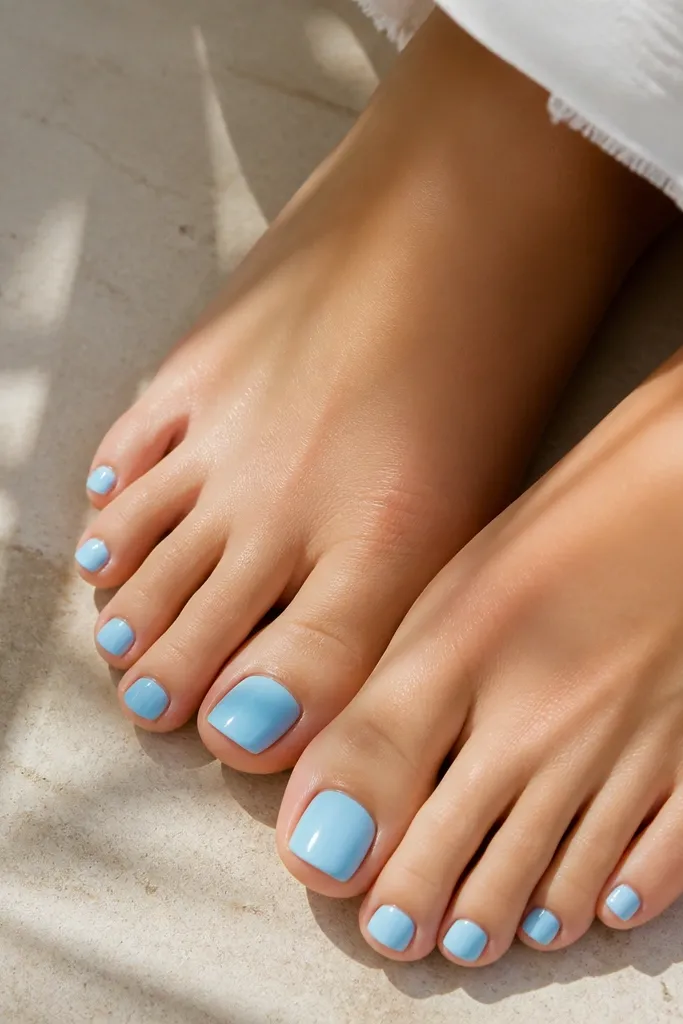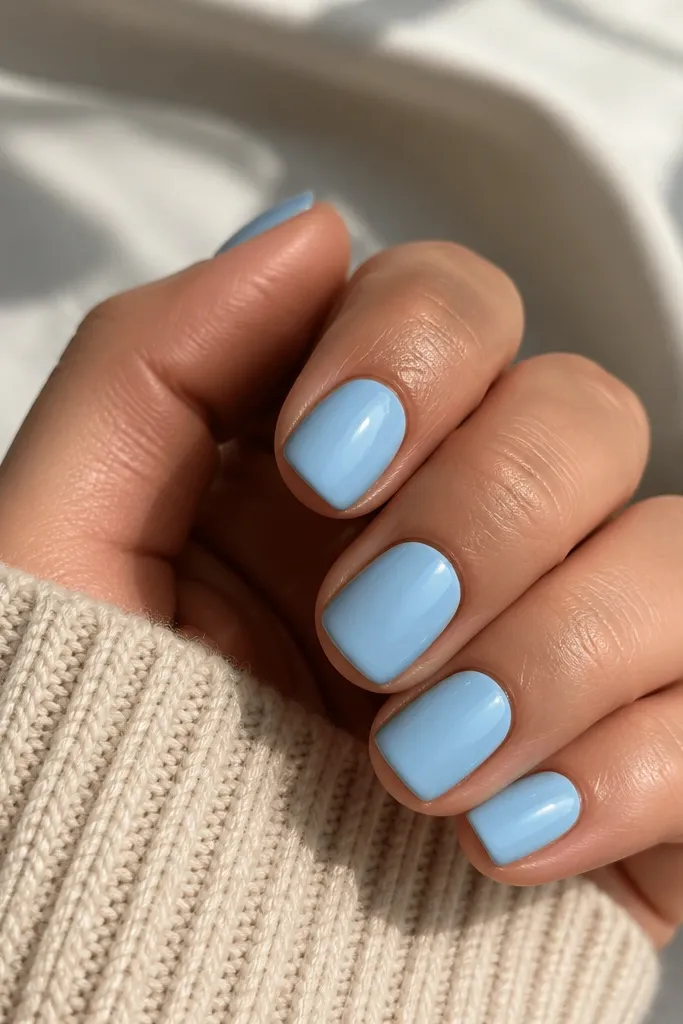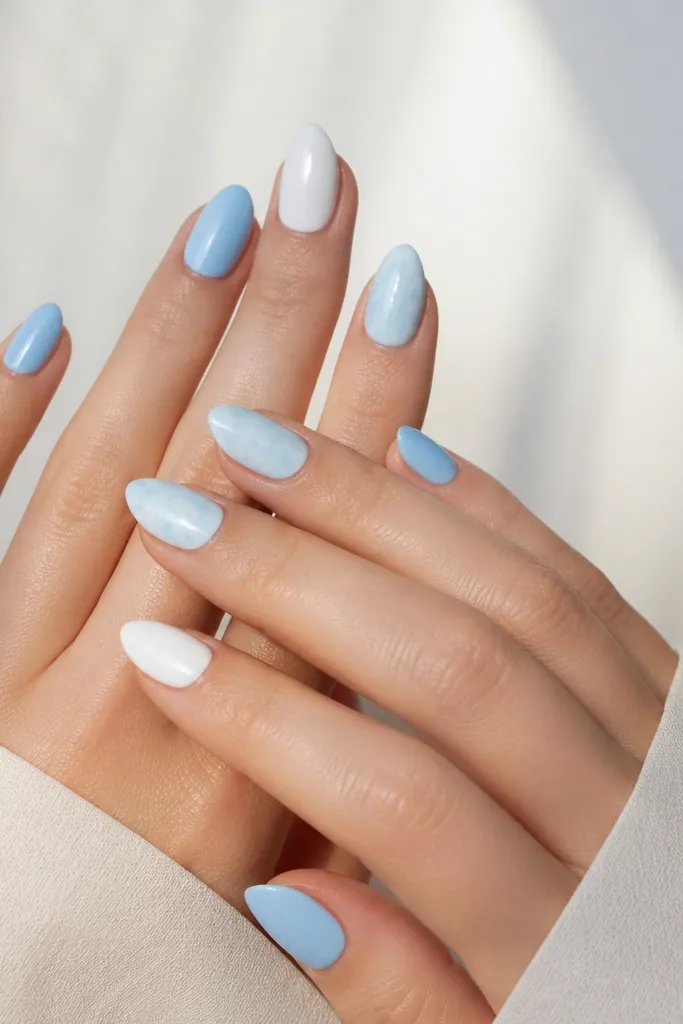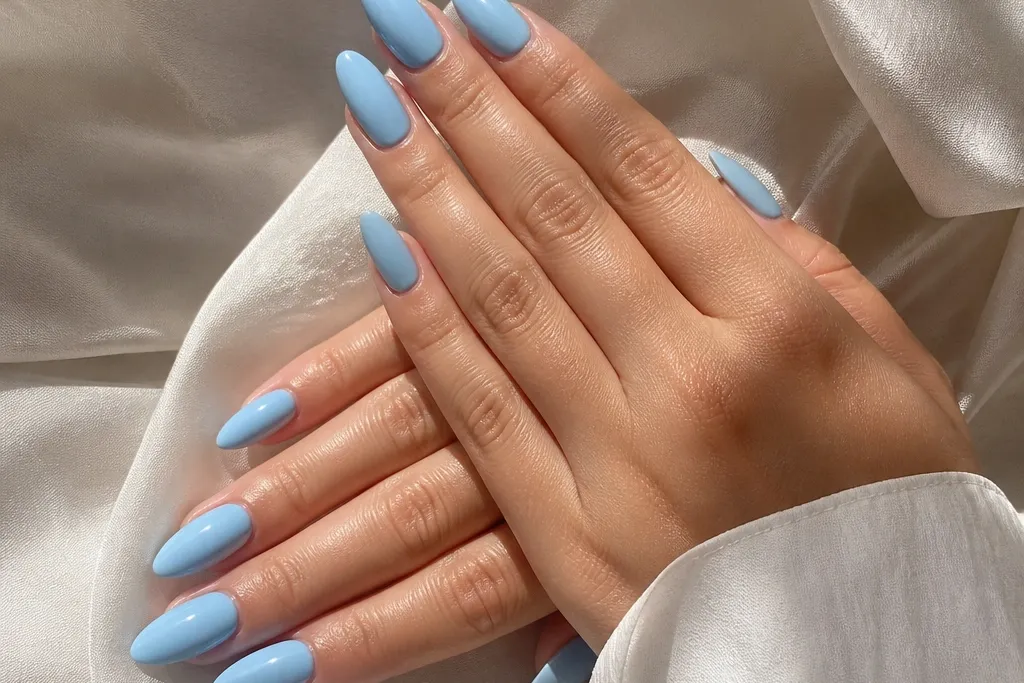
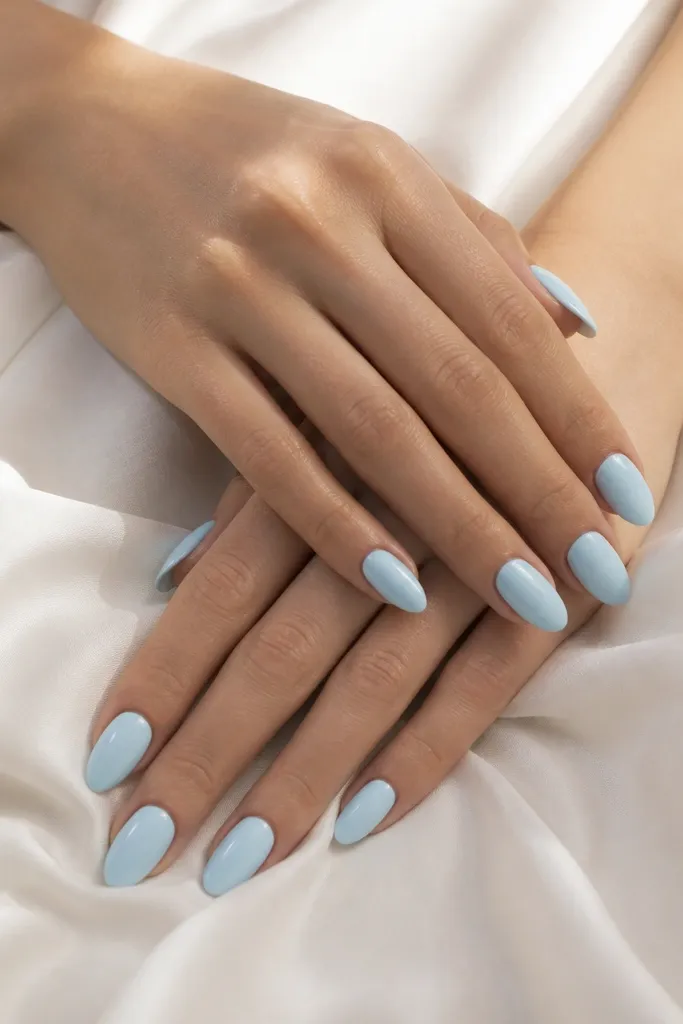
1. Milky Sky Blue Gloss
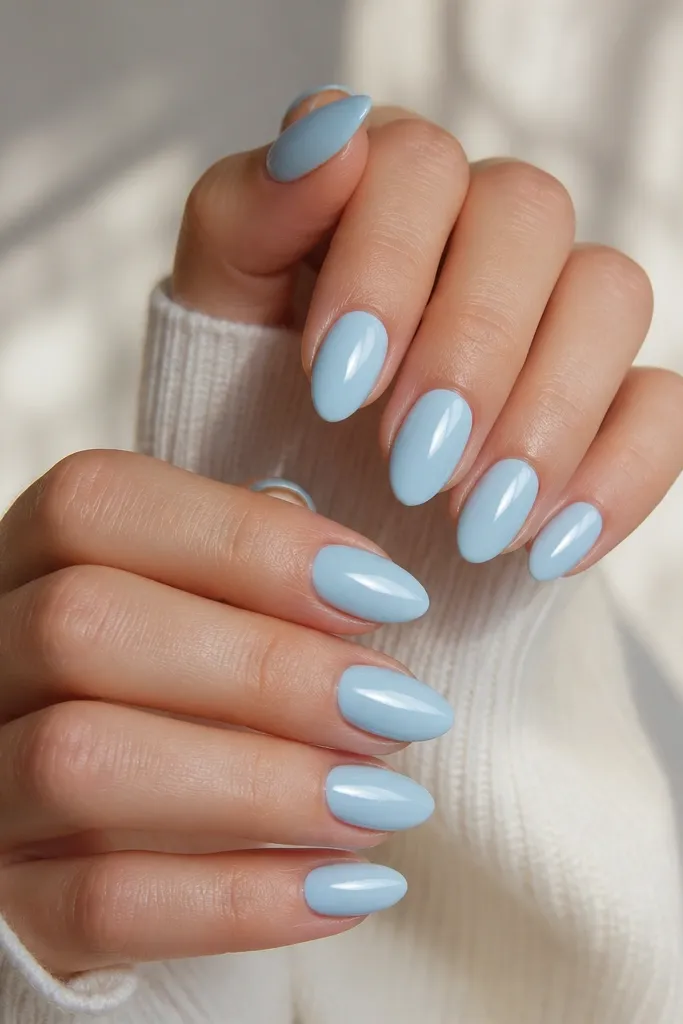
This is the "no thinking" set that still looks like you planned. The milky sky blue softens the color so it reads fresh, not loud. On almond shape, the glossy finish catches light down the center, which makes fingers look longer. I like this when I'm wearing neutrals because the nails bring color without competing.
Use a milky sky blue gel or polish and apply two thin coats, letting each coat level for 60 seconds under a lamp (or 5-10 minutes air dry for regular polish). Keep the edges clean - no flooding the cuticle. Finish with a thick, even top coat for that glassy reflection.
Pro tipAfter curing, wipe with alcohol and then add one extra thin layer of top coat only on the center for a smoother highlight.
Watch outDon't use a streaky one-coat blue - it makes almond nails look patchy at the sides.
2. Baby Blue Micro-French on Almond
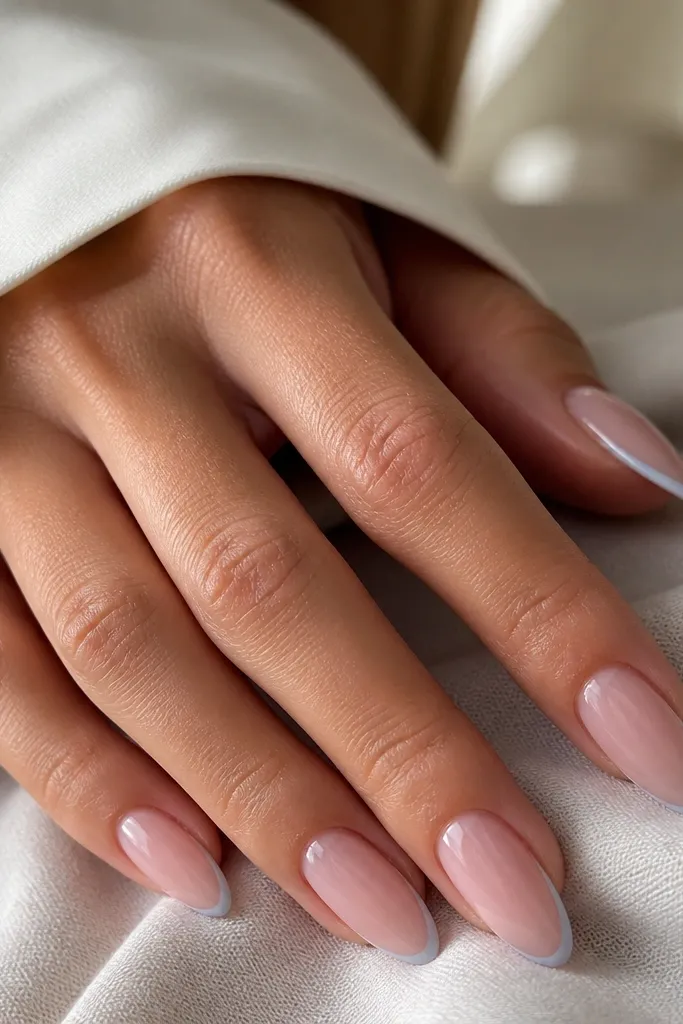
A micro-French makes sky blue look tailored. The nude-pink base blends with your skin and makes the blue line look intentional. Because the tip art is thin, it reads modern and works for workdays, weddings, and photos. The almond shape lets that tip line sit neatly without looking bulky.
Start with a sheer nude base (pink-beige) and cap the free edge lightly. Then paint a narrow baby-blue smile line at the tip using a striping brush. Keep the line about 1 mm thick. Top coat everything and check from the side so you don't get a raised edge.
Pro tipUse a small dotting tool to place two guide dots at the left and right tip corners before you draw the line.
Watch outSkip thick tip lines - they turn micro-French into "painted-on" and hide the almond taper.
3. Sky Blue Half-Moons
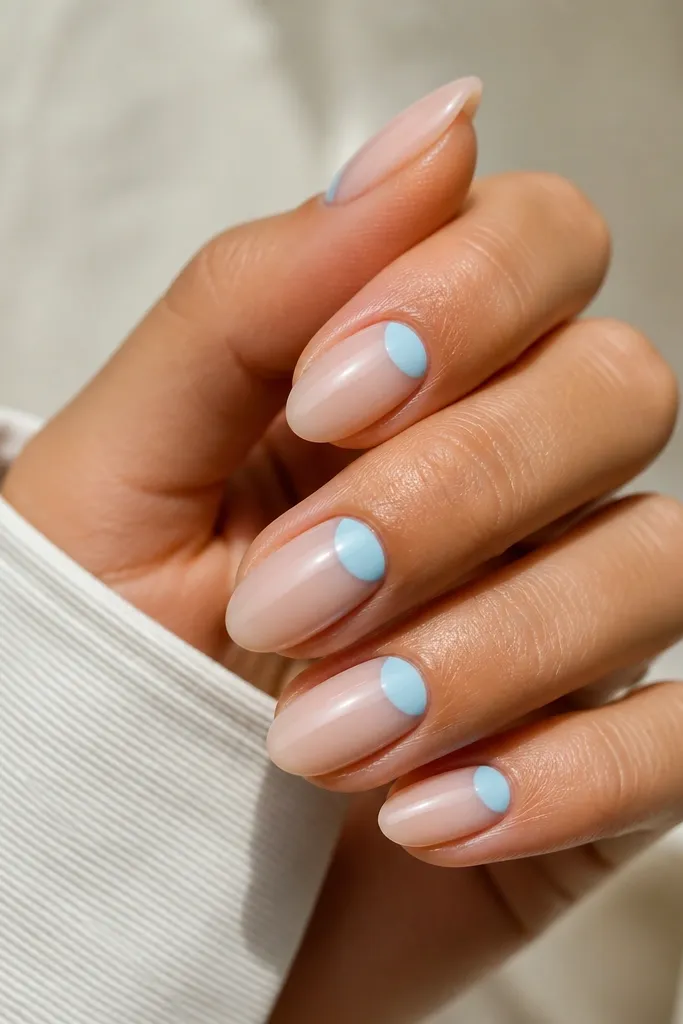
Half-moons are a simple design that still feels designed. The sky blue sits right at the cuticle, so it makes your hands look lifted and tidy. I love this when I want blue but don't want glitter or too much shine. The nude base keeps it airy, and the almond shape keeps the curve flattering.
Apply sheer nude as your base. Use a small stencil or a curved detail brush to paint a half-moon shape at the cuticle - about 2-3 mm wide. Keep the moon slightly wider in the center, then mirror on each nail. Seal with glossy top coat and cap the free edge.
Pro tipIf you don't have stencils, use tape rolled into a thin strip and press it lightly at the cuticle curve as a guide.
Watch outDon't let the blue touch your cuticle skin - any smudge makes half-moons look messy fast.
4. Sky Blue Watercolor Swirl
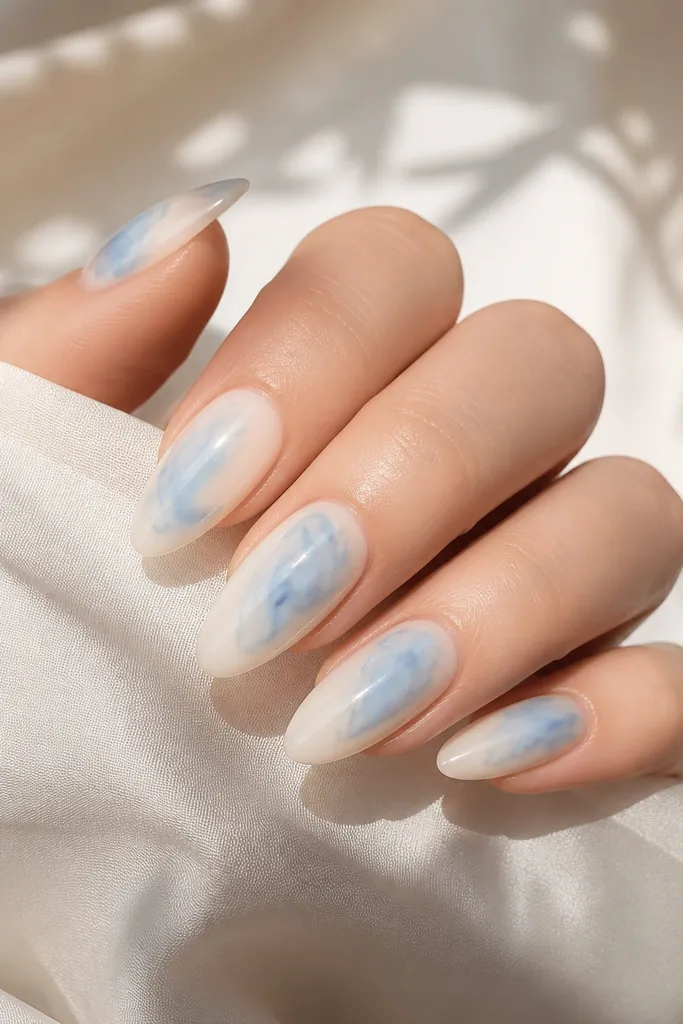
Watercolor swirls make sky blue feel artistic without going full nail art marathon. The fading edges mimic real watercolor, which looks expensive on almond because the taper stretches the design naturally. It also hides tiny imperfections better than solid color. I wear this set when I want something soft and different from standard French tips.
Use a sheer milky base. For the swirls, thin sky blue gel with a drop of clear gel so it spreads. Dot the color in small clusters, then pull it outward with a detail brush dipped in clear gel. Cure between thin layers so the swirl stays translucent, then finish with a high-gloss top coat.
Pro tipKeep your swirls off the sidewalls - leave a tiny negative space line so the design looks intentional.
Watch outAvoid heavy pigment blobs - thick spots look like stains instead of watercolor.
5. Icy Sky Blue Chrome Accent
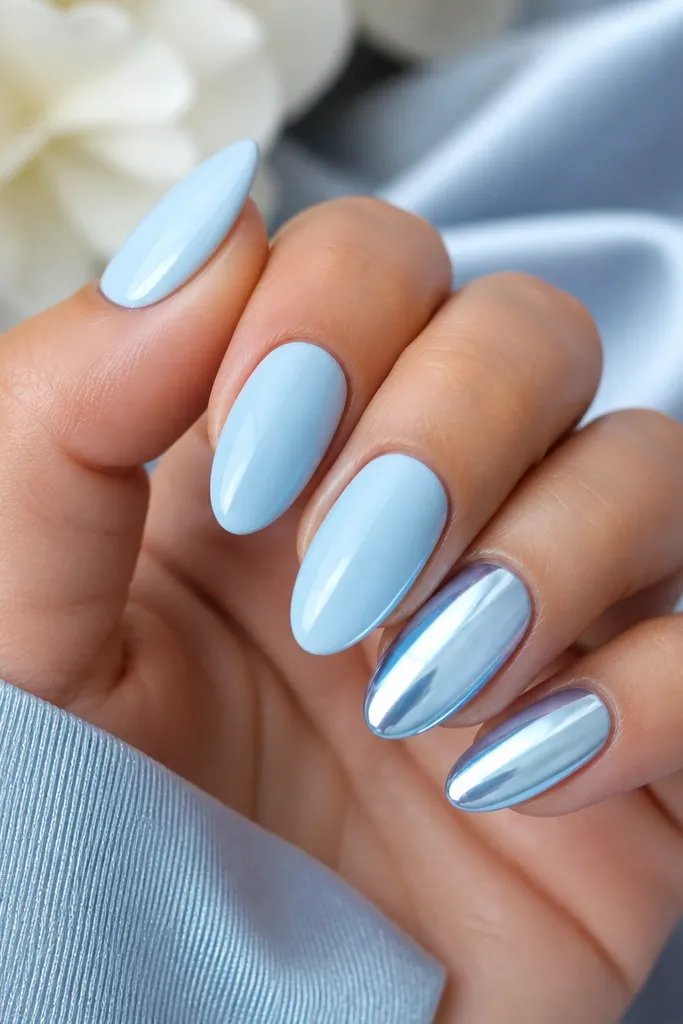
Chrome can go from "wow" to "cheap" in one step, so I keep it limited. The mirror icy chrome on just two nails looks salon-level and makes your whole manicure look coordinated. The icy sky base keeps the chrome cool and clean instead of turning greenish. Almond shape makes chrome reflections look smooth and elongated.
Paint all nails icy sky blue. On two nails, apply a pale sky base and then a chrome gel or chrome powder on top (depending on your system). Buff lightly for an even mirror and cure/finalize per product instructions. Seal with a chrome-safe top coat or leave it untopcoated if your chrome system needs that.
Pro tipWipe the nail with alcohol before chrome - fingerprints ruin the mirror.
Watch outDon't chrome every nail - the set starts to look costume-y and loses the "clean" effect.
6. Sky Blue Glitter Gradient Tips
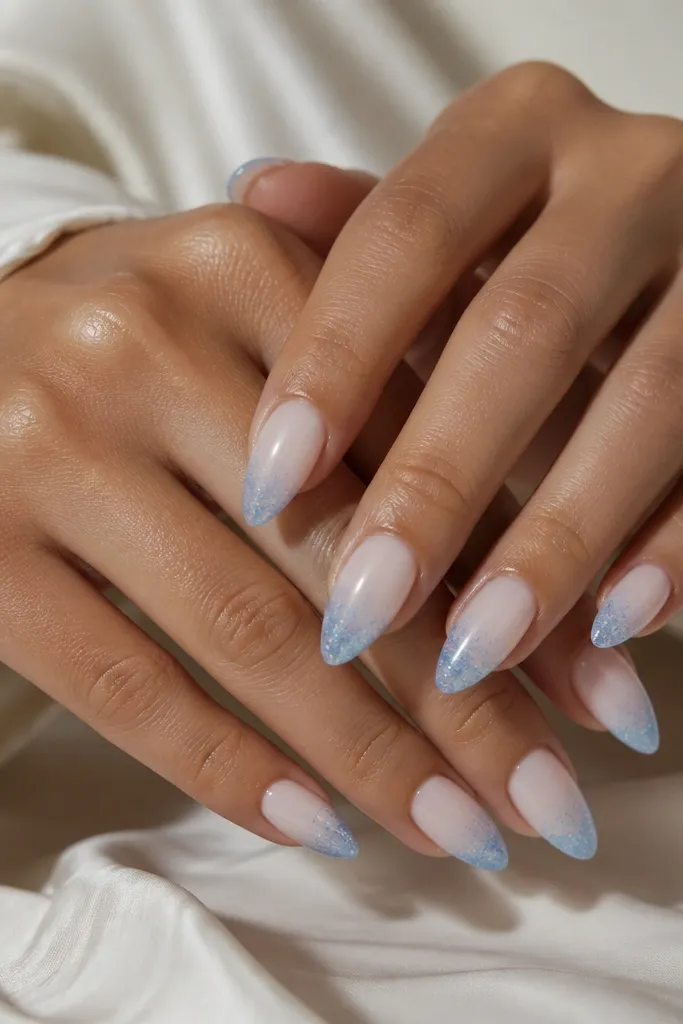
A glitter gradient looks expensive because it mimics a light bloom, not a chunky layer. The sheer base keeps it modern, while the densest glitter at the tip makes almond nails look longer. I like this for nights out because it catches flash photography without being loud in regular lighting. Sky blue glitter also pairs well with silver jewelry.
Start with a sheer milky base. Sponge a sky-blue glitter gel or loose glitter mix starting at the tip, then drag the sponge upward lightly so it fades. Build in thin layers until you like the intensity. Cure each layer, then top coat for smoothness - especially over glitter to prevent texture catching on hair.
Pro tipPress glitter gently with the sponge, don't rub - rubbing pulls glitter into streaks.
Watch outSkip thick glitter domes - they feel rough and chip faster at the edges.
7. Sky Blue Tinted Clear Jelly
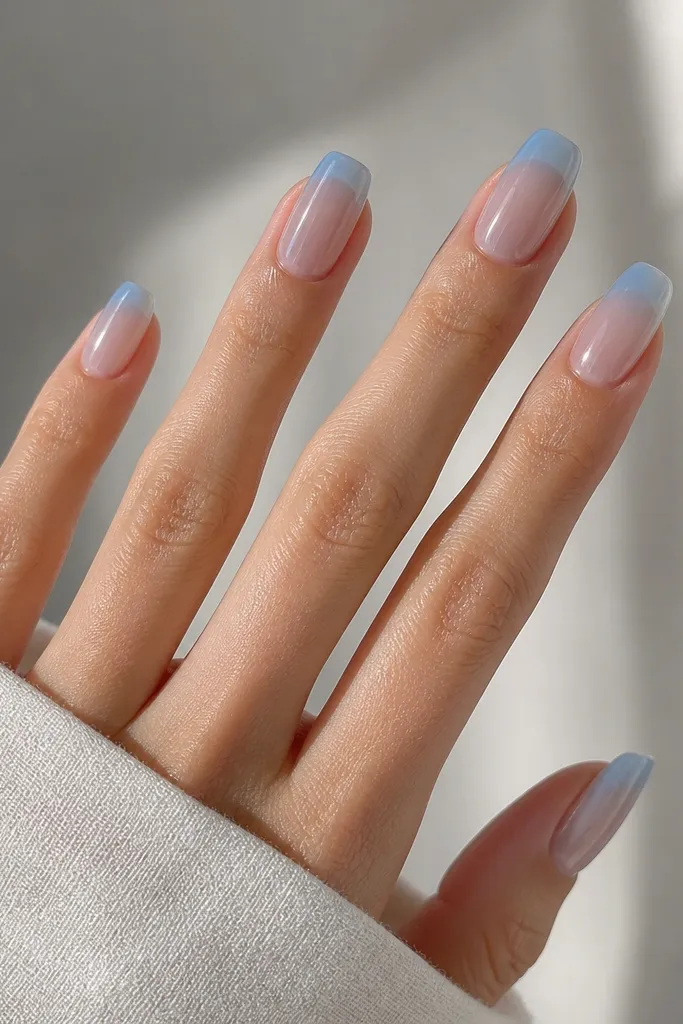
Jelly nails are my go-to when I want sky blue but also want it to look light and airy. The translucency gives that "fresh from the salon" look and makes regrowth less obvious. Almond shape makes the jelly layer look extra smooth because the taper reduces harsh lines. It's also forgiving if your nail beds are slightly uneven.
Use a jelly sky blue gel that is more transparent than opaque. Apply 2-3 thin coats, curing each one, until you get the tint you like. Keep the layer even at the center so it doesn't pool. Finish with a thick glossy top coat for that glass look.
Pro tipIf it looks too streaky, add a third ultra-thin coat instead of thickening the first two.
Watch outDon't overfill the cuticle area - jelly shows every flood line.
8. White Marble with Sky Blue Veins
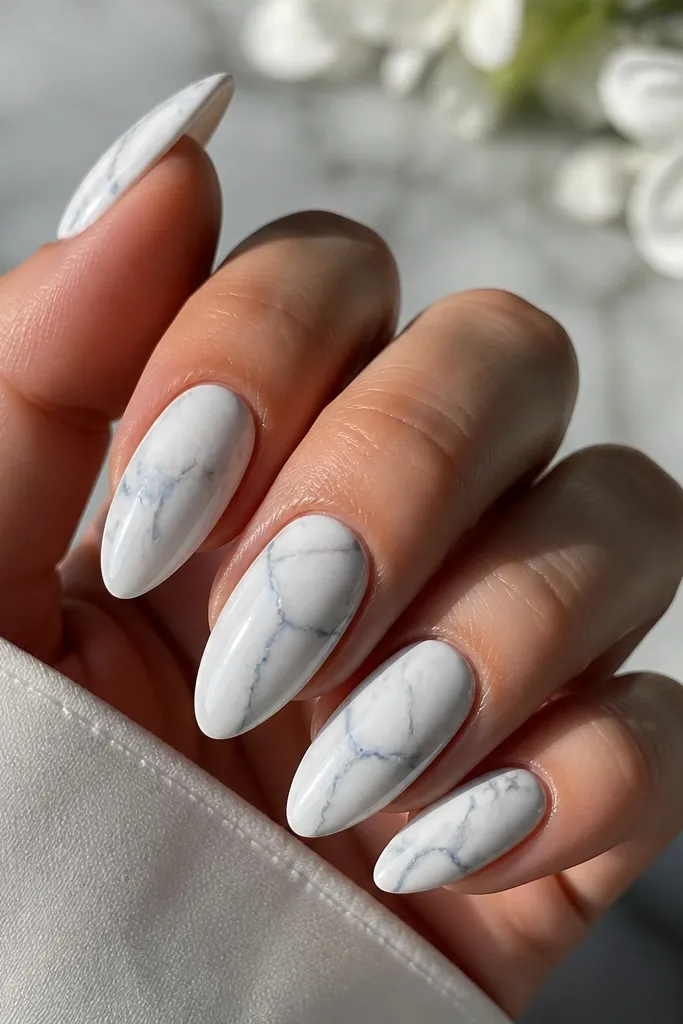
Marble makes sky blue feel grown-up. The white base keeps the set bright, and the blue veins look like ink pulled into stone - not like random nail stickers. Almond nails help the veins flow smoothly from cuticle to tip. This is the set I wear when I want something statement-y but still clean for everyday.
Use a white or milky white base. For veins, mix a light sky blue gel with clear gel and paint thin lines with a liner brush. Add a few thinner offshoots and drag some lines into soft gray with a damp brush for depth. Cure and then top coat generously to smooth the marble texture.
Pro tipDo one nail at a time so your veins don't cure before you soften edges.
Watch outAvoid thick vein lines - they look like paint strokes instead of marble.
9. Sky Blue Line Art Stars
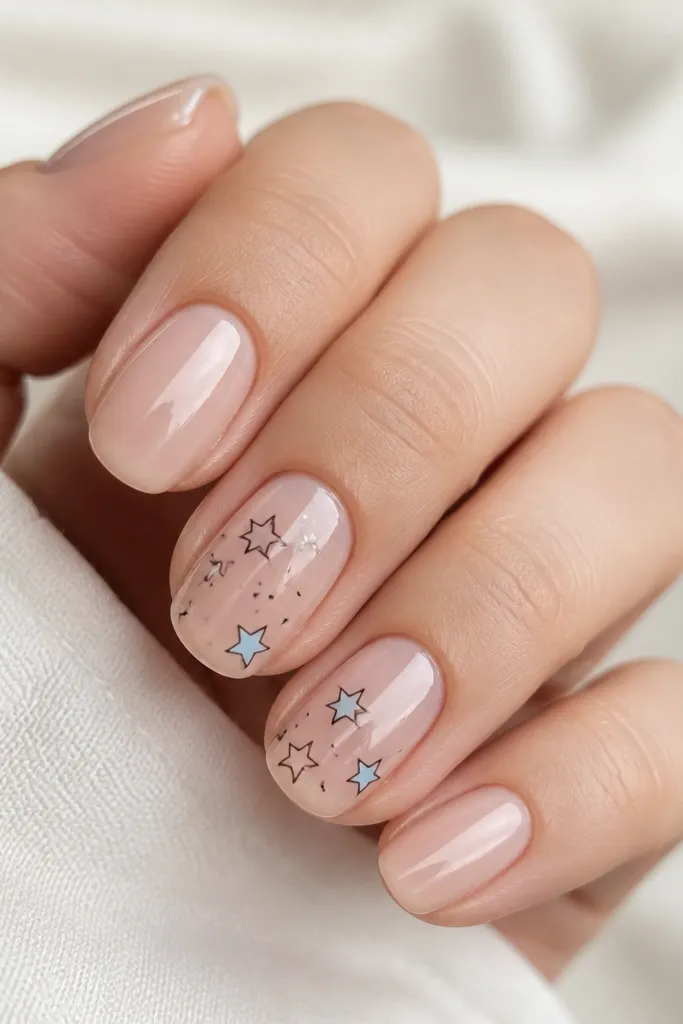
Line art keeps sky blue from feeling too sweet. I like using dark navy or black line art so the blue accents pop cleanly. Stars add a playful vibe without covering the whole nail in color. On almond nails, the lines look crisp and stretched, especially under direct light.
Paint a nude base or clear jelly base. On one or two accent nails, draw thin star outlines with a fine liner brush or nail art pen. Add tiny sky-blue dots or a partial fill on each star. Seal with top coat and avoid thick layers over the line art so it stays sharp.
Pro tipUse a toothpick to place tiny sky-blue dots - it gives better control than a brush tip.
Watch outSkip chunky stickers - they lift at the edges and ruin the clean line look.
10. Sky Blue Beaded Accent on Two Nails
This is for when you want texture but still want the set to look neat. Tiny beads and micro gems catch light like jewelry, and they make sky blue feel special. I keep it to two nails so it doesn't look heavy. Almond shape helps the raised details sit comfortably without looking bulky.
Paint all nails sky blue glossy. On two nails, place micro beads or 2-3 small rhinestones using nail glue or gel adhesive. Keep the cluster centered and spaced - about 1-2 mm between pieces. Then top coat carefully around the area, leaving the top of the gems smooth if your gems are meant to stay reflective.
Pro tipSeal the edges of each bead with a tiny dot of clear gel so it doesn't snag on sleeves.
Watch outDon't pack beads too close - they merge and look like a glued blob.
11. Sky Blue Ombre from Tip to Cuticle
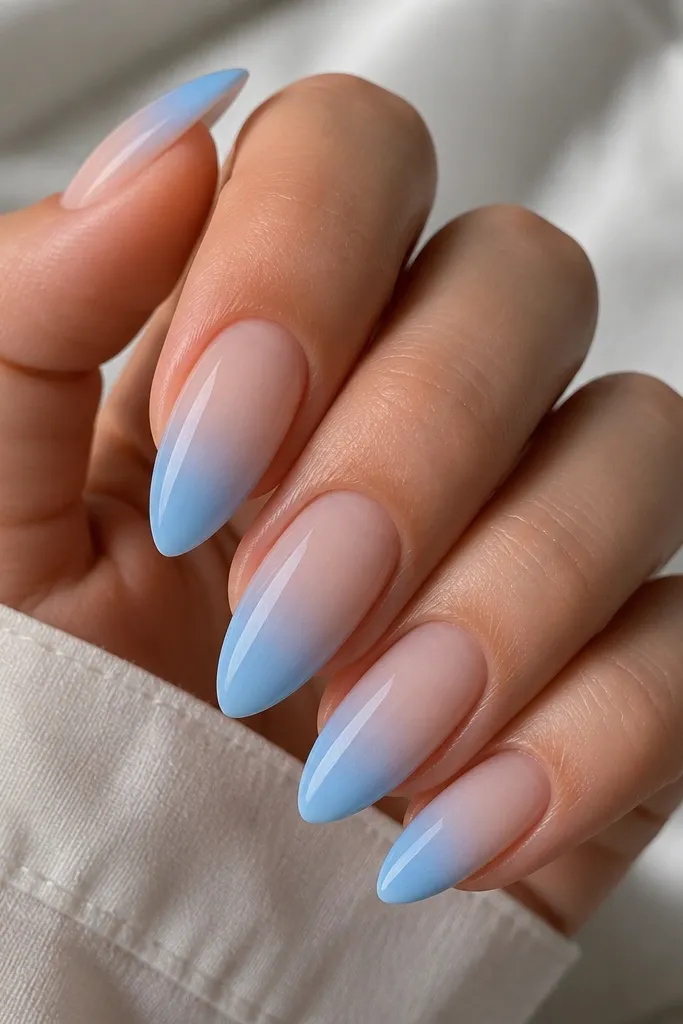
A full ombre makes sky blue look like it was airbrushed. The gradient gives dimension, and almond nails naturally enhance that fade because of the taper. I like this when I want color coverage without solid blocks that show chips. It also photographs beautifully because the fade catches light at different angles.
Use a sponge and two shades: a deeper sky blue for the tip and a milky nude or sheer base near the cuticle. Sponge lightly in layers until you get a smooth transition, curing each thin layer. Avoid going too close to the cuticle at first - you want the fade to look intentional, not like a smudge.
Pro tipWipe the sponge on a paper towel between nails to keep the gradient from getting too dark.
Watch outDon't rush the sponge - one heavy layer creates a dusty edge that looks messy.
12. Sky Blue Velvet Matte with Glossy French Edge
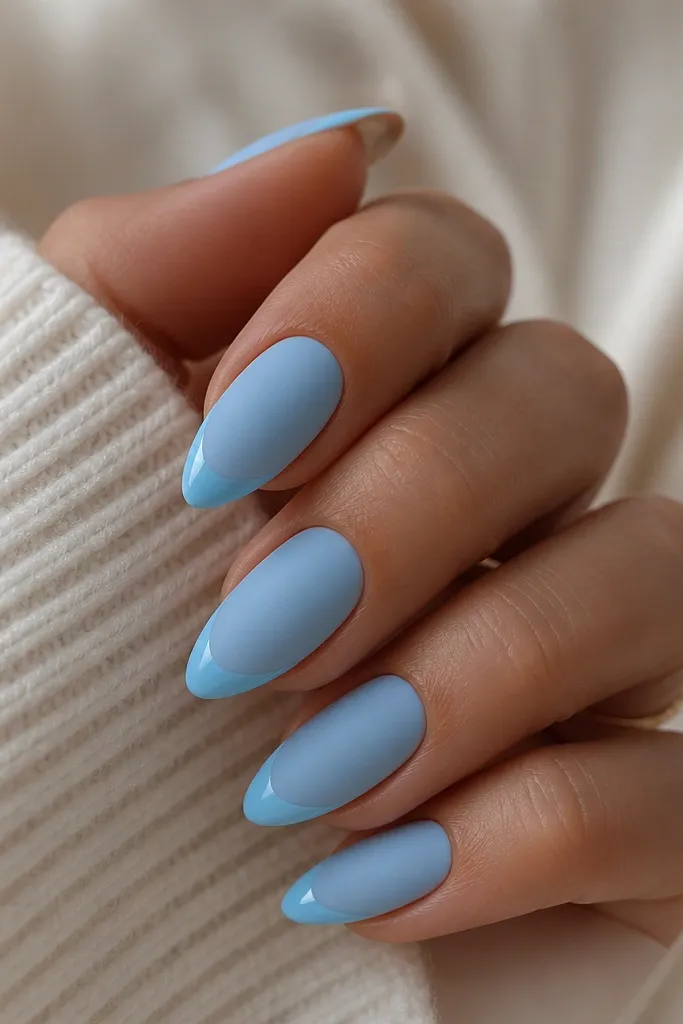
Matte makes sky blue look soft and expensive. The velvet finish hides tiny surface bumps better than glossy, and the glossy French edge adds a clean focal point. This combo feels modern because the contrast is subtle but noticeable. Almond nails make the matte layer look smooth, especially when the tip line is thin.
Paint the nails sky blue and cure. Apply matte velvet top coat across the whole nail except the tip line area. Then paint a thin glossy sky-blue tip line and cap it with glossy top coat. Keep the glossy line about 1 mm thick so it doesn't overpower the matte.
Pro tipTest the velvet top coat on one nail first - some brands dry more gray than blue.
Watch outSkip heavy matte over the French line - it kills the contrast.