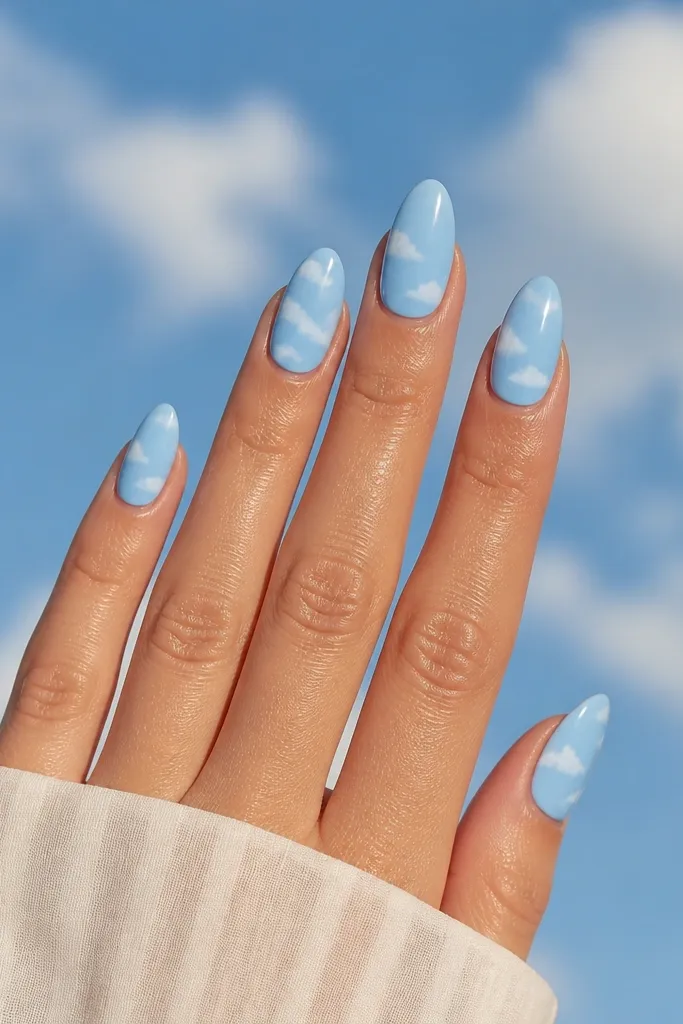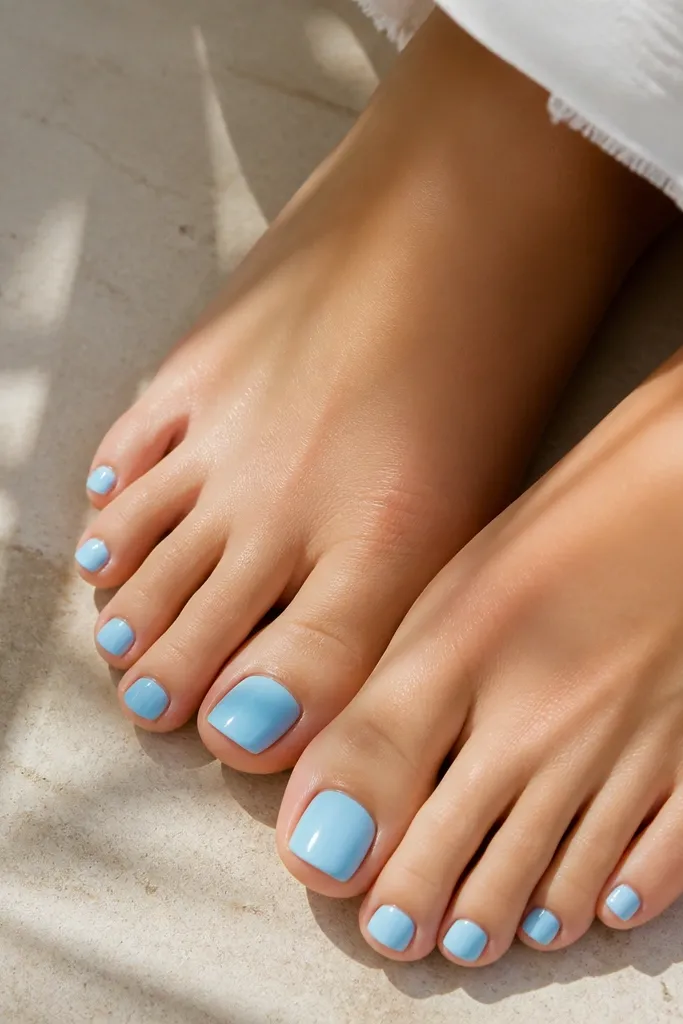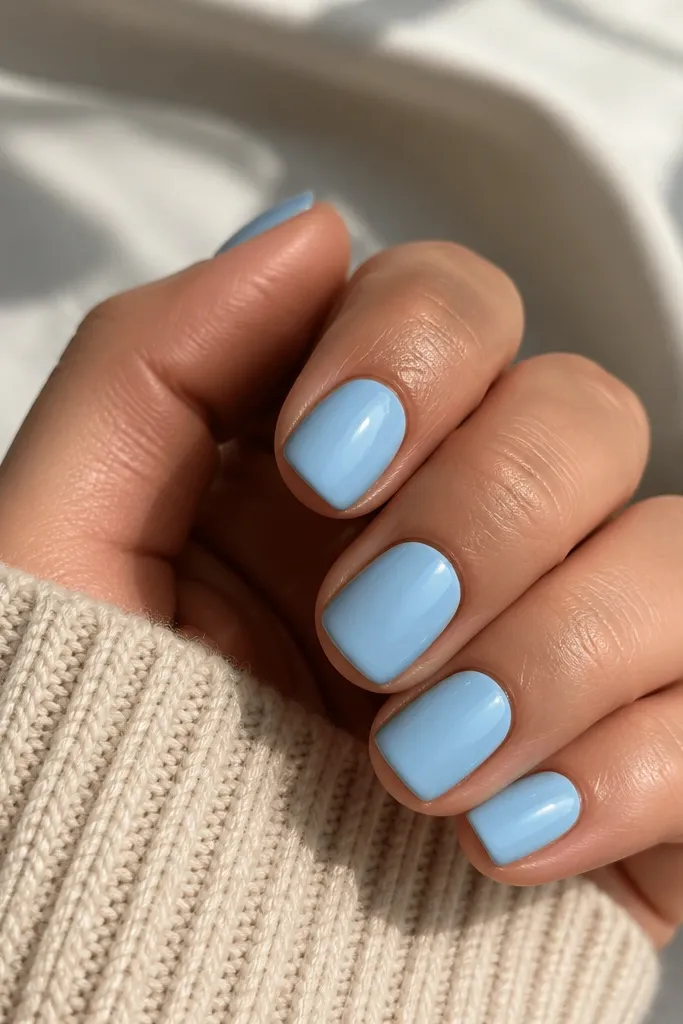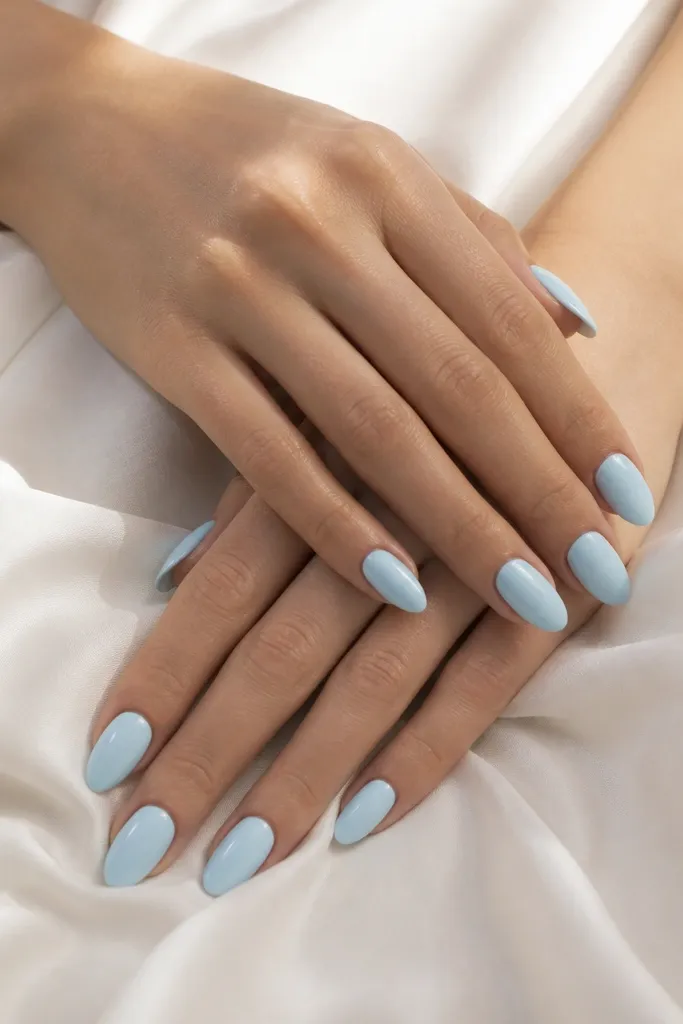
1. Cornflower Half-Moons with Snowy Center Lines
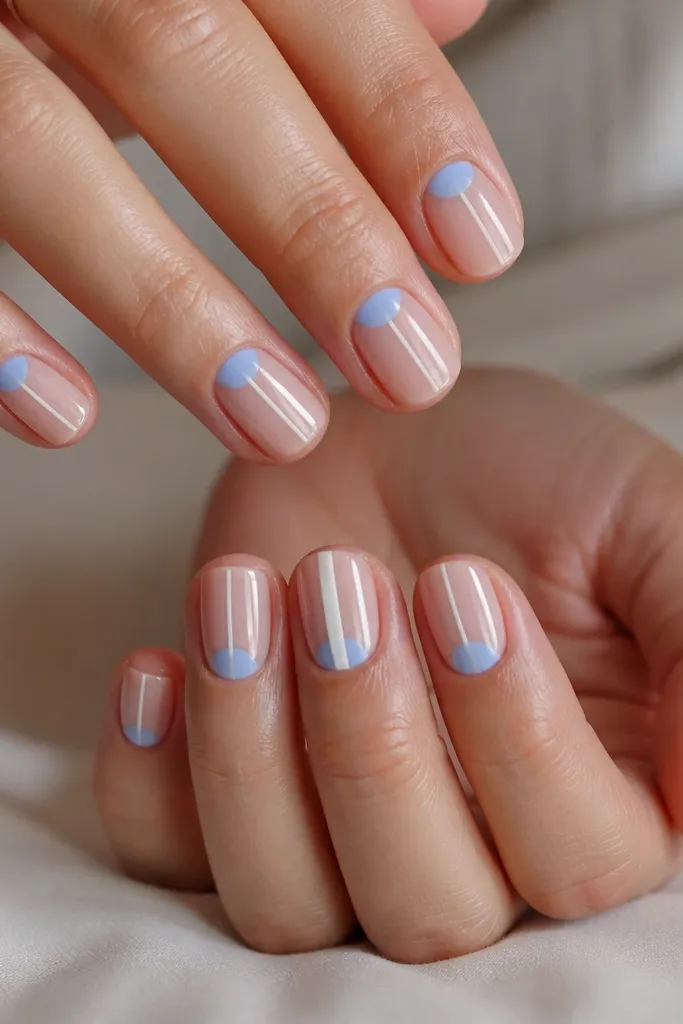
This one looks clean because the half-moon is a big, simple shape and the white line adds movement without overcrowding. The sky blue sits only at the base, so the rest reads airy and bright. The center line also tricks the eye into making the nail look longer, even on short lengths. I've worn this to brunch and it still looks sharp after a week of handwashing.
Start with a sheer nude base if you like a natural nail look, then paint the sky blue half-moon using a small sponge or a steady cuticle brush. Once it cures, use striping tape to guide a straight white line down the middle and remove the tape right away. Finish with a glossy top coat for that "glass" look.
Pro tipUse tape only for the white line, not for the half-moon. Tape can tug the cuticle edge and make the blue look jagged.
Watch outSkip off-white. If your white is too creamy, the line turns gray and ruins the contrast.
2. Icy Cloud Tips with Micro-Glitter Fade
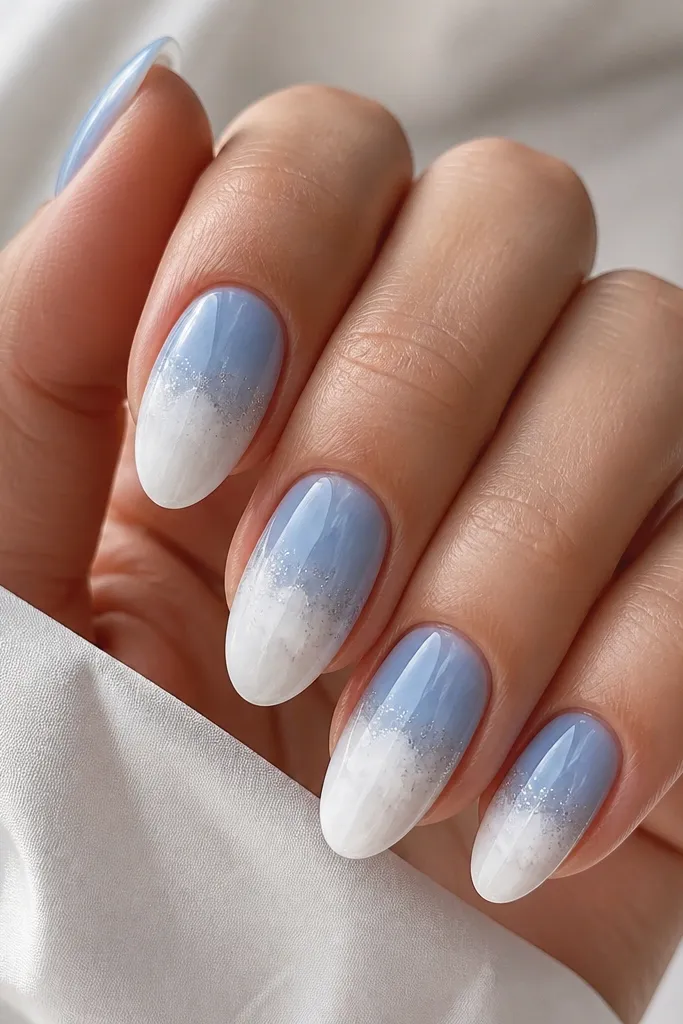
The cloud tip is flattering because it softens the nail edges and keeps the design feminine. Micro-glitter at the cloud boundary catches light when you move your hands, but it stays subtle because it's limited to one area. The fade between sky blue and white makes the set look blended, not sticker-like. This is the one I reach for when I want "vacation nails" without neon colors.
Paint the nails sky blue first. Sponge a thin band of white where you want the cloud, then use a small makeup sponge to tap and blur the edges. Before top coat, dab micro-glitter gel in a narrow arc along the cloud border and cure. Seal everything with a glossy top coat.
Pro tipKeep the glitter band under 2mm wide so it doesn't feel gritty.
Watch outDon't glitter the whole tip. It turns the look from airy to chunky fast.
3. Sky Blue French with Double Thin White Stripes
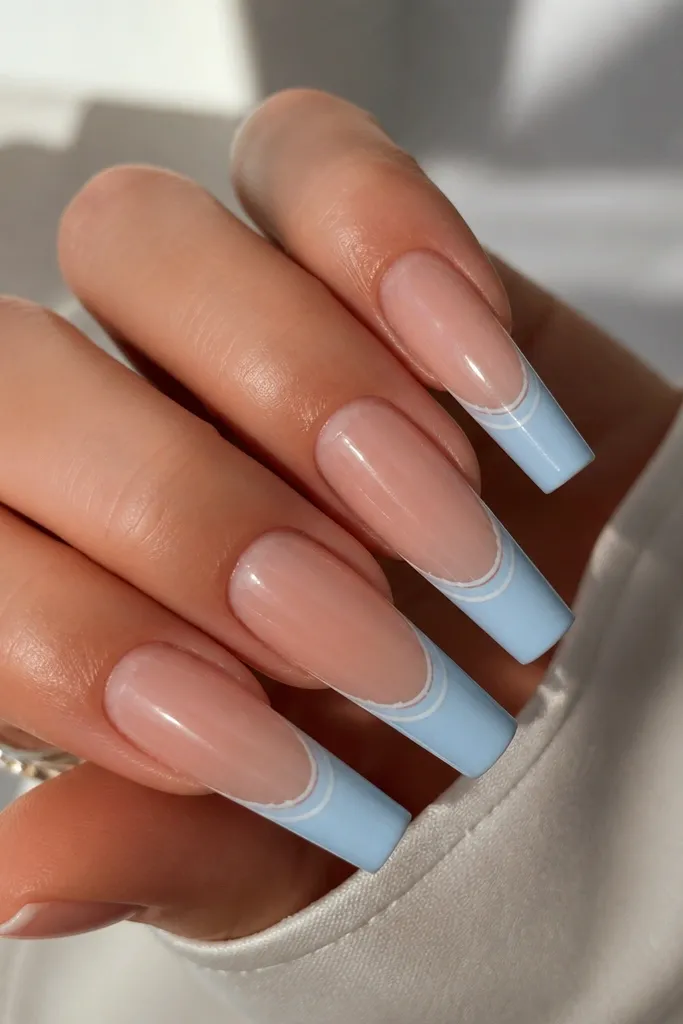
A French shape looks polished when the line is straight, and the double thin stripes add a graphic detail that photographs beautifully. Sky blue French tips feel fresher than classic pink, but the white stripes keep it clean and crisp. The double lines also make the tip look more dimensional without adding bulk. It's my go-to when I want sky blue and white nails gorgeous details that still look work-appropriate.
Use a French guide strip to get even tip placement, then fill the tip with sky blue gel. Cure, then apply a thin strip of tape about 1mm from the inner edge and paint white between tape lines. Remove tape while the gel is still workable if you're using a non-wipe gel system.
Pro tipIf your tape lifts edges, press it down with an orange-wood stick wrapped in lint-free wipe.
Watch outDon't make the French too thick. Thick tips shrink the nail shape visually.
4. Matte Sky Blue Base with Glossy White Bow Accent
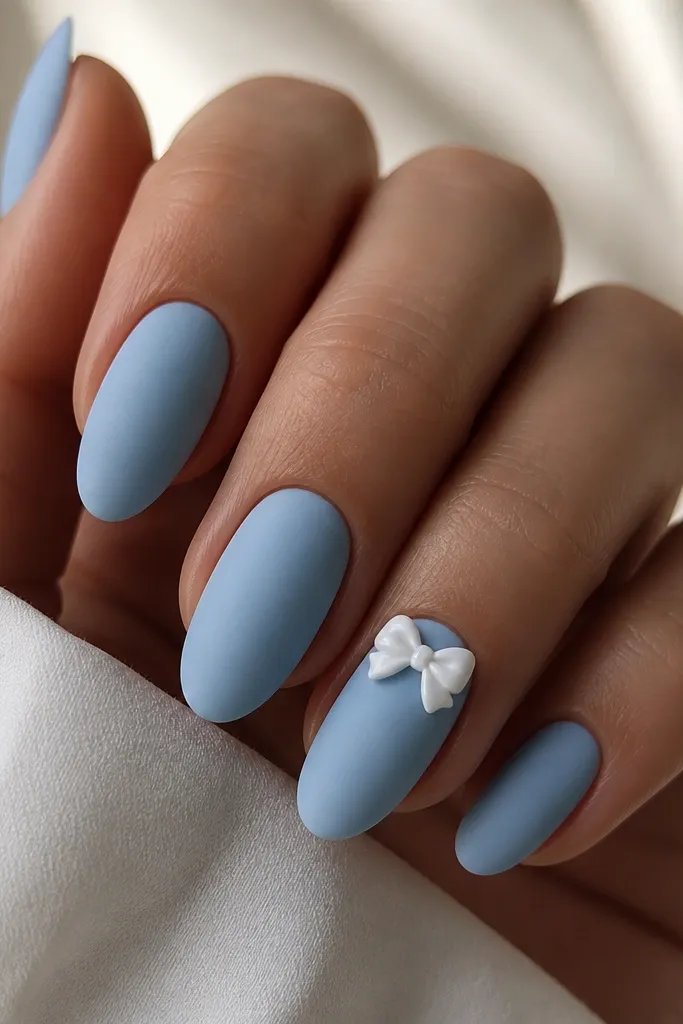
Matte sky blue makes the white look brighter and sharper because glossy paint pops against a flat base. A tiny bow near the cuticle feels sweet without turning into cartoon art. Keeping the rest of the nails plain makes the bow the star and keeps it from looking busy. I've worn this to baby showers and it got compliments even from people who don't usually notice nail art.
Base coat, then apply matte sky blue gel. Cure and do not top coat yet. Use a detail brush to paint the bow with glossy white gel (or a thicker gel for control). Cure the bow, then top coat everything except the matte nails - you can do a matte top coat over the base for uniformity.
Pro tipUse gel striping gel for the bow lines if you want zero brush drag.
Watch outAvoid glossy top coat over matte base if you want the contrast. It kills the effect.
5. White Marble Veins on a Sky Blue Clear Base
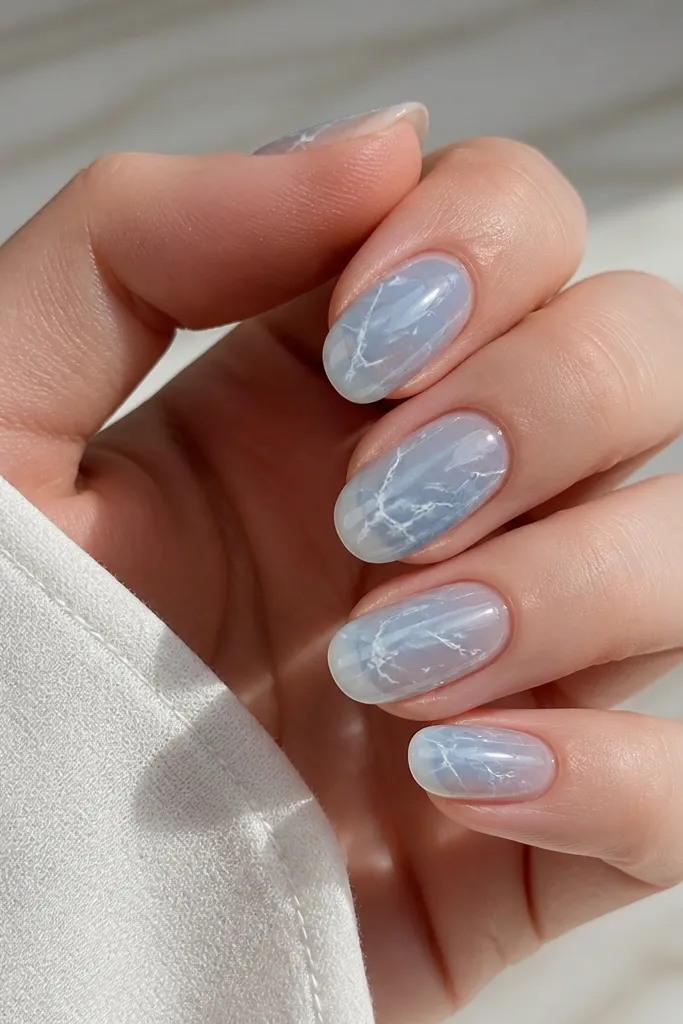
Marble works because the white is linear and varied, so it looks organic instead of stamped. The sky blue tint underneath keeps it cool and airy. When the veins are thin, the design reads high-end rather than chalky. I like this set for offices because it's artsy but still clean.
Paint a sheer sky blue gel over the nail, leaving a little translucency. Add white gel in thin strokes, then lightly drag the lines with a toothpick to create vein movement. Add a second pass if needed, then cure and top coat glossy.
Pro tipKeep your veins under 1mm wide. Wide marble lines look blocky on short nails.
Watch outSkip thick white blobs. Marble should look like cracks, not frosting.
6. Sky Blue and White Polka Dots with One Accent Rhinestone
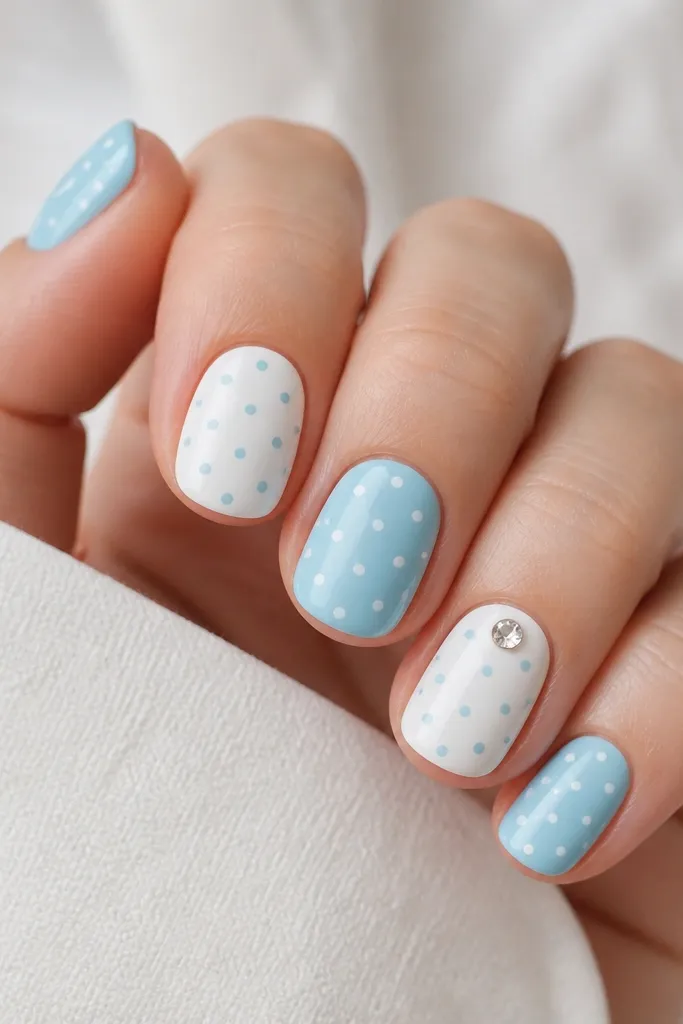
Polka dots are easy, but the spacing is what makes it look intentional. The alternating bases create rhythm, and the single rhinestone adds sparkle without turning the set into a disco ball. This is the kind of design you can do in under an hour once you know your dot size. It also grows out nicely because the dots don't rely on perfect tip placement.
Choose dot sizes: use a dotting tool around 1.5mm for small dots and 2.0mm for slightly bigger ones. Tap dots in a straight grid, then cure. Place the rhinestone with rhinestone gel near the cuticle line on one accent nail and cap with top coat.
Pro tipPress your dot tool straight down for each dot. Sliding makes oval dots.
Watch outDon't put dots too close to the sidewalls. It makes the nail look narrower.
7. Frosted White Half-Cuticles with Sky Blue Tips
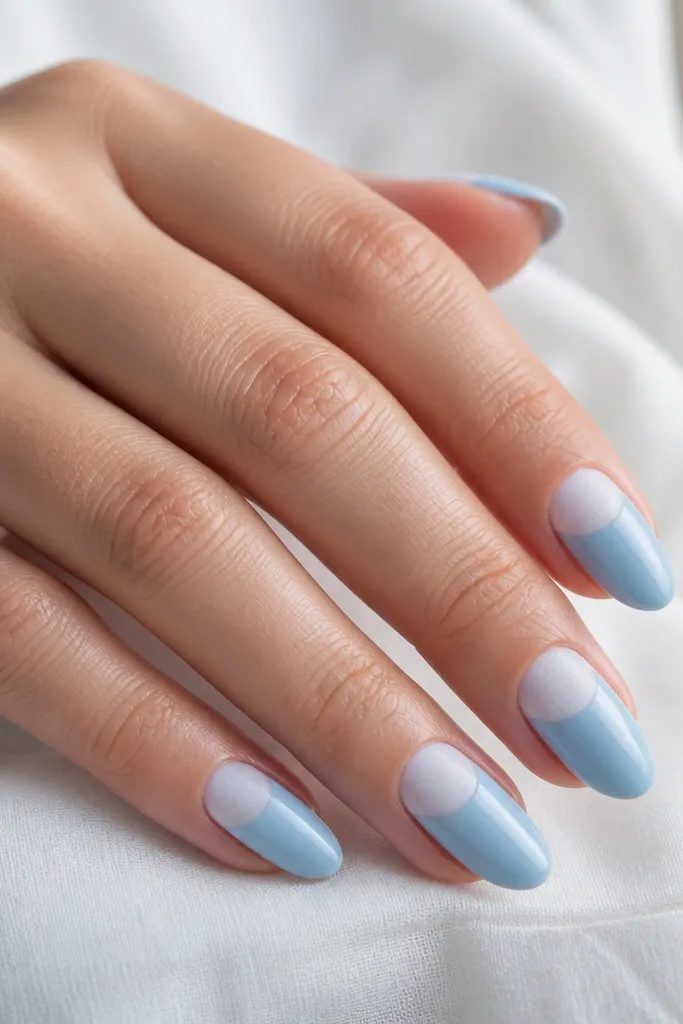
This look reverses the usual French idea, and it keeps the design balanced even as nails grow. Frosted white at the cuticle feels airy and "winter clean," while sky blue at the tip gives you the pop. The sharp boundary makes it look intentional. I've had this survive a week of gardening with only minor edge wear because the design is bold and not reliant on delicate lines.
Paint the tips sky blue first using tape to create a straight boundary. Then sponge or dab frosted white gel into the cuticle half-moon area. Cure, remove tape, and seal with a glossy top coat. If your frosted gel goes too shiny, use a matte top coat just on the frosted zone.
Pro tipUse a small piece of tape as a "curved guide" near the cuticle so the half-moon matches your nail curve.
Watch outDon't blend the colors with a brush. Harsh lines are the point here.
8. Sky Blue Ombré with White "Sunrise" Line
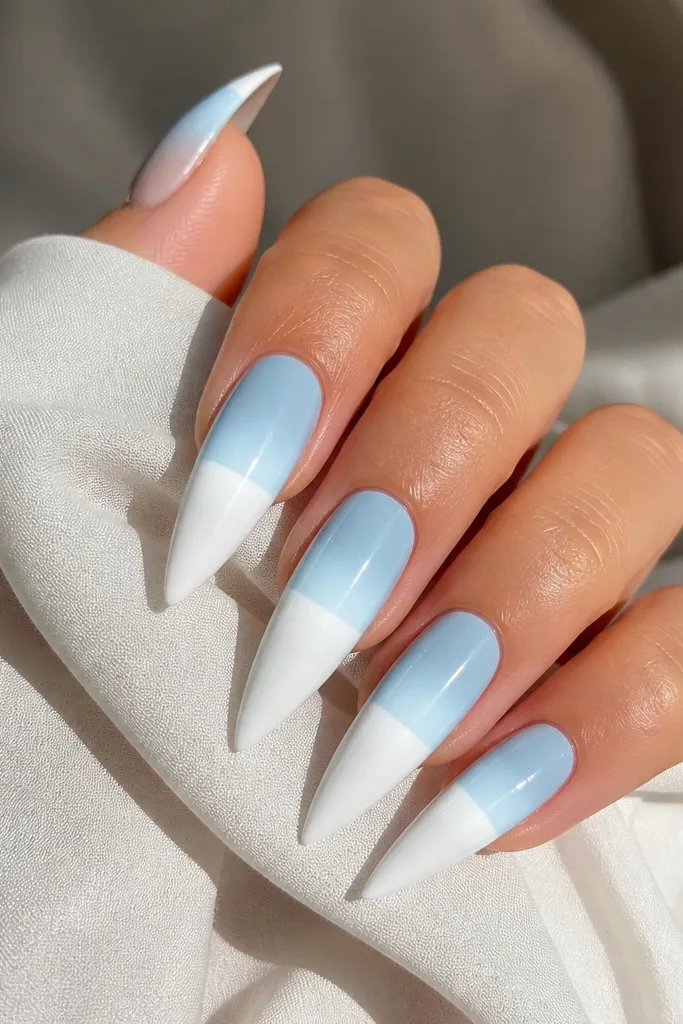
Ombré makes sky blue look soft and expensive, and the white sunrise line adds structure so it doesn't look like random fading. The line sits at about the middle of the nail, so it flatters the shape. This set looks stunning in photos because the gradient catches light while the line stays sharp. It's also great for themed outfits - think summer dresses or denim.
Use a sponge to blend sky blue into a sheer nude base, stopping around the middle. Then paint a thin white line straight across, and add a second thinner white line just above it for a double-horizon effect. Cure and top coat glossy.
Pro tipMask the nail with a thin strip of tape so the horizon line is perfectly straight.
Watch outDon't make the ombré too dark at the top. It will overpower the white line.
9. White Lace Stamping on Sky Blue Background
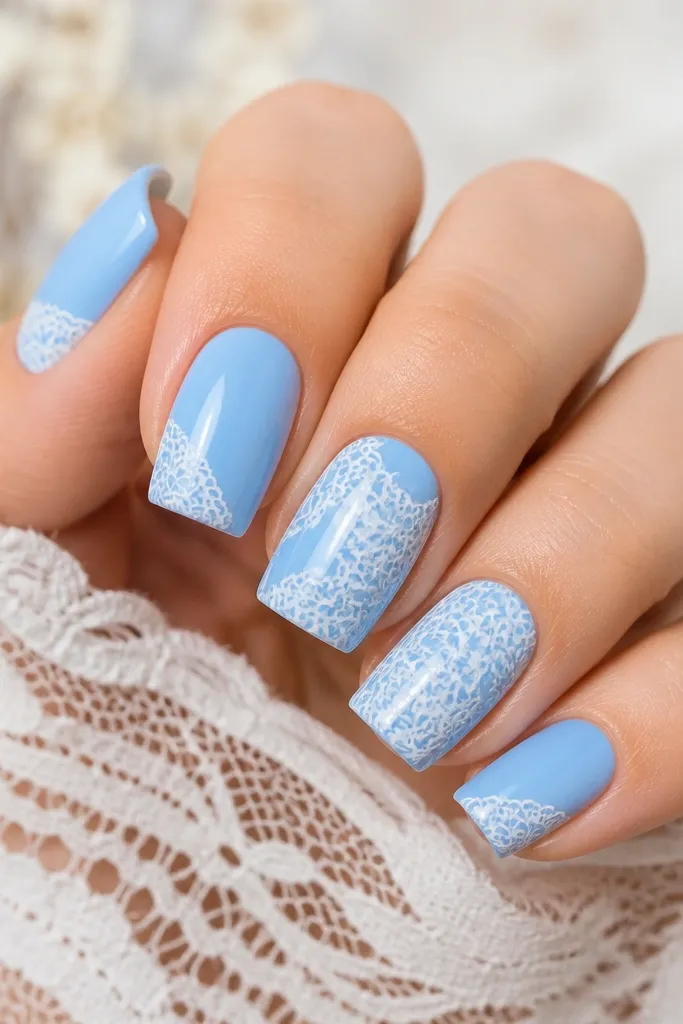
Stamping gives you lace detail without hand-drawing every loop. The key is using opaque white stamping polish so the pattern stays bright against sky blue. Lace looks delicate, but it reads modern when the background is a clear sky blue instead of cream. This is one of the fastest ways to get sky blue and white nails gorgeous details that look like salon work.
Apply sky blue gel and cure. Use a white stamping polish, scrape hard, and press the stamp onto the nail for full contact. If the lace looks thin, do a second stamp only on the main motif. Seal with a glossy top coat.
Pro tipWipe your stamp with acetone after each nail. Lace picks up residue fast.
Watch outDon't use watery white polish for stamping. It turns patchy on blue.
10. Sky Blue Chrome Tips with White Outline
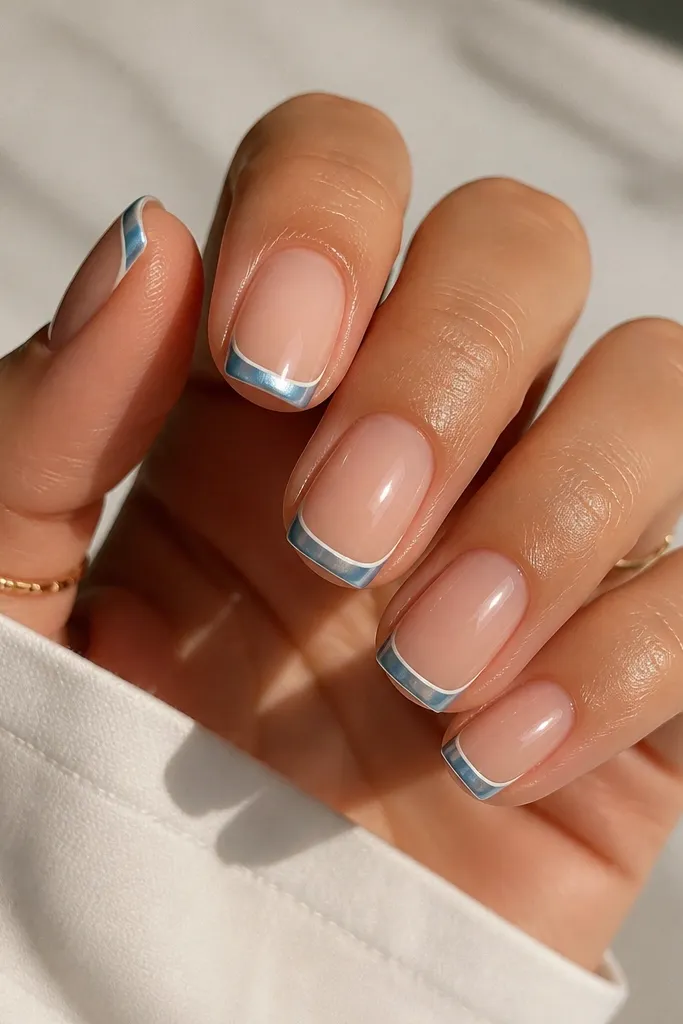
Chrome makes sky blue look like it has depth, and the white outline keeps it from looking like a single block of color. The outline also makes the tip shape look more precise. This combo is flashy without being overwhelming because the chrome is only at the tip. I wore it to a holiday party and it caught lights from every angle.
Paint the nail tip area sky blue gel, cure, then apply chrome powder in small sections and buff gently. Use a liner brush with white gel to trace the chrome edge. Cure and top coat. If you want extra durability, use a thick gel top coat over the chrome.
Pro tipUse a thin brush, not a dotting tool, for the outline. You want a single clean stroke.
Watch outSkip thick white frosting. It should look like a line, not a border sticker.
11. Sky Blue and White Checkerboard Accent
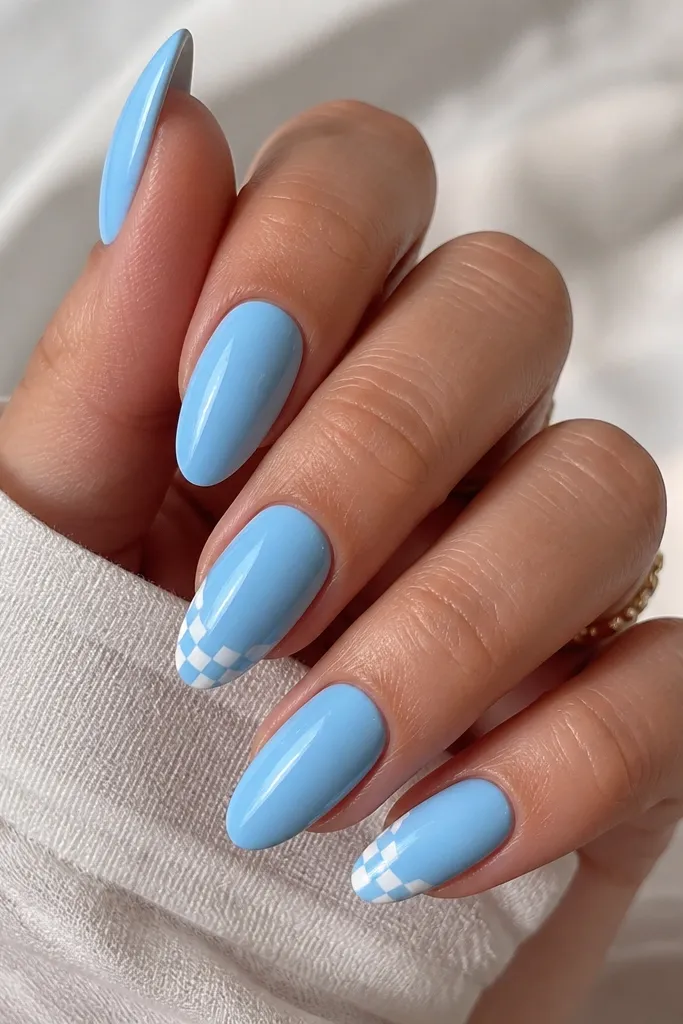
Checkerboard looks graphic and fun, but it's easy to keep it classy if the squares are small and the pattern sits in one area. Putting it near the tip keeps the rest of the nails simple. The sky blue and white squares create a crisp contrast that looks neat even when you wear it day-to-day. This is my pick when I want nails that look "designed" without hand-drawn art all over.
Create a grid using striping tape to section the checker area. Paint alternating squares with sky blue and white gel, cure, then remove tape carefully. Do a second coat if the white looks uneven. Finish with glossy top coat.
Pro tipMake the squares about 1.5mm each for almond nails so the pattern stays clean.
Watch outDon't go too big on squares. Large checks look childish fast.
12. White Flower Dots on Sky Blue Gradient
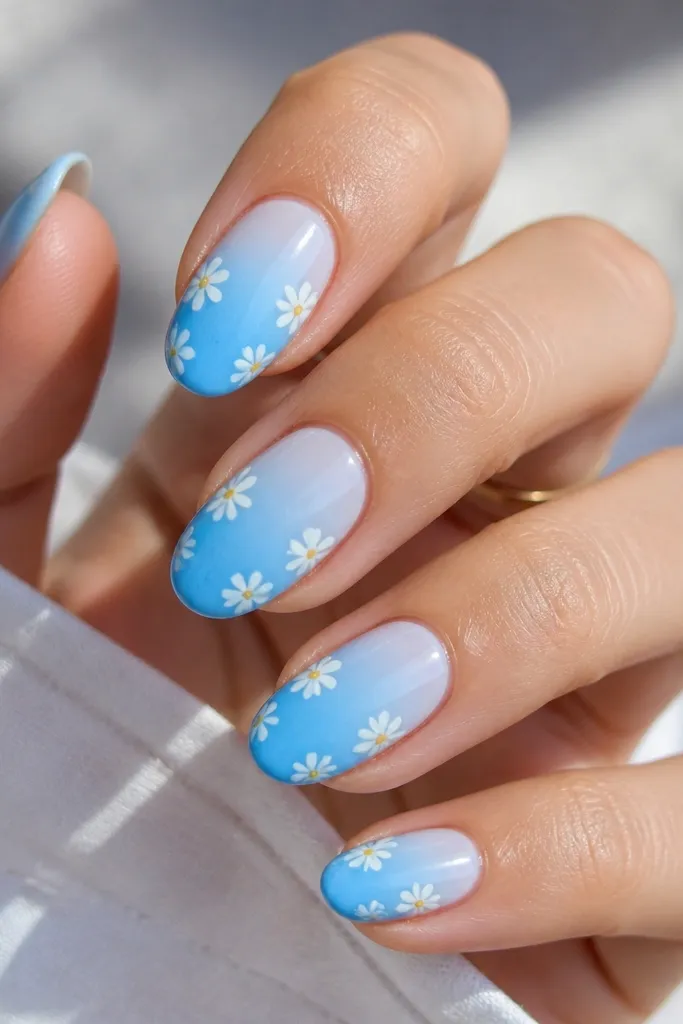
This has that fresh spring feel because the flowers are built from dots, not drawn petals. The gradient makes the background interesting, and the white flowers keep it bright. I add a tiny yellow dot at the center only if the white petals look too flat; it gives the flower a focal point. It's cute, but the spacing makes it look grown-up.
Sponge a gradient sky blue, then cure. Use a dotting tool to place five white petals around one center dot, and add a tiny yellow dot in the middle. Keep flowers to one side of each nail so the design doesn't collide with the gradient.
Pro tipUse a toothpick to drag the edges of the petals into little ovals for a more natural flower shape.
Watch outSkip crowded placement. Two flowers per nail looks intentional; five flowers looks chaotic.