
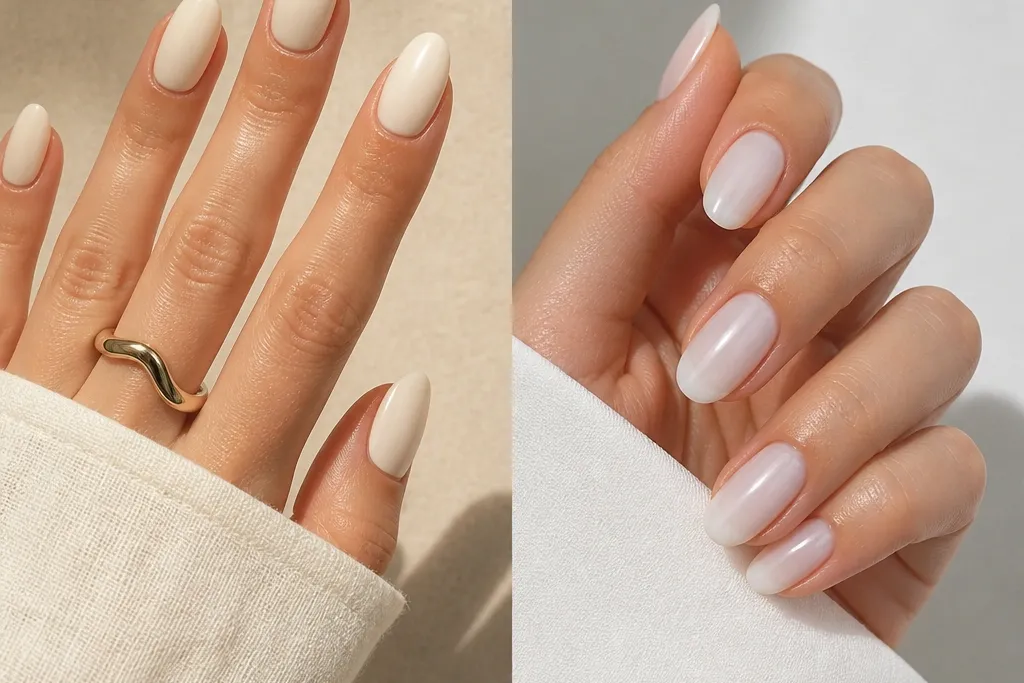
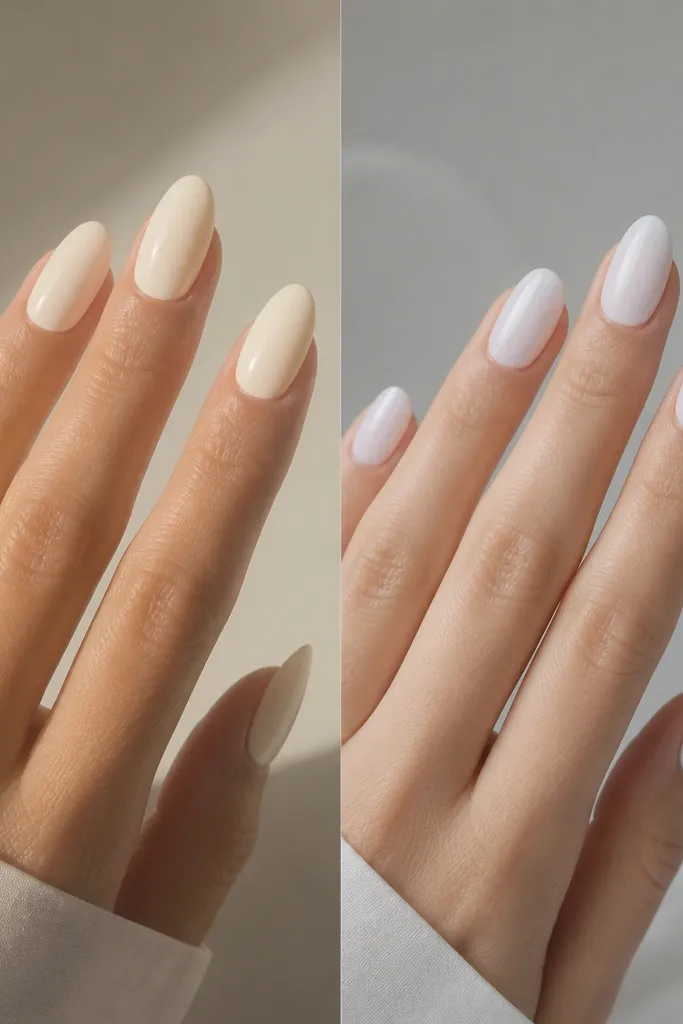
1. Cream Almond Base with Micro French Tips
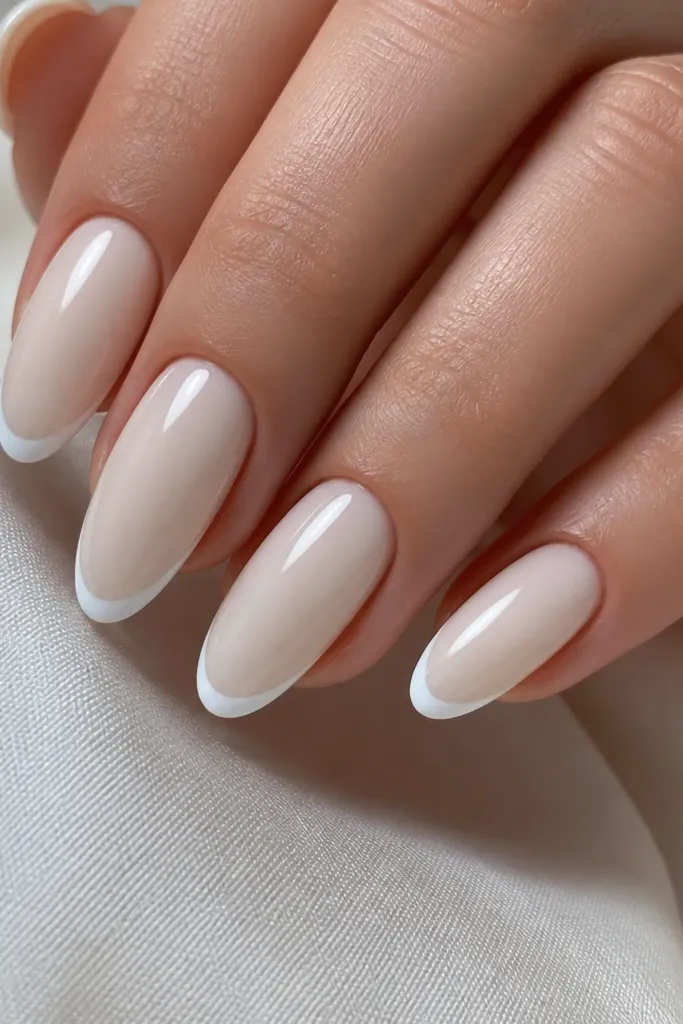
This look makes almond white vs milky white easy to choose. The base is almond white so it melts into your nail bed and looks soft. The tips use milky white only at the very edge, where opacity looks crisp instead of heavy. The micro French line keeps the bright white from taking over your whole nail.
Paint two thin layers of almond white, then let it fully dry before the tip. Use a liner brush to place the milky white tip line about 1 mm from the free edge, then connect the curve smoothly. Finish with one glossy top coat over the tip edge.
Pro tipTo keep the curve even, rest your pinky finger on the table and pull the brush in one steady stroke per nail.
Watch outSkip thick tip coats - they make the white ridge look uneven.
2. Milky White Sheer Glaze Over Almond Nude
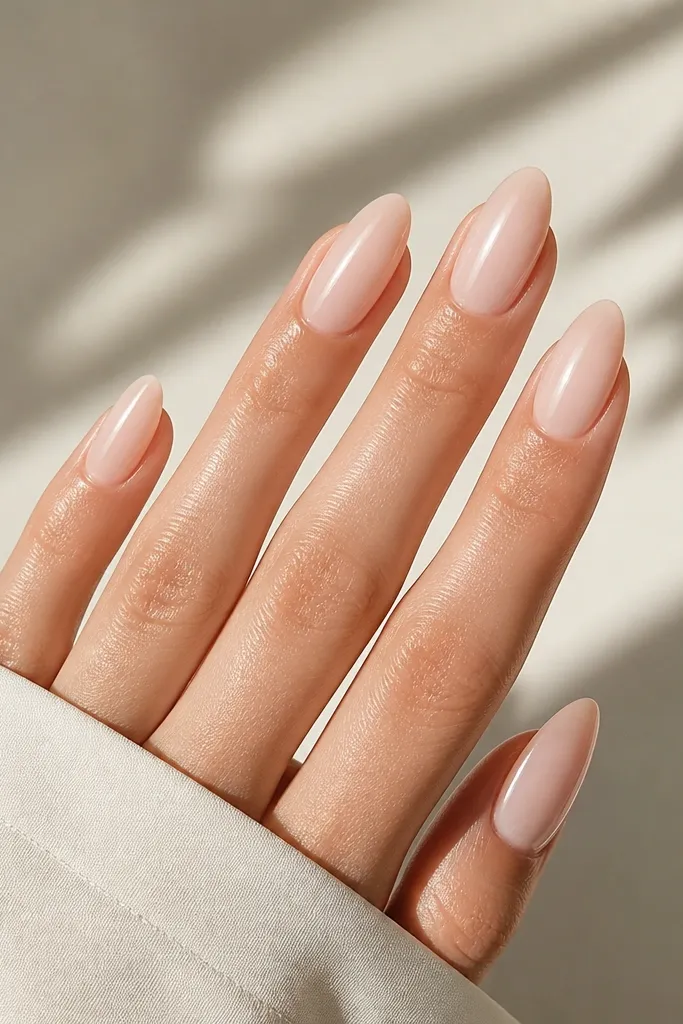
This is the milky white option that doesn't look like paint. You get brightness, but the nude base keeps it airy. Almond white can look too "blended" here, while milky white adds that cloudy, glassy glow. The key is translucency - it should look like milk mixed into light, not like a white sticker.
Start with a nude base (light pink or beige nude). Use milky white in a very thin layer and stop before the cuticle so the base shows through. Add a second thin glaze only if you need more opacity, then top coat.
Pro tipIf it looks too opaque after one coat, add a tiny drop of clear base to your milky white on a palette and thin it.
Watch outDon't paint milky white all the way to the cuticle - it causes a thick ring.
3. Almond White Base with Milky White Half-Moon
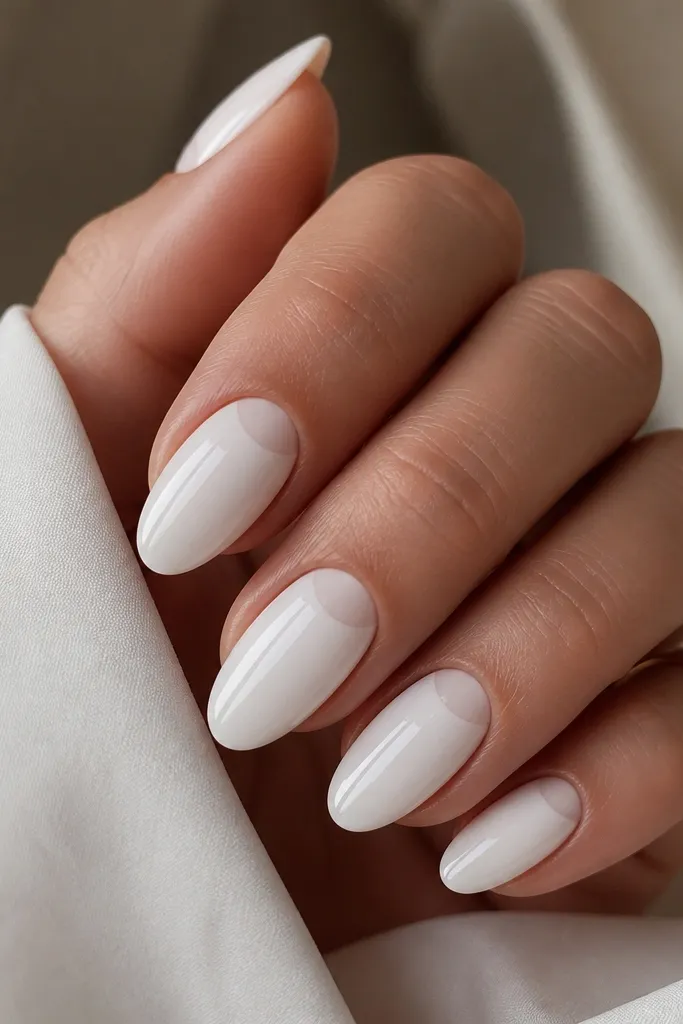
This is a clean "two-whites" look that still stays flattering. Almond white covers the nail for a creamy, uniform tone. Milky white is reserved for the half-moon so the contrast reads intentional, not messy. It also gives the illusion of longer nails because the brightness sits near the base.
Apply almond white base in two thin coats. For the half-moon, use a small sponge or a half-moon stencil and milky white, dabbing lightly. Clean the edges with a brush dipped in acetone, then seal with top coat.
Pro tipTrace the half-moon shape first with a dotting tool, then fill it in - it keeps symmetry.
Watch outAvoid dragging the milky white - dab and press so edges stay sharp.
4. Milky White Marble Veins on Almond White
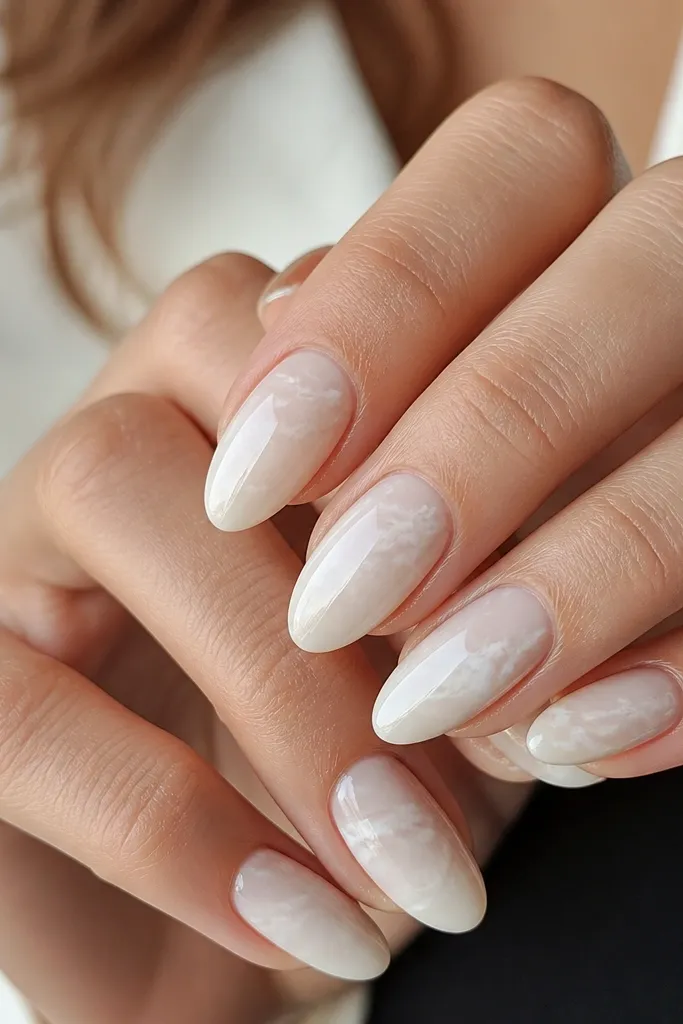
Marble looks best when you don't over-darken it. Use almond white as the base so the nail stays soft. Then add milky white veins for movement without turning the nail stark. The overlap of two off-whites makes the marble look dimensional even when you keep the palette neutral.
On a fully cured almond white base, add milky white with a thin detail brush. Pull a few lines through the nail, then add tiny breaks and curves so it looks like stone. Seal with glossy top coat to blend the finish.
Pro tipIf your lines look too uniform, wipe your brush once on a paper towel before each nail.
Watch outDon't add gray or black - it fights the whole almond vs milky softness.
5. Matte Milky White with Glossy Cuticle Dot
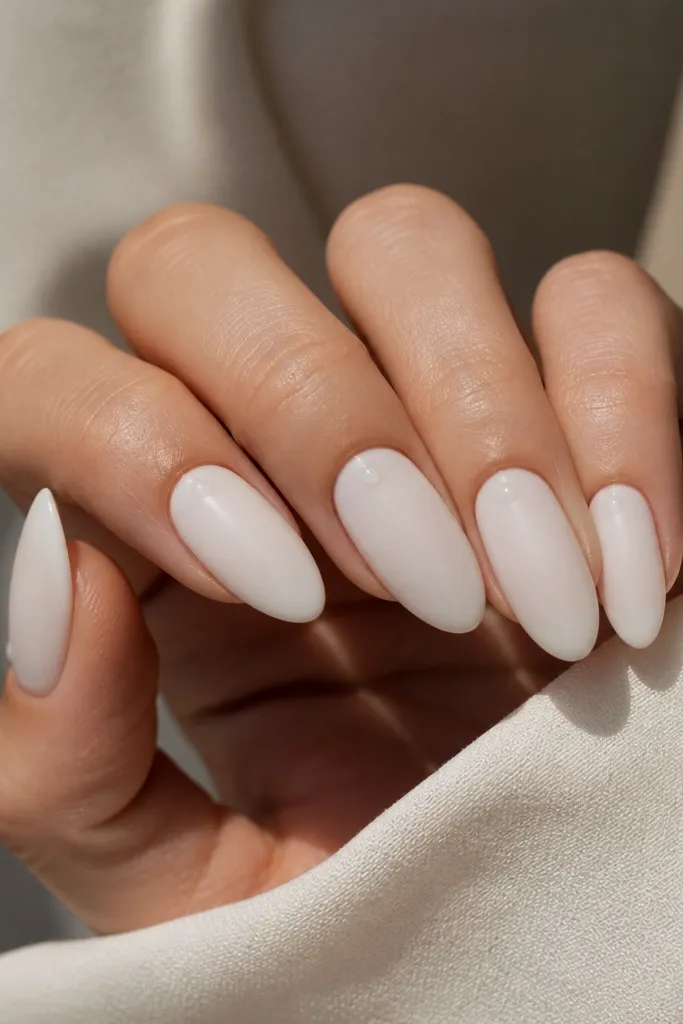
Milky white looks amazing matte because it turns into a soft, cloud-like surface. The glossy cuticle dot gives a focal point and makes your hands look polished even without art. Almond white can go flat matte and look a little dusty; milky white stays bright and clean.
Apply two thin coats of milky white and cure/dry. Top coat with a matte top coat, then use a glossy top coat with a dotting tool to place a small clear dot at the cuticle center only. Cure again if you're using gel.
Pro tipKeep the dot tiny - smaller than a sesame seed - or it starts looking like a mistake.
Watch outDon't get matte top coat on the sides of the cuticle; it can look chalky.
6. Almond White Negative Space Curved Lines
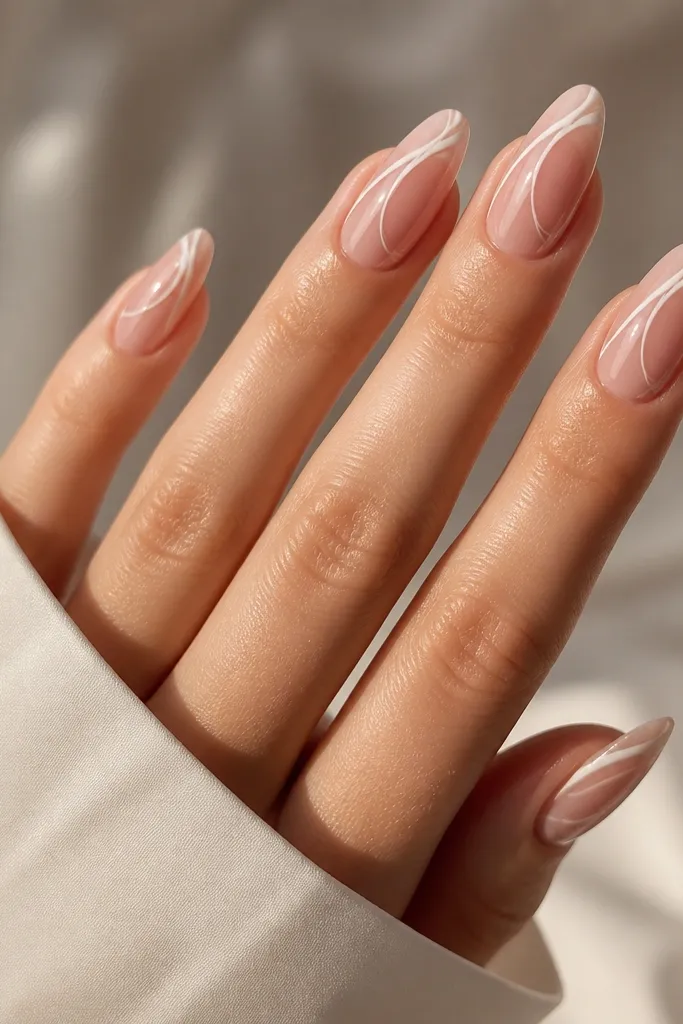
Negative space makes white look expensive instead of loud. Almond white here is the star because it blends with nude and keeps the line work soft. Milky white would be too opaque and can overpower the negative space, so I keep it out of this one. The curved lines also make the nail look longer and more narrow.
Start with a nude base. Use a striping brush to paint two almond-white arcs, leaving clear space between them. Keep the arcs thin (about the width of a pencil line) and seal with glossy top coat.
Pro tipUse nail tape as a guide for the arc, then remove it before top coat.
Watch outDon't thicken the lines at the tip - it makes the design look childish.
7. Milky White Ombré Fade at the Tips
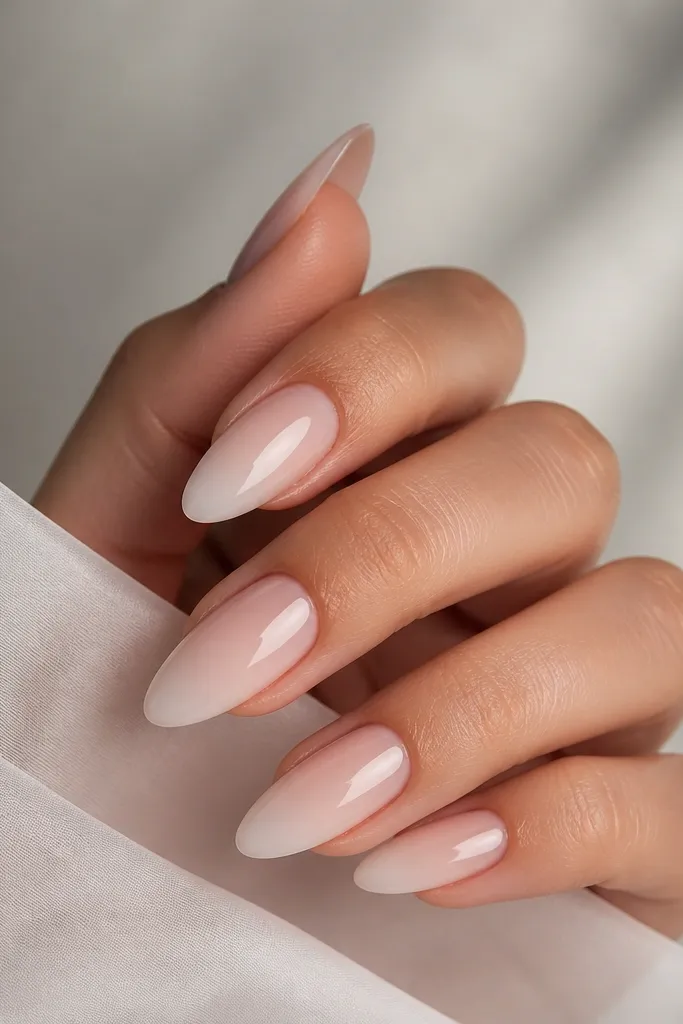
A tip ombré is where milky white shines. When it's limited to the free edge, the opacity reads like soft frosting rather than a block of color. Almond white ombré can look too subtle on light skin, but milky white gives you that clean "fresh manicure" look. The fade hides any minor brush streaks because the gradient blends them away.
Use a makeup sponge. Paint nude base, then sponge milky white onto the last third in a few light passes. Wipe the sponge on a palette to avoid heavy pigment. Finish with glossy top coat.
Pro tipDo two short sponge rounds instead of one heavy round - it keeps the fade smooth.
Watch outDon't stop with a hard edge - always blend one more pass upward.
8. Almond White Glossy Base with Micro Glitter Halo
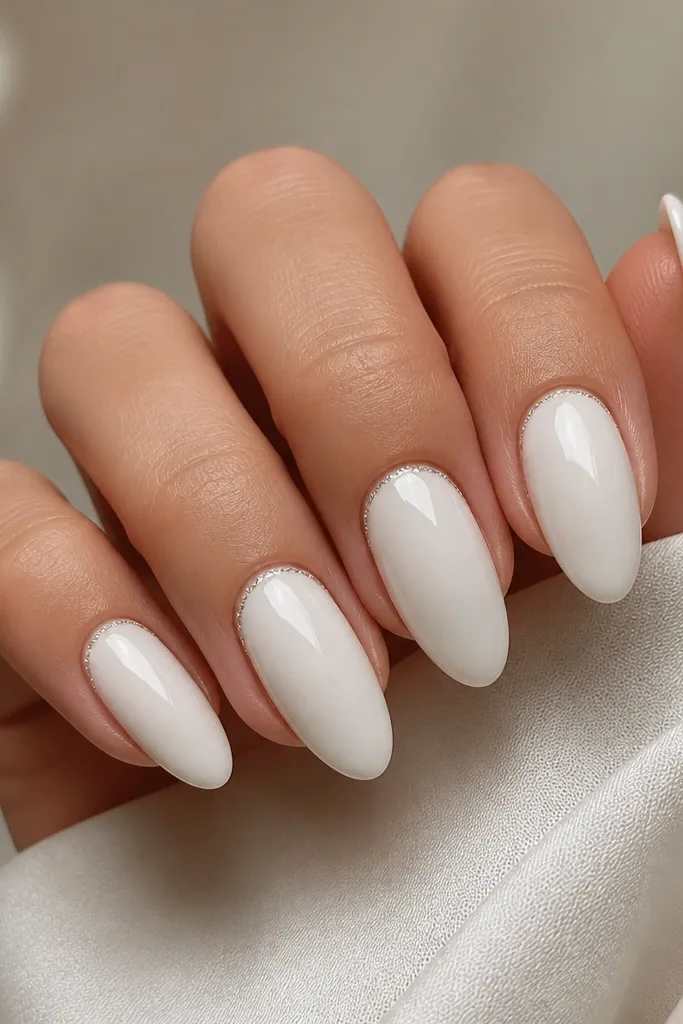
This is a party-ready almond white look that still feels clean. The almond white base stays creamy and flattering under indoor lighting. The glitter halo adds sparkle only where your eye naturally goes - near the cuticle. Milky white can make glitter look too icy and harsh, so I keep the base almond white and the glitter minimal.
Apply almond white in two thin coats. Use a dotting tool to place a thin ring of clear gel near the cuticle, then dust fine silver micro-glitter into the gel. Cap with glossy top coat, but keep it thin so the halo stays crisp.
Pro tipPress glitter in with a soft silicone tool so it doesn't lift at the edges.
Watch outDon't dump glitter - you want a ring, not a glittery fog.
9. Milky White Checkerboard Accent on Almond White
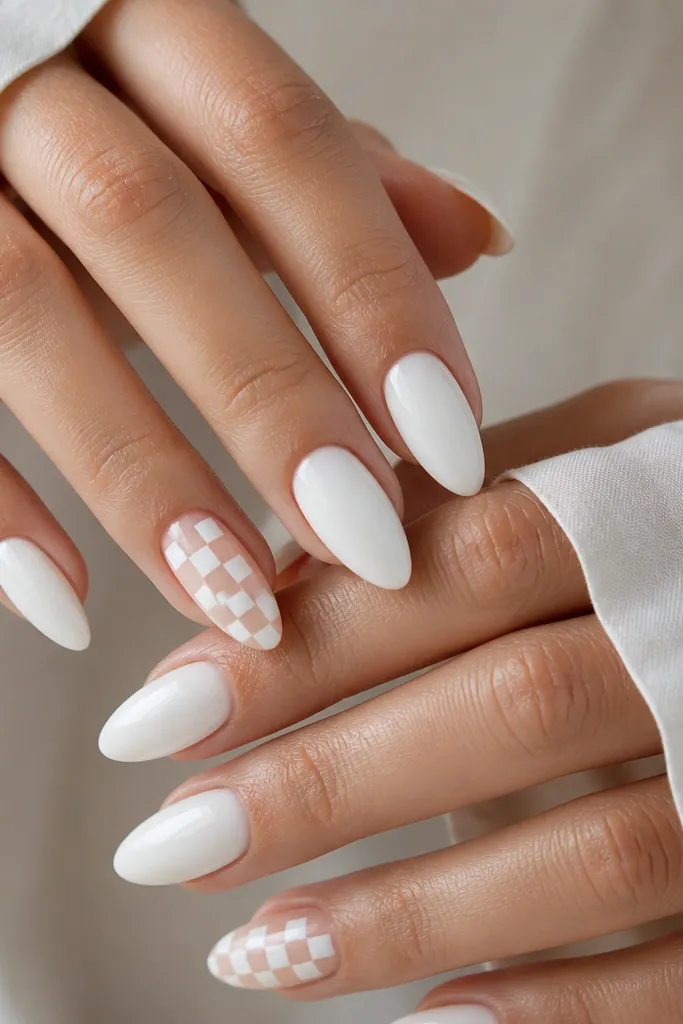
Checkerboard needs contrast, but not chaos. Almond white solids keep most nails calm. Milky white on just two accents gives the graphic pop without turning your whole set into a high-contrast block. The squares look best when milky white is slightly opaque and sits on a nude base so each square is readable.
Paint almond white on all nails except two. For the accent nails, paint a nude base, then use nail striping tape to section tiny squares. Fill the squares with milky white, remove tape while the polish is still a bit tacky (if using regular polish) and top coat.
Pro tipMake the squares tiny - about 1 mm - so it reads as pattern, not blobs.
Watch outDon't freehand squares if your lines wobble - tape gives you crisp edges.
10. Almond White French Fade with Milky White Smile Line
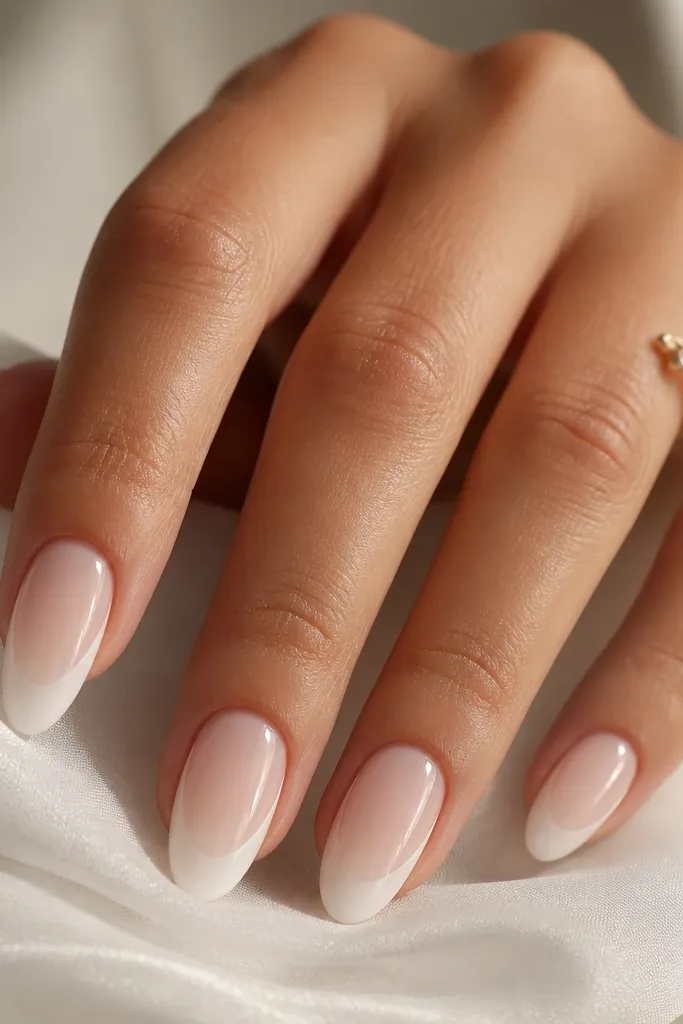
This gives you the best of both shades. The almond white wash creates softness across the tip without harsh borders. The milky white smile line adds definition where your eye reads the shape. If you do a full milky French, it can look too bold; if you do only almond white, it can look too subtle. Together, it reads "designed," not accidental.
On a nude base, apply almond white to the last third and blend with a flat brush. Then paint a thin milky white smile line just under the edge of the wash. Keep the smile line narrow and consistent across nails.
Pro tipUse a nail art brush with a short bristle length so you can keep the line steady.
Watch outAvoid thickening the smile line at the corners - that's where it starts looking uneven.
11. Milky White Dot Cluster on Almond White Base
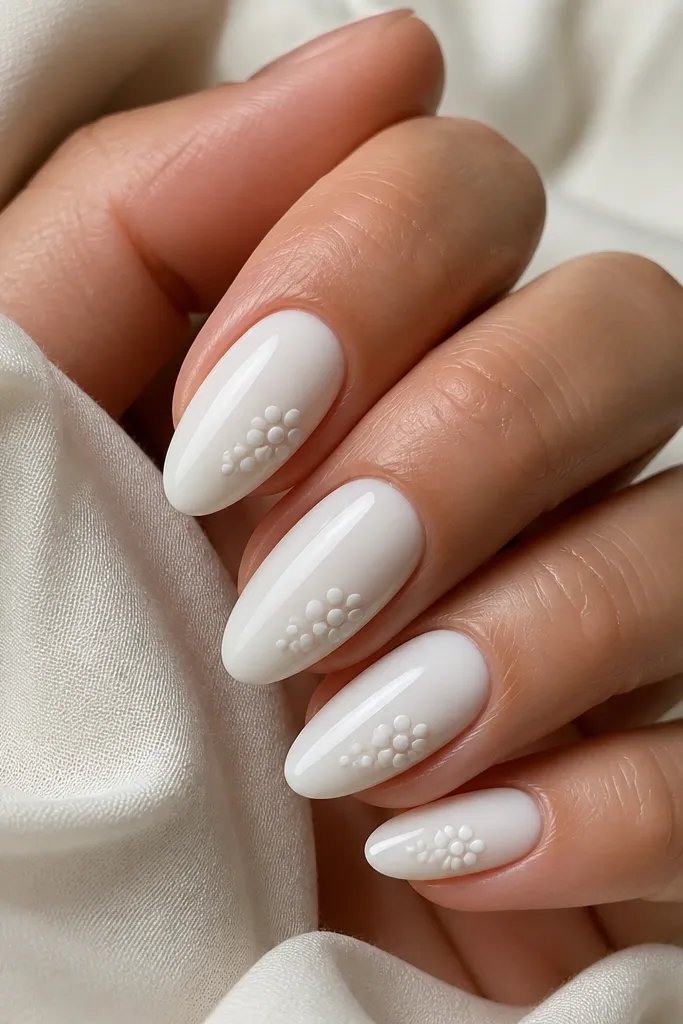
Dots look clean in milky white because the opacity makes each dot distinct. Almond white base keeps the background creamy so the dots pop without looking stark. This design is forgiving because tiny dot placement differences still look intentional. It also works well for short almond nails where lines can look messy.
Paint almond white base. Use a dotting tool to place 4-7 milky white dots in a loose cluster near the upper mid-nail or side. Add one slightly larger dot as the "center." Seal with glossy top coat, being careful not to flood the dots.
Pro tipIf the dots smear, let the base set longer before dotting.
Watch outDon't use a large dot tool - oversized dots look like bubbles.
12. Almond White Aura Line with Milky White Center Glow
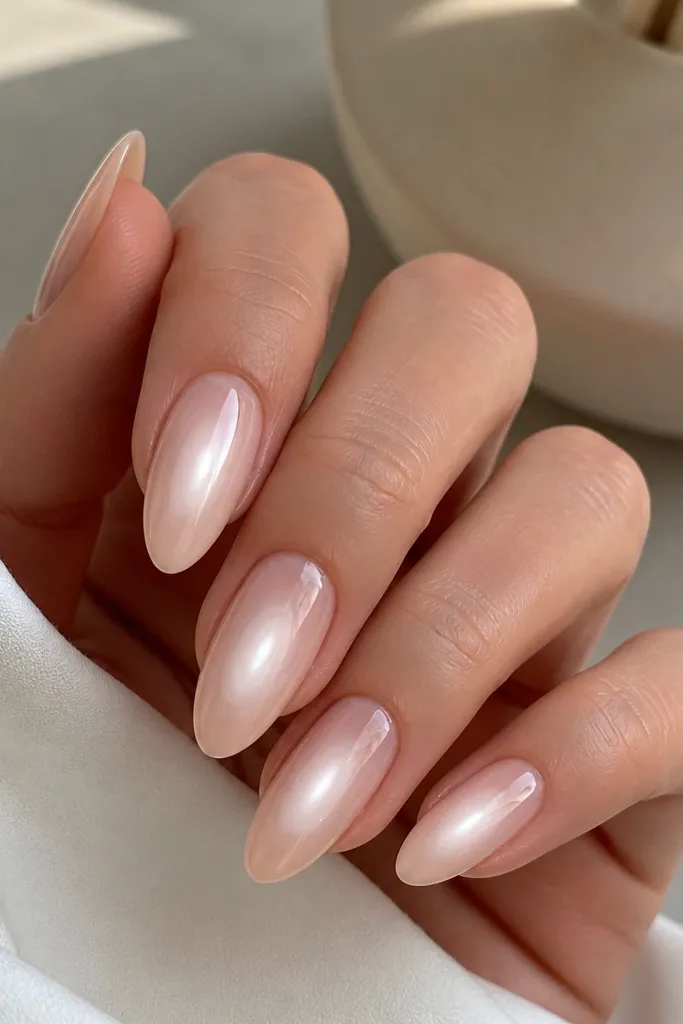
Aura designs look best when the brighter shade stays small. Almond white creates the soft outline, and milky white sits in the center for a "glow" effect. This combo makes your nails look lit from within, especially on medium skin tones. If you do milky white as the outline, it can read harsh and flat.
Paint nude base. Sponge a very light almond white aura along the mid-nail edges using a small sponge. Then dab milky white in the center and blend by tapping the sponge lightly. Top coat glossy to smooth the texture.
Pro tipBlend with taps, not swipes - swiping smears the aura edge.
Watch outDon't make the aura too wide; narrow looks more refined.



