
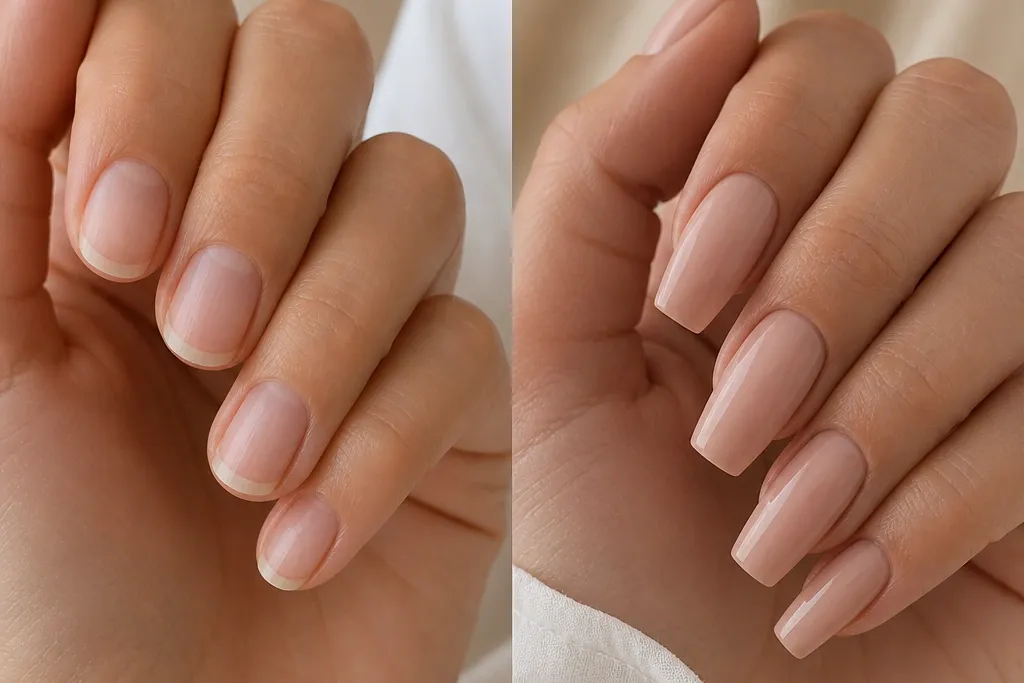
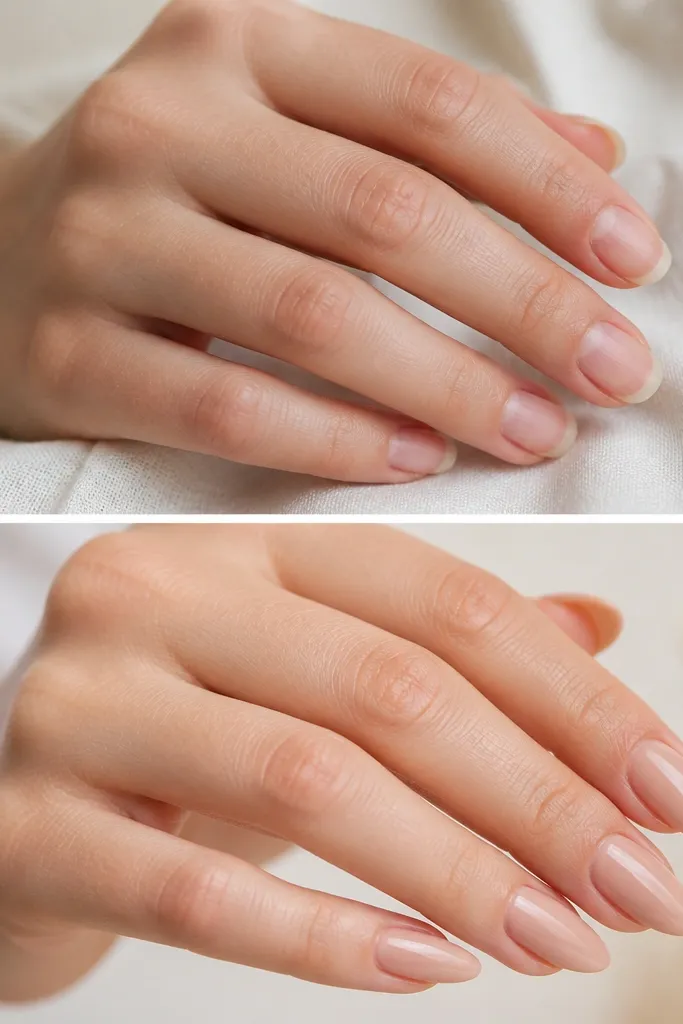
1. Milky Nude to Warm Taupe Ombre (almond)
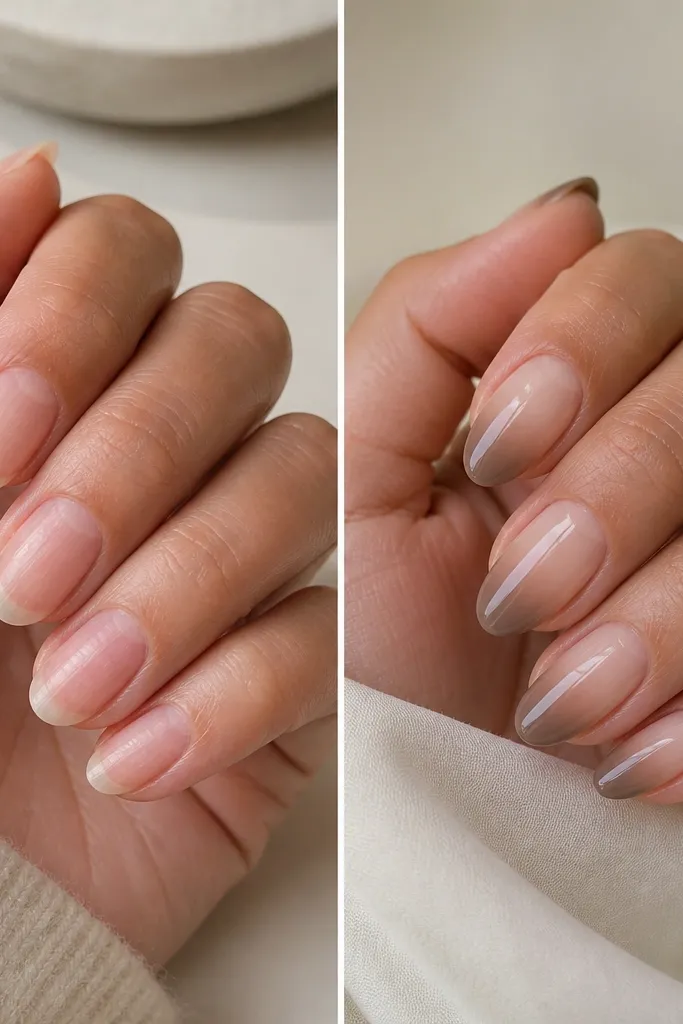
This look starts with a milky nude that looks like your nail bed, then fades into a warm taupe so the tips still feel neutral, not pink. The taupe tip adds depth under indoor lighting, which is why it looks good in both daylight and restaurant light. I like it for nude lovers who think pure beige looks too flat.
Ask for a tight ombre on the first third of the nail, then let it gently widen toward the free edge. Use a sheer pink-milky base layer, then blend in a warm taupe powder or gel only at the last 20-25% of the nail. Shape: almond, medium length, with a soft rounded tip so the fade doesn't look sharp.
Pro tipBlend with a small stipple brush, not a wide brush. You'll get a softer edge at the fade line.
Watch outAvoid a straight horizontal line where the nude ends - that turns ombre into a painted gradient.
2. Sheer Rose Ombre to Nude Peach (short square)
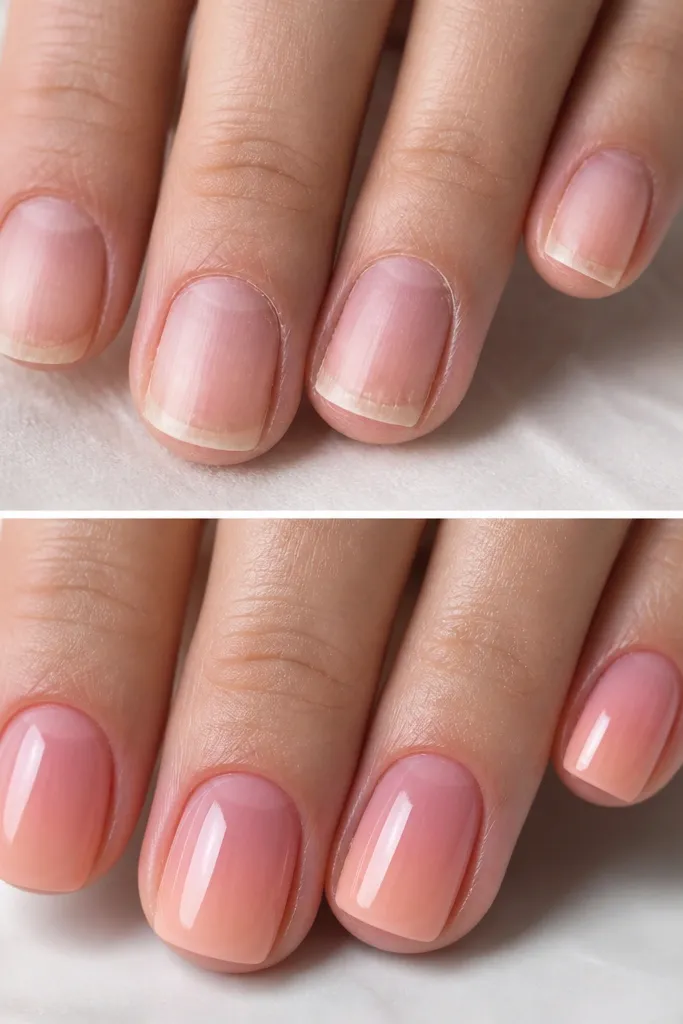
This one is for warm-to-neutral undertones. The sheer rose at the cuticle gives that fresh, healthy look, and the peachy nude at the tip warms everything up. On short square nails, the peach tip keeps the set from looking pale, and the fade still makes your fingers look tidy.
Keep the nude fade tight - about 1 to 2 mm from the free edge into the nail. Build the base thin and sheer, then add peach only where the tip is. File the corners lightly so the square edge stays crisp without snagging.
Pro tipIf you wear coral or rose lip colors, this ombre will match your makeup better than beige-only nudes.
Watch outDon't use an opaque peach. It kills the fade and makes the tips look painted.
3. Nude Blush Ombre with Clear Jelly Cap (coffin)
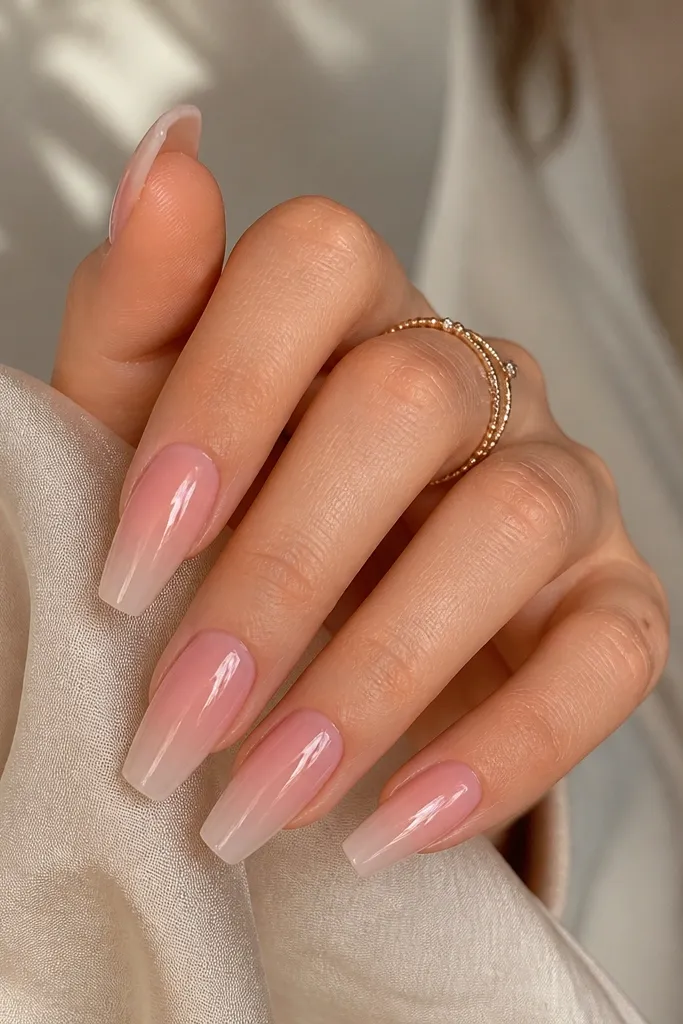
The jelly cap is the secret. It makes the ombre look like it's under glass instead of sitting on top. The blush-to-nude fade reads romantic without turning into a full pink set, especially when the clear layer catches light.
Do a blush nude fade to a nude-beige tip, then cap with clear acrylic or a clear jelly gel. The cap should be thin at the cuticle and a touch thicker over the fade so it looks smooth, not bumpy. Shape: coffin with a medium length so the jelly effect has room to show.
Pro tipAfter capping, lightly buff only the top surface, then stop. Over-buffing makes jelly caps look dull.
Watch outSkip thick clear blobs at the center. They create a ridge that shows through the ombre.
4. Neutral Nude Fade with Micro-Glitter Tip (oval)
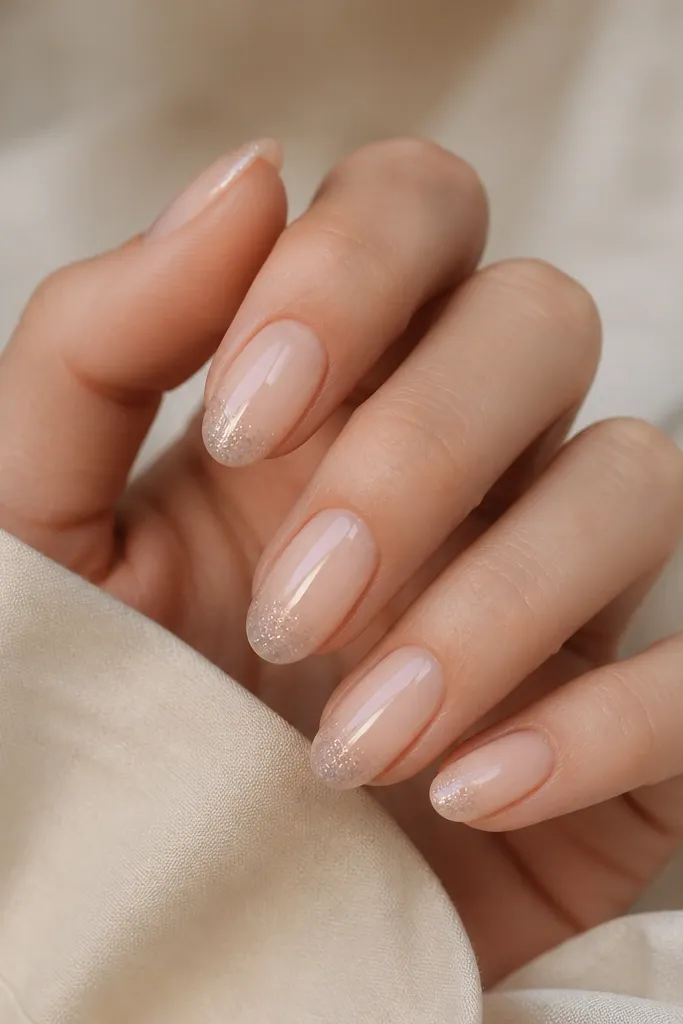
Micro-glitter at the tip keeps the set wearable. Instead of glitter everywhere, it gives a subtle sparkle when you move your hands. The neutral nude base makes the glitter read sophisticated, not party.
Blend nude from cuticle to about 2-3 mm before the tip. Sponge the micro-glitter into the final 20% only, then seal with clear acrylic. Keep the glitter size tiny so it doesn't feel gritty.
Pro tipPress glitter gently with a flat brush so it settles into the acrylic cap evenly.
Watch outDon't dust glitter across the whole nail. It makes the fade messy.
5. Nude Beige to Espresso Ombre (almond, dramatic)
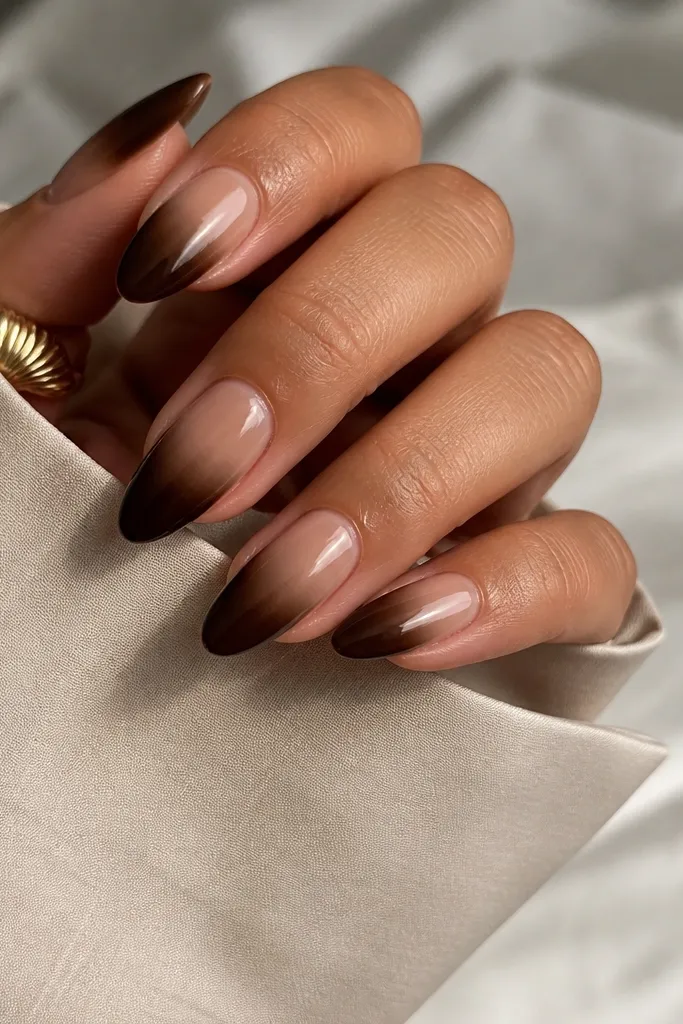
This is the "still nude" version of a deeper ombre. The espresso tip adds definition and makes the nude base look cleaner. If you like bold nails but hate heavy browns, this gives you depth without looking like a full dark set.
Start with a nude beige that matches your skin or slightly cooler. Blend espresso only at the last third, letting it soften as it moves upward. Shape: almond, medium-long, because the extra length makes the contrast look intentional.
Pro tipUse a slightly diluted espresso pigment so the blend stays soft, not muddy.
Watch outAvoid a one-step mix where you drag brown upward. That creates streaks.
6. Rosy Nude Ombre with Pearl Dot Cuticle (round)
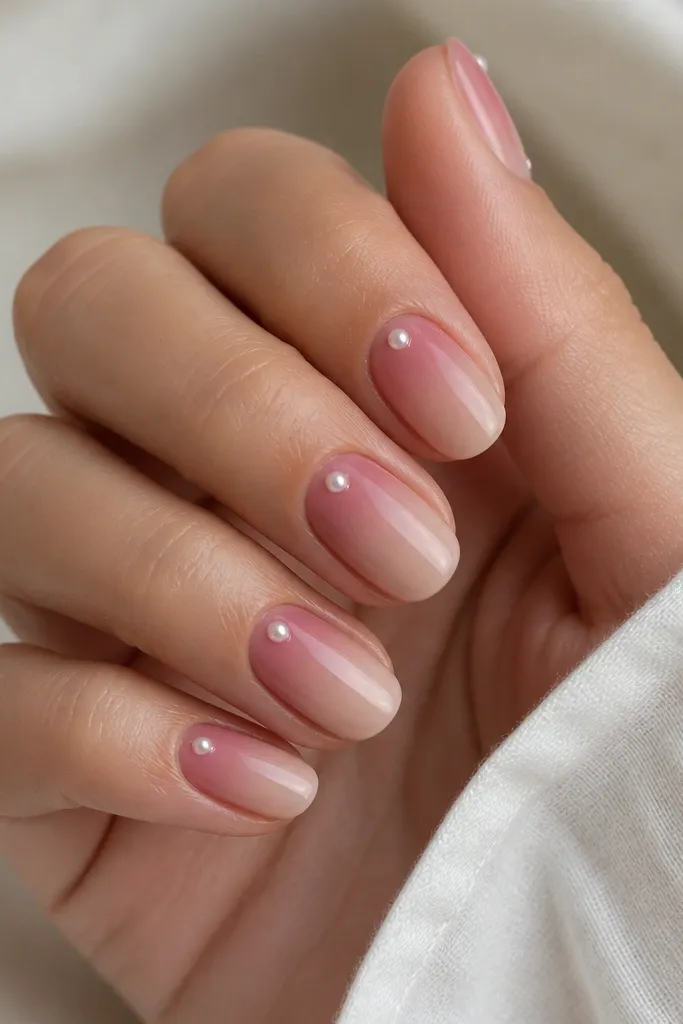
Pearl dots at the cuticle make the set look expensive without covering the ombre. The rosy nude base keeps it fresh, and the pearl adds a highlight that looks like real jewelry. This is my go-to for bridal showers and events where you want "pretty" but not loud.
Keep the ombre subtle: fade from sheer pink near the cuticle into a warm nude at the tip. Place one pearl dot about 1 mm away from the cuticle line so it doesn't look crowded. Seal the pearl with a thin clear layer so it doesn't snag on clothing.
Pro tipUse a dotting tool to place the pearl, then tap it once with a flat brush to center it.
Watch outDon't glue pearls on top of thick acrylic. They lift and catch on hair.
7. Classic Nude Ombre with Thin French Line Tip (almond)
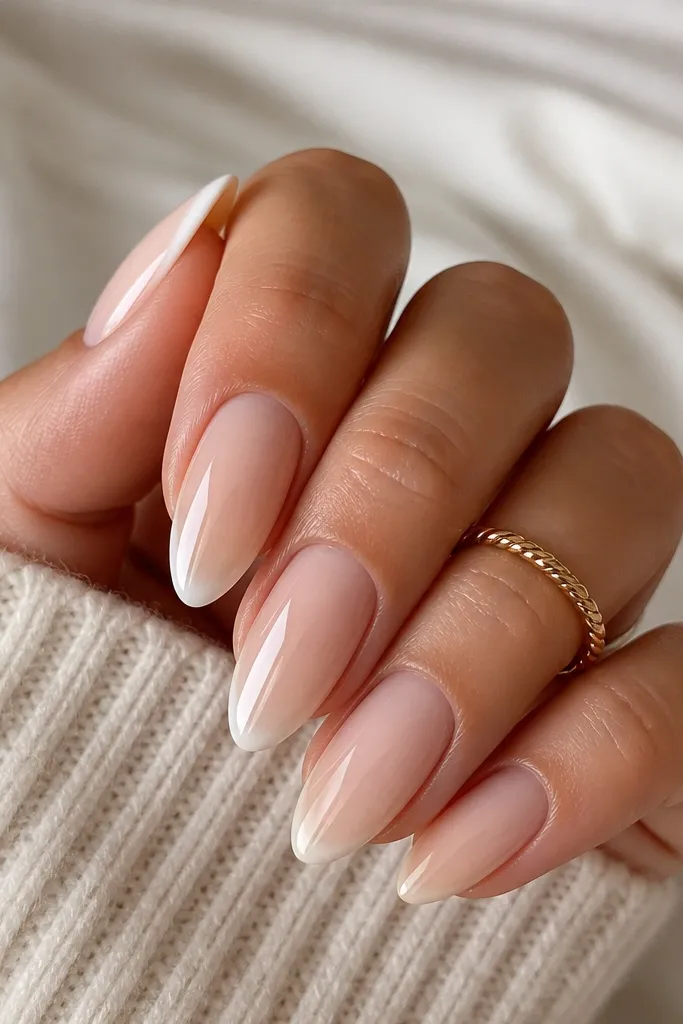
This is a "clean girl" ombre that still looks styled. The thin French line at the tip gives a sharp finish where the gradient ends, so the set reads intentional. You get the length effect from ombre, plus the tidy definition from a micro-line.
Blend nude from cuticle to tip, then paint a thin French line using a creamy white or soft ivory right at the edge. Keep the line width under 0.5 mm. Seal with top coat so the line stays smooth.
Pro tipUse a striping brush with a tiny angled tip, and wipe excess off before touching the nail.
Watch outSkip thick French tips. They look like sticker art on acrylic.
8. Nude to Clear Fade with Negative Space Tip (stiletto)
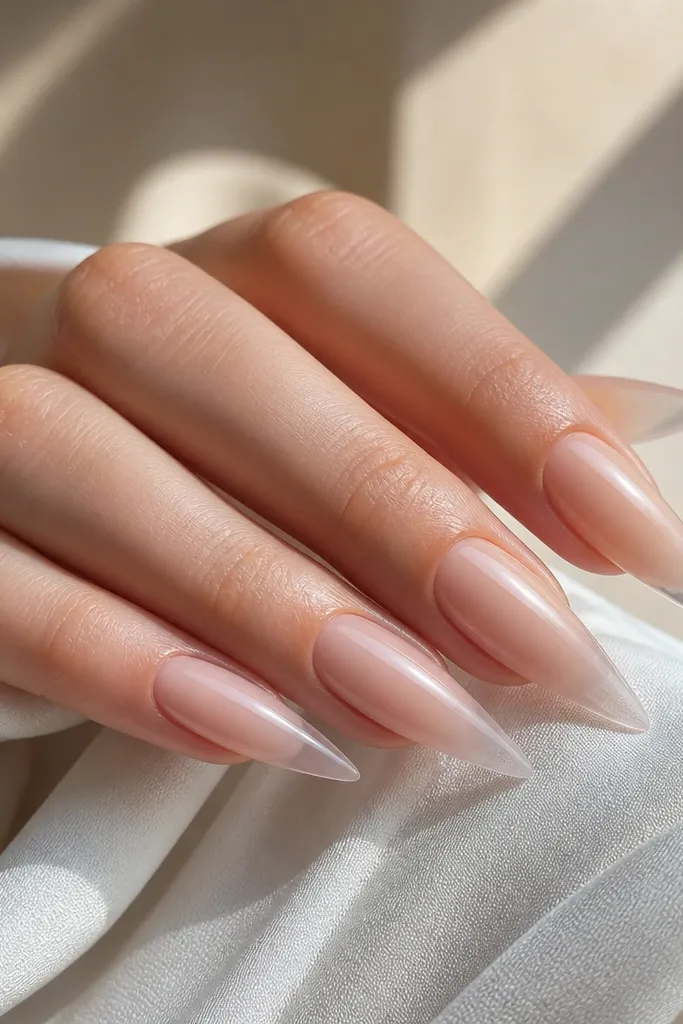
This one plays with transparency. The nude fades and then clears out, so the tip looks airy instead of heavy. It's a strong option if you want nude nails that still look edgy.
Start with nude at the cuticle and blend downward, then stop the pigment before the final 10-15% so the acrylic cap looks clearer there. Build a clear cap over the whole nail so the surface stays uniform. Shape: stiletto, long enough to show the clear fade.
Pro tipUse a sheer nude powder, not a thick opaque one, so the transparency reads clean.
Watch outDon't overbuild the tip with pigment. It removes the negative-space vibe.
9. Champagne Nude Ombre with Gold Foil Shard (oval)
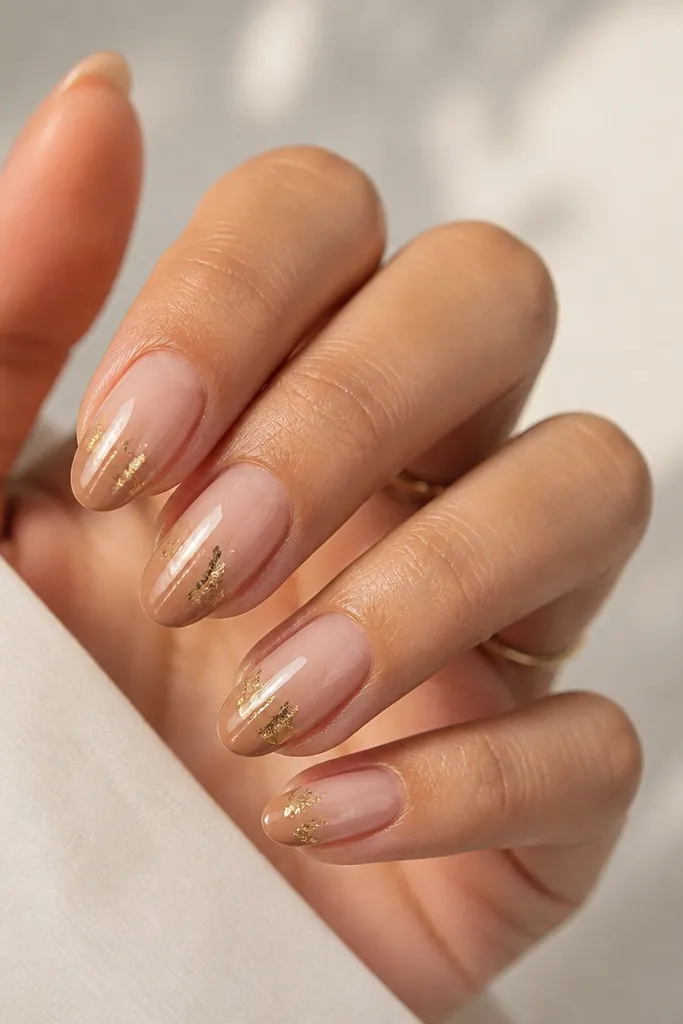
Champagne nude gives warm glow, and gold foil shard placement makes it feel custom. The foil sits where light hits when you bend your fingers, so it looks like jewelry rather than decoration. This is a great "going out" nude.
Blend champagne nude at the cuticle into a deeper nude at the tip, using a warm beige tone. Place 1-2 foil shards per nail on the side of the mid-nail, then cap with clear acrylic so edges don't lift. Keep the foil sparse so the ombre stays the main event.
Pro tipPress foil with the flat end of tweezers, then cap immediately so it doesn't shift.
Watch outAvoid foil all over the nail. It blocks the fade and looks messy.
10. Cool Pink Nude Ombre with Silver Microline (almond)
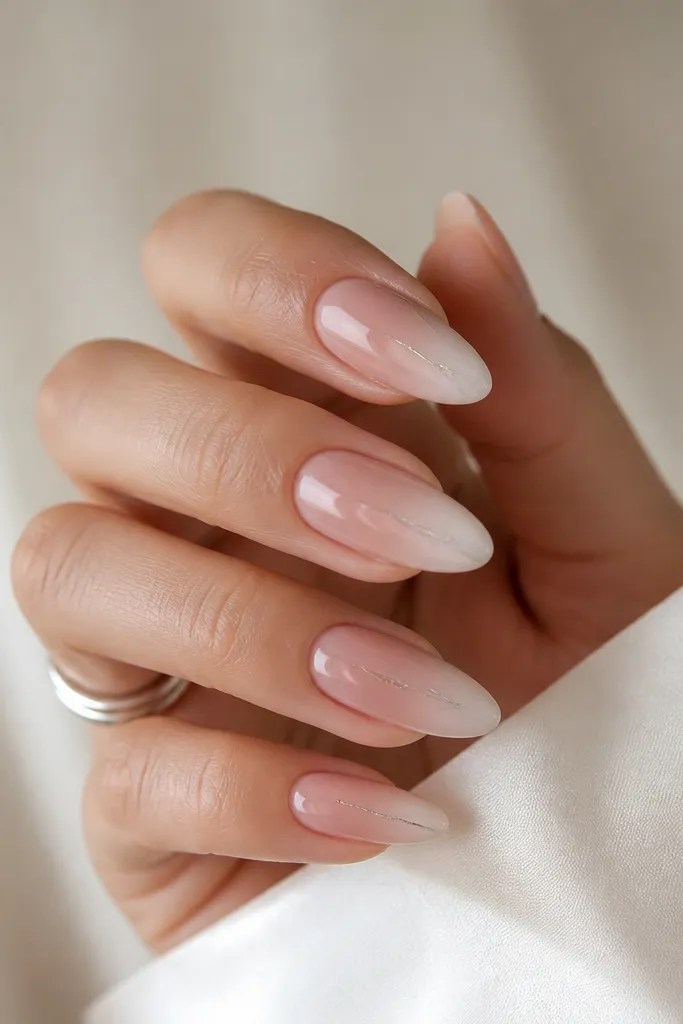
Cool pink nudes look crisp next to silver jewelry. The microline adds a subtle highlight that doesn't overpower the gradient. If you're tired of warm beige nudes, this one makes your hands look freshly styled.
Blend cool pink nude at the cuticle to a pale nude tip, keeping the fade smooth. Add a silver striping gel line on one side, about 1 mm above the sidewall edge. Seal with top coat for a glassy finish.
Pro tipLet striping gel get tacky before you place the brush line - it tightens the edge.
Watch outDon't paint the line over a wet surface. It bleeds into the ombre.
11. Nude Ombre with Soft Brown Tip Fade (round short)
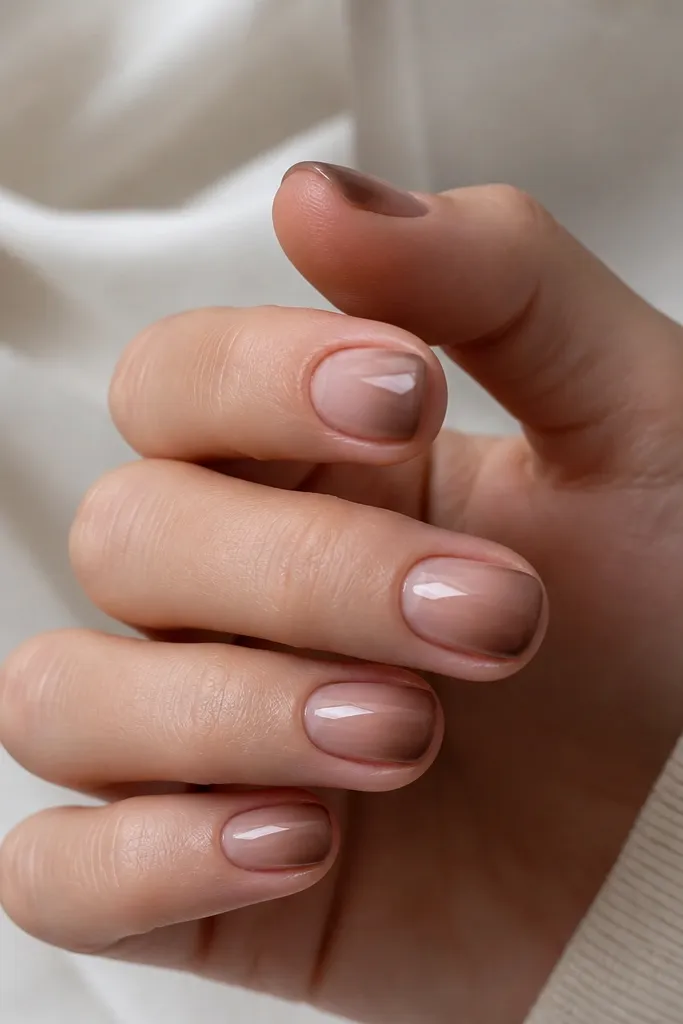
Soft brown tips make nude nails look grounded. The brown adds contrast without turning into a harsh line, so your nails still look natural. This works especially well if your natural nails run slightly yellow-brown and you want them to look clean.
Use a neutral nude base that matches your skin, then blend a soft cocoa-brown into the last 25% of the nail. Keep the fade gentle - no high contrast. Round shape keeps it sweet and wearable.
Pro tipUse a light hand with the brown - you should be able to see the nude underneath.
Watch outAvoid dark brown saturation. It can read like an accidental stain.
12. Peachy Nude Ombre with Tiny Heart Accent (squoval)
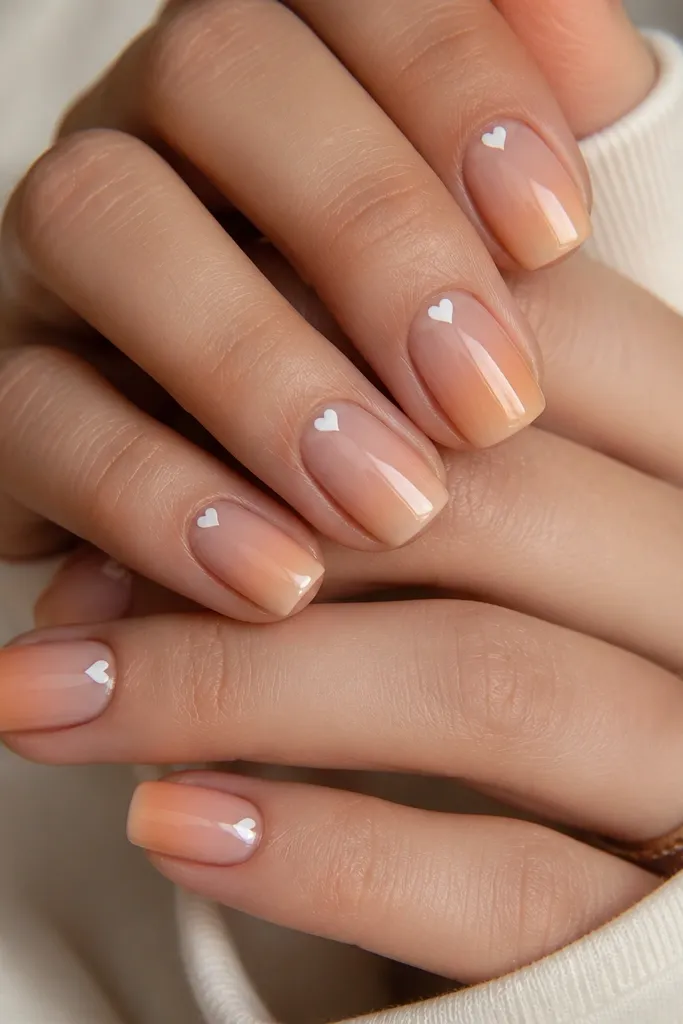
This is cute without going childish. The peachy ombre keeps it warm and flattering, and the tiny heart adds charm in a small spot that doesn't mess with the fade. It's perfect for spring events or when you want a "new manicure" feel.
Blend peachy nude from cuticle into a slightly deeper peach at the tip. Add one tiny white heart per nail near the cuticle, about 2 mm down. Seal with clear acrylic or thick top coat so the heart stays smooth.
Pro tipUse a dotting tool to make the heart's two bumps, then connect with the finest liner brush.
Watch outDon't place hearts at the center. It pulls attention away from the ombre.



