
1. Half-Moon Black Tips on a White Almond Base
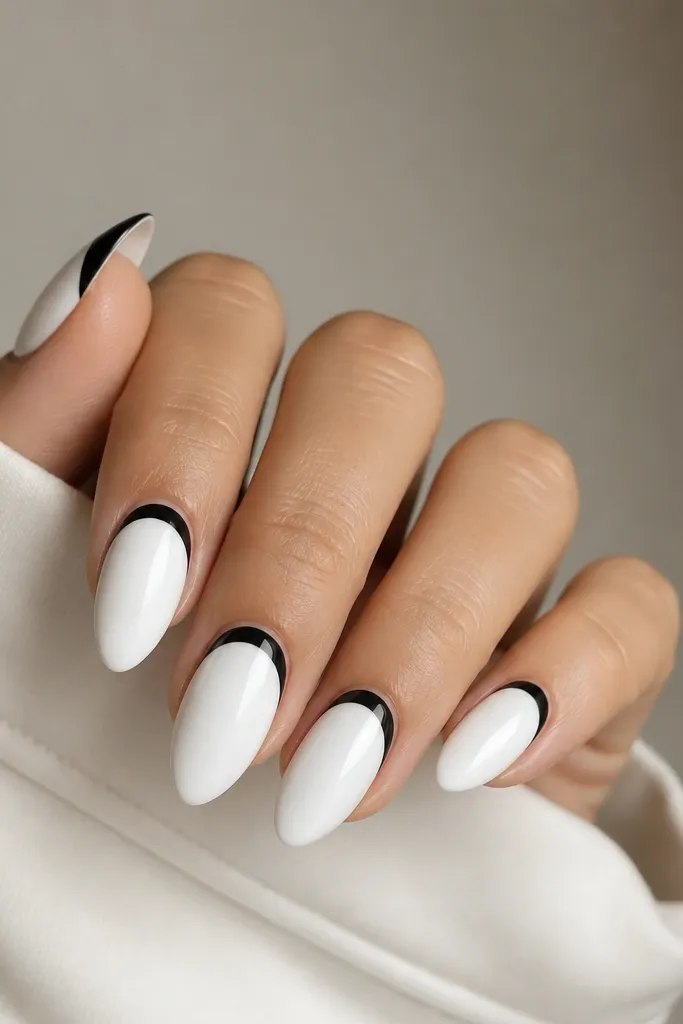
This design is all about geometry. White gives you a bright canvas, and the black half-moon tip reads like a graphic stamp. The arc shape flatters almond nails because it follows the curve of the nail bed. Keep the black tip slightly thicker on the outer edges so it looks balanced, not flat.
Paint a solid white base in two thin coats. Use a half-moon stencil or a striping tape curve to mask the tip arc, then fill with black gel or lacquer. Leave about 1 mm of white space between the black arc and the sidewalls so it stays sharp.
Pro tipAfter you remove tape, clean the edges with a small brush dipped in acetone before top coat. It makes the lines look professionally cut.
Watch outDon't flood the black into the white - thick edges look cloudy instead of crisp.
2. Micro French in Black and White (Thin Line, Big Contrast)
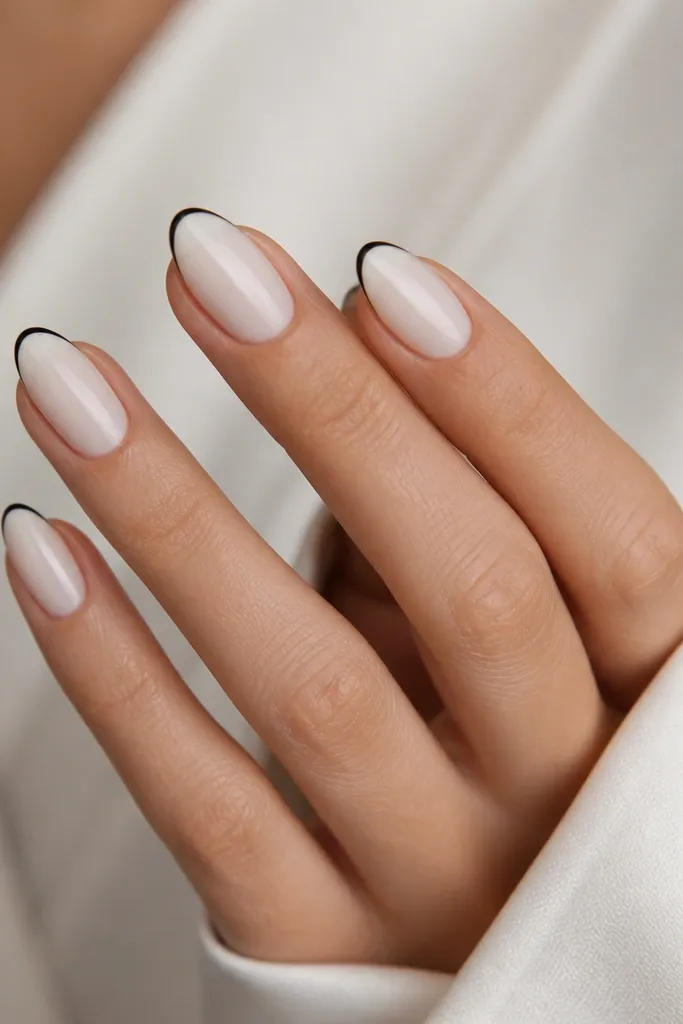
A micro French looks modern because the line is narrow and the contrast stays high. The white highlight above the black stroke adds depth and keeps the tip from looking heavy. This one is great if you want the design to look "done" without covering the whole nail.
Use a milky white base (not fully opaque if you like a soft look). With a liner brush, paint a thin black smile line about 1-1.5 mm from the tip edge. Then add a small white stripe right above the black line using a striping brush.
Pro tipPractice the smile line on one nail first. Once you like the curve, repeat on the rest using the same brush pressure.
Watch outAvoid a thick French line - it turns into a blocky look that clashes with almond shape.
3. Black Netting Over White Negative Space
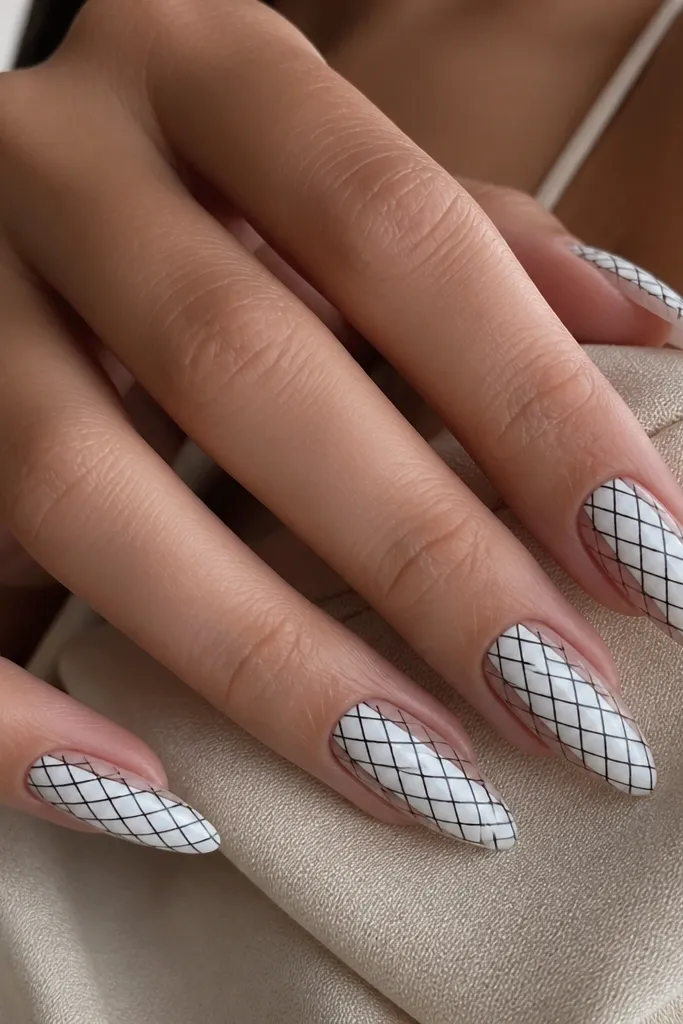
Netting makes the nails look like a graphic fabric. The white negative space keeps it airy, so it doesn't feel heavy even with black. The key is the grid size: small squares look intentional, big squares look sloppy.
Start with either a white base or keep most of the nail clear and paint only the center panel. Use striping tape to place vertical lines, then cross with thinner horizontal lines. Seal the grid with a gel top coat that levels smoothly.
Pro tipPress tape firmly at the edges so black doesn't bleed under. Clean the perimeter with a cotton swab right after painting.
Watch outDon't make the grid uneven. If one line is thicker, match it by adjusting the next line, not by repainting randomly.
4. Zigzag Checker Tip (Small Blocks at the Edge)
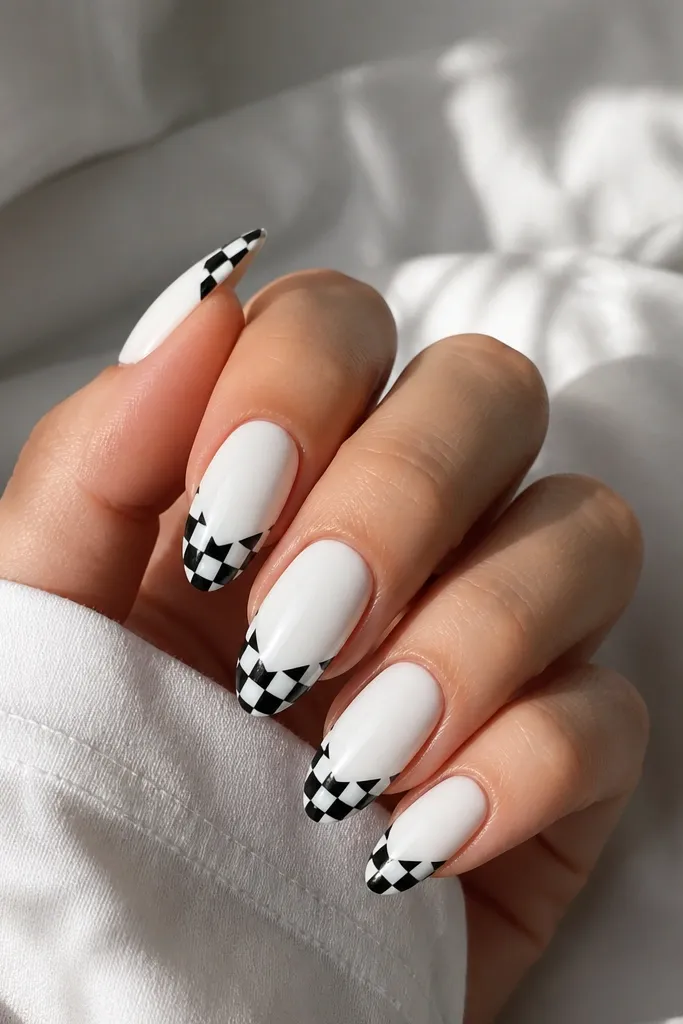
This is a fun twist because it's not full checkerboard. It concentrates the pattern where the eye naturally goes: the tip. The zigzag placement keeps it from looking like a basic checker print, and the small blocks stay crisp in photos.
Paint the nail a solid white. Mask a 2-3 mm band at the tip using tape. Inside that band, alternate black squares and white gaps with a small detail brush; cure between steps if your gel is thick.
Pro tipUse a nail art dotting tool to place the square corners. It helps you keep block edges symmetrical.
Watch outAvoid oversized squares - the pattern starts looking like smear from a distance.
5. Black Marble Veins on White Gel (Swoop + Fade)
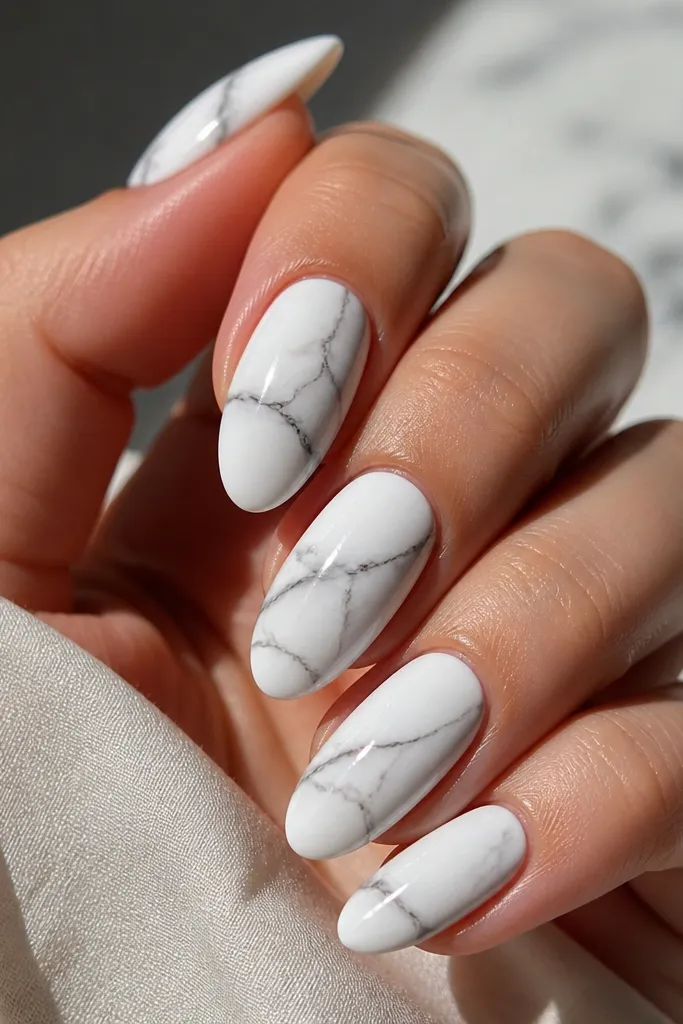
Marble looks expensive when the veins are thin and layered. The white base keeps it bright, while the black veins give movement. I like this version because it doesn't require complicated tools - just a steady hand and controlled swipes.
Use a white gel base. Drop tiny dots of black gel on top while it's slightly tacky, then drag them with a fine liner tool in one direction. Build depth by adding a second set of thinner veins, then cure and top coat.
Pro tipKeep the veins uneven in thickness - stone looks real when it's not perfectly repeated.
Watch outDon't paint thick black rivers. It turns into blotches instead of marble.
6. White Outline Hearts on a Black Base
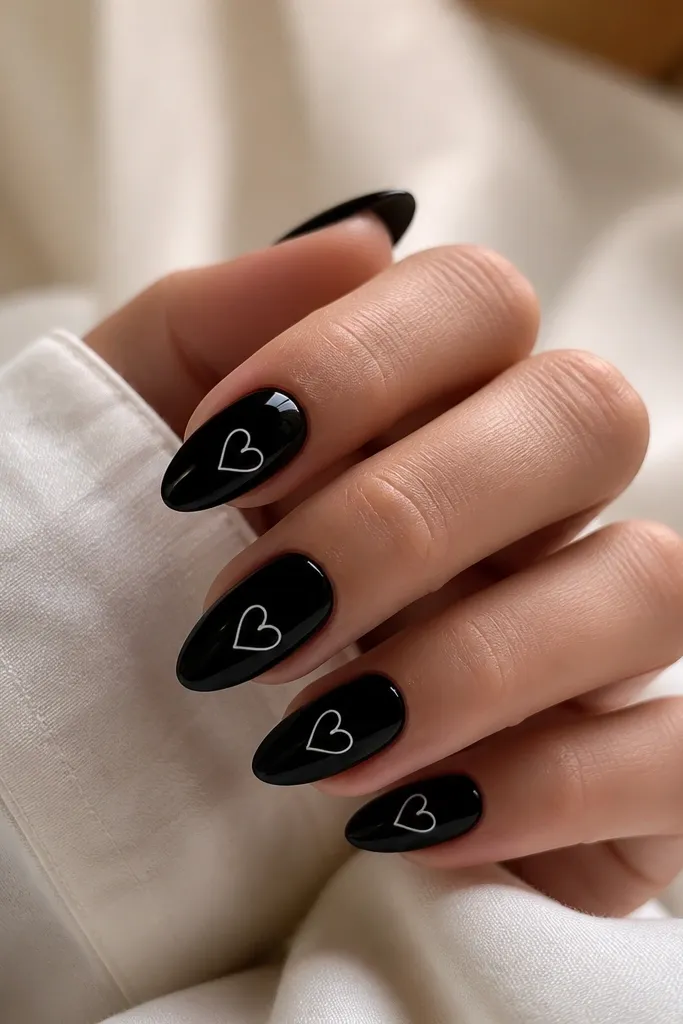
Hearts look playful but still classy when they're outlined, not filled. The black base makes the white line pop hard. Positioning the hearts slightly off-center adds charm without making the nail look crowded.
Paint a full black base. With a striping brush, draw small heart outlines (about 2-3 mm wide). Don't fill them - just the outline. Cure, then add top coat in one smooth layer so the lines stay crisp.
Pro tipIf your heart lines wobble, draw half the heart first, cure briefly, then finish the other half.
Watch outSkip thick heart fills. They look sticker-like and lose the fine-line effect.
7. Black and White Diagonal Panels (Tape-Cut Lines)
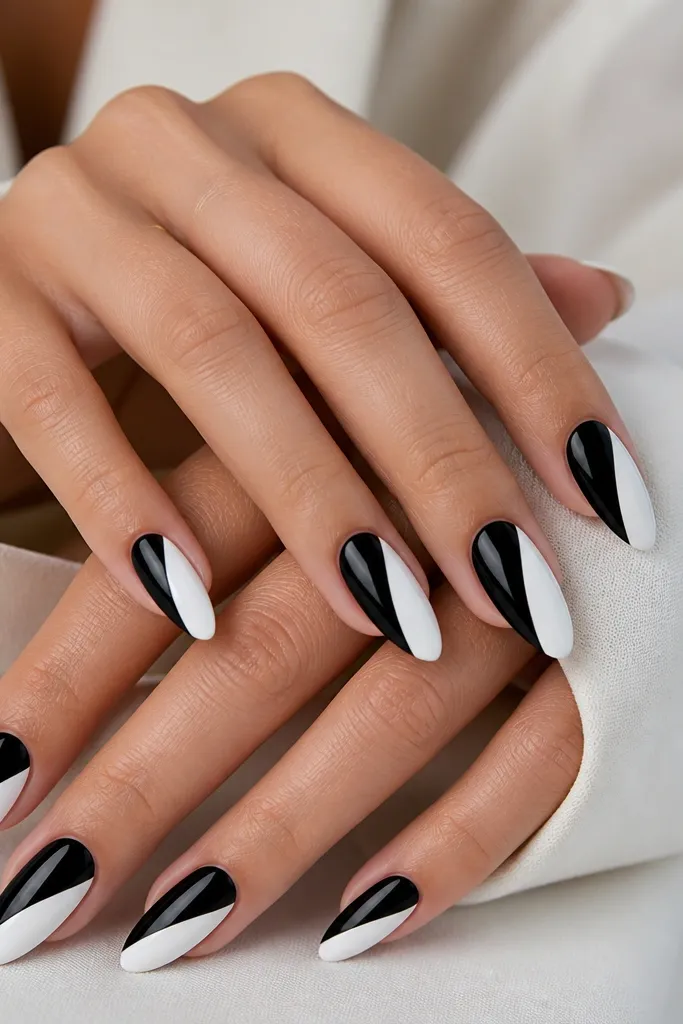
Diagonal panels look high-fashion because the line creates instant structure. It's also forgiving: even if your diagonal is slightly different, it still reads as intentional design. Sharp tape edges are the whole point here.
Paint the base white first. Apply striping tape diagonally where you want the split, then paint black over the exposed area. Remove tape after a brief cure or before fully curing depending on your gel system.
Pro tipWipe the nail with alcohol after removing tape. It removes any micro-smudges along the edge.
Watch outDon't freehand the diagonal if you want it crisp. Freehand usually turns into a wavy seam.
8. Black Brushstroke Swoops Over White (One Stroke, Clean Edge)
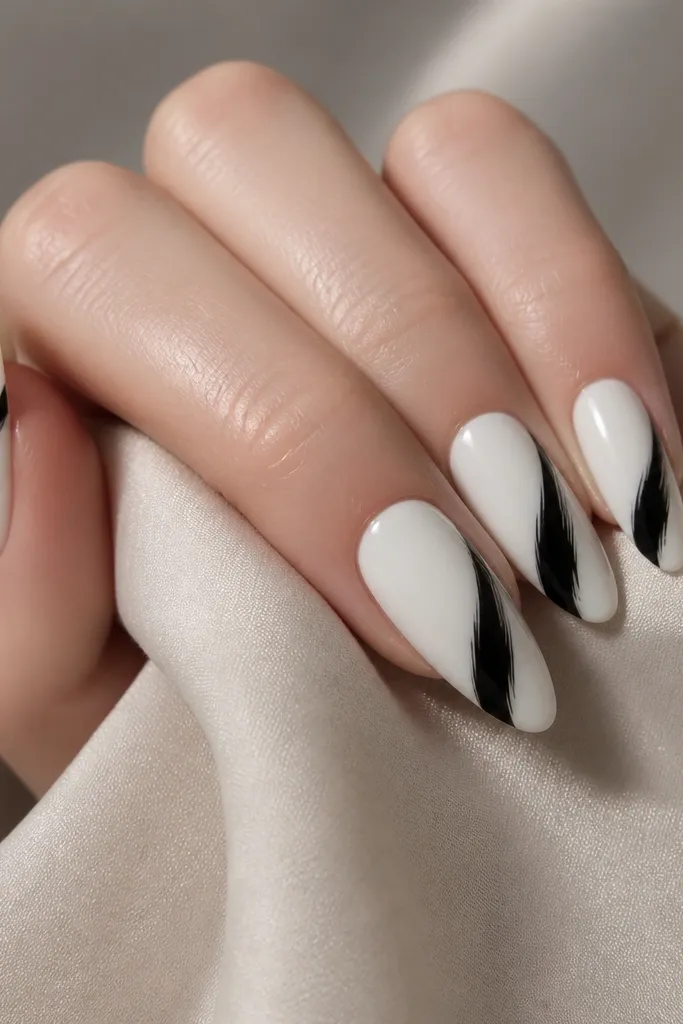
A single brushstroke gives you that artsy feel without clutter. The tapered end makes almond nails look longer. Keep the swoop thick enough to read as a design, but not so thick that it pools at the center.
Use a solid white base. With a flat nail art brush, load black gel and swipe in one deliberate motion from the side to the tip area. If you want feathering, lightly drag the brush tip once, then cure. Add a second pass only if the opacity isn't full.
Pro tipStart your stroke slightly off the center line so the swoop doesn't look like a thick underline.
Watch outDon't do multiple short strokes. That creates patchy edges.
9. Black Dots with White Aura Ring (Dotting Tool Style)
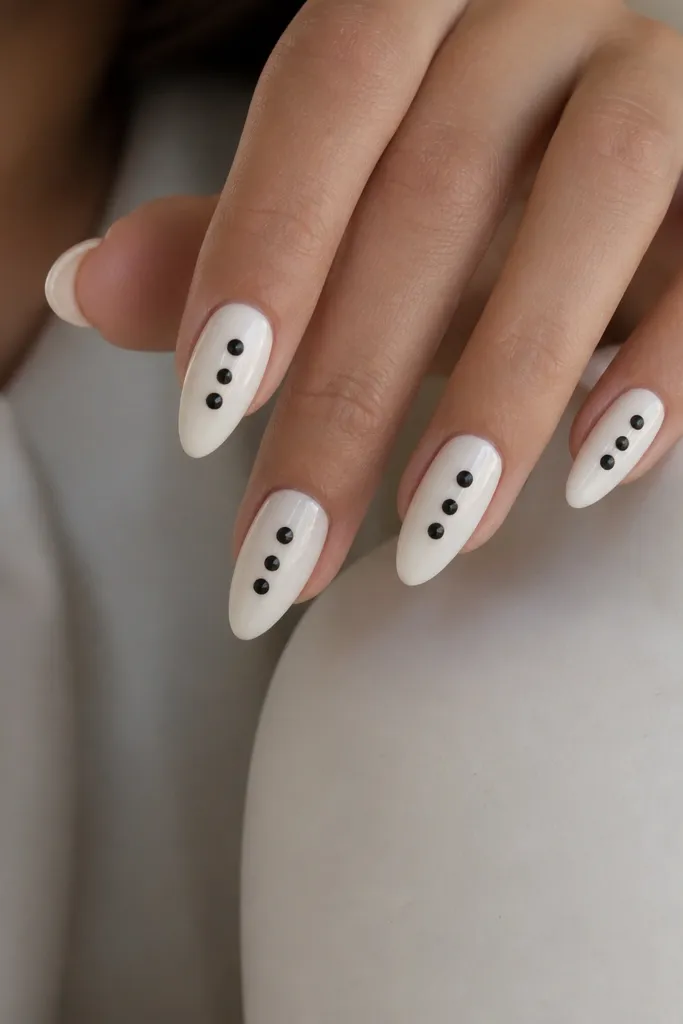
This design looks like tiny graphic icons. The aura ring makes the dots look dimensional without adding glitter. It's also easy to repeat nail to nail - perfect if you're doing your own set at home.
Paint nails white. Place black dots with a dotting tool (2-3 sizes). Then use a small brush to paint a thin white ring around each dot - the ring should be narrower than the dot. Cure and top coat.
Pro tipUse a lint-free brush to clean the ring area right after you paint it so it stays sharp.
Watch outAvoid rings that are thicker than the dot. Then it stops looking like a halo.
10. Black and White Half-Sides (Left Clear, Right Painted)
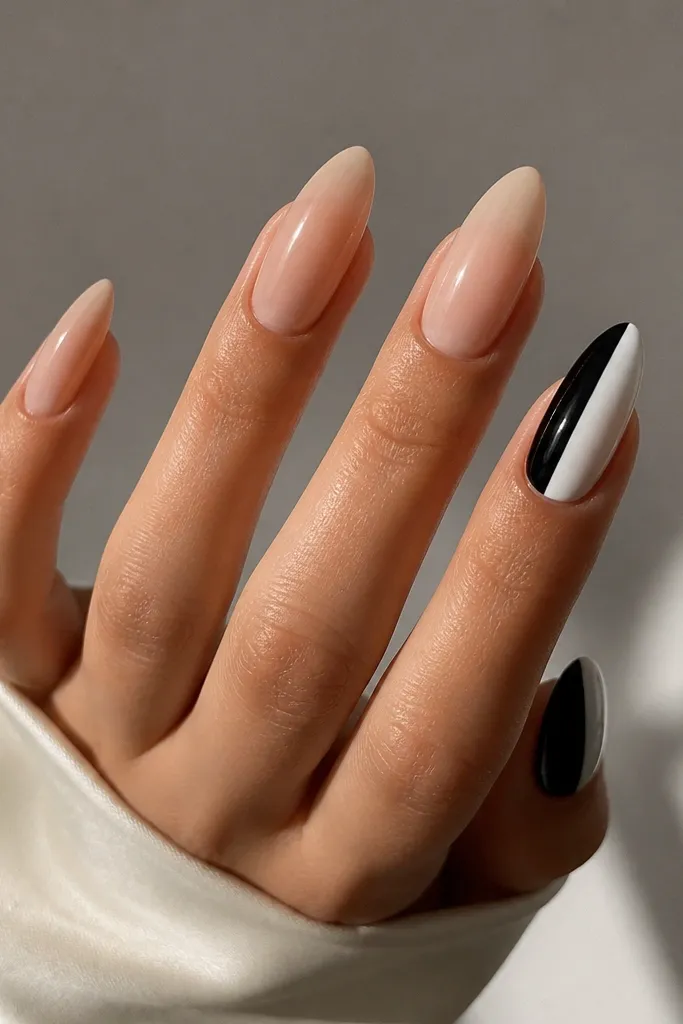
Negative space looks modern when it's deliberate. Keeping one side nude makes the black and white feel lighter, even though you're using two bold colors. This design also grows out prettier because the nude area blends with your nail.
Start with a clear base or nude builder gel. Mask the right side with tape, paint it white, then remask a smaller diagonal or horizontal slice for black. Remove tape carefully and clean edges with a brush.
Pro tipIf you hate bare nail edges, cover with a high-gloss top coat. It makes the nude look intentional, not unfinished.
Watch outDon't leave matte on the nude side. Matte makes the seam look messy.
11. White Flowers with Black Centers on Black Accent Nails
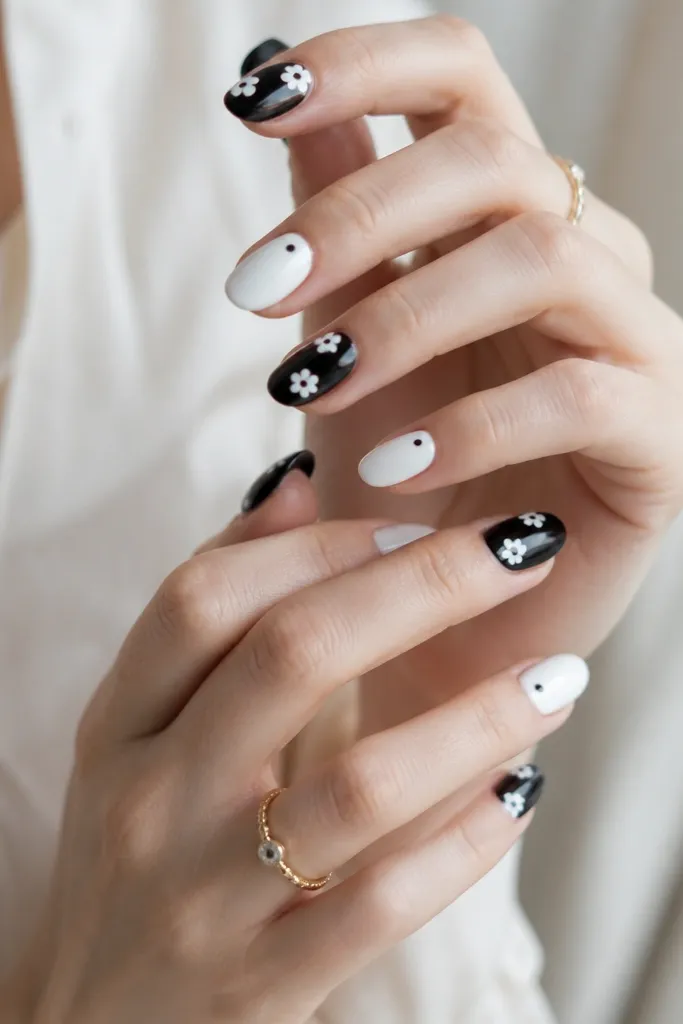
This is the contrast method done with a theme. Black accent nails make the white flowers pop, and the black center keeps them grounded. The alternating pattern stops it from looking like a single-note floral manicure.
Paint 2-3 nails black, the rest white. For flowers, use a dotting tool to place five white petals around a black center dot. Add a tiny curved line as a stem on one nail if you want extra detail. Cure each layer so the petals don't smear.
Pro tipUse a toothpick for the center dot so it stays perfectly round.
Watch outSkip tiny flowers with thick outlines. They blur and look like blobs.
12. Black and White Cuticle Frames (Tiny Border Line)
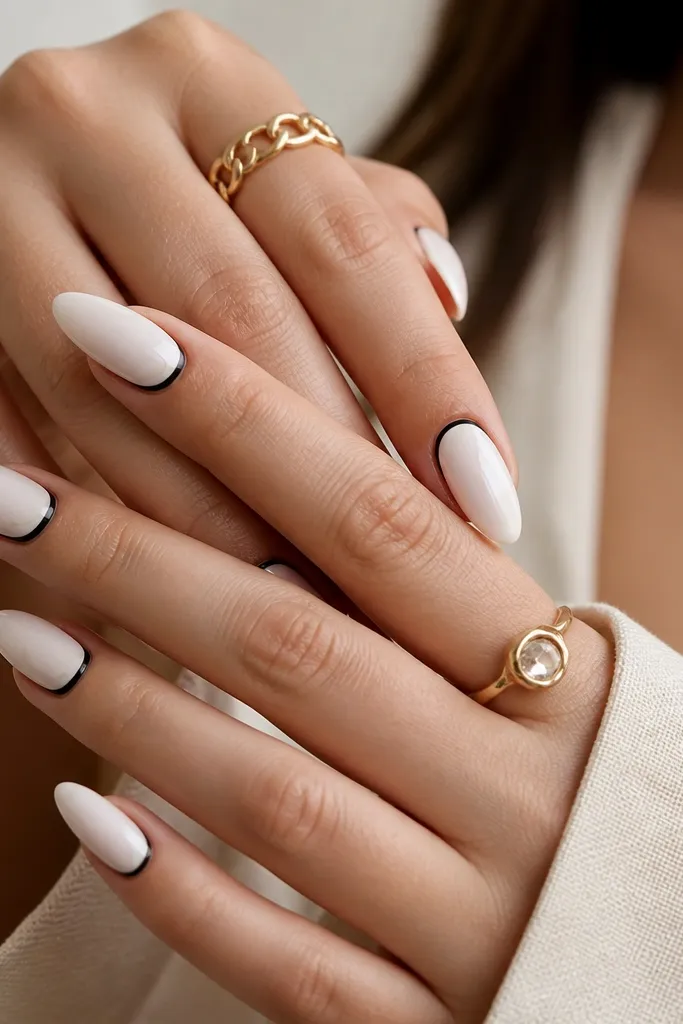
Cuticle framing makes the manicure look tailored, not generic. The border draws the eye to the shape of the nail bed, and it looks clean even when your nails grow out. Using black as the outer line keeps it crisp.
Paint nails white. With a fine liner brush, trace a thin black line around the cuticle curve, leaving the side corners slightly open. Add a second thin white line inside the border on every other nail for variation.
Pro tipWork slowly and keep the brush loaded lightly. Too much product makes the line spread.
Watch outAvoid tracing too close to the skin. Leave a tiny gap so it doesn't flood the cuticle.



