
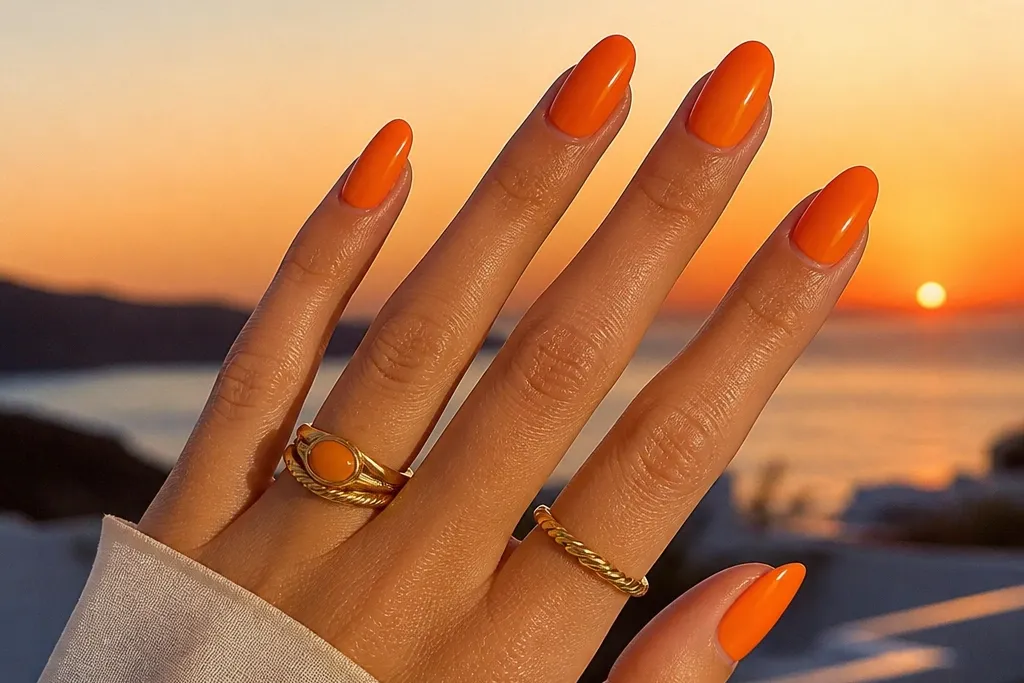
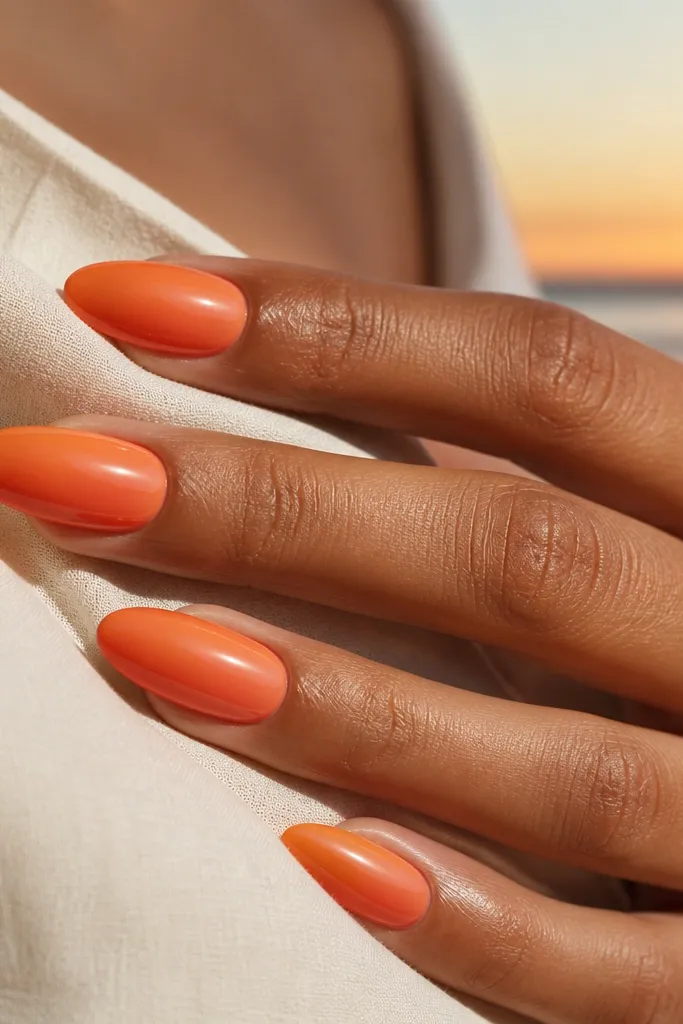
1. Tangerine-to-plum ombre with a soft horizon
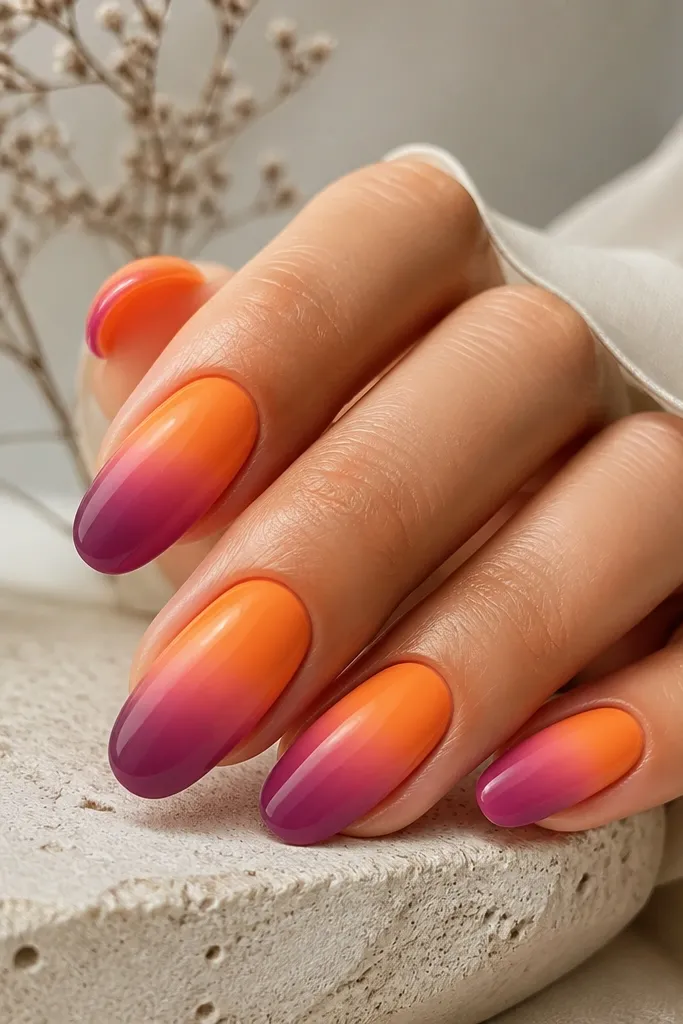
I love this one because it reads like sunset even from far away. The orange stays clean at the base, then the purple deepens toward the tip so your nail looks like it has depth. The horizon line is not a harsh stripe - it's a lightly defined curve that makes the whole thing feel intentional.
Start with a thin tangerine base over the whole nail, cured. Sponge-plap plum purple at the tip and blend upward with two or three light taps. Add a single curved horizon using a liner brush, then feather the edges with a tiny sponge dab so it stays soft.
Pro tipAfter you draw the horizon, add a micro-thin layer of top coat around the line so the gradient doesn't bleed into your next details.
Watch outAvoid using a red-orange that turns brick - it kills the sunset effect and makes the fade look dirty.
2. Burnt orange sunset with gold "sun rays"
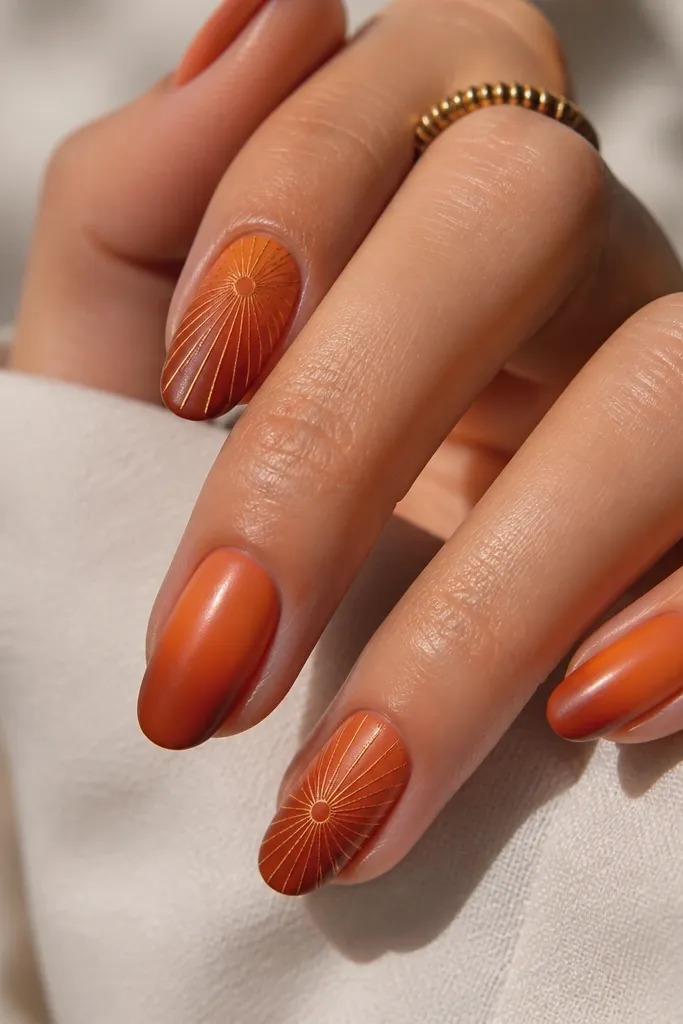
This is the most "summer evening" set I've worn. The burnt orange is deeper than tangerine, so the gold rays look like real sunlight hitting the sky. Keep the rays thin and spaced so they don't turn into a glitter blob.
Use burnt orange as your main color and sponge a smoky purple-brown only on the top half. Place a small sun circle (orange or pale gold) near the center. Drag 6-10 thin gold striping lines outward with a liner brush or striping gel, then cure and top coat.
Pro tipIf your gold looks too flat, add a second layer of gold only on the center of each ray for a raised highlight.
Watch outDon't pack the rays too close; tight spacing makes the set look like a sticker sheet.
3. Minimal sunset arc on nude base
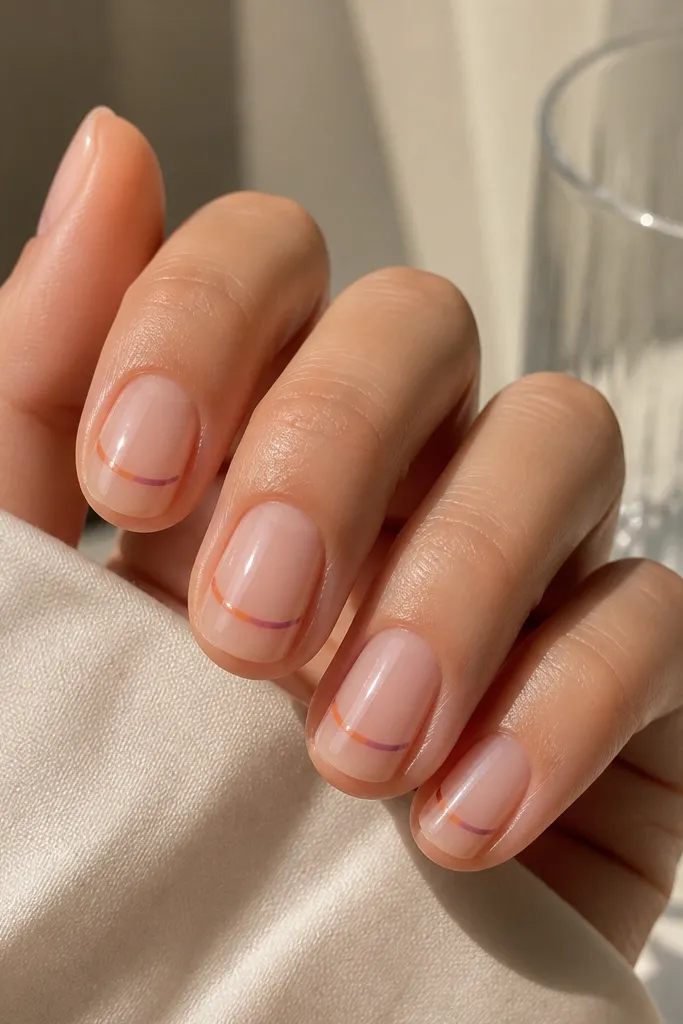
This one is for days you want sunset nails but not full coverage. The nude base keeps it clean and wearable, and the thin arc gives you the sunset idea without heavy blending. The purple whisper at one side looks like the sky turning dusk.
Start with a nude gel (or sheer pink) and cure. Paint a curved orange arc near the free edge, then lightly blend the outer end of the arc into a tiny dab of purple with a foam applicator. Finish with a thick top coat so the arc looks smooth.
Pro tipUse gel liner for the arc so you can keep the curve steady without dragging the nude base.
Watch outSkip chunky glitter on this design - it fights the minimal look and makes the arc look messy.
4. Orange sunset french tips with dusk fade
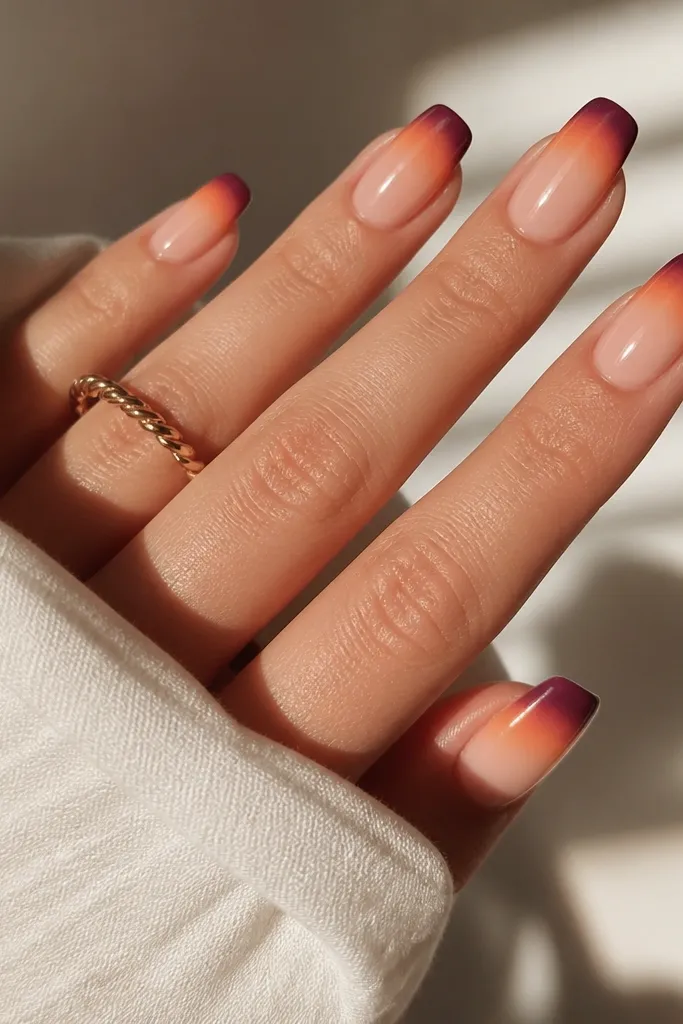
French tips are already a clean shape, so the sunset gradient feels modern instead of busy. The orange sits right where the eye lands first - the smile line - and the plum fade at the outer tip makes the whole thing look crisp. It's bold without needing a bunch of extra art.
Paint a nude base and cure. Create the french shape by painting a curved orange tip band, then sponge plum only at the outer edge and blend inward a few millimeters. Seal the tip outline with a thin top coat before curing again.
Pro tipMake the orange band slightly thicker on the sidewalls; it makes the gradient look balanced on curved nails.
Watch outDon't freehand the french line too thin - if it's too narrow, the gradient looks like a mistake instead of a design.
5. Sunset smoke nails with charcoal haze
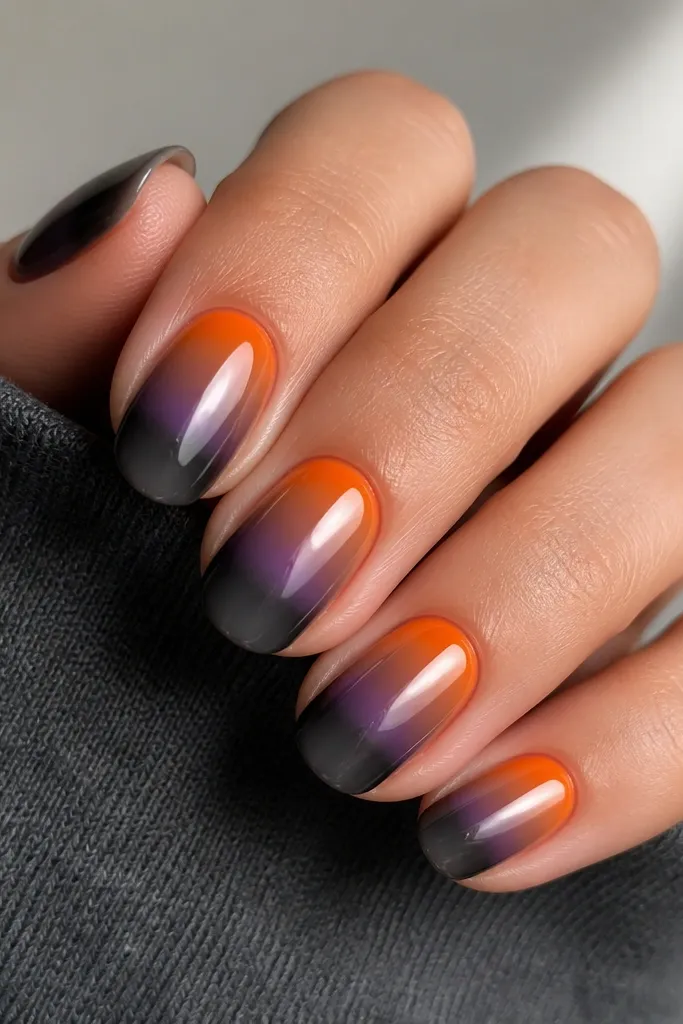
Charcoal makes orange look dramatic. This set gives you that "campfire sky" vibe, where the orange glows but the edges fade into smoky dusk. The purple band in the middle keeps it from looking like a plain ombre.
Start with orange at the cuticle area, then sponge plum in the mid-zone. For the smoke, tap charcoal lightly from the mid to tip, keeping it translucent. Blend with a clean sponge swipe so the charcoal doesn't form hard dots.
Pro tipAfter curing, add one extra thin top coat layer on the smoky zone to smooth out any sponge texture.
Watch outAvoid going opaque with the charcoal - thick gray blocks kill the sunset glow.
6. Orange sky with tiny cloud strokes
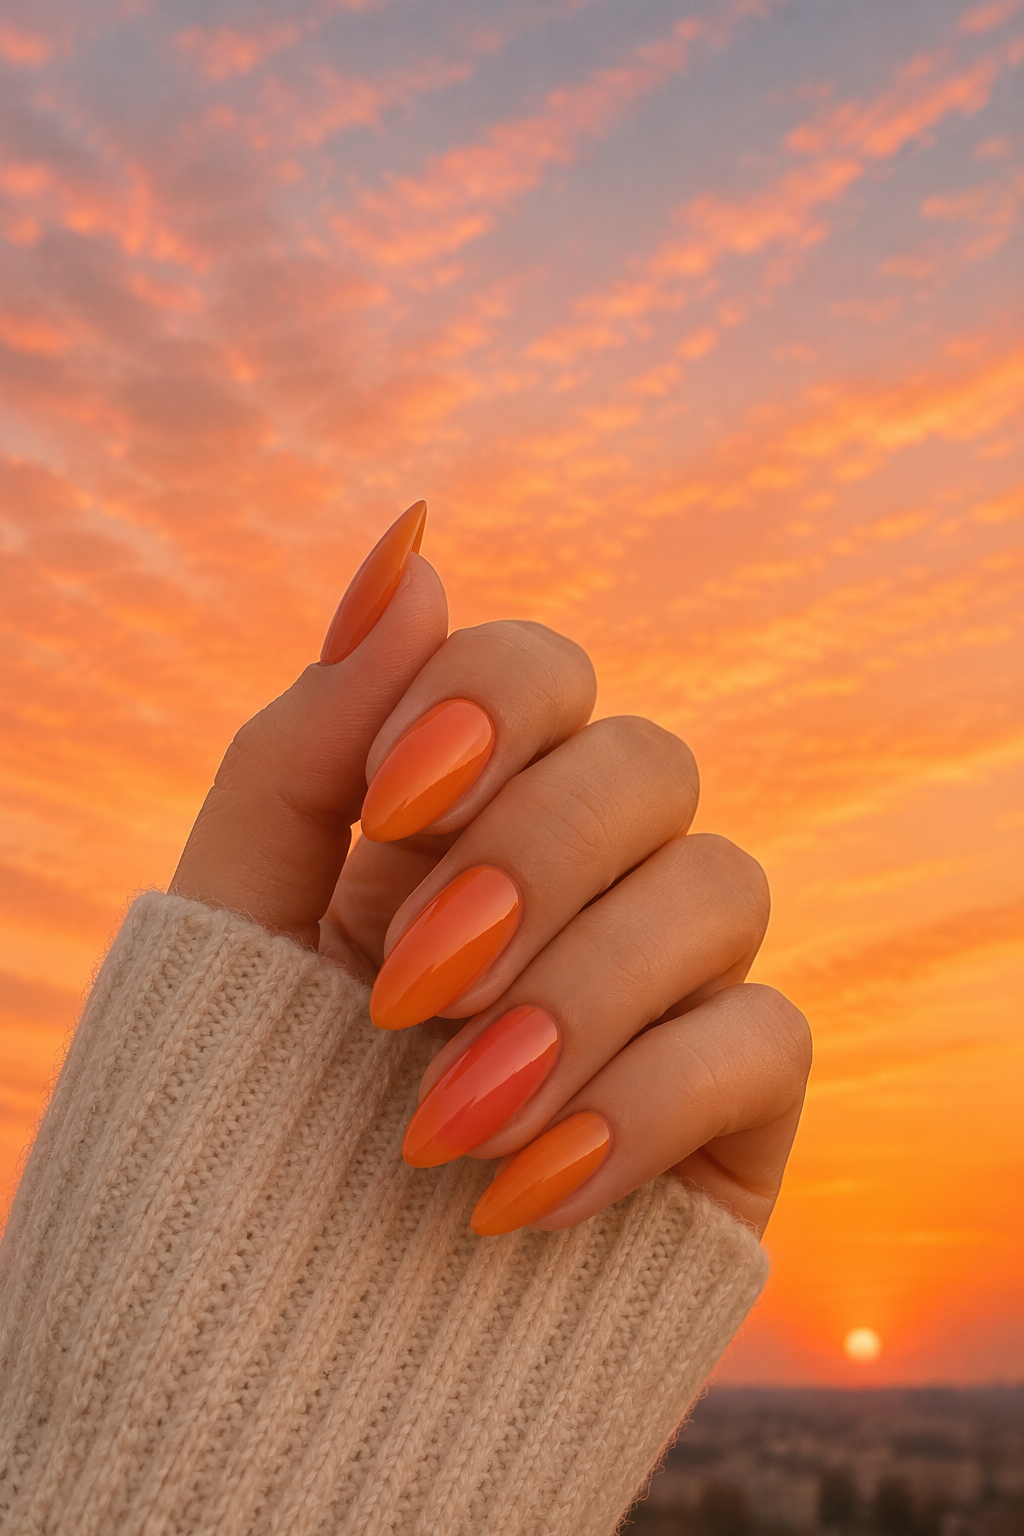
Cloud strokes make the design feel alive without turning it into cartoon art. I use thin, broken white lines so the clouds look airy. The contrast between bright orange, soft dusk purple, and wispy white makes it look like a real sky at golden hour.
Do your orange-to-plum gradient with sponge tapping. Then use a small detail brush to paint 4-6 short white strokes across the middle of each nail, leaving gaps. Feather the ends with a tiny amount of top coat so the strokes look soft.
Pro tipPractice cloud placement on one nail first - I aim for two clusters per nail, not one big cloud.
Watch outDon't use solid white blobs; they look chalky and flat on top of a gradient.
7. Glass gel sunset with clear orange layering
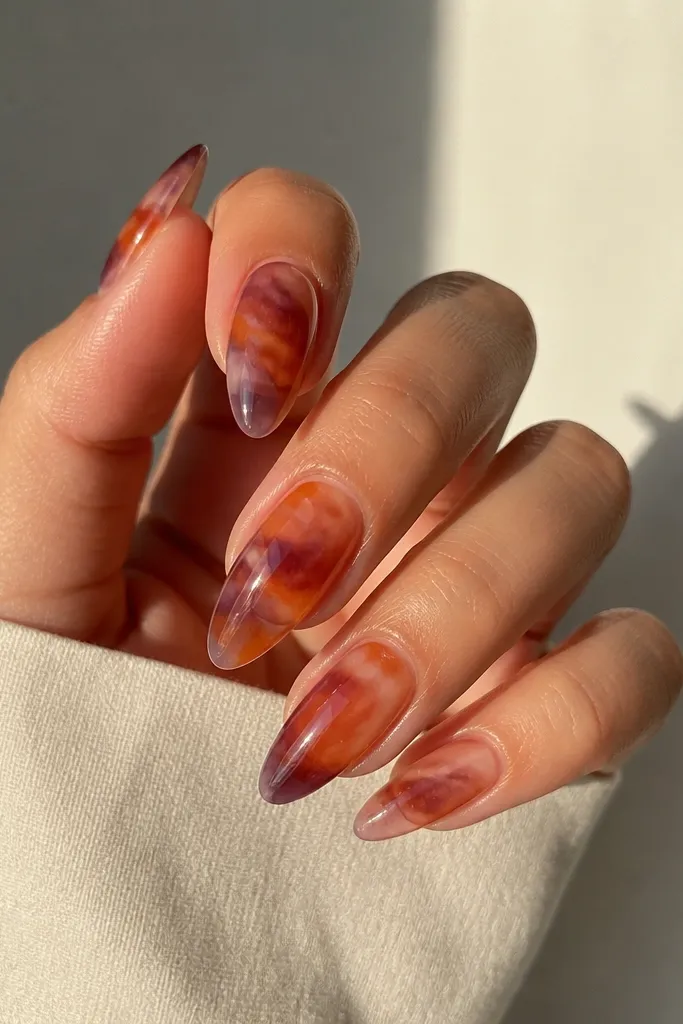
This is my favorite look for people who hate thick nail art. The clear base makes the sunset feel suspended, like it's under glass. Layered orange wisps create glow without covering the entire nail in opaque color.
Start with a clear or jelly base gel. Add translucent orange in thin streaks using a detail brush, cure, then sponge a faint plum tint at the tip. Repeat one more orange wispy layer if you want more glow, then cap with a high-shine top coat.
Pro tipUse thinner brush strokes than you think - two light layers look better than one heavy one.
Watch outSkip matte top coat here; the glass effect only looks right with a glossy finish.
8. Orange sunset diagonal split with plum fade
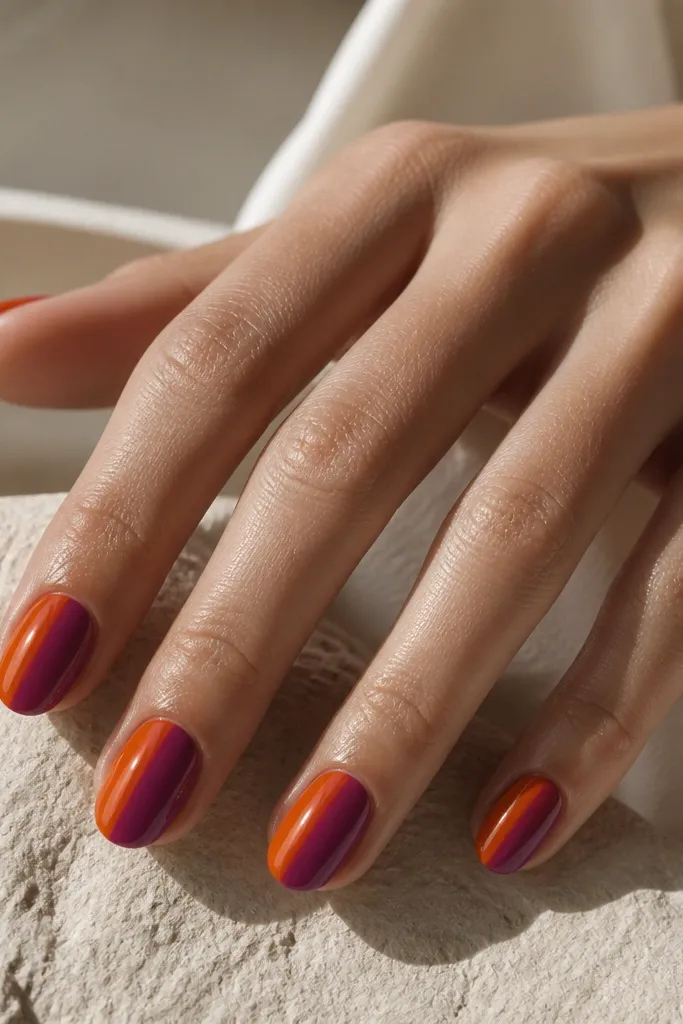
Diagonal splits look sharp and modern, and they keep the design from looking too "samey" with full ombres. The orange side stays bold, while the plum side fades just enough to feel like dusk. It's a sunset that looks graphic, not blurry.
Paint the whole nail orange and cure. Then sponge plum along the diagonal starting near the cuticle and blending toward the tip. Clean up the diagonal edge with a small brush dipped in gel cleanser so it stays crisp.
Pro tipUse painter's tape to guide your diagonal line if you get shaky - press it lightly, paint, cure, then remove.
Watch outDon't drag the sponge too hard on the diagonal; it turns the edge smoky instead of clean.
9. Half-moon sunset at the cuticle
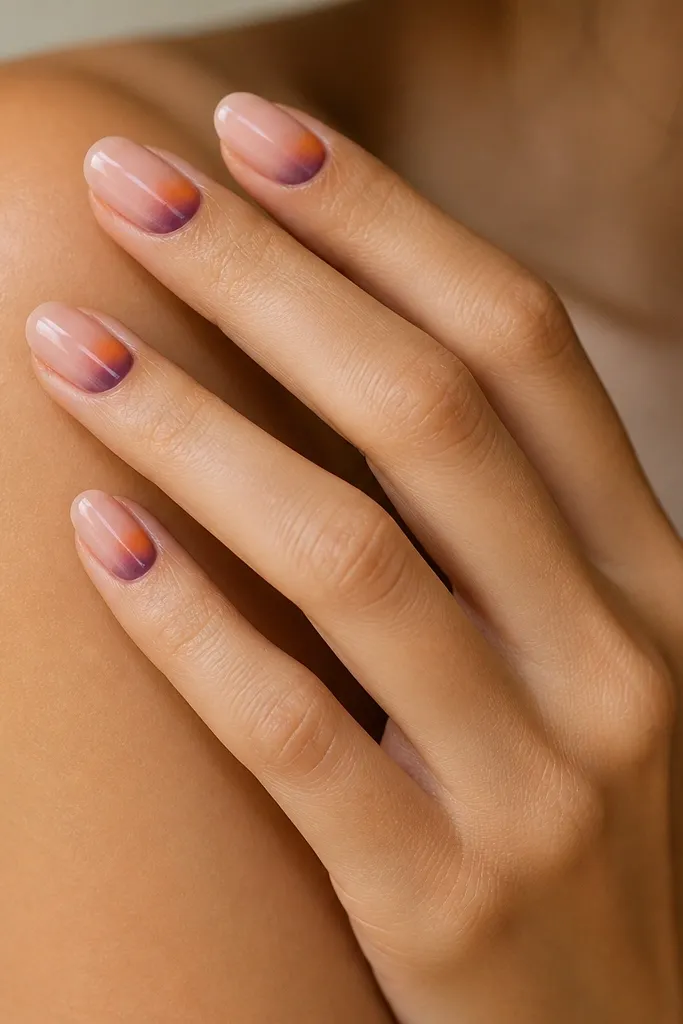
This look is sneaky bold. Your eye catches the orange at the cuticle, and the fade into plum makes it feel like a tiny sunset happening right on the nail. It's perfect if you want color but you still like a clean nude base.
Start with nude base gel and cure. Use a half-moon stencil or freehand a crescent at the cuticle in orange. Sponge plum on the outer edge of the crescent and blend outward a few millimeters, then cap with top coat.
Pro tipKeep the crescent slightly wider on the sidewalls; it balances the fade and looks more flattering.
Watch outAvoid a crescent that touches the sidewalls too hard - it can look like the color is flooding the nail.
10. Orange sunset nail with black starburst outline
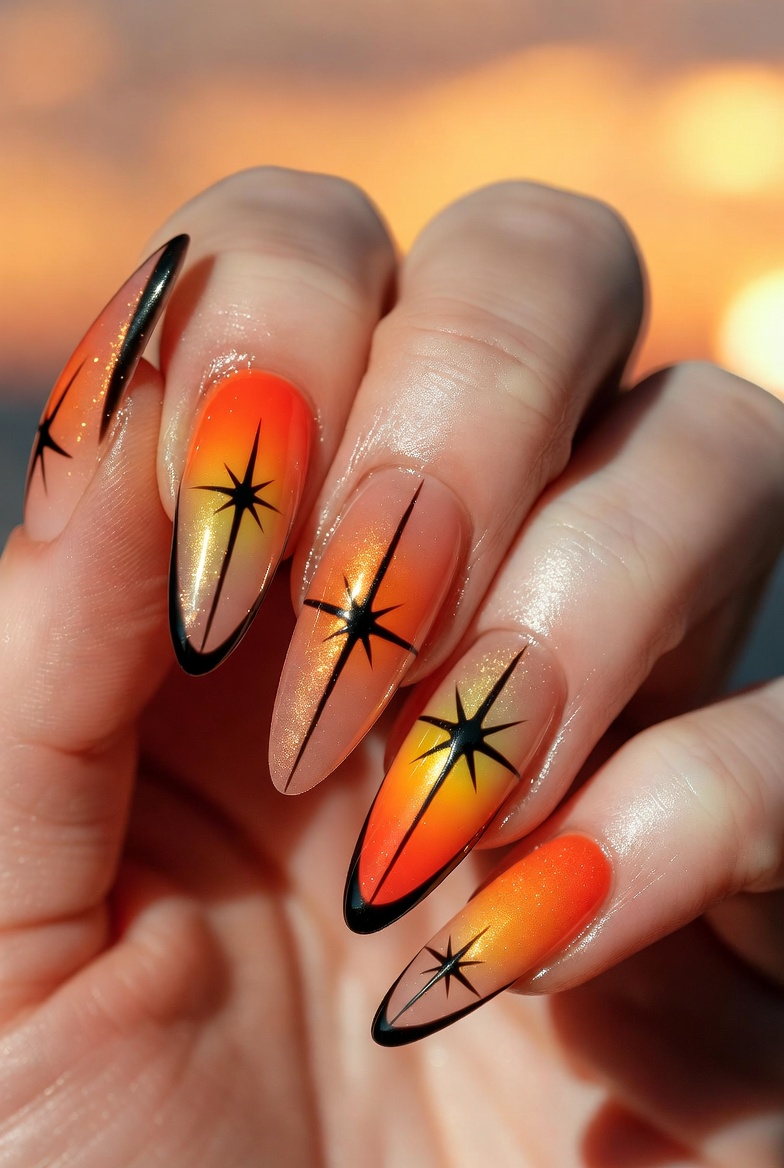
The black outline makes the sunset feel like a graphic poster. The orange glow stays warm, while the black starburst adds contrast without needing extra colors. It's bold summer style with a little rock-and-roll edge.
Create your orange-to-plum gradient with sponge. Paint a small sun circle in orange near the center. Outline it with black liner, then add 8-12 thin starburst spikes that are longer at the top and shorter at the bottom.
Pro tipLet the gradient cure fully before the black line - uncured orange can smear into the outline.
Watch outSkip chunky black paint; thin gel liner looks cleaner and more controlled.
11. Sunset ombre with micro-glitter edge
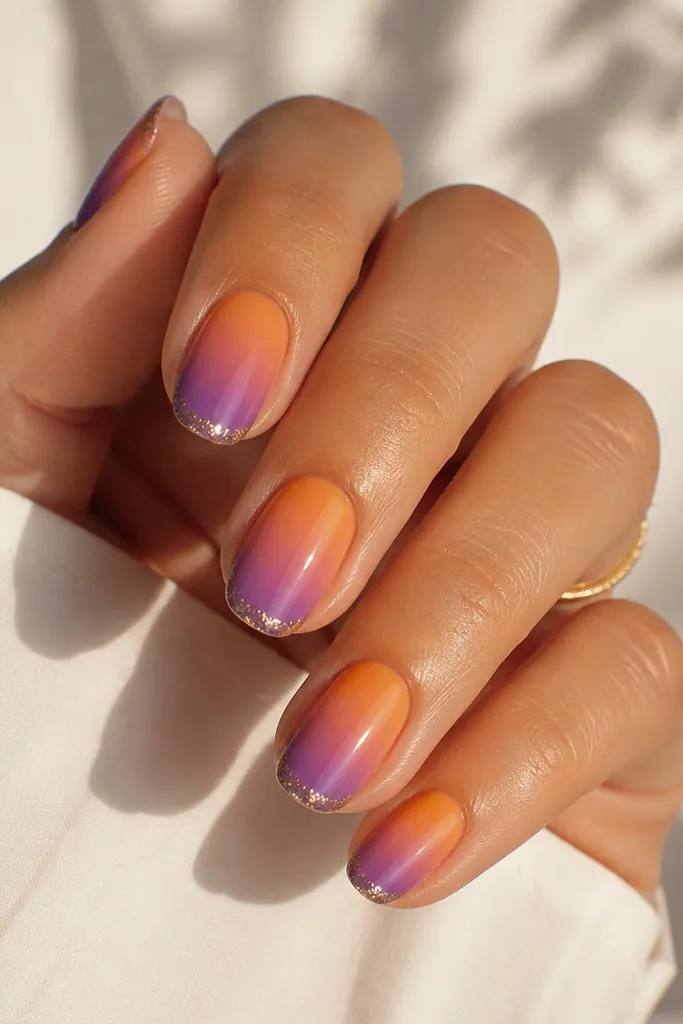
Glitter at the very edge looks like the sun catching the horizon. It adds sparkle without turning the whole nail gritty. Micro-glitter also makes the gradient look more finished because it frames the tip.
Do your orange-to-purple ombre first. Then use a fine glitter gel or loose micro-glitter pressed onto the last 1-2 millimeters of the tip. Cure and seal with a thick top coat so the glitter doesn't snag.
Pro tipTap off excess glitter before curing; too much glitter makes the tip feel rough.
Watch outDon't put glitter in the middle of the gradient - it breaks the glow and looks scattered.



