
1. Pocket Sunset Ombre with Center Glow
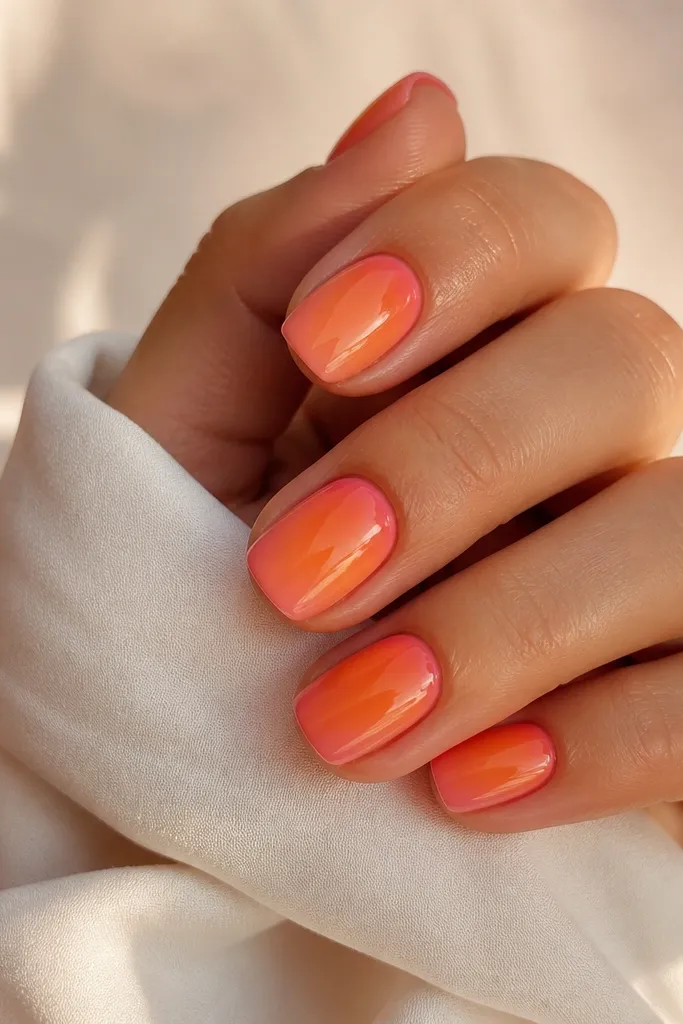
This is the fastest true "sunset" layout for compact small space sunset nails. The center glow trick makes the nail look lit from within, which reads like a sunset even on tiny surfaces. Use a muted coral or milky orange as the fade partner so the bright orange doesn't overpower your cuticle area.
Paint a thin milky coral base on all nails. Sponge or stipple bright orange only on the middle third, then blend edges with a slightly lighter orange sponge dab. Keep the transition soft - you want haze, not stripes.
Pro tipWipe your sponge on a paper towel before touching the nail. This prevents the orange from pooling near the cuticle.
Watch outAvoid thick sponge layers - they lift at the sides and look chunky on short nails.
2. Sunset Horizon Stripe (Two-Layer Sky)
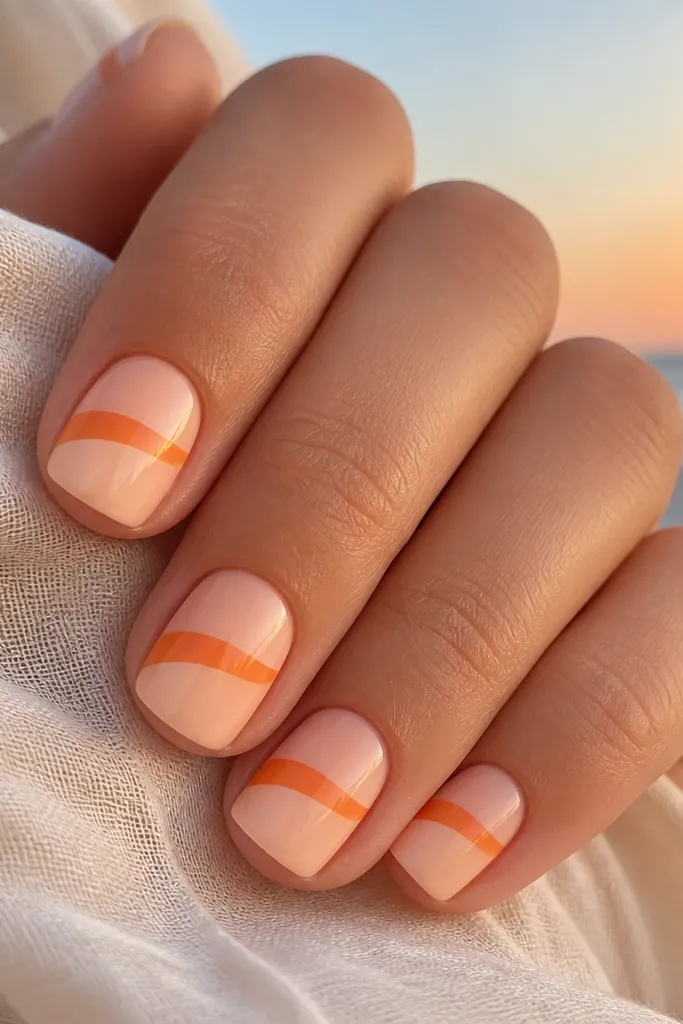
This layout mimics the horizon band you see at golden hour. The two-layer sky makes the design legible without filling the whole nail. A curved stripe feels more like sunset than a straight sticker line.
Do a base of pale peach or apricot. Add a burnt orange stripe across the middle using a striping brush, then lightly soften the stripe edges with a tiny sponge once it's tacky. Finish with a glossy top coat.
Pro tipCurve the stripe to follow the nail shape - I aim it slightly upward toward the sidewalls so it looks natural on squoval nails.
Watch outSkip super-thin polish for the stripe; if it's too sheer, the horizon disappears.
3. Crescent Sun Beam Left-Heavy
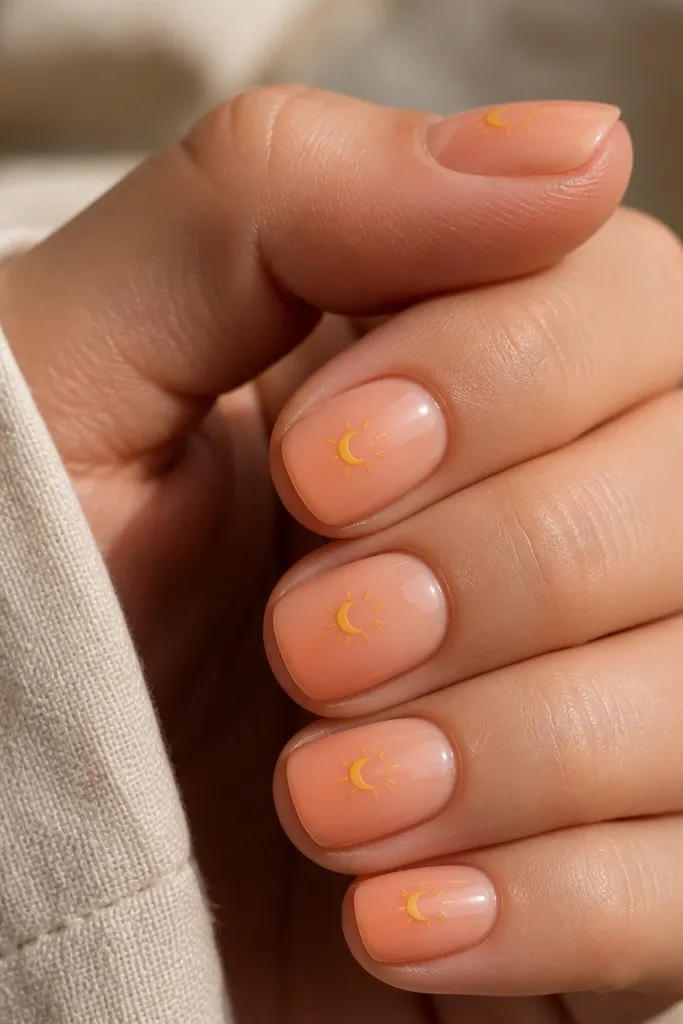
A tiny crescent sun feels cute and graphic, and it fits short nails better than full circles. Placing it slightly left makes your hand look like it's catching light as you move. The beam lines add "sunset energy" without clutter.
Base coat in peach. Paint a small crescent using bright orange-yellow (almost like mango). Add 2-3 thin beam strokes with a liner brush, then fade the top half with a lighter burnt orange for depth.
Pro tipUse the dotting tool to place the crescent, then clean the arc with the liner brush dipped in top coat.
Watch outDon't make the beams too long - they crowd the nail edges and look messy.
4. Orange to Coral Watercolor Fade
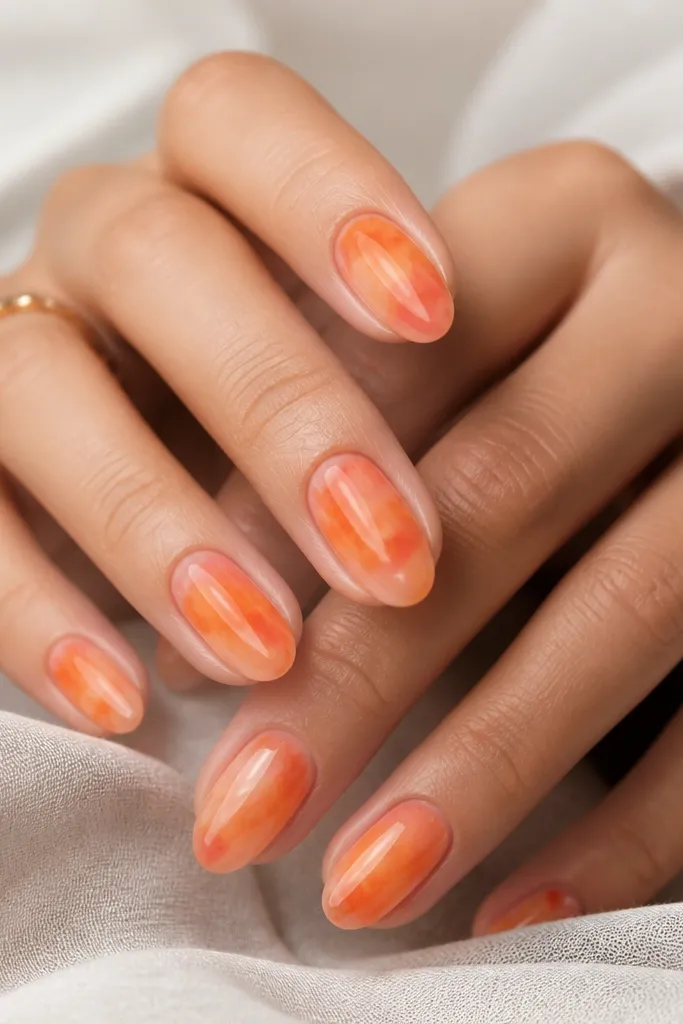
Watercolor fades look expensive because the edges are soft and imperfect. On compact nails, you get that "painted sky" vibe without needing a perfect ombré. Bright orange blooms give the sunset warmth while coral keeps it wearable.
Start with a peachy nude base. Dab bright orange in the center with a makeup sponge lightly, then tap coral around it while the polish is still workable. Add a final top coat that smooths the texture.
Pro tipUse a light hand. If you press the sponge, you get hard circles instead of watercolor haze.
Watch outAvoid matte top coat on this design - watercolor blooms look best glossy.
5. Terracotta Sunset Tips (Reverse Ombre)
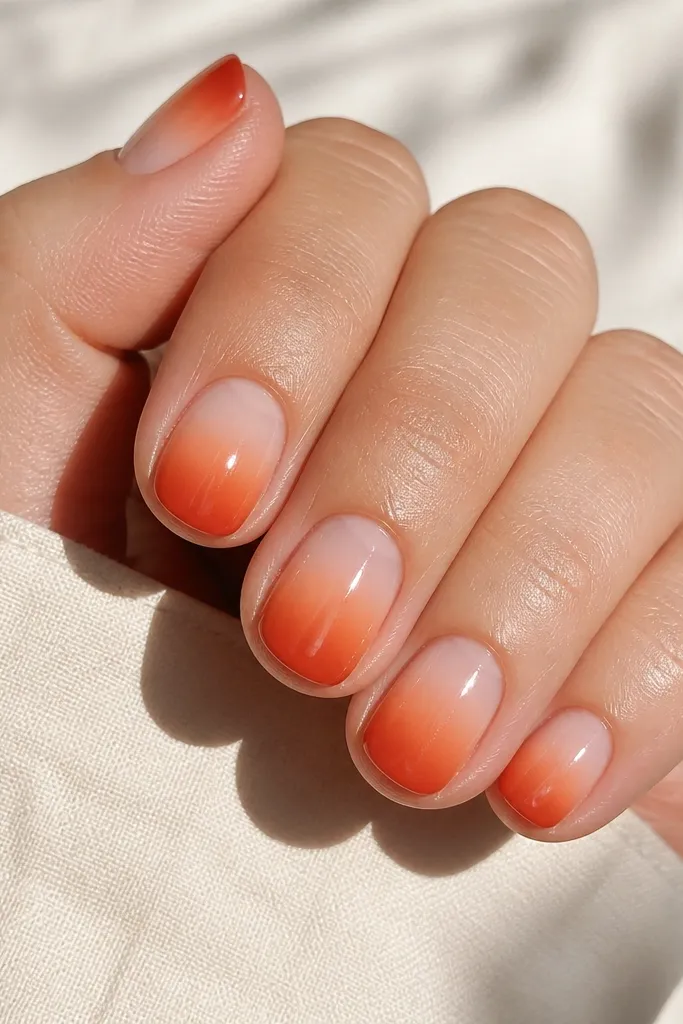
Reverse ombré makes short nails look longer because the darkest color stays at the tip. Terracotta adds a grounded sunset feel that isn't neon. The fade upward keeps it soft and summer-friendly.
Paint a milky nude or sheer peach base. Sponge terracotta at the tip, then blend upward with orange and finally peach. Keep the fade within the top half of the nail so it stays compact.
Pro tipHold the sponge at a 45-degree angle when blending. It gives a cleaner gradient edge.
Watch outDon't drag the sponge across the entire nail - you'll muddy the cuticle area.
6. Peach Skies with Orange Side Glow
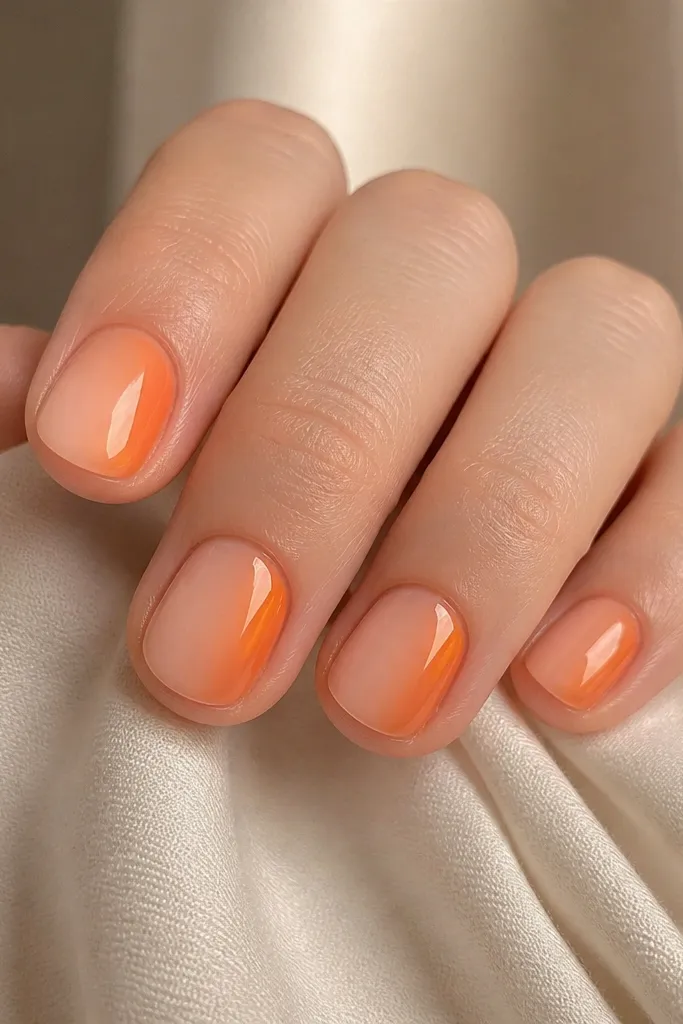
Side glow is a lifesaver for compact small space sunset nails because it uses the nail's natural shape. The asymmetry makes it feel modern, not like a half-finished ombré. It also hides tiny imperfections near the cuticle.
Base in pale peach. Use a small detail brush to place a thin line of bright orange along the right edge, then blur it inward with a sponge dab. Repeat on each nail so the glow direction stays consistent.
Pro tipIf your lines wobble, clean the outer edge with a brush dipped in acetone before top coat.
Watch outAvoid placing orange too close to the sidewall corners; it catches on hair and lifts.
7. Horizon Line + Tiny Dune Silhouette
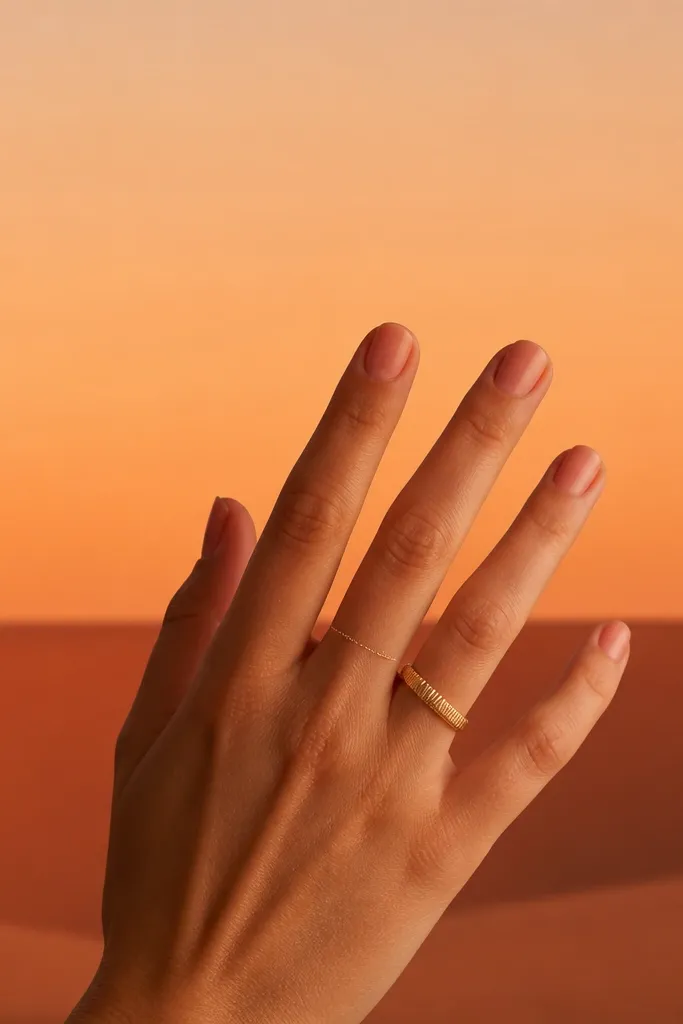
This is a mini landscape without needing full nail art. The horizon line anchors the sunset, and the dune silhouette adds depth. On short nails, the silhouette should be small and curved, not a big block shape.
Gradient your base with sponge or brush: peach near cuticle, orange toward the center. Draw a thin horizon line using a liner brush. Add one curved dune shape below the line using a darker terracotta-brown.
Pro tipLet the horizon line dry a little before the dune. It stops the two colors from bleeding together.
Watch outSkip black for the dune - it looks like fall leaves instead of warm sunset sand.
8. Mini Sun Sticker Style (Hand-Painted Circle)
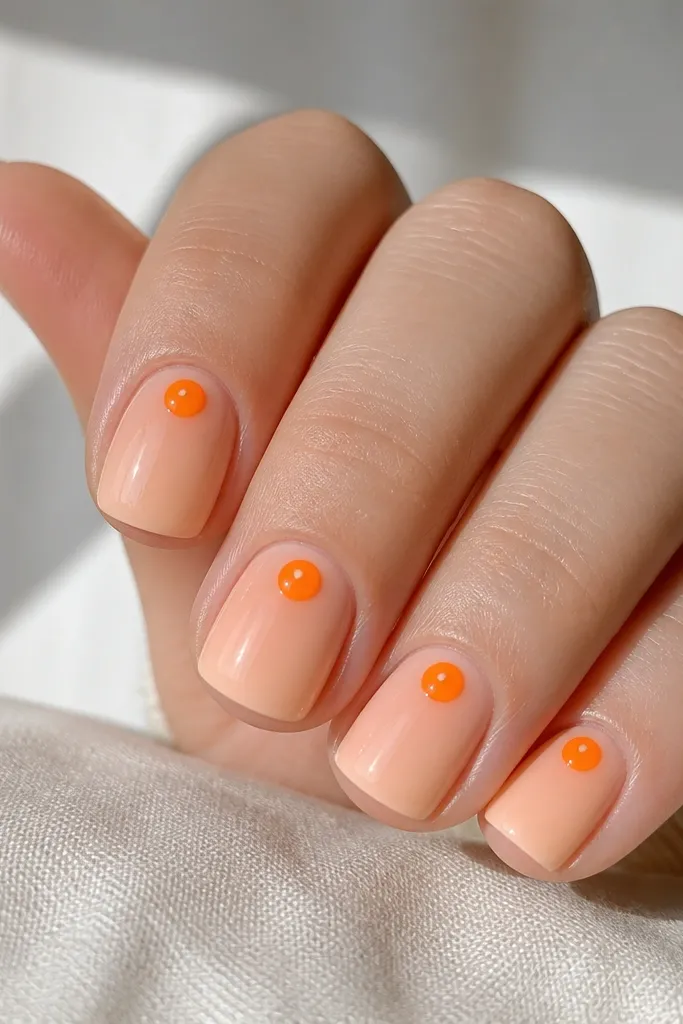
A mini sun reads instantly, even on small nail beds. Adding a tiny white highlight dot makes it look rounded and glossy. The gradient under it keeps it from looking like a flat sticker.
Use a peach base with a soft orange fade toward the center. Paint a small orange circle near the cuticle, then add a pinpoint white dot on one side of the circle. Blend the circle edges lightly so it looks painted, not pasted.
Pro tipUse nail polish slightly thicker than your base. Thin polish makes circles bleed outward.
Watch outAvoid putting the sun too low on short nails. It eats up the space you need for the sunset fade.
9. Orange Glow Dot Gradient (No Brush Required)
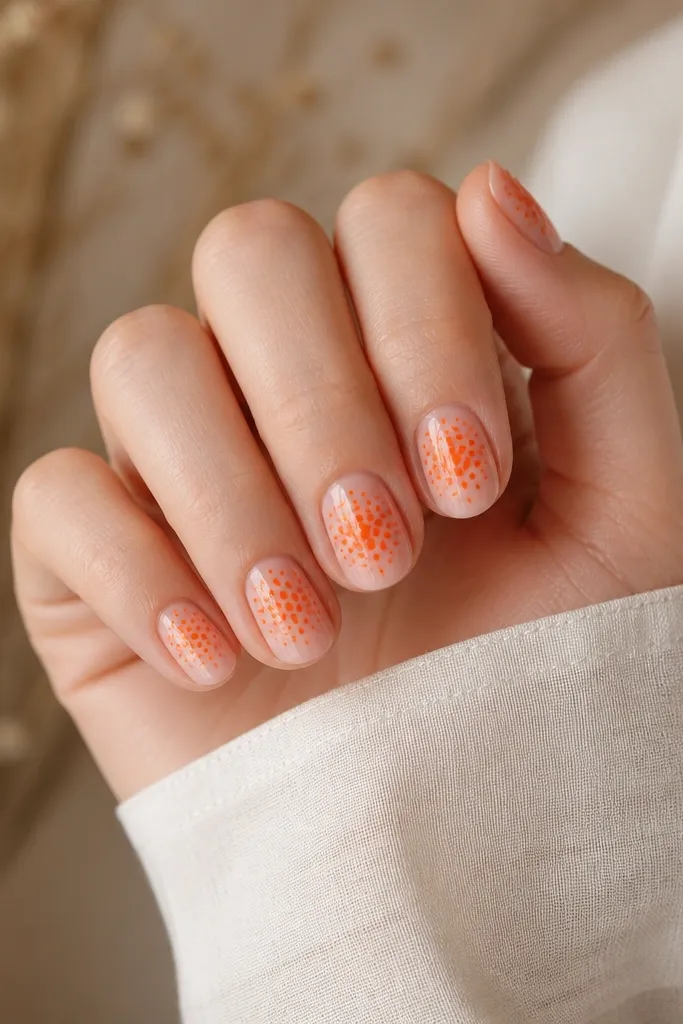
Dot gradients look like bokeh heat from a sunset. They're forgiving and don't require blending tools. On compact nails, the dot cluster gives you glow without messy edges.
Start with a nude or milky pink base. Use a dotting tool to place a dense set of bright orange dots in the center third. Add lighter coral dots around the cluster, then seal with top coat.
Pro tipWipe the dotting tool every 2-3 nails so dot size stays consistent.
Watch outDon't overload dots. Too much pigment lifts and turns grainy under top coat.
10. Sunset French Tip with Orange Band
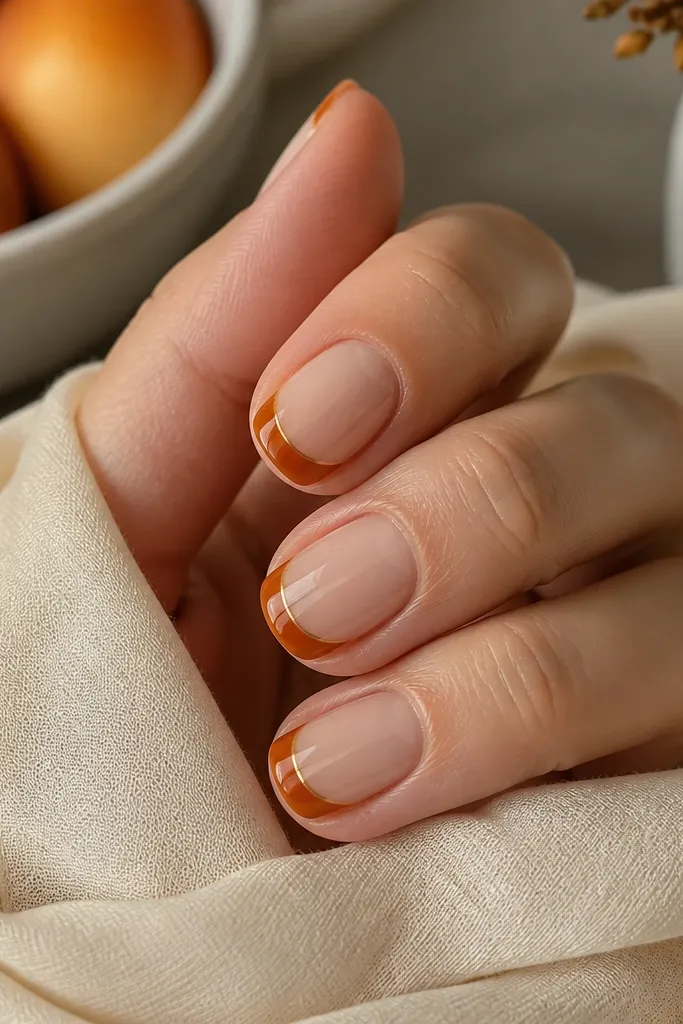
French tips are already a clean shape, so you can swap the color for a sunset band. The orange band gives the warmth, and the tiny yellow edge makes it look like the sun is peeking over the horizon. It's compact-friendly because it uses the tip area.
Paint a nude base. Create a French tip arc with burnt orange gel or polish, keeping it narrow. Add a thin yellow line at the very edge of the orange arc, then top coat.
Pro tipUse striping tape as a guide for one side, then freehand the other. It speeds up symmetry.
Watch outSkip thick French lines. They look bulky on short nails.
11. Coral Cloud Fade with Orange Outline
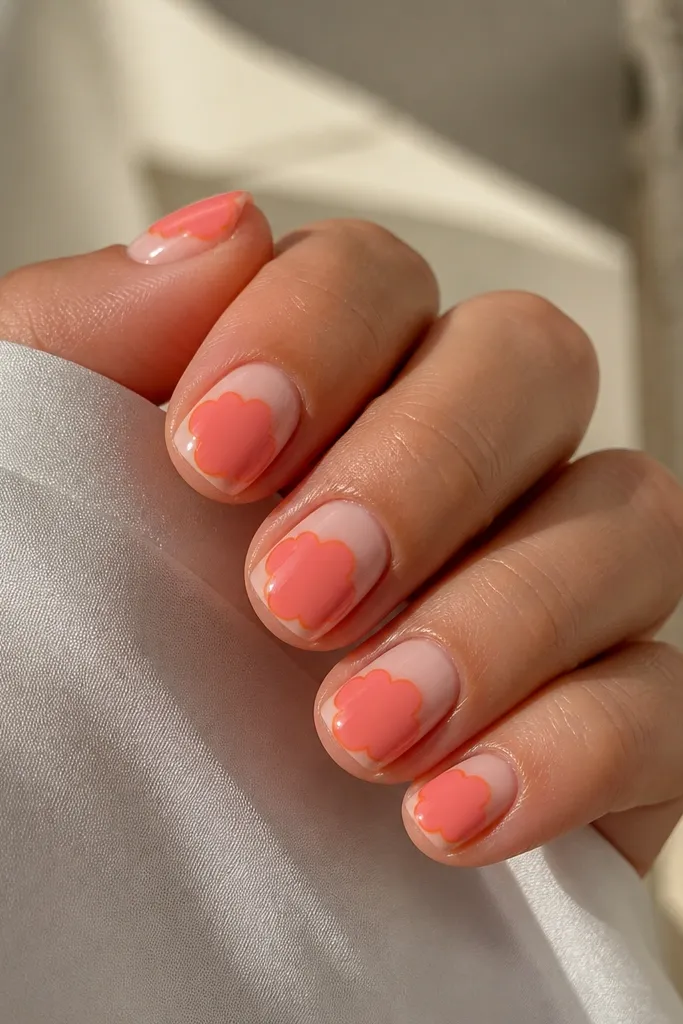
Cloud fades look like soft clouds catching sunset light. The thin orange outline keeps the design from blending into the base, which matters on short nails. You get dimension without painting a full scene.
Base in milky nude. Sponge coral in the center, then blur edges with a second lighter coral dab. Trace the cloud shape with a liner brush in bright orange.
Pro tipOutline after the cloud is mostly dry. If you outline too early, the border wobbles.
Watch outAvoid thick outlines - they look like marker on nails.
12. Orange Marble Swipe (Tiny, Not Messy)
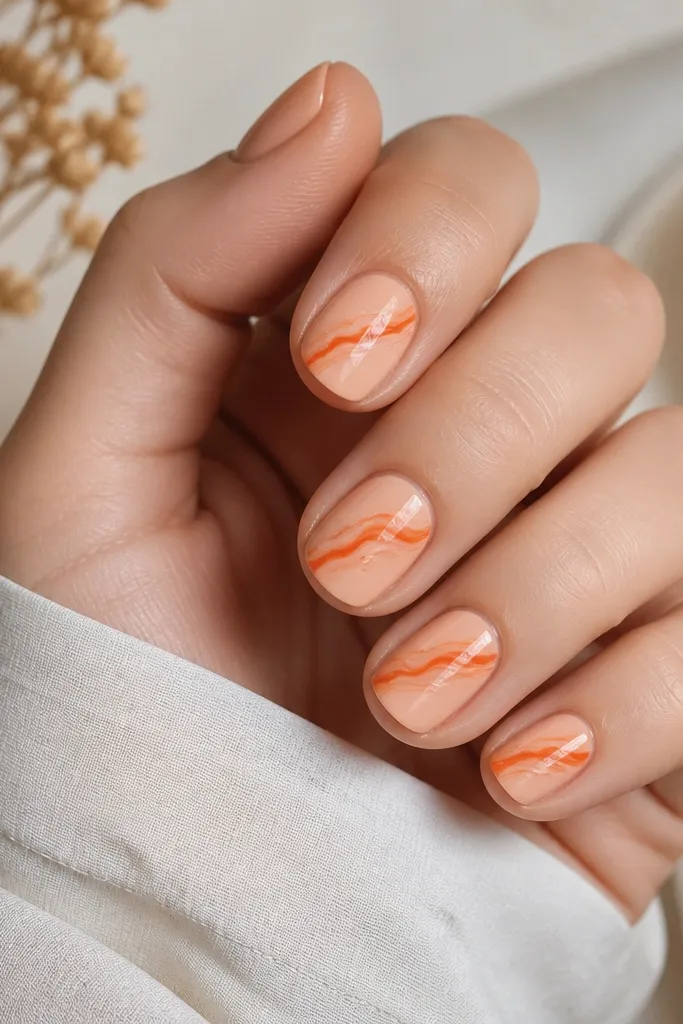
Marble looks good on short nails when you keep it small and directional. A single swipe across the center reads as sunset stone without taking over the nail. The milky lines help it look airy instead of muddy.
Base in peach. Use a thin brush to drag bright orange across the center in one direction, then add burnt orange streaks with less pressure. Flick in a tiny amount of milky white between streaks for the marble veining.
Pro tipWipe your brush on a lint-free pad before the last streak. It keeps the lines thin.
Watch outDon't layer too many colors. Two oranges plus milky white is enough.



