
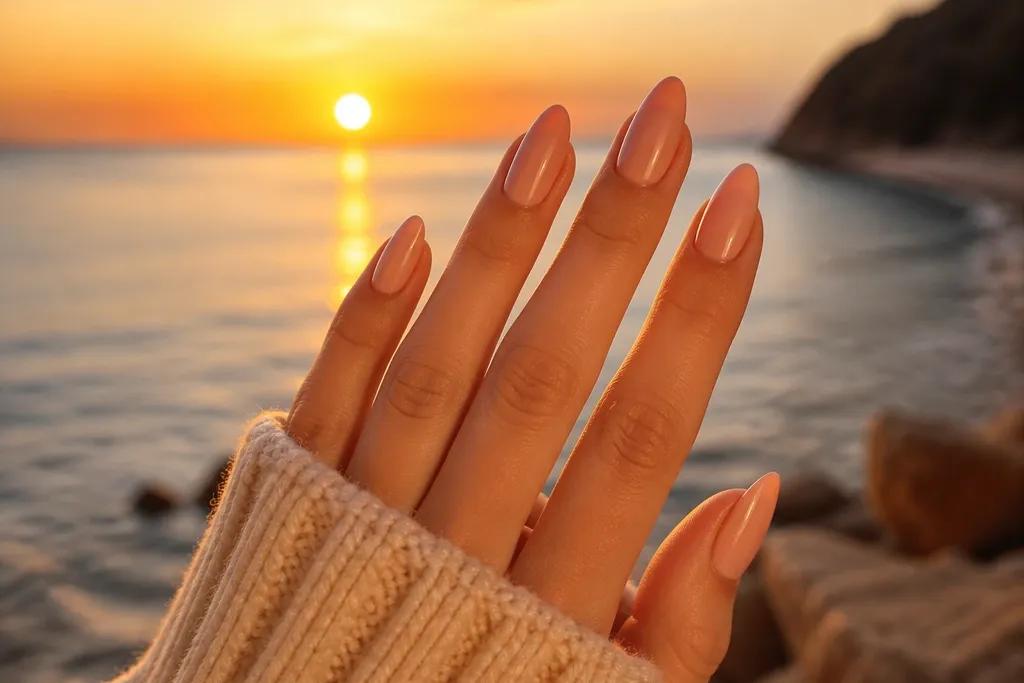
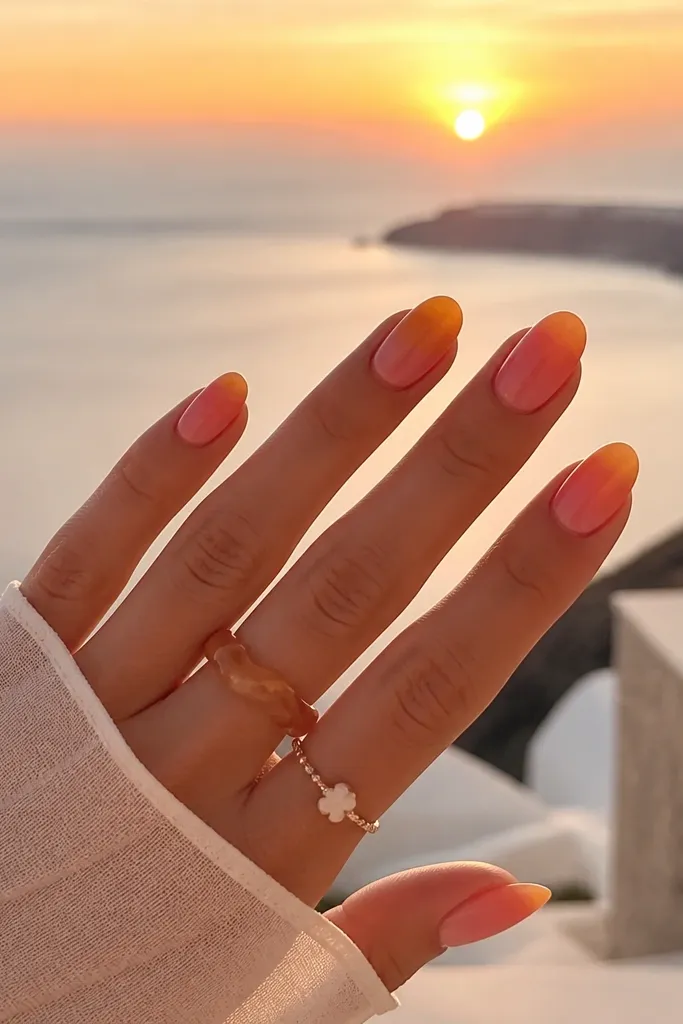
1. Creamy Apricot Sunset Gradient
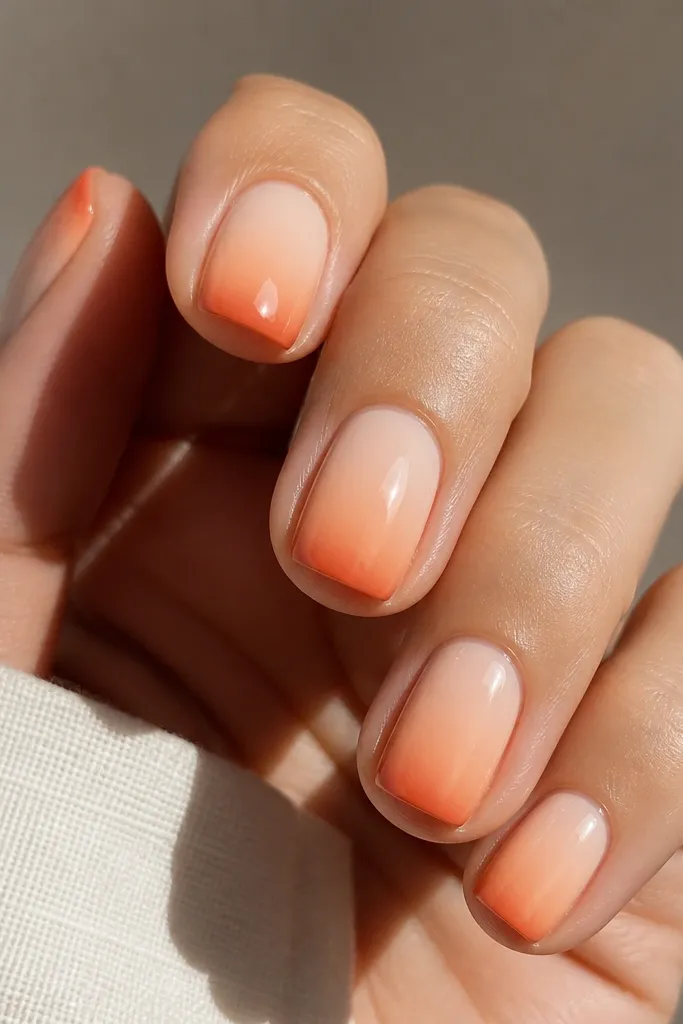
This one is for when you want the vacation vibe without extra lines. The base color is milky apricot so your nails look clean even if the gradient fades a bit. The burnt-orange band gives you that sunset pop, but keeping it narrow keeps it cozy. A glossy topcoat makes the orange look like it's lit from within.
Start with two thin coats of milky apricot. For the gradient, sponge a peach onto the center, then dab a tiny amount of burnt-orange just on the lower third. Blend with a clean makeup sponge edge, then seal with gel-style topcoat or a thick lacquer topcoat.
Pro tipAfter topcoat, run a small brush dipped in acetone around the cuticle edge to sharpen the shape.
Watch outAvoid using neon orange - it reads "cheap craft paint" instead of sunset.
2. Sunset Horizon Line with Milky Nude
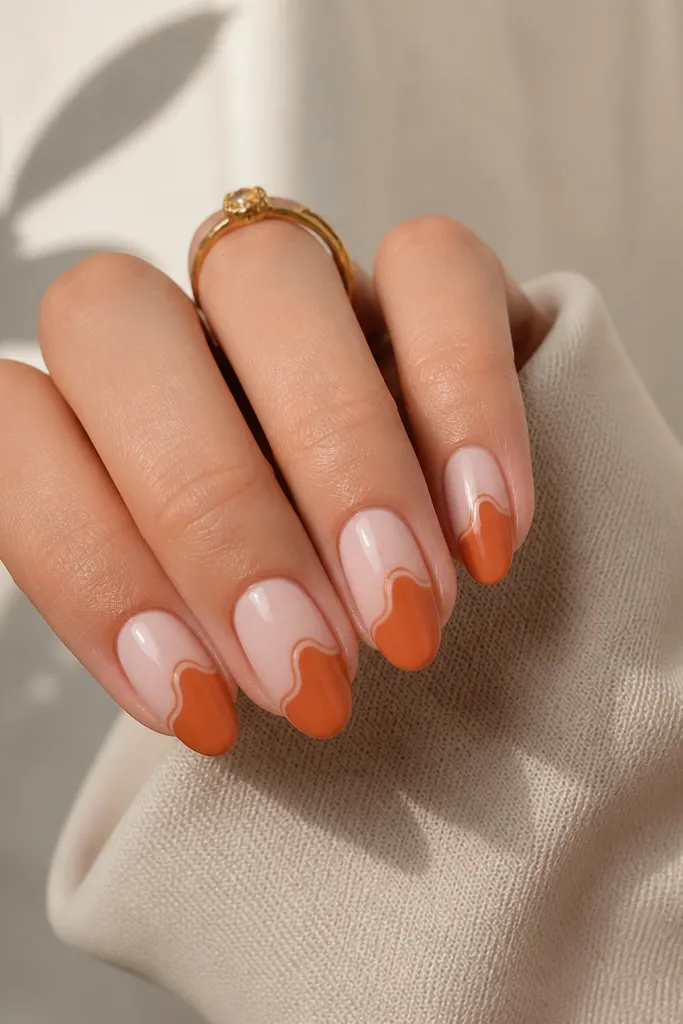
A clean horizon line makes the manicure look designed, not accidental. The milky nude base keeps everything soft. The curved line mimics a sky meeting land, so the orange reads like warmth, not decoration. Gloss makes the horizon look glassy and smooth.
Paint two coats of milky nude. Use a striping brush to draw a gentle arc starting near the sidewalls and sweeping toward the center. Fill the upper area with peach and the lower area with burnt orange, then topcoat twice for even shine.
Pro tipLet the horizon line dry fully before filling the colors so you don't get fuzzy borders.
Watch outDon't skip a crisp separation line - blending everything together makes it look like smudged ombre.
3. Peach Sky with Tiny Gold Flecks
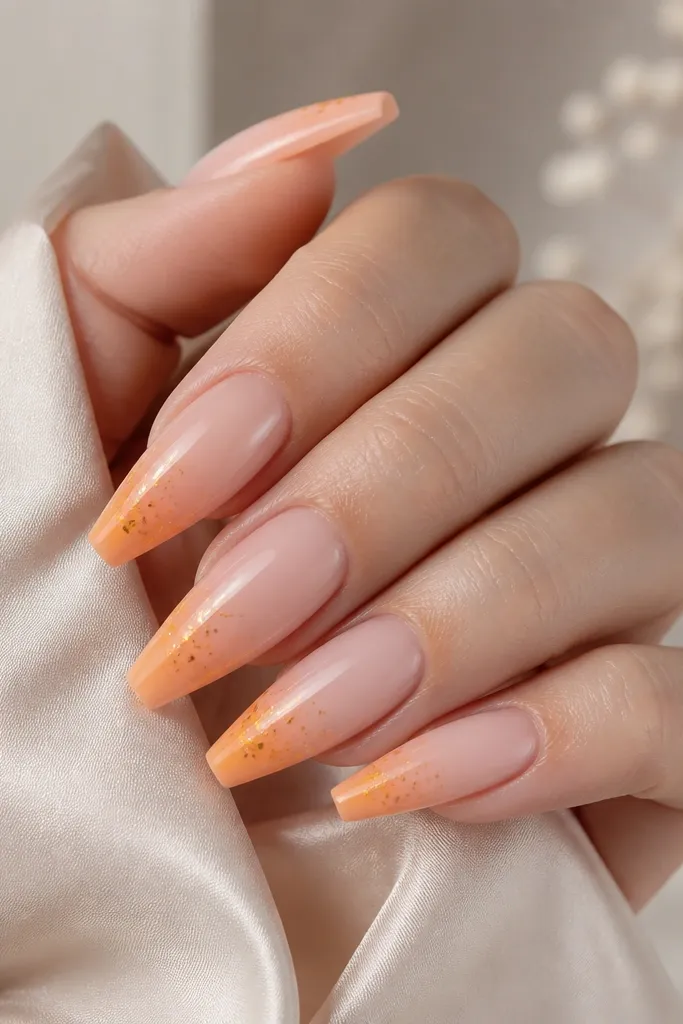
Gold flecks catch light like late sunset sun. The key is using micro flakes, not chunky glitter, so it still feels cozy. The gradient stays soft, then the flakes add sparkle without turning the manicure into party nails. In sunlight, the gold looks like warmth on the skin.
Layer a peachy nude base, then sponge a whisper of orange on the tips only. Press tiny micro gold flakes into the wet topcoat at the gradient edge. Seal with a thick topcoat so the flakes don't snag on fabric.
Pro tipIf flakes won't stick, dab a thin layer of base coat where you want them, then topcoat after.
Watch outAvoid big glitter pieces - they lift and look rough fast.
4. Burnt Orange Reverse French
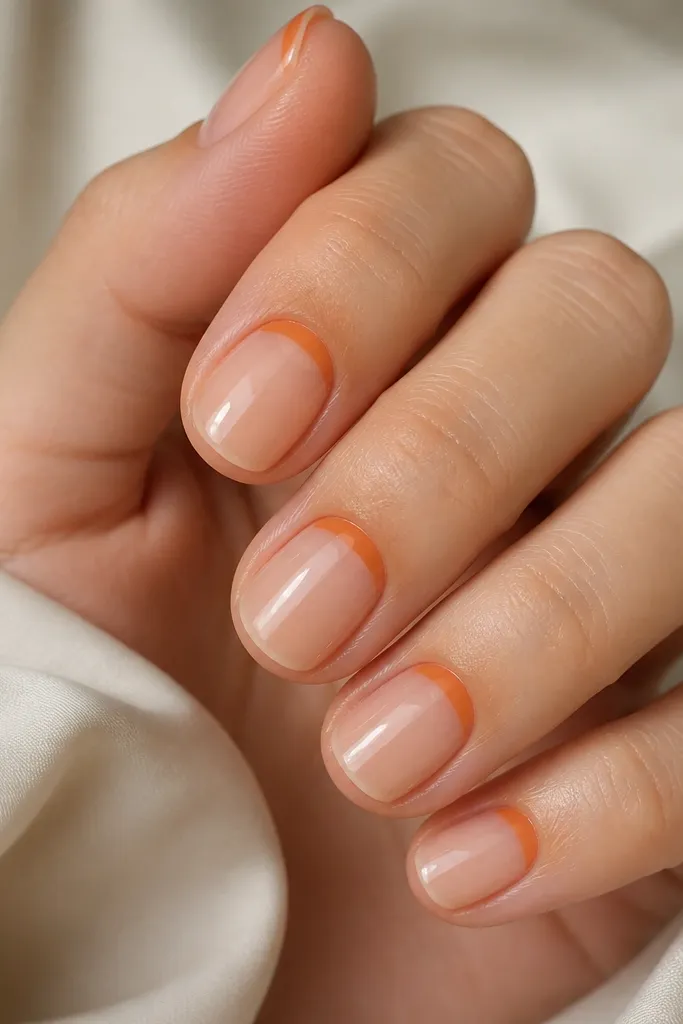
Reverse French flatters because it frames the nail bed instead of covering it. The burnt orange near the cuticle looks like the sun rising, which feels cozy and warm. Fading it into peach keeps it wearable and gentle. This design also grows out better because the main color starts higher up.
Use a nude base first. Paint a thin burnt-orange curve along the cuticle line, leaving a small gap so it doesn't touch skin. Feather the orange outward with a sponge so it becomes peach at the edges, then topcoat.
Pro tipFor a cleaner curve, use a striping brush and support your hand on a folded towel.
Watch outDon't paint right up to the skin line - it will peel and look messy after a day.
5. Terracotta Sunset Tips with Nude Clouds
Cloud swirls make the sunset feel atmospheric, like the sky is moving. Terracotta gives you that warm, slightly dusty orange that looks good on every skin tone. The nude cloud shapes keep it from looking like a solid block of color. Gloss makes the clouds look smooth and dimensional.
Paint nude base, then apply terracotta to the tips in a slightly curved shape. While still tacky (or using a thin layer of base), use a small brush to pull semi-transparent nude/peach swirls through the terracotta. Keep the swirls bigger than you think so they read from across the room.
Pro tipThin your nude/peach paint with a drop of clear gel to keep the clouds hazy.
Watch outAvoid heavy outlines around the clouds - it makes the art look like stickers.
6. Sunset Ombré with Blush Cuticle Glow
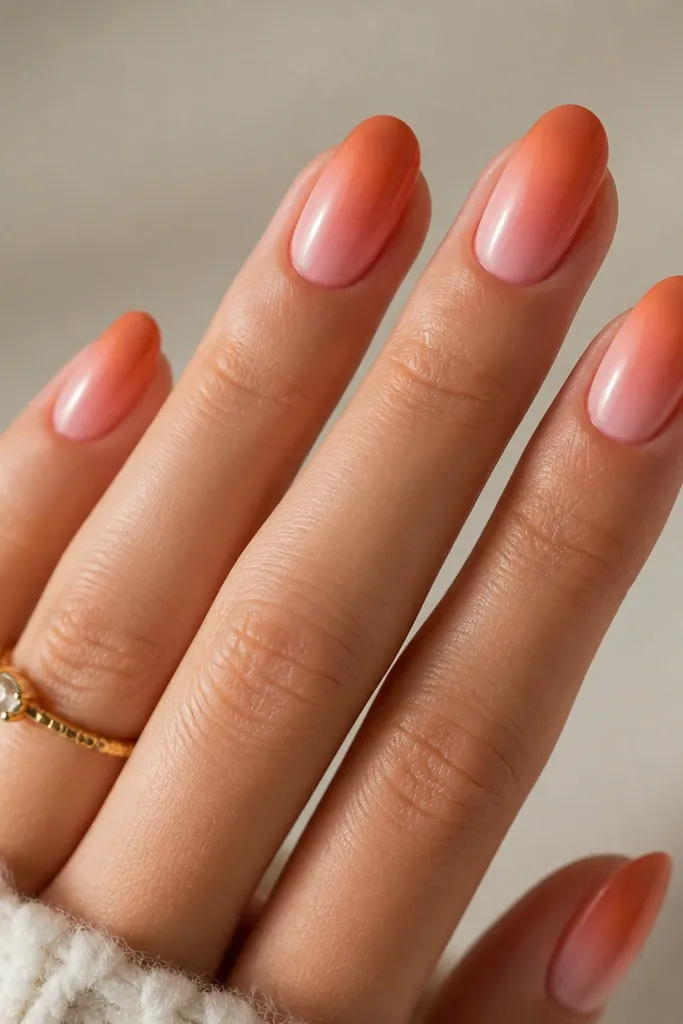
The cuticle glow is what makes this one look expensive. Starting with blush near the cuticle gives a warm halo effect, then peach transitions into burnt orange like a sunset fading out. It's cozy because the mid-tone stays light. The overall look is smooth, not streaky.
Apply blush-pink near the cuticle as your first sponge layer. Add peach in the center, then dab burnt orange on the tip. Blend with a clean sponge and wipe the brush between nails so you don't drag orange streaks.
Pro tipDo two gradient passes instead of one heavy pass. Thin layers blend cleaner.
Watch outDon't overload the sponge - thick dabs create a bumpy, cheap-looking texture.
7. Coral Sunset Checker Accent
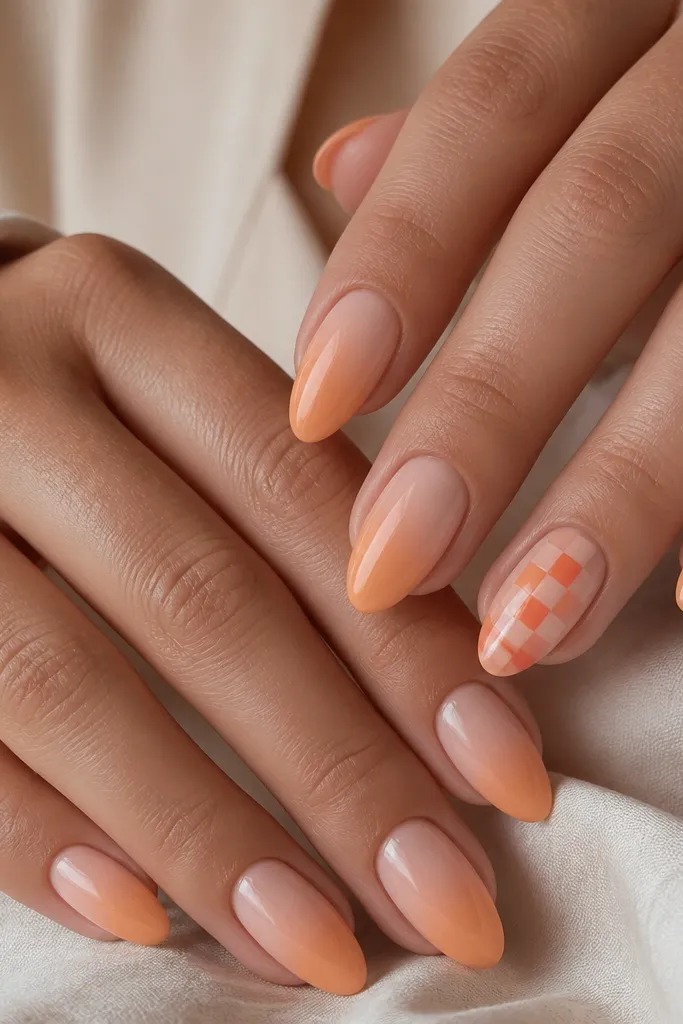
This is for when you want cozy warm sunset nails but still want detail. The checker pattern adds a playful, vacation-photo vibe without using large art. Keep the checker small and centered so it feels modern. Coral plus peach reads warm and friendly, not harsh.
Paint a peachy nude base and sponge a light orange gradient on all nails except the accents. On the accent nail, outline a narrow rectangle in coral, then fill alternating small squares with peach. Topcoat twice so the tiny squares don't catch.
Pro tipUse nail vinyl dots or cut tiny paper squares for consistent checker sizes.
Watch outAvoid full-hand checker patterns - they look busy and reduce the sunset effect.
8. Matte Topcoat with Glossy Sunset Stripe
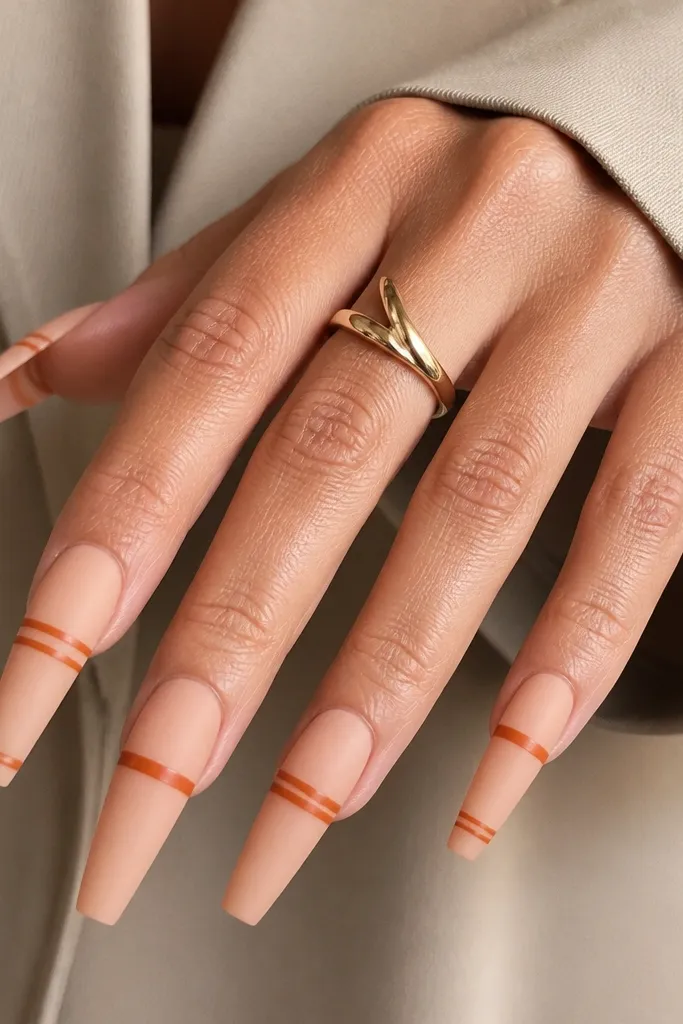
This mix of matte and gloss makes the sunset feel intentional. Matte peach reads soft and cozy, like fabric. The glossy stripe catches light and looks like a sun beam across the sky. It's a great option if you like texture but still want a photo-ready highlight.
Paint your peach-nude base and cure/dry fully. Apply matte topcoat over everything. Using striping gel or glossy polish, paint a burnt-orange stripe across the middle, then seal only the stripe with glossy topcoat (so the rest stays matte).
Pro tipKeep the stripe width to about the thickness of a standard striping brush bristle - too thick looks like a bandage.
Watch outDon't put matte topcoat over the stripe after it dries - it kills the contrast.
9. Orange Jelly Sunburst (No Sponge, Clean Lines)
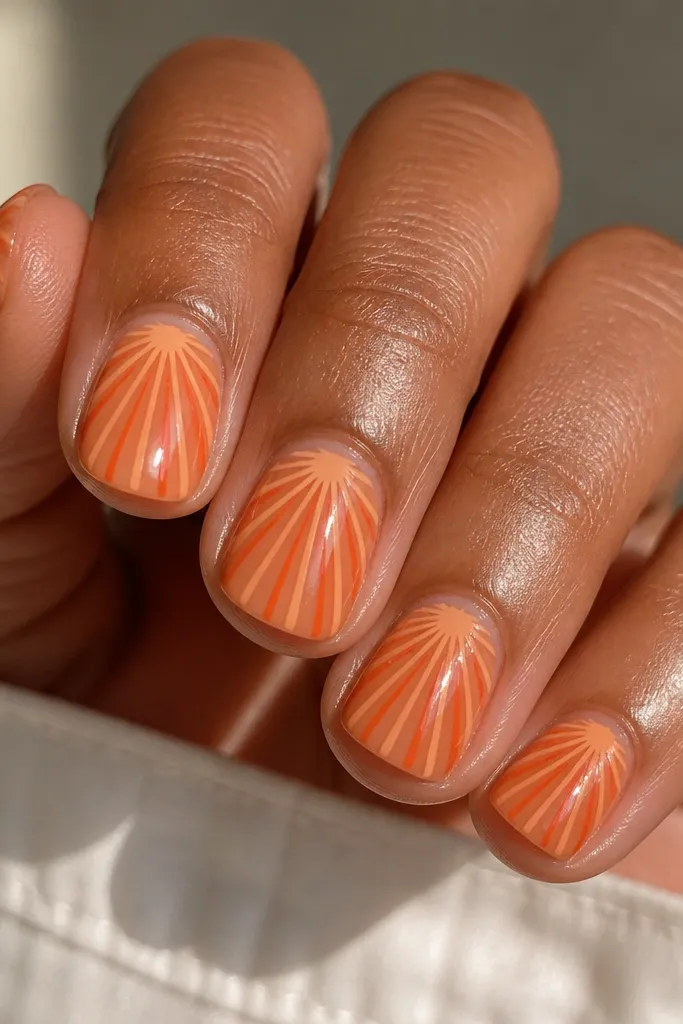
This one looks like a sunset without the messy blending. Jelly base gives you that juicy, warm glow, and the radiating lines pull the eye upward. Keep the lines thin and spaced so it stays airy. It's cozy because the palette stays peach and burnt orange, not fiery red.
Use a translucent orange jelly over nude base. With a fine liner brush, draw 6-8 short radiating lines from near the cuticle center. Add a second set in lighter peach between the darker lines, then topcoat thoroughly.
Pro tipLet the jelly settle for 2-3 minutes before drawing lines so the brush doesn't drag.
Watch outAvoid thick marker-like lines - they turn the sunburst into a cartoon.
10. Sunset French Fade on Short Nails
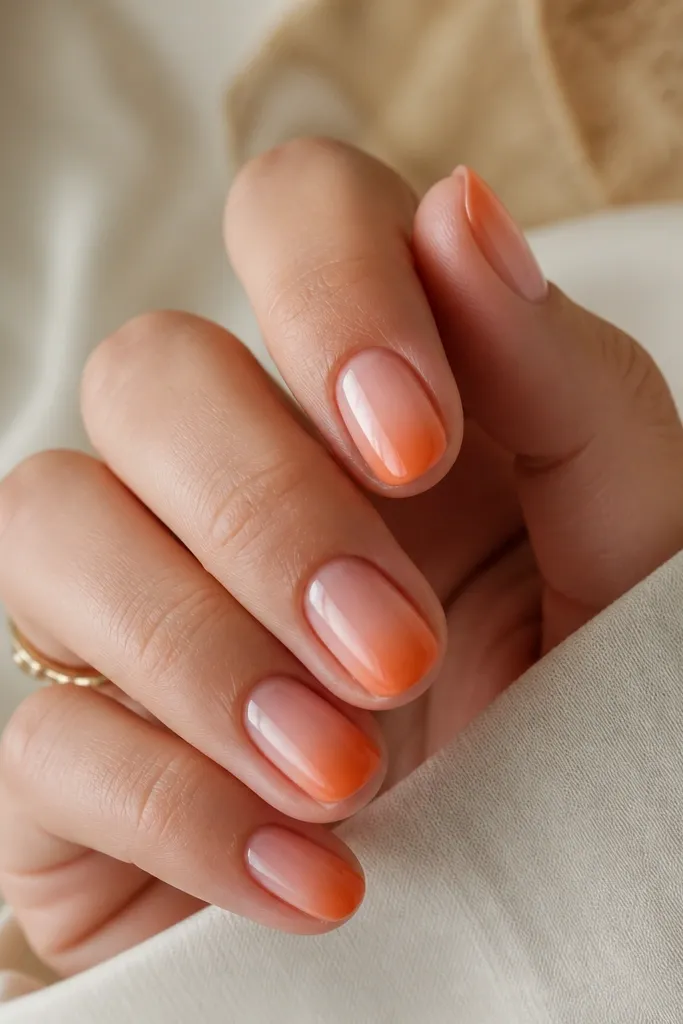
Short nails need gradients that look smooth, not boxed in. This "French fade" gives you the classic tip look while keeping the sunset warm and soft. The lack of a sharp smile line makes it feel more natural and vacation-ready. Gloss ties it together so the orange looks like it's floating over the nude.
Paint nude base. Use a sponge to apply peach at the tip edge and burnt orange just on the outermost part, then blend inward. Clean the sides with a small brush dipped in acetone so the fade stays crisp.
Pro tipUse a smaller sponge than you think - it controls the fade on short nails.
Watch outDon't leave the fade uneven at the sides - it reads like you hit the nail with too much product.
11. Warm Sunset Marble Swirl
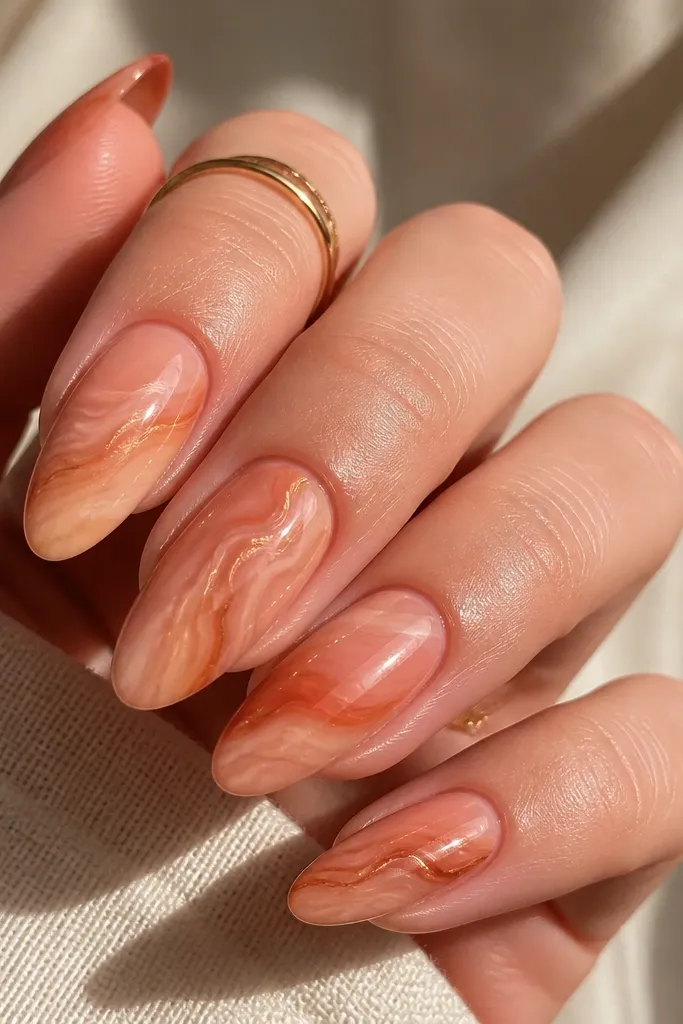
Marble looks extra when it's warm-toned and thin. The trick is using very sheer swirls so the nude base still shows through - that's what keeps it cozy. Terracotta and burnt orange look like layered sunset clouds. Gloss makes the marble look like glass.
Start with peach nude. Drop a thin line of terracotta gel/polish onto a tacky layer, then drag it lightly with a thin toothpick or dotting tool to create thin swirls. Add a smaller burnt-orange line and swirl again, then topcoat thickly.
Pro tipPractice on a nail tip first. Marble depends on pressure - light wins.
Watch outAvoid opaque marbling that covers the base - it turns into a solid orange mess.
12. Peach Nude with Starry Sunset Accent
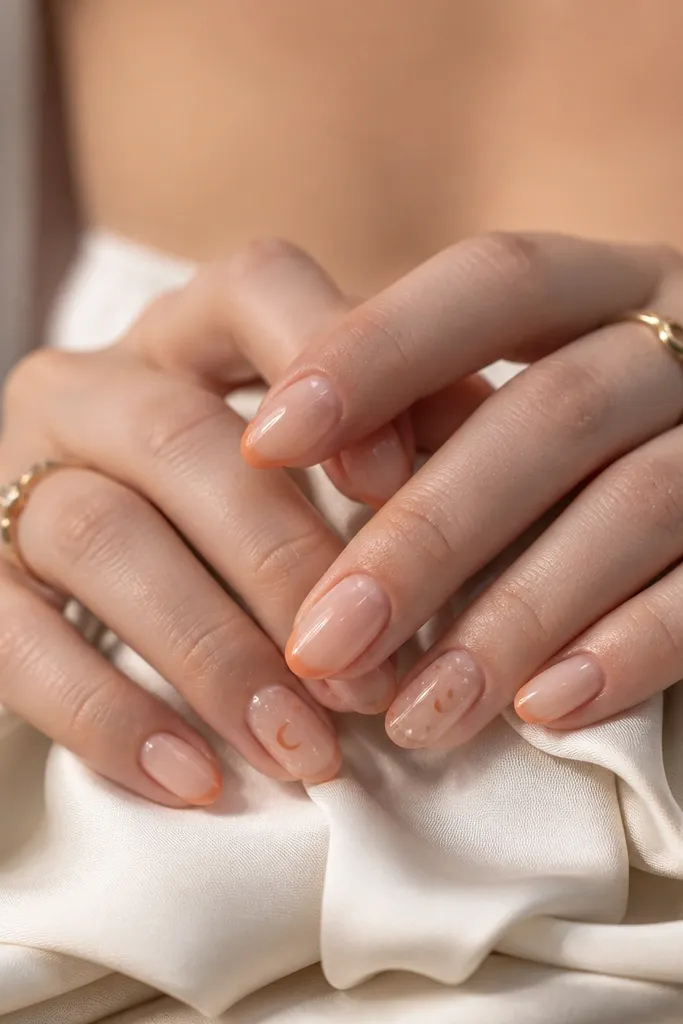
Star dots make sunset nails feel like nightfall, which is why it reads vacation and not just "pretty orange." Keep the stars tiny and scattered so it doesn't look childish. The crescent in burnt orange anchors the theme and makes the accent feel planned. Gloss makes the stars look crisp, not dull.
Paint peach nude and apply a light orange tint at the tip on all nails. On accents, use a dotting tool for 6-10 tiny white dots and paint a small burnt-orange crescent near the cuticle. Add one more thin peach line for a horizon feel, then topcoat twice.
Pro tipIf dots look too big, switch to a toothpick tip and load less polish.
Watch outAvoid glitter stars - they look messy and catch on everything.



