
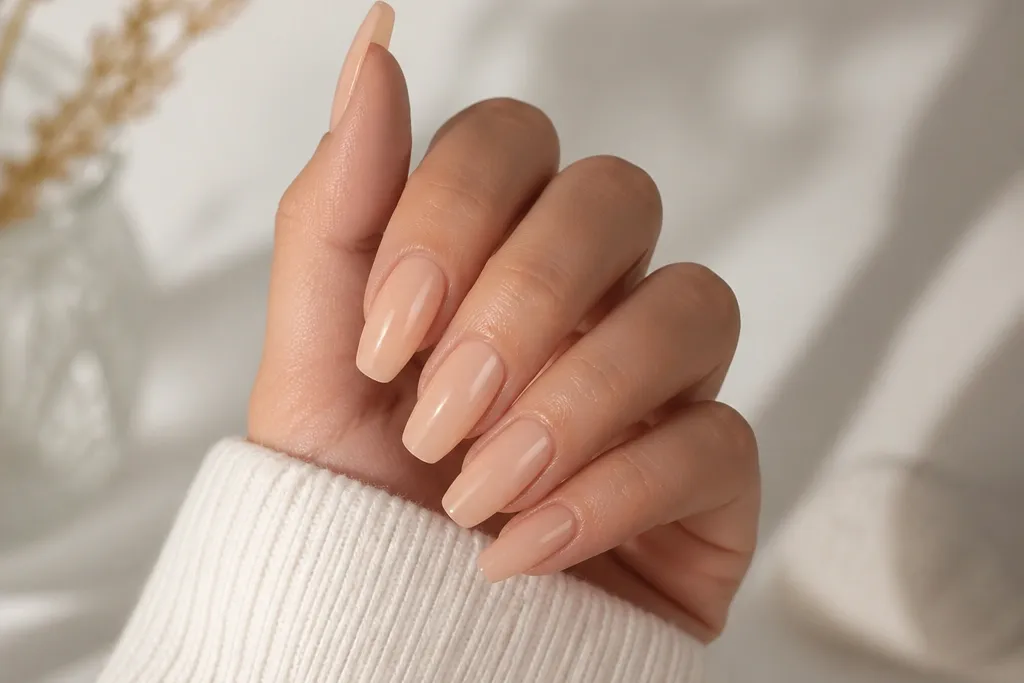
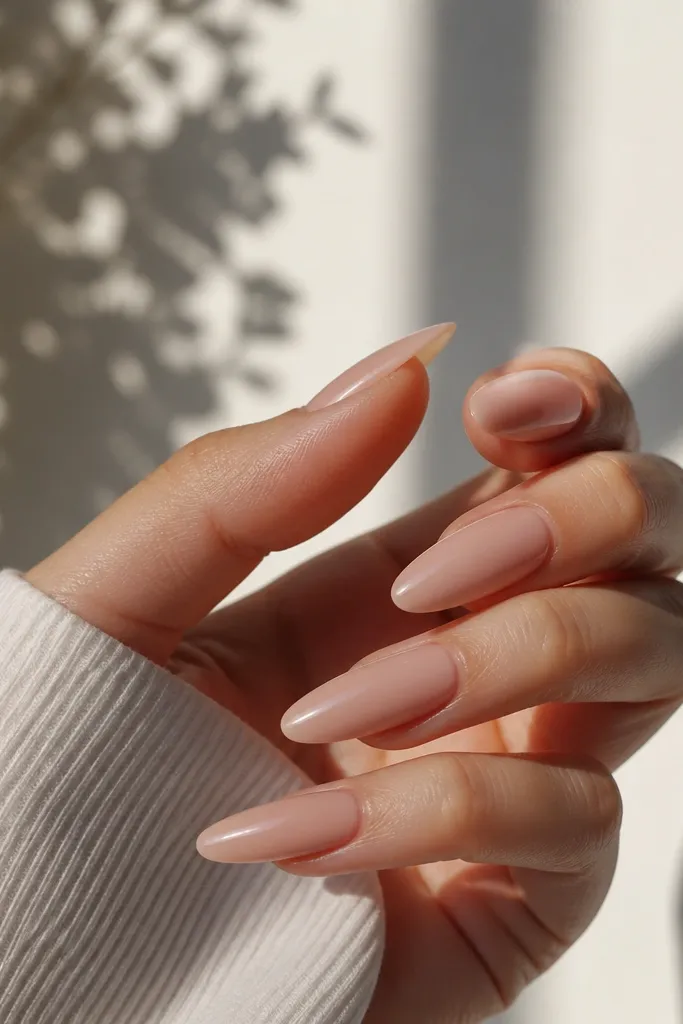
1. Milk Tea Almonds with Clear Gloss
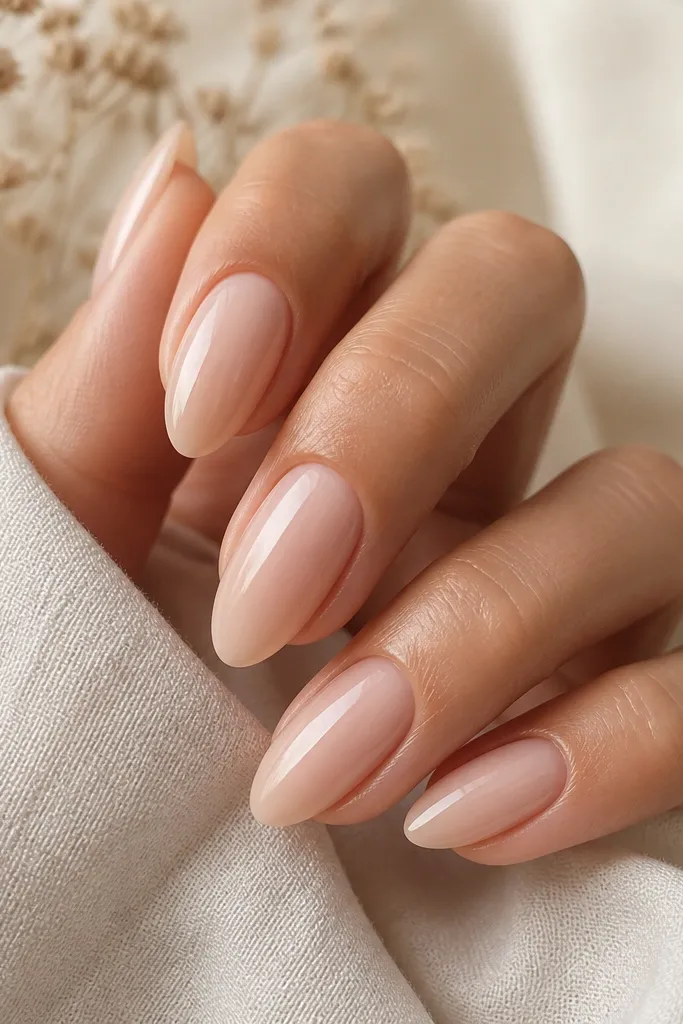
Milk tea nude looks flattering because it's slightly translucent, so your nail bed still shows through. That gives the "expensive" look without needing glitter or heavy art. I love it for photos because the glossy top catches highlights and makes the nude look smooth. It also hides tiny imperfections in the surface better than a super flat matte nude.
Build it with a milky nude base that's not fully opaque - you want a whisper of depth. Keep the tip slightly lighter than the center so the nail reads longer. Finish with a thick, even clear gloss layer, especially over the stress area near the front half of the nail.
Pro tipIf your nude looks chalky, add one extra thin clear-coat layer and cure fully - it fixes the "powdery" look fast.
Watch outAvoid a fully opaque nude with a flat matte finish; it often looks like fake tips instead of natural nails.
2. Peach-Butter Nude with Micro-Cuticle Shine
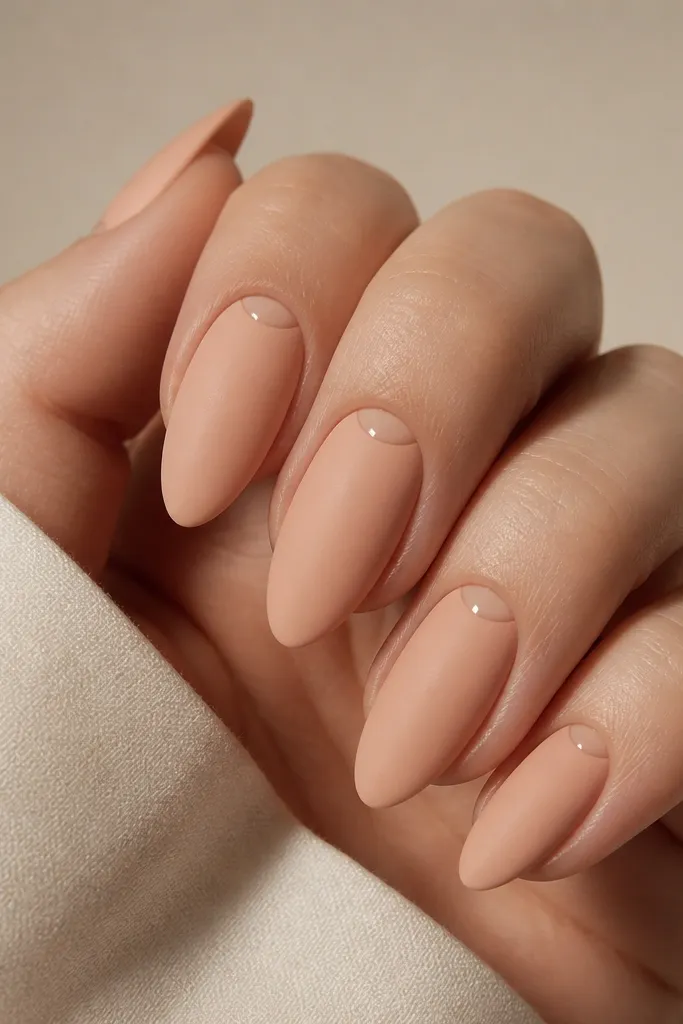
Warm peach-beige makes fingers look healthier, and the micro cuticle shine adds that "fresh manicure" detail. I keep the body finish satin to avoid looking too mirror-like on removable sets. The cuticle crescent is small - it frames your nail without turning into a thick border.
Use a peach-butter nude as the main color, then paint a thin crescent at the cuticle with a glossy top coat or a clear gel. The crescent should be about 1/8 of the nail width, centered, not stretched to the sides. Seal everything with one clear top coat over the satin portion, and keep the crescent extra shiny.
Pro tipUse a liner brush and do the crescent in one clean pass so it stays crisp after top coat.
Watch outSkip chunky cuticle art; thick lines lift first and look messy at day three.
3. Rosy Taupe Almond with One Thin Gold Stripe
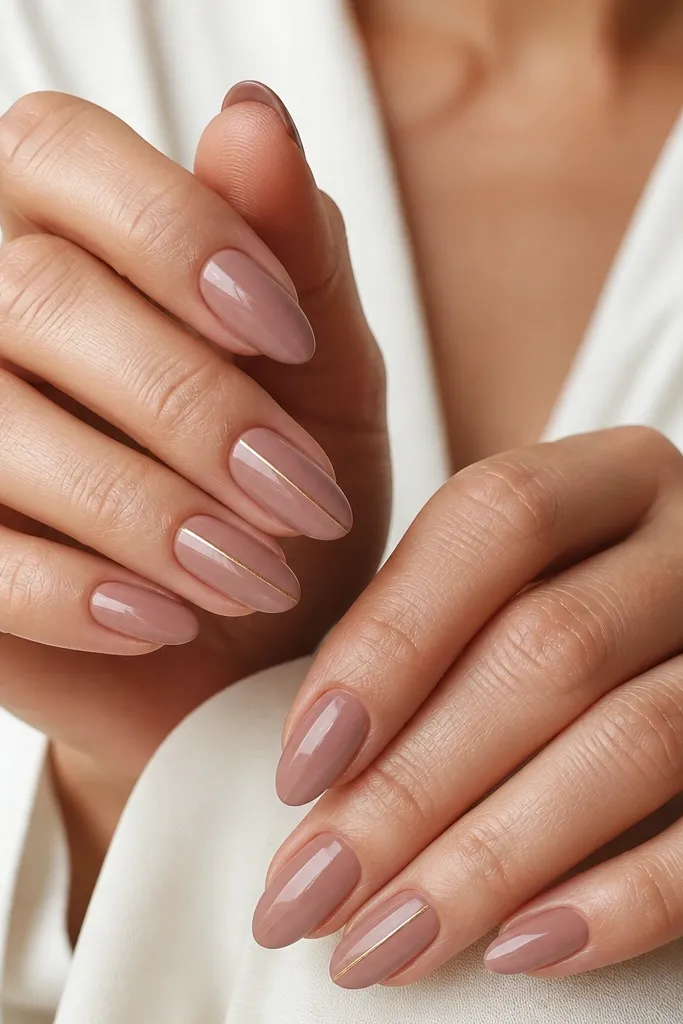
Rosy taupe reads modern because it's not too pink and not too brown. A single thin vertical gold stripe makes the nude look intentional and lengthens the nail visually. I keep the stripe narrow so it looks like jewelry, not nail tape.
Paint all nails with rosy taupe, then on two accent nails per hand add a gold stripe using striping gel or a fine gold foil line. Place the stripe slightly off-center toward the natural nail's apex. Cure, then top coat over the stripe so it feels smooth.
Pro tipIf the stripe looks wobbly, let it dry fully and re-straighten with a gel top coat - it self-levels a bit.
Watch outDon't put gold on every nail; nude already does the heavy lifting.
4. Barely Blush Nude with Half-Moon Gloss
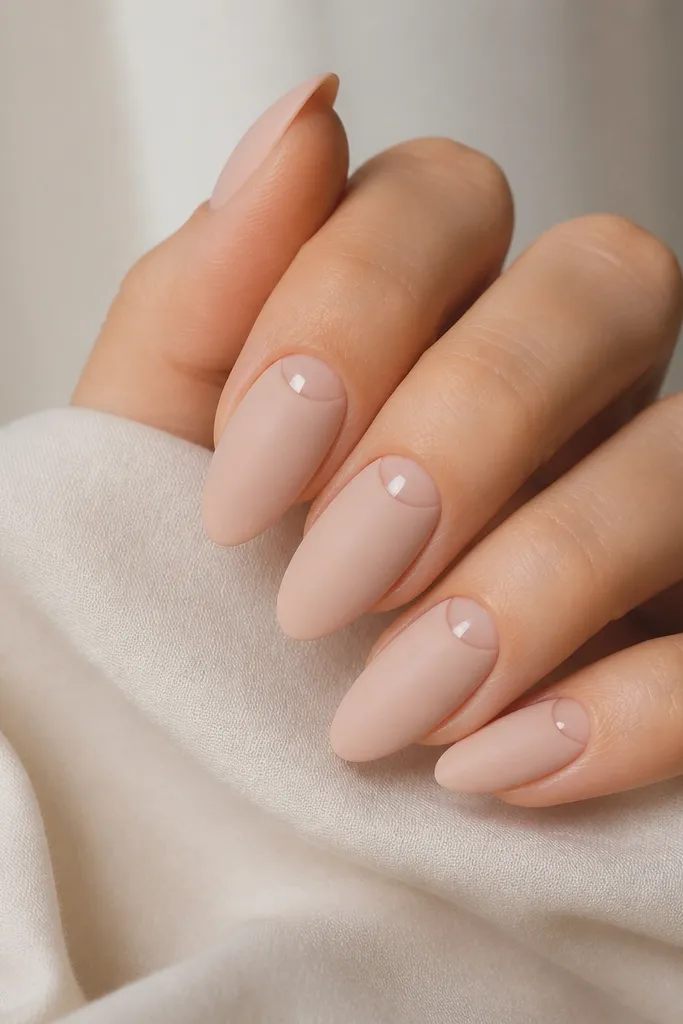
Barely blush is the easiest nude to wear because it blends with most skin tones. The half-moon gloss adds dimension without needing glitter. I like satin on the main nail because half-moon details pop more against a soft finish.
Use a pale blush nude with medium opacity. Keep the half-moon shape rounded and centered, about one-third of the nail width. Apply a glossy top coat only over the half-moon area, then seal the rest with satin-safe top coat.
Pro tipStencil half-moons with a small curved sponge cutout if you struggle with symmetry.
Watch outAvoid going too dark with the half-moon; it can look like old growth or staining.
5. Caramel Nude Ombre Fade
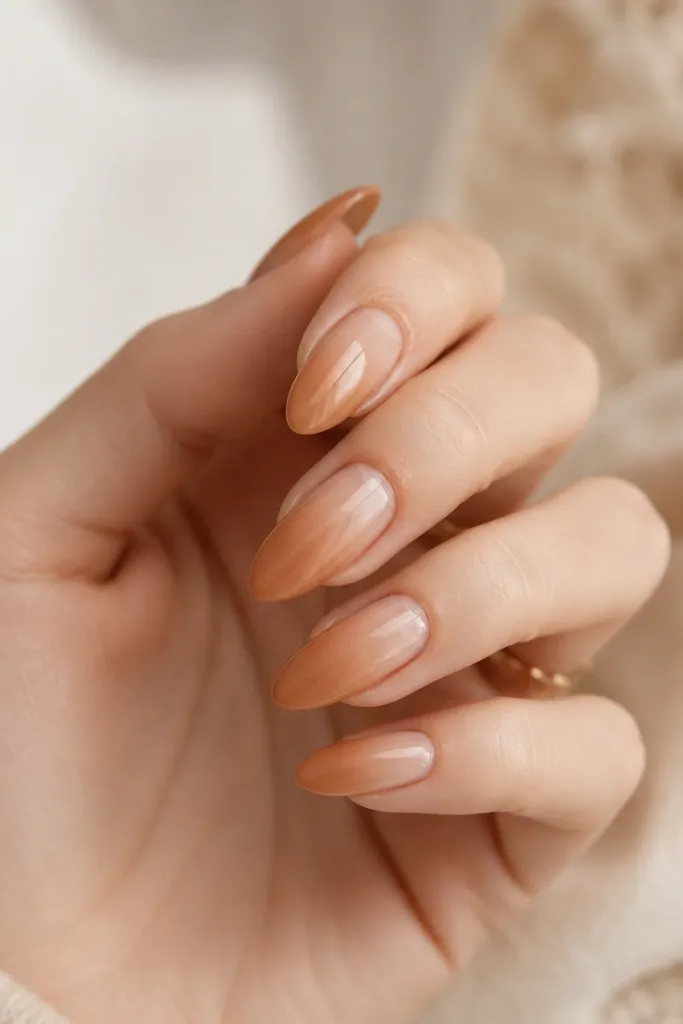
A caramel nude ombre looks like you paid for an airbrush. The fade keeps the nude from looking flat and makes the tip look slimmer. I keep the gradient subtle so it still reads "nude," not "brown ombre."
Start with a creamy nude base near the cuticle. Sponge a slightly deeper caramel nude from mid-nail to the tip, then blend with a clean brush. Keep the darkest point only at the last third so the almond shape stays elegant.
Pro tipUse a makeup sponge dab - two light dabs beat one heavy dab every time for clean blending.
Watch outAvoid streaky ombre by not dragging the color; dab and blend instead.
6. French Tip, But Make It Nude
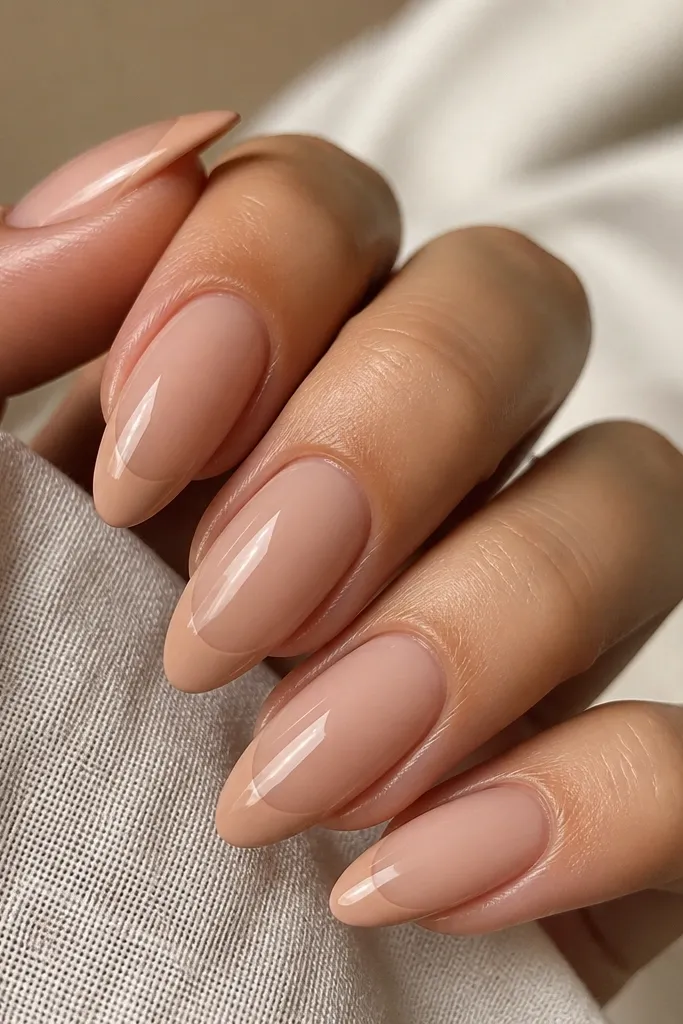
Nude French looks crisp because the contrast is subtle but real. It's also renter-friendly because you don't need detailed art that takes forever to cure and reapply. I keep the tip color only 1-2 shades deeper than the base so it stays believable.
Use a sheer nude base with a jelly-like finish. Paint the French tip in a slightly deeper beige-nude, then keep the smile line thin. Top coat seals the edges so it doesn't snag.
Pro tipMark the smile line lightly with a dotting tool - it helps you match the curve on each nail.
Watch outDon't make the tip too wide; wide nude tips can make nails look shorter.
7. Champagne Shimmer Nude (Low-Glitter)
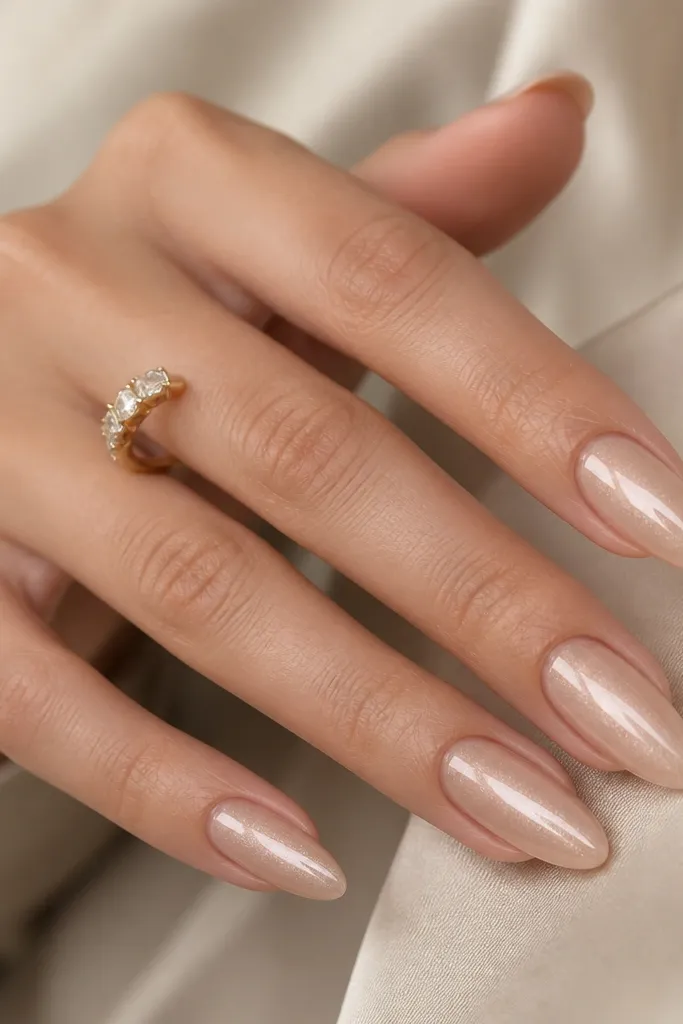
Low-glitter champagne nude is the move when you want something special but still work-appropriate. The shimmer is fine, so it looks like light reflecting off a smooth surface. Concentrating it in the center makes the nails look longer.
Start with a sheer champagne nude base. Tap on micro shimmer gel in the center third, then blend softly downward with a clean brush. Keep the cuticle area mostly plain so it doesn't look sparkly all the way down.
Pro tipIf shimmer grabs unevenly, mix one drop of clear gel into the shimmer before applying.
Watch outAvoid chunky glitter; it catches water and lifts faster on removable sets.
8. Taupe Nude Velvet Matte with Gloss Cuticle
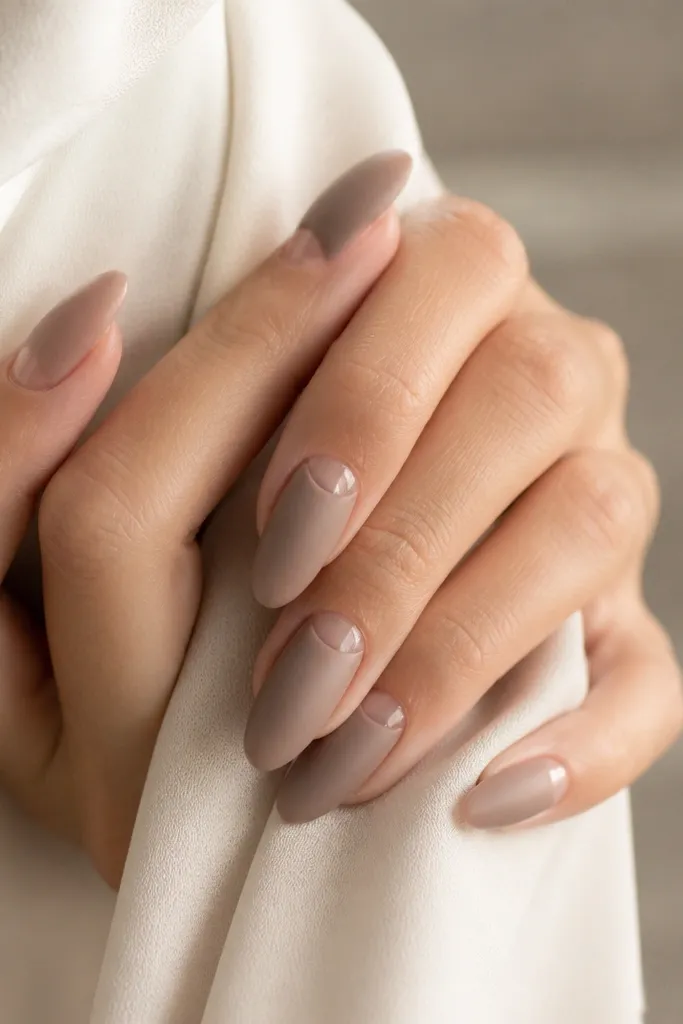
Velvet matte makes nude look expensive, but it needs one glossy accent to keep it from looking flat. The glossy cuticle crescent brings attention to the base and makes the matte look intentional. Taupe nude also hides minor texture better than pale pink nudes.
Apply taupe nude and cure fully. Use a matte top coat on the whole nail, then go back with glossy top coat only at the cuticle crescent. Keep the crescent narrow and centered.
Pro tipLet matte top cure longer than you think - 2 extra minutes per hand makes it less tacky when you remove later.
Watch outAvoid matte on the edges; it can wear off first and look ragged.
9. Nude Marble Swirl, One Accent Nail
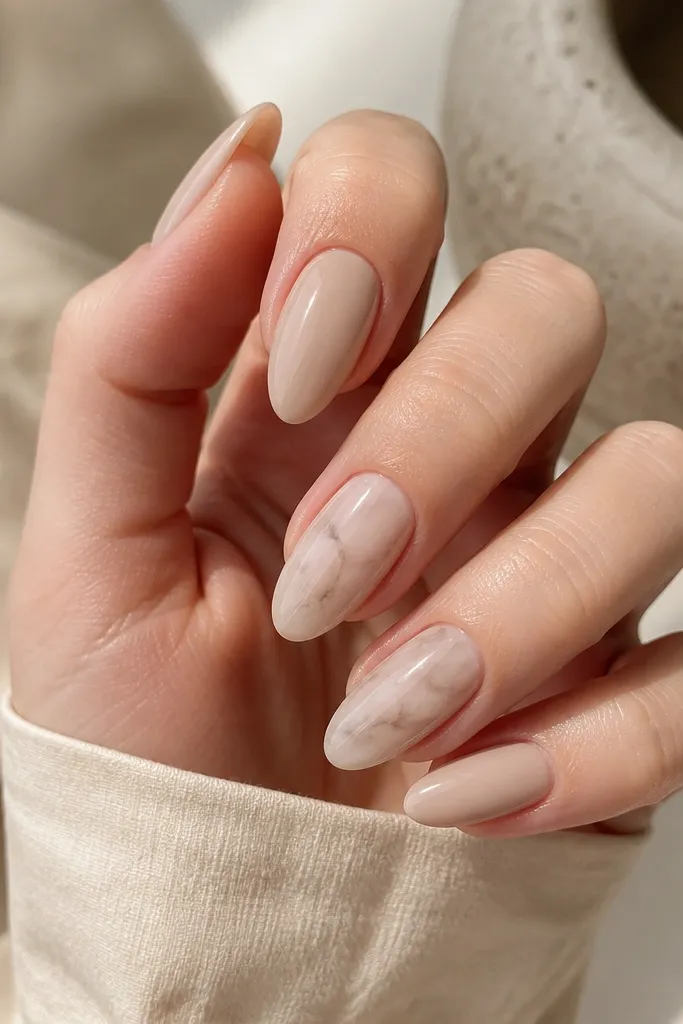
Marble works because it adds movement while staying within the nude family. I use it as a single accent so the set stays clean even after removal. Thin gray-beige lines read natural, not cartoonish.
Paint all nails with a nude beige base. On accent nails, drag a very thin line of gray-beige gel and swirl it into loose loops, keeping lines under 1 mm thick. Seal with glossy top coat to lock the pattern down.
Pro tipUse a toothpick for marble lines - it gives you hair-thin strokes when you load the gel lightly.
Watch outSkip thick blobs of marble; they look heavy and peel at the edges.
10. Clear Jelly Nude with Pink Center
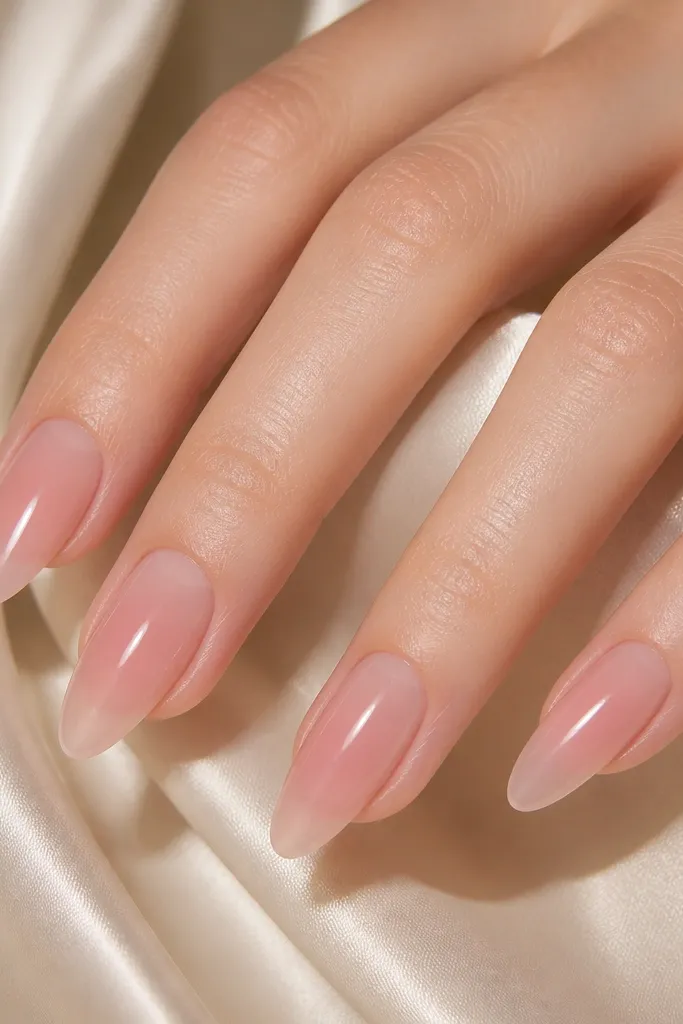
This look is like a tinted gloss - it looks fresh because it's semi-transparent. The pink center makes the nail look like it has a natural blush, and the clear sides keep it light. It's one of my favorites for renters because it hides regrowth lines well.
Use a clear jelly nude base (not fully opaque). Add a soft pink gel only to the center, then feather out with a brush so it fades. Cure, then top coat until it looks glassy and smooth.
Pro tipFeathering is everything - wipe your brush, then lightly push the pink edges so they disappear.
Watch outDon't paint pink all over; it turns into a solid pink nude instead of jelly.
11. Neutral Nude with Tiny Rhinestone Dot
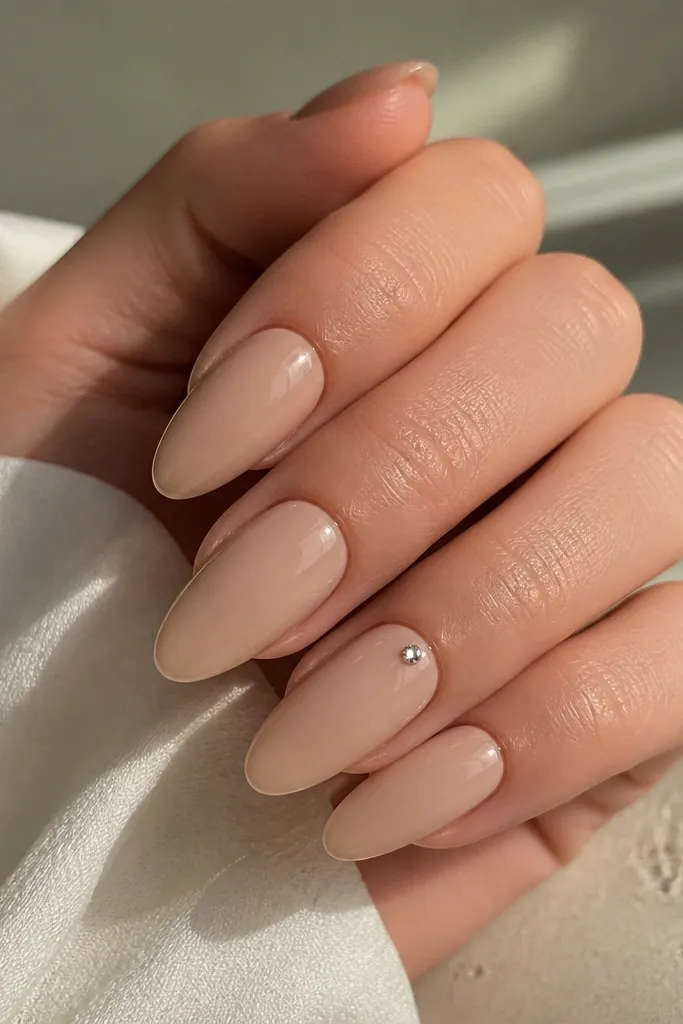
One rhinestone is enough when the base nude is clean. It reads like jewelry, not a craft project. I place the stone near the cuticle center because it balances the almond shape and draws the eye upward.
Apply neutral nude to all nails. Cure, then use nail glue or clear gel to place one tiny stone. Keep it low - press gently and cap over with thin clear gel so it feels smooth.
Pro tipUse tweezers and place the stone on the nail while it's still slightly tacky for better grip.
Watch outDon't place stones too close to the sidewalls; that's where they catch and lift.
12. Nude Gradient Tip with Sheer Base
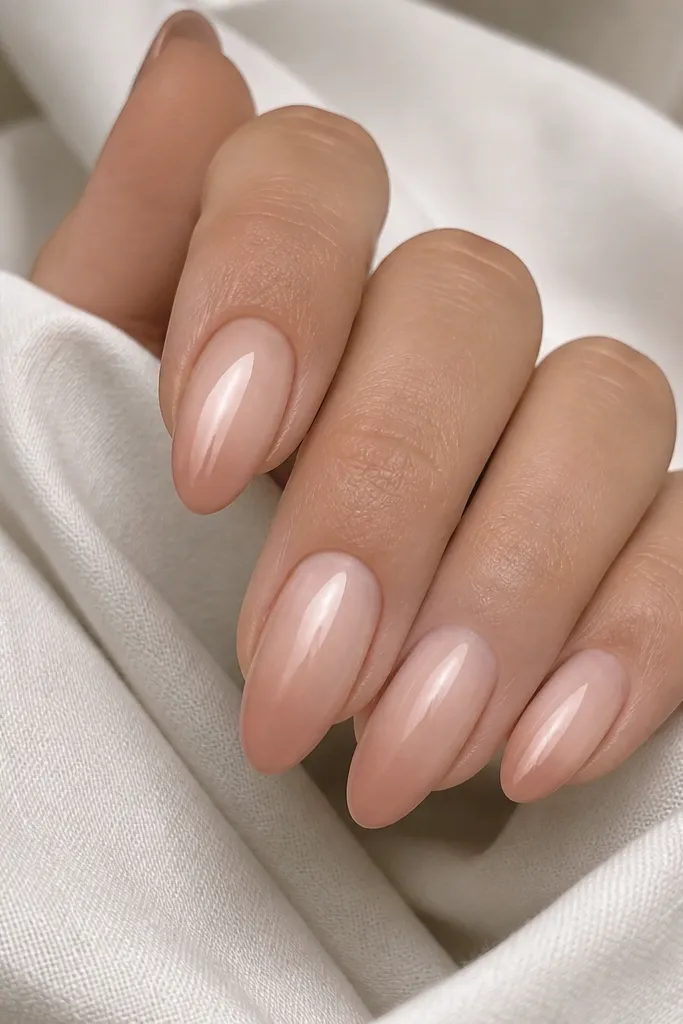
This is the nude version of an ombre French. The sheer base keeps it airy, and the deeper tip adds structure so your nails look shaped. I like it when my nail beds are short because the gradient makes the tip look more defined.
Use a sheer nude base. Add a deeper nude only to the last third and blend upward slightly. Keep the blend soft, then top coat thickly at the tip edge.
Pro tipBlend in tiny circles with a sponge so the transition stays smooth.
Watch outAvoid harsh lines at mid-nail; they make the set look like sticker tips.



