
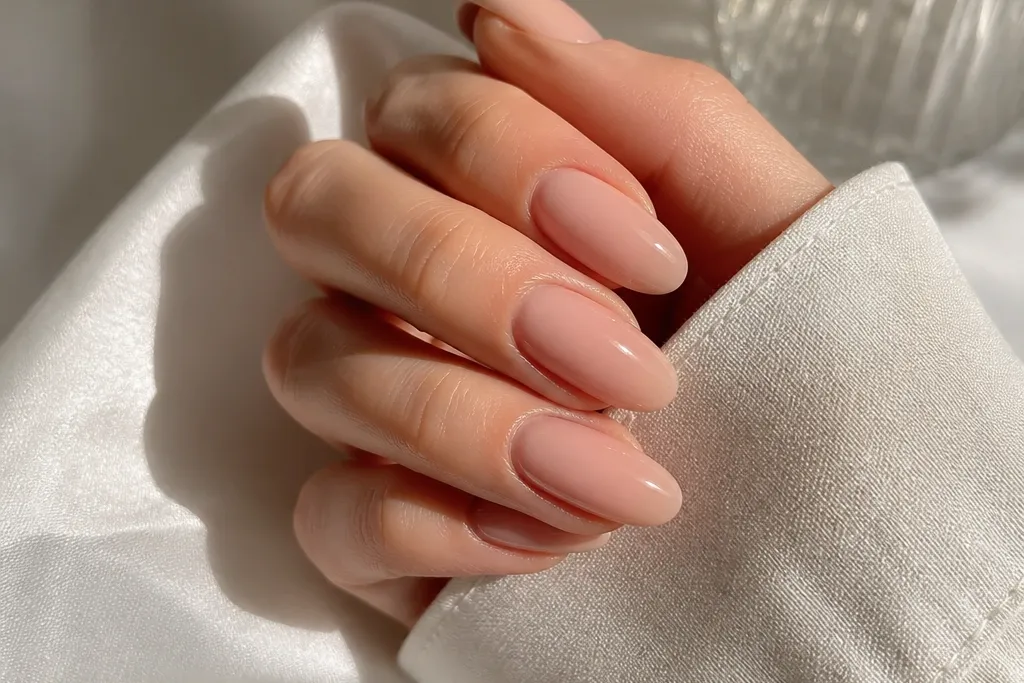
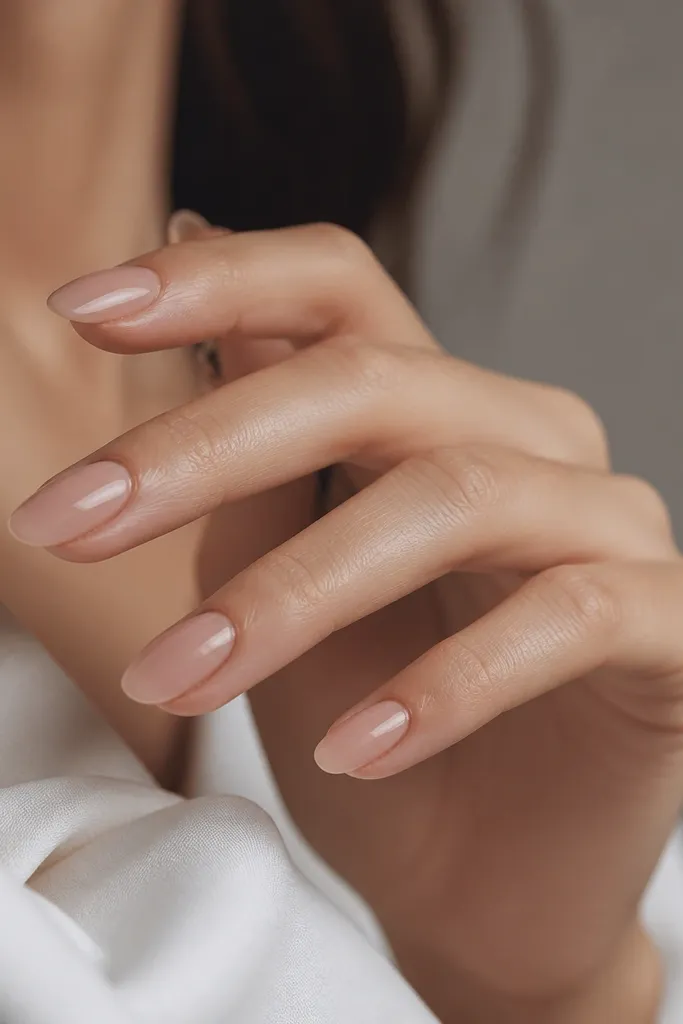
1. Pink-Beige Micro French with Clear Smile Line
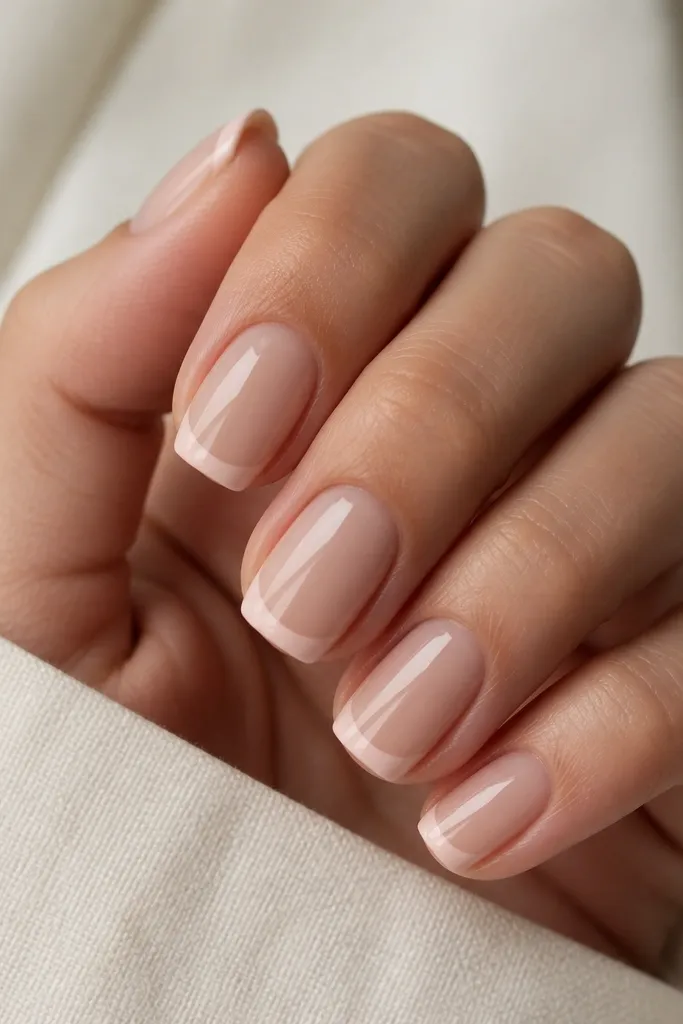
This design stays low maintenance because the French line is thin and the nude base matches your skin tone, so regrowth doesn't create a harsh stripe. The key is the smile line: it's slightly rounded and centered, not a thick curve that grows out awkwardly. I like pairing pink-beige tips with a sheer nude base so your nails look like they naturally have a healthy tint.
Ask for a short squoval or soft almond. Keep the French width around 1 mm - it should look like a pencil line. Use a sheer pink-beige nude on the nail bed and a slightly deeper pink-beige for the tip, then finish with a high-shine top coat.
Pro tipRequest the tip line to stop before the sidewalls by about 1/2 mm so it doesn't lift at the corners.
Watch outAvoid thick French tips - they show growth and chips fast.
2. Peach Nude Aura Center Glow (No Outline)
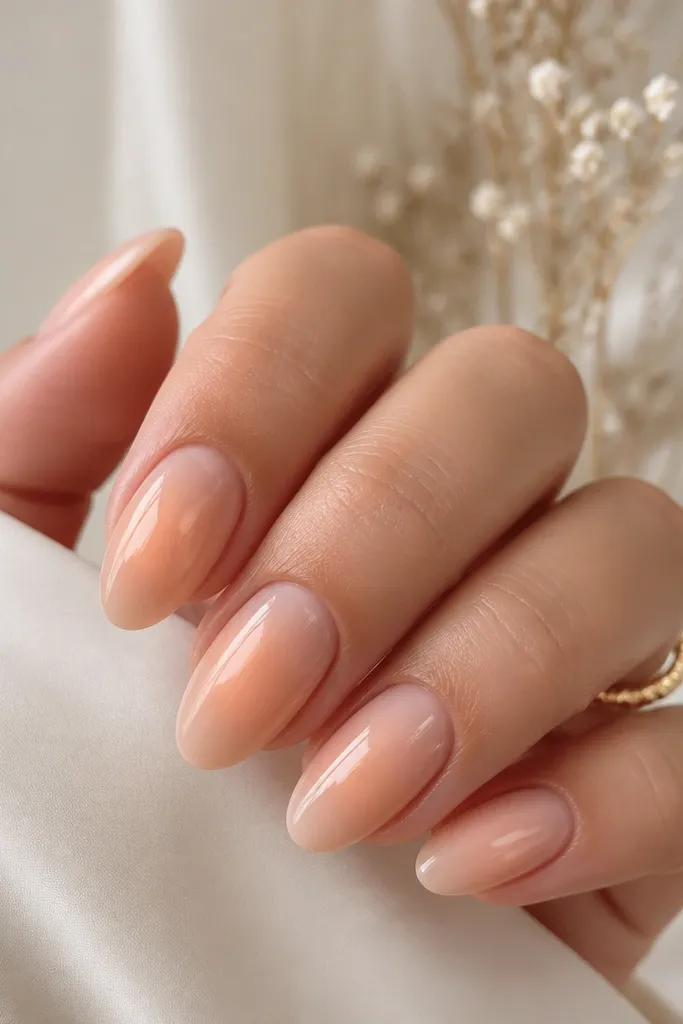
Aura nails are forgiving because the effect is centered and fades naturally as the nail grows. This version uses a peach-beige pigment blended into the nude base with no crisp ring, so it doesn't look like "art that grew out." The shine stays even, and the center glow makes nails look fuller.
Start with a sheer peach-beige base, then airbrush or sponge a lighter peach tone at the middle third of the nail. Blend outward with a clean brush so the edges are soft. Keep the glow about 3-4 mm wide - small enough that it still looks intentional after a fill.
Pro tipUse a makeup sponge to dab pigment lightly; stop after 2-3 layers so it never looks muddy.
Watch outSkip harsh outlines or dark gradients - they make the regrowth line obvious.
3. Caramel Nude with One Thumb Matte Top and Gloss Accent
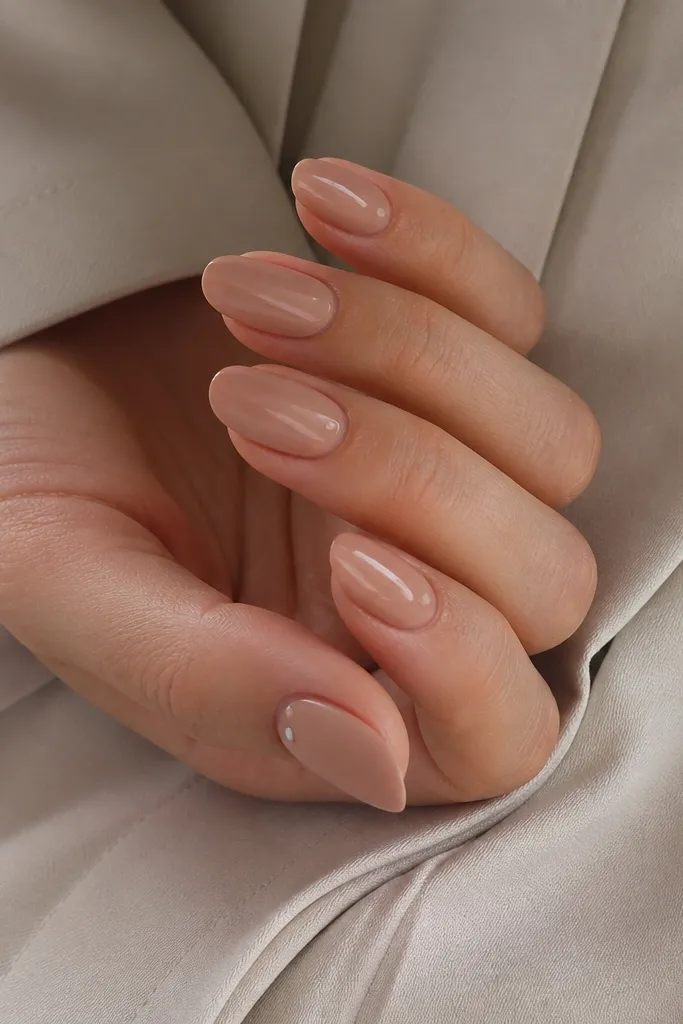
Matte on one nail keeps it interesting without requiring detailed artwork. The gloss dot near the cuticle gives you a focal point even when your nail grows, because the dot sits close to where regrowth blends best. Caramel nude also hides staining from coffee and everyday life better than super-pale nudes.
Do the full set in caramel-beige with a smooth apex. Seal everything with a glossy top coat first, then on the thumbs, replace the top coat with matte only over the nail surface. Add a tiny glossy dot (clear gel or gloss paint) about 1 mm above the cuticle line.
Pro tipDon't matte the entire thumb if you have a textured nail plate; leave the sides glossy for a cleaner look.
Watch outAvoid matte on every nail - it shows chips and edge wear fast.
4. Taupe-Beige Barely-There Cuticle Veil
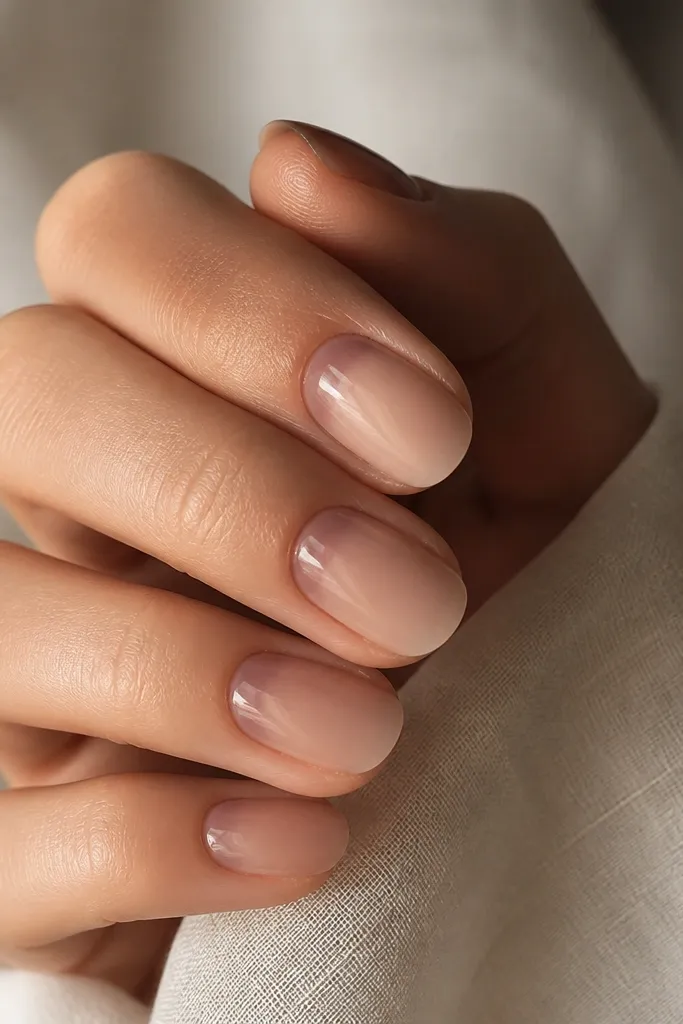
A cuticle veil is low maintenance because it's a gradient, not a design that needs to be aligned. The taupe-beige tint at the base makes your nails look even and healthy, and it hides the natural line where your nail grows out. Since the veil is translucent, it doesn't look heavy or "painted on."
Use a sheer nude base in taupe-beige, then add a slightly deeper taupe translucent gel at the cuticle area. Blend upward only 2-3 mm. Keep the veil thin so it doesn't bulk at the cuticle.
Pro tipPull the veil with a thin brush from the center outward so it stays even left-to-right.
Watch outAvoid opaque cuticle blocks - they look like a strip of polish.
5. Sheer Nude + Micro Gem Cap on Ring Finger
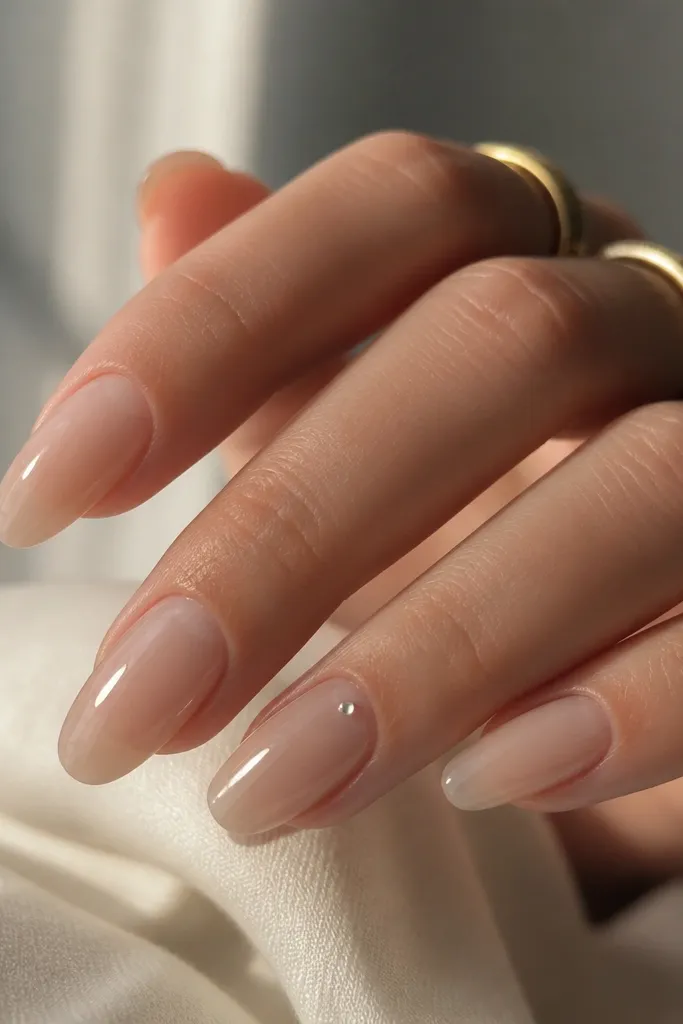
This is the kind of nail detail that still looks good after a fill because the gem sits on the thickest, most stable part near the cuticle. A micro gem reads luxurious without turning into "maintenance art." Keep the gem clear or champagne - it matches nude and doesn't clash with rings.
Use a sheer nude base (not fully opaque) so it looks like your nails but better. Set one micro gem on the ring finger and cap it with a thin clear gel so it feels smooth. Place the gem about one-third down from the cuticle, centered on the nail.
Pro tipUse a gel cap that's thinner at the edges so it doesn't snag on hair or fabric.
Watch outAvoid multiple gems on each nail - they catch and lift first.
6. Classic Nude with 2mm Side Lines (Only on Index)
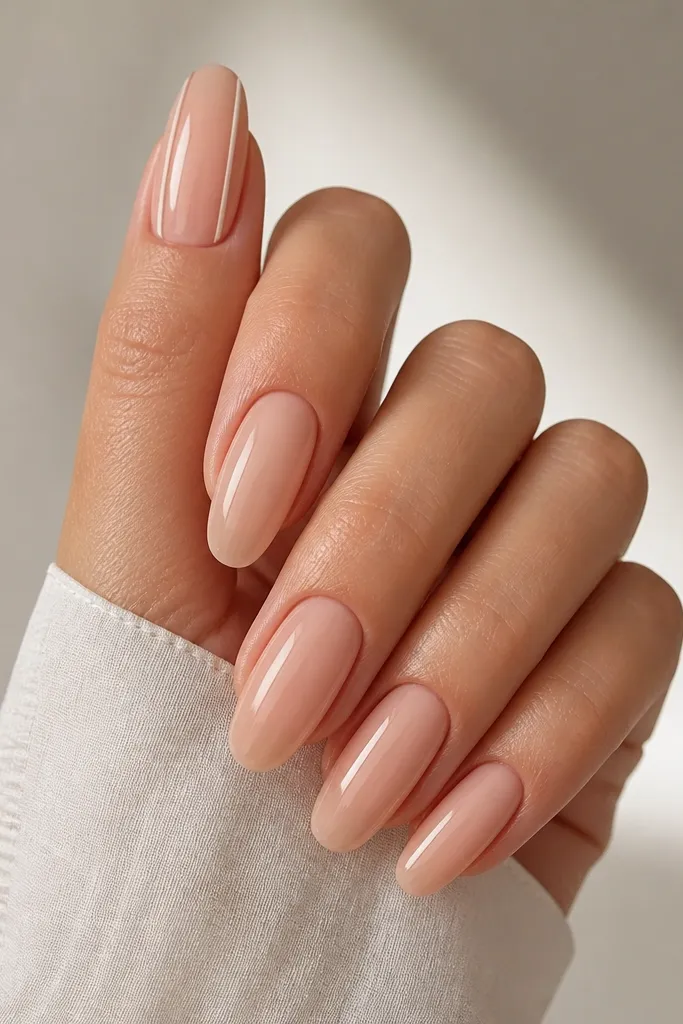
Side lines make nails look longer and more "done" without adding bulk. By limiting it to one nail (index), you keep the design cohesive while letting the rest of the set grow out quietly. The lines are thin and straight, so they don't warp visually when your nail length changes.
Pick a nude base that matches your undertone - I like sheer beige-pink for cool and sheer peach-beige for warm. For the side lines, use a nude-brown striping gel or a fine liner brush with gel paint. Keep each line about 0.5-0.8 mm wide and 2-3 mm away from the sidewall.
Pro tipLet the lines dry fully before top coat so they stay crisp.
Watch outAvoid lines touching the sidewalls - lifting shows immediately.
7. Nude Acrylic with Clear Negative Space Half-Moons
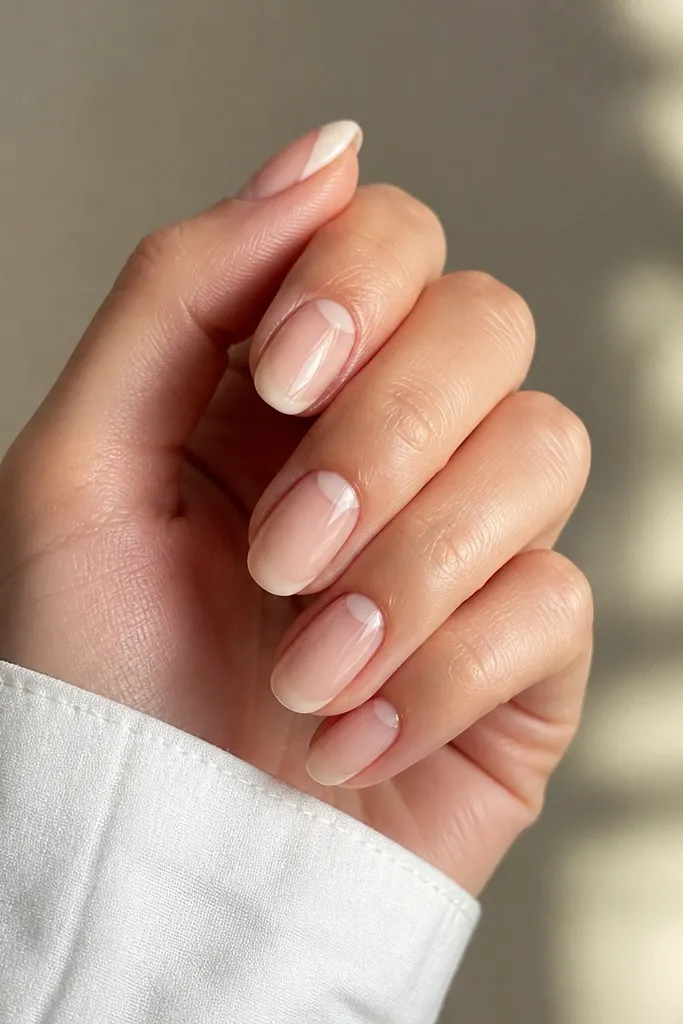
Negative space half-moons look clean and intentional while staying low maintenance because they're anchored at the cuticle. You don't need perfect alignment across the whole nail - the half-moon shape can be slightly different on each nail and still look like a set. The clear section also makes the nude look lighter and more natural.
Build your acrylic with a sheer nude base. Leave a half-moon window at the cuticle by using a cuticle barrier or carefully painting clear gel where you want the negative space. Seal with a glossy top coat so the clear area doesn't look cloudy.
Pro tipUse a cuticle pusher to clean the negative space edges right before top coat cures.
Watch outAvoid cloudy clear sections - they look dirty instead of intentional.
8. Rose Nude with Matte Thumb and Gloss Micro Star
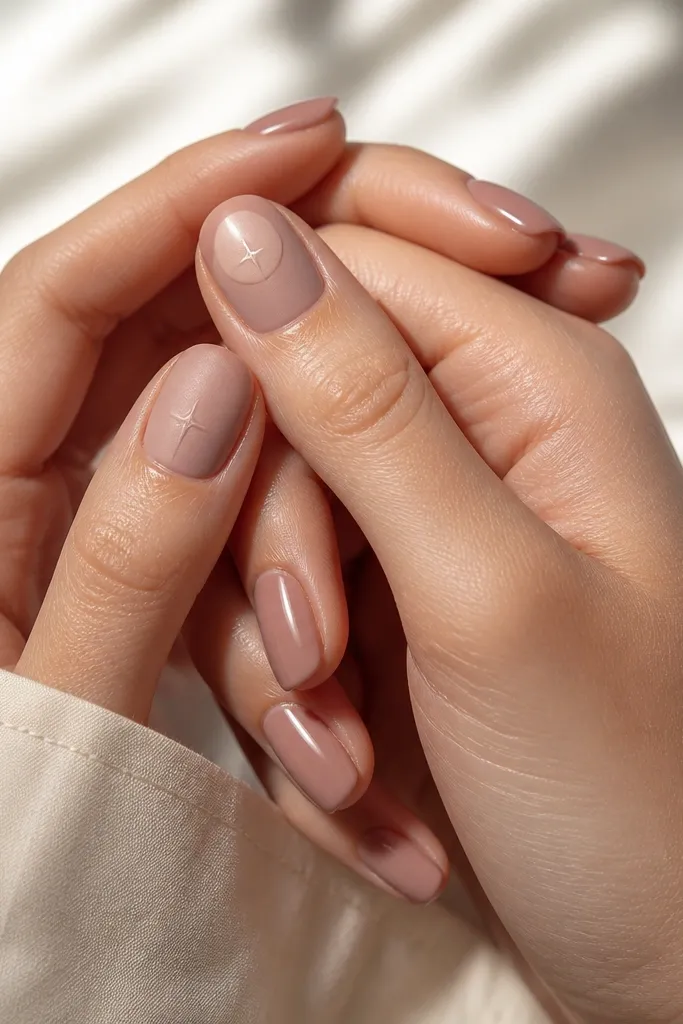
Matte on the thumb makes the accent pop and hides small surface imperfections. The micro star is small enough that it doesn't need a perfect "placement window" to still look cute after regrowth. Rose nude also looks good with everyday makeup and doesn't compete with jewelry.
Do the full set in rose nude acrylic with a smooth apex. Matte top coat only on thumbs. Add a micro star using a dotting tool with thick gel paint, then cure and top with a glossy layer only over the star.
Pro tipKeep the star under 1 mm across so it reads as a detail, not a sticker.
Watch outAvoid large matte areas with thick top coat - it can look dusty.
9. Sheer Nude with One Nail Glossy Rainbow Stripe (Thin)
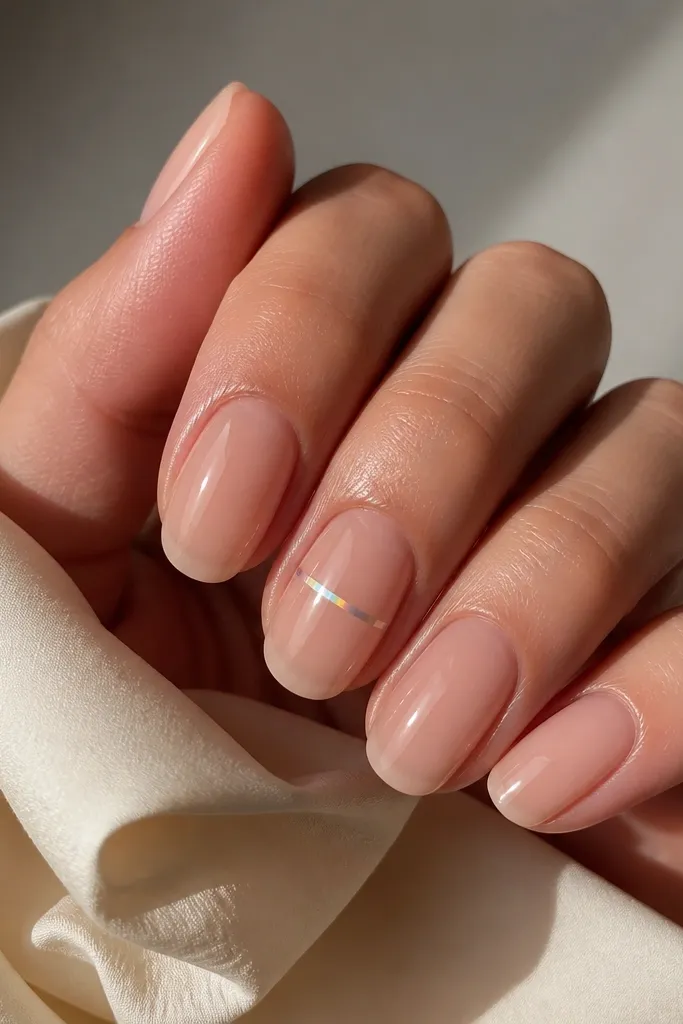
A single thin iridescent stripe stays pretty because it's linear and centered. When the nail grows out, the stripe still looks like part of the design instead of a random line. Sheer nude keeps the stripe from looking loud.
Use a sheer nude base (not milky white). Apply an iridescent chrome strip or gel pigment in a thin band across the center third. Seal with glossy top coat so the stripe stays reflective.
Pro tipKeep the stripe height to about 1 mm so it doesn't feel like a thick sticker.
Watch outSkip thick chrome layers - they lift at the edges and snag.
10. Nude Acrylic with Tiny Dot Cluster at Side Cuticle
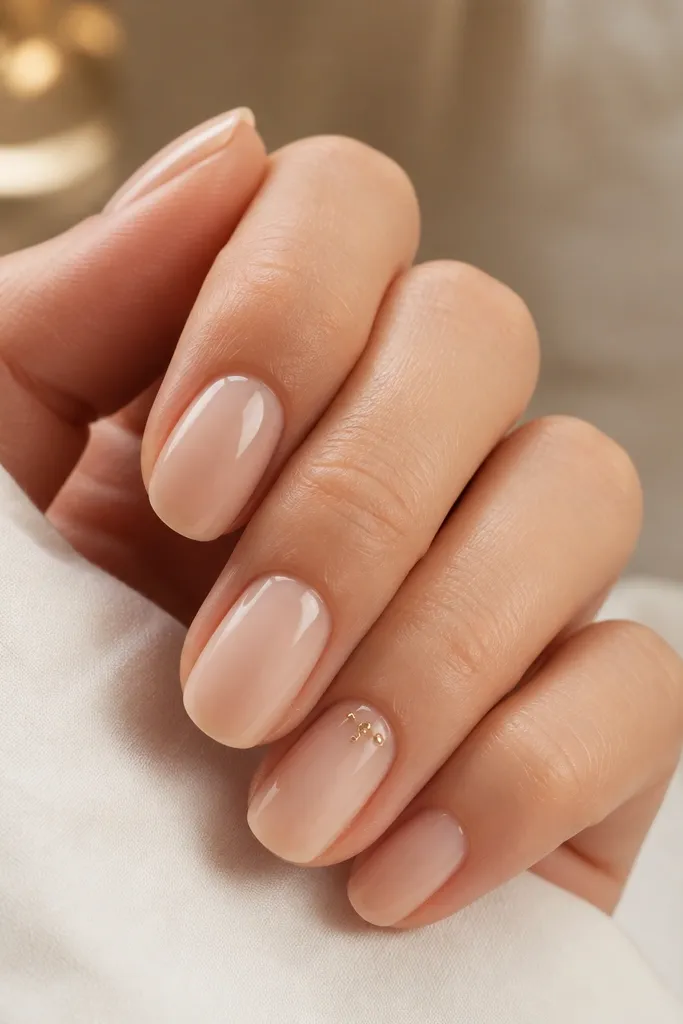
A small dot cluster is a low maintenance way to add sparkle without covering the whole nail. Placing it near the side cuticle makes it look like it's "growing" with you, not sitting on top. Champagne-gold dots look softer than bright silver and flatter most skin tones.
Do the set in a sheer nude acrylic. On one accent nail, paint 3-4 micro dots with gold gel near the cuticle, about 1 mm above it and slightly toward the sidewall. Cap with a thin clear layer so the dots don't catch.
Pro tipUse a dotting tool with a slightly smaller tip than you think - micro looks more expensive.
Watch outAvoid big dot sizes - they look like chunky rhinestones.
11. Chocolate-Tinted Nude (For Warm Undertones) with Glossy Center Line
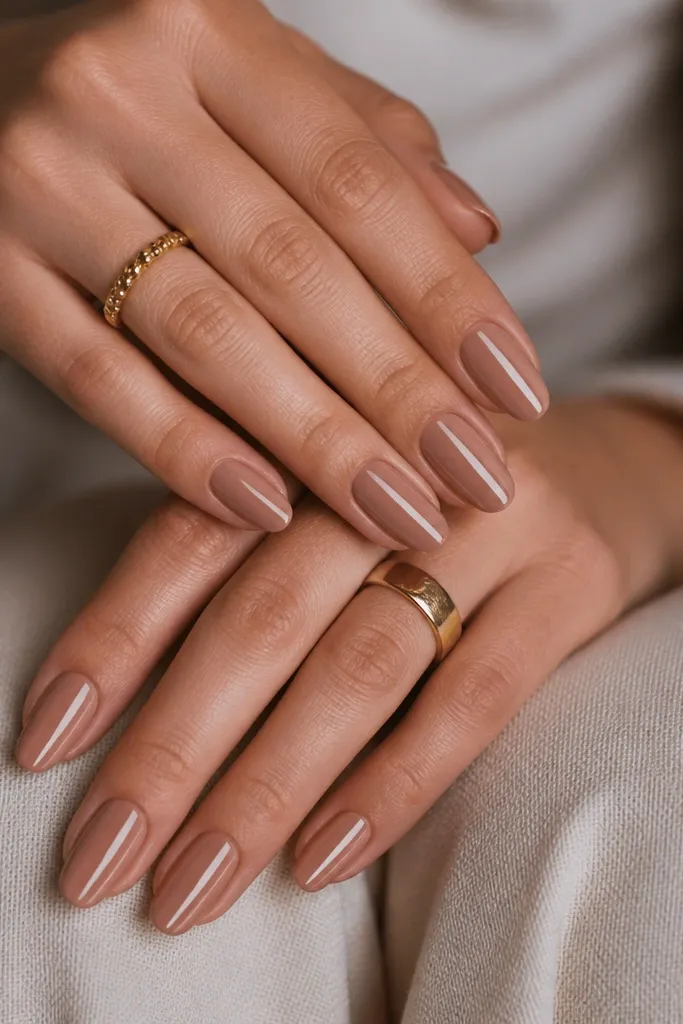
This design is low maintenance because the highlight line reads as a natural "shine detail" rather than art you need to redraw. The chocolate-tinted nude hides staining and looks great on warm undertones. The center line also makes nails look longer and more even.
Start with a warm chocolate-beige nude acrylic. Add a transparent gel line down the center using a striping brush, then cure. Top coat keeps everything glossy and smooth.
Pro tipKeep the center line narrow - about 0.5 mm - so it looks like a highlight, not a stripe.
Watch outAvoid wide lines - they make regrowth look like a mess.
12. Nude Acrylic with Clear Topcoat Only at Tips (Reverse Glow)
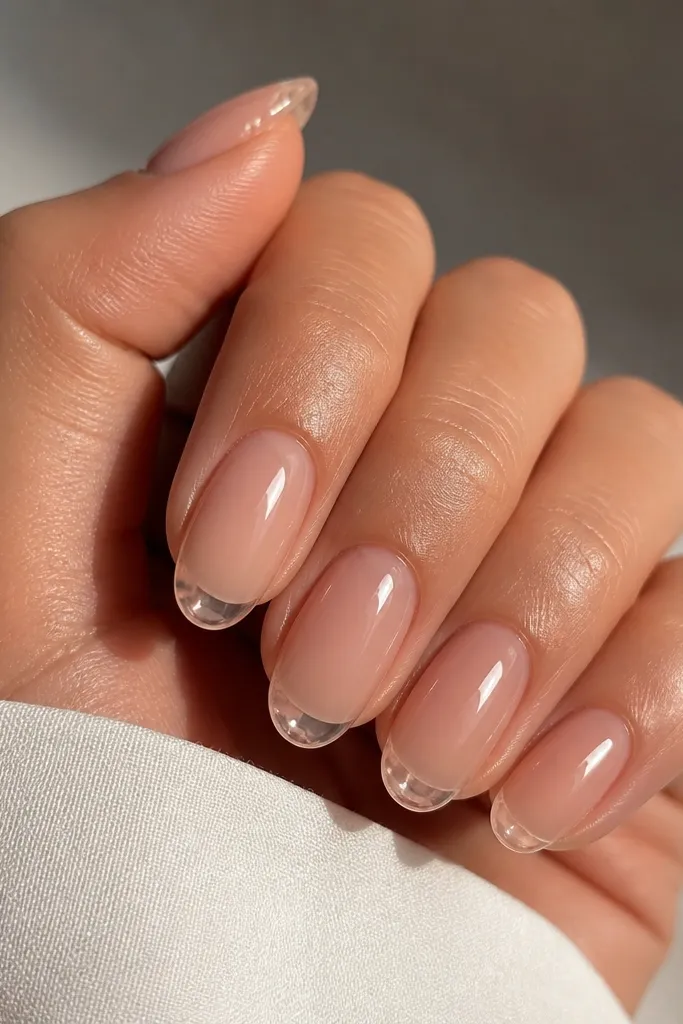
This is a sneaky way to get a fresh look without a full French. The clearer tip area reflects light differently, so your nails look "renewed" even after a week of wear. It also lets you keep the nude base matte or softer if you want, while the tips stay glossy.
Use a warm nude base with a softer finish if you like (or just normal shine). At the tip, apply a layer of clear gel or clear acrylic over the last 2-3 mm, then blend the edge so there's no step. Cap and top coat for a smooth glassy finish.
Pro tipBlend the clear into the nude with gentle strokes so you don't create a visible boundary.
Watch outAvoid thick clear at the tip - it makes nails feel heavy and can pop off.



