
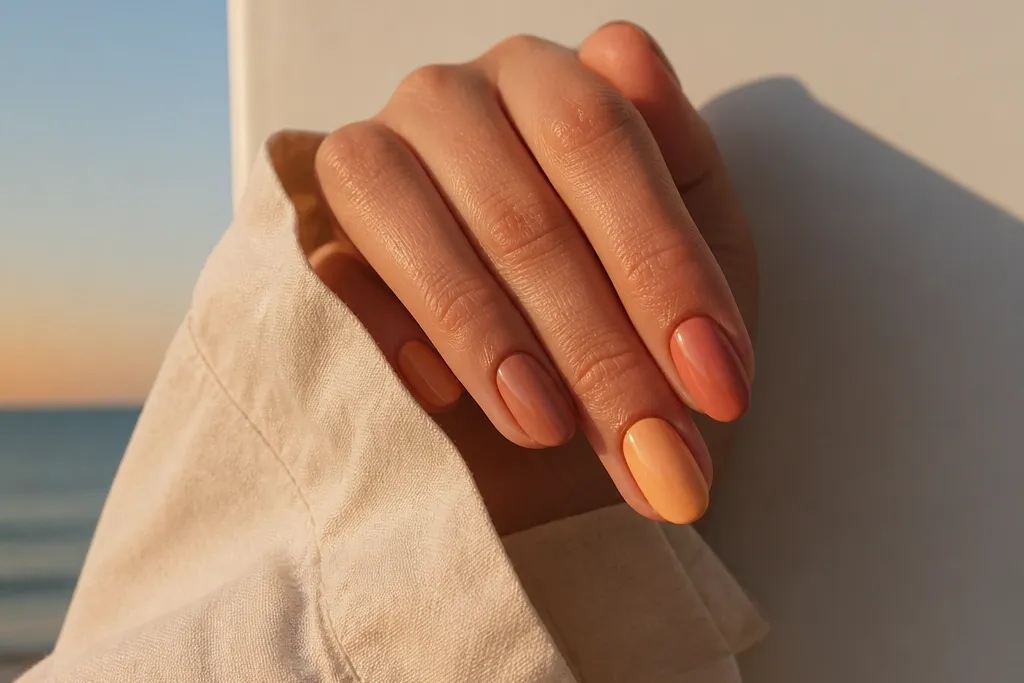
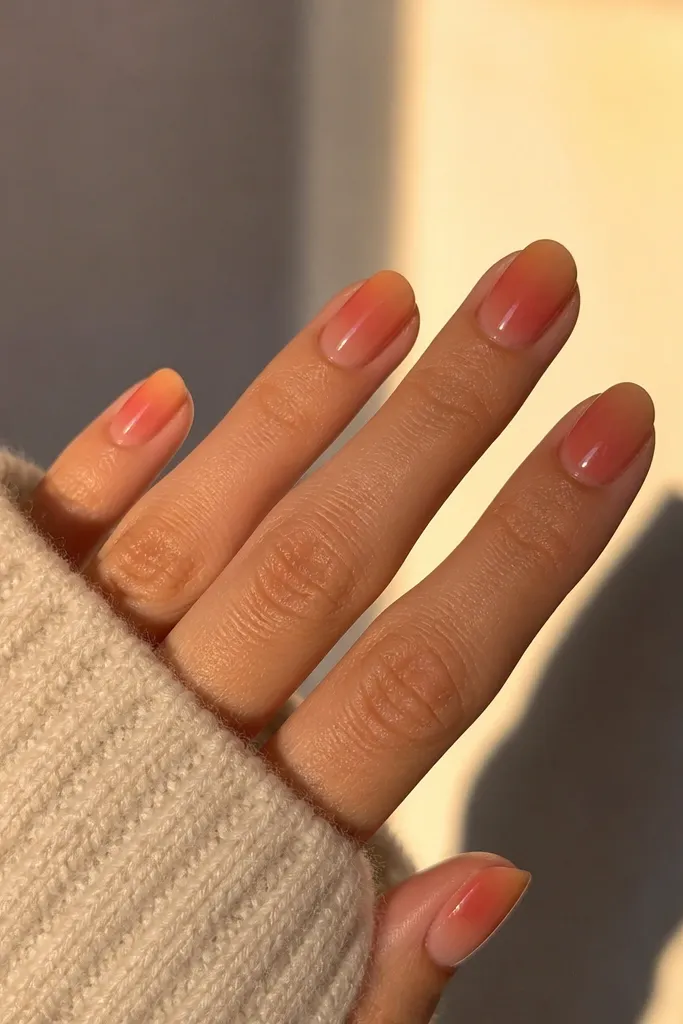
1. Peach-to-Tangerine Sunset Fade Half-Moons
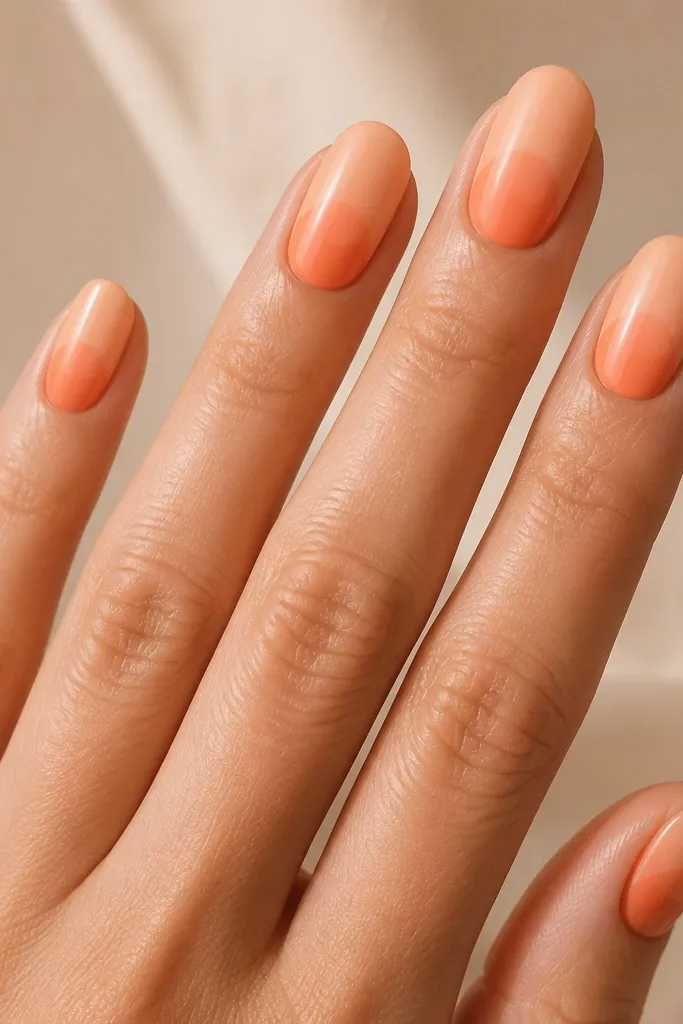
This is the one I reach for when I want sunset color without drawing a whole scene. The half-moon placement hides uneven edges because the shape already breaks up the nail into two zones. Peach and tangerine blend naturally, so a slightly patchy sponge pass still reads as sun glow. The tip saturation also makes chips less obvious because the color gets darker where wear happens.
Start with a peach base gel. Sponge tangerine at the outer half using a small makeup sponge, then press lightly at the tip for more pigment. Clean the cuticle with a brush dipped in gel cleanser before curing so the fade looks intentional. Finish with a glossy top coat on every nail.
Pro tipDo two thin sponge passes instead of one heavy pass - the fade looks smoother and you avoid bubbles.
Watch outDon't paint right up to the skin and then try to clean it after curing - it lifts and looks cloudy at the cuticle.
2. Terracotta Orange Outer-Edge Glow
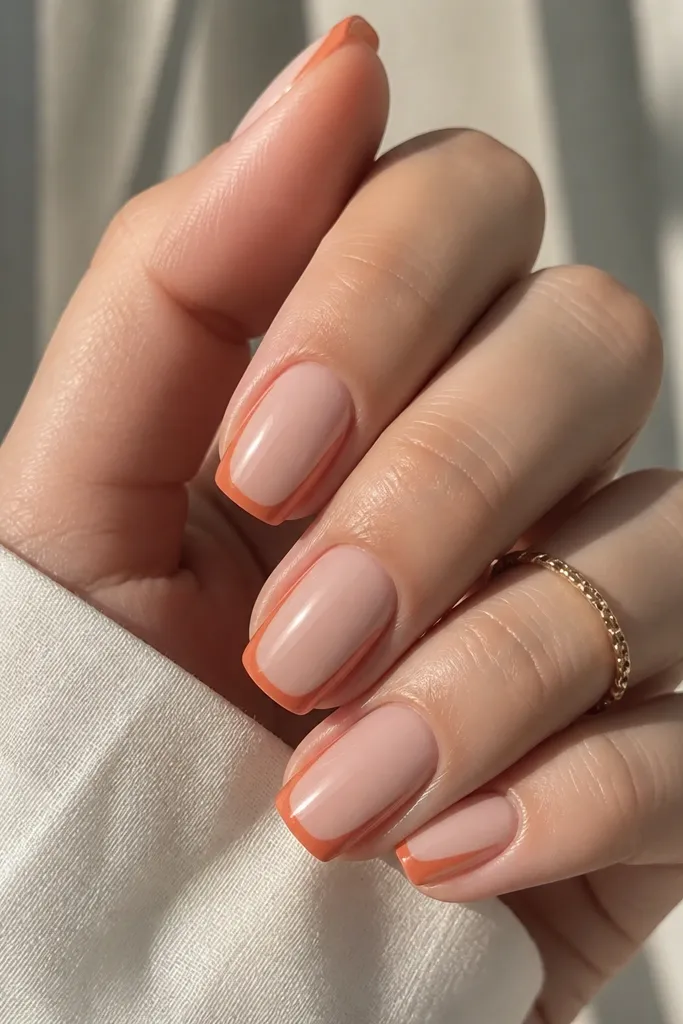
This look is low maintenance because it's basically a border. You get sunset energy from terracotta and a warm nude base, but you're not filling the whole nail. The border also disguises growth since your nails grow from the center. In photos, the orange rim looks like the sun's heat reflecting off glass.
Use a sheer nude gel (milky nude, not pinker than your skin). With a striping brush, paint a thin terracotta line along each side wall and connect it to a slight V at the tip. Keep the lines narrow - about 1/10 of the nail width. Add a glossy top coat to smooth the edges.
Pro tipIf your lines shake, tape a guide on one side with painter's tape and remove it before curing.
Watch outSkip thick gel borders - they catch on fabric and wear off faster.
3. Dusk Mauve to Plum Gradient Tips
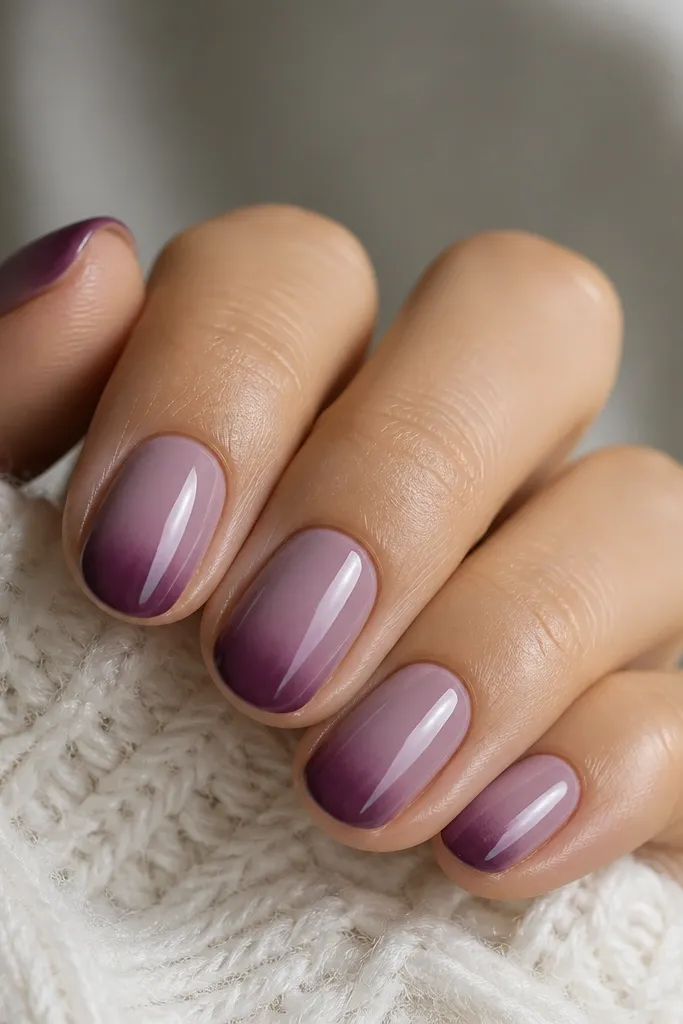
This one reads "sunset after dark" without needing gold glitter. Mauve gives you that dusty evening tone, and plum at the tip adds depth. Because the gradient is only at the tip, you don't need perfect blending near your cuticle. It also hides tip chips better since the darker color sits where you hit things.
Apply mauve base gel and cure. Sponge plum just on the bottom third of the nail, then feather upward 1-2 mm. Cure, then wipe tacky layer if your system requires it before top coat. Keep the nails short or medium oval so the fade looks like dusk, not ombre stripes.
Pro tipUse a sponge that's been cut into a wedge shape - it makes a cleaner fade edge.
Watch outDon't bring plum too high - if it reaches the cuticle, it looks like a stain instead of a sunset.
4. Sunset Line Art Horizon (One Nail Accent)
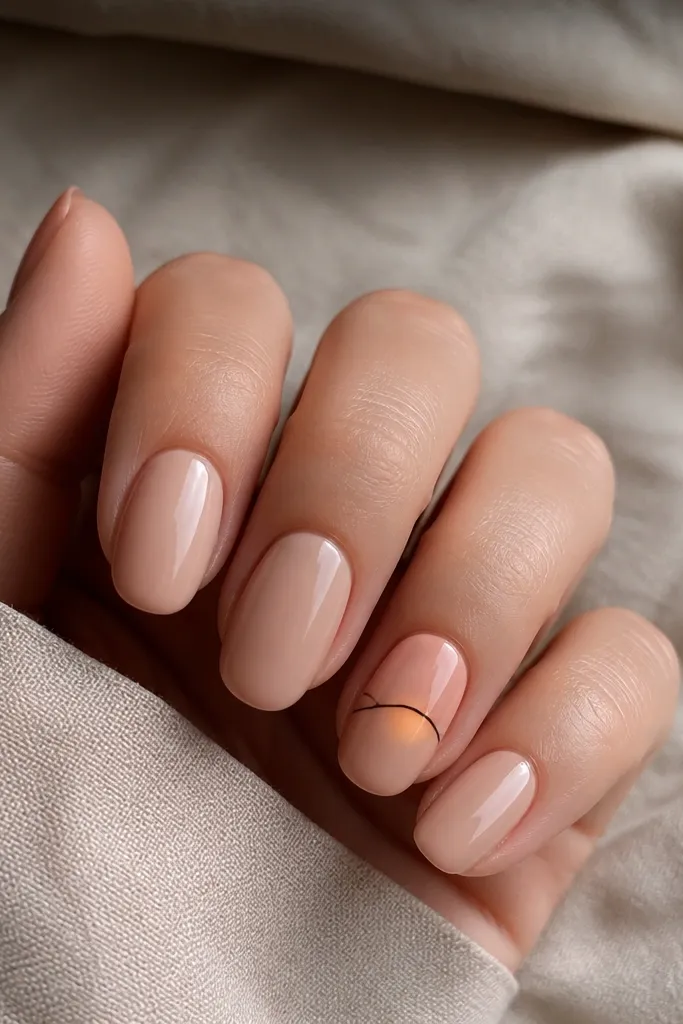
Line art sounds fancy, but this version is low maintenance because it's only on one nail. The rest stays plain, so you don't spend time painting every finger. The thin curved horizon makes it look like a horizon at sunset, and the small peach-orange band gives color without heavy coverage. It's also forgiving when your curve isn't perfectly round.
Paint all nails nude glossy. On the accent nail, add a thin peach band across the middle. Draw a curved horizon line using a striping brush, then add a tiny orange glow band beneath it. Finish with a high-gloss top coat so the lines look crisp.
Pro tipUse a striping brush with a point tip - you'll get a hairline horizon that doesn't blob.
Watch outDon't use matte top coat over line art - the edges look fuzzy.
5. Soft Ombre Coral to Pink with Micro-Star Specks
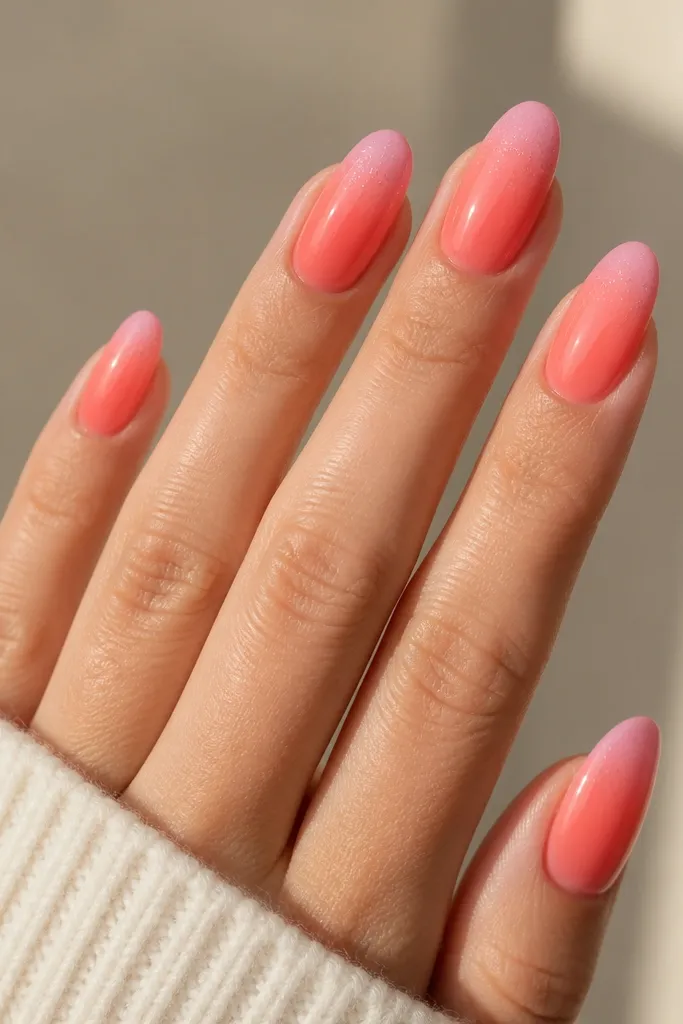
This is sunset color nails that still feel clean for everyday. Coral-to-pink ombre gives the glow, and micro specks add "evening sky" without looking like glitter confetti. Specks are low maintenance because you can dab them with a toothpick or dotting tool in under a minute. The gradient does the heavy lifting; the specks just sell the scene.
Build a coral base, then sponge pink from mid-nail to tip. Cure fully between layers if your brand is prone to lifting. For specks, dip a toothpick in white gel polish, wipe most off on a paper towel, then tap lightly near the upper third. Top coat everything.
Pro tipMake the specks uneven in size - three big dots and ten tiny ones looks more natural than a uniform pattern.
Watch outDon't pack on specks - too many makes it look messy and textured.
6. Glazed Bronze Sunset Corners
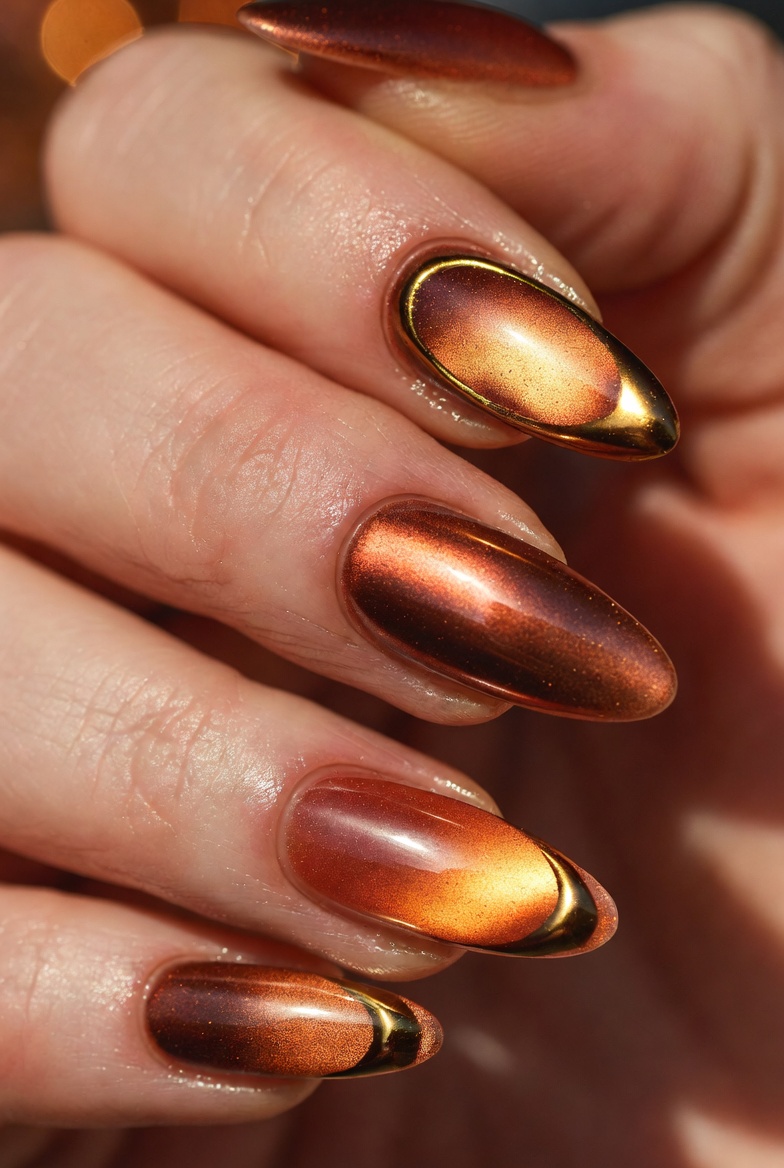
Bronze corners look like sunset heat reflecting in the sun, and they grow out nicely because the color is concentrated at the outer edge. The nude base keeps it wearable. A metallic gel also adds shine so you don't need extra layers or art. It's one of the easiest ways to make sunset nails look "done" even when you rush.
Use a sheer nude gel base and cure. Place bronze metallic gel in a small curved triangle at each outer corner, stopping 1-2 mm from the sidewall center. Use a small silicone tool or brush to blur the edge slightly. Cure and add top coat for glassy finish.
Pro tipIf the bronze looks too solid, mix one drop of bronze with clear gel for softer coverage.
Watch outDon't extend the bronze triangle too far inward or it turns into a random accent blob.
7. Peach Cream Base with Orange Swoop Tips
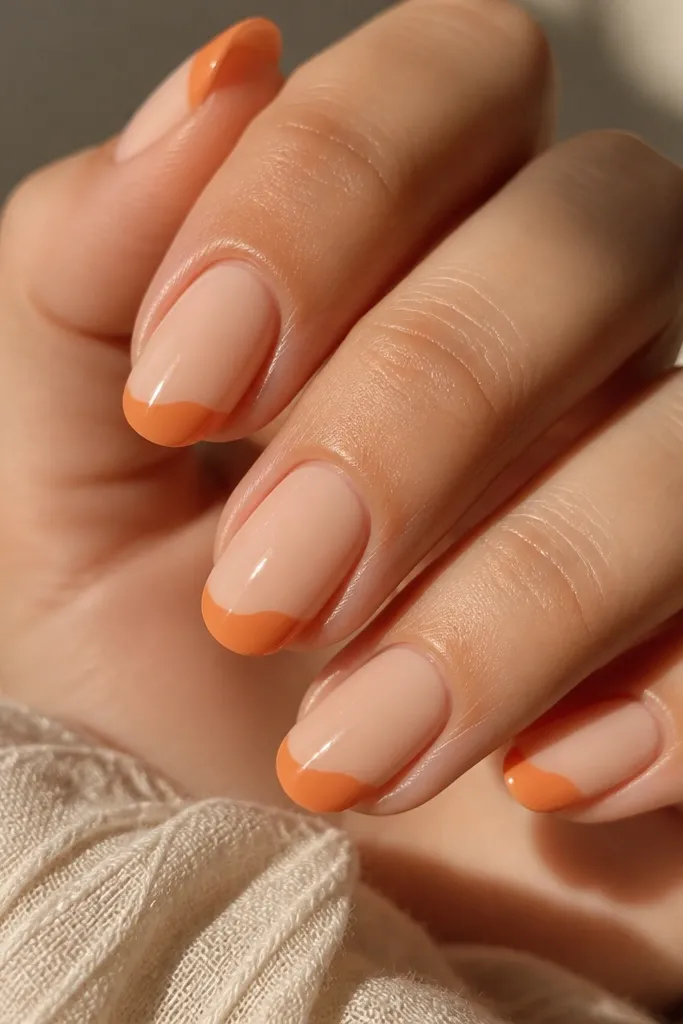
This design is basically a tip framing stroke. The orange swoop gives you the "sunset arc" look, but you're not filling the whole nail. Peach cream is forgiving - it hides minor brush streaks. The orange tip arc also hides chips because wear starts at the edge.
Apply peach cream base and cure. Load striping brush with orange gel and paint one continuous curved stroke across the tip, then taper both ends slightly downward. Keep it thin so it doesn't look like a thick sticker. Seal with top coat.
Pro tipPractice the curve on a paper nail form first - your real nails will go faster.
Watch outAvoid thick paint at the edge - it chips and catches.
8. Orange-Pink Reverse Ombre Cuticles
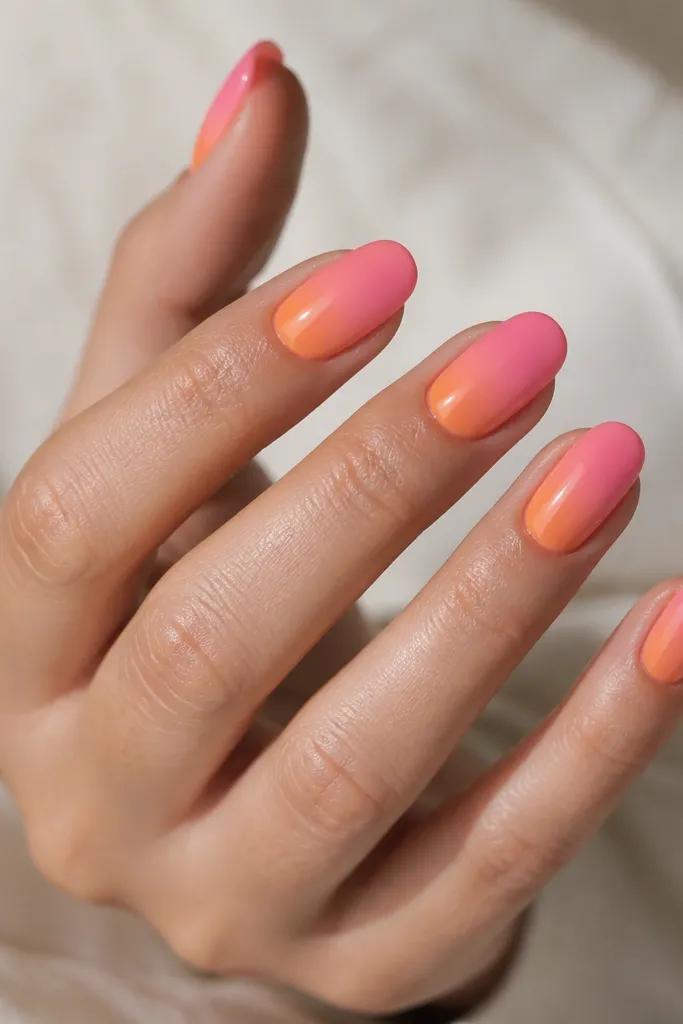
Reverse ombre is low maintenance because the darkest color is near the cuticle, where growth gaps are less noticeable on most people. Orange at the base gives that warm sun glow, and pink toward the tips keeps it airy. This also makes your nails look longer visually because the fade pulls color downward.
Start with a sheer base gel. Sponge orange close to the cuticle, then sponge pink starting mid-nail down to the tip. Blend with a very light sponge pass so you don't get a hard line. Cure, then top coat twice if your gel system is streaky.
Pro tipUse the smallest sponge you have and press only 2-3 times per nail.
Watch outDon't overwork the blend after it starts to get tacky - it turns patchy.
9. Sunset Skittle Nails with One Shared Color
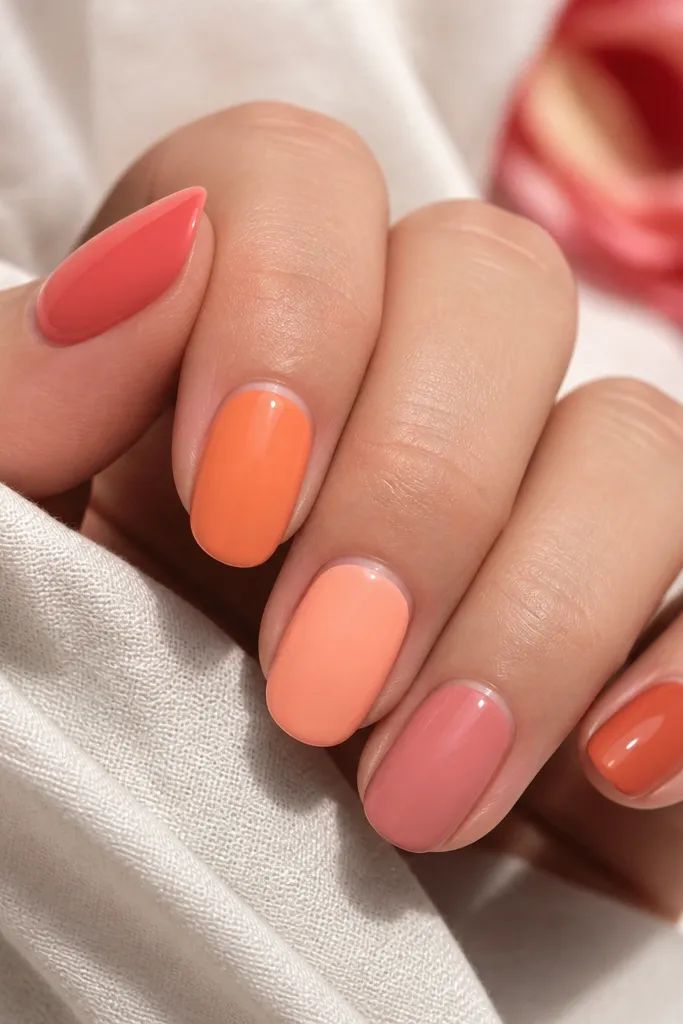
Skittle nails are low maintenance when you keep the system consistent. You're not doing art on every nail - you're picking colors that belong together. The shared thin highlight near the cuticle ties the set together so it doesn't look random. I've done this for events where I needed it to look intentional fast.
Pick five shades: coral, tangerine, peach, dusty rose, and terracotta. Paint each nail one color. On every nail, add a tiny thin curved highlight line (clear gel with a hint of white or a sheer shimmer) 1-2 mm from the cuticle edge. Cure and top coat.
Pro tipPick shades that are one step apart on warmth - if one is too cool, the set looks off.
Watch outDon't choose a neon shade in the mix - it makes the whole set look like costume nails.
10. Marigold and Rose Gradient with Thin Gold Edge
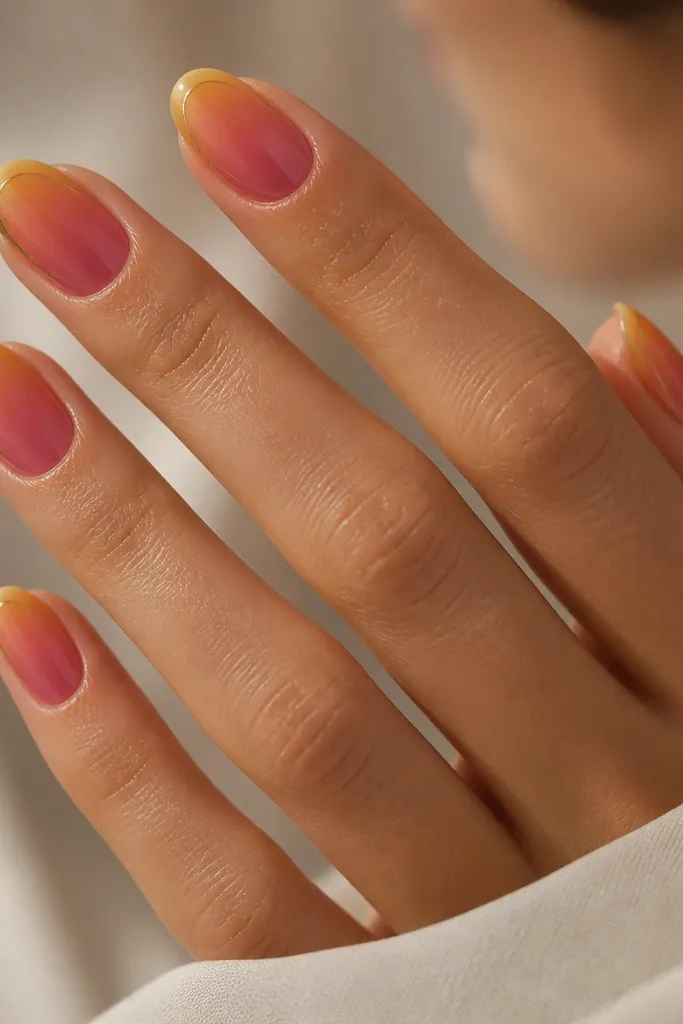
Gold edge lines make sunset nails look "jewelry-level" without extra bulk. The marigold-to-rose gradient gives you warm glow and then a softer finish, like the sun dropping behind clouds. The gold line is thin, so it doesn't chip like thick metallic blobs. The whole look still grows out clean because the gold is at the border.
Sponge marigold on the outer half and rose toward the center, blending with a light sponge pass. After curing, draw a hairline gold stripe along one side and sweep it to the tip corner. Keep the gold stripe under 1 mm thickness. Top coat to lock it in.
Pro tipIf gold looks too bright, dab a tiny amount with a clean brush after curing so it blends into the edge.
Watch outDon't line both sides thickly - it turns into a frame that catches on sleeves.
11. Sunset Cloud Fade on Clear Base
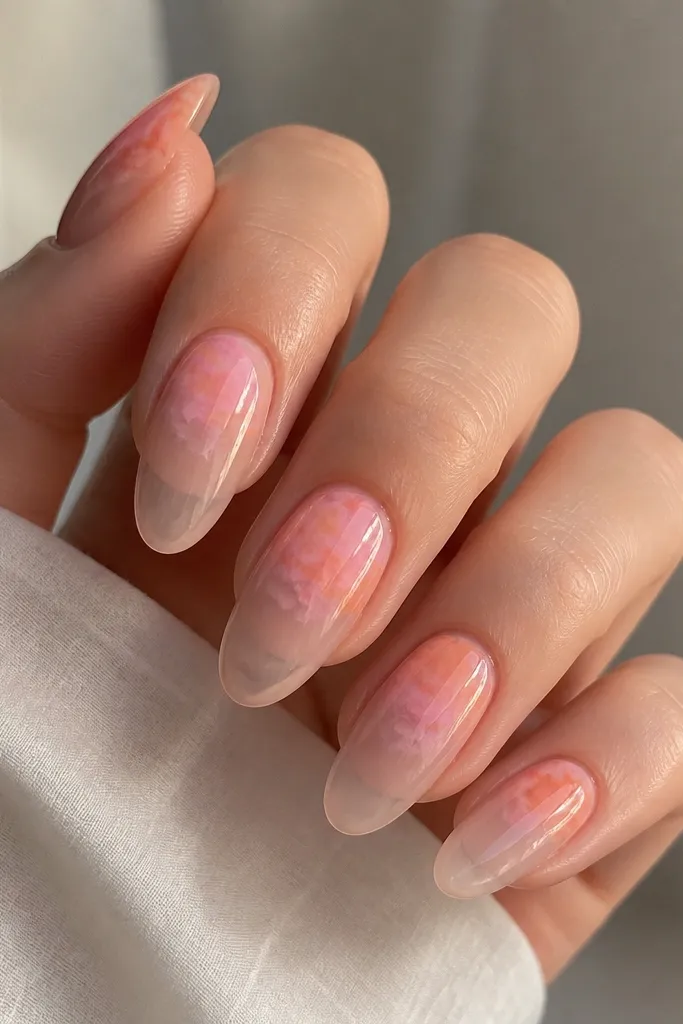
Cloud fade nails look artsy but they're fast when you use sponging. A clear or jelly nude base gives the "air" so your sunset colors float. Peach and pink swirls read as sunset clouds, and the soft edges hide uneven blending. This one also feels lighter on the nail because you're not covering everything.
Apply a clear jelly base and cure. Sponge peach in two soft patches near the top third, then sponge pink over part of it. Add a tiny orange patch only at the highest point. Use a small brush to nudge edges together before curing. Finish with glossy top coat.
Pro tipKeep each cloud patch separated by a 1-2 mm gap so the design looks intentional, not muddy.
Watch outDon't mix all colors in one big blob - it turns brownish under gel.



