
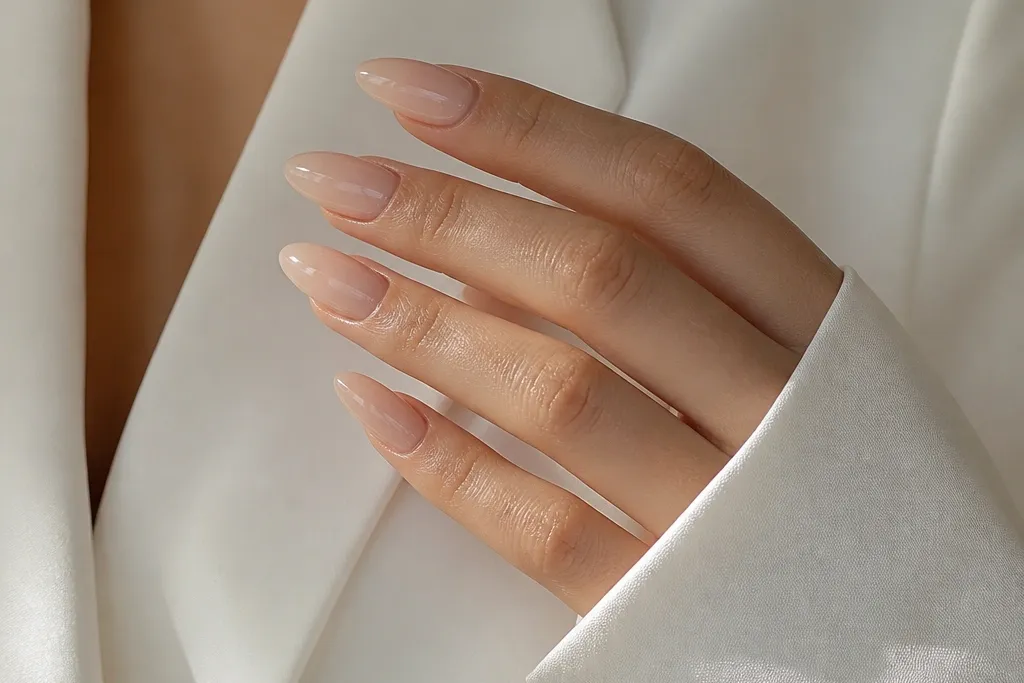
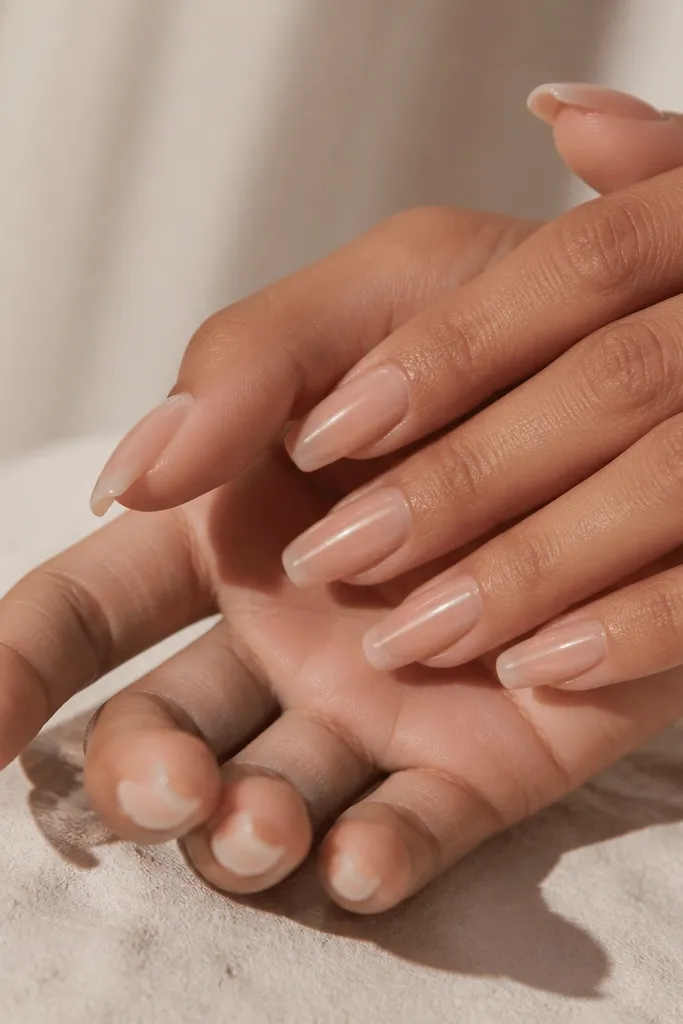
1. Milky Beige Almond with Clear Cuticle Halo
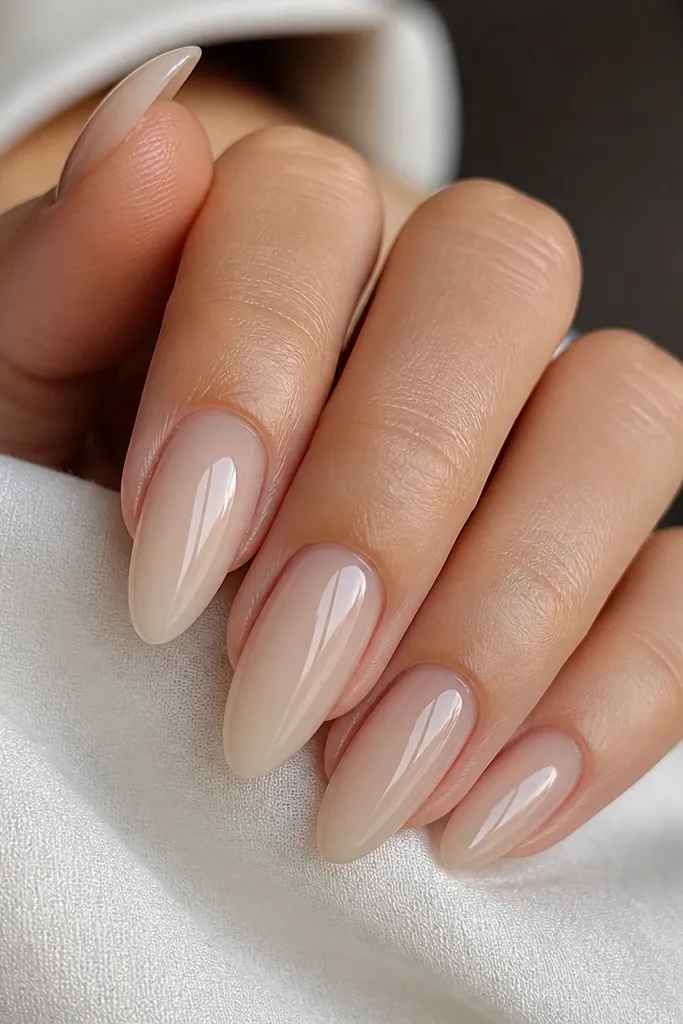
This look is all about the nude looking like it belongs on your nail. The milky beige gives coverage without going opaque, and the clear cuticle halo adds that "freshly done" glow. Because there's no heavy decoration, your cuticle line reads clean and high-end.
Build it with a sheer milky nude for the first layer, then a second layer of milky beige only from just above the cuticle to the middle. Keep the halo effect by leaving a thin translucent band right around the cuticle edge, then cap with clear acrylic. Finish with a high-gloss top coat so the milky tone reflects light evenly.
Pro tipIf your nails stain easily, add a thin base coat of clear builder gel before nude - it keeps the nude from turning patchy.
Watch outAvoid a fully opaque nude from cuticle to tip - it flattens the look and can make your nail bed look smaller.
2. Caramel Nude with Ultra-Thin Champagne French
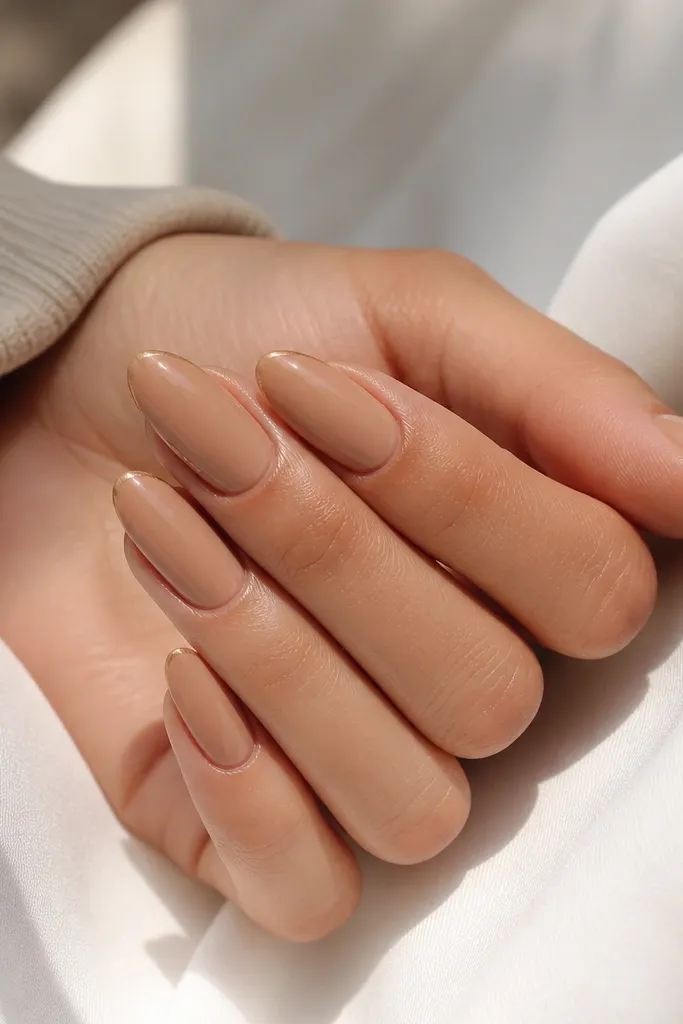
The thin champagne French is where this gets luxe. Caramel nude warms everything up, and the tip line is narrow enough that it reads like jewelry, not nail art. The gold looks expensive because it's restrained and sits right at the free edge.
Use a caramel beige acrylic as the base. For the French, paint a line about 1 mm wide at the tip - I like to mark with a liner brush, then fill only the line. Keep the smile line smooth and slightly curved, then cap with clear acrylic for a glass finish.
Pro tipUse a strip of clear tape as a guide for the first line, then remove it before you cap so the edges stay crisp.
Watch outSkip thick French tips - they make nude sets look like press-ons.
3. Warm Taupe Nude with Micro-Speckle Topcoat
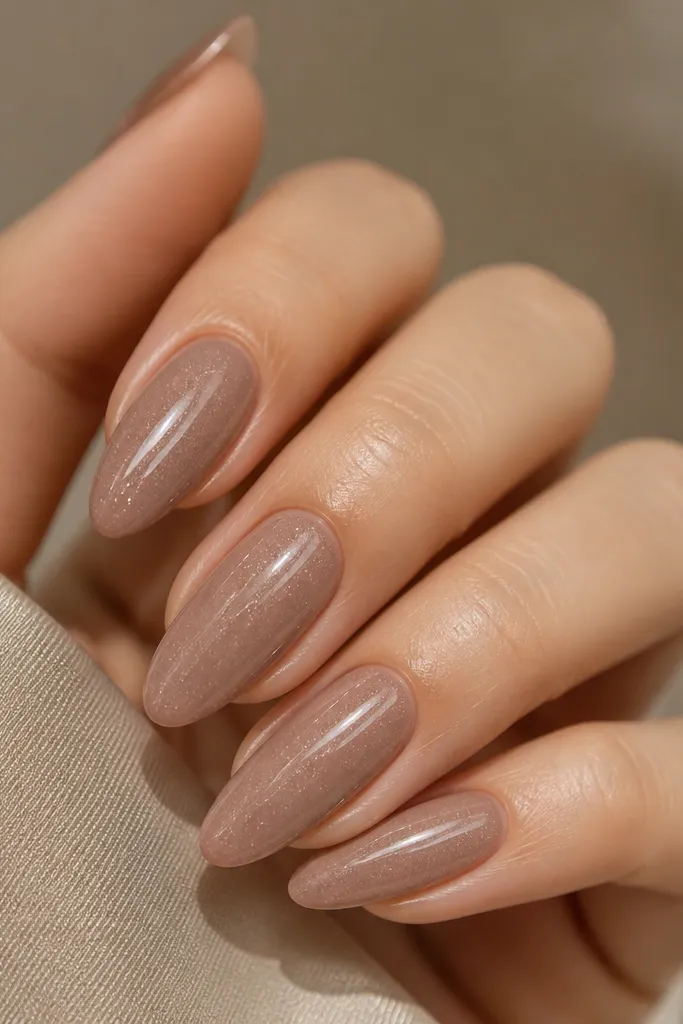
Micro-speckle turns a plain nude into something that looks lit from within. The warm taupe keeps it grounded, and the tiny reflective particles mimic expensive "powder" finishes you see on high-end sets. It's subtle up close and really pretty in sunlight.
Start with a warm taupe acrylic base at medium opacity. After curing, mix a tiny amount of fine holographic glitter acrylic powder into clear top layer - the key is barely-there coverage. Cap fully, then top coat for a smooth surface so the specks don't feel gritty.
Pro tipTest the speckle mix on a spare nail tip first - if you can see clusters, it's too much.
Watch outAvoid chunky glitter or loose craft glitter - it makes the nail texture grabby and looks cheap.
4. Sheer Pink-Beige with 3D Pearl Dot at the Cuticle
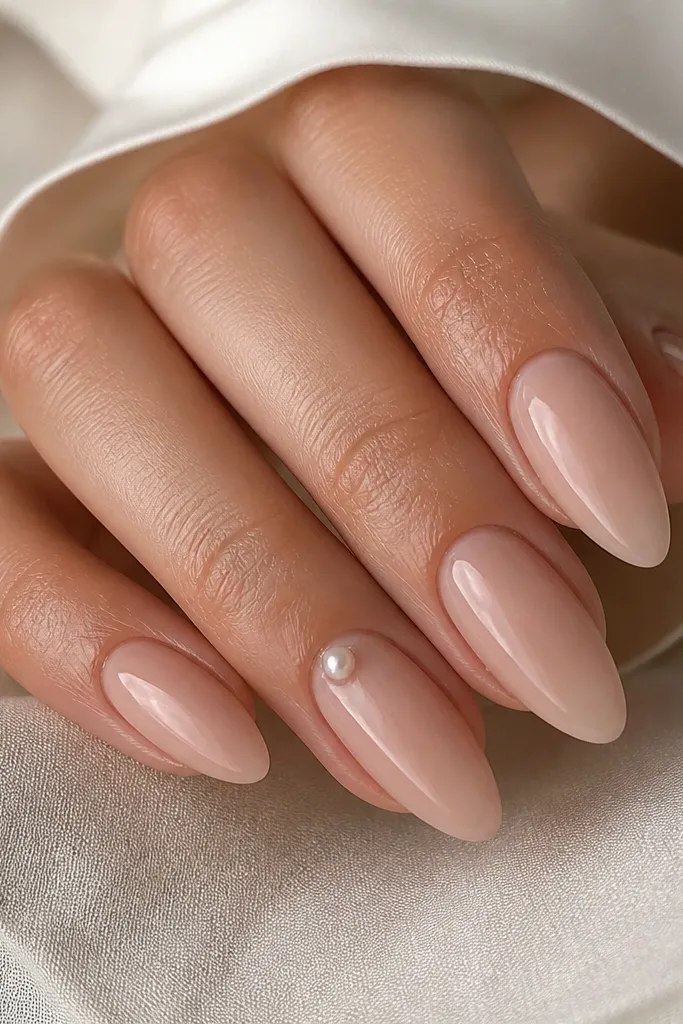
This is luxe because the detail sits where your eye naturally lands - the cuticle. A single pearl dot looks like a mini brooch, and the sheer pink-beige base keeps everything soft. It reads classy even in office lighting.
Use a sheer pink-beige acrylic so your nail bed tone shows through. Place one pearl dot on the ring nail near the cuticle edge, about 1-2 mm away from the skin line. Seal it with clear acrylic so it's smooth, then file and polish the top for a flat, glassy surface.
Pro tipPick a pearl size that matches your nail width - too big overwhelms the almond and looks costume-y.
Watch outDon't put pearls on multiple nails - it turns the set into "decorations," not jewelry.
5. Nude Ombré with Clear Apex and Frosted Side Glow
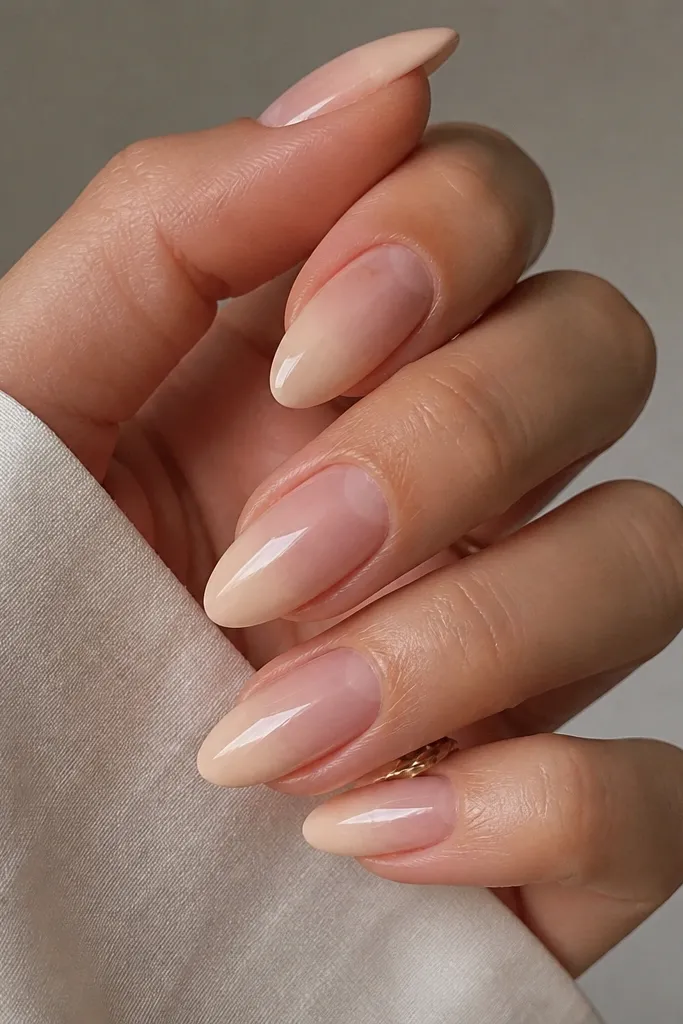
This one makes your nails look longer without adding extra length. The clear apex draws the eye up, and the frosted side glow adds dimension as your hand moves. The ombré stays smooth, so it doesn't look like a gradient that was rushed.
Apply a sheer nude base. Build a clear apex in the center (I use clear builder acrylic) and keep it higher than the sidewalls so it creates that dome effect. For the ombré, blend a creamy nude from mid-nail to tip, and add a whisper of frosted pigment on the sidewalls only. Cap with clear and file into a soft almond.
Pro tipUse a flat brush to feather the ombré - round brushes leave ridges in nude gradients.
Watch outAvoid harsh lines between nude shades - they show up under glossy top coat.
6. Classic Nude with One Thin Black Micro-Stripe
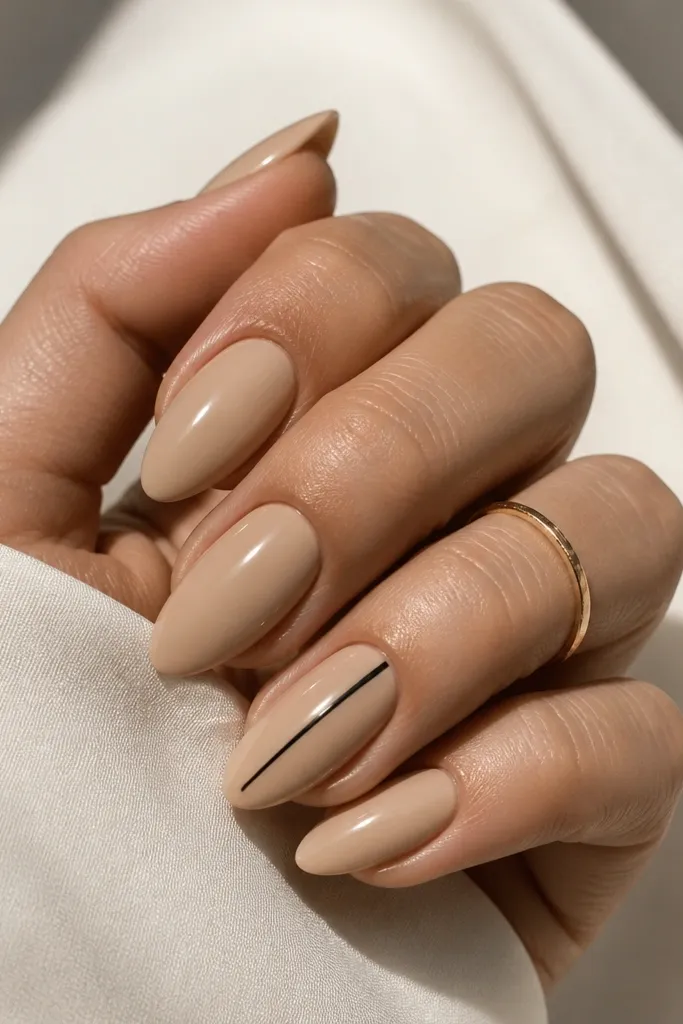
Black sounds bold, but this stripe is so thin it reads like modern tailoring. The neutral beige nude keeps it calm, and the vertical placement makes the nail look slimmer. It's my go-to when someone asks for "something different but not loud."
Pick a neutral beige nude (not peach, not gray). On the accent nail only, paint a line about 0.5 mm wide with gel liner. Cure, then cap with clear acrylic so the stripe feels smooth and doesn't snag on fabric.
Pro tipIf your stripe looks wobbly, wipe your brush with isopropyl before reloading - liner gel pulls cleaner after a wipe.
Watch outSkip thick stripes - they look like marker lines and ruin the luxe vibe.
7. Nude Acrylic with Embedded Gold Thread Vein
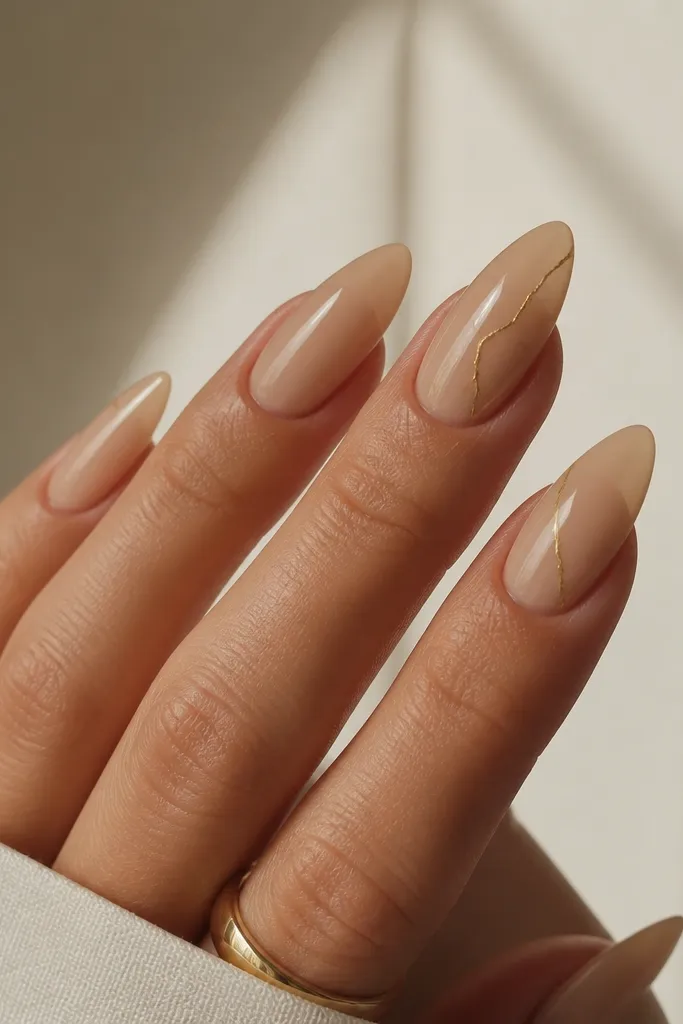
When gold thread looks embedded, it looks expensive because it has depth. The nude base keeps the vein delicate instead of flashy. The diagonal placement catches light as you move, like jewelry metal under glass.
Use a nude beige acrylic base with a slightly warmer undertone. Lay a thin strip of gold foil thread or fine gold strip (the kind meant for nail art) where you want the vein, then cover with clear acrylic or gel so it sits under the surface. Cap, cure, then file the top flat so the thread doesn't create a ridge.
Pro tipChoose a vein path with two bends, not a straight line. Straight lines look stiff and cheap on almond tips.
Watch outDon't leave thread above the surface - it lifts and catches on everything.
8. Rosewood Nude with Glossy "Glass" Top Coat Only
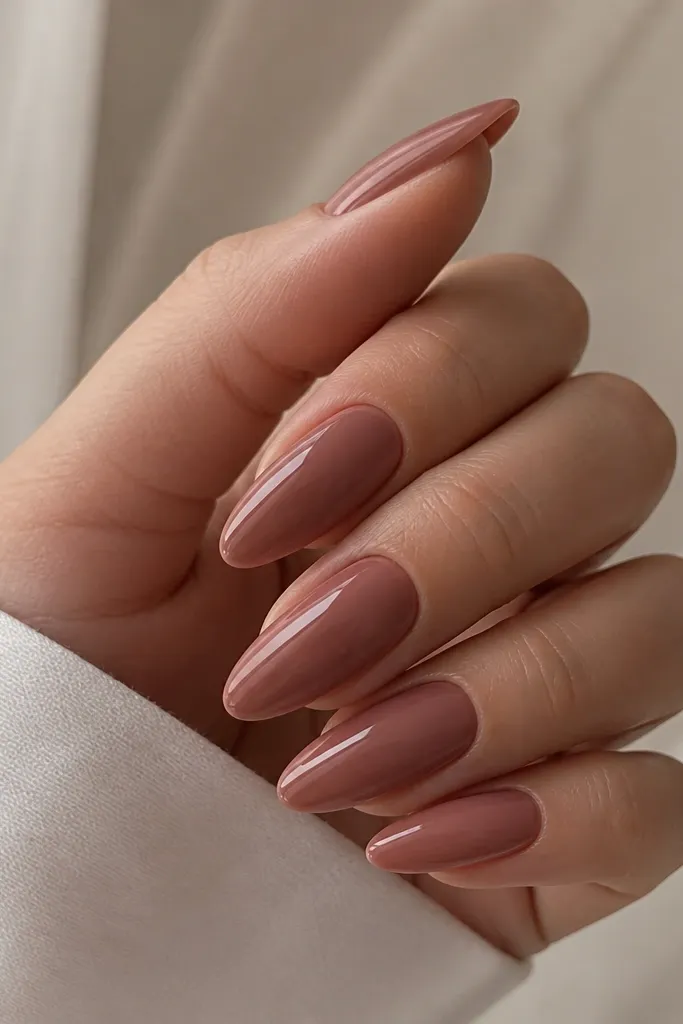
This is luxe because of finish discipline. A deeper rosewood nude hides tiny imperfections and looks richer under strong overhead lighting. When you add only a top coat with serious gloss, it reads like a high-end salon set.
Build the nails with rosewood nude acrylic at medium opacity so it covers evenly. Blend the cuticle area with a soft transition so you don't see a hard line. Finish with two thin top coat layers (first for shaping, second for mirror shine).
Pro tipAfter filing, wipe with slip solution and apply top coat while nails are still slightly tacky from the wipe - it levels smoother.
Watch outAvoid thick top coat in one layer - it can trap tiny bubbles and dull the shine.
9. Champagne Nude with Tiny Rhinestone Halo on the Ring Nail
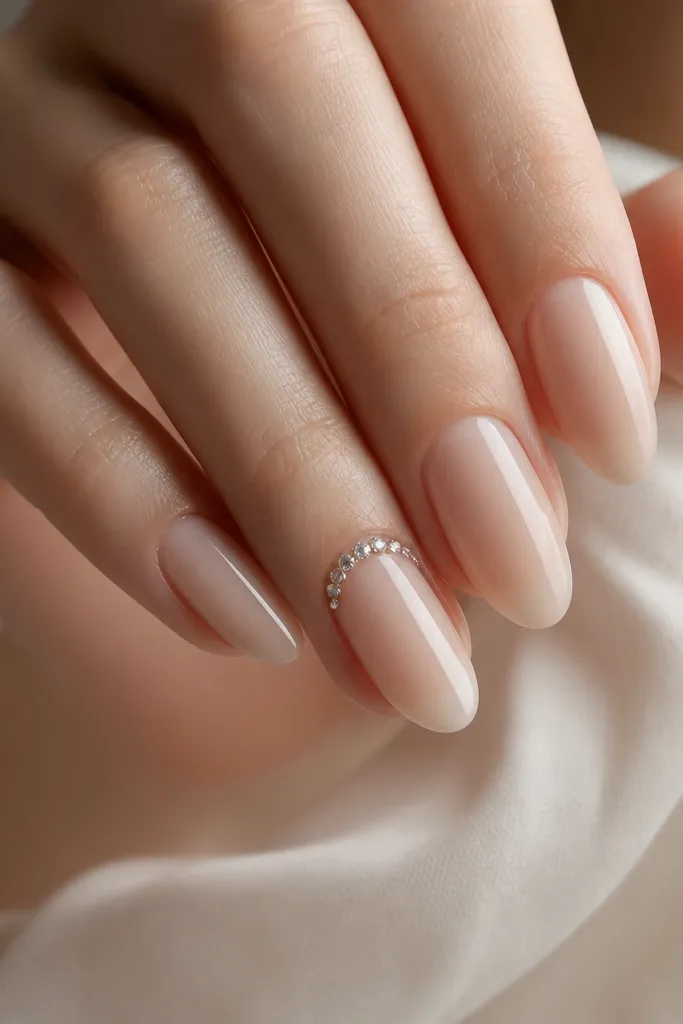
A micro-rhinestone halo reads bridal and expensive when it's small. Champagne nude gives the stones something warm to reflect, so they look crisp instead of icy. Keeping it to one nail is what keeps it from looking like a craft project.
Use a champagne nude acrylic base with a slight gold-beige tint. Place 6-9 tiny stones in a half-moon near the cuticle, following the almond curve. Seal with clear acrylic so the stones sit under the surface slightly, then cap and file for smoothness.
Pro tipMatch stone size to nail width - for almond, I use micro stones about 1.5-2 mm across.
Watch outAvoid placing stones too close to the skin line - they lift faster and look messy.
10. Nude Acrylic with Matte Cuticle Reverse French
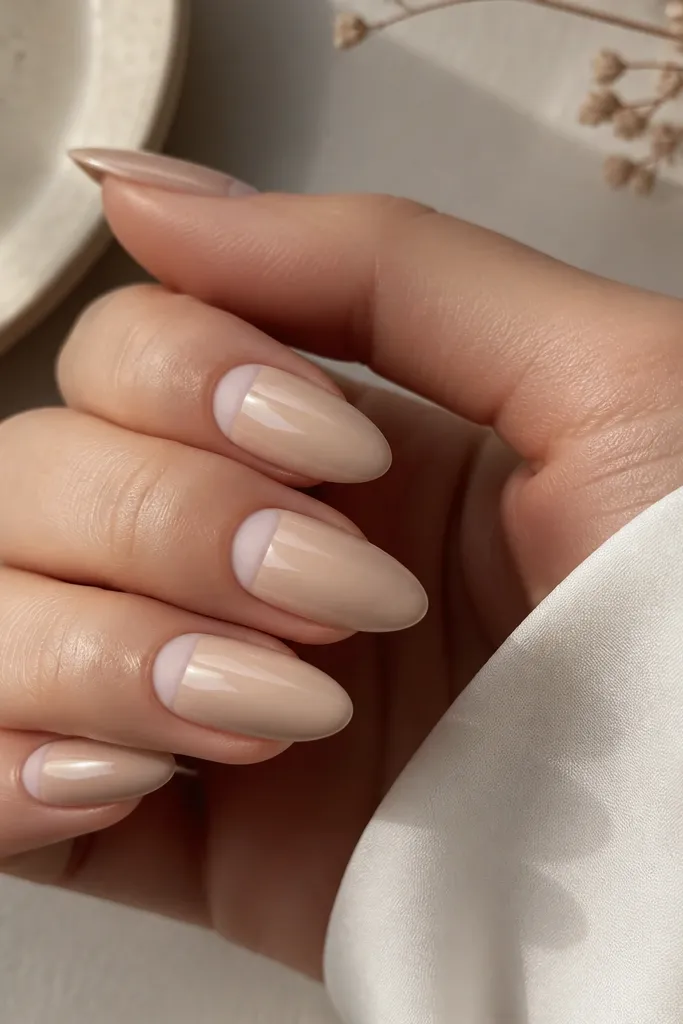
Reverse French is luxe when you control the contrast. Glossy nude plus a matte cuticle band makes your nails look custom and styled, not decorated. The matte band also hides tiny surface flaws under the top coat.
Paint or build the nude base glossy first. For the matte band, apply a matte gel or matte powder only in a curved arc near the cuticle, leaving a thin glossy transition line. Cure, then seal the rest of the nail with gloss top coat while keeping the band matte.
Pro tipUse a small angled brush to pull the matte arc clean - freehand looks shaky fast on almond.
Watch outAvoid matte on the whole nail - it can make nude look dusty and flat.
11. Cocoa Nude with Silver Foil Corner Accent
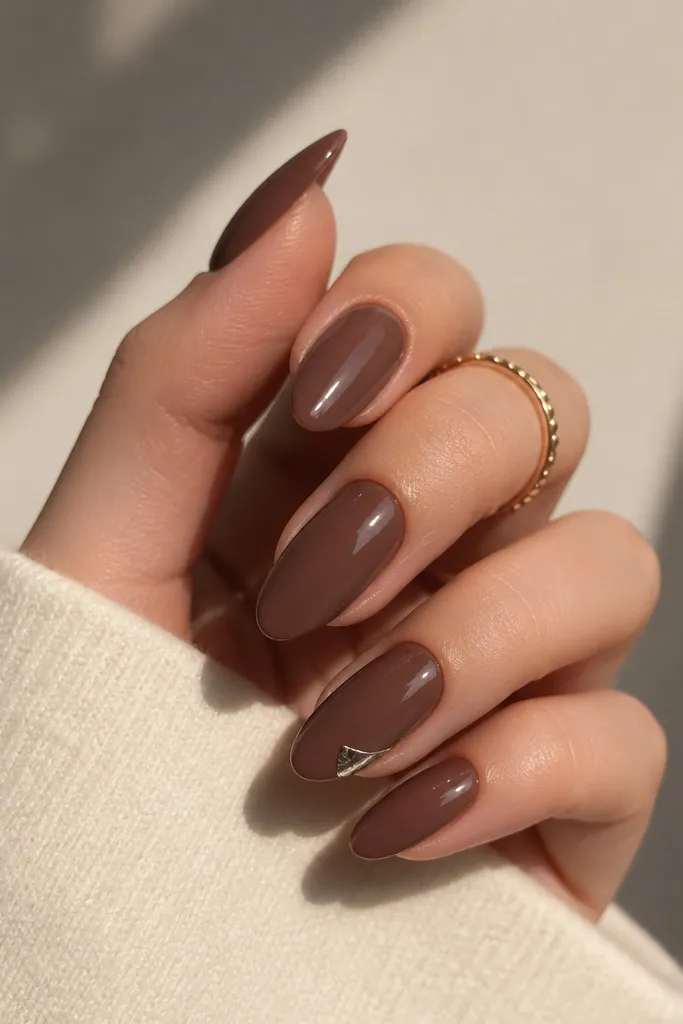
Cocoa nude makes silver look bright without turning the set icy. The corner accent adds movement and looks expensive because it's small and placed like a design element, not random foil. It's a great option if you want nude but you don't want "beige bland."
Use cocoa nude acrylic with warm undertones. Add silver foil in a tiny triangular corner near the tip on one accent nail, then seal with clear acrylic so foil edges don't lift. File and top coat for a smooth glass surface over the foil.
Pro tipPress foil with a silicone tool for 5-10 seconds to lock it flat.
Watch outSkip big foil patches - they look like glitter overload on almond.
12. Neutral Nude with Micro-Cuticle Rhinestone Line
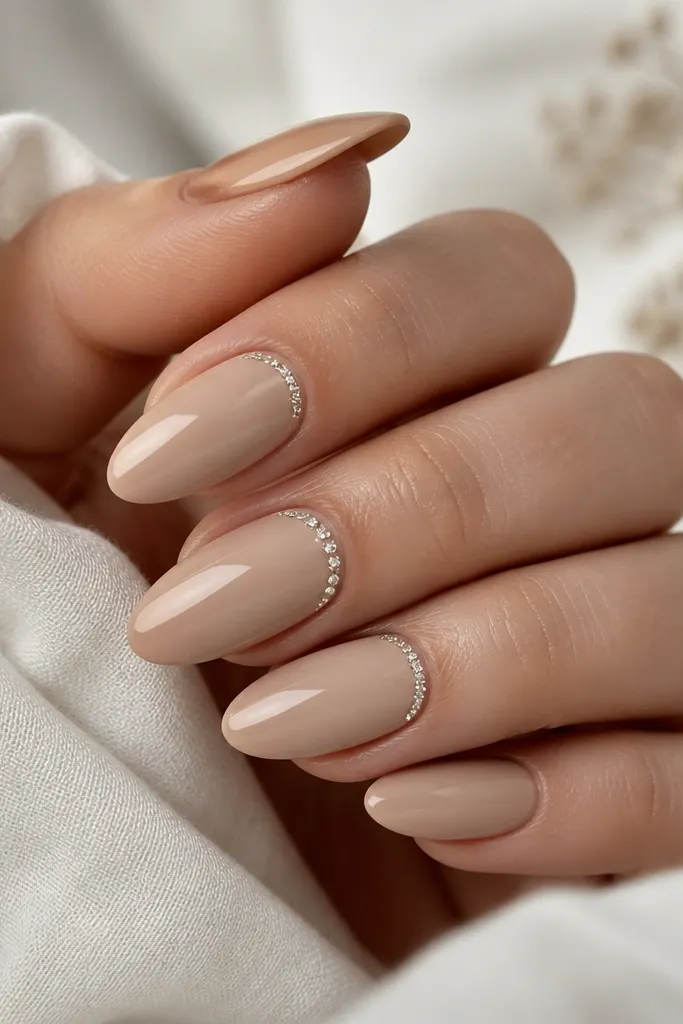
This is the grown-up version of a full rhinestone nail. The micro line creates sparkle right where the nail meets your skin, so it looks neat from across the room. Neutral nude keeps it wearable even for work events.
Build the nude base with an even medium-opacity beige. Place micro rhinestones in a curved line that follows the cuticle, leaving about 1 mm gap from the skin line. Seal with clear acrylic and file until the rhinestones feel fully set under the surface.
Pro tipUse tweezers with good grip and place stones one by one. Trying to "slide" them makes spacing uneven.
Watch outAvoid larger stones in a line - they create a bumpy ridge and catch on hair and fabric.



