
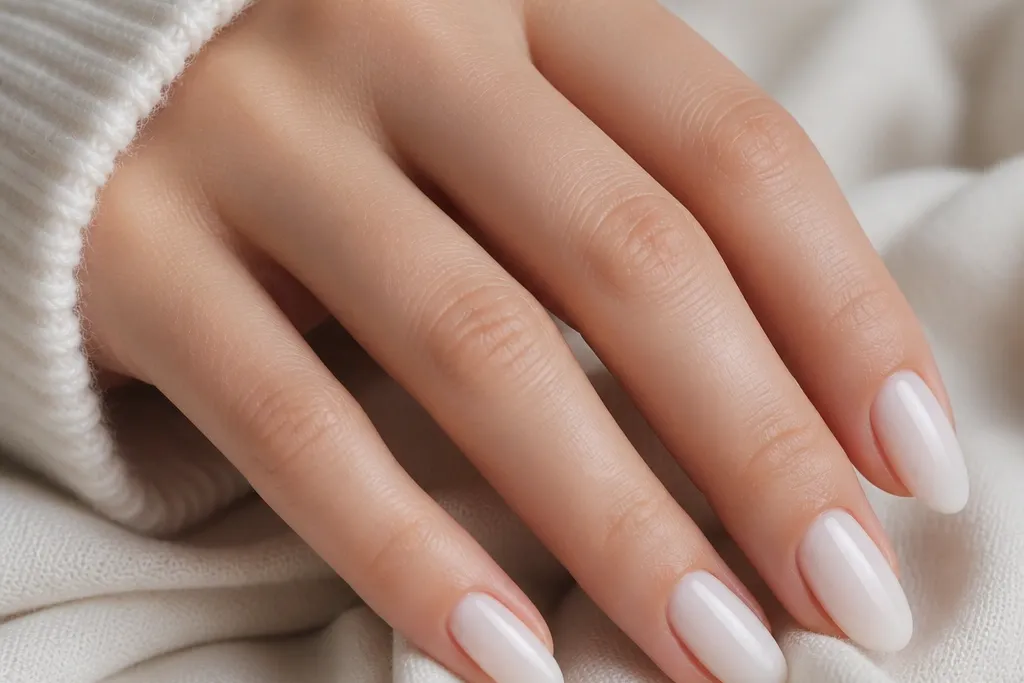
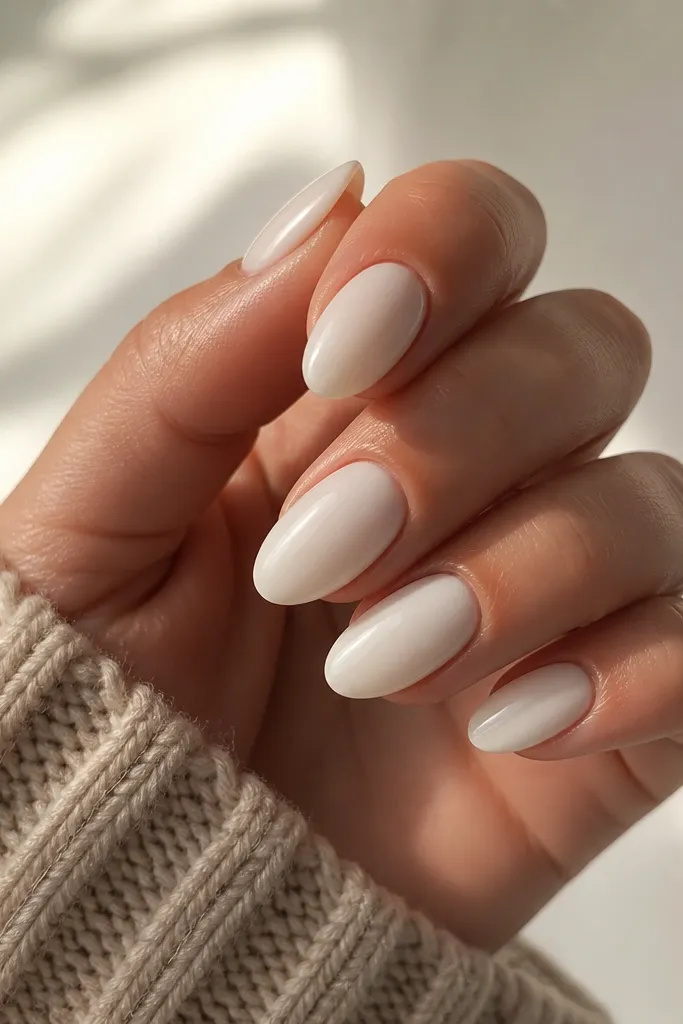
1. Creamy Milk White Almonds with Barely-There Shine
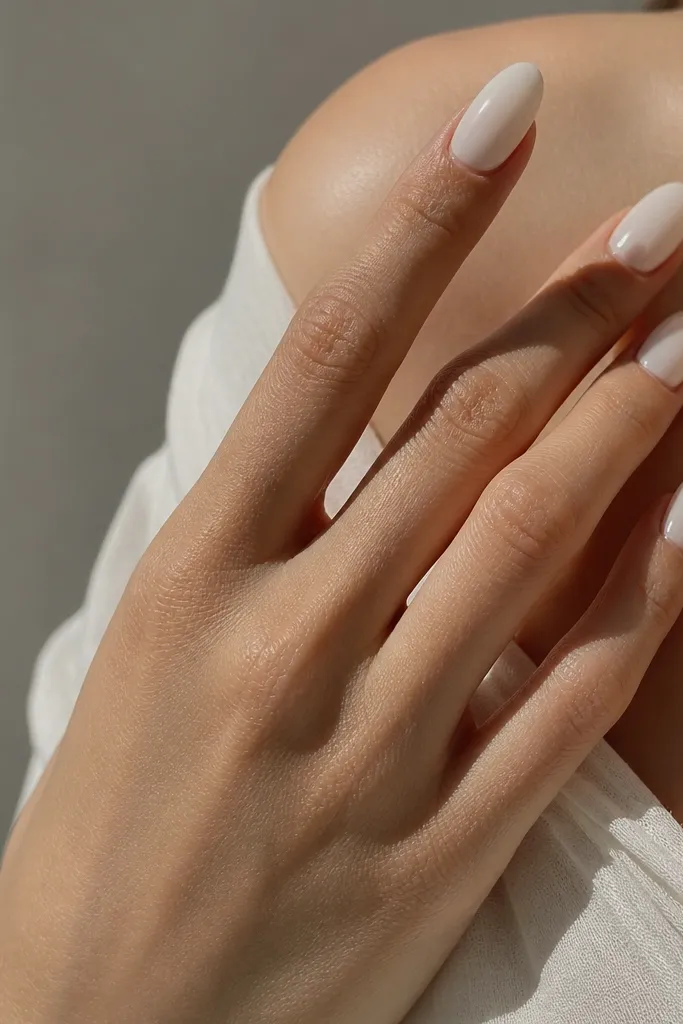
This is the version I reach for when I'm busy. Milk white with a satin-gloss top looks clean even when the cuticle line grows out a bit, because the color is opaque and uniform. The almond shape keeps it feminine without adding extra design work.
File the almond to a gentle taper - don't over-point it. Apply two thin coats of milk white (thin layers matter here), then one glossy top coat. Keep the free edge fully coated so chips don't show a contrast line.
Pro tipFor low maintenance, cap the free edge on coat two and again with top coat.
Watch outSkip chalky white - it shows streaks and makes regrowth look harsher.
2. Half-Moon Milk White with Clear Center
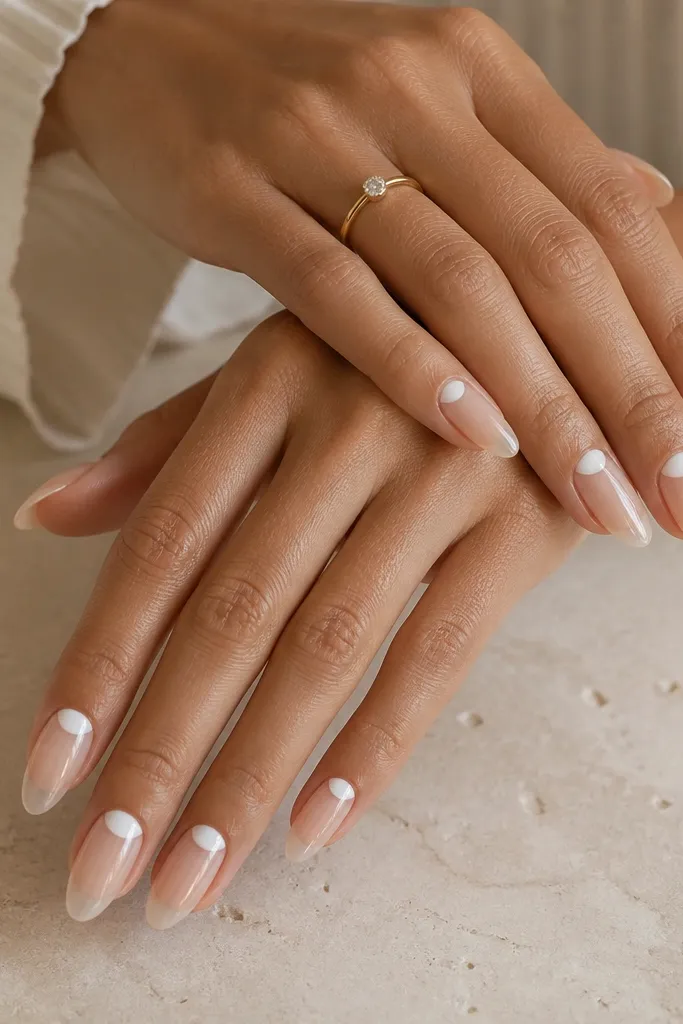
This design hides regrowth because the only opaque area is at the cuticle. The clear center grows out without looking messy, and the almond still reads as clean and intentional. It also looks expensive because the light catches the clear surface.
Use a builder gel or rubber base for the clear area so it stays smooth. Paint a crisp half-moon at the cuticle - about 1/8 inch tall - then seal with top coat. Keep the half-moon centered so it doesn't look lopsided as it grows.
Pro tipUse a small angled brush and do one clean stroke for the half-moon curve.
Watch outDon't make the half-moon too wide - it turns into a chunky band fast.
3. Micro French Tip in Milk White
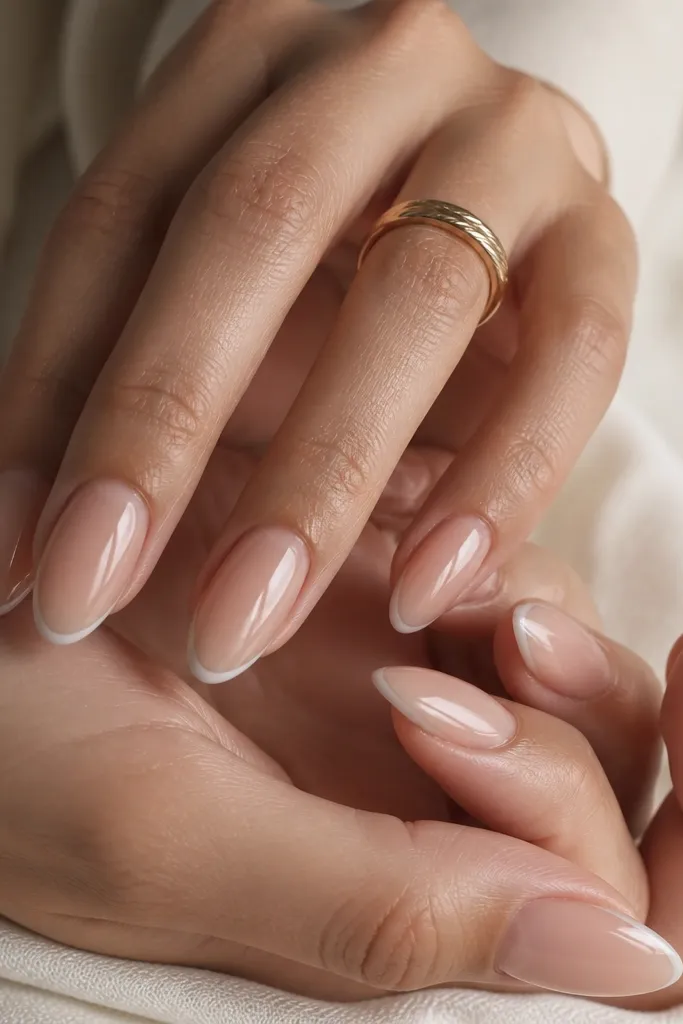
A micro French tip is the lowest-effort way to look done. When your nails grow, the line still looks "designed" because it's thin and sits at the free edge. Milk white stays softer than stark white, so it doesn't scream bridal-only.
Start with a sheer nude base (pink-beige or sheer rosé). Paint the tip line at about 1/16 inch thick, then blend the edge with the brush so it looks smooth. Finish with glossy top coat for a glassy look.
Pro tipIf you're hand-painting, place dots at each side of the tip first, then connect them.
Watch outAvoid thick French tips - they chip and look bulky on almonds.
4. Milk White Ombré Fade on the Almond Curve
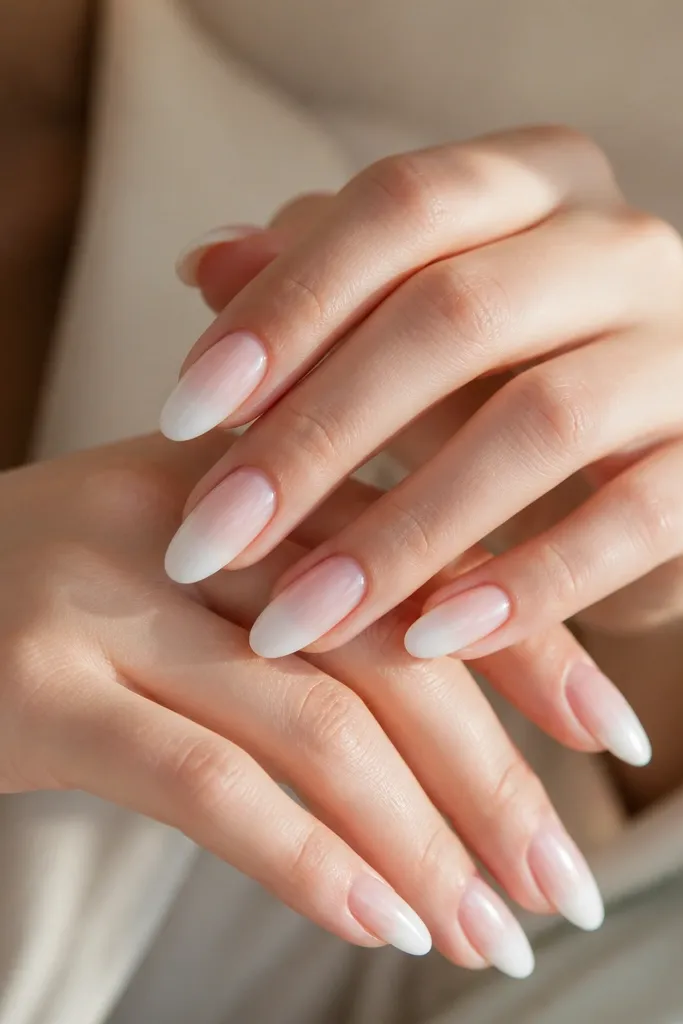
Ombré makes regrowth less obvious because there's no hard color line to notice. The fade follows the almond taper, so the nails look longer and smoother. Milk white ombré also hides small streaks during application.
Use a sponge (makeup sponge works) and dab milk white where you want the brightest tip area. Blend upward with light pressure - you're building a gradient, not painting a solid block. Seal with a glossy top coat and wipe the tacky layer clean if your gel needs it.
Pro tipDo two passes: one for pigment placement, one for blending so the fade looks smooth.
Watch outDon't overdo the fade too close to the cuticle or it turns into a flat white block.
5. Matte Milk White with One Glossy Accent Nail
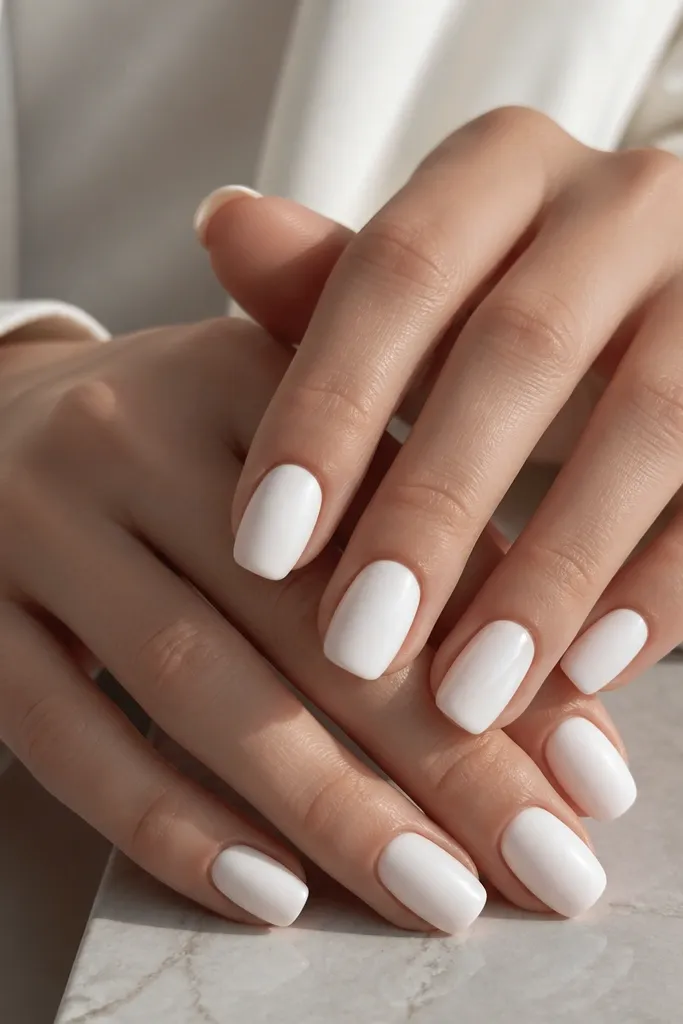
Matte is forgiving because it hides micro-texture and small application marks. Switching one nail to glossy adds dimension without needing art skills. The contrast makes the set feel designed even when you keep the color simple.
Apply milk white gel as usual, then cure. Top coat: matte on 8 nails, glossy on 2 nails. Make sure the matte top is fully cured; otherwise it can look patchy.
Pro tipPick the accent nail consistently - I like ring finger and thumb for a balanced look.
Watch outSkip mixing matte and glossy on the same nail unless you're doing a deliberate half-and-half design.
6. Soft Cloud Swirl on Milk White Almonds
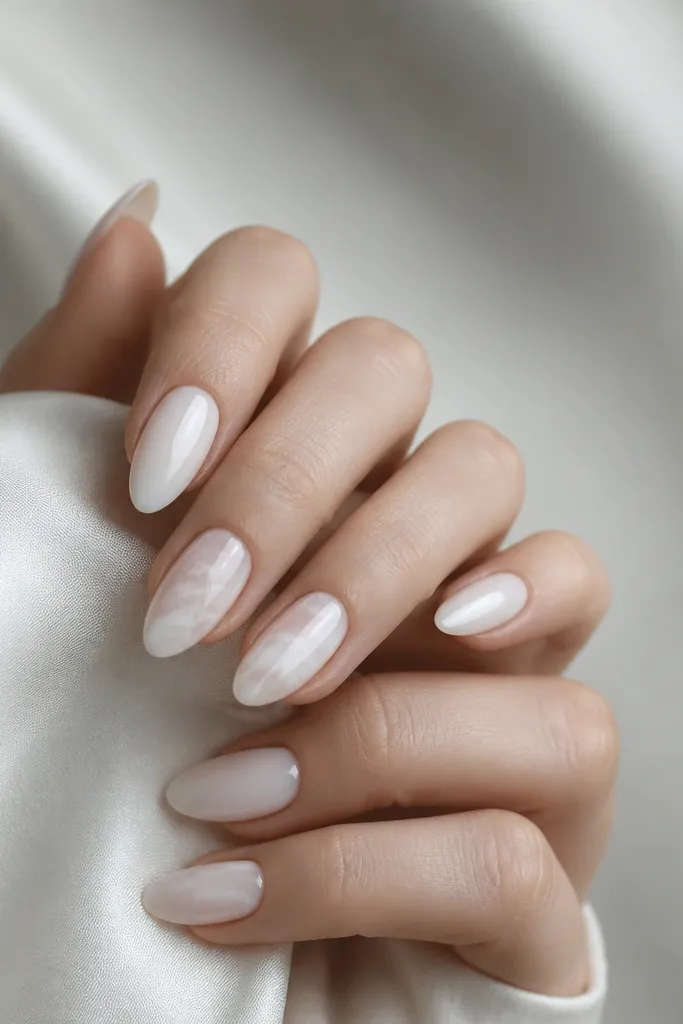
A thin swirl looks like "movement" instead of nail art. Keeping it in a soft gray-white makes it show up without turning into a bold graphic. Because the base is solid milk white, you don't need perfect coverage everywhere.
Use a fine striping brush and a diluted gray-white gel (not straight white). Place the swirl near the center, leaving space at the sides so it doesn't look overcrowded. Seal with glossy top coat so the swirl stays smooth.
Pro tipPractice the swirl on a nail tip first - the goal is light pressure and a thin line.
Watch outDon't make the swirl too opaque or it will look like a sticker line.
7. Milky White with Tiny Star Dots
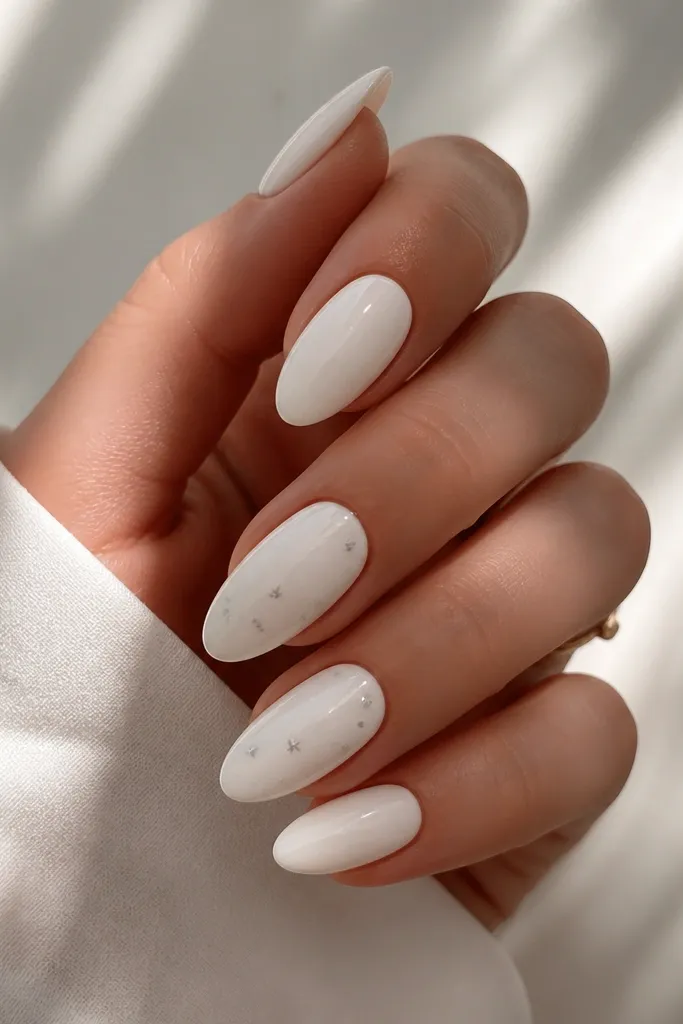
Tiny stars are low maintenance because you're placing a few points, not painting an entire scene. Pale silver keeps it soft and daytime-friendly. The design still reads "cute" even when the set grows out.
Use a dotting tool for the star placement or a star stud wheel if you have one. Keep stars near the cuticle or center - about 2-3 stars per accent nail. Top coat over gems if they're flat-backed; for gel stickers, cure and seal carefully.
Pro tipSpace stars unevenly - one larger dot and two small ones looks more natural than a perfect grid.
Watch outAvoid big rhinestones on milk white if you want low maintenance - they snag and lift.
8. Pearlized Milk White with Micro Glitter Fade
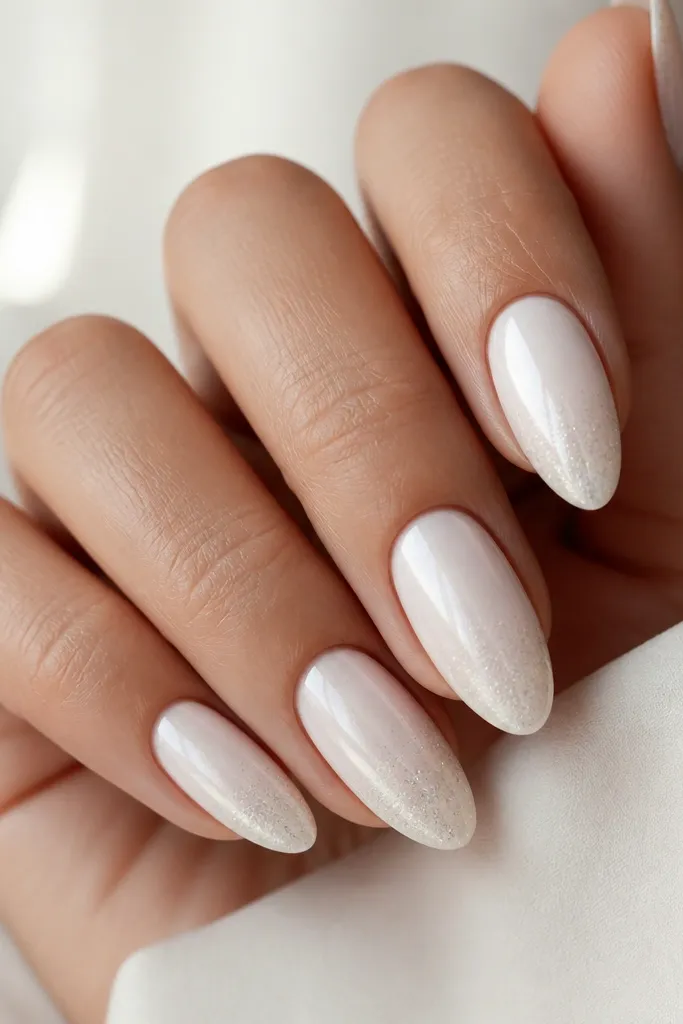
Pearlized milk white already adds depth, so you don't need heavy sparkle. The micro glitter fade at the tip hides edge wear because glitter texture masks tiny chips. It's the kind of set that still looks good after a few weeks.
Use a pearl milky white base (or add pearl powder to white gel). Then dust fine holographic micro glitter only on the last 1/3 of the nail. Seal well at the glitter edge so it doesn't catch on sleeves.
Pro tipPress the glitter in with the brush lightly before curing for a smoother transition.
Watch outDon't put chunky glitter at the tip - it feels rough and chips faster.
9. Milk White Almonds with Thin Rose-Gold Line
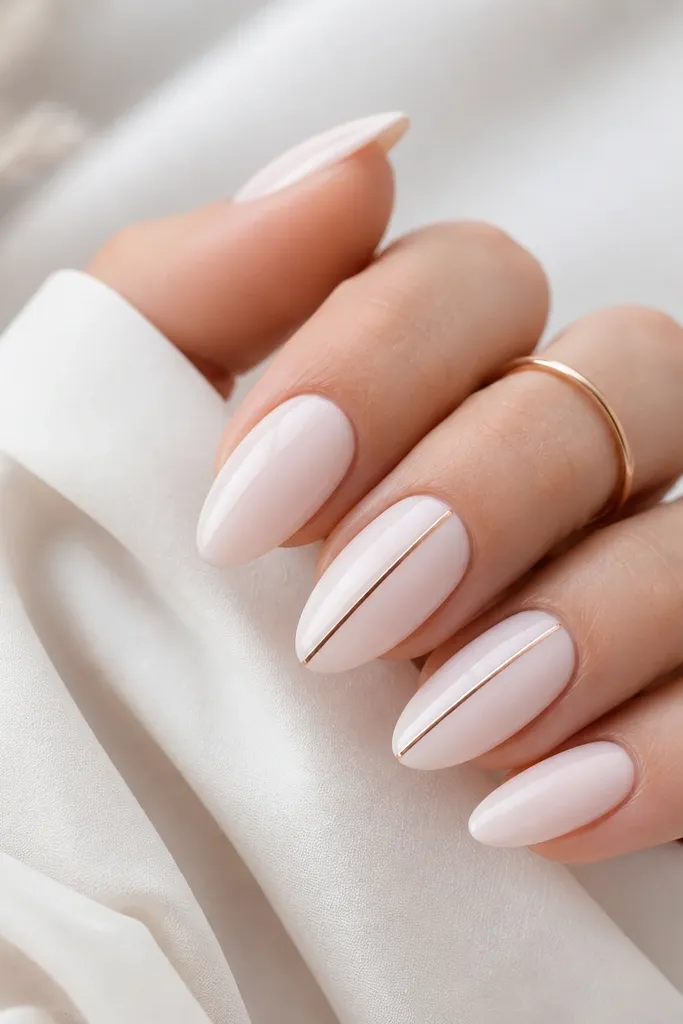
One vertical line gives length and makes the almond shape look sharper. Rose-gold on milk white reads warm, not harsh, so it works with everyday outfits. Because it's only on two nails, you don't need perfect symmetry on every finger.
Use a striping gel or a rose-gold chrome pen for the line. Start from just above the cuticle and stop short of the tip by about 1 mm to keep it from looking overly sharp. Cure, then apply top coat.
Pro tipKeep the line thickness like a hair - too thick looks like a stripe label.
Watch outSkip gel chrome without a top coat - it smudges and dulls quickly.
10. Matte Milk White with Glossy Cuticle Halo
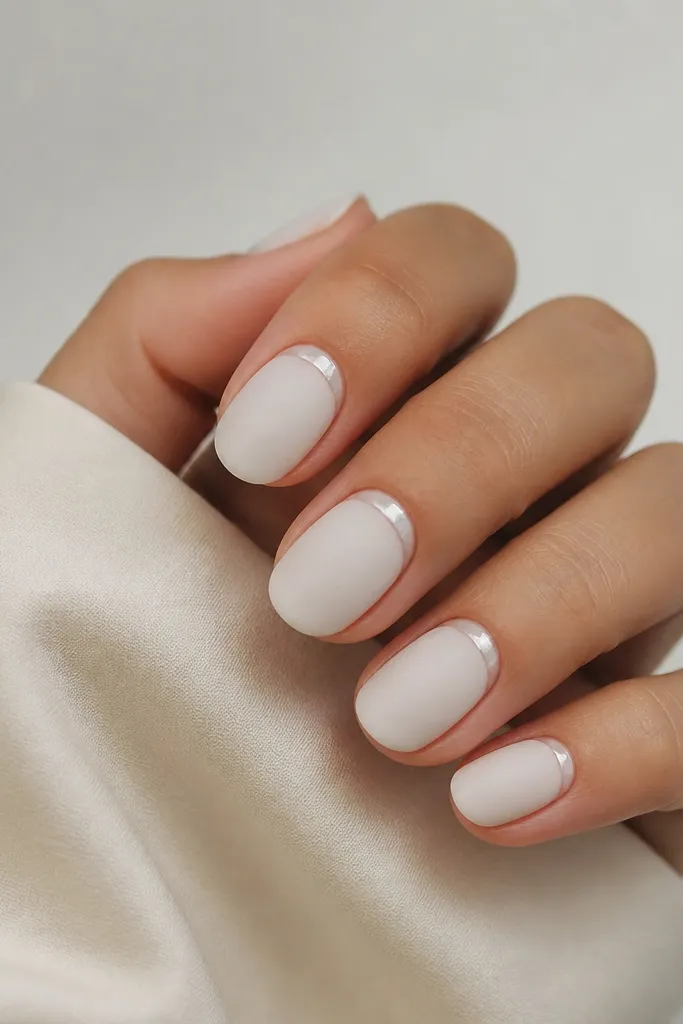
This is a clever way to add design without painting a full pattern. The glossy halo catches light every time you move your hands, so the set looks fresh even as it grows. Matte hides fingerprints and small scuffs.
Do matte top coat on the whole nail first. Then paint a thin glossy gel ring around the cuticle, cure, and top with glossy only over that ring. Keep the halo about 1/16 inch away from the skin so it stays neat.
Pro tipUse a small brush and wipe excess gel off the skin side - halos look cleaner when they have a tight gap.
Watch outDon't flood the cuticle area - it will lift and peel where it meets skin oils.
11. Sheer Nude Base with Milk White Side Tips
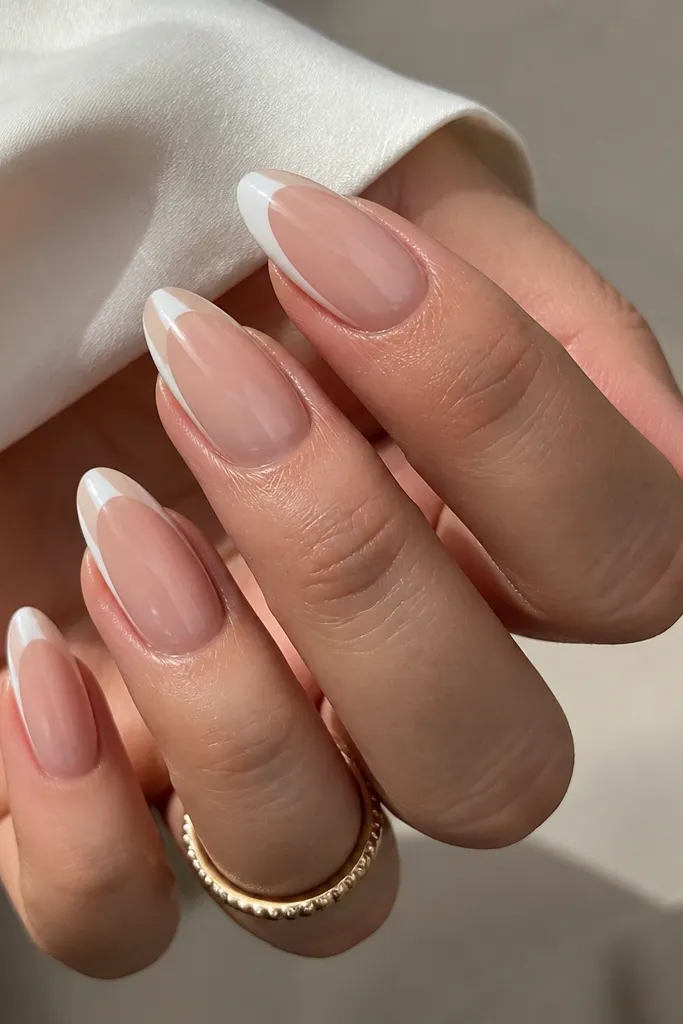
Side tips elongate the nail and look modern without needing a full tip line. The nude center makes regrowth less noticeable because there's no hard boundary across the nail. Milk white on the sides gives that "clean frame" effect.
Paint a sheer nude base, then place milk white along both side edges starting about halfway down the nail. Keep the width thin - think 1-2 mm. Blend the inner edge so it looks like a smooth curve, then seal with glossy top coat.
Pro tipUse nail tape along the side for one clean edge, then remove before curing.
Watch outDon't make the side tips too wide or the nail turns into a white bar.
12. Milk White Almonds with One-Line Smile French
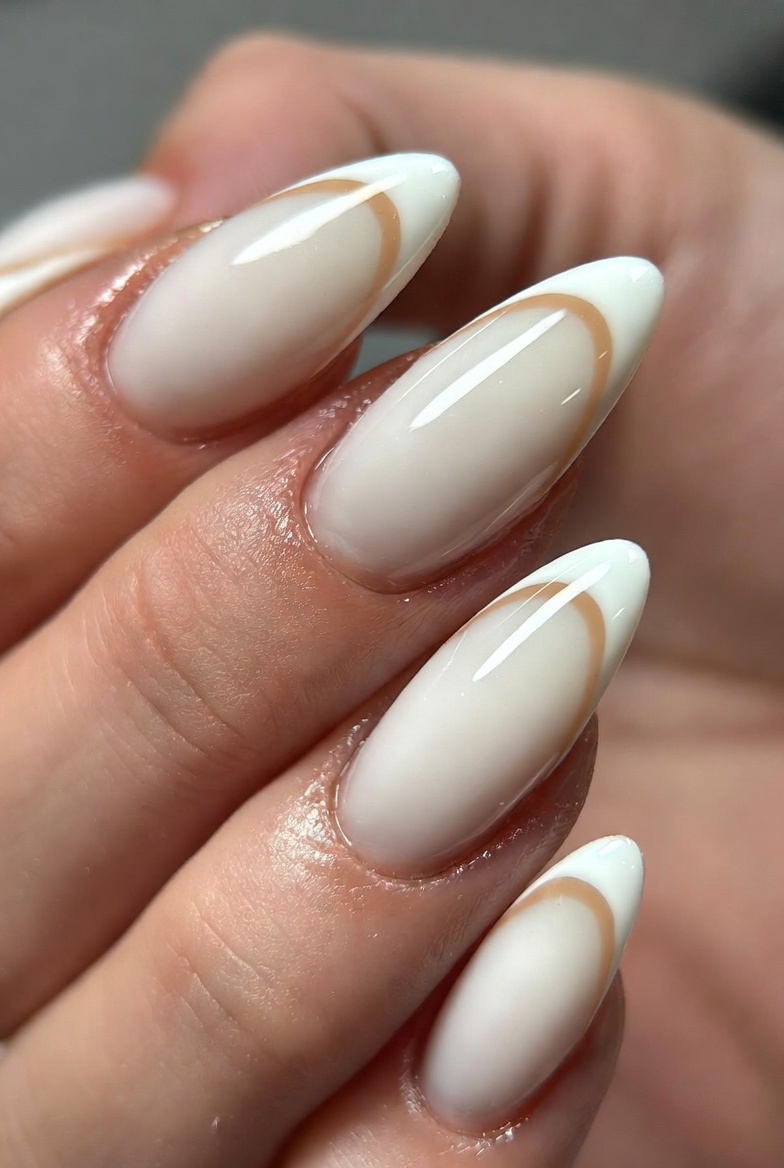
A smile French looks like a soft mouth shape - cute and flattering. The single curve is easy to place, so it's low maintenance when you do touch-ups. Milk white stays gentle and doesn't make hands look washed out.
Use a sheer nude base. Draw the smile curve with a striping brush, keeping it about 1/16-1/12 inch thick. Cure, then add glossy top coat for a smooth, glassy look.
Pro tipAnchor the curve by marking two tiny dots at the side of the tip first.
Watch outAvoid double lines - two strokes make it look thick and cheap.



