
1. Half-Moon Glow in Coral and Pink
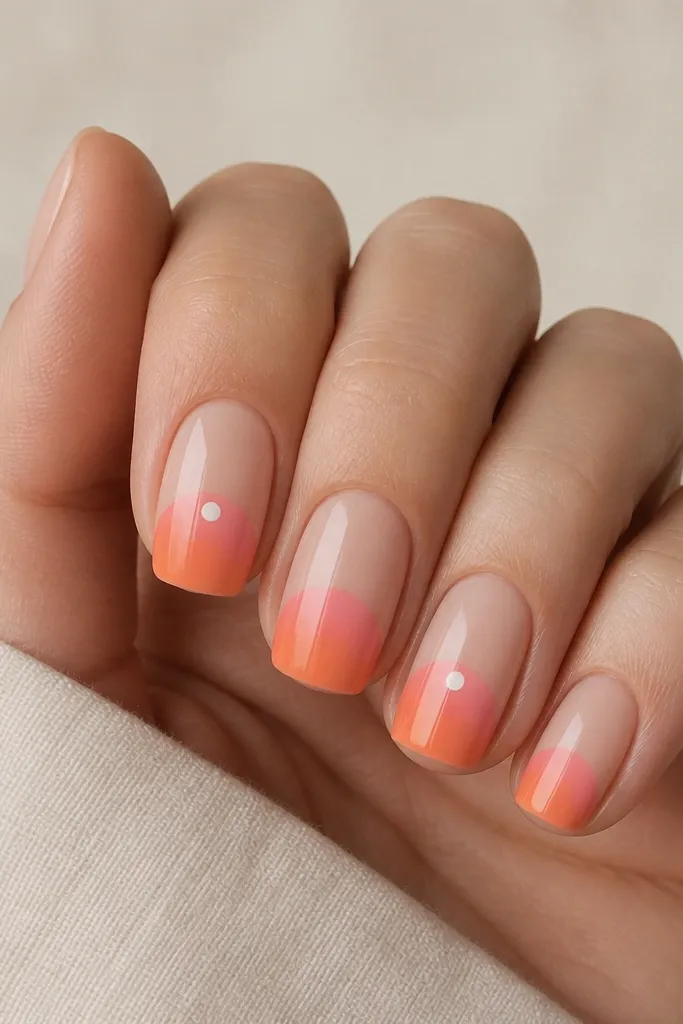
This is the easiest minimalist modern sunset nails setup because the gradient lives in one tight zone. Coral orange at the very bottom reads like the sun rising, and the pink fade gives you that warm, airy look instead of harsh blocks. A nude base keeps the manicure modern and stops it from looking like a full ombré.
Start with a milky nude base (two thin coats). Sponge the bottom band with coral first, then add pink on top of it while it's still slightly tacky, blending with a flat brush. Add a single tiny white dot only on two accent nails. Finish with glossy top coat and cap the free edge.
Pro tipUse half-moon nail guides or even a strip of painter's tape for the lower edge so your gradient starts crisp.
Watch outSkip thick polish layers - they cause a ridge line at the half-moon boundary that kills the modern look.
2. Diagonal Sun Sweep on Milky Nude
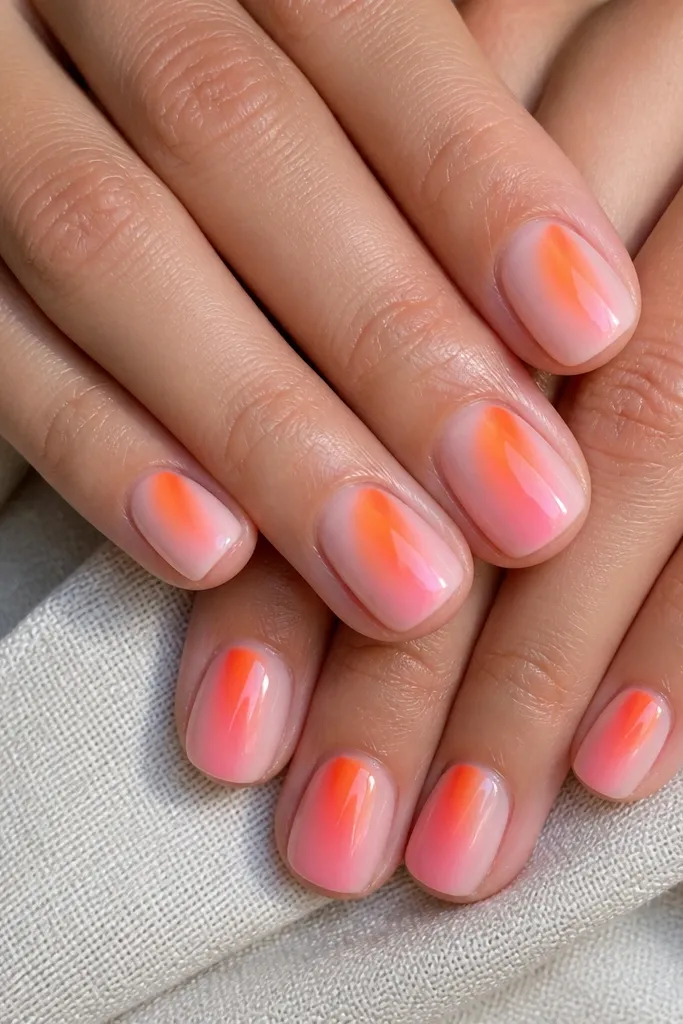
A diagonal stripe makes minimalist modern sunset nails feel graphic and clean. Placing the brightest orange near the cuticle gives you that "light catches the nail" effect. The fade to peach and pale pink softens the transition so it doesn't look like a decal.
Paint a milky nude base and let it dry fully. Use a makeup sponge or a fine detailing brush to place orange along a diagonal path, then lightly dab peach at the mid-point and pale pink at the lower end. Blend edges by wiping your brush on a lint-free wipe and feathering once. Seal with two thin coats of top coat.
Pro tipKeep the diagonal stripe narrow - about 2 to 3 mm wide at the widest point - for the minimalist look.
Watch outDon't extend the stripe all the way to the sidewalls; leave a 0.5 mm gap to keep it looking salon-clean.
3. Sunset French Tip with Thin Orange Edge
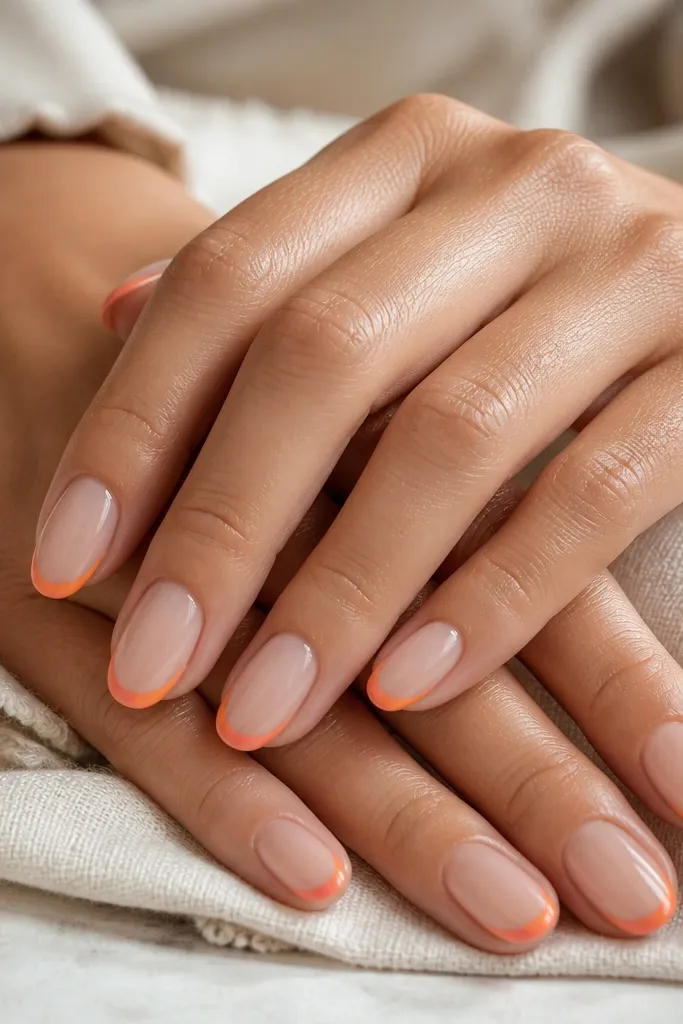
French tips are already neat, so you only need the sunset gradient to add color. A thin orange-to-peach fade at the tip makes the whole set look brighter without turning it into full coverage. It's also flattering on short nails because the color is concentrated where the nail is longest.
Start with a nude base. Use a nail art striping brush to paint a thin French line and fill just under it with a gradient: tangerine in the center, peach-pink at the outer edge. Blend with a clean brush lightly dragged through the wet polish. Top coat and make sure the free edge is fully sealed.
Pro tipIf your orange looks too opaque, mix it with a drop of clear top coat so the gradient stays soft.
Watch outDon't make the French tip thick; thick tips look like sticker edges and ruin the minimalist vibe.
4. Milky Peach Base with Tangerine Ombre Halfway
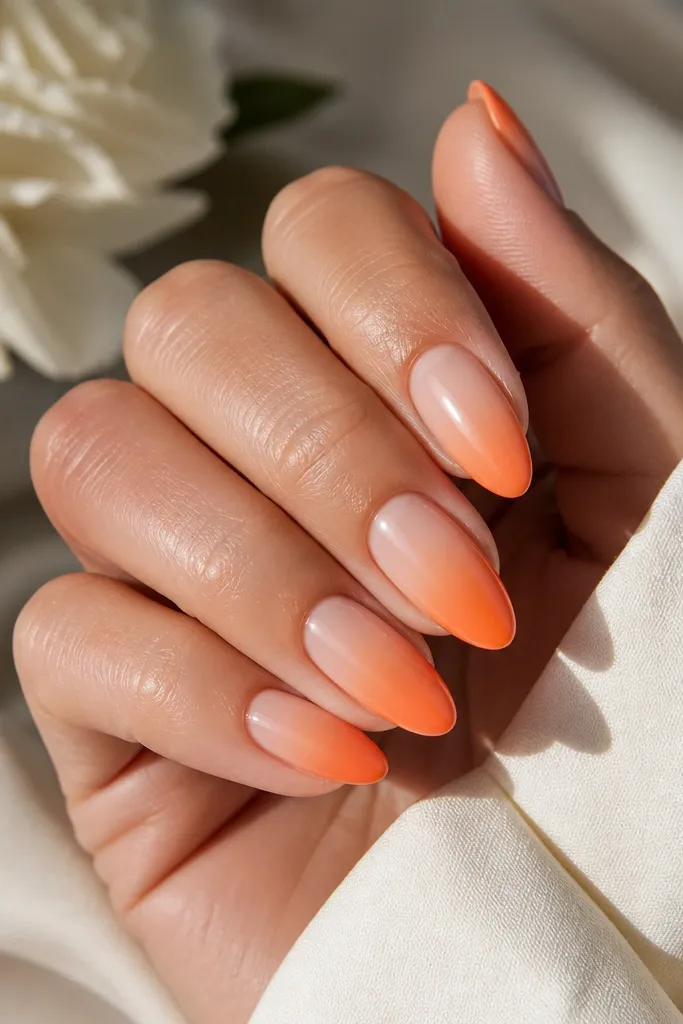
This looks modern because the cuticle stays calm and the color only happens in the top half. Tangerine is bright enough to read sunset even in indoor light, and the milky peach base ties it together. It's a good choice when you want color but hate full gradients.
Apply a milky peach base in two thin coats. Sponge tangerine from mid-nail to the tip using a light hand, then soften the boundary with a clean brush. For extra smoothness, do one more sheer tangerine layer only where the fade needs more pigment. Finish with a thick glossy top coat.
Pro tipUse a sponge cut into a wedge so you can control the fade height nail by nail.
Watch outAvoid painting the ombre too low - if it starts too close to the cuticle, it looks messy instead of intentional.
5. Tiny Sun Dot Accent on Coral Fade
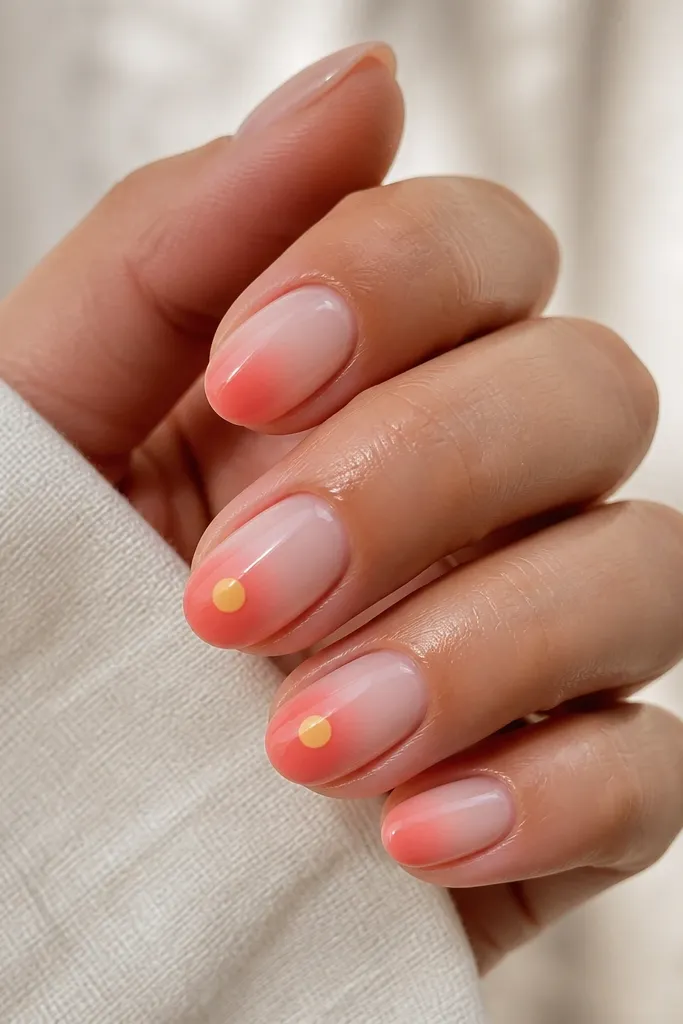
Minimalist modern sunset nails look more "sunset" when you add one tiny sun element. The dot is small enough to keep the set clean, but it gives you that instant theme. Coral fade provides the warmth, and the yellow dot adds brightness without needing multiple colors.
Do a lower-third coral gradient over nude. Let it cure or dry, then use a dotting tool to place a tiny yellow circle (about 0.8 to 1 mm on short nails). Add a second layer of yellow only on the top half of the dot for a sun-like highlight. Seal carefully with top coat.
Pro tipIf the dot bleeds, wait for the gradient to fully set and use a thicker gel for the dot.
Watch outSkip outlines around the dot; a black outline makes it look like nail art stickers.
6. Peach-to-Rose Micro Ombre at the Tip
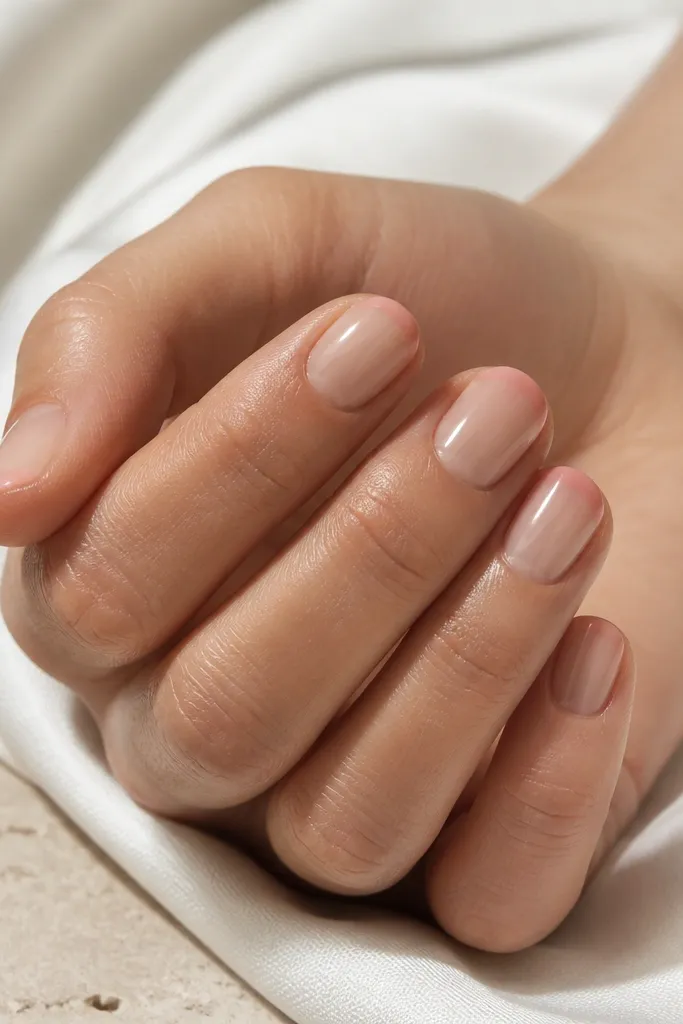
Micro ombre is the minimalist modern sunset nails version of a whisper. Because the gradient is only at the tip, it brightens your whole manicure while staying subtle. Peach gives the sun warmth; rose keeps it from reading orange-only or too summery.
Apply sheer nude base. Sponge or brush a thin band of peach at the very tip, then blend rose just slightly above it. Clean the sides with a brush dipped in remover if you're using regular polish. Top coat twice to smooth the surface.
Pro tipKeep the gradient height consistent across nails - measure it by holding your hand under light and comparing the band thickness.
Watch outDon't overwork the sponge; too many dabs turn the tip into a cloudy patch.
7. Sunset Stripe with Negative Space Cuticle
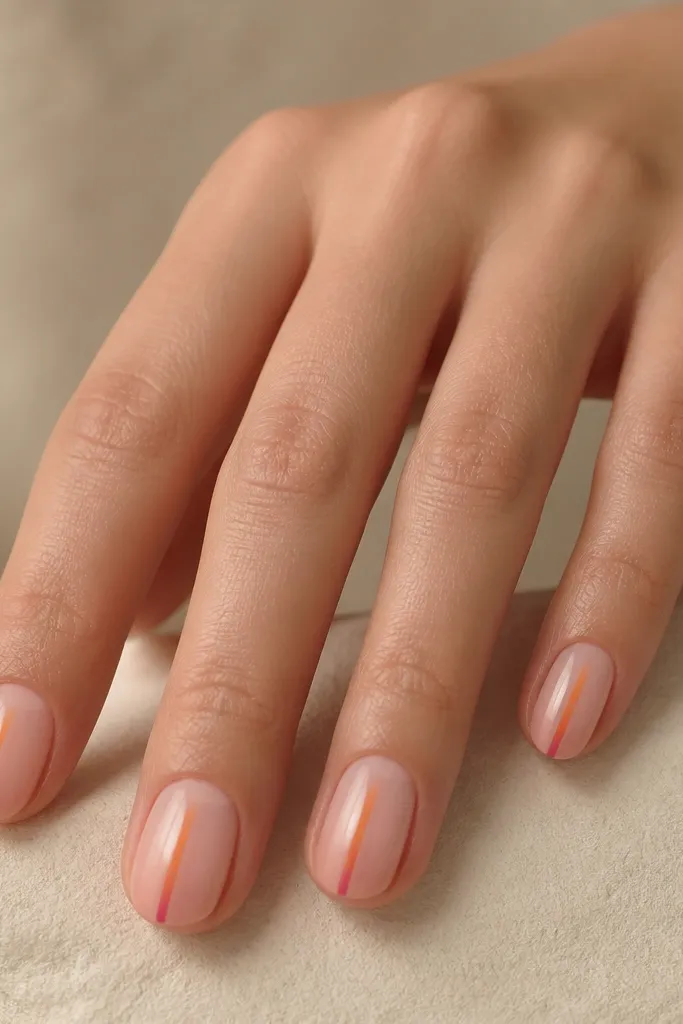
Leaving the cuticle area negative space makes the sunset feel modern and sharp. The gradient stripe still reads as sunset because the color runs in a warm arc from orange to pink. This design looks clean even on short nails because the line is centered and the rest stays clear.
Use a glossy clear base or nude base, then keep a small cuticle gap unpainted using a cuticle barrier or careful brush work. Paint the stripe in two passes: orange first, then pink blending into orange in the midline. Feather the ends so the stripe doesn't look cut with scissors. Seal with top coat and cap the stripe edges.
Pro tipUse a striping brush with a slightly angled tip; it helps you keep the stripe straight without dragging.
Watch outAvoid filling the cuticle gap; if the stripe touches the skin, it looks crowded and less minimalist.
8. Two-Tone Sunset Half-Moon on Glossy Nude
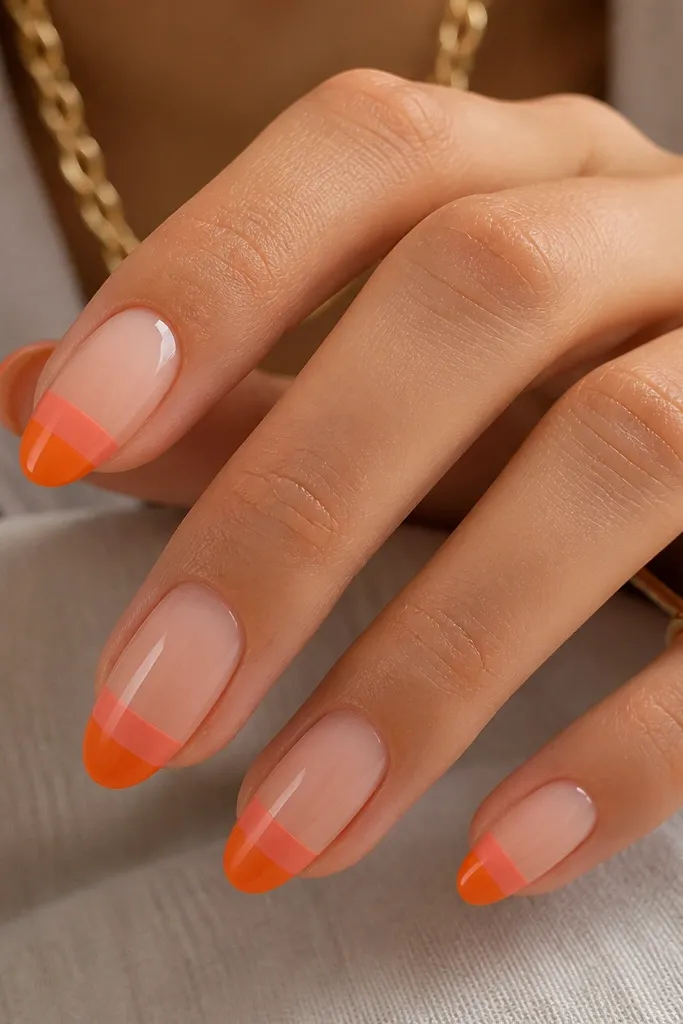
This is the minimalist modern sunset nails look when you want color impact with zero blending complexity. The crisp two-band half-moon reads like layers of sky at sunset. Tangerine is the bright anchor, and coral softens it so it doesn't look like a harsh block.
Paint nude base. Use a half-moon stencil or freehand with a steady hand to create the bottom arc. Fill the bottom band with tangerine first, cure/dry, then add coral above it up to the arc boundary. Finish with a glossy top coat and clean any outer edge with a fine brush.
Pro tipIf your boundary smears, do both bands in gel with a curing step between them.
Watch outSkip sponge gradients here; this design relies on clean edges.
9. Orange Glow Under Sheer Pink Jelly
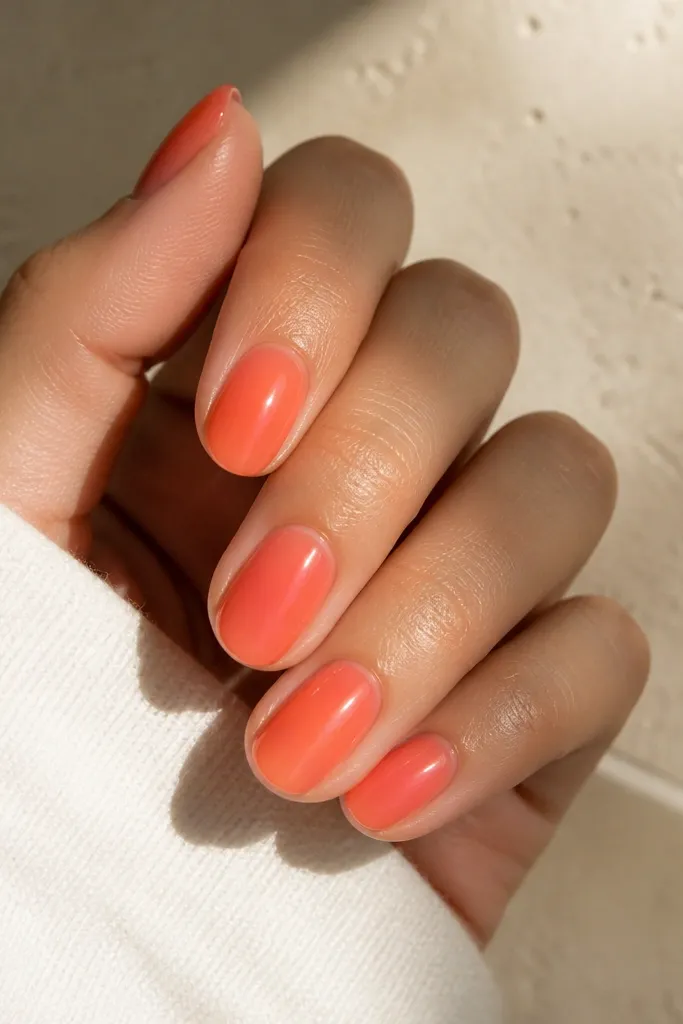
Jelly layering makes sunset color feel dimensional. The orange underneath gives warmth, while the sheer pink top layer keeps everything bright but soft. This is my go-to when I want minimalist modern sunset nails that look expensive without extra art.
Start with a warm orange base in a thin coat. Follow with a sheer pink jelly polish over top, focusing slightly more thickness in the center so the orange glows there. Use a glossy top coat made for gel or for "jelly" finishes. Cure fully so the shine stays glassy.
Pro tipApply jelly polish with a light touch; pressing hard can streak and lift the orange glow.
Watch outAvoid matte top coats - they kill the jelly glow.
10. Sunset Micro Chevron at the Tip
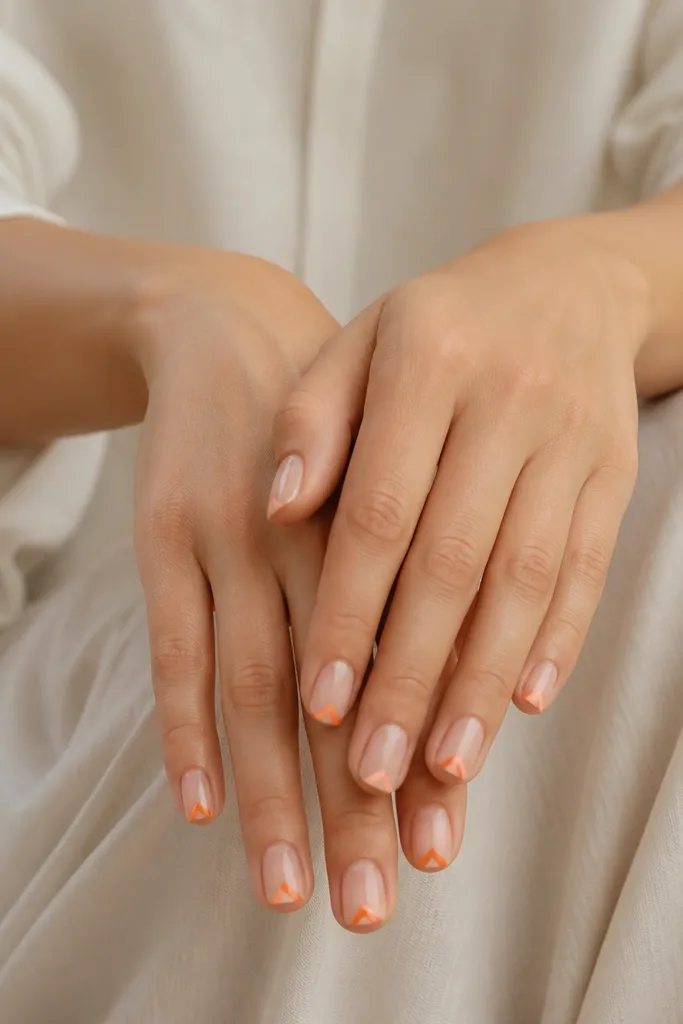
A micro chevron gives you movement without filling the whole nail. The V-shape points toward the tip like a sunset horizon, so the colors read as sky meeting sun. Orange-to-peach keeps it bright and warm, while the tiny scale keeps it minimalist.
Base coat nude. Paint a small V near the tip using a liner brush; left side orange, right side peach. Blend the meeting point lightly so it looks like the sun glow at the horizon. Top coat twice, and use cleanup around the sides if you get polish on the cuticle.
Pro tipDo the chevron first, then cover with a thick top coat; it hides tiny brush strokes and makes the edges look crisp.
Watch outDon't make the chevron too wide; wide V shapes look like cartoon flames.
11. Muted Nude Base with Hot Orange Fade Edge
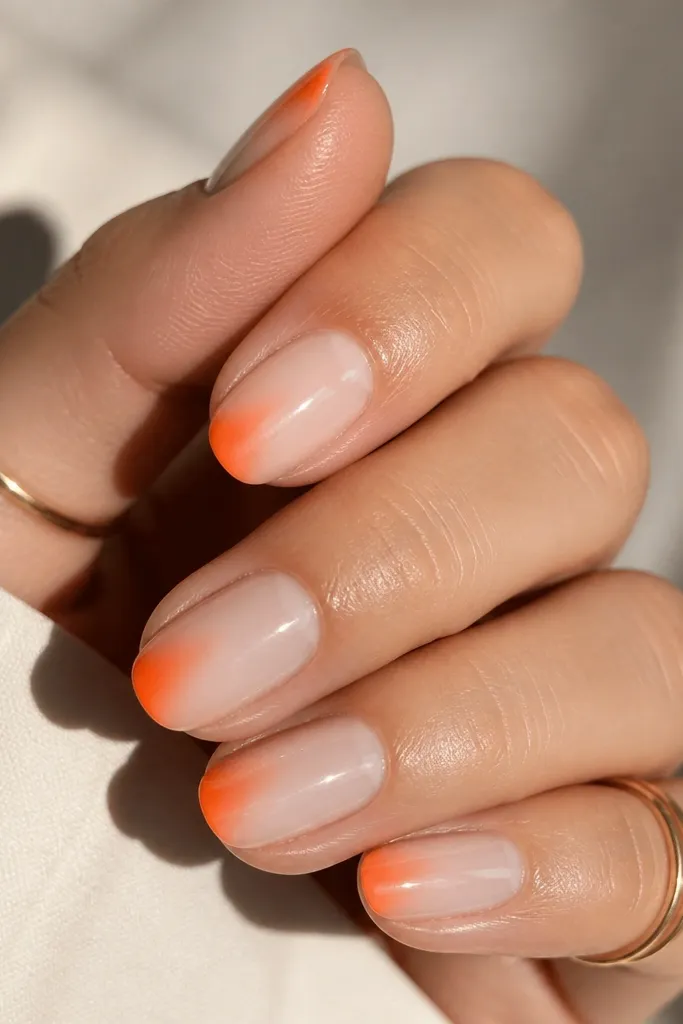
Side fades look modern because they break the usual center gradient. The hot orange at the outer edge makes your nails look brighter, especially in photos, because it catches light at the side. Muted nude keeps the fade from turning neon and keeps the overall set wearable.
Use a muted nude base (slightly taupe-leaning). Paint hot orange along the outer half of the tip, then drag a clean brush through to fade it toward the center. Keep the inner edge softer than the outer edge. Top coat and seal the side edges so it doesn't chip from the corners.
Pro tipIf your orange is too loud, mix a drop of milky white into it for a softer sunset orange.
Watch outAvoid placing the orange too far down the nail; the closer it stays to the tip, the more minimalist it reads.
12. Pink-Orange Ombré with a Clear Glossy Top Layer
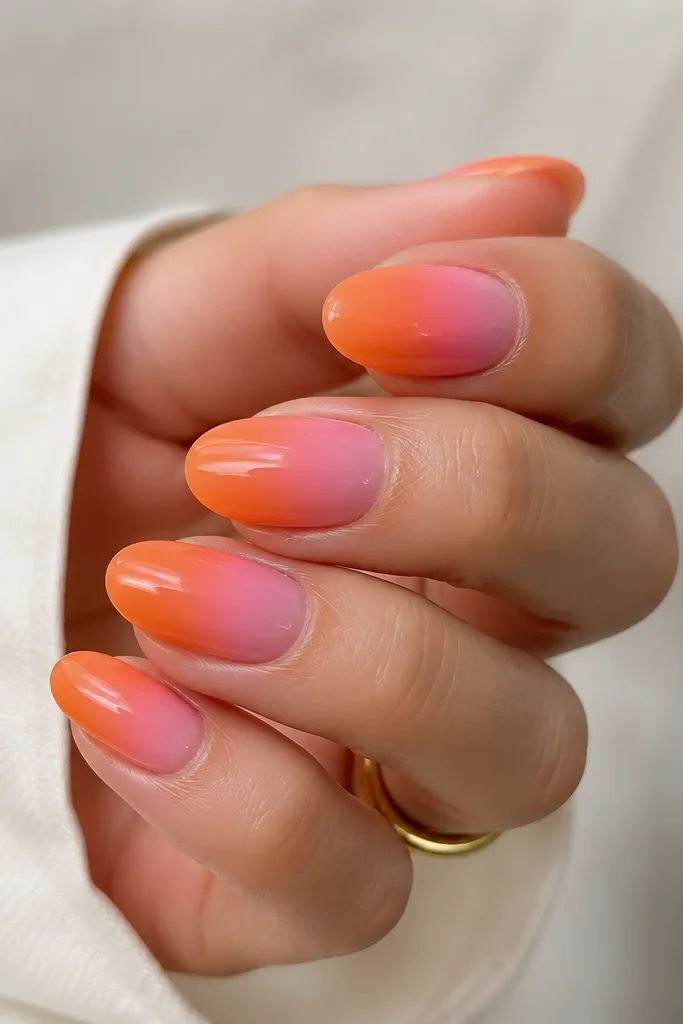
This version looks clean because the surface is level and glossy, not textured. Pink and orange blend in a soft sunset way, and the glossy top layer makes the transition look like one smooth film. It's minimalist modern sunset nails for people who hate nail art but still want color.
Create a mid-to-tip ombré using sponge: orange at the top of the ombré zone, pink in the lower part. Don't over-saturate; thin layers blend better. After curing/drying, apply a gel-like clear top coat in two thin coats to level the surface. Cap the free edge.
Pro tipIf you see banding, buff lightly between top coats - just enough to knock down the ridge, then reapply top coat.
Watch outSkip glitter here; glitter makes ombré look busy and less minimalist.



