
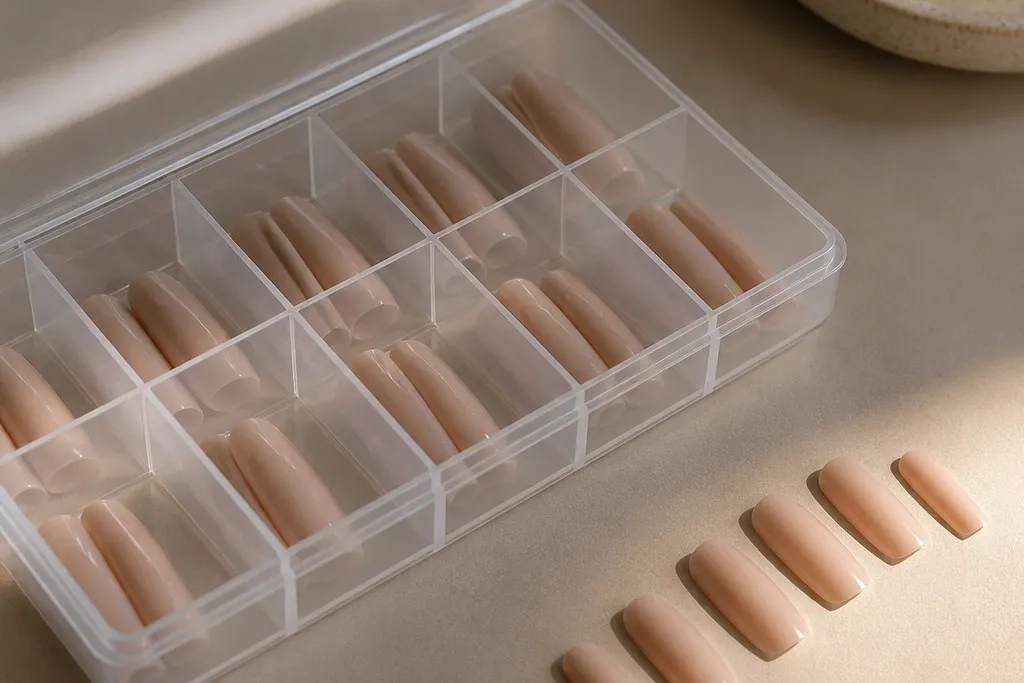
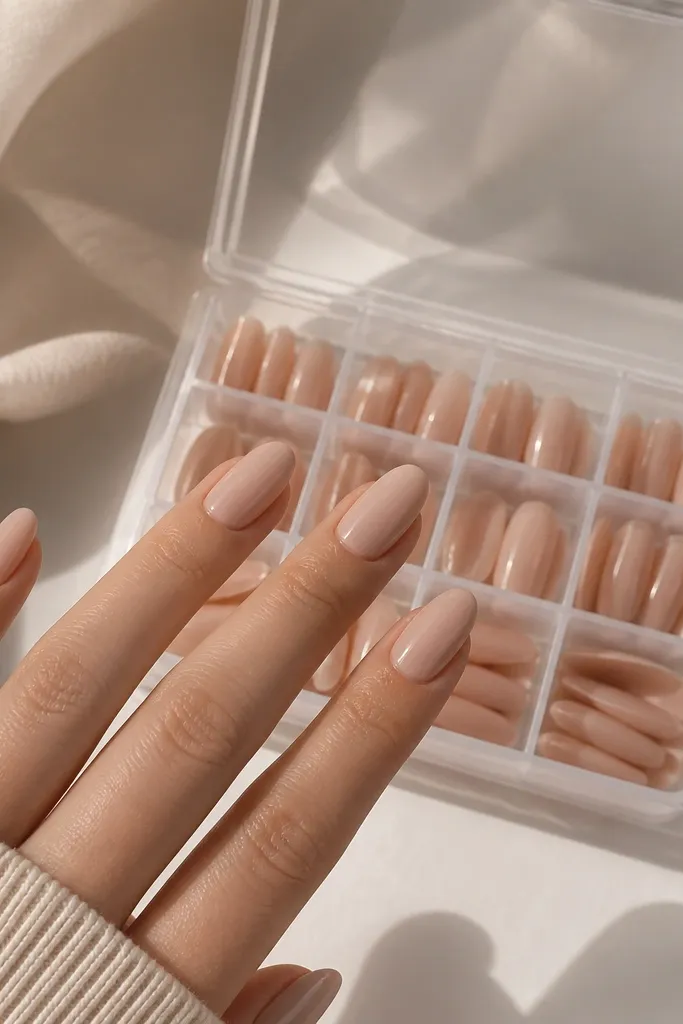
1. Warm Beige Coffin with Clear Lid Storage Kit
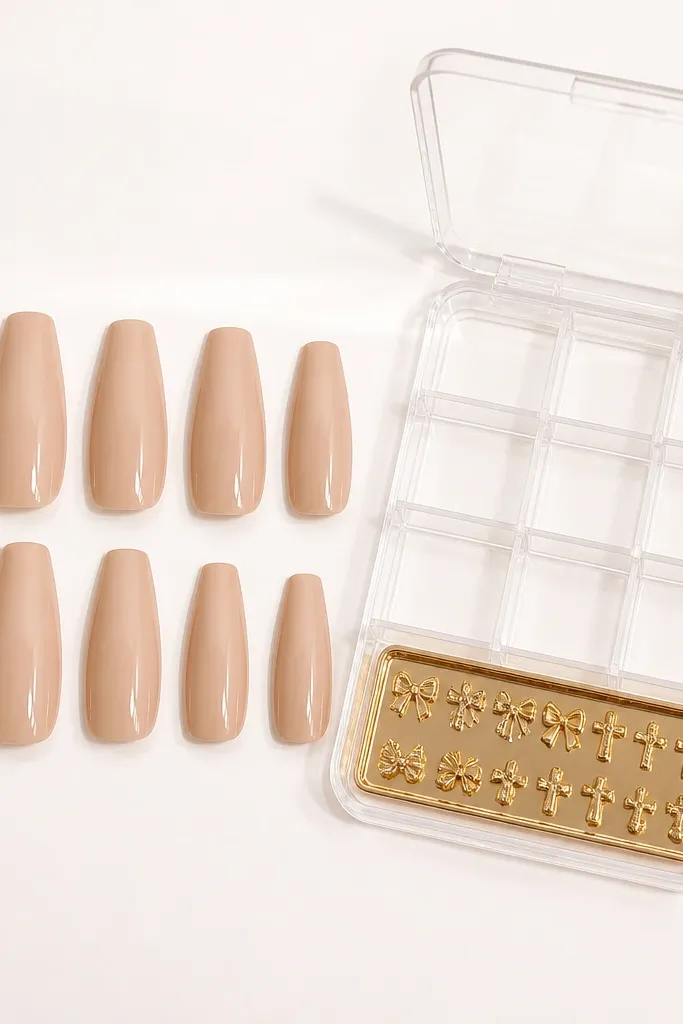
This is the nude I hand to clients when they want "my nails but better" without any weird cast. The warm beige reads creamy against most skin tones, and the glossy finish makes it look like a fresh gel top coat even weeks later. I pair it with tiny gold accents because gold warms the beige instead of fighting it. The storage case keeps spare tips and charms separated so you don't end up with mixed sizes or scratched pieces.
File coffin tips to a 1/4-inch length past the fingertip, then taper the sides evenly so they don't look boxy. Apply nude acrylic in thin layers, then seal with a high-shine top coat. In the storage case, keep gold studs in one divider and reserve coffin tips in another so they stay clean.
Pro tipUse a matte nude on the first layer, then gloss only on top. It keeps the beige from looking flat.
Watch outSkip gray-beige nudes - they pull ashy on most undertones and look cheap under indoor lighting.
2. Milky Nude Coffin with Tiny Cuticle Pearls
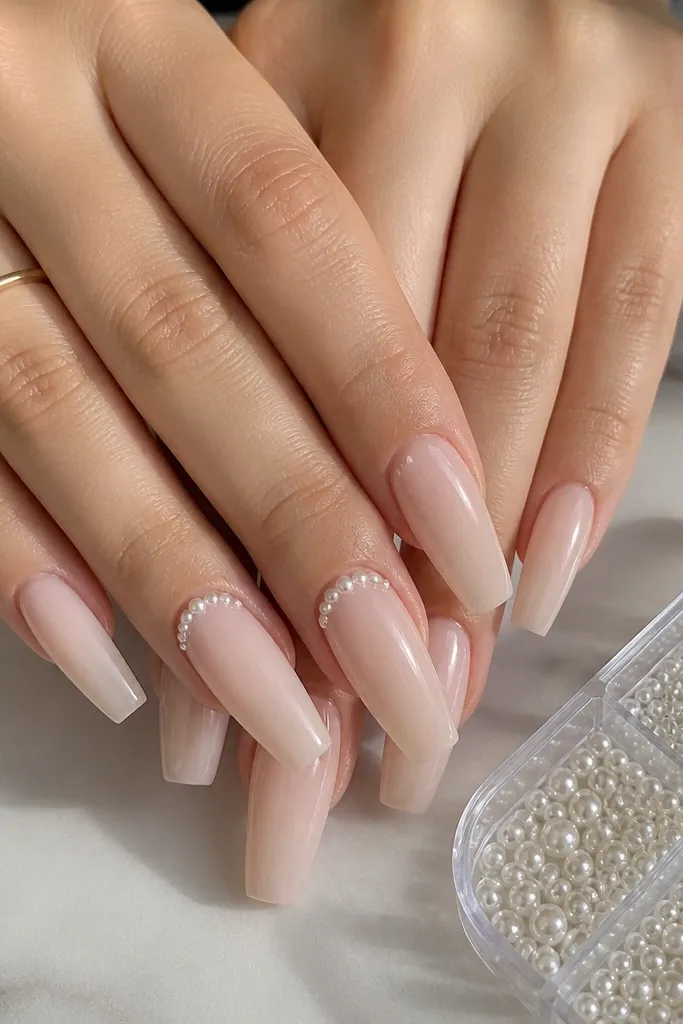
Milky nude looks softer than beige and photographs beautifully because it diffuses light. The tiny cuticle pearls add a "jewelry" moment without turning the whole set into a rhinestone mess. I like pearls because they sit cleanly at the base and they don't blur like chunky glitter. The storage tray matters here because pearl beads roll - dividers keep them from disappearing.
Build the milky nude with a translucent pink-beige acrylic, then place a very small pearl (1mm to 2mm) on two nails per hand. Use a dot of clear acrylic or gel under the pearl so it bonds without lifting. Store pearls in a labeled compartment in your case so you grab the right size quickly.
Pro tipPlace pearls only on the ring finger and middle finger of each hand for the most balanced look.
Watch outDon't bury pearls under thick top coat - it can turn them cloudy.
3. Nude French Coffin with Storage-Friendly Gold Microline
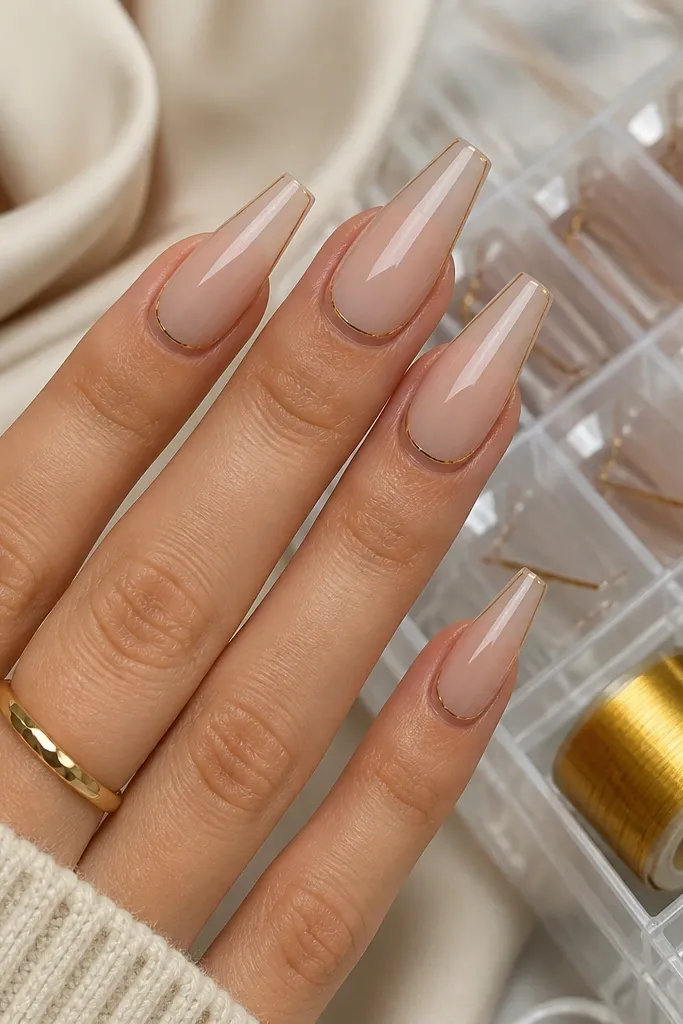
A nude French keeps your nails looking neat because the line hides small growth. The trick is that the French tips should match your nude base, not contrast harshly. Then a gold microline at the smile line makes it feel expensive without adding bulky texture. I've seen this combo last longer because the accent sits on top of the French curve, not on the cuticle edge where lifting starts.
Use a French guide or a striping brush for a thin tip width about 1.5mm. After sealing the French, add gold foil microline with a thin gel layer so it stays flat. In your storage case, keep gold foil in a roll sleeve so it doesn't crease.
Pro tipIf your French line looks wobbly, do a second pass with a liner brush. It's faster than trying to wipe and redo.
Watch outSkip thick French tips - chunky edges snag and chip first.
4. Rose Taupe Nude Coffin with One Marble Accent
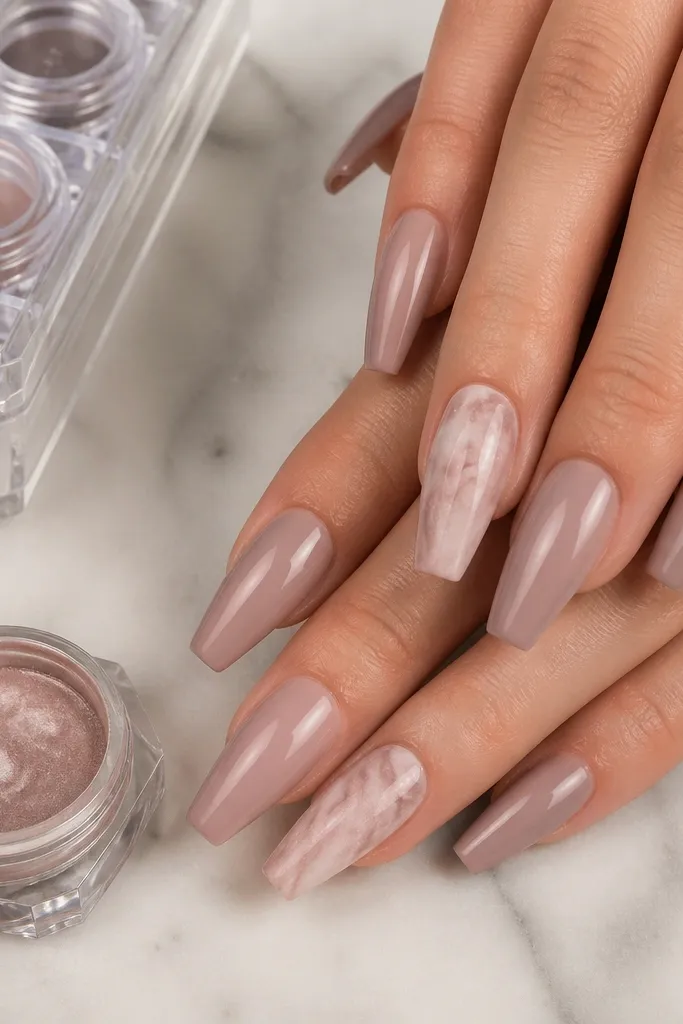
Rose taupe nude has that "grown-up" feel without turning into plain brown. Marble accents look best when the base is matte-nude first, then you add a glossy marble only on one or two nails. The pattern stays classy because it's muted - no high-contrast black swirls. Storage helps because marble pigments and powders scatter; a compartmented case keeps them from coating your whole kit.
Paint the base in two thin layers for an even rose taupe. For the marble, use a thin brush with diluted taupe acrylic and add pale pink streaks, then blend lightly with a clean brush. Seal with glossy top coat and store marble pigments in small screw-top containers inside the case.
Pro tipPractice the marble on a spare tip first. Marble looks natural when the lines are slightly uneven on purpose.
Watch outDon't add marble to every nail - it turns nude into busy.
5. Nude Coffin with Sheer Nude Base and Glossy Top Only
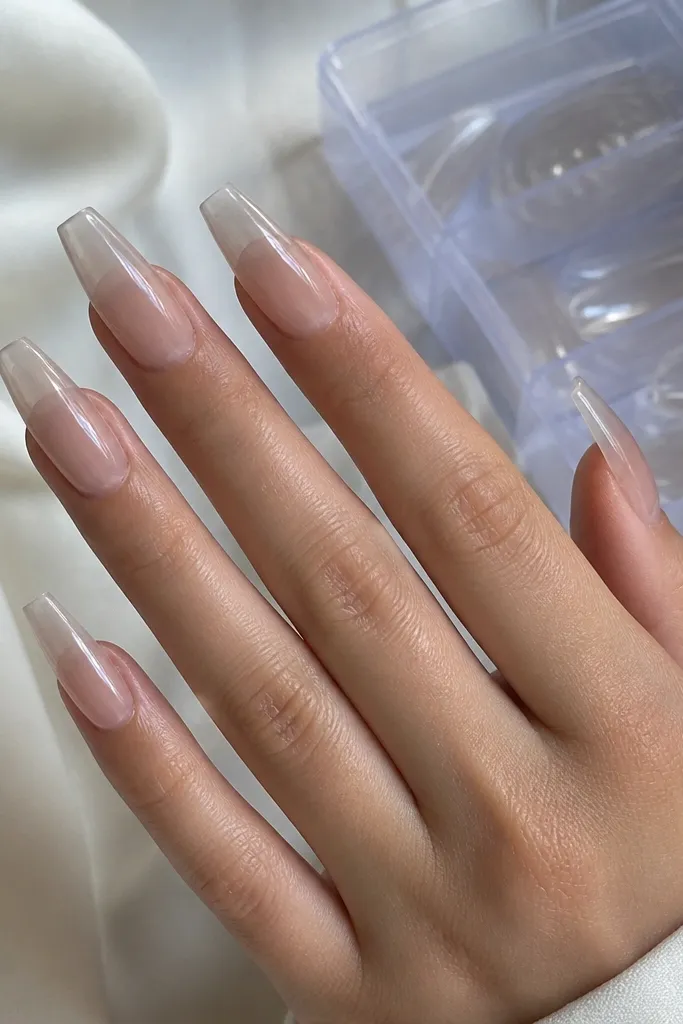
This is the cleanest nude option when you're trying to keep maintenance low. A sheer nude base looks like your natural nail color, and the high-gloss top coat gives that "just done" shine. It also makes your storage kit more useful because you can swap accent charms later without repainting the whole set. I wear this when I know I'll be busy and need nails that don't scream for attention.
Use a sheer nude acrylic (thin layers, build slowly) so your nail bed stays airy. Keep the free edge glossy too - don't overfile it after top coat. Store your spare sheer nude tips separately since sheer shades look similar in low light.
Pro tipDo a second top coat after 2 minutes of curing time if your gloss looks slightly flat.
Watch outSkip over-sanding the nail bed - sheer nudes show scratches fast.
6. Beige Nude Coffin with Embedded Gold Flake
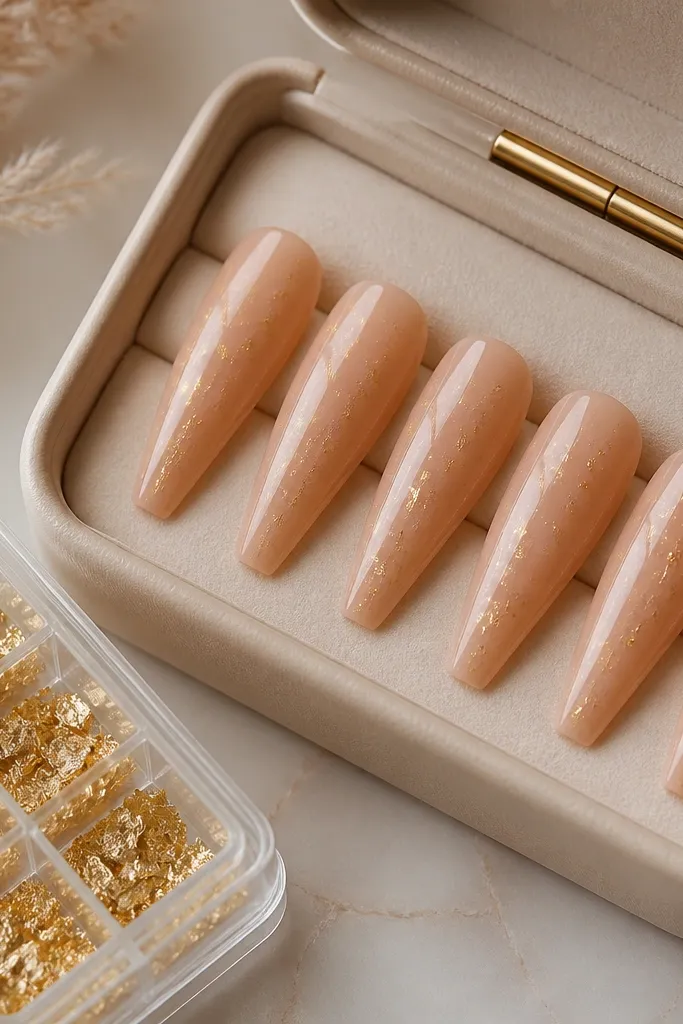
Embedded gold flake looks better than loose glitter because it sits under a clear layer and doesn't catch on clothes. The beige nude base makes the gold look subtle, like sunlit dust. I love this design for people who want sparkle but hate chunky bling. Storage is key because gold flake gets everywhere - dividers keep it off your other pigments.
Apply beige nude acrylic, then place a tiny amount of gold flake on the center of two nails per hand. Cover with a thin clear acrylic or gel layer so it locks in. Keep flakes in a sealed small pot inside your storage case, not the open compartment where dust lands.
Pro tipTap flakes in with a toothpick - you get control and less fallout.
Watch outDon't put flake directly on the cuticle - it lifts and looks messy.
7. Nude Coffin with Micro Rhinestone Halo at the Tip
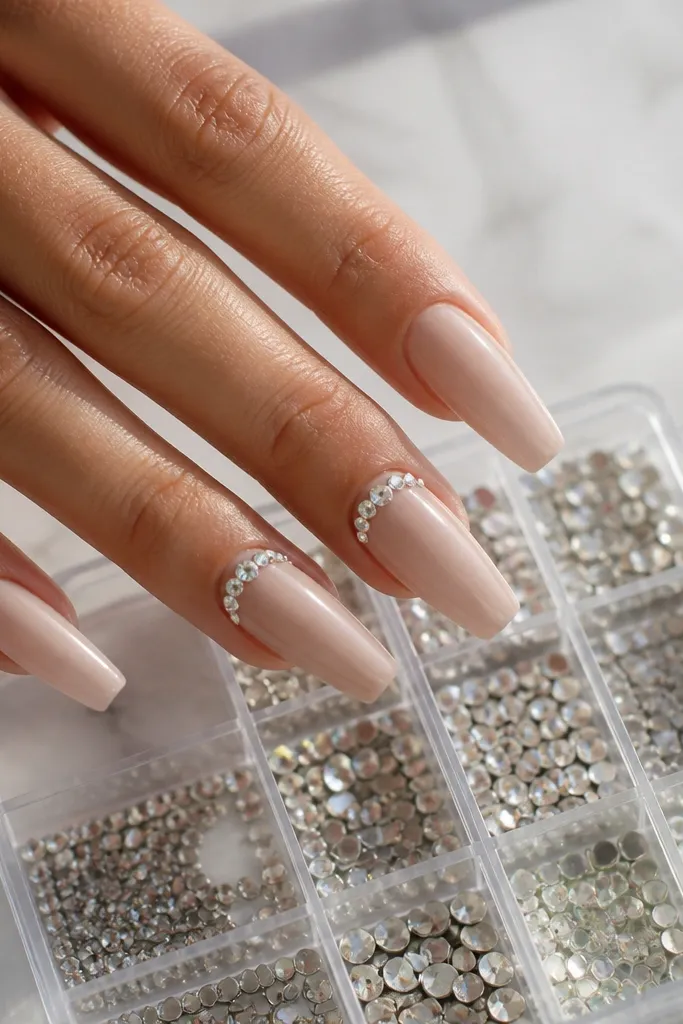
A micro rhinestone halo at the tip gives that "sparkle when you move" effect without covering the whole nail. The nude base stays clean, and the rhinestones only show up at the angle where light hits the free edge. I like using tiny stones because large stones look bulky and drag at the edges. Your rhinestone case should have grid compartments so you don't mix sizes.
Place stones in a gentle arc about 2mm from the tip edge. Use clear gel to set them and cure fully before top coat. Store stones by size (2mm, 1.5mm) in separate grid sections so you don't end up with uneven spacing.
Pro tipUse tweezers with a fine tip and place stones from the center outward for symmetry.
Watch outSkip big gaps between stones - the halo looks cheap when the arc is patchy.
8. Caramel Nude Coffin with Matte Cuticle and Gloss Tips
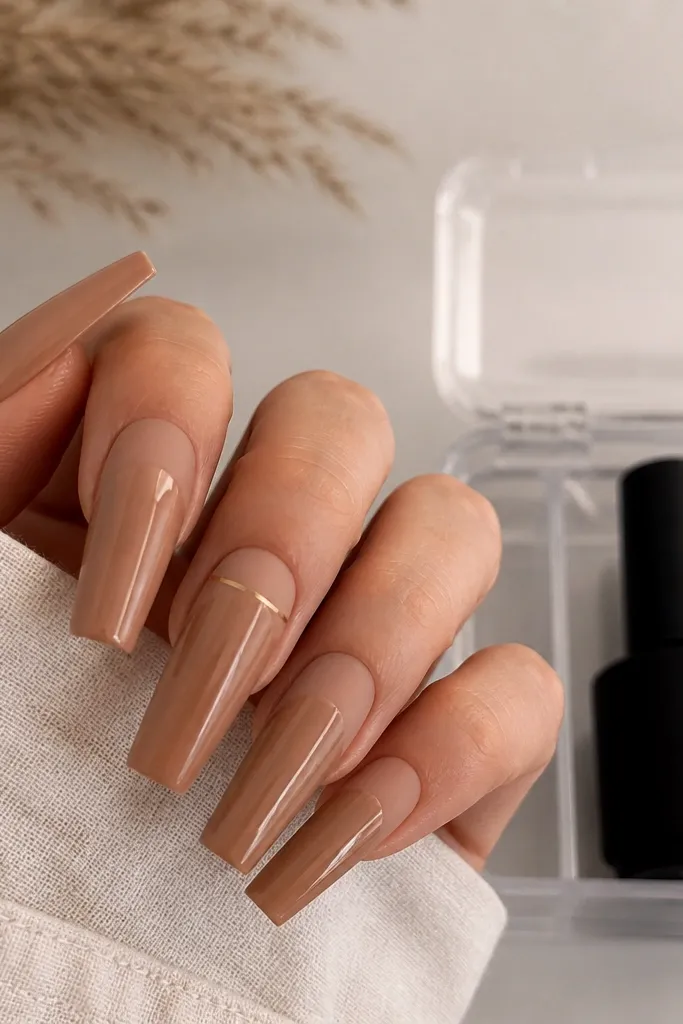
This is the nude combo that looks high-end because it plays with finish, not color. Matte cuticle zones hide tiny imperfections and keep the look soft, while glossy tips catch light and make nails look longer. Caramel nude sits between beige and honey, so it works for warm and neutral undertones. The storage case helps because matte top coat bottles leak if tossed - keep them upright in a divider.
Apply caramel nude acrylic, then seal with a glossy coat. After cure, mask the tip area and apply matte top coat only near the cuticle, leaving about 4-5mm glossy. If you add a gold line, draw it where matte meets gloss using striping gel.
Pro tipUse a small striping brush for the finish boundary. A clean line makes the two textures look intentional.
Watch outDon't matte the whole nail - it can make caramel look flat and dusty.
9. Nude Coffin with Blush Ombré from Cuticle
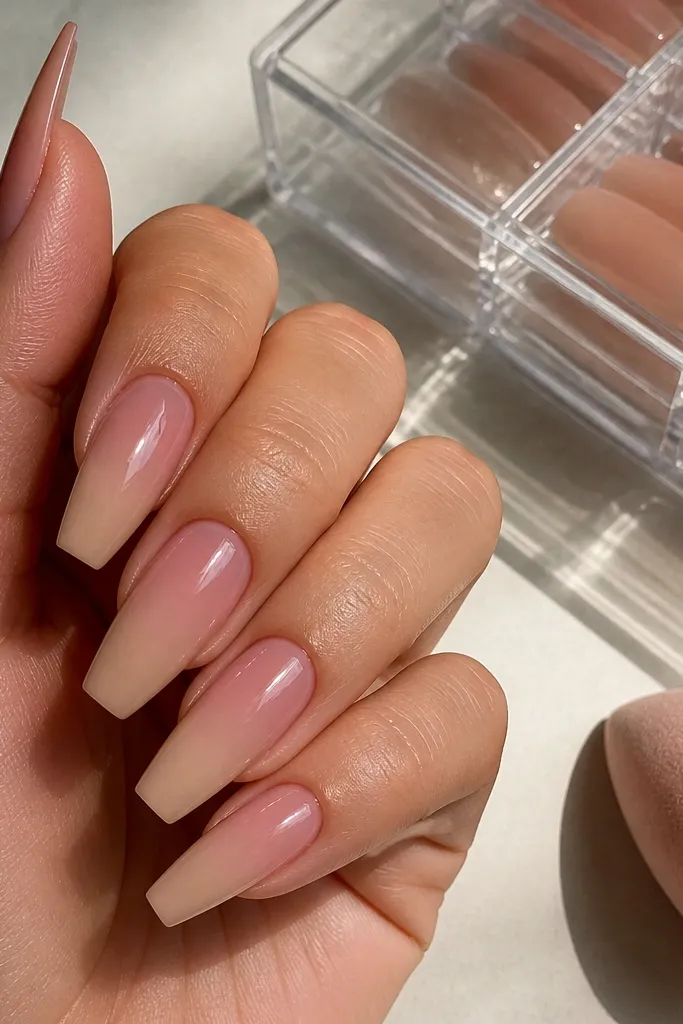
A cuticle ombré gives a natural lift because the color is strongest where the nail bed starts. Blush fades into nude without harsh lines, so it looks like your nails grew out that way. I use a makeup sponge because it creates a soft gradient that acrylic brushes can't always match. Storage keeps your sponge and powders separate from your tools so you don't contaminate the nude shade.
Start with a nude base acrylic. Sponge blush acrylic (diluted) onto the cuticle area, then blend outward with gentle taps. Seal with glossy top coat so the gradient looks smooth. Store the sponge in a separate compartment and let it dry fully before closing the case.
Pro tipDo the ombré in two light layers instead of one heavy layer. It prevents patchiness.
Watch outSkip heavy blending - it can lift the pigment and make the cuticle area look muddy.
10. Taupe Nude Coffin with One Side Gold Charm Chain
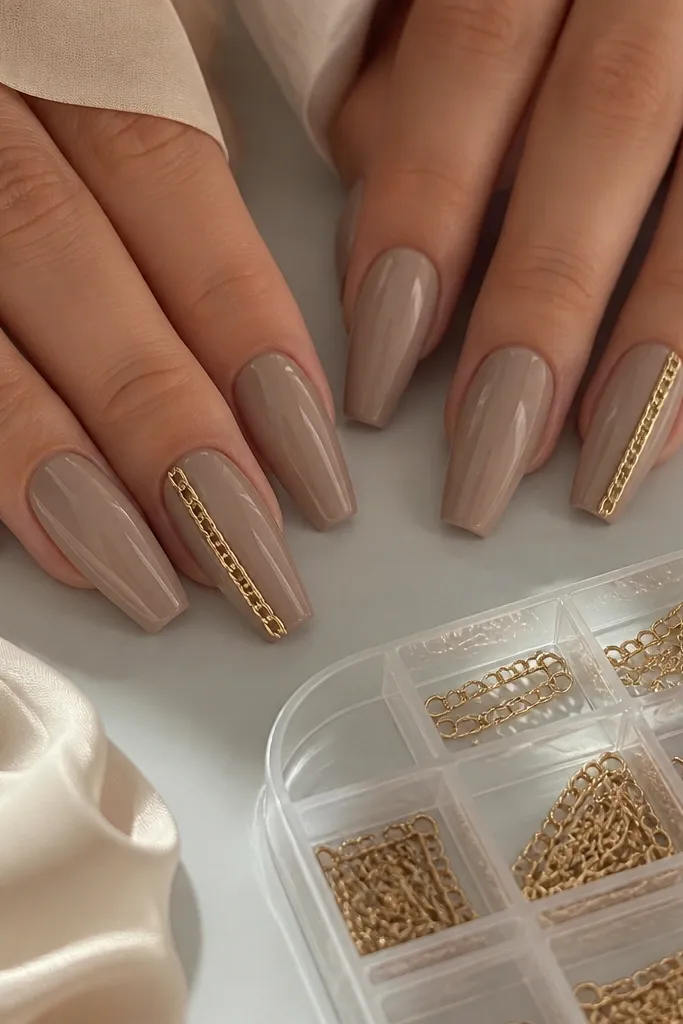
Side placement looks more modern than a center stripe because it follows the nail's natural shape. Taupe nude keeps the gold from looking too bright, so the charm reads subtle. A small chain also adds movement when you type - you see it shift under the light. Storage matters because chain links tangle; a divided case keeps it from turning into a knot.
Build taupe nude acrylic and keep the surface slightly tacky before placing the chain with clear gel. Cure, then cover with a thin clear layer so the chain sits embedded and doesn't snag. Store the chain flat in a divider with a tiny piece of tissue to stop tangling.
Pro tipCut the chain so it covers about 1/3 of the nail length. Too long drags and lifts faster.
Watch outDon't let chain touch the free edge - that's where it catches and chips.
11. Soft Nude Coffin with Micro Glitter Dome (No Full Coverage)
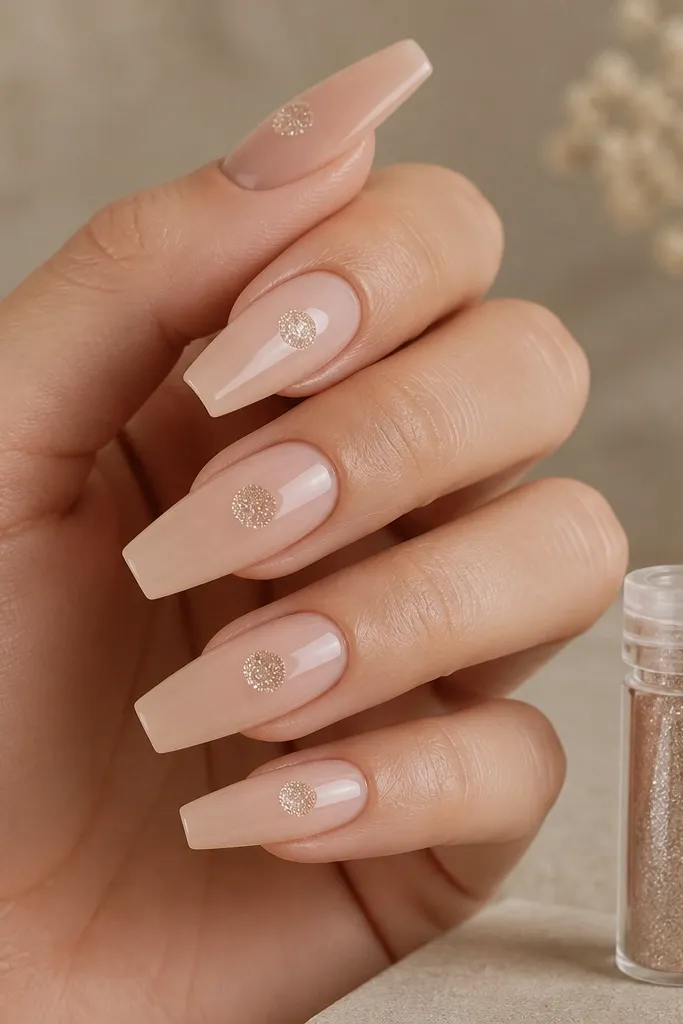
This design keeps nude clean while still giving sparkle. The glitter dome is concentrated, so you get the effect without turning the whole nail gritty. I like fine micro glitter because it looks like dust under gloss instead of chunky sparkles. Storage is a big deal here because micro glitter floats - a sealed vial in your case stops it from migrating onto other nude shades.
Apply soft nude acrylic as the base. On accent nails, add a tiny mound of clear gel, sprinkle micro glitter, then cap with clear acrylic/gel. Cure fully and file gently so the dome stays smooth. Keep glitter in a screw-top vial inside your storage case so it stays contained.
Pro tipUse less glitter than you think. Nude nails look best when the sparkle is controlled, not loud.
Watch outSkip full coverage glitter - it dulls nude color and chips at the edges.



