
1. Peachy Almond Barely-There Nude
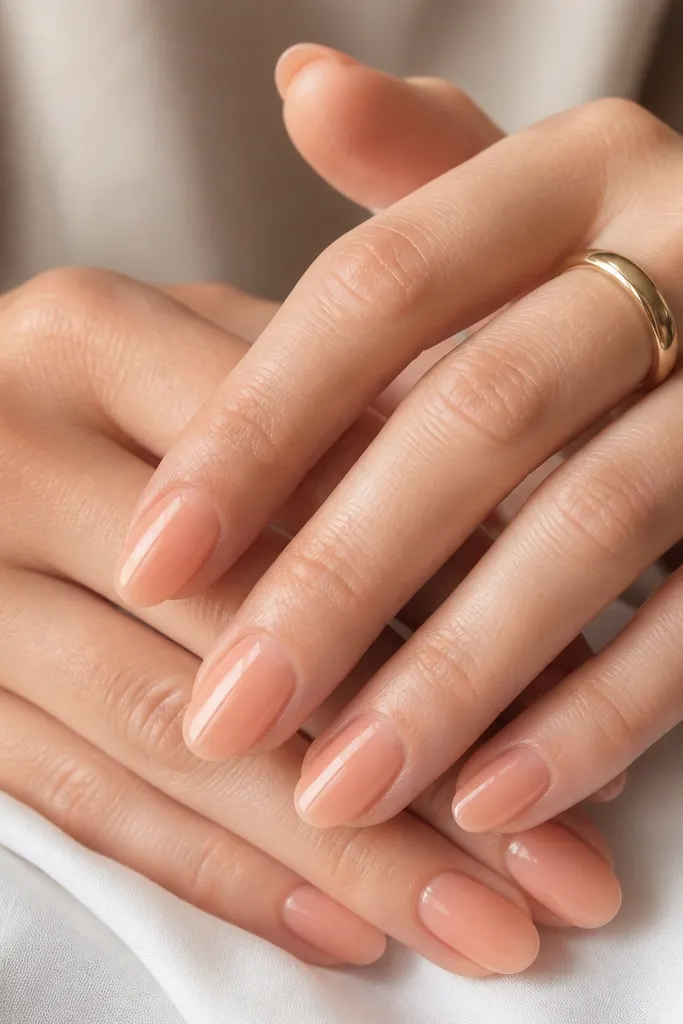
This is my go-to when someone wants "nude" but still wants it to look like they did something. The peach undertone warms the nail plate and makes skin look healthier, especially under indoor lighting. The semi-sheer finish keeps the nail from looking thick. It also shows off the almond taper without fighting you.
Apply a thin nude acrylic base close to the cuticle, leaving a hairline gap for tidy edges. Build a second nude layer only in the center if you can still see too much nail line. Keep the tip slightly rounded at the very end so it doesn't look pointy or brittle.
Pro tipAfter shaping, wipe the nails with a lint-free pad and slip a tiny drop of top coat over the free edge. It makes the tip look finished instead of dry.
Watch outAvoid going fully opaque on the first coat - it makes the nail look heavy and harder to file into almond.
2. Pink Almond Baby Doll Nude
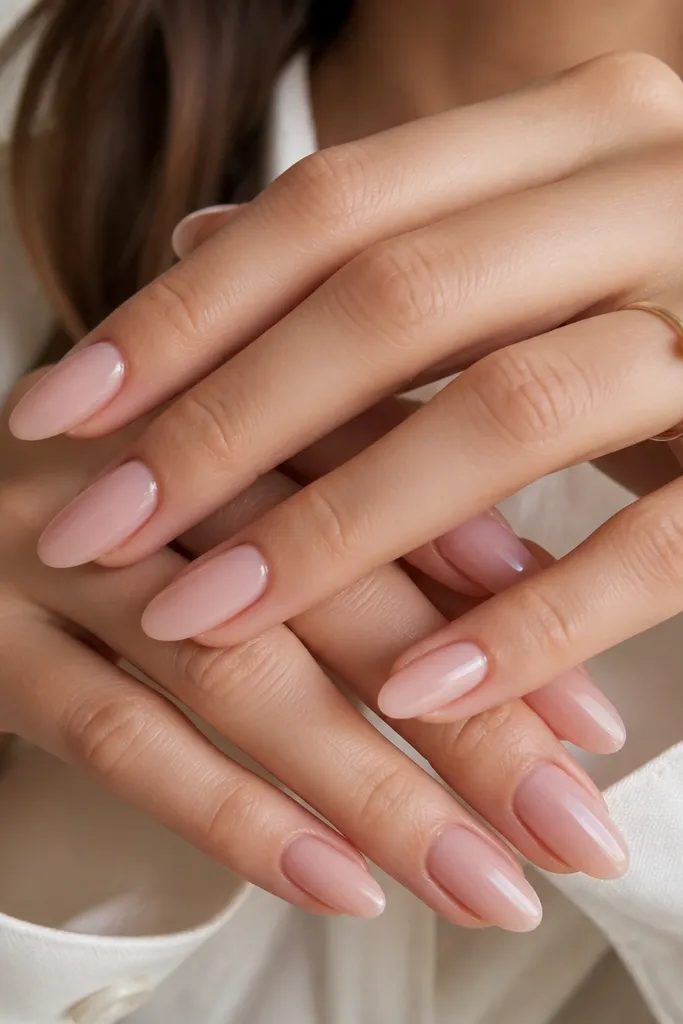
Pink-nude makes almond nails look polished even when the length is short. It also brightens the look of hands because the hue pulls away from dull beige. I like this one when your skin has more rosy or cool undertones. The translucence keeps it modern rather than candy-like.
Start with a sheer pink nude acrylic powder, then add a second skim coat for even coverage. File the sidewalls so the almond is narrowest around the last third of the nail. Leave the cuticle area clean - don't flood it with product.
Pro tipIf the nude turns chalky after filing, apply top coat right after dusting. Don't wait hours.
Watch outSkip super-matte top coat on this shade - it turns pink-nude flat and older-looking.
3. Beige-Tan Almond Soft Nude
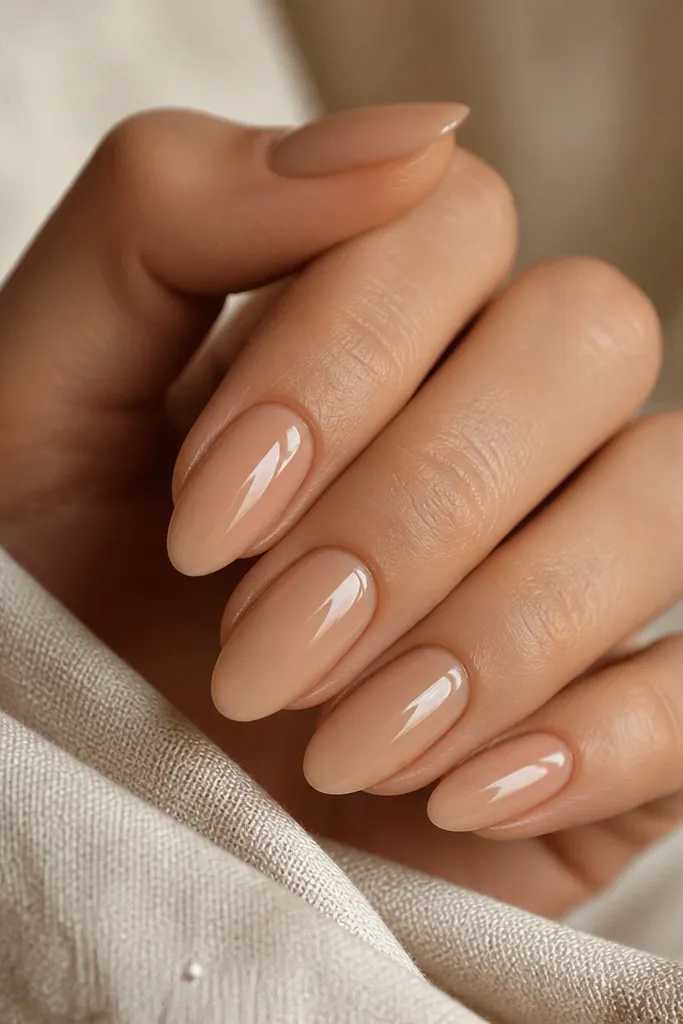
This is the "my nails but better" nude for neutral-to-olive skin. Beige-tan hides staining and makes the nail bed look even. When it's semi-translucent, it mimics the natural nail more closely than pink or peach. The almond shape keeps it from looking like a flat beige sticker.
Use a beige-tan nude acrylic powder and keep the first layer thin. Focus your second layer on the middle and slightly toward the sides, then blend by feathering the edges with light filing. Aim for an almond tip that's narrow but not needle-thin.
Pro tipAdd a micro-thin layer of top coat after you buff - it locks in the glass look and reduces visible filing lines.
Watch outAvoid gray-beige nudes - they read as dirty on camera and under sunlight.
4. Nude Gradient Almond (Center Clear, Sides Nude)
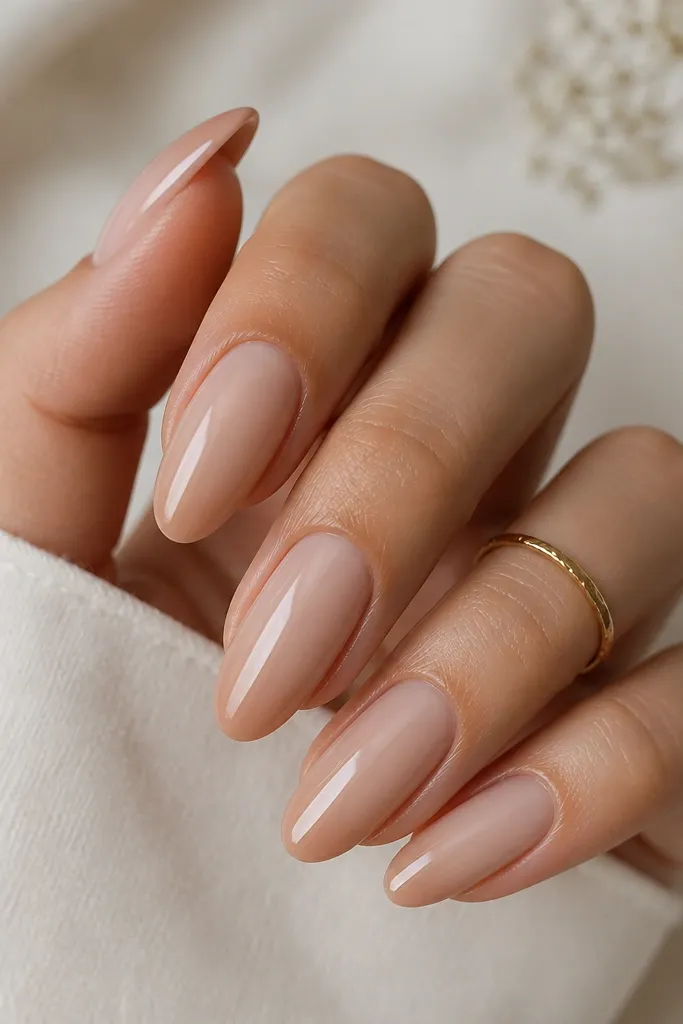
This design tricks your eye into seeing length without adding actual length. The clearer center makes the nail look airy; the nude sides give structure. I like it because it hides uneven acrylic thickness after set. It also photographs well because the fade catches light.
Build a nude base on the sidewalls, then keep the center layer thinner and more translucent. Feather the transition with a gentle file, then apply top coat to smooth the shine. Keep the tip narrow so the gradient doesn't look like a stripe.
Pro tipUse a soft, rounded nail file for feathering so you don't create a visible "step" line in the gradient.
Watch outDon't try to make the fade dramatic - subtle is what keeps it looking expensive.
5. Nude French Almond with Thin Milky Tip
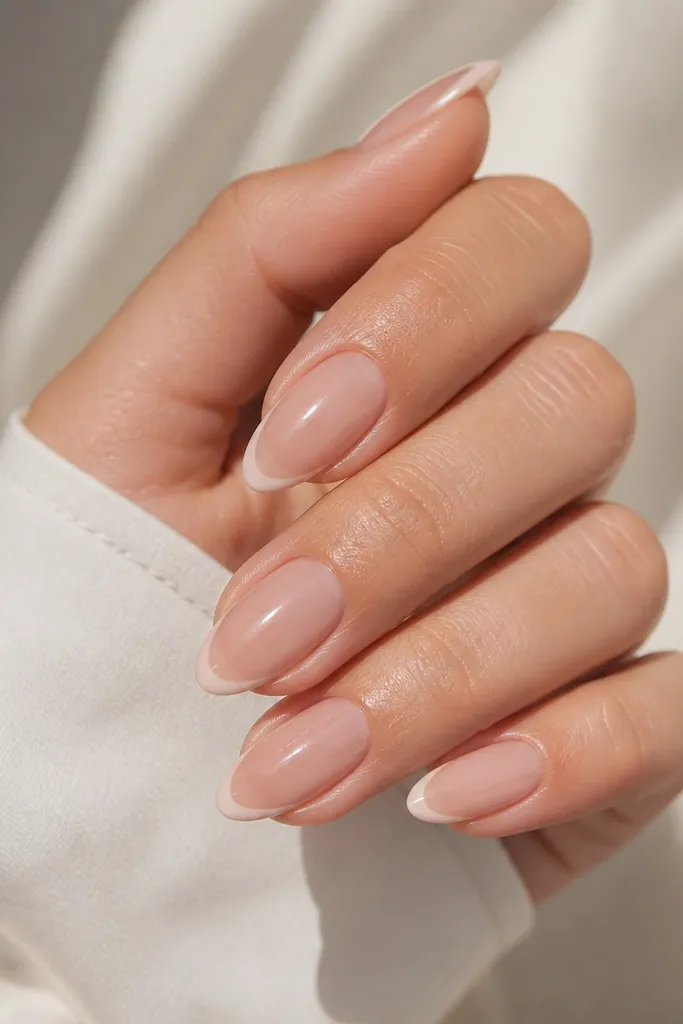
A French tip on nude almond looks clean even if you're not great at art. The trick is a milky tip that's semi-sheer, not opaque white. That softness keeps the almond from looking harsh. It also makes the nails look freshly done longer because small growth is less obvious on a thin line.
Apply nude acrylic first, then use a French guide or a thin brush to create a narrow smile line. Add the milky tip in one controlled layer and keep it thin at the edges. File the tip to keep the almond taper while maintaining that thin white line.
Pro tipIf your smile line wobbles, fix it with a tiny brush dipped in clean monomer and wiped on a paper towel first.
Watch outSkip thick French tips - they make the nail look bulky at the free edge.
6. Nude Reverse French Almond (Cuticle Half-Moon)
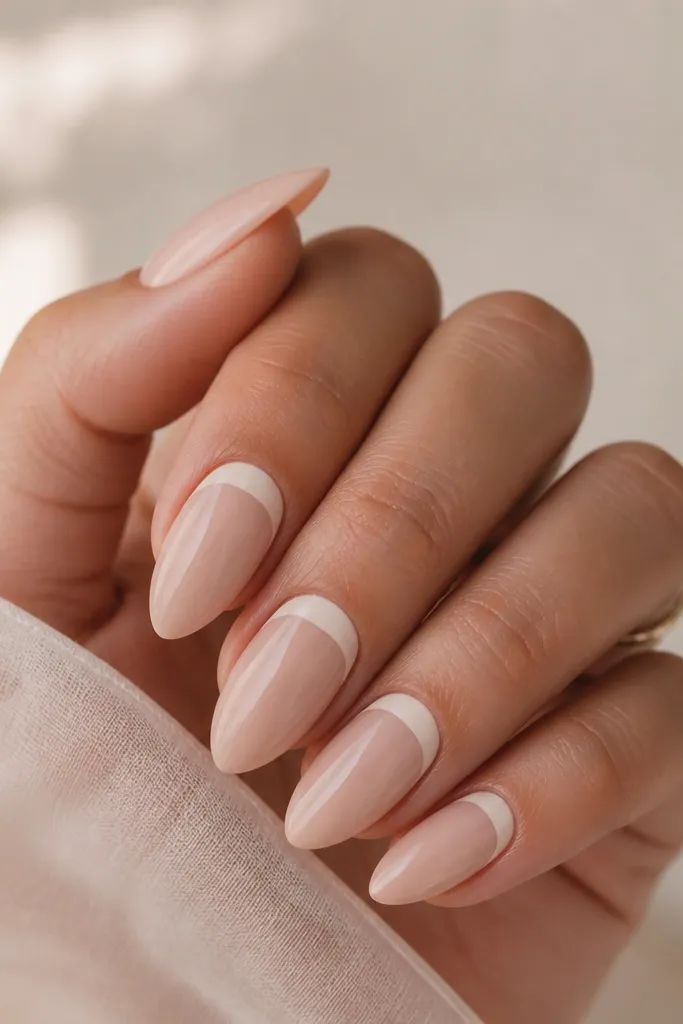
Reverse French gives that salon look without needing a full set of nail art. The crescent near the cuticle makes the nail bed look longer and more even. Use a slightly brighter nude-milky shade so it shows, but not so white that it looks like a sticker. Almond shape keeps it flattering instead of messy.
Paint acrylic nude base, then add the reverse crescent using a small liner brush. Keep the crescent narrow - it should frame the cuticle, not cover it. Seal with top coat and make sure the crescent edges are smoothed during light filing.
Pro tipUse a cuticle pusher to gently lift product from the skin edge before it cures so the crescent stays crisp.
Watch outDon't let the crescent touch the skin - it lifts and looks sloppy fast.
7. Nude Almond with Micro-Glitter Veil
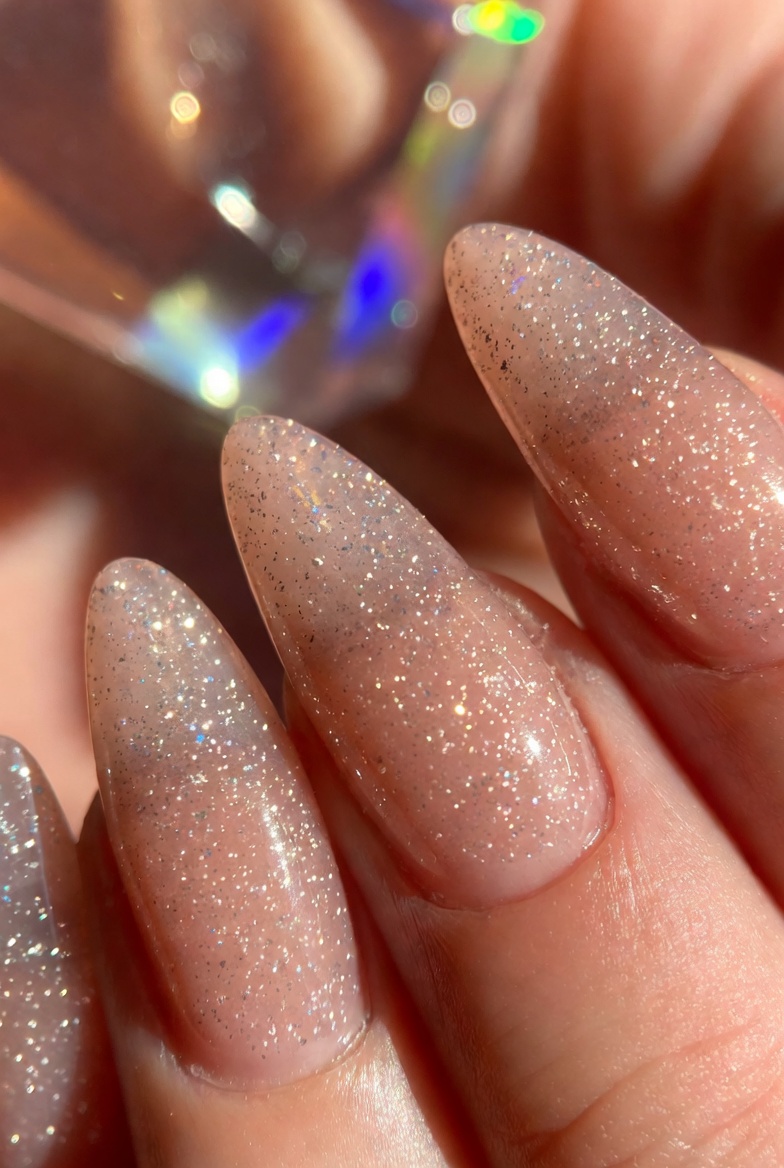
Micro-glitter on nude is the fastest way to make acrylic look expensive without turning it into full sparkle. The veil effect keeps it wearable for work. Concentrating the glitter in the center makes the nails look longer. The almond shape gives the glitter a clean reflection path.
Mix a tiny amount of fine holographic glitter into nude acrylic or apply glitter gel over a nude base. Keep the glitter layer thin so you don't get texture bumps. File lightly to refine the almond, then top coat twice if you want that smooth, liquid-glass look.
Pro tipIf glitter catches on fabric, do a second top coat only on the free edge and sides.
Watch outAvoid chunky glitter - it feels rough and shows texture under glossy top coat.
8. Nude Almond with One Side Satin Stripe
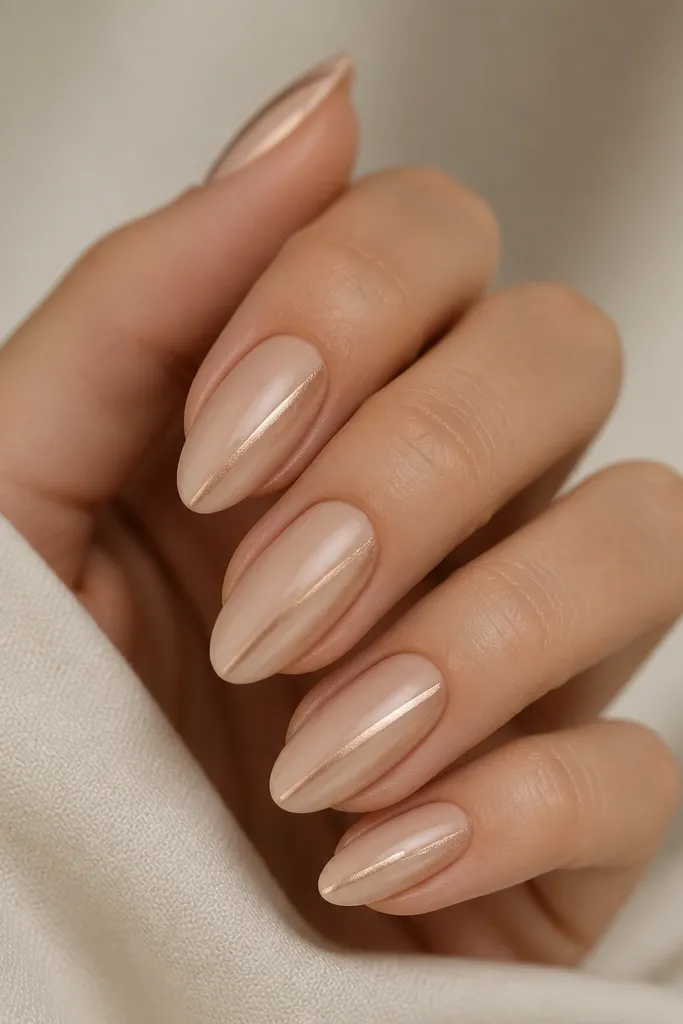
This is a clean "statement" that still reads nude. The contrast between glossy nude and a satin stripe makes the nail look designed, not plain. I like using a taupe or champagne stripe because it doesn't fight different skin tones. One side keeps it modern and keeps your hands from looking busy.
Base with nude glossy acrylic. Add a thin strip of satin-finish gel (or a satin chrome dust sealed with matte top coat) along one sidewall, stopping about 1-2 mm from the cuticle. Cure, then seal with a glossy top coat over everything except the stripe if you want it to stay satin.
Pro tipUse striping tape to place the line, then remove it before top coat so you don't peel cured edges.
Watch outSkip thick stripes - wide lines make the nail look like it has a sticker edge.
9. Nude Almond with Tiny Pearl Dot at Cuticle
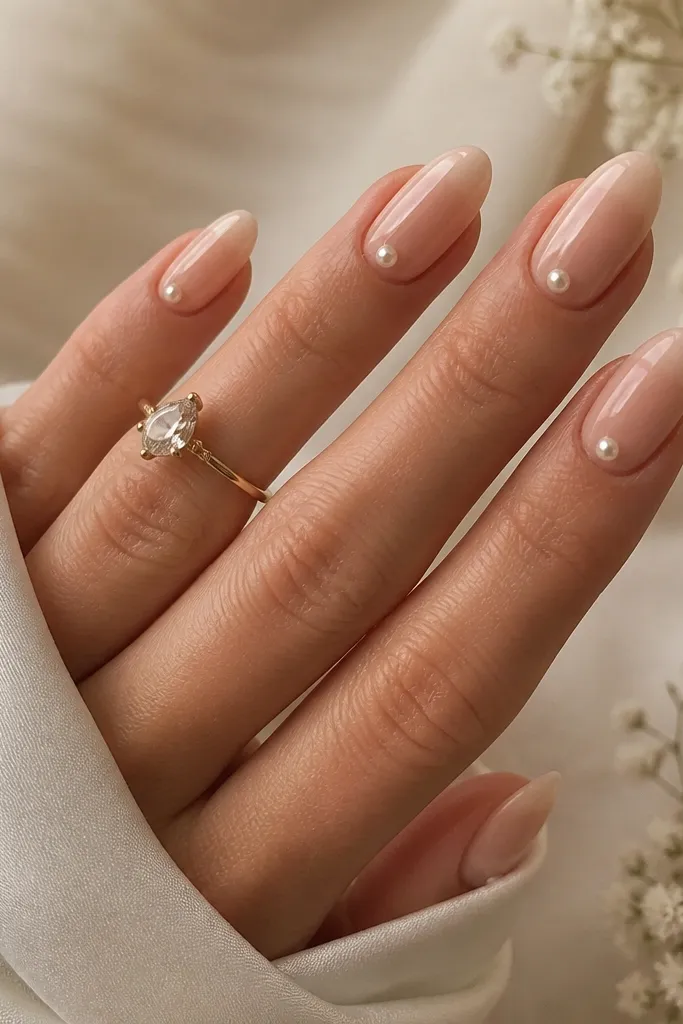
A single pearl dot makes nude acrylic look intentional without covering the nail. It also draws attention to the cuticle area, which is where almond shape looks best. Choose a pearl that's small - tiny beads look refined; big pearls look costume-y. The glossy nude base makes the pearl pop.
Apply nude acrylic and top coat lightly (or use a gel layer) where the pearl will sit. Place one micro-pearl using tweezers and press gently. Seal with top coat around the pearl so it feels smooth when you run a finger over it.
Pro tipLet the pearl site cure fully, then check with a fingernail for roughness. Add a second thin top coat only where needed.
Watch outDon't put pearls too close to the skin edge - they snag and lift.
10. Nude Almond with Gold Foil Thread
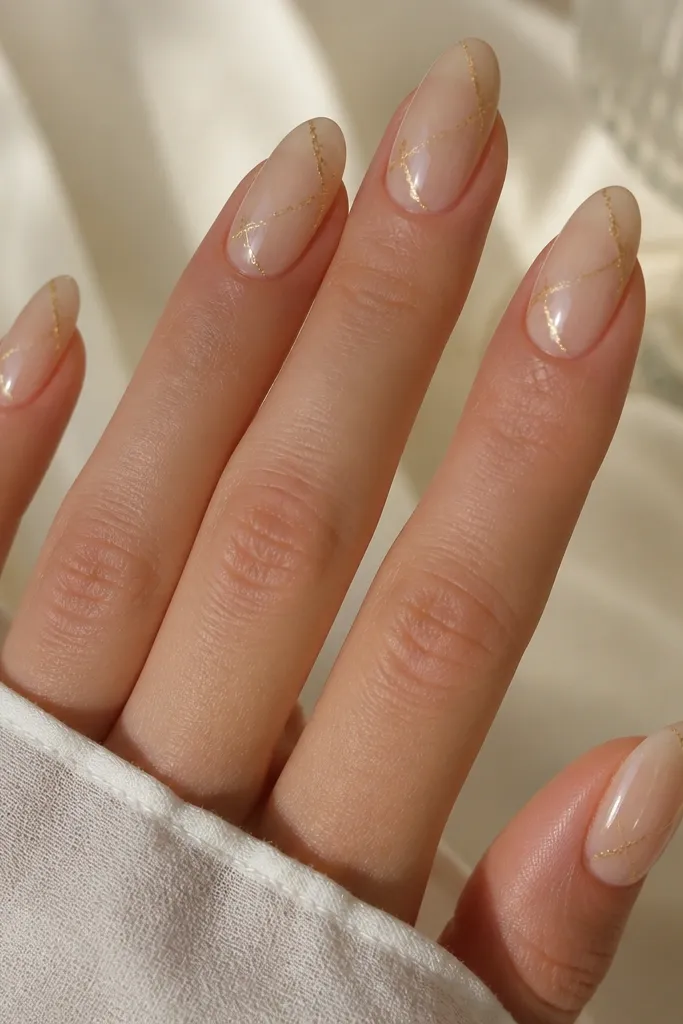
Gold foil over nude reads warm and clean, especially on almond where the foil follows the nail's taper. Thin threads keep it subtle, like jewelry rather than decoration. I like using gold foil in small pieces so it doesn't look like glitter. It also hides tiny acrylic imperfections because foil catches the light.
Apply nude base first. Press tiny bits of gold foil into a tacky gel layer near the center and slightly toward one side, then cure. Seal with a clear top coat and file very lightly at the edges so foil doesn't stick out.
Pro tipFor a more natural look, vary the foil size across nails instead of repeating the same pattern exactly.
Watch outSkip large foil chunks - they create bumps that snag sleeves.
11. Nude Almond with Clear Chrome Tip
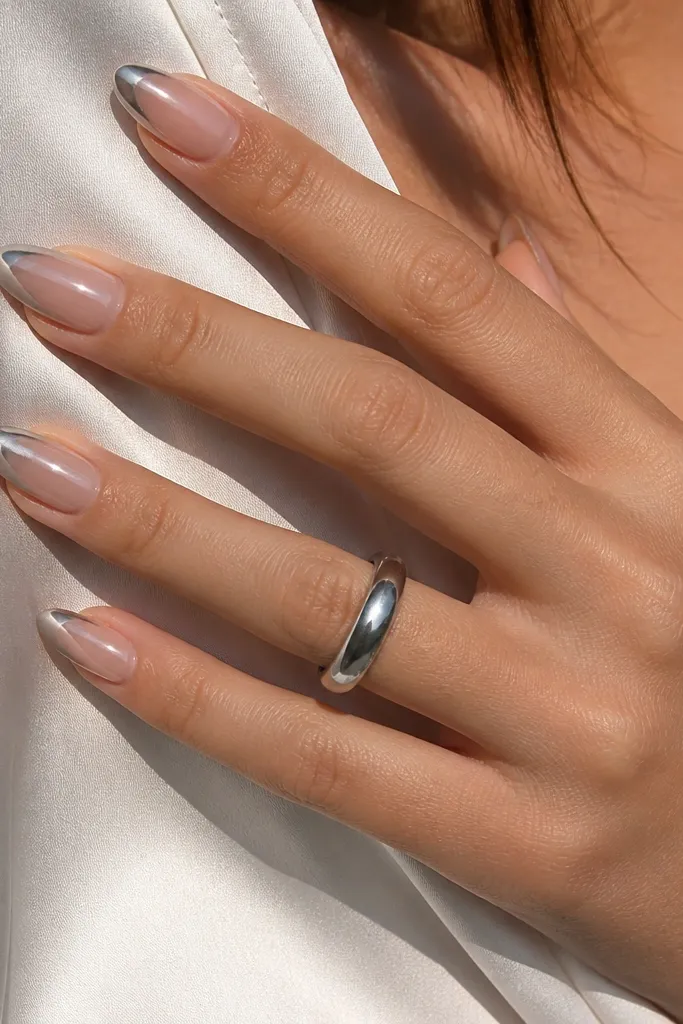
Clear chrome tips make nude look futuristic but still clean. The reflective edge makes the almond tip look sharp and neat. Because it's not colored, it works with any undertone nude. I've found this is one of the fastest "wow" looks that doesn't require detailed art.
Do nude acrylic base, then apply chrome powder or chrome gel to the last third of the nail. Blend it into the nude slightly with a light sponge so it doesn't look like a hard block. Seal with top coat that won't kill the chrome shine - or use a chrome-friendly top coat if your brand requires it.
Pro tipUse a makeup sponge to blend the chrome edge - it gives a smoother fade than brushing.
Watch outDon't cover chrome with normal thick top coat - it dulls the reflection.
12. Nude Almond with Foggy Milky Center (No Outline)
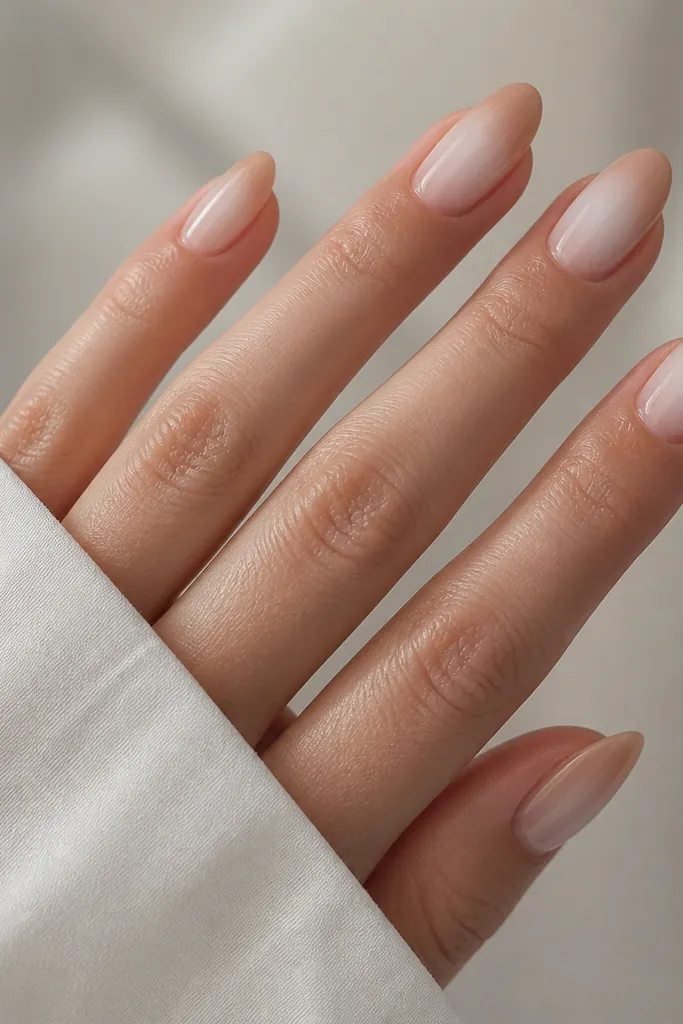
This look looks like a salon "smudge French" but it's simpler than it looks. The foggy center adds texture and dimension without drawing attention to cuticle lines. I use it when my nude coverage isn't perfectly even - the milky center makes small differences disappear. On almond, the blur naturally follows the taper.
Base coat nude acrylic, then apply a milky-white acrylic or milky gel in the center only. Keep it soft by using a damp brush or a sponge for the edges. Cure, then top coat twice for a smooth glass finish.
Pro tipIf the fog patch hardens too much, lightly buff the surface, then reapply a thin top coat to re-smooth it.
Watch outAvoid drawing a tight border line around the fog - it looks like a sticker.



