
1. Rose-Quartz Sheer Nude Square
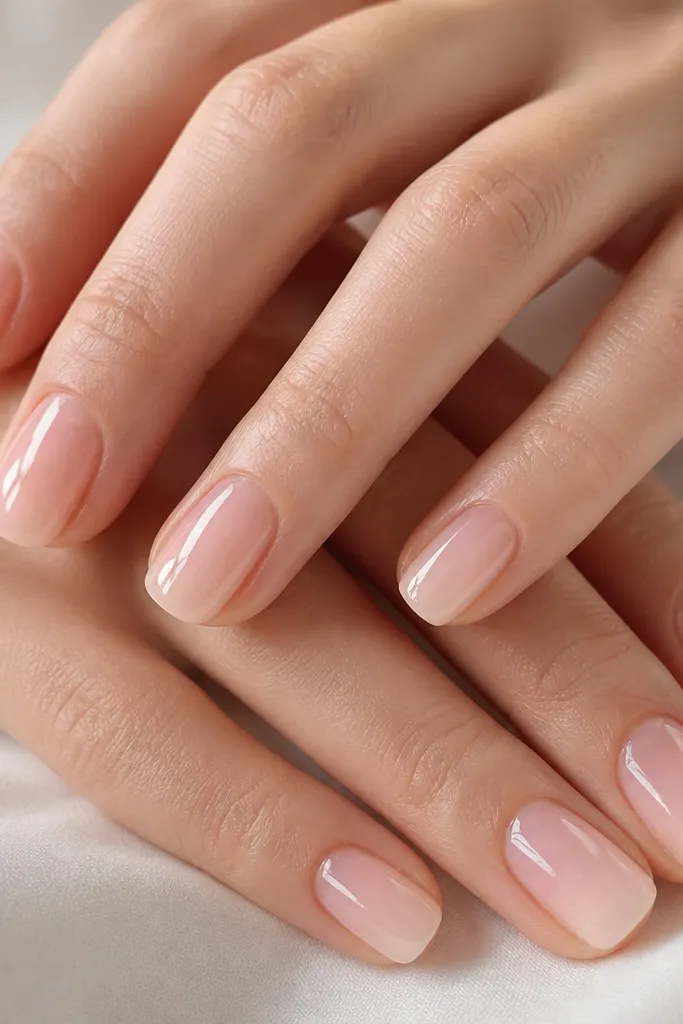
This set uses a sheer pink nude that's almost skin-colored, then lets light pass through so the nails look fresh even when they grow out. The faint milky effect near the tips gives you a subtle "baby French" vibe without drawing a hard line. It works because it reads clean in photos and still looks natural in real life.
Ask for a sheer acrylic or overlay in a pink-rose nude, then build a whisper-thin layer of milky white only at the last 1-2 mm. Keep the square edge straight and file the corners just enough to remove sharpness. Finish with a high-shine top coat on every nail for that smooth, salon-smooth reflection.
Pro tipIf your hands get dry, keep this glossy. Matte on sheer nudes can make dryness look louder.
Watch outAvoid choosing a nude that's too opaque - opaque beige over pink undertones can look chalky.
2. Peachy Caramel Nude with Wet-Gloss Tips
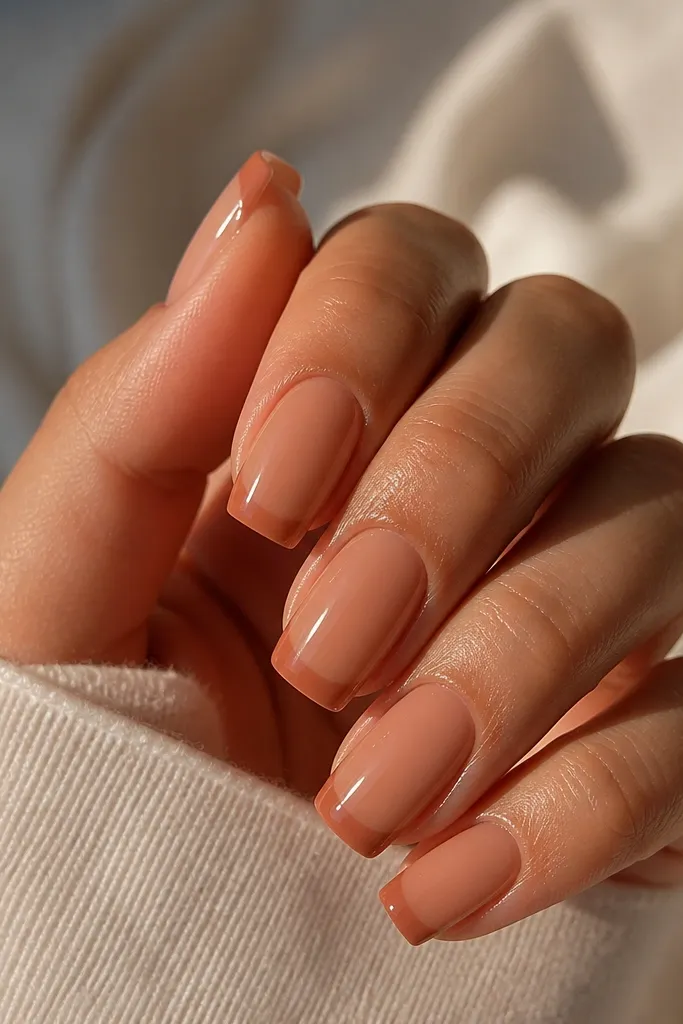
Warm nude nails look amazing with square tips because the shape shows off the color gradient. The deeper caramel at the tips creates a gentle depth effect, and the wet-gloss top coat makes it look like your nails were just done. This one is a favorite for spring and summer, but it stays evergreen because it's still nude, not pastel.
Use a peach-caramel nude as the main layer, then add a thin tonal layer at the tip (about 2-3 mm). Blend the edge so there's no visible step. Keep the rest sheer enough that your nail bed tone shows through slightly.
Pro tipAsk for a slightly thicker apex at the center so the tip stays glossy and doesn't look flat as it grows.
Watch outSkip a heavy ombre that goes too far up the nail. It stops reading as "nude" and starts reading as "design."
3. Neutral Beige Nude French Micro-Line
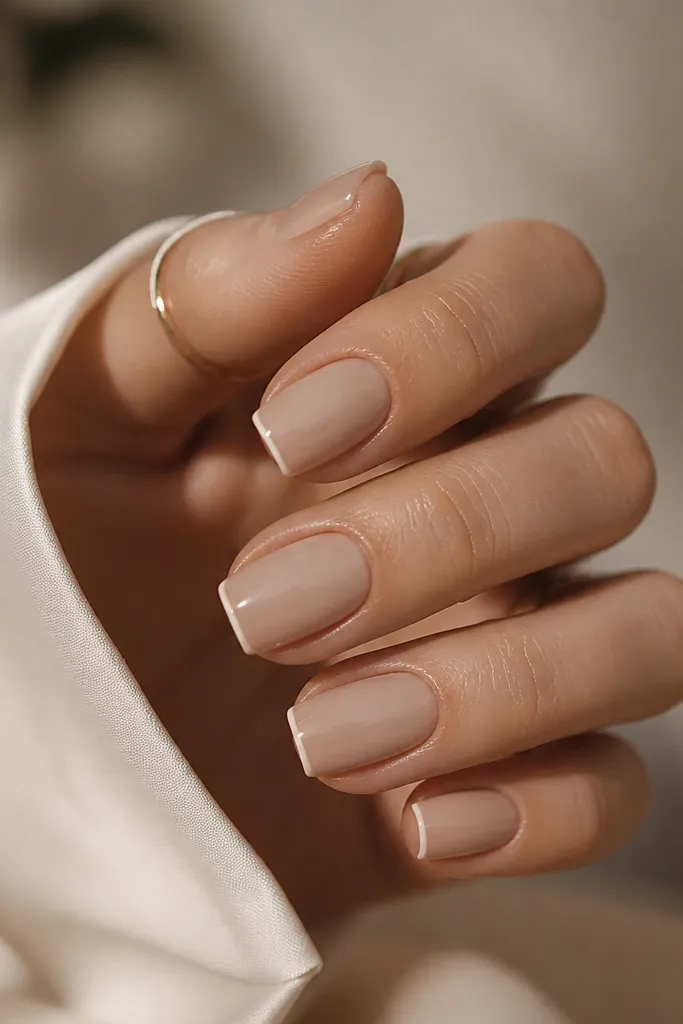
A micro-line French is the easiest way to add detail without making your nails look busy. The trick is using a French color that's only one shade different from the nude, so it stays soft instead of high-contrast. This set looks crisp with work outfits and still feels pretty with casual wear.
Start with a neutral beige acrylic or overlay. Paint or build a thin line across the tip using a nude-lighter shade, keeping the line width around 0.5-1 mm. Seal with a glossy top coat and cap the sidewalls so the line doesn't peel.
Pro tipUse a nail art striping brush and do two light passes instead of one heavy stroke. It keeps the line straight.
Watch outDon't use bright white for the line. It turns the whole set into a seasonal French instead of an evergreen nude.
4. Barely-There Nude with One Foil Accent Nail
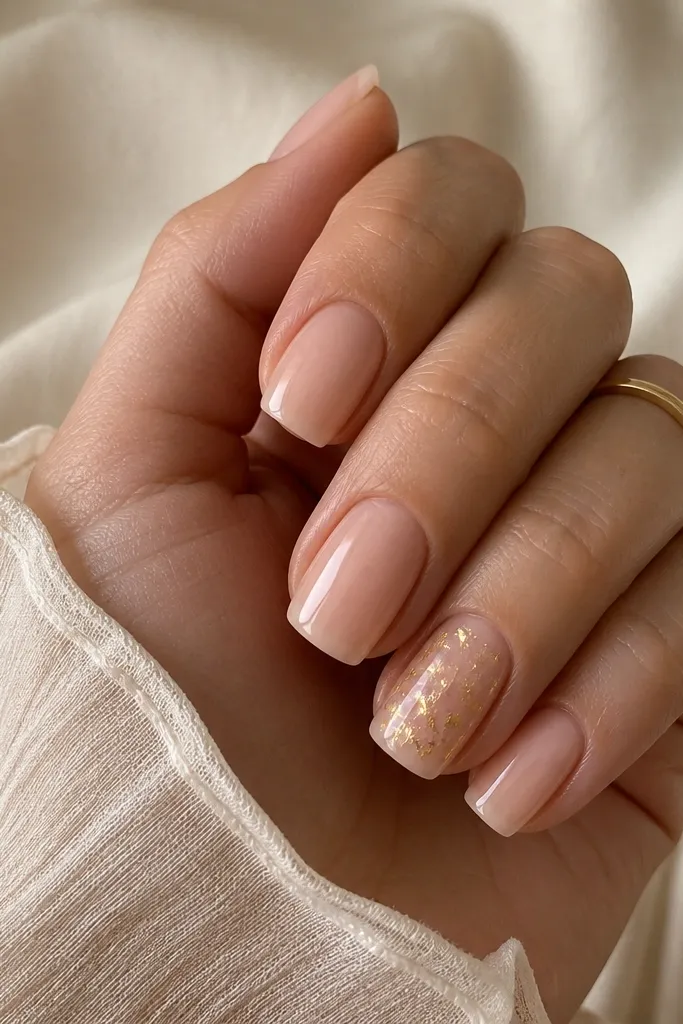
This is for when you want nude nails that still get compliments. The foil catches light differently than paint, so it looks expensive without covering every nail. With only one accent, your set stays clean and wearable when you're not in the mood for full nail art.
Do a sheer nude base on all nails, then place champagne-gold foil shards on the ring finger only. Keep foil coverage to about 30-40% of the nail so it doesn't look like a sticker. Seal with a clear glossy overlay so the foil looks suspended under glass.
Pro tipPick foil that's more champagne than yellow. It reads softer next to nude acrylic.
Watch outAvoid putting foil on multiple nails. It steals the "barely-there nude" look.
5. Velvety Matte Nude with Glossy Side Stripe
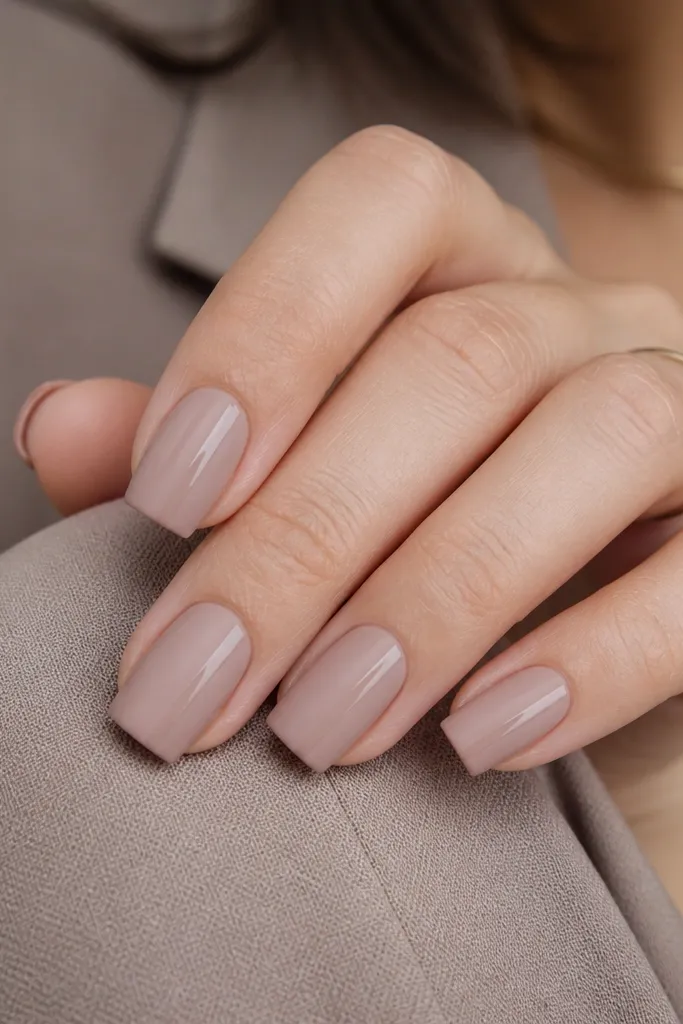
Matte nude is a mood, but it can look dry if the base is wrong. This set works because the nude is still smooth and the glossy stripe is placed where your eye naturally follows your nail length. It gives you texture contrast without turning your nails into a powdery mess.
Build your nude acrylic, then apply matte top coat to the whole nail. After curing, paint a thin glossy stripe (chrome gel or glossy gel polish) along one sidewall from just under the cuticle to the free edge. Cure again and clean up the edges with a small liner brush.
Pro tipIf your matte top coat grabs lint, wipe nails with a lint-free pad and isopropyl after curing.
Watch outSkip thick stripe gel. It makes the stripe look raised and catches on fabric.
6. Nude Milky Ombré Square
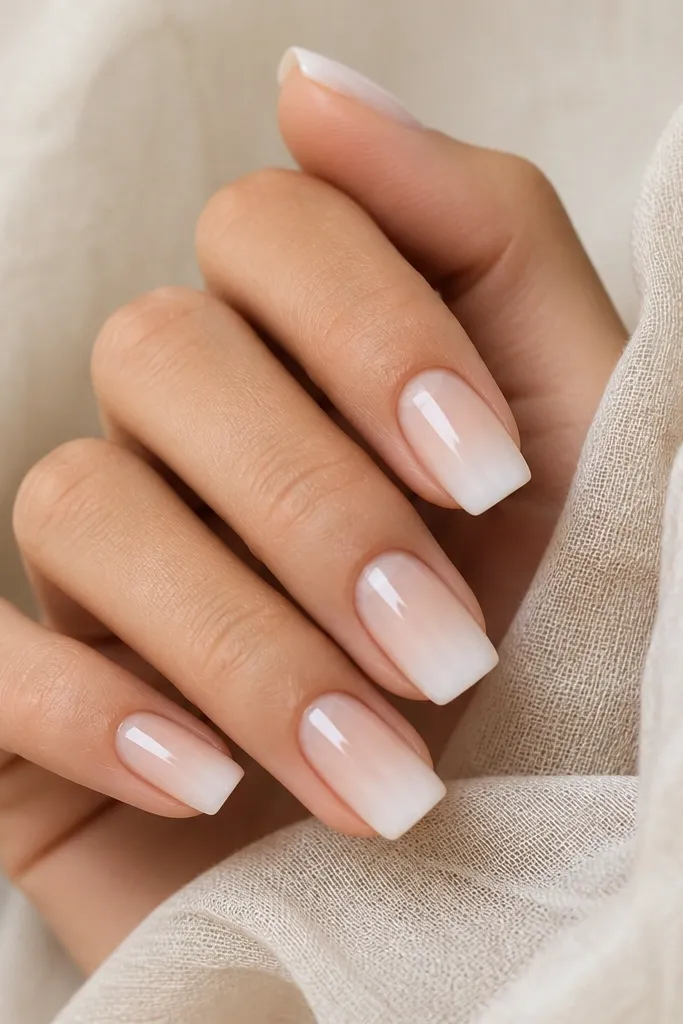
Milky ombré looks expensive because it mimics the way nails naturally lighten toward the tip. It's also forgiving - when the nail grows out, you don't see a harsh regrowth line. The key is keeping it cloudy and soft, not streaky.
Use a sheer nude base. Sponge or airbrush a milky white blend starting at the mid-nail, fading into the tip over the last 40% of length. Avoid fully opaque coverage; you want a misty effect. Seal with glossy top coat.
Pro tipDo a test nail on a practice tip first. Milky shades are easy to overdo.
7. Sheer Nude with Tiny Crystal Cluster at Cuticle
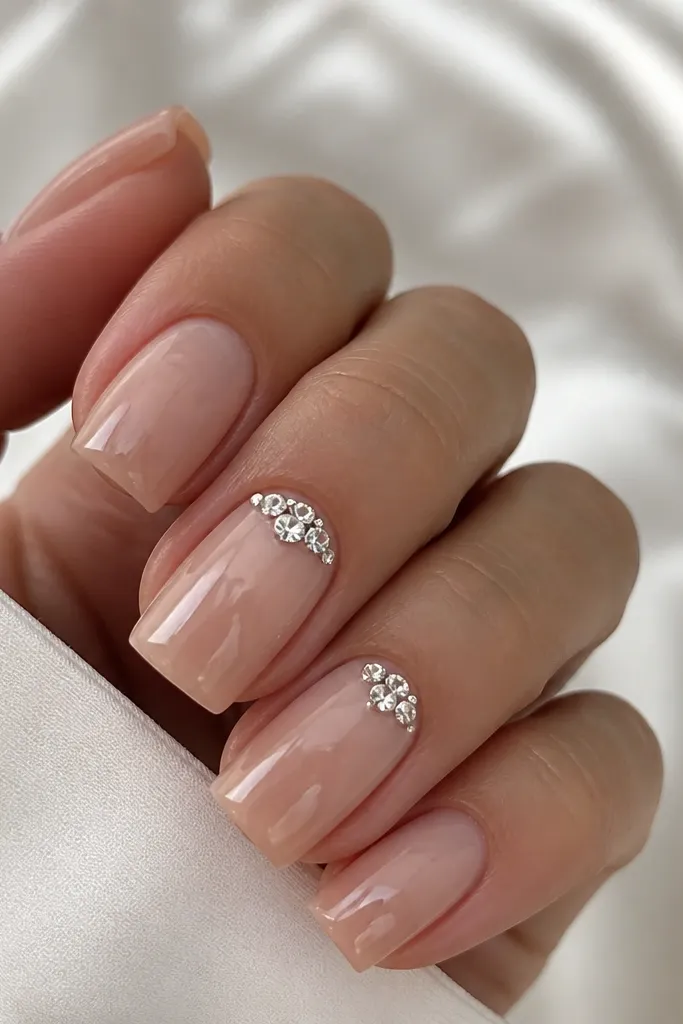
Cuticle crystals make nude nails look dressed up without adding a lot of weight or bulk. Placing the cluster near the cuticle also makes the sparkle look intentional as your nails grow - the cluster stays close to the nail bed. This set is perfect for events, but it's still evergreen because the base is nude.
Choose a sheer nude base in a shade close to your skin tone. Add 3-5 tiny clear crystals in a tight cluster on the ring finger and maybe the middle finger, leaving a little negative space between stones. Use gel to anchor, then top coat around the stones so they feel smooth.
Pro tipPress the crystals into the gel with a flat tool and cap the edges with clear gel so they don't snag.
Watch outDon't use large stones on square nails. They can look heavy and pop off faster.
8. Skin-Tone Nude with Micro-Dots in Champagne
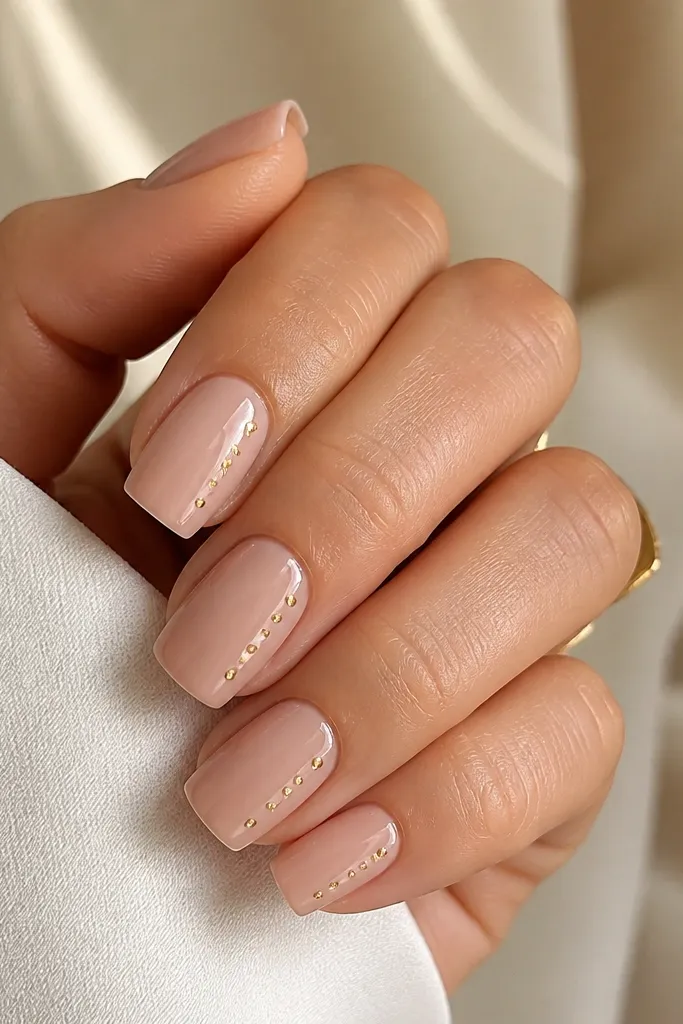
Micro dots add movement without turning nude nails into a pattern. Champagne dots look softer than bright gold leaf, especially on nude bases. This set is wearable for work because the dots are small and spaced, not dense.
Start with a skin-tone nude overlay that matches your undertone. Use a dotting tool to place 4-6 tiny dots near one side, starting near the mid-nail and tapering toward the tip. Seal with glossy top coat to lock the dots under a smooth surface.
Pro tipKeep dot size consistent by loading a tiny amount of gel onto the tool and wiping excess off on a lint-free pad.
Watch outAvoid dotting all over. One controlled placement looks intentional; random dots look messy.
9. Nude Acrylic with Thin Rose-Gold Outline French
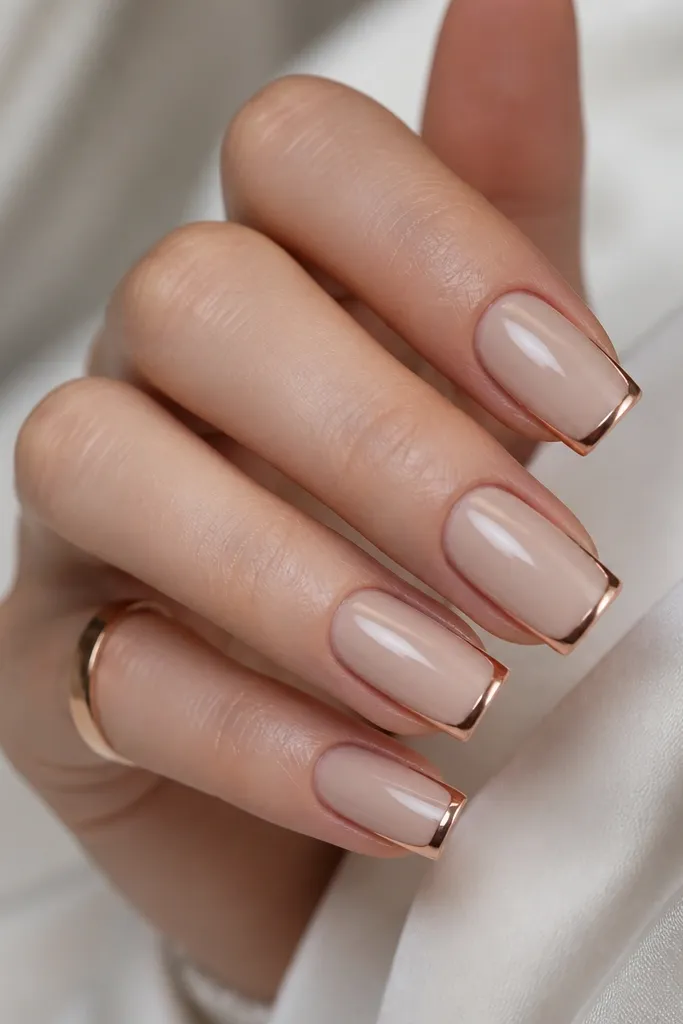
This is a French tip, but the metal outline makes it feel modern. Rose-gold works especially well on pinky-rose nudes because it doesn't fight your undertone. The outline gives you a clean boundary without a thick block of color.
Use a nude base in your skin-matching shade. Paint a very thin rose-gold line along the tip edge and slightly down the corners, staying within 1 mm of the nail edge. Finish with a glossy top coat so the line stays mirror-smooth.
Pro tipIf your outline looks shaky, use nail striping tape for the first placement, then remove and clean with a brush.
Watch outDon't thicken the outline - thick metallic lines look like sticker art on square nails.
10. Caramel Nude with One Matte Accent and Glossy Base
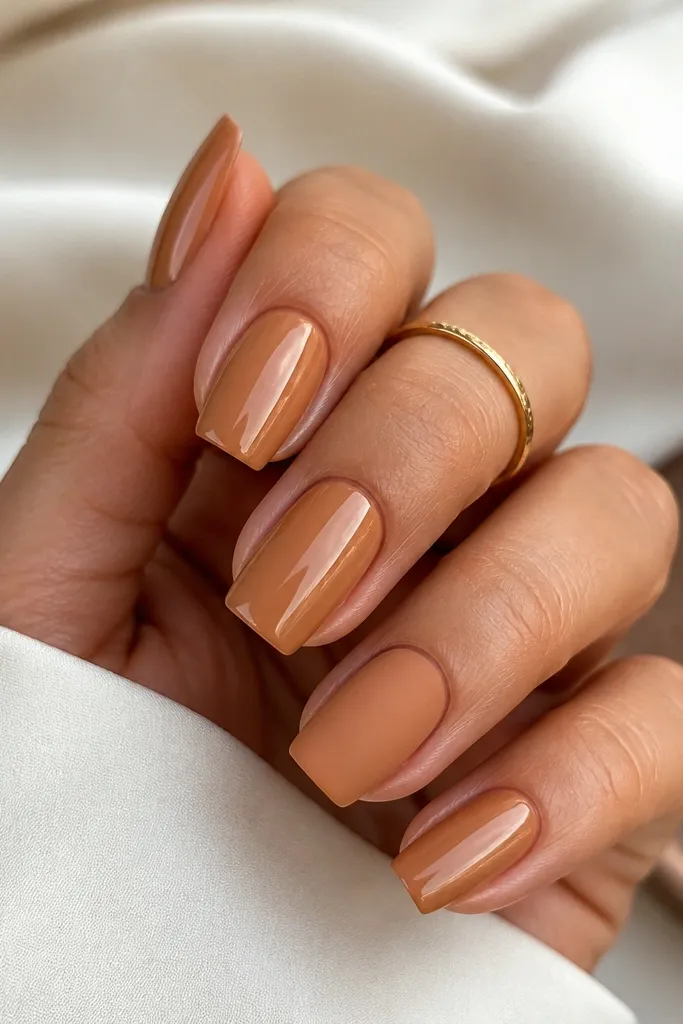
This set gives you texture contrast without adding color changes. Keeping the base glossy on most nails makes your hands look freshly polished, while one matte nail adds that "thoughtful" detail. It's a great compromise if you love matte but hate the way it shows bumps.
Apply caramel nude acrylic and gloss top coat on all nails. Choose one accent nail per hand (usually ring finger) and apply matte top coat only to that one nail. Make sure the matte nail is fully sealed so it doesn't feel grabby.
Pro tipUse the same shade for matte and gloss. Mixing undertones makes the contrast look accidental.
Watch outAvoid matte on all nails if you have dry cuticles. Matte makes dryness look obvious.
11. Sheer Nude with Blush Pink Side Fade
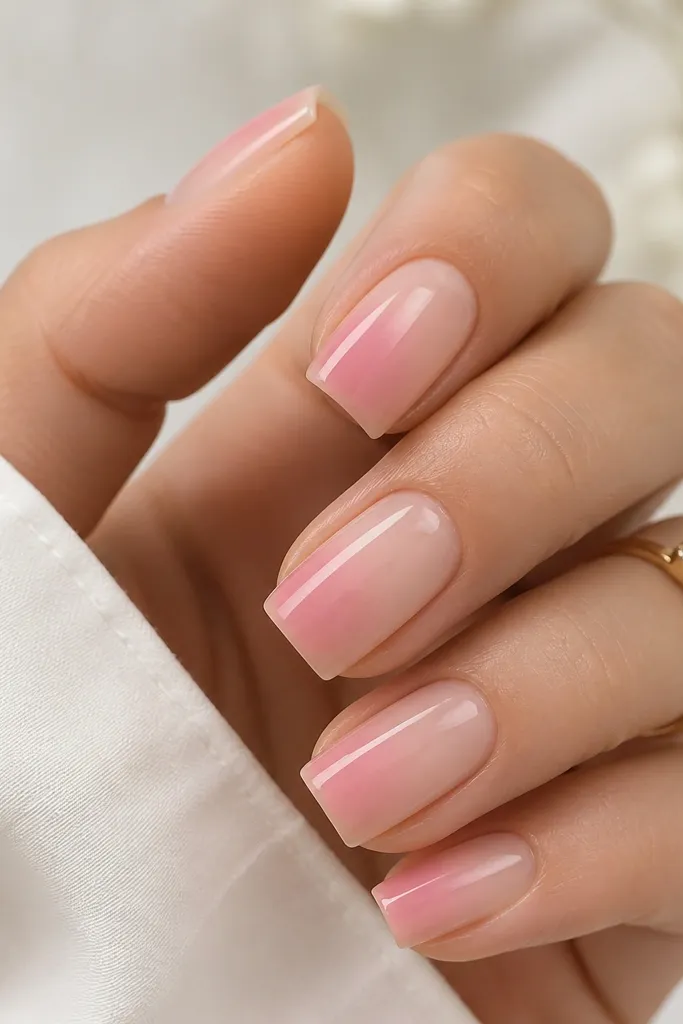
Side fades look flattering because they lengthen the nail visually and keep the center clean. The blush color is light enough to stay evergreen, but it adds a hint of color that shows up in sunlight. This is my go-to when I want something more interesting than a plain nude but still subtle.
Build a sheer nude base. Sponge or airbrush blush pink only along one side edge, covering about 20-30% of the nail width, then fade it toward the middle so it disappears around the center. Seal with glossy top coat for a smooth blend.
Pro tipKeep the fade on one side only across all nails for a consistent look.
Watch outDon't add the fade to both sides. It can make the nail look wider instead of longer.
12. Nude Acrylic with Tiny Black Micro-Lines
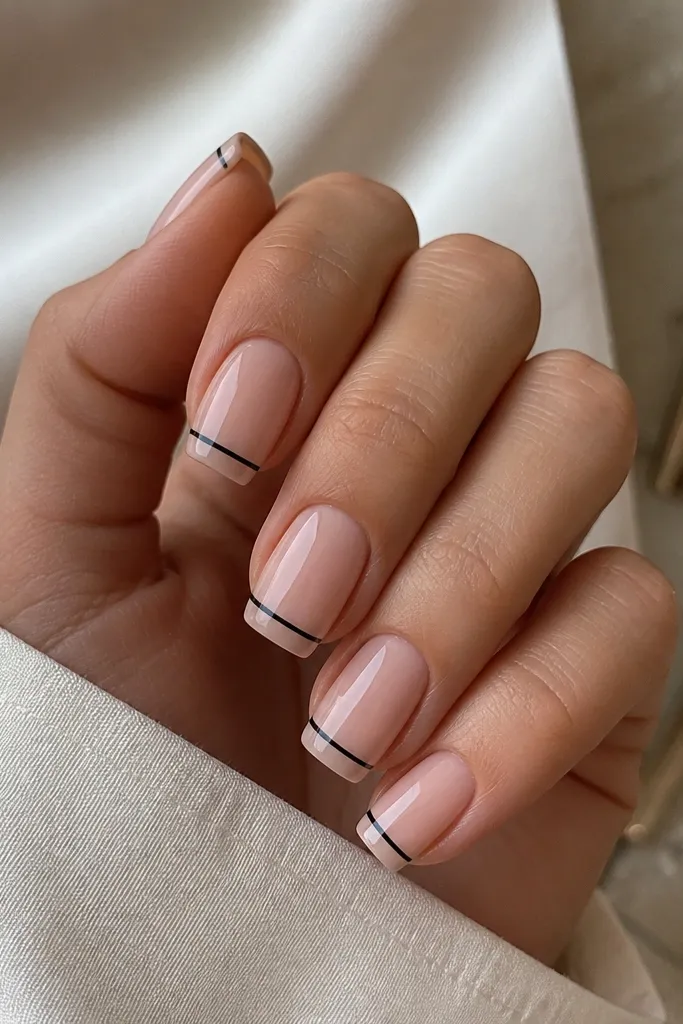
A tiny black line gives nude nails structure. It's graphic in the best way, but because it's micro and placed near the tip, it still reads wearable. I like this design for fall because the contrast looks crisp with knits and boots, and it still works in spring because the base stays nude.
Use a neutral-beige nude base. Add one thin black micro-line across the last 2-3 mm or place two short lines angled slightly. Keep the line thickness around hairline width, then top coat glossy so the line doesn't look chalky.
Pro tipUse a gel liner brush and pull the line in one steady motion. Stop early and correct with top coat on a brush, not by re-painting.
Watch outAvoid thick black accents. Thick lines make nude nails look harsh.



