
1. Sheer Pink "Milk Tea" with Blush Center
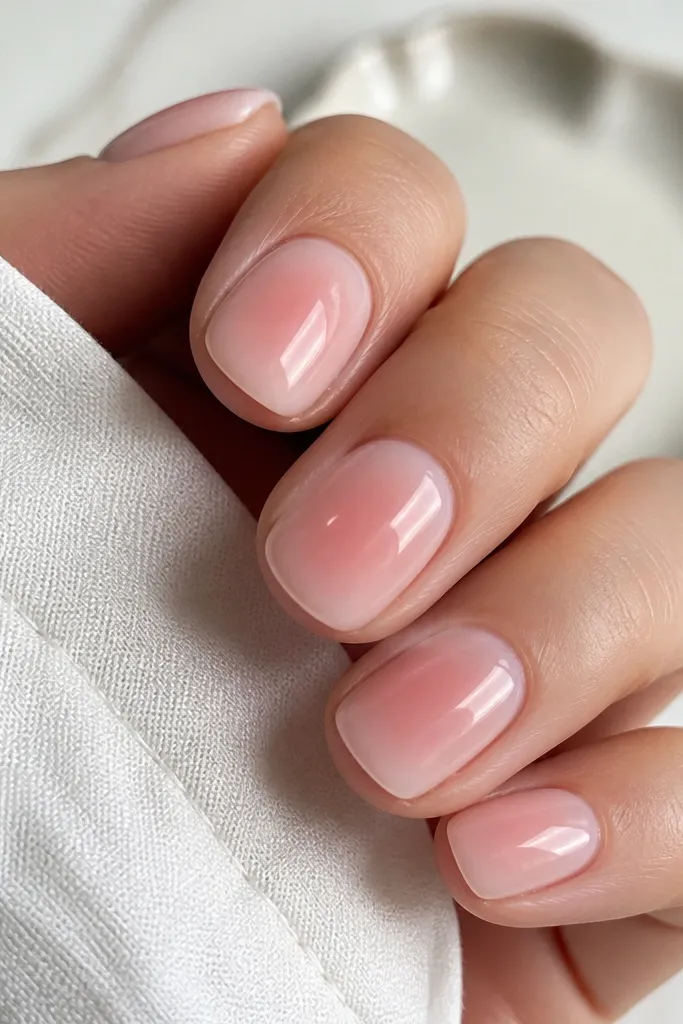
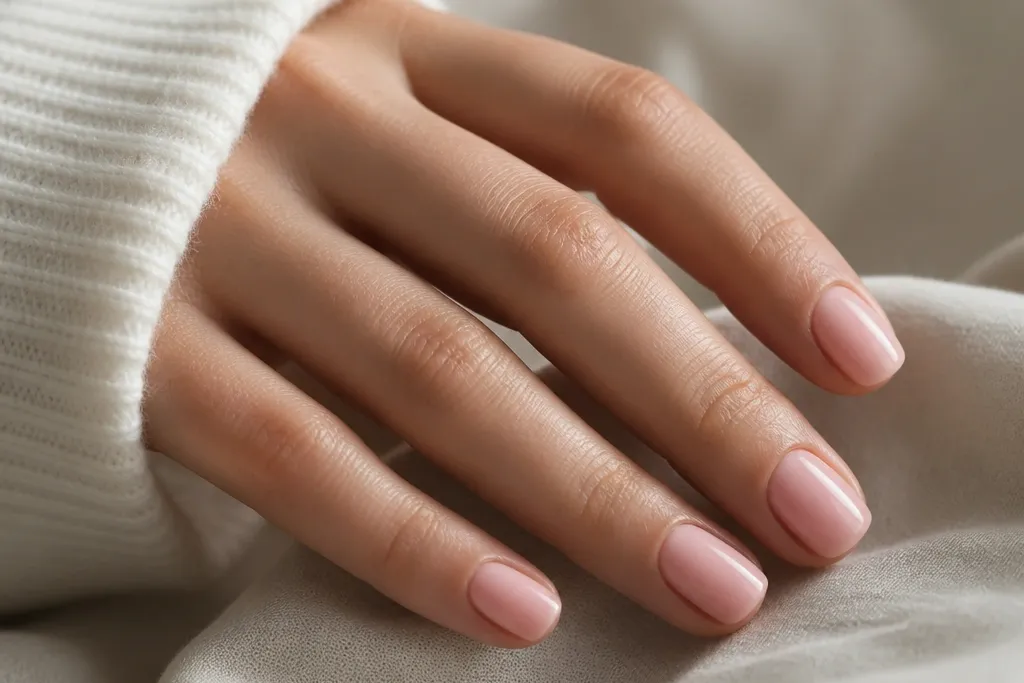
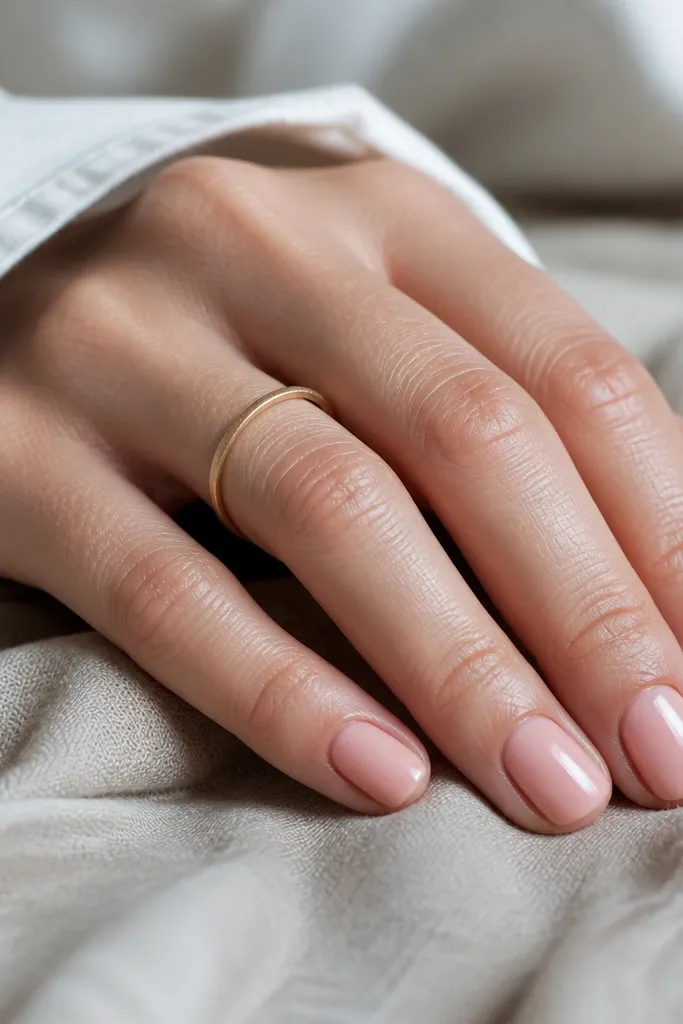
This is the easiest low maintenance look because regrowth doesn't create a harsh contrast. The milky sheer base looks fresh even when it grows out, and the blush center tricks the eye into thinking your nail has more even tone. I like it on short nails because the center depth adds dimension without making the nail look longer. Keep the blush subtle - if it's too dark, it turns into a visible "stain" effect.
Start with two thin coats of the sheer milky pink, letting each coat level out. Add the blush center with a small brush - place color only in the middle third of the nail and fade outward with gentle taps. Finish with a glossy top coat, making sure you cap the free edge lightly.
Pro tipIf you want it to last, wipe the nail with 70% alcohol after buffing and before base coat. It helps gel/polish grip better on short nails.
Watch outDon't paint the blush up to the cuticle - that creates a visible ring when you grow out.
2. Soft Pink Micro French with Rounded Tips
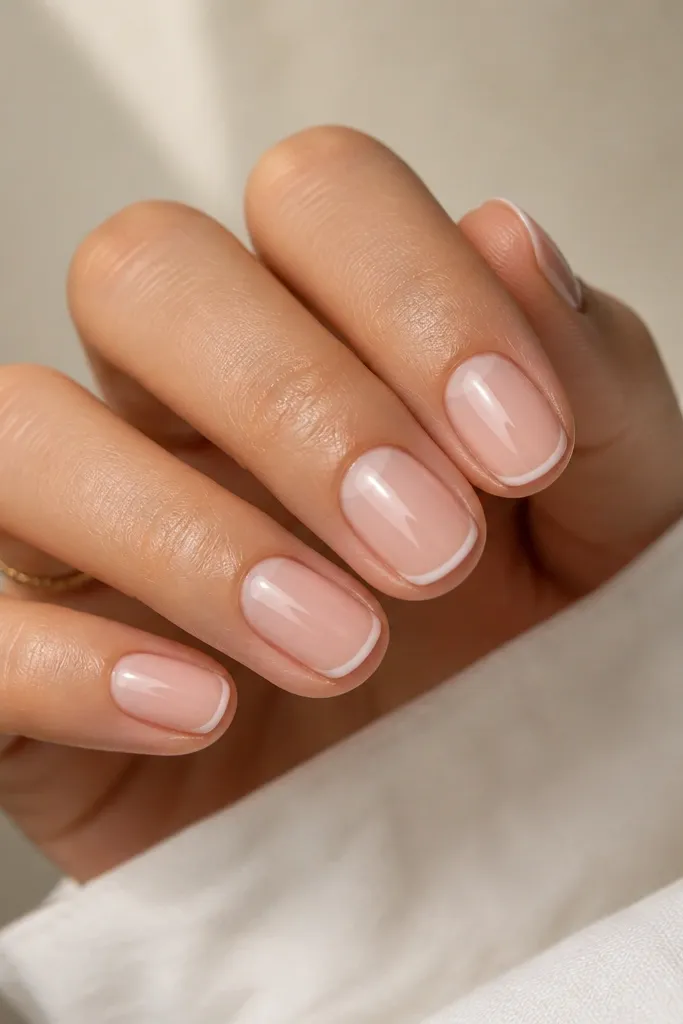
Micro French is my go-to when I want "done" without the maintenance stress of full nail color. The thin tip line keeps the look airy on short nails and hides chips better than a bold white tip. Using a lighter pink for the tip keeps it soft - it doesn't scream "French" like stark white. This also works when you want a neat look for work.
Use one even base coat of soft pink (opaque or semi-sheer). With a fine liner brush, draw a 1mm curved line at the tip, then lightly fill only the outer tip area. Keep the tip width consistent from nail to nail so it looks intentional.
Pro tipUse a dotting tool to place two guide points on each side of the tip, then connect them with the liner brush.
Watch outAvoid thick tip borders - thick lines look bulky on short nails and lift faster at the edges.
3. One Accent Nail in Soft Pink Matte with Glossy Edge
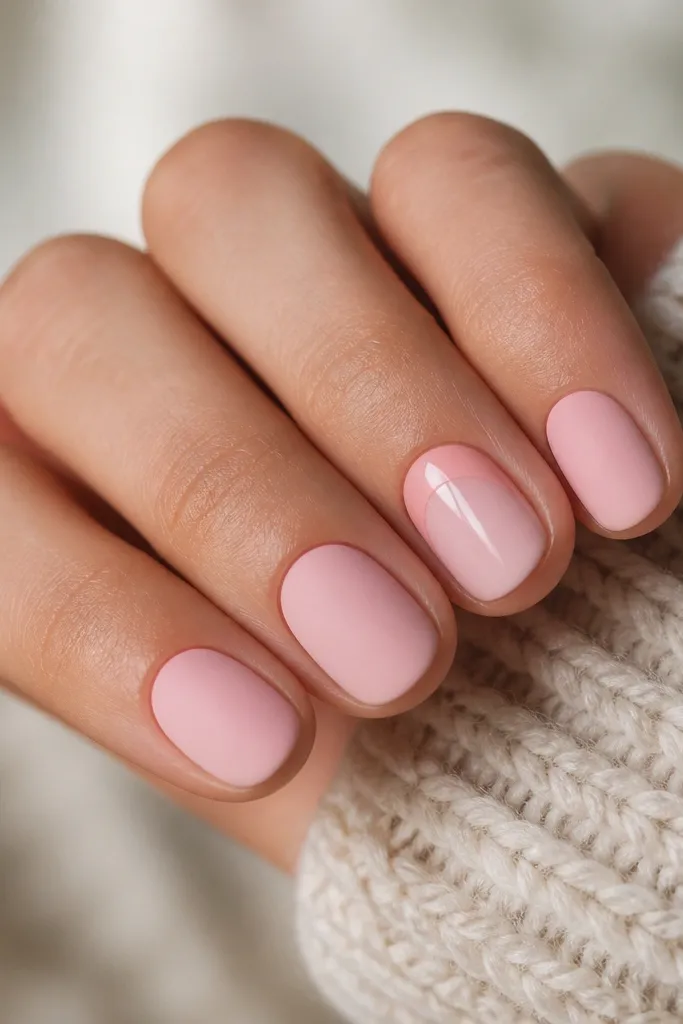
Matte makes soft pink look expensive and smooth, and the glossy edge gives you that "designer" contrast without adding length. I use this when I want my manicure to look styled but still easy to maintain. The accent nail draws attention away from minor growth lines, and matte hides tiny surface imperfections better than gloss.
Paint all nails in two thin coats of soft pink gel or polish. Seal with matte top coat on every nail except the accent nail. On the accent nail, apply glossy top coat only on the last 2-3mm of the tip, keeping it crisp with clean tape or a steady hand.
Pro tipIf you're using regular polish, pick a matte top coat made for polish, not spray - it cures more evenly on short nails.
Watch outDon't put matte over a bumpy coat - matte will show every streak.
4. Soft Pink Jelly Base with Tiny White Dot Constellations
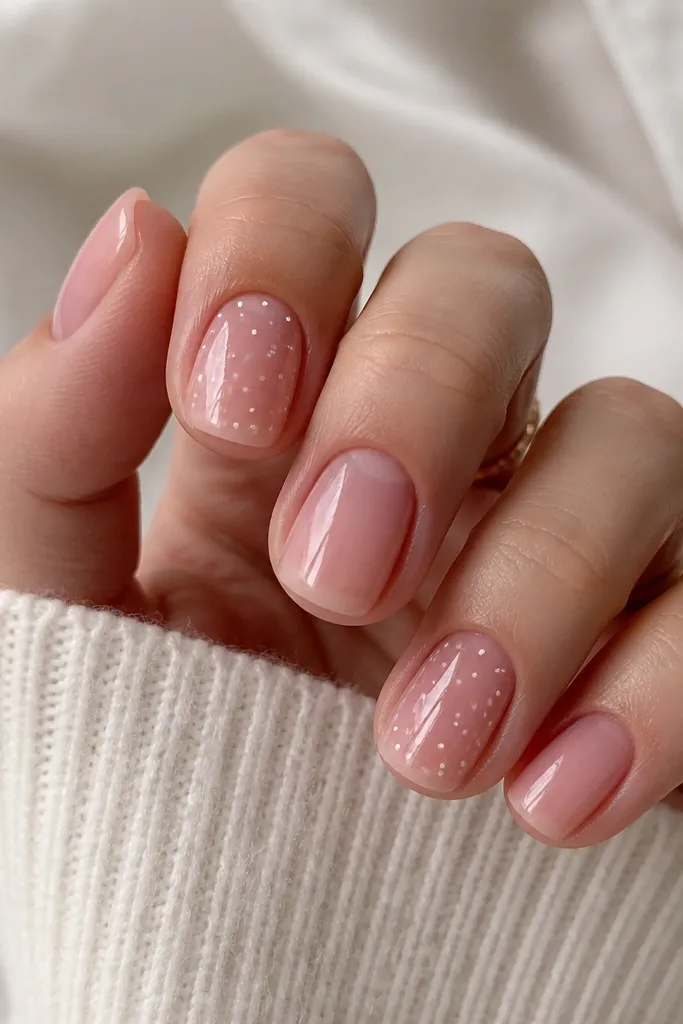
Jelly soft pink has built-in softness, so it looks good as it grows. Tiny white dots add a playful detail without turning into full nail art. This works on short nails because the dots can stay small and concentrated near the center. It's also forgiving if you don't place them perfectly - the scattered pattern hides minor unevenness.
Apply one or two jelly layers depending on how sheer you like it. With a dotting tool, place 4-7 micro dots on the nail's center area only. Finish with glossy top coat to smooth the surface and make the jelly look glassy.
Pro tipUse the smallest dotting tip you have. Bigger dots look chunky on short nails.
Watch outAvoid covering the whole nail with dots - that makes short nails feel busy and hard to read.
5. Creamy Soft Pink with Subtle Side Fade
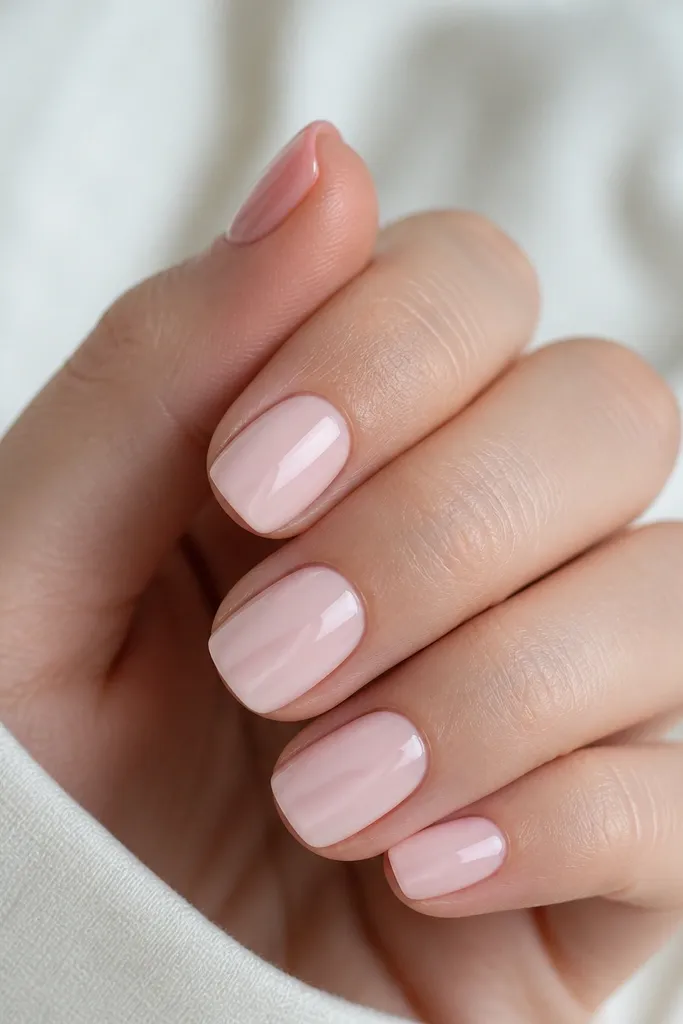
This is a low effort way to make soft pink look customized. The side fade gives dimension and makes nails look smoother, especially if your nails have slight ridges. It's still minimal, so it doesn't get in the way of everyday wear. I love it because it looks "salon" even when you're using the same base shade you already own.
Paint a full creamy opaque soft pink base. With a lighter pink (or white-pink mix), sponge a thin vertical highlight on one side of each nail using a tiny makeup sponge. Blend with a light touch so you don't get a harsh stripe, then top coat.
Pro tipKeep the highlight band narrow - about 1mm - so it reads as a glow, not a stripe.
Watch outDon't blend too far across the nail - a wide fade looks messy on short lengths.
6. Soft Pink Ombré That Stays in the Middle
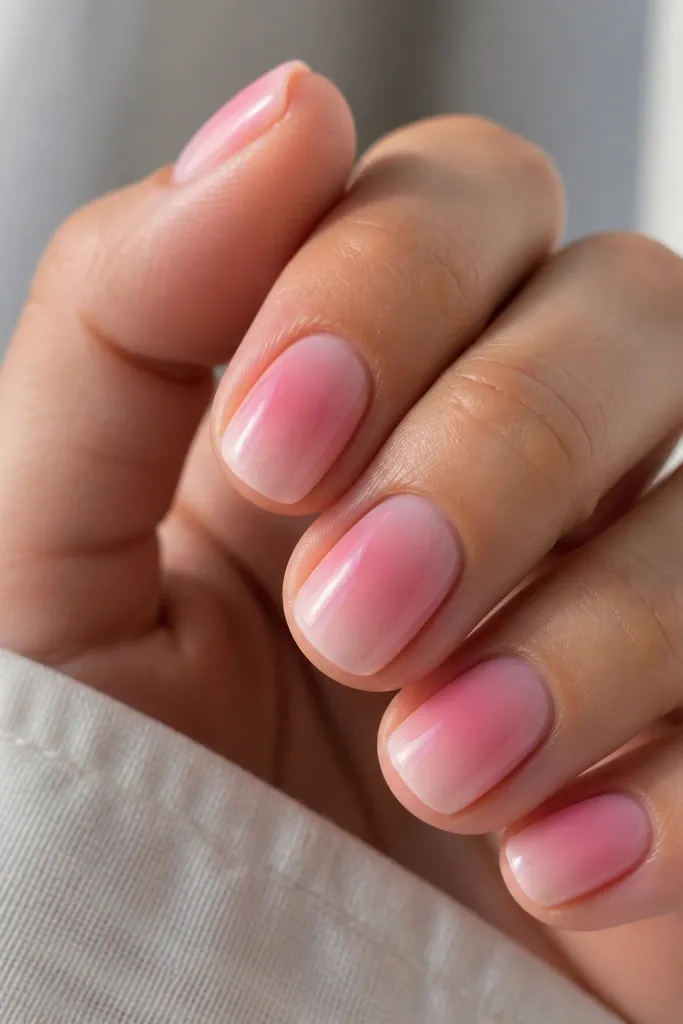
Most ombré looks best when the gradient is controlled. By keeping the darkest color in the center, you get a lengthening illusion without darkening the cuticle area where regrowth shows. This design looks clean even after a week because the fade is soft. It's also easier than full cuticle ombré because you're not painting a perfect curve near your skin.
Start with a light soft pink base. Add a slightly deeper blush in the center using a small makeup sponge, then drag the edges out with a clean brush. Keep the gradient inside the middle third, and seal with a glossy top coat.
Pro tipDo a test nail or two first. Once you see how the sponge spreads on your shade, you'll move faster.
Watch outAvoid placing the darker shade at the cuticle - regrowth turns it into a ring.
7. Clear Soft Pink Base with Micro Heart Near Cuticle
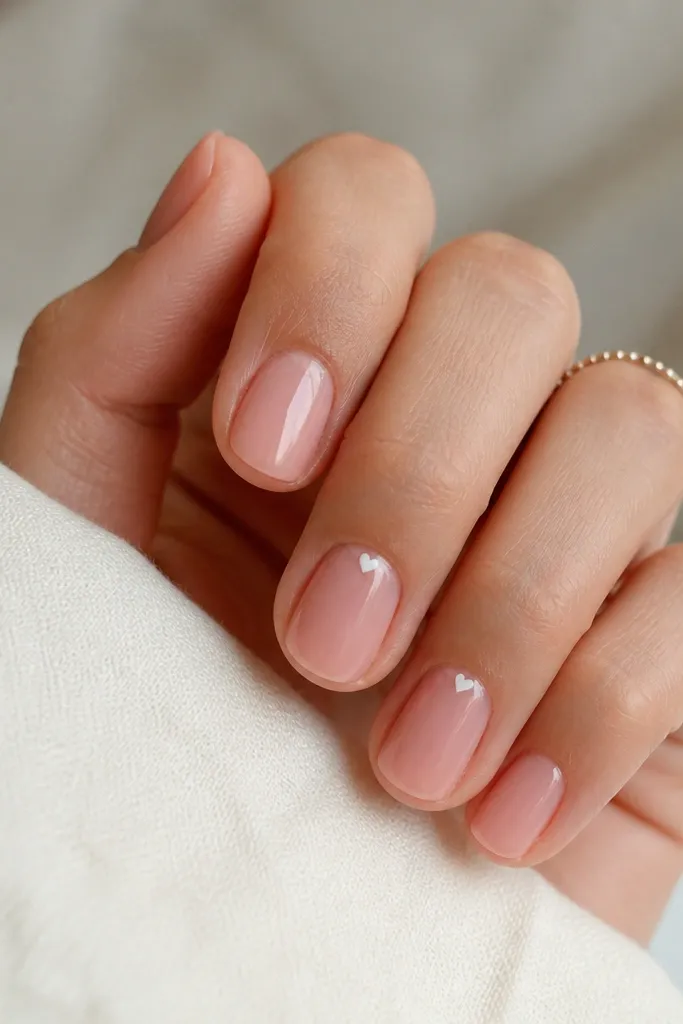
A micro heart gives personality without heavy art, and the clear jelly base makes it feel light. Placing the heart slightly above the cuticle keeps it from getting messy as your nails grow. I like white hearts because they pop on soft pink without turning into loud red. This is a great option when you want cute but still work-appropriate.
Use a clear jelly base tinted soft pink. Paint one thin accent heart with a dotting tool and a liner brush, keeping it under 2mm wide. Seal with glossy top coat and cap the tip so it stays smooth.
Pro tipIf your heart looks lopsided, add a tiny second dot on the other side to balance the shape.
Watch outDon't place the heart directly on the cuticle - it will blur when it grows.
8. Soft Pink with Thin White Outline Half-Moon
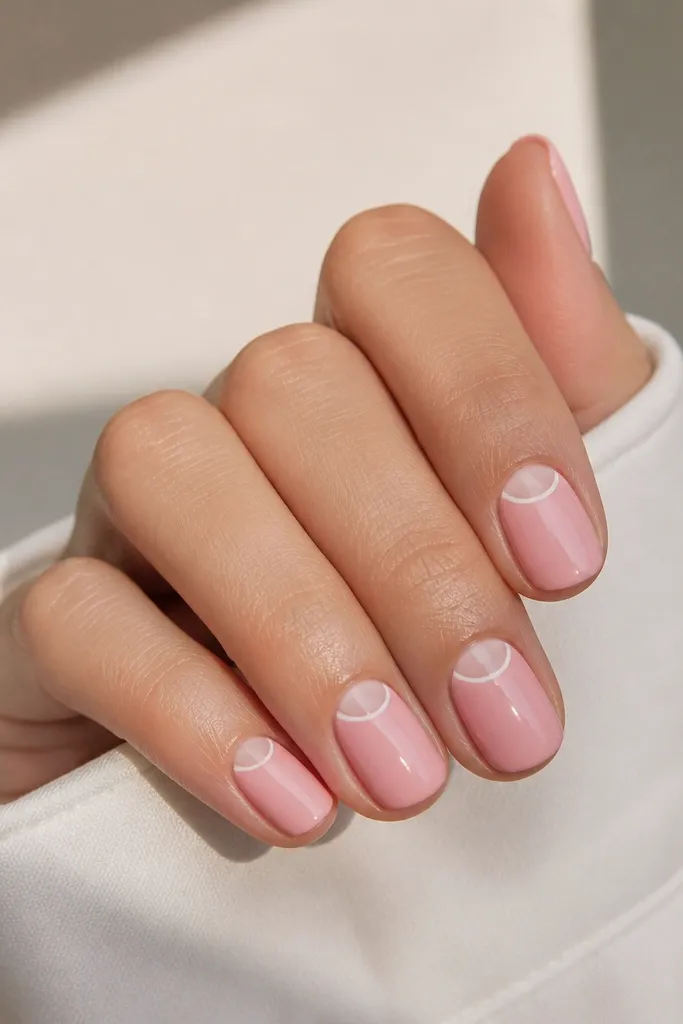
This half-moon outline looks tidy and keeps the design geometric. The negative space means you're not covering your entire nail with extra color, so it grows out better. White outline is easier to control than full white tips, and the cuticle area becomes a focal point instead of a problem. I've used it for events and then kept it for regular weeks because it doesn't feel overdone.
Apply two coats of soft pink and let it fully dry or cure. Use a liner brush to trace a thin arc at the cuticle, leaving the center unpainted. Fill only the outline stroke if you need opacity, then top coat.
Pro tipUse a cuticle stencil or a small strip of tape to guide the curve for the first nail.
Watch outAvoid thick outlines - they look chalky and snag on gloves or sleeves.
9. Soft Pink Marble Vein on One Nail Only
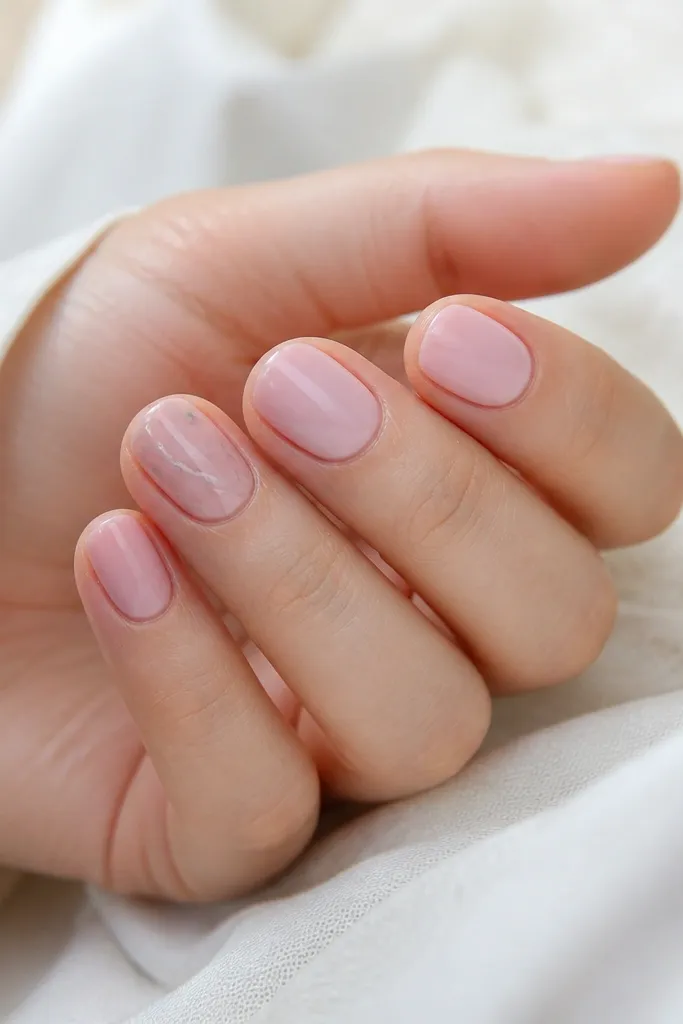
Marble looks fancy but you can keep it low maintenance by doing it on one nail. The veins break up the plain soft pink and hide minor imperfections in the base. Greyish-white lines read more natural than pure white, so it stays soft. This is an easy way to add interest without adding length.
Paint all nails with your soft pink base. On the accent nail, draw 3-5 thin curved lines using a grey-white polish or gel, then add tiny offshoots. Swirl lightly and stop early - marble should look airy on short nails.
Pro tipKeep the veins thinner than a hair. If it looks bold in your hand, it will look heavy on the nail.
Watch outDon't marble every nail - short nails get visually crowded fast.
10. Soft Pink "Glossy Skin" with Clear Gel Top Coat Layer
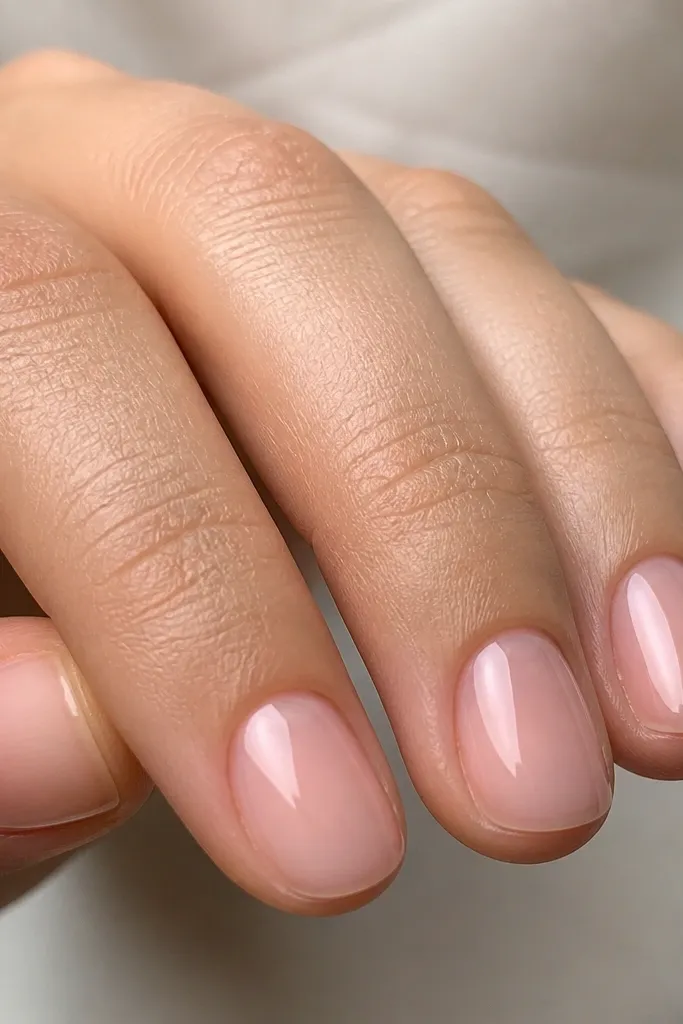
Sometimes the best low maintenance design is perfect polish application and a thicker-looking top coat. Soft pink "glossy skin" is my everyday set when I'm out of time. The extra clear top coat makes the surface feel smoother and reduces the look of tiny micro-chips. It also makes short nails look freshly buffed for longer.
Apply soft pink color in two thin layers. Then add a third layer of clear top coat that's slightly thicker and fully caps the free edge. Cure fully and wipe with cleanser if your top coat needs it.
Pro tipAfter curing, check under a lamp for rough spots. Buff only the roughness, then re-seal with a thin clear top coat.
Watch outAvoid thick color layers - they stay gummy at the edges and chip sooner.
11. Soft Pink with Gold Micro Line at the Tip
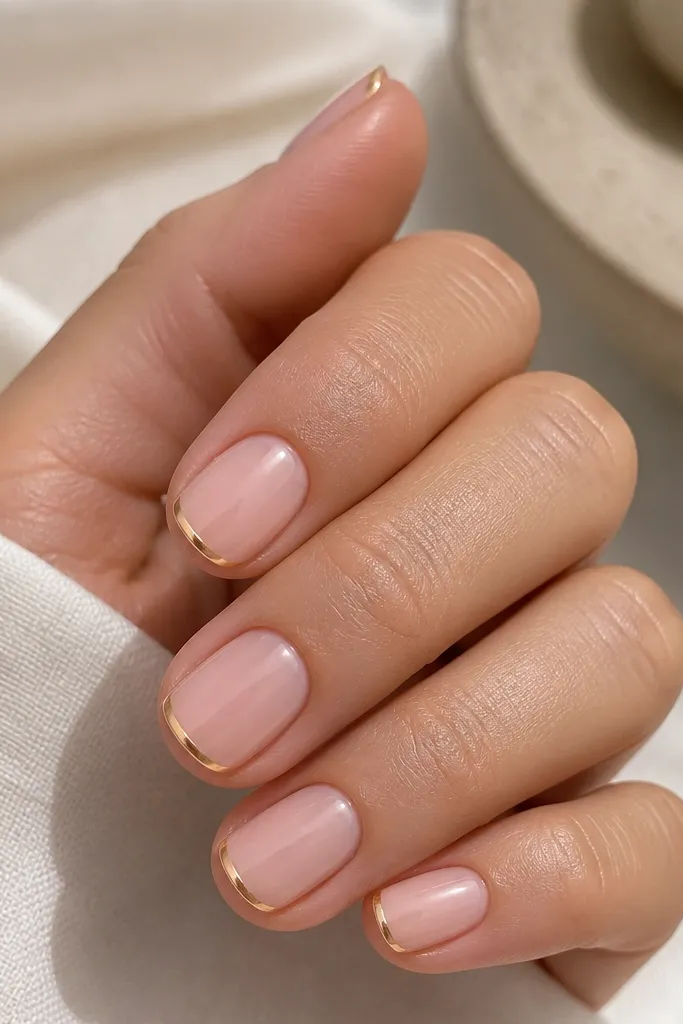
Gold micro lines make short nails feel dressed up without adding color clutter. Because the line sits near the free edge, it draws attention to shape and makes the manicure look intentional. I use a metallic gel or fine striping tape so the line stays straight. The soft pink keeps it wearable; the gold just adds polish.
Paint nails in soft pink and cure. Apply a thin gold striping line about 1mm tall at the tip, either with liner gel or a micro strip of gold tape. Seal with glossy top coat, making sure the line edges are fully covered.
Pro tipIf you're freehanding, rest your hand on a table and use the nail as the "guide," moving your brush instead of your wrist.
Watch outDon't place the gold line too high - on short nails it can look like a thick border.
12. Soft Pink with a Tiny Pearl on the Ring Finger
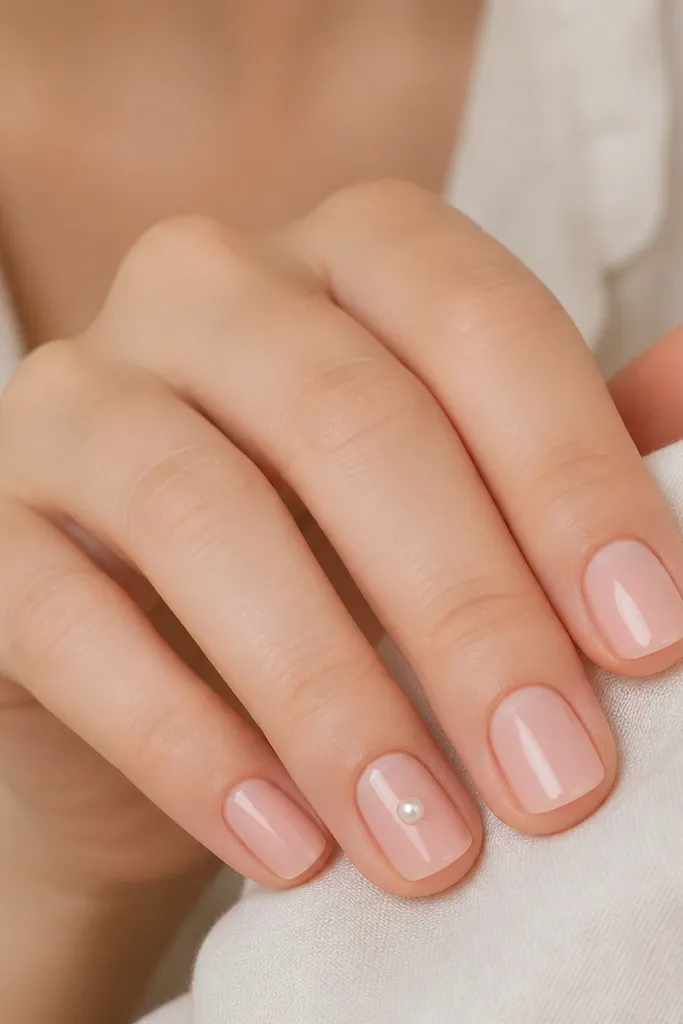
A single pearl looks sweet and still reads low maintenance because it's only one focal point. Soft pink makes the pearl look more creamy than stark. The trick is placement and sealing - the pearl should sit flat and be fully locked under top coat so it doesn't catch on fabric. This design is adorable for date nights and stays cute through the week.
Apply soft pink base to all nails. Place a micro pearl on the ring finger using nail glue or gel adhesive, at about the center of the nail plate. Cover with a thin layer of clear gel top coat, then cure, and repeat if the pearl feels raised.
Pro tipAfter curing, gently rub the pearl with a cotton pad. If it catches, you need more sealing.
Watch outAvoid big pearls on short nails - they look heavy and lift faster.



