
1. Milky Blush Micro French Tips
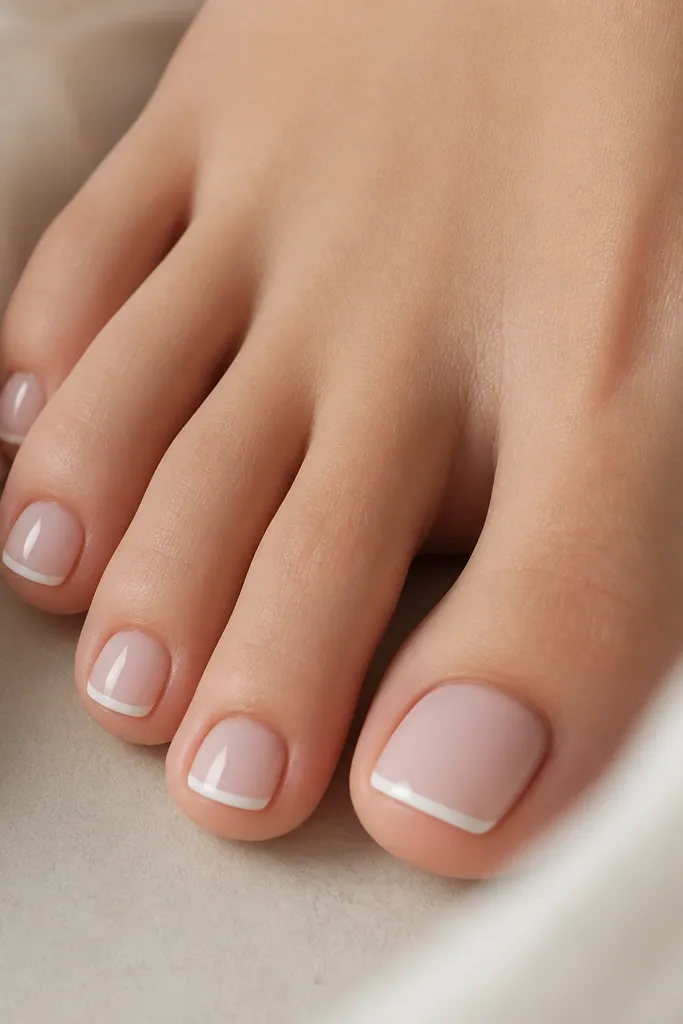
This look is soft pink with a tiny white tip that doesn't overpower the foot. The milky base hides early growth lines, and the micro line makes the toes look longer without needing length. I like it because it reads polished in both sandals and closed-toe shoes.
Use a full-cover soft pink press-on or toe nail sticker set with a pre-drawn micro French. Keep the white line narrow - about the width of a single strip of tape. Seal the tip edge with a thin layer of top coat so the line stays sharp.
Pro tipIf your tips lift first, add a small dab of glue only on the free edge and press again for 30 seconds.
Watch outAvoid thick French tips - they snag and look bulky on short toes.
2. Dusty Rose Gloss with One Thin Gold Line
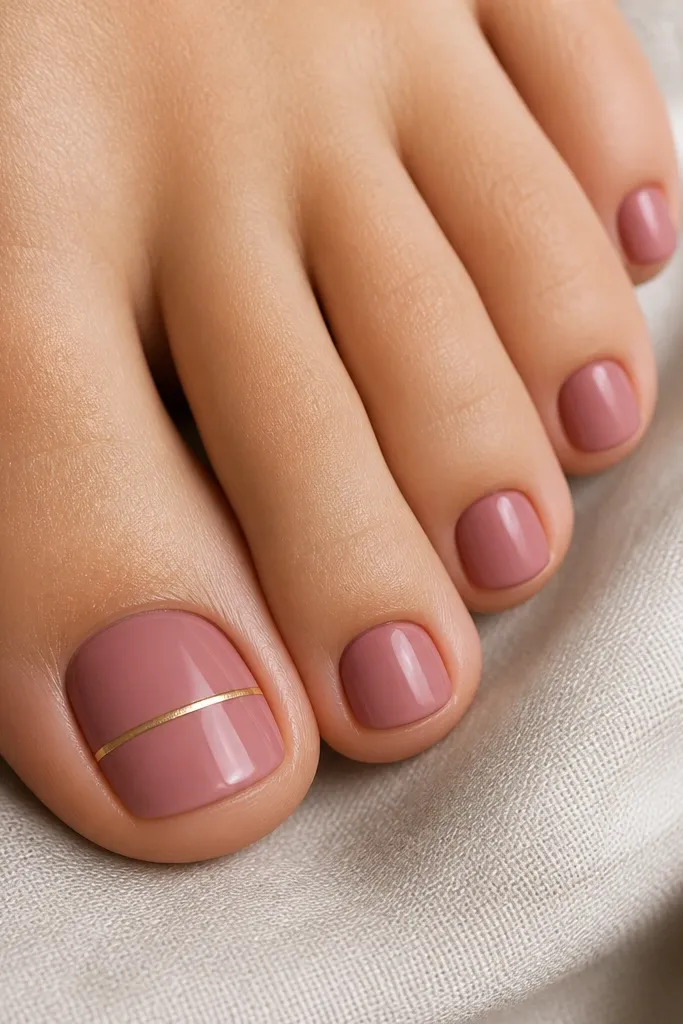
A single gold line gives you "jewelry toe" energy without fake gems. Dusty rose looks more expensive than bubblegum pink because it stays flattering against skin undertones. The stripe catches light when you walk, so it stays interesting even on a plain outfit.
Pick a dusty rose press-on set with glossy finish. Add a thin nail art strip (gold foil tape) just below the midline of the big toe; keep it straight and narrow. Top coat over the stripe to lock it down.
Pro tipUse a strip size that's roughly 1 mm wide so the gold reads delicate, not chunky.
Watch outSkip multiple stripes on every toe - short nails get busy fast.
3. Soft Pink Half-Moon Near the Cuticle
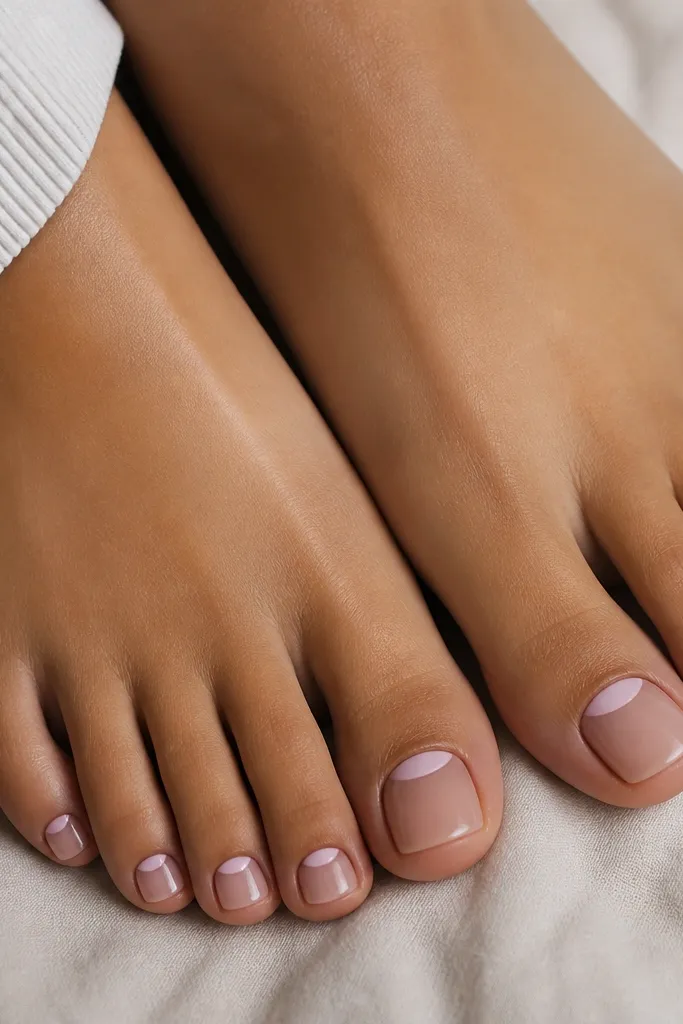
This design makes the nail look fuller and more intentional. The half-moon sits where your natural nail growth line is, so it disguises that transition. It also looks cute with bare toes because the detail is near the base, not at the tip.
Use a sheer-to-milky blush base first, then paint or place the half-moon in a slightly deeper soft pink. Keep the half-moon small - about 1/3 of the nail width. Seal with glossy top coat for a smooth surface that won't catch.
Pro tipIf your half-moon looks uneven, use a small dotting tool and clean the edges with a thin brush dipped in remover.
Watch outDon't make the half-moon too wide or it can look like a growth stain.
4. Sheer Blush + White Tiny Dots Accent
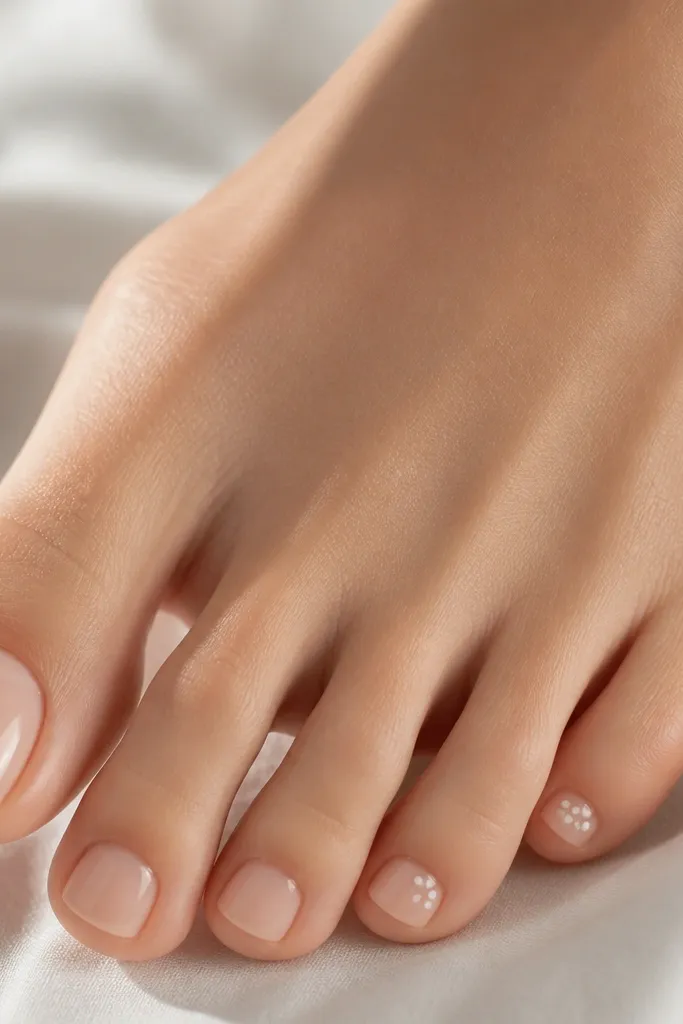
Tiny dots add charm without making the nail look long or heavy. A sheer blush base is forgiving when your toe nails start shifting because it blends with the natural color. The dots near the outer edge create a subtle "smile" shape.
Start with a sheer blush press-on or apply a sheer blush gel polish. Add white dots using a dotting tool or a detail brush; cluster them on the outer half of two toes. Keep dot size consistent - small enough that you could cover them with a pinhead.
Pro tipLet the base set fully before dots, or they'll smear into soft circles.
Watch outAvoid large dots - they look like stickers and can lift at the edges.
5. Soft Pink Gradient Fade at the Tip
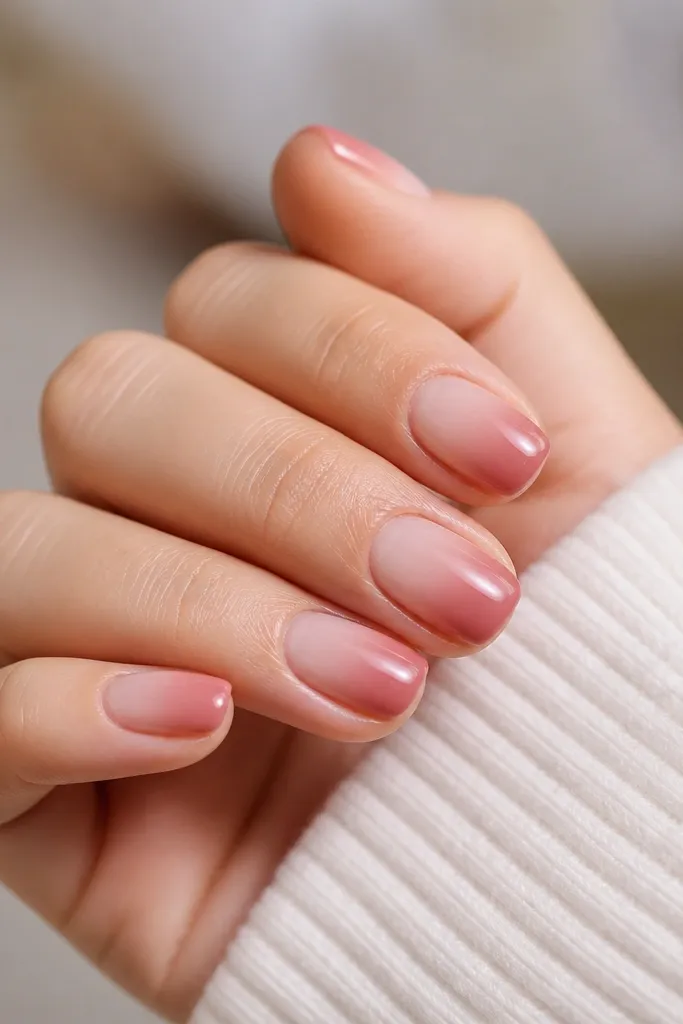
A gradient fade makes short toes look smoother and more dimensioned. The darker tip adds definition, while the lighter base keeps it airy. I like this for vacation because it looks fresh even when you're walking a lot.
Use a soft pink set that's slightly translucent at the base, then add a gel or paint fade at the tip with a makeup sponge. Blend lightly so the transition is blurry, not striped. Top coat twice for a glassy look.
Pro tipWipe off the sponge before blending - too much pigment at once creates a hard line.
Watch outDon't go too dark at the tip or it turns into rose-brown instead of soft pink.
6. Soft Pink Swirl on the Big Toe Only
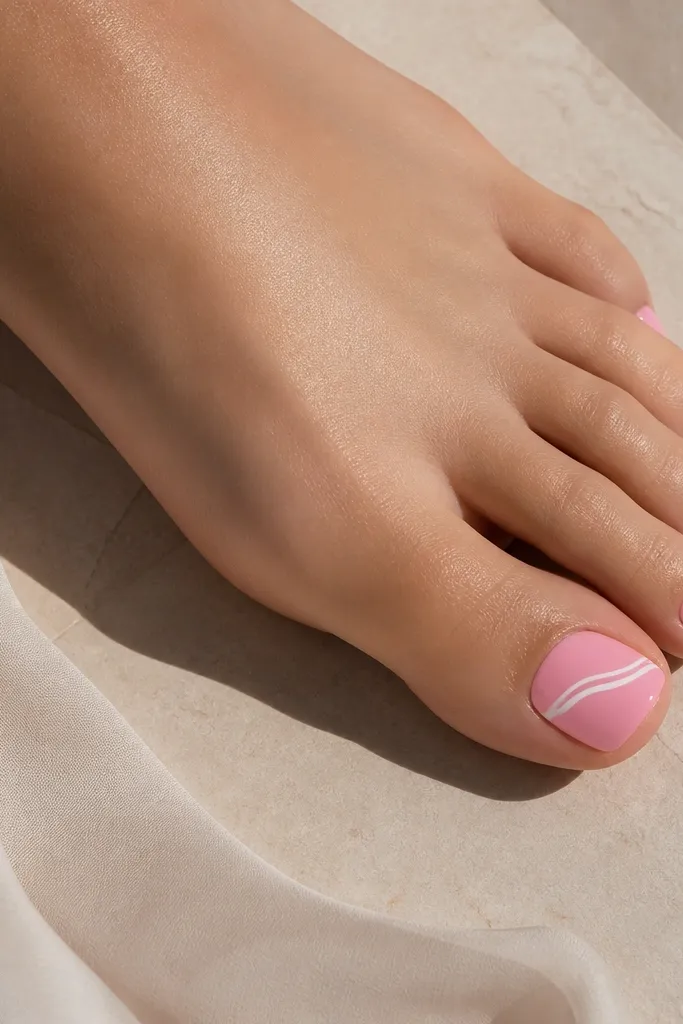
One swirl keeps it stylish without making every toe compete for attention. The white line looks crisp against soft pink and photographs well. Because it's only on the big toe, the rest of your toes stay easy to maintain.
Apply a solid soft pink base on all toes with a press-on set. On the big toe, draw a thin white swirl using a striping brush; keep the line width consistent. Finish with top coat over the swirl so it feels smooth.
Pro tipDo the swirl after the base is fully cured or set, then top coat immediately to prevent smudges.
Watch outSkip thick swirls - they catch on sandals and chip at the edges.
7. Blush Marble Veins in Tiny Scale
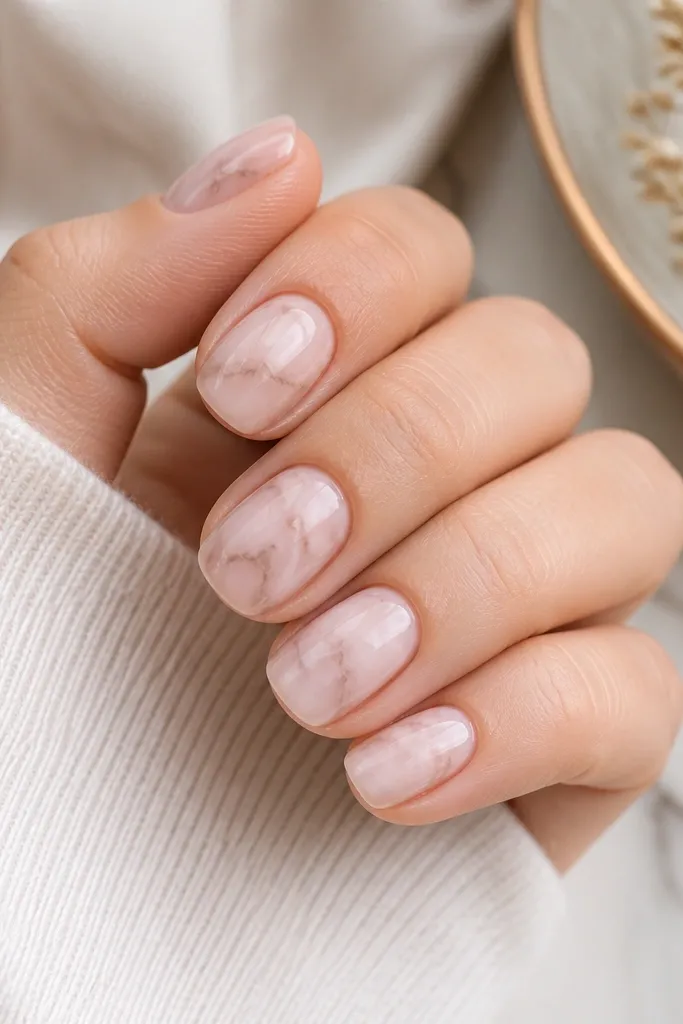
Marble looks harder than it is, and the trick is scaling it down for short toes. Tiny veins keep the design delicate and less "busy." The marble pattern also hides minor imperfections from growth and re-application.
Start with a milky blush base. Add thin gray-beige lines with a liner brush, then lightly blur some edges with a clean brush corner so it doesn't look like doodles. Seal with a high-gloss top coat to lock in the pattern.
Pro tipIf the veins look too bold, paint one extra thin highlight line and blend once - marble needs softness, not contrast.
Watch outDon't use heavy black veins - it makes soft pink look dirty.
8. Soft Pink Bow Accent with Negative Space
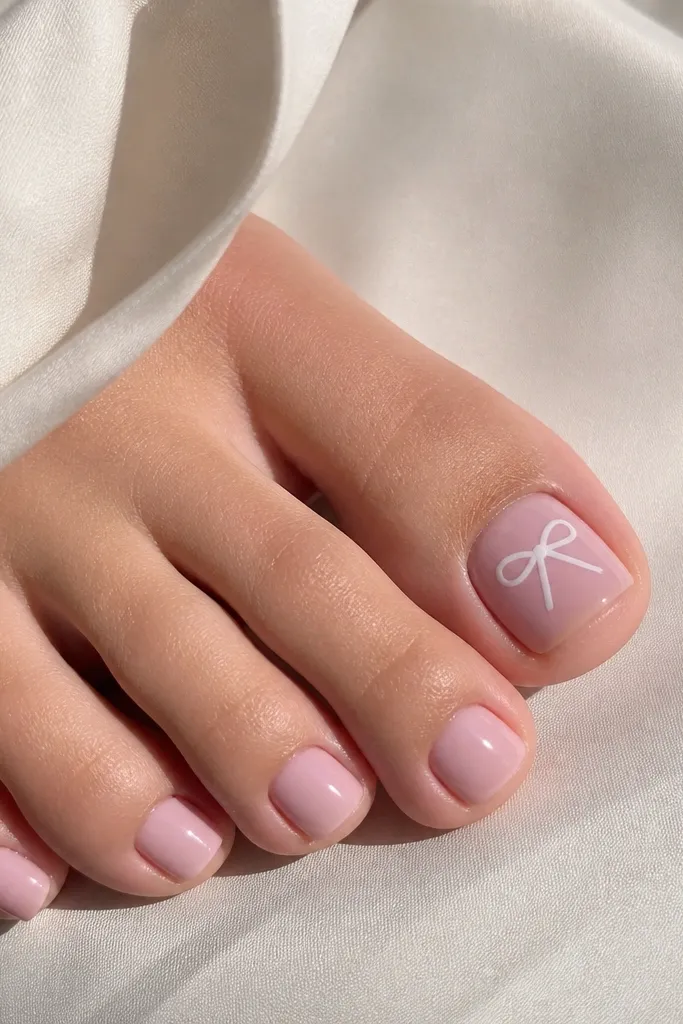
A tiny bow gives a sweet look without adding bulk. The negative space in the bow outline keeps it light, so it doesn't feel like a sticker on short nails. It's also perfect for weddings, brunch, or any moment you want cute but not childish.
Use a solid soft pink base set. On the big toe, apply a pre-made bow decal or paint a bow outline with white and a fine brush. Keep the bow small, about the width of your pinky nail ridge, and top coat carefully.
Pro tipTop coat in thin layers - thick coats can smear decals on short toes.
Watch outAvoid 3D bows or glitter chunks; they lift at the edges on real feet.
9. Pearlized Soft Pink with Center Dot
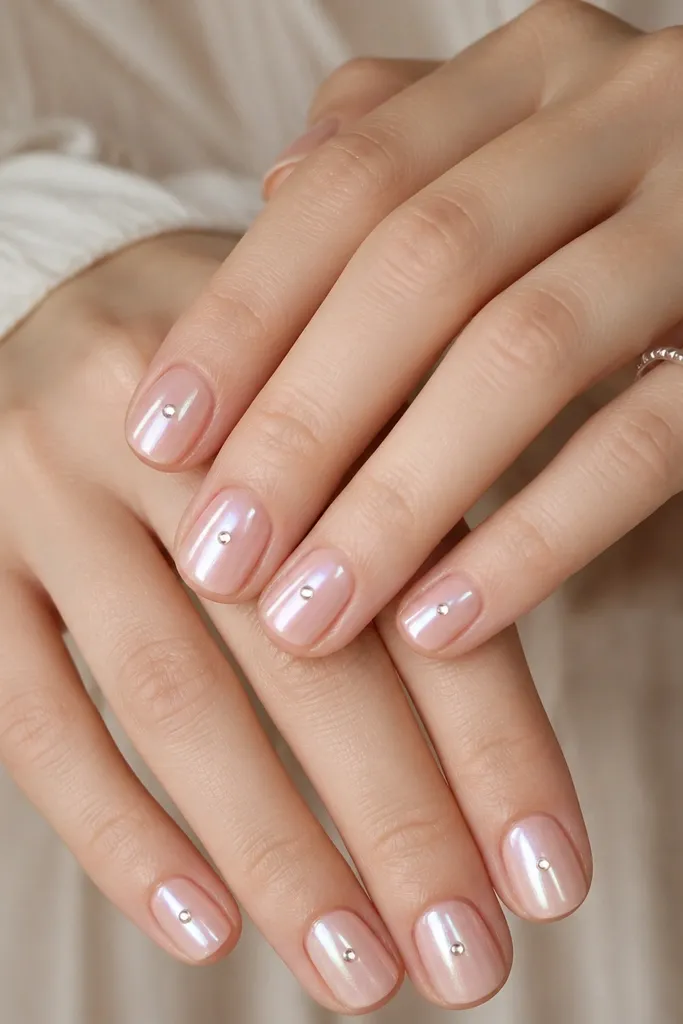
Pearlized polish gives you a soft glow that looks expensive under sunlight. The single silver dot adds a focal point but stays minimal because it's centered and small. This look feels "dressy" without needing gems.
Choose a pearlized soft pink press-on or paint with a pearl top coat over a milky blush base. Add a silver dot in the center of each nail using a dotting tool. Finish with a glossy top coat to smooth the dot edges.
Pro tipUse a dotting tool with a slightly smaller tip than you think - too-big dots look like rivets.
Watch outSkip matte pearl - it shows texture and looks uneven on toes.
10. Soft Pink Split Accent with Half-Glow Line
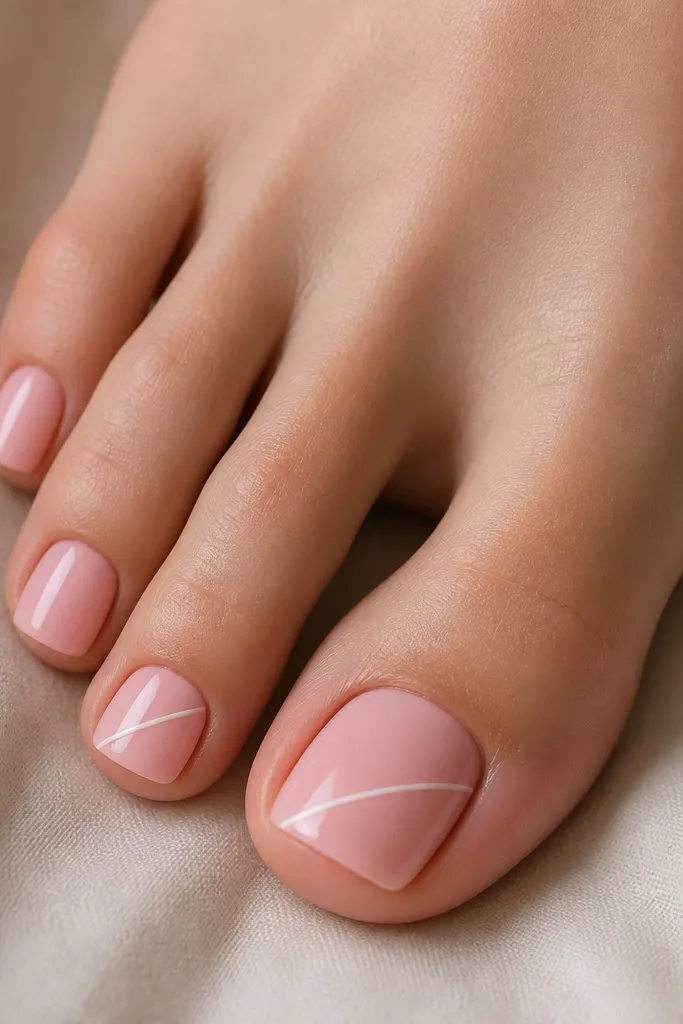
This is a graphic look that still reads soft because the main color stays blush. The diagonal white line creates movement and makes short nails look intentional. I like it for everyday because it's subtle from afar and crisp up close.
Use a solid soft pink base. Add a thin white diagonal line on two accent toes using striping tape as a guide. Remove the tape before top coat and seal the line with one careful glossy layer.
Pro tipPress striping tape firmly for one second, then pull it off slowly - it prevents fuzzy edges.
Watch outDon't cover the line with heavy glitter top coat; it blurs the graphic edge.
11. Soft Pink Glitter Fade Only at the Tip
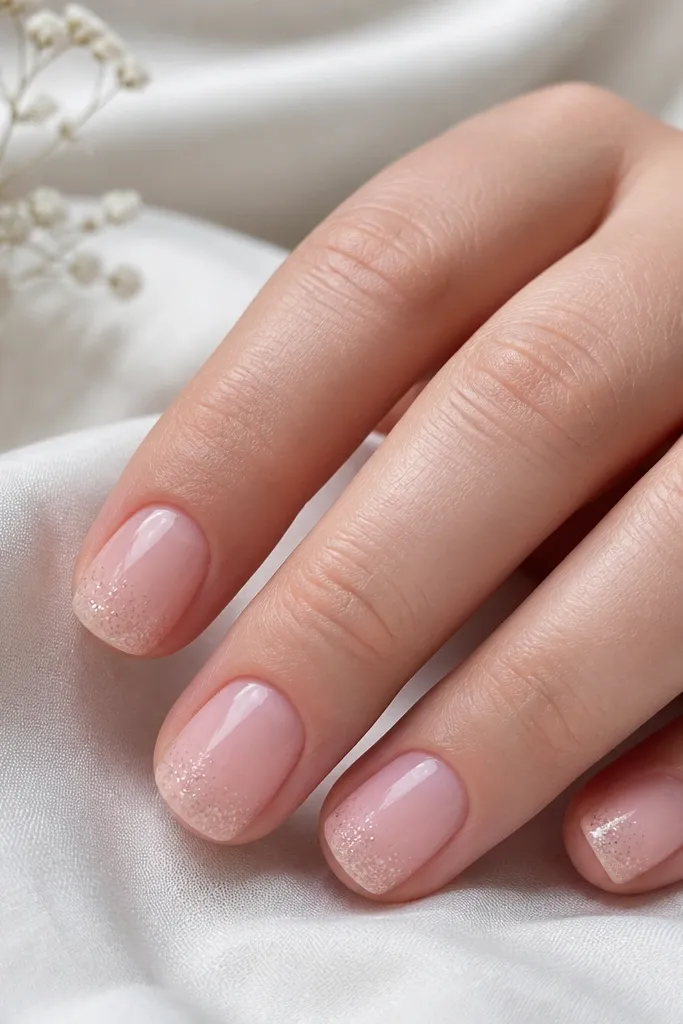
Tip-only glitter keeps the sparkle where it matters - near the part that catches light when you walk. The fade looks cleaner than full-coverage glitter on short toes. It also makes re-application less obvious because the base stays simple.
Start with a milky soft pink base. Add fine iridescent glitter to the tip using a sponge or a tiny brush, then blend downward lightly so it fades. Seal with a thick-ish top coat so glitter feels smooth, not gritty.
Pro tipUse a glitter that's fine and uniform; chunky glitter lifts faster on toe edges.
Watch outAvoid glitter all the way to the center - it feels rough under shoes.
12. Soft Pink Micro-Studs Along the Side
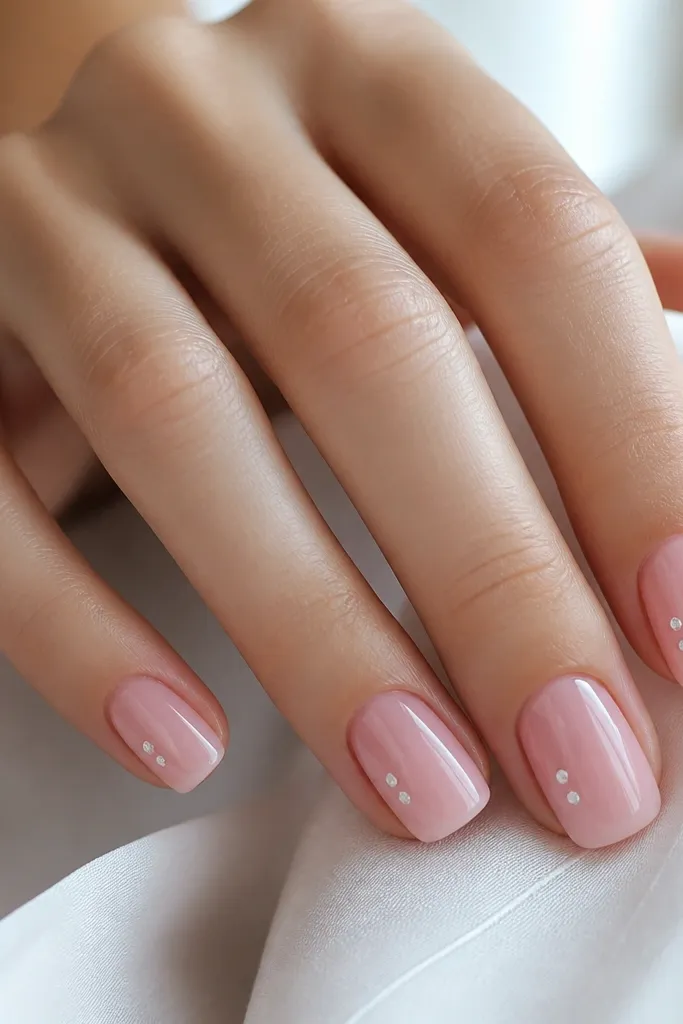
Micro-studs look like jewelry without needing a full gem set. Because they're along the side, they don't interrupt your toe-to-toe friction as much as studs in the middle. This gives a classy shine in photos.
Apply the soft pink base first. Place one stud near the upper third and one near the lower third on each nail using nail glue meant for press-ons. Keep studs tiny and press each one for a few seconds so they bond flat.
Pro tipIf your studs snag, file the top coat smooth once it fully cures.
Watch outDon't use large rhinestones; they pop off faster on curved toe nails.



