
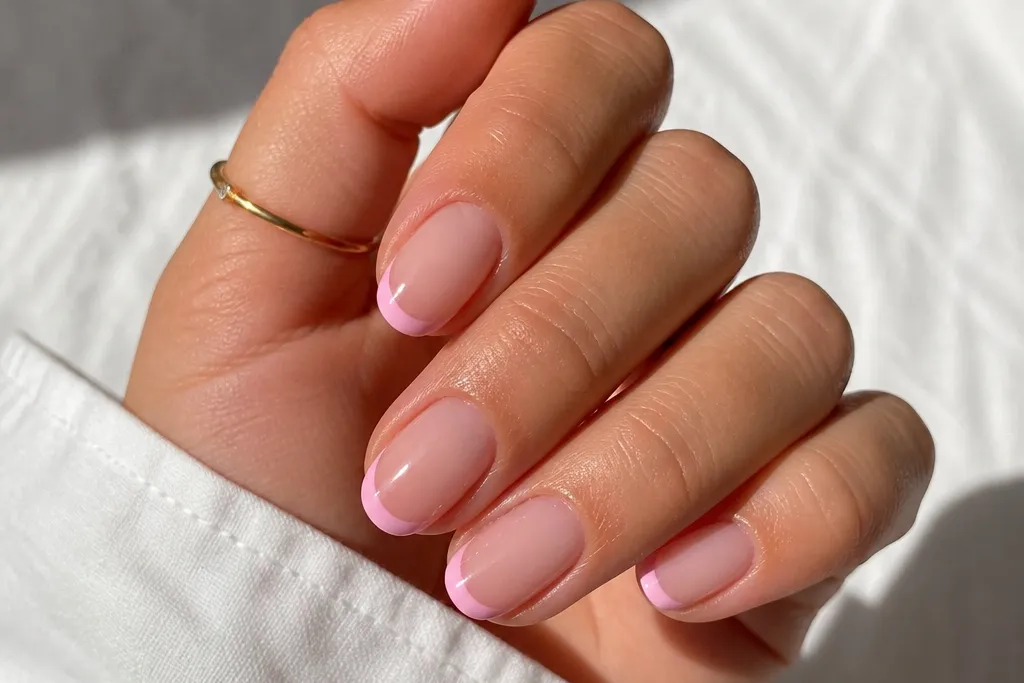
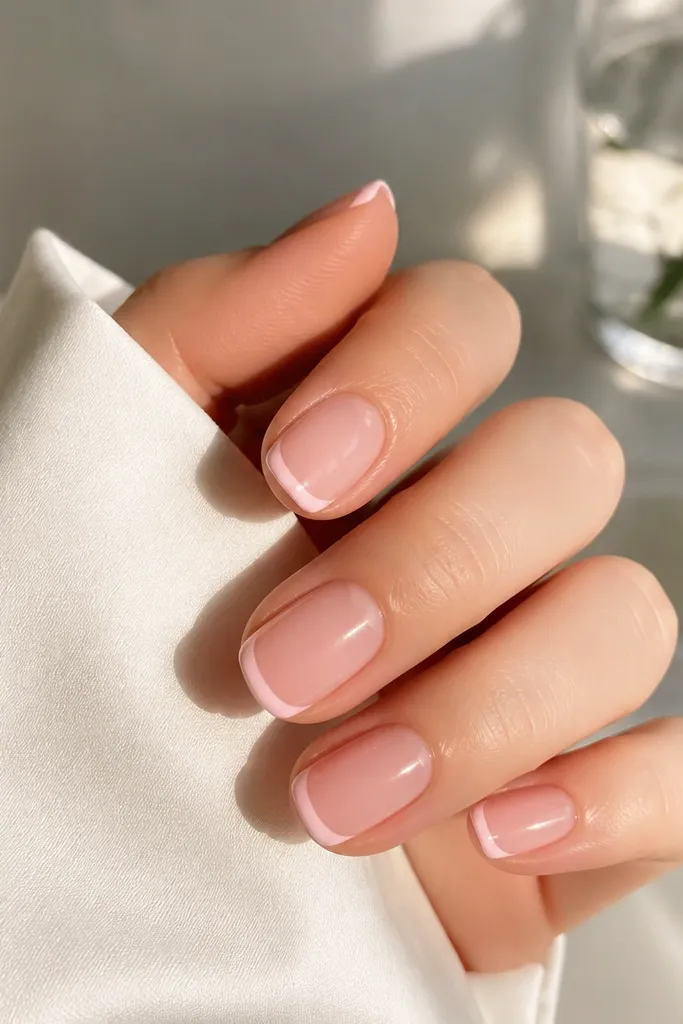
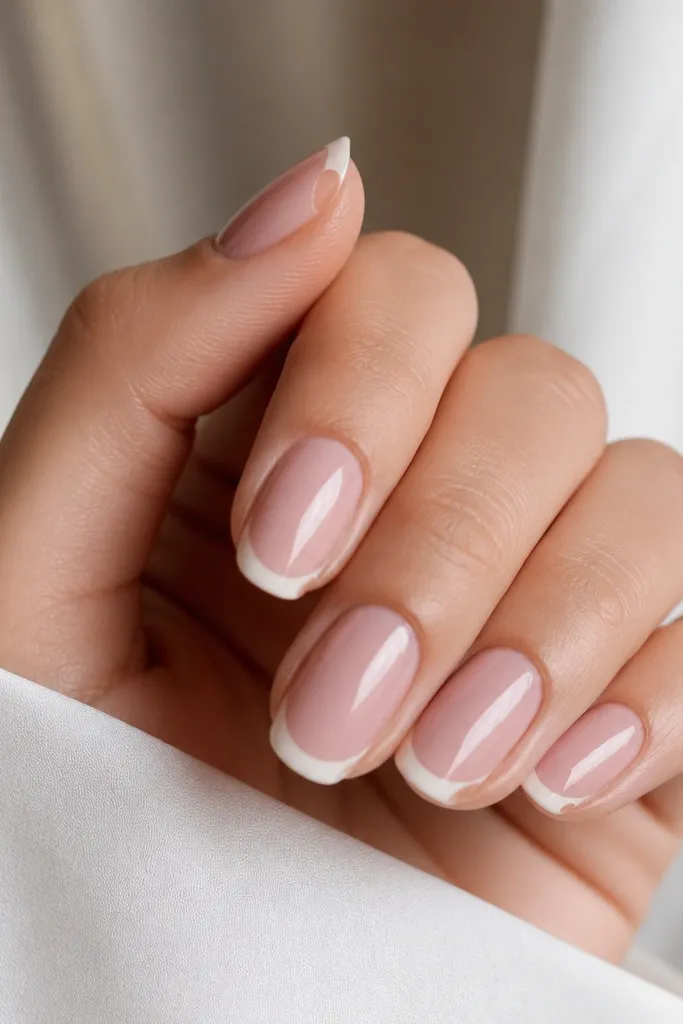
1. Classic Milky Rose French with Micro Tips
This is the cleanest version of soft pink french tips. The milky rose base blends with your natural nail, so the tip line looks intentional instead of pasted on. The tips stay micro-thin, which makes your nail bed look longer and keeps the design from looking heavy. Gloss matters here - it makes the line look smooth and glassy.
Start with a thin base coat, then add one coat of milky rose (opacity matters more than thickness). For the tip, use a 1-2 mm liner brush and paint a half-moon line just above the free edge, leaving a tiny gap so it reads like french. Cap the tip edge lightly with top coat so it doesn't lift.
Pro tipPlace your pinky hand on the table and paint the first side first. If the curve is right on one side, the other side matches faster.
Watch outDon't paint thick french tips - they look bulky on short nails and peel faster.
2. Soft Pink French with Reverse Half-Moon Edge
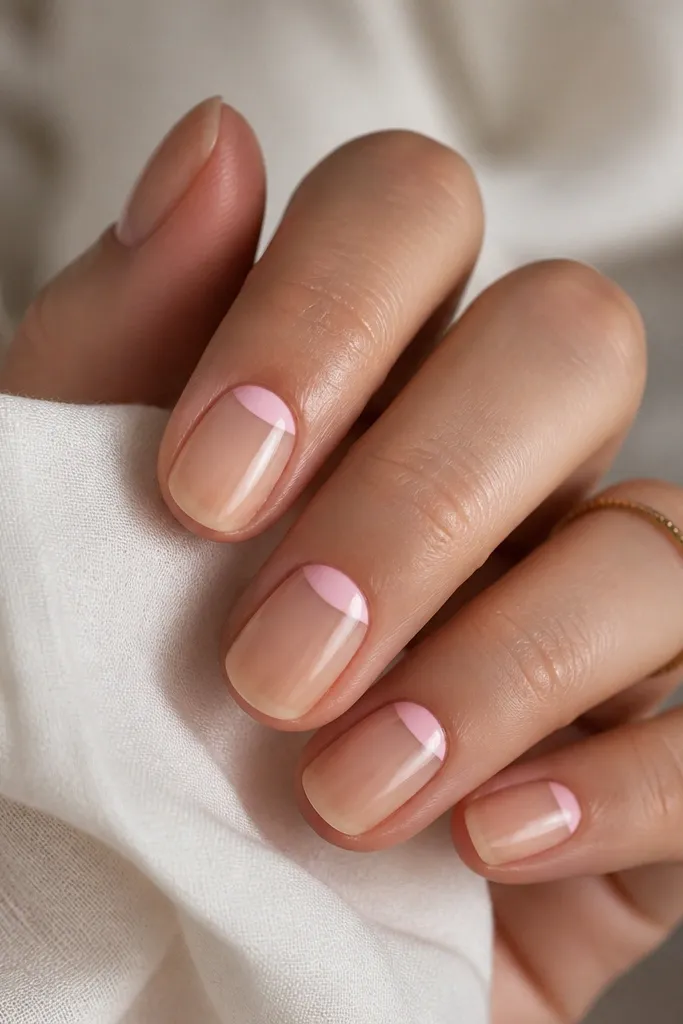
This flips the french idea. You still get that "fresh manicure" look, but the white space shifts toward the cuticle so it feels more modern. The soft pink half-moon reads delicate because it's framed by sheer nude. It's also forgiving if you're not perfectly steady - the line is shorter and sits where your nail naturally curves.
Use a sheer nude-pink for the base (thin and slightly translucent). Then draw a half-moon smile at the cuticle using soft pink gel or polish. Keep the half-moon narrow, about 1/4 of the nail width from center outward. Finish with a glossy top coat to smooth any brush texture.
Pro tipUse a dotting tool to place two anchor points on each side of the cuticle line, then connect them with the brush.
Watch outAvoid a fully opaque cuticle half-moon - it can look like a sticker and feel too bold.
3. Dusty Blush French with Negative Space Corners
Negative space corners make the tips look lighter and more airy. Dusty blush has a muted tone that looks flattering on most skin colors, and the bare corner gaps mimic the shape of your nail edge. This one hides minor asymmetry because the corners are intentionally open. It also looks great on almond and short oval nails.
Paint your base dusty blush in two thin coats. For the french, draw the smile line as normal, then stop the tip line slightly before each side corner so the corner stays clear. Clean up with a small brush dipped in acetone for polish or gel wipe for gel. Seal with top coat.
Pro tipKeep the corner gaps consistent - aim for about 1 mm of bare space on each side.
Watch outDon't let the negative space look accidental. If you're leaving corners open, make it symmetrical.
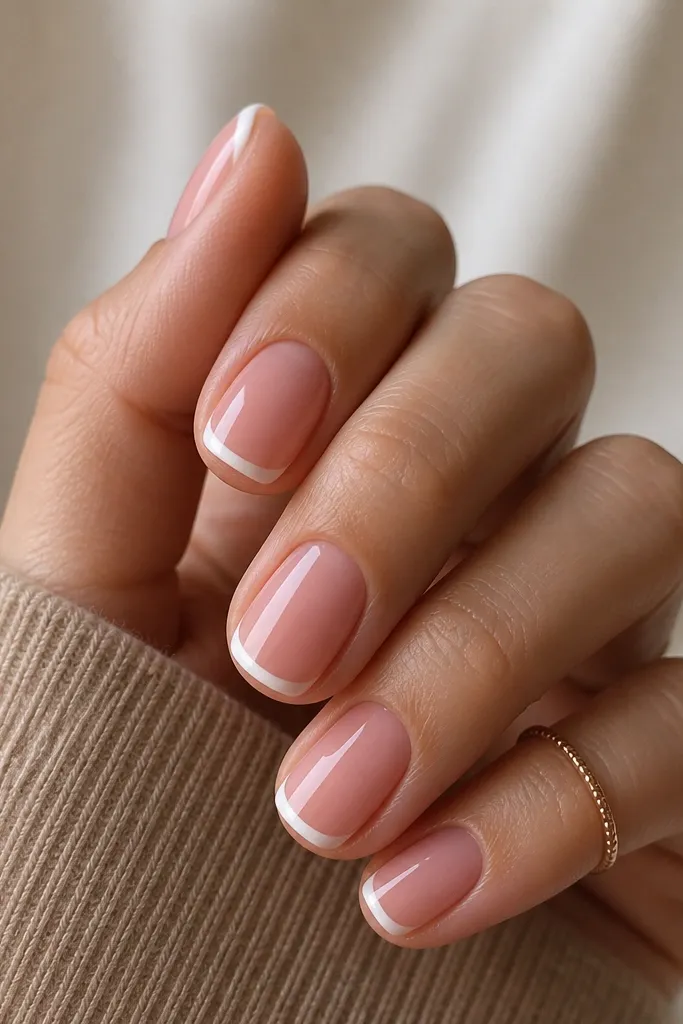
4. Soft Pink French Tips + Thin White Outline
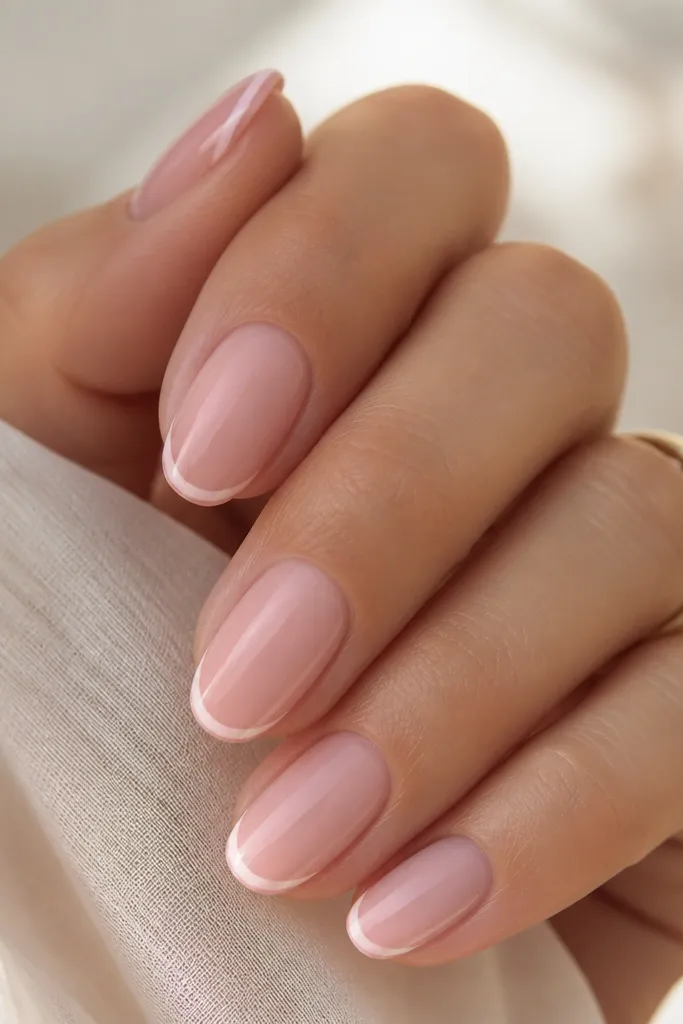
This one reads like a "designer french" because the white outline crisps the curve. The soft pink tip stays gentle, while the white line makes it sharper and more defined. It also photographs well - the outline catches light and makes the manicure look freshly painted. If you want french tips that don't look plain, this is the easiest upgrade.
Start with a sheer soft pink base. Paint the french tips in a slightly deeper soft pink than the base. Let it dry or cure, then add a super-thin white line right on the outer edge of the tip using a liner brush. Finish with glossy top coat.
Pro tipUse a white polish that's not too thick. Thick white gets bumpy and turns into a chunky border.
Watch outDon't outline both the inner and outer edge. One crisp edge looks clean; two edges look cluttered.
5. One-Coat Soft Pink French with Stamping Guide
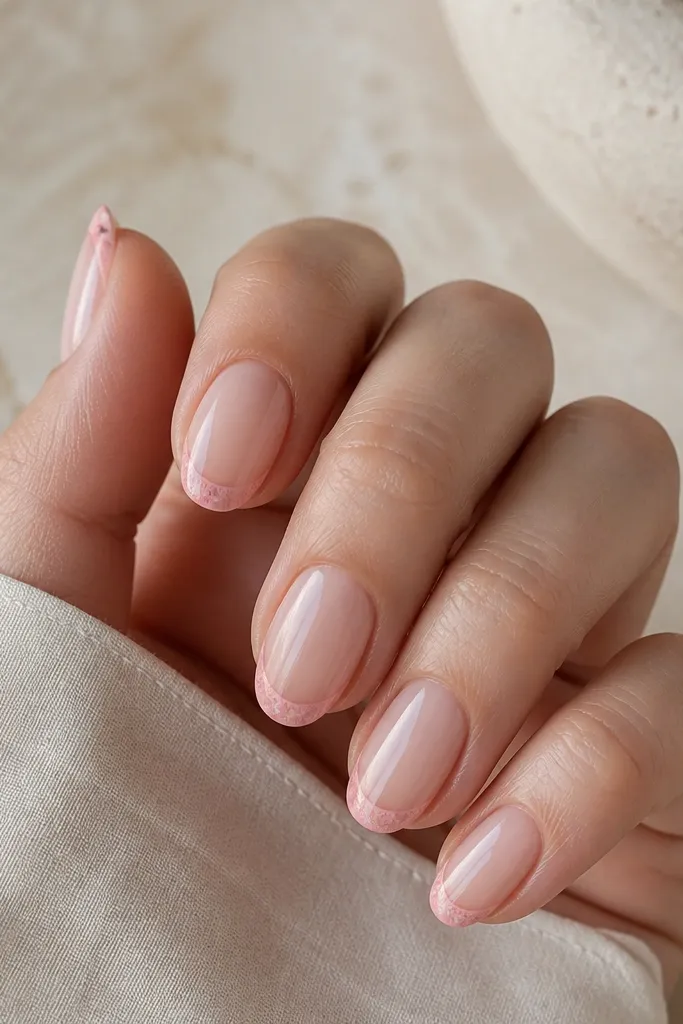
When you're trying to do this in 5 minutes, stamping is a cheat code. You get an even smile curve without freehand shaking. The soft pink stamp keeps it dreamy instead of harsh. I like this look on short nails because the stamp shape naturally matches the nail width.
Use a sheer base coat and cure/dry. Apply a soft pink stamping polish to the stamp plate designed for french tips, scrape well, then press onto each nail. Add top coat to smooth any micro texture from stamping. If the stamp is slightly too wide, trim the edges with a clean-up brush.
Pro tipPractice on a spare nail or plastic nail first. Once your pressure is right, each nail takes seconds.
Watch outDon't skip a top coat over stamping - it can feel rough and catch on sweater cuffs.
6. Soft Pink French with Tiny Glitter Fade
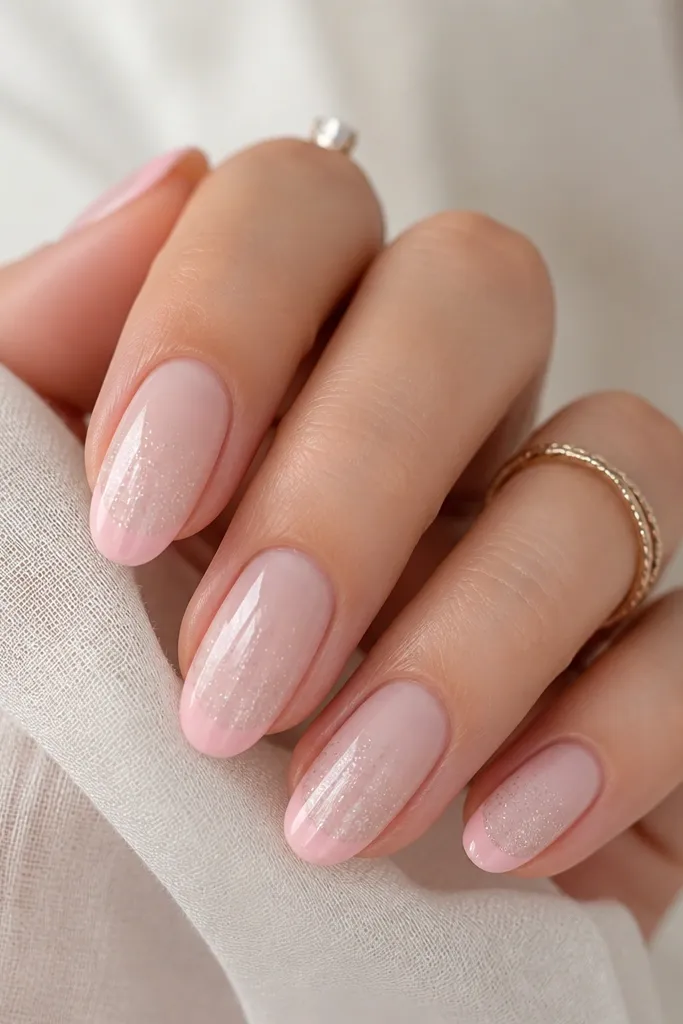
A glitter fade adds life without turning it into a full glitter nail. Keep the glitter concentrated at the tip center so it looks intentional and doesn't overpower the soft pink. The fade effect also hides small french line wobble because the glitter distracts the eye. This is my go-to for events where you want "pretty" but still subtle.
Paint your base and french tips first. Then dab fine holographic micro-glitter at the center of the tip and gently drag it down 1-2 mm with a clean brush. Seal with top coat in two thin layers so the glitter doesn't sink or clump.
Pro tipUse a small amount of glitter and build once. If it looks too heavy, it's harder to fix than to add.
Watch outDon't use chunky glitter. It makes the tip feel gritty and ruins the smooth french look.
7. Soft Pink French with Pearl Dot Accent
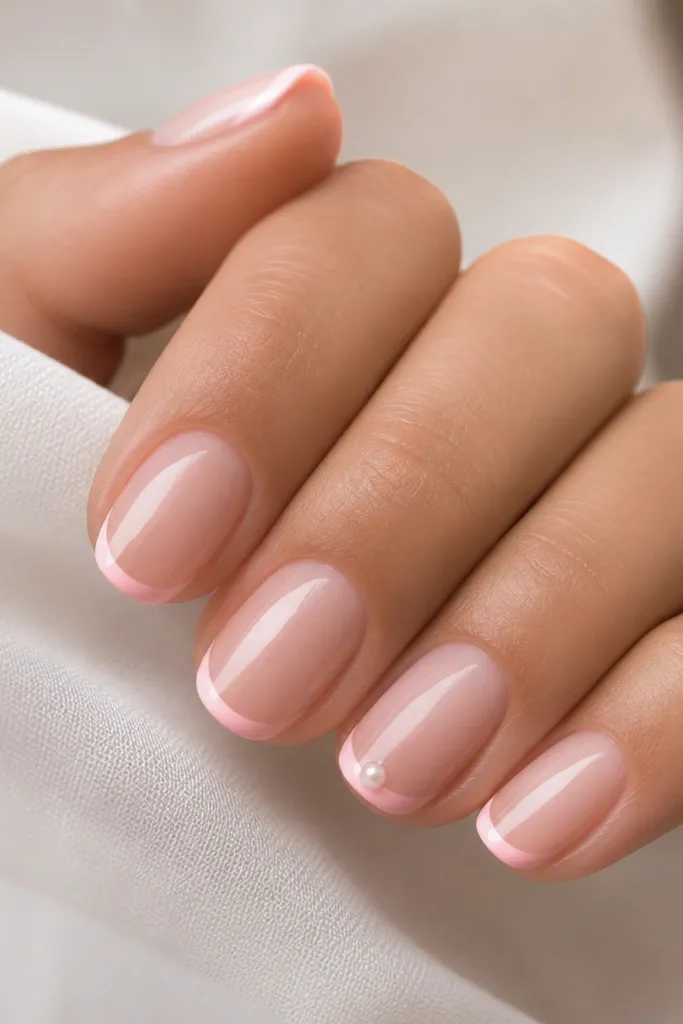
One pearl dot makes the manicure feel special without adding a whole design. The pearl sits right where the eye lands - at the curve - so it looks balanced. Soft pink keeps it sweet, and the pearl gives texture and light reflection. I like it on ring finger only for the cleanest look.
Paint your base and soft pink french tips first. Cure/dry fully. Add a small dot of gel or nail glue at the center of the smile line and place a 2 mm pearl bead. Press lightly, then cap with top coat around the pearl to lock it in.
Pro tipUse tweezers with a flat tip. Round tweezers slide pearls around and you lose the center.
Watch outDon't bury the pearl under thick top coat. It should sit raised enough to catch light.
8. Soft Pink French with Matte Base + Glossy Tips
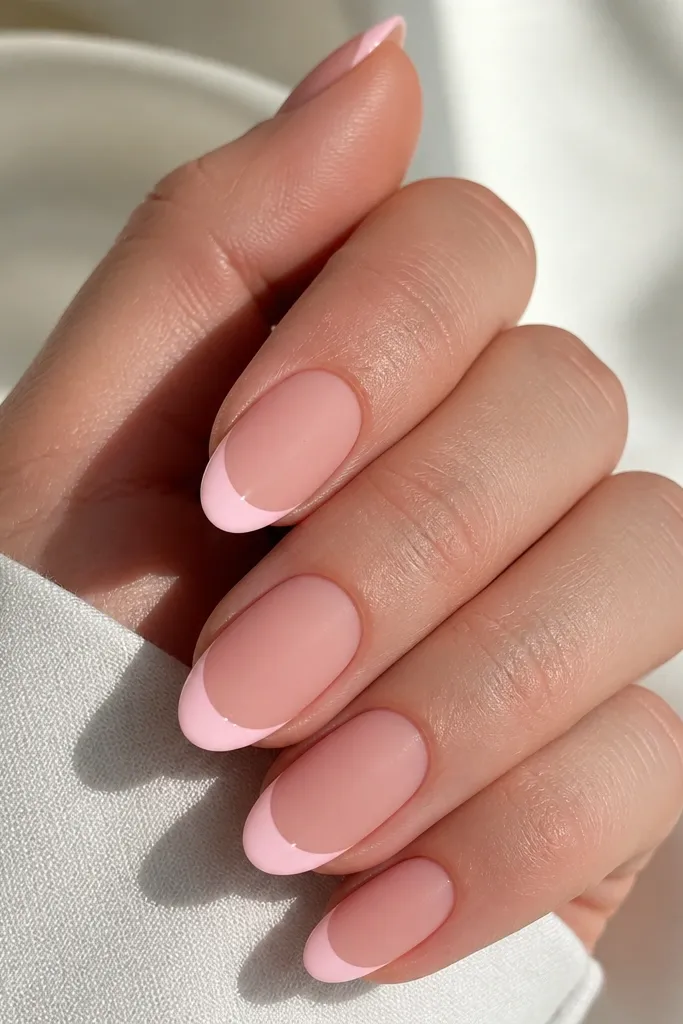
This contrast is the fastest way to make a simple french tip look styled. Matte soft pink looks velvety and soft, while glossy tips look crisp and clean. The curve stands out because the texture difference guides your eye. It also hides tiny surface imperfections on the base.
Paint base in soft pink and let it fully cure/dry. Apply a matte top coat only on the base area, then avoid the french tip area. Paint or leave the french tips glossy, then finish with glossy top coat on the tips only. Keep the boundary clean using a thin brush.
Pro tipAfter matte top coat, wipe nails with a lint-free pad so you don't trap dust before you paint tips.
Watch outDon't matting the whole nail after you've already glossed the tips.
9. Rose Quartz French with Sheer Pink Swirl Tips
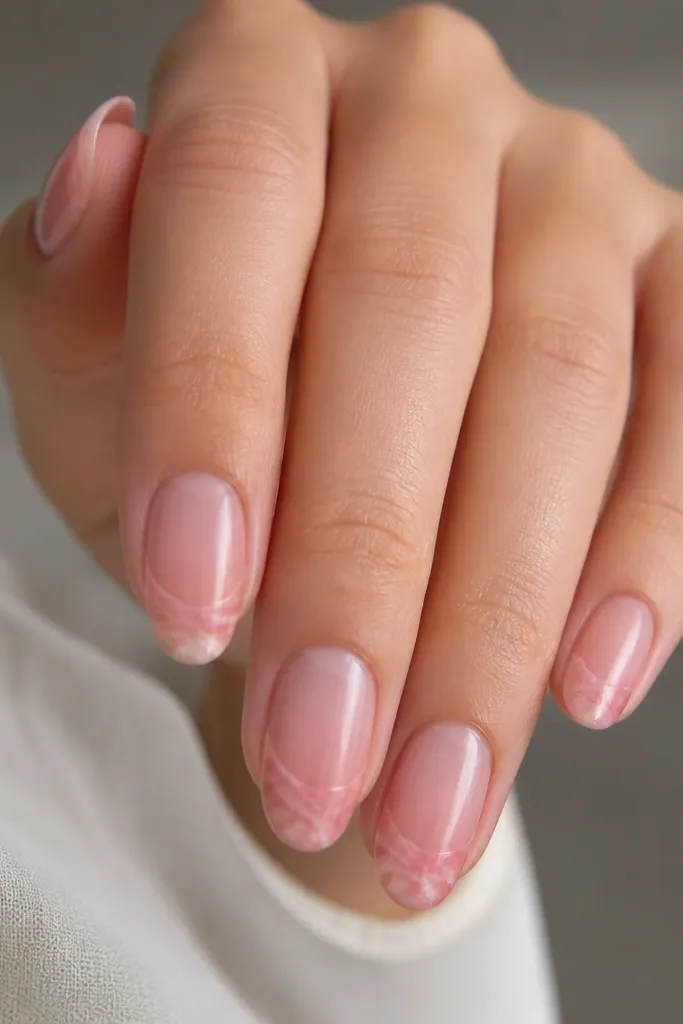
This is french tips with movement. Instead of a solid tip, you use sheer pink layered over a faint swirl so it looks like stone. It stays dreamy because the base is still soft and the tip isn't fully opaque. The swirl lines are thin, so the manicure still reads quick-easy, not complicated.
Use a sheer pink base. Paint a very thin layer of soft pink over the tip area, then add a second soft pink shade diluted with clear gel/polish. Use a toothpick or liner brush to drag tiny curved lines inside the tip area. Seal with glossy top coat to smooth.
Pro tipMix your second pink with clear to keep it translucent. Opaque swirls look muddy fast.
Watch outDon't add big swirls. Small, tight curves look like quartz; large ones look like doodles.
10. Soft Pink French with Diagonal Micro Tips
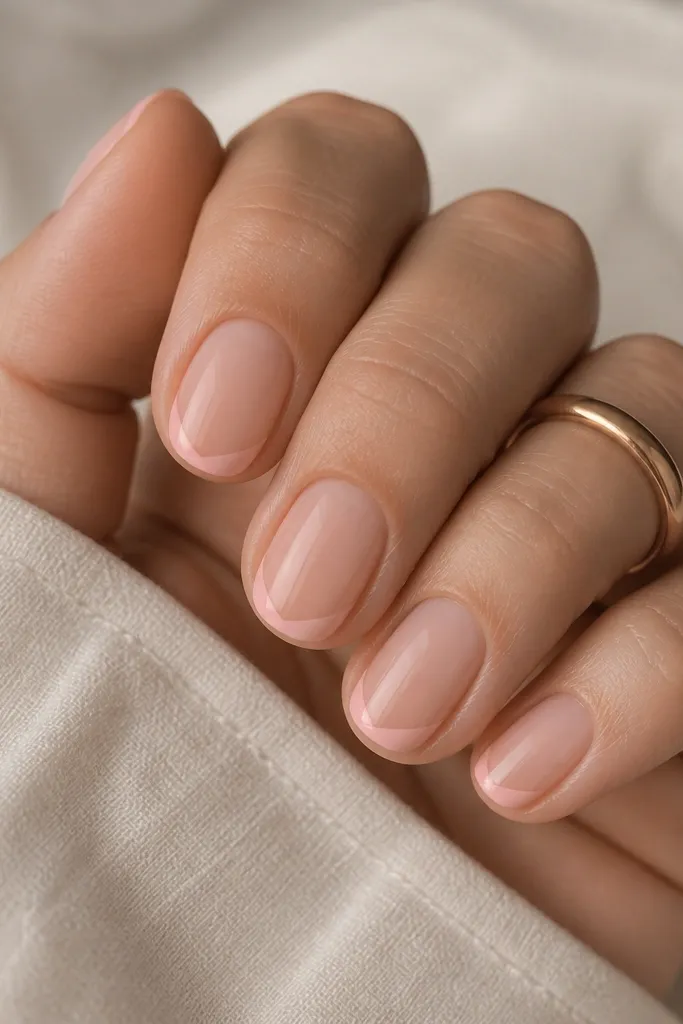
Diagonal tips change the vibe while keeping the same soft pink french feel. It looks modern and makes short nails look longer because the diagonal line pulls the eye. The design is still quick because you're painting a line, not filling a full half-moon. If you get nervous about symmetrical curves, this is your friend.
Start with a sheer soft pink base. Use a liner brush to draw a diagonal tip line about 1.5-2 mm wide, starting close to one side edge and ending near the center of the free edge. Keep the line thin and consistent across nails. Top coat glossy and cap the edge.
Pro tipUse tape as a guide for the first nail, then remove it and freehand the rest using that nail as the template.
Watch outDon't make the diagonal tip too steep. If it's close to vertical, it looks like nail damage.
11. Soft Pink French with Tiny Heart Cutout (Center Only)
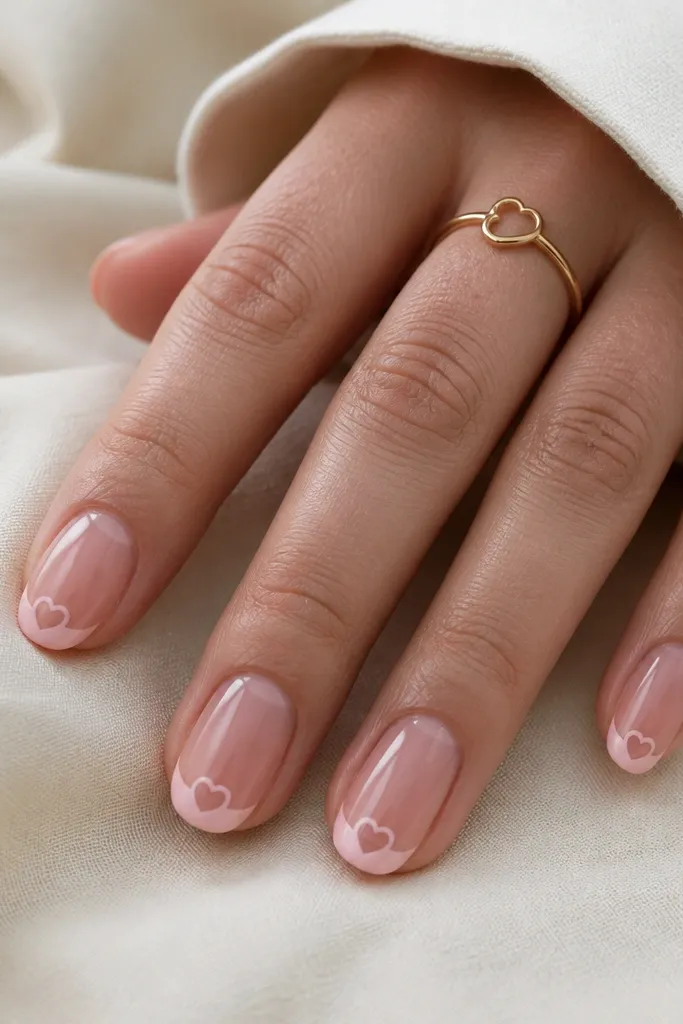
A tiny heart cutout makes the manicure sweet without turning it into a full Valentine theme. The negative space keeps it light, and the soft pink outline stays subtle. This works because the heart is small - your eyes read it as cute detail, not a complicated shape. It also hides slight thickness differences in the tip line.
Paint your base and soft pink french tips first. While the tip is still slightly tacky (gel) or after it's fully dry (polish), use a small heart stencil or make a heart with a dotting tool and liner brush. Outline the heart so the center stays bare. Seal with top coat carefully around the heart edges.
Pro tipIf you're freehanding the heart, start with two dots, then connect them with short lines.
Watch outDon't leave a heart cutout too large. Big hearts look like decals and catch on things.
12. Soft Pink French with Micro Bow on One Nail
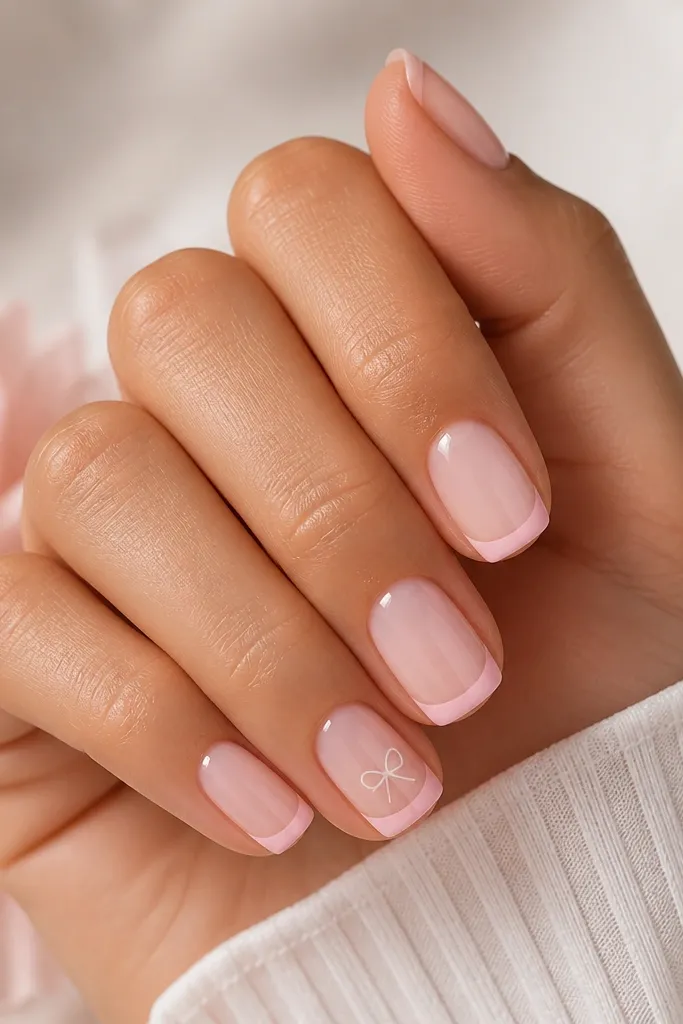
Micro bows add charm while still matching the clean french look. Keep the bow small so it doesn't fight the tip curve. I like using a very pale white or sheer pearl white for the bow so it blends with the soft pink palette. It's cute for birthdays, bridal events, and spring weekends.
Do standard soft pink french tips on all nails. Pick one nail and draw a tiny bow: two curved loops and a center dot. Use gel for control, then cure. Finish with top coat, and cap over the bow so it doesn't snag.
Pro tipUse a thin brush loaded lightly. Too much gel makes bows look thick and lumpy.
Watch outAvoid using pure bright white. It can look harsh next to soft pink.



