
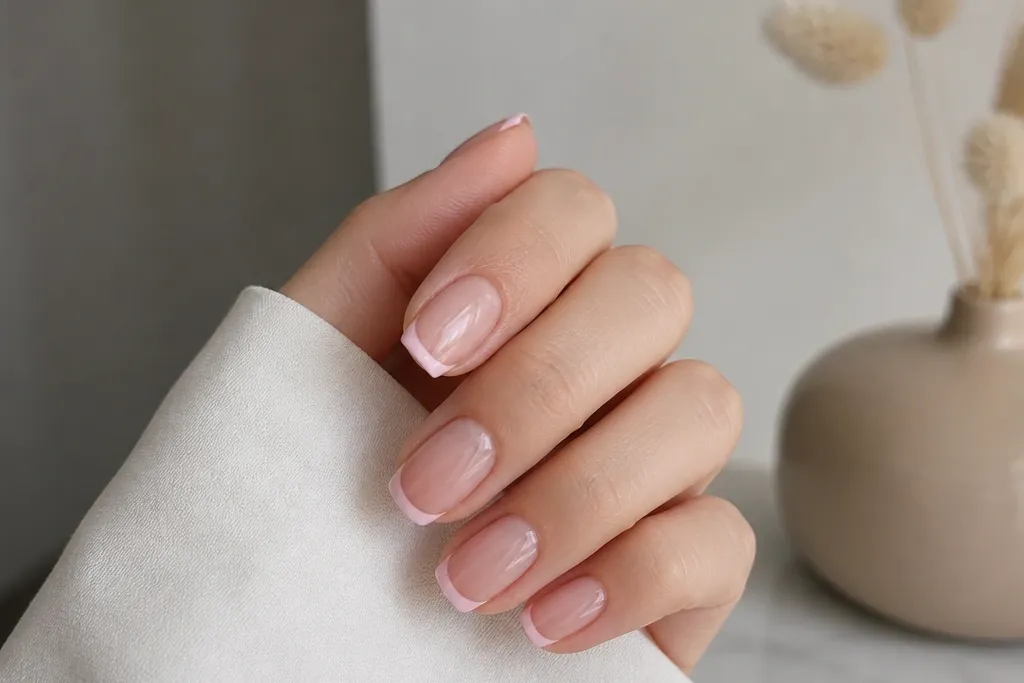
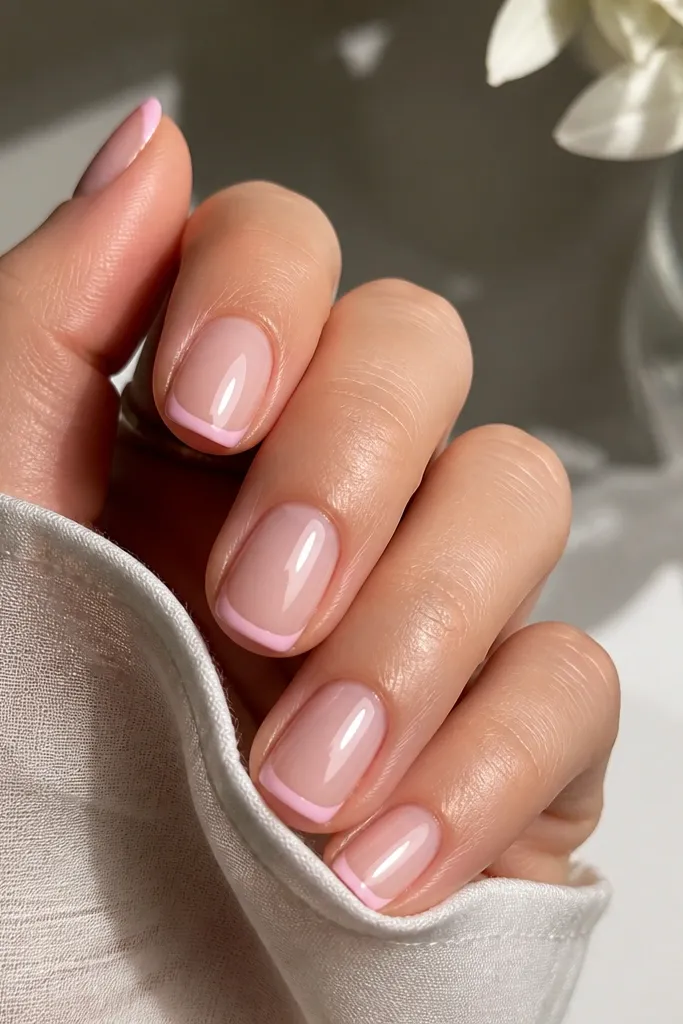
1. Milky Blush French with 1.5mm Cloud-Soft White Tips
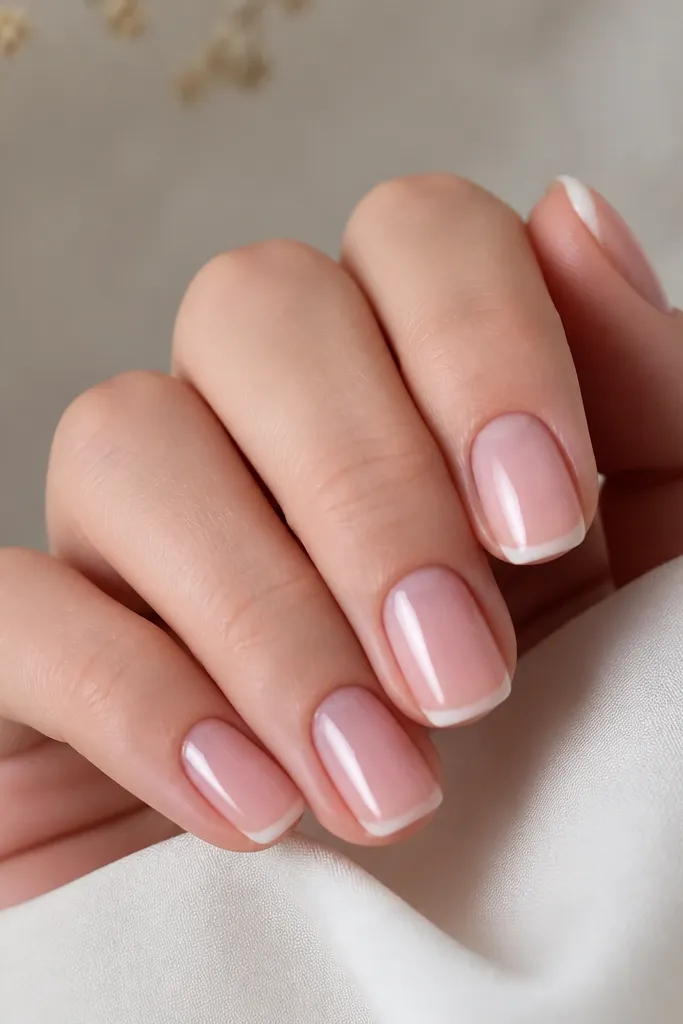
This look uses a milky blush base so the nail bed still looks healthy. The white tip is narrow enough to lengthen, and the soft edge makes it feel gentle instead of "sharp French." I like it in small apartments because it hides minor brush wobble - the edge can be lightly feathered. It also photographs well next to warm indoor lighting.
Start with two thin coats of milky soft pink, letting each coat dry fully. Apply French tips with a stencil or nail tape, aiming for 1 to 1.5 mm at the free edge, then use a clean brush to blur the top edge slightly. Finish with a glossy top coat and cap the free edge.
Pro tipIf you don't have a stencil, cut a strip of nail tape to a thin width and place it at the tip, then remove it right after painting the white so the line stays crisp.
Watch outAvoid thick white paint - it creates a ridge that chips fast and looks bulky on short nails.
2. Soft Pink French with Micro Rose-Gold Line at the Smile
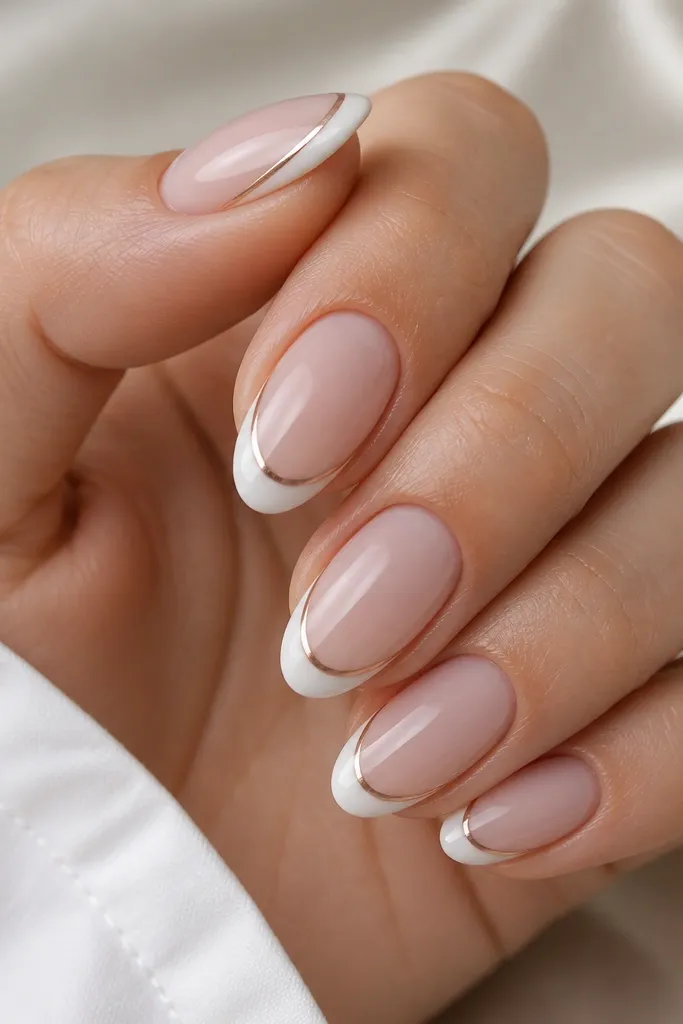
This is my go-to when I want "extra" but don't want glittery texture. The rose-gold line adds warmth and breaks up the light pink and white contrast. Because the line sits under the smile, it makes nails look more structured even if your tips are thin. It also looks expensive in indoor photos without needing a lot of product.
Paint two coats of sheer soft pink. Add a narrow white French tip (1.0 to 1.5 mm). With a striping brush, draw a micro rose-gold line along the smile - about half the thickness of the French tip. Top coat over everything, pressing gently at the smile line so it levels.
Pro tipUse a gel striping liner if you have it. The line stays straight and you don't fight streaks from regular polish.
Watch outDon't place the gold line too low near the cuticle - it can shrink the nail visually.
3. Sheer Pink Base with White French and One Tiny Pearl Dot
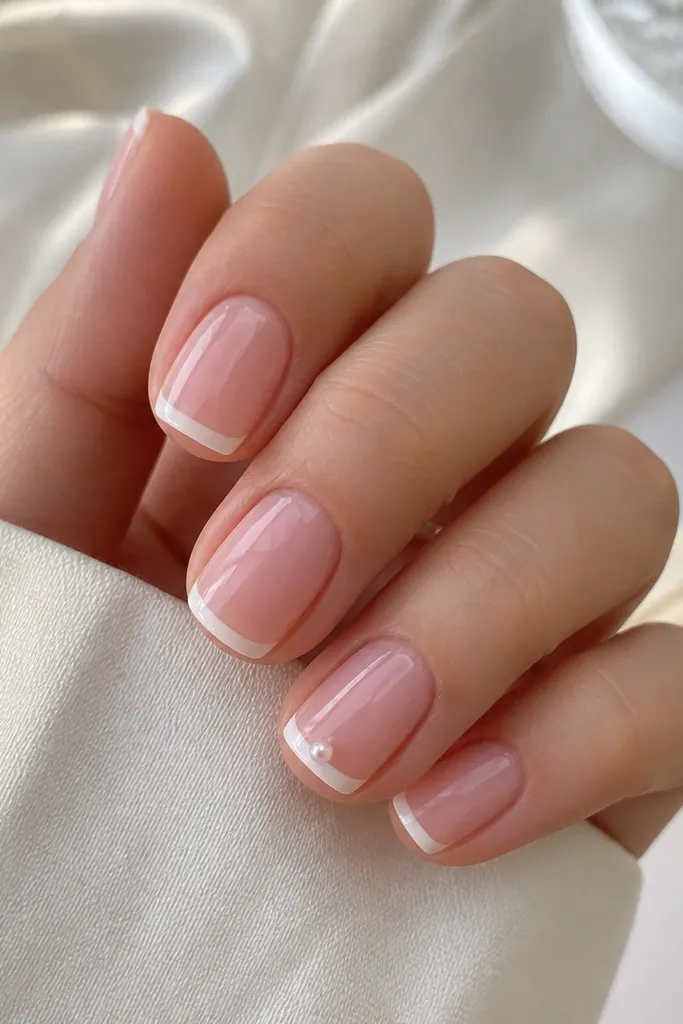
A single pearl dot gives you that "special event" look while keeping the rest of the set clean and wearable. The dot sits right where your eye already lands - the French edge - so the design looks intentional, not random. Soft pink keeps it sweet, and the pearl adds dimension without needing glitter. In a small apartment, this is also low mess because you're placing one small piece, not layering blobs.
Do a sheer pink base (two thin coats). Paint a thin white French tip on all nails. On the accent nail, place one pearl with gel adhesive or a dot of thick clear gel right at the center of the tip band. Cure, then top coat to seal the pearl so it doesn't snag on sweaters.
Pro tipIf you don't have pearls, use a tiny dot of white gel and cure it, then add a glossy top coat.
Watch outSkip chunky 3D buildup - pearl dots that sit too high catch on fabric and pop off.
4. Soft Pink French with Blush-to-White Gradient Tip
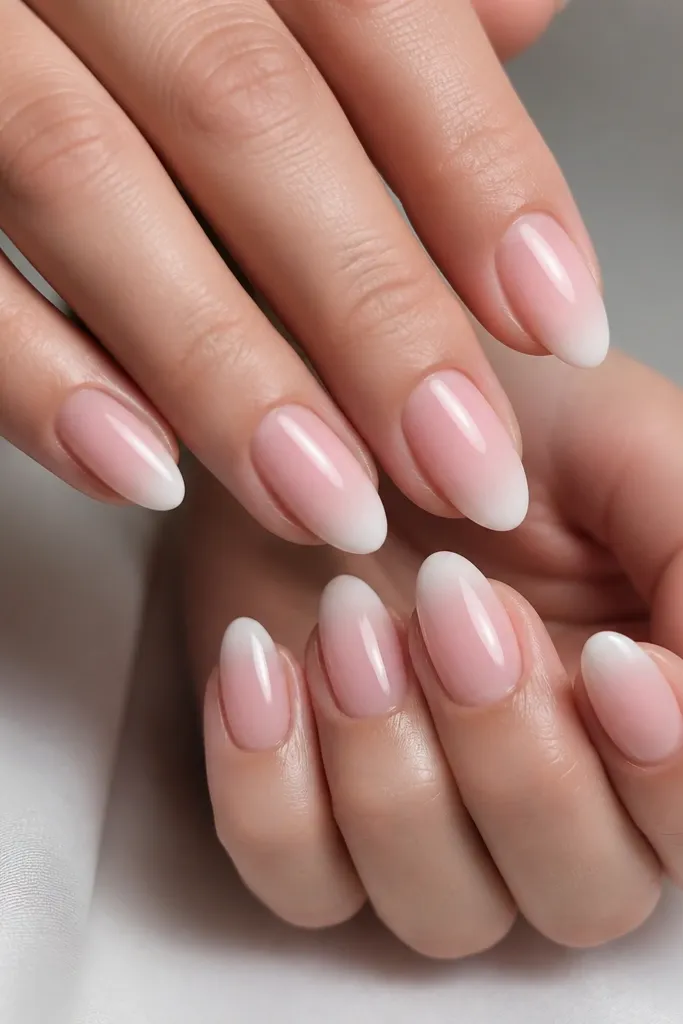
Gradient tips make the French line look softer and more modern. Because the fade starts right at the smile, your nails look longer without needing a wide white band. I love this one when I'm tired of sharp lines but still want that classic French vibe. It also works well for people with ridges because the gradient draws attention to color, not texture.
Apply two coats of soft pink. Then dab a slightly lighter blush-pink at the smile area and blend toward the tip with a makeup sponge, finishing with a touch of white at the extreme edge. Clean up the sides with a small brush dipped in remover. Seal with glossy top coat.
Pro tipUse a sponge that's firm, not fluffy. Fluffy sponges create speckling on the sides of short nails.
Watch outDon't over-blend. If the gradient goes too far into the nail bed, it loses the French effect.
5. Classic French but in Soft Pink Tip (Reverse French)
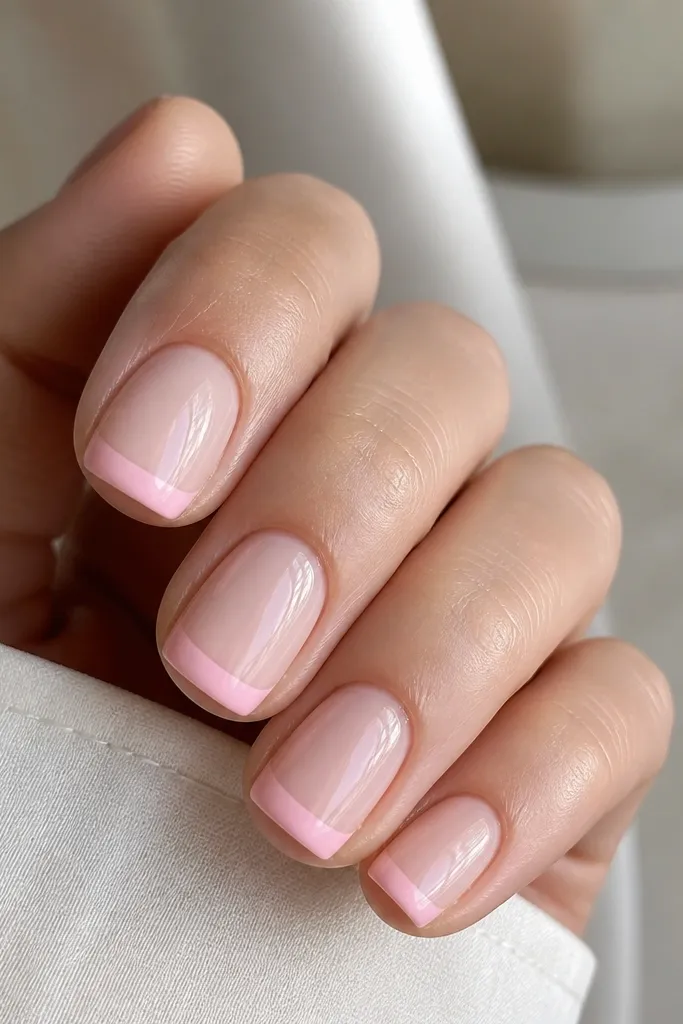
Reverse French flips the classic idea so your tips match your natural nail color instead of turning stark. This is perfect for a small apartment routine because it hides tip wear - when the band fades, it still looks like intentional ombre. Soft pink on the tip also makes nails look neat even if your cuticles aren't perfectly smooth that week. It's also a nice change if you're bored of white tips.
Start with a sheer nude base or your milky pink base. Use a thin brush to paint a soft pink band at the free edge, staying narrow (1.0 to 1.5 mm). Keep the band translucent by wiping excess polish off the brush. Finish with a glossy top coat.
Pro tipIf your polish is too opaque, mix one drop of soft pink with a drop of clear to keep it sheer and natural.
Watch outAvoid painting the entire tip thick - reverse French looks best when the band is light and almost see-through.
6. Soft Pink French with Tiny Diagonal "Window" on One Nail
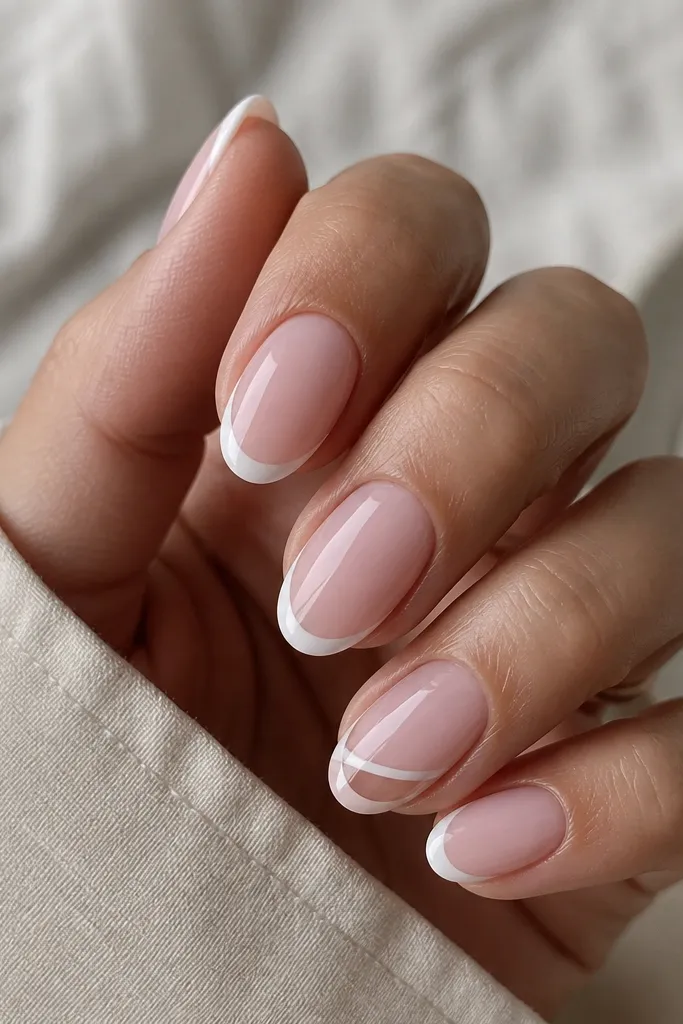
Negative space makes the design feel custom even when your apartment tools are basic. The diagonal window breaks up the straight lines of a typical French tip. I like this on hands that get a lot of screen time because it looks crisp from a distance. It also gives your nails a little edge without adding glitter.
Paint your base and white French tips first. On the accent nail, place a small piece of nail tape diagonally across the tip band before painting white, then remove the tape after the white sets for a clean window. Add a thin soft pink border line if you want it more defined. Top coat over everything carefully.
Pro tipUse small pieces of tape, not long strips. Tiny tape pieces are easier to place without shaking.
Watch outDon't leave the negative space unsealed. A top coat prevents peeling at the edges.
7. Soft Pink French with White Outline and Blush Center Dot
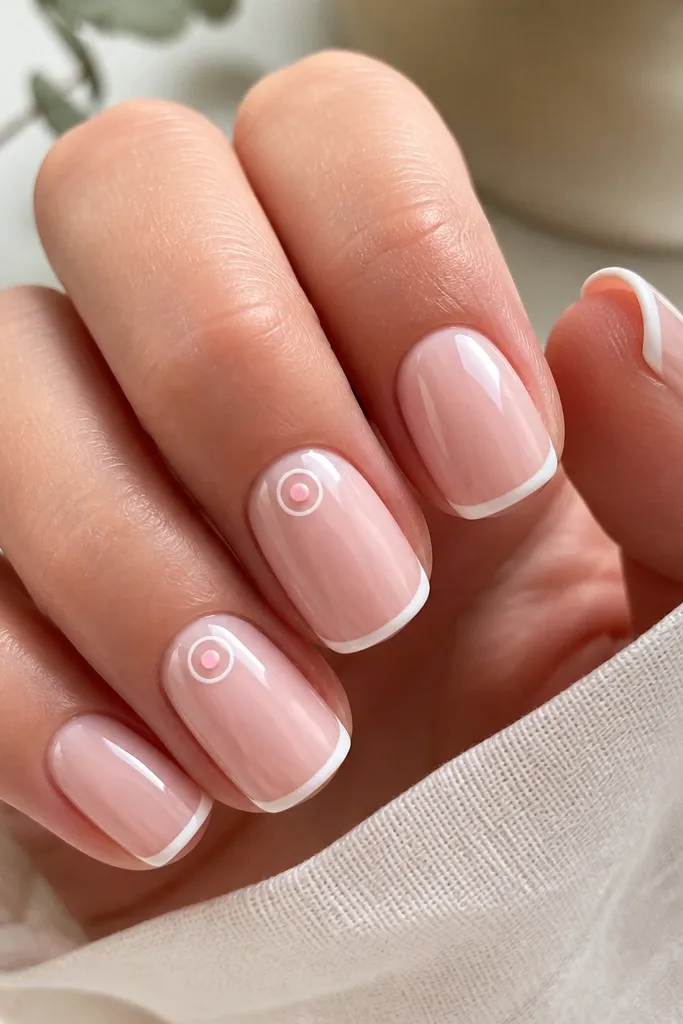
This design is sweet and graphic at the same time. The outlined circle creates a focal point without adding bulk, and the blush center dot keeps it cohesive with the base color. It looks adorable in close-up photos, especially by a window where the white ring pops. You get personality without changing the entire set.
Base: two coats of sheer soft pink. Tip: thin white French. For the circle, use a dotting tool to place a small blush dot, then outline it with a fine striping brush using white polish. Seal with top coat so the ring looks smooth.
Pro tipIf your outline looks shaky, draw the ring in one steady pass with light pressure, then stop. Trying to fix it twice makes it thick.
Watch outAvoid oversized circles - small ones sit better on short nails and keep the French look intact.
8. Blush Pink Base with French Tips in Warm Ivory
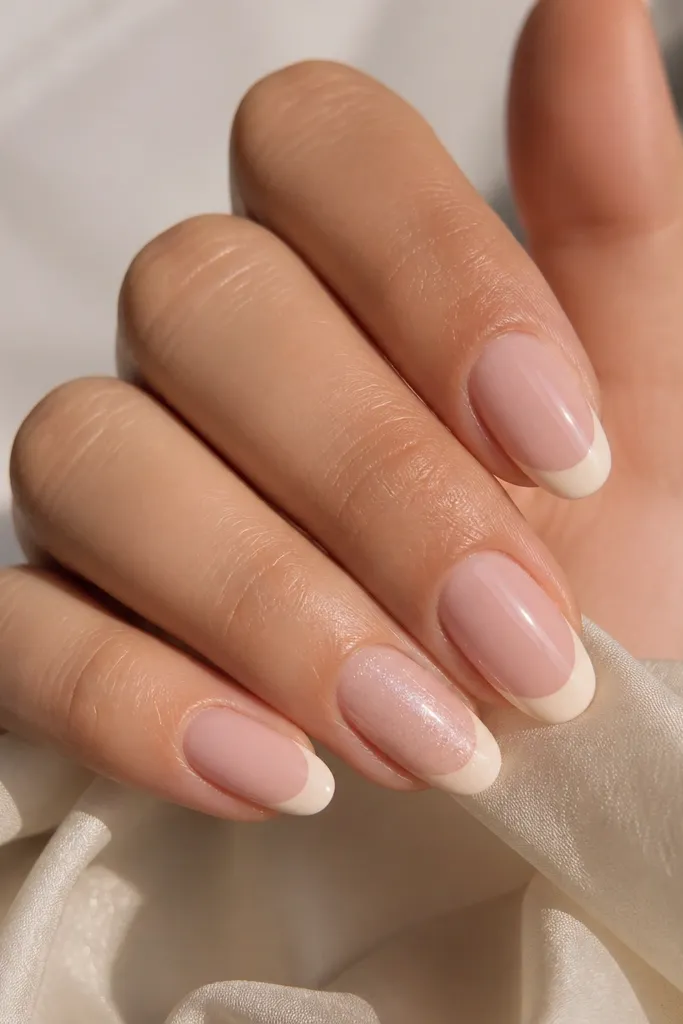
Warm ivory softens the whole set. Bright white can look too stark against soft pink, especially indoors under yellow bulbs. Ivory makes your nails look clean and "expensive" while staying gentle. I've worn this version in winter and it never looks harsh against my skin tone. It also pairs well with gold jewelry.
Use a blush pink base with a slightly milky finish. Paint the French tips with warm ivory, keeping them narrow. For the shimmer nail, add a swipe of fine pink shimmer under the top coat, not on top of the ivory line. Top coat everything glossy and cap the tips.
Pro tipTry ivory if your white polish looks blue-toned. Creamy undertones usually flatter more people.
Watch outDon't use pure matte top coat here. Matte makes ivory look dull and can hide the softness you want.
9. Soft Pink French with Half-Moon Cuticle in Pale Blush
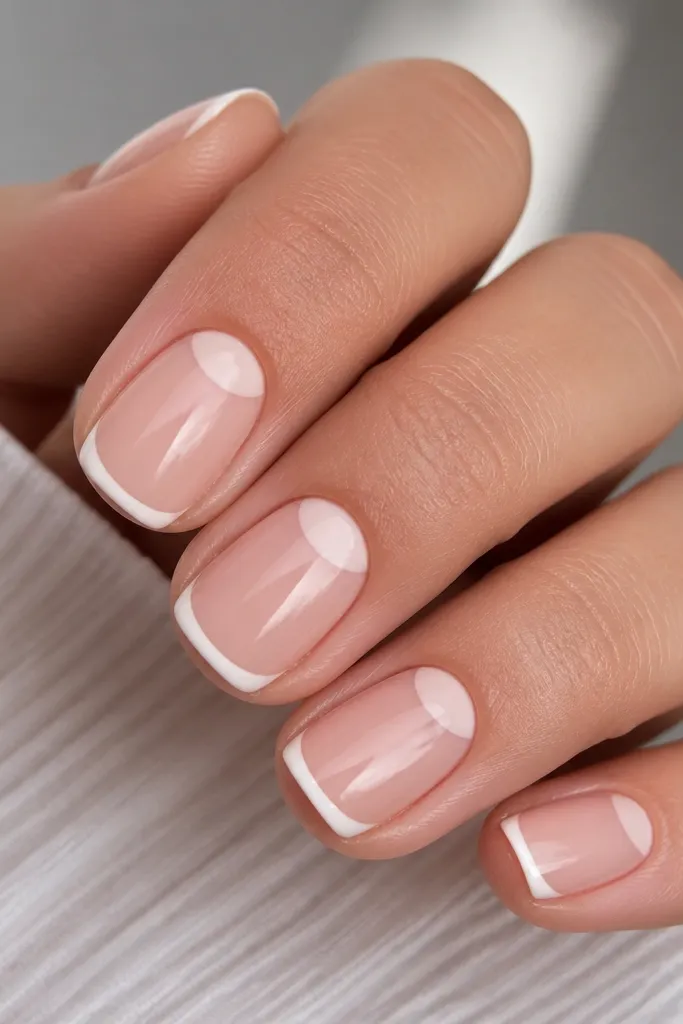
Half-moon cuticles add structure and make the set look intentional, even if your French tips aren't perfectly centered. The pale blush near the cuticle matches the base so it looks soft, not harsh. This style is great for people who want a French look but don't love the "all-white tip" vibe. It also hides slight cuticle gaps because the half-moon frames them.
Paint your base in sheer soft pink. Apply thin white French tips. Use a small liner brush to paint a pale blush half-moon at the cuticle - keep it thin and only cover the lower third of the nail near the cuticle. Clean edges with a flat brush and acetone on a cotton swab, then top coat.
Pro tipIf you're nervous about the half-moon shape, use a half-moon stencil designed for nails. Press lightly and remove immediately after painting.
Watch outAvoid painting the half-moon too large. Big cuticle shapes make nails look shorter.
10. Soft Pink French with Tiny White Speckles Like Confetti
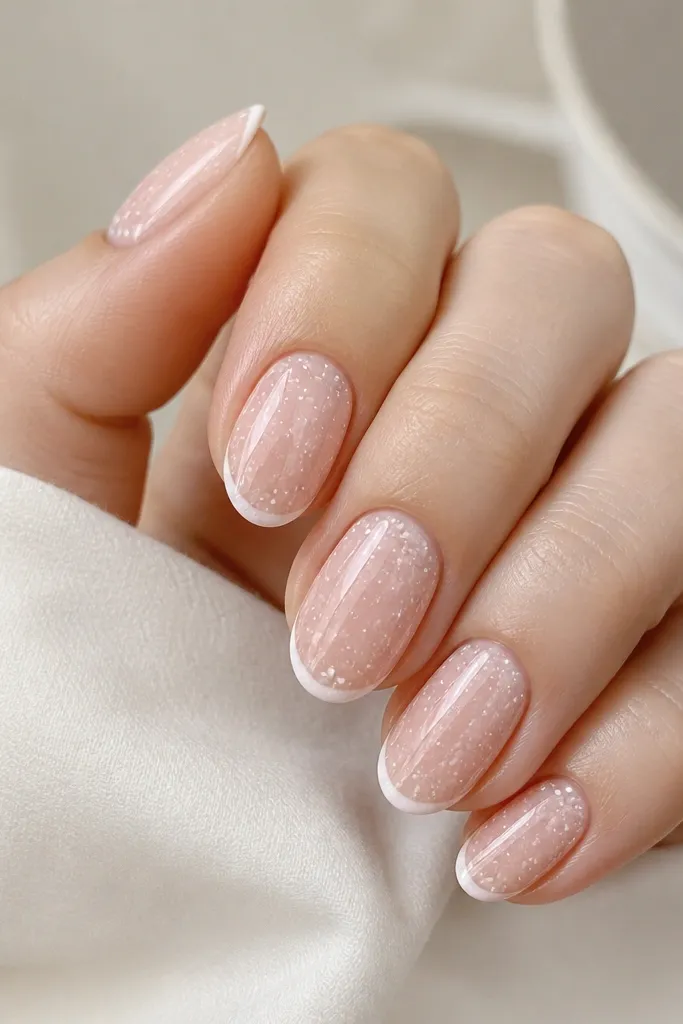
Speckles add motion and texture without looking like chunky glitter. Because the specks are white, they blend with the French tip and keep the design cohesive. I like this for everyday wear because it hides small chips - the speckles make imperfections less obvious. In a small apartment, it's also quick: you're not painting full art on every nail.
After base and French tips, use a dotting tool or a toothbrush with white polish to flick tiny specks. Keep the density low so it stays airy. Focus most speckles on the nail bed, with a few on the tip band for a balanced look. Top coat and cap the edges.
Pro tipTest the speckle size on a piece of paper first. Too big looks like paint blobs.
Watch outAvoid heavy speckling on the cuticle area. It makes the nail look dirty instead of playful.
11. Soft Pink French with Press-On Style Tips Using Nail Tape Edges
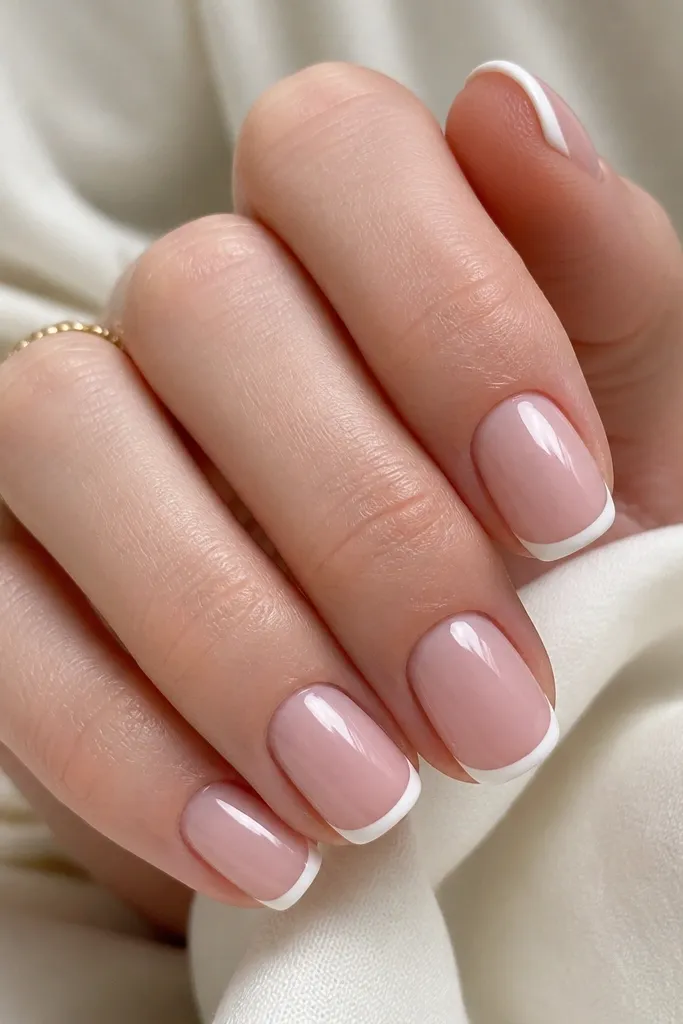
This is the closest you get to press-on sharpness without buying a whole set. Nail tape edges give you that crisp boundary between soft pink and white, which makes the whole look feel neat even with short nails. The thin tip width keeps it flattering. If you're working in a small apartment and you need clean results fast, tape is your friend.
Paint two coats of soft pink. Use nail tape placed along the smile line with a slight curve; aim for a 1.0 to 1.5 mm tip width. Paint white in one thin pass, let it dry a minute, then remove tape slowly. Clean the edges with a small brush and top coat.
Pro tipWipe tape with a tiny amount of polish remover on a cotton pad first - it reduces tackiness and helps prevent lifting.
Watch outAvoid moving the tape after you start painting. Shifts create ragged edges that look messy.



