
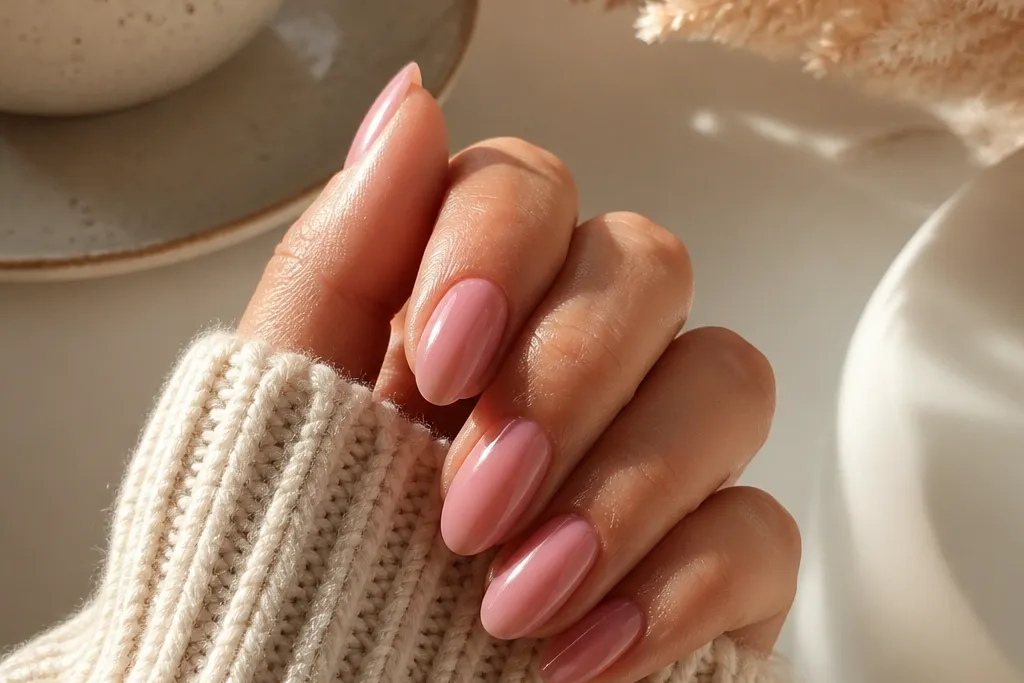
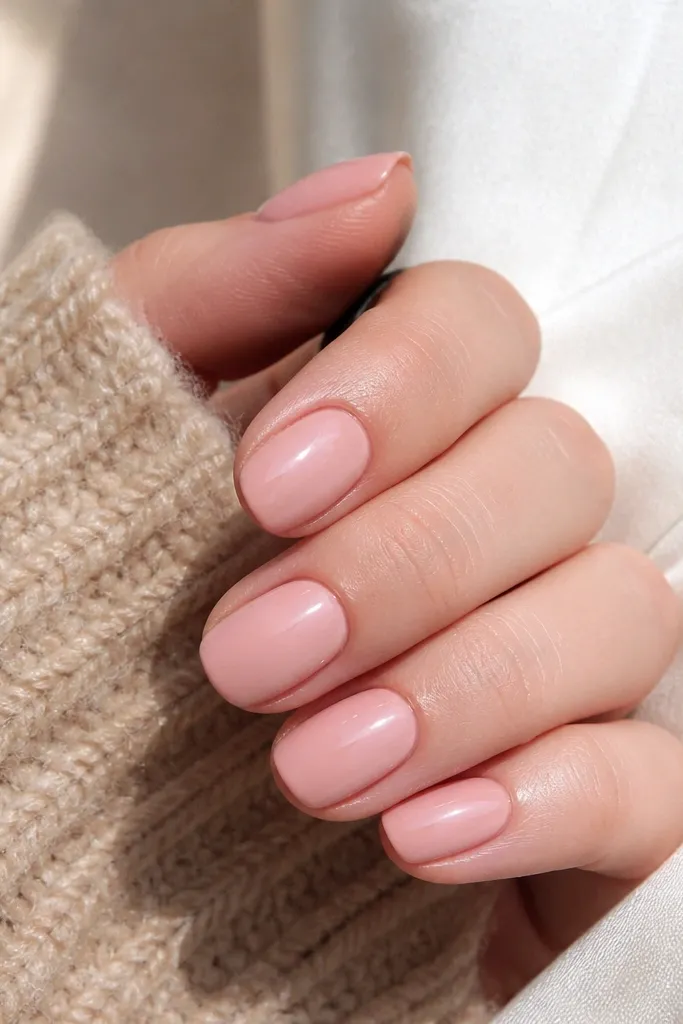
1. Peachy Soft Pink Glass Nails
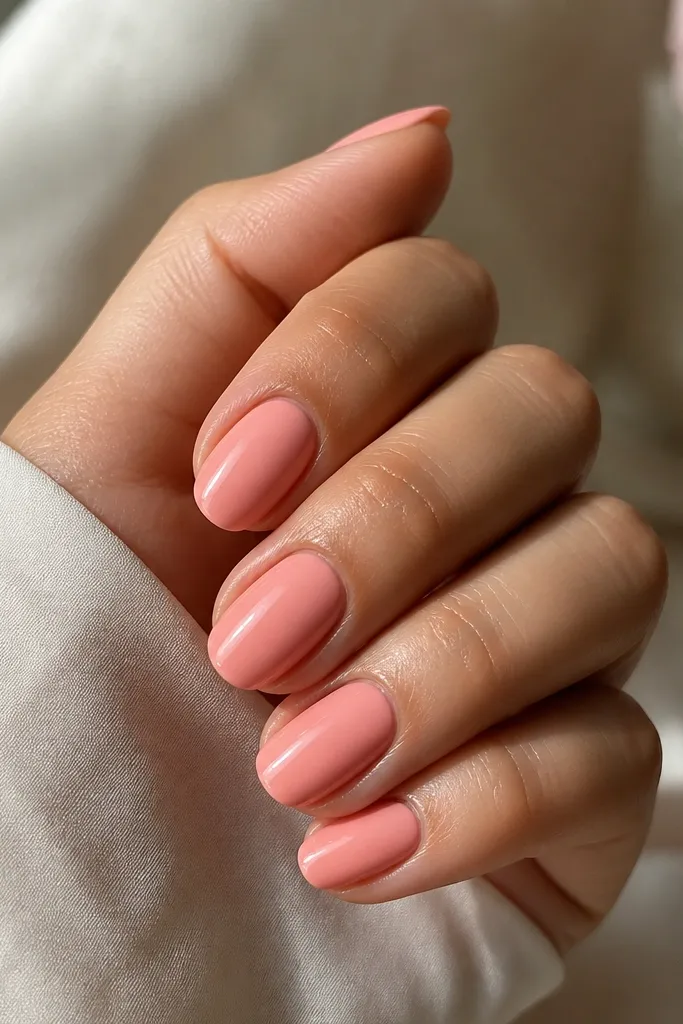
This is my everyday "cozy warm" base when I don't want to think. The color is peachy soft pink, not dusty - it reads warm under indoor lights and still looks fresh outside. I top it with a high-gloss gel topcoat so the surface stays mirror-like as the nail grows. That shine is what makes it look newly done even when you're on week three.
Shape matters: I keep a soft almond with a 1.5-2 mm free edge. Apply two thin coats of peachy soft pink gel, then cap the free edge on every coat. Finish with a thick-but-level glossy topcoat, then cure long enough for a hard, glassy surface.
Pro tipIf your nails chip at the tip, add a second topcoat layer only on the free edge and cure extra at the tip.
Watch outAvoid a sheer, streaky base color - it shows uneven growth and looks patchy fast.
2. Warm Soft Pink French with Gold Micro-Line
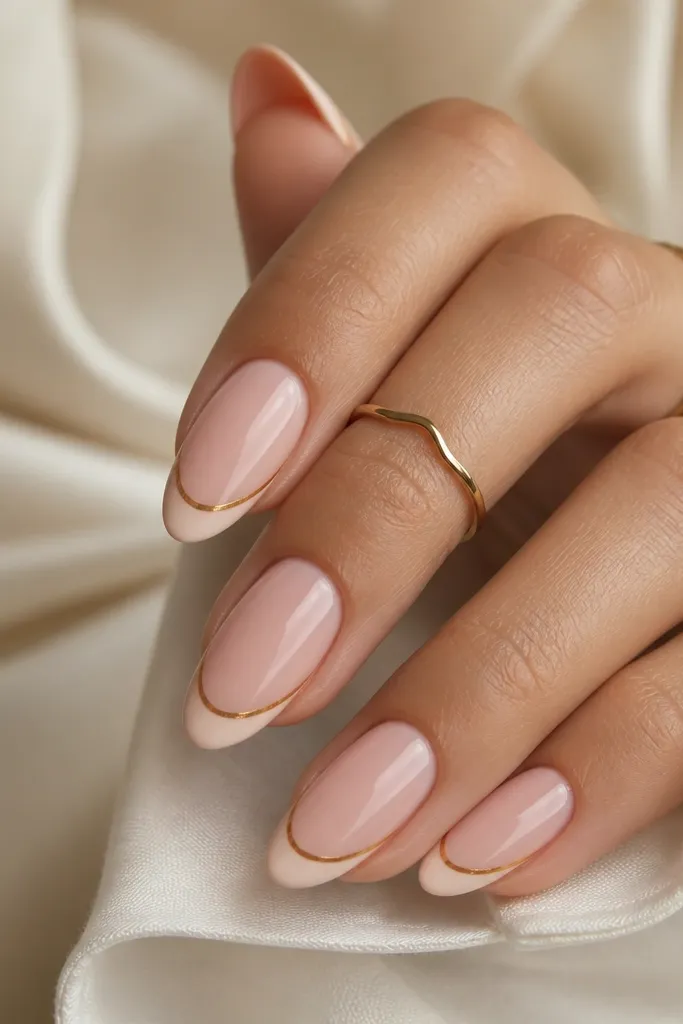
A French tip in warm tones makes your nails look "done" without heavy art. The gold micro-line gives that cozy glow without adding thickness. Because the gold is a thin detail, it doesn't snag or lift as easily as chunky decals. It also looks polished against both casual and dressy outfits.
Use a soft pink base close to your skin undertone, then paint a French tip that's white-peach, not icy white. Add the gold line with a liner brush and gel paint, keeping it 0.5-1 mm below the smile line. Topcoat glossy, and wipe the tacky layer carefully so the gold stays crisp.
Pro tipPractice the smile line on a silicone nail tip - a steady curve is what makes the French look expensive.
Watch outDon't make the French too thick - bulky tips lift faster and start to look messy.
3. Soft Pink Cloud Tips
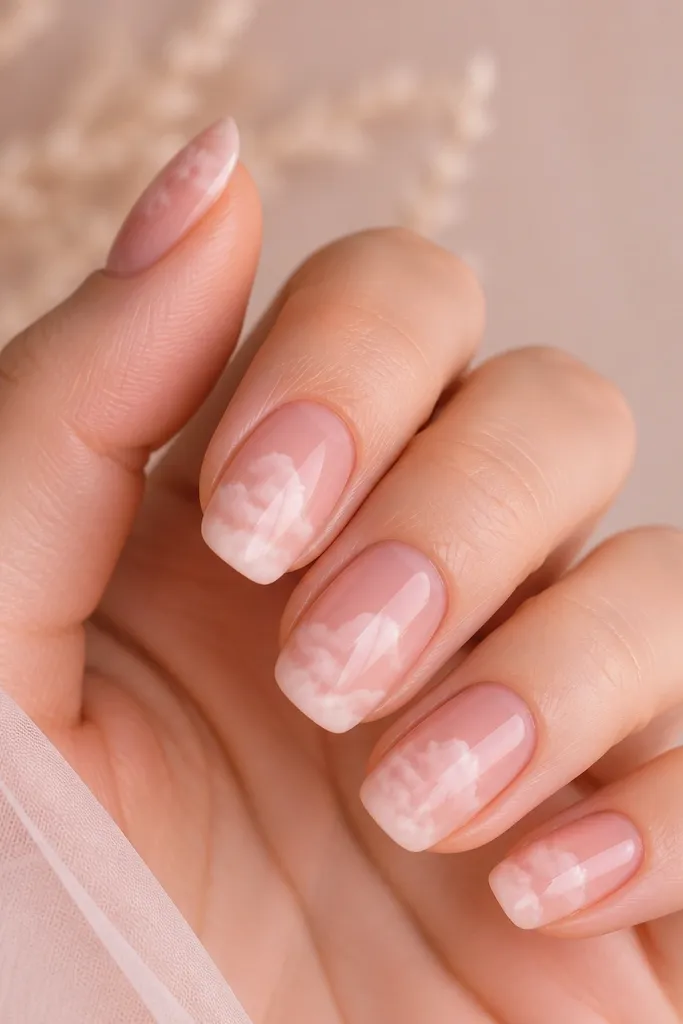
Cloud tips look cozy because they're not sharp. The semi-opaque "puff" pattern hides tiny gaps that happen as nails grow. I use a white-pink gel and blend it with a small sponge so it stays light and airy instead of solid and heavy. It's cute for spring, but the warm undertone keeps it wearable year round.
Keep the base fully opaque in two coats. For the cloud, dab a thin layer of white-pink gel on a makeup sponge, then tap off on paper before stamping onto the tips. Use a dotting tool to soften edges where the cloud meets the base.
Pro tipDo one nail at a time and cure quickly so the sponge texture doesn't smear.
Watch outSkip full coverage cloud blobs - they look like frosting and chip at the edges.
4. Soft Pink Marble Vein Accent (One Nail Only)
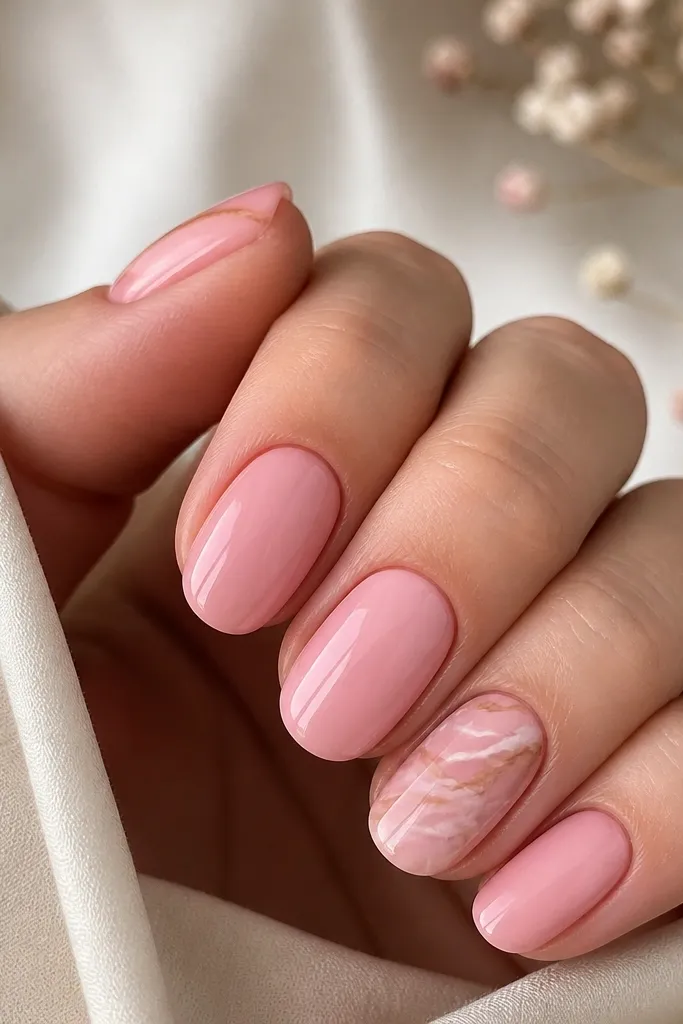
Marble can get busy fast. This version uses thin veins on one accent nail so it stays classy and doesn't overwhelm. The milky white reads soft and cozy, while warm taupe keeps the pattern grounded. It also makes your manicure look intentional even if your nails grow out unevenly.
Paint all nails in warm soft pink, two coats. On the accent nail, drag milky white gel into a few curved lines using a fine detail brush. Add tiny taupe breaks with a dotting tool, then lightly blend the edges with a micro brush tip before curing.
Pro tipSeal the marble lines with a slightly thicker topcoat layer so the veins look smooth, not raised.
Watch outDon't flood the marble - if it turns opaque and thick, it looks like stickers.
5. Matte Soft Pink with Glossy Cuticle Halo
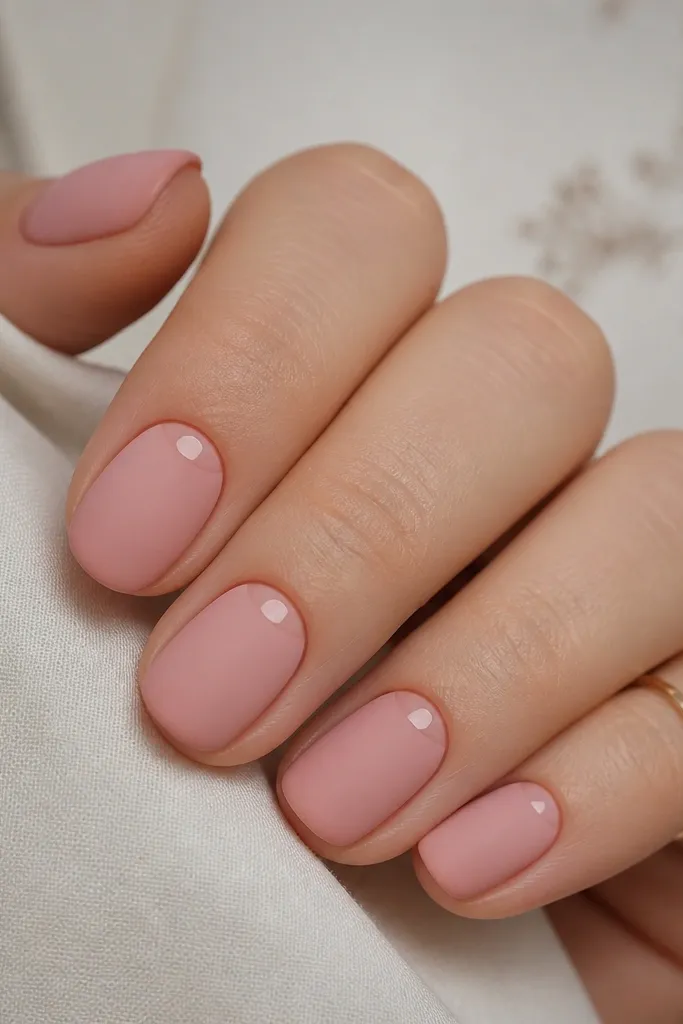
This is the fastest way I know to make soft pink look "cozy" instead of basic. Matte hides micro-scratches and dullness that show up from daily life. The glossy cuticle halo catches light and gives shape to the nail bed, which looks flattering on grown-out nails. It also looks great on short-to-medium lengths.
Do your builder gel and base color as usual, then topcoat with a matte topcoat over the whole nail. For the halo, paint a thin glossy gel crescent around the cuticle and cure it separately if your topcoat system needs it. Keep the halo narrow - about 1 mm - for a clean look.
Pro tipUse a striping brush, not a wide brush, so the halo stays crisp and not smudgy.
Watch outDon't overdo the halo thickness - thick glossy rings look bulky and can lift.
6. Soft Pink Latte Specks
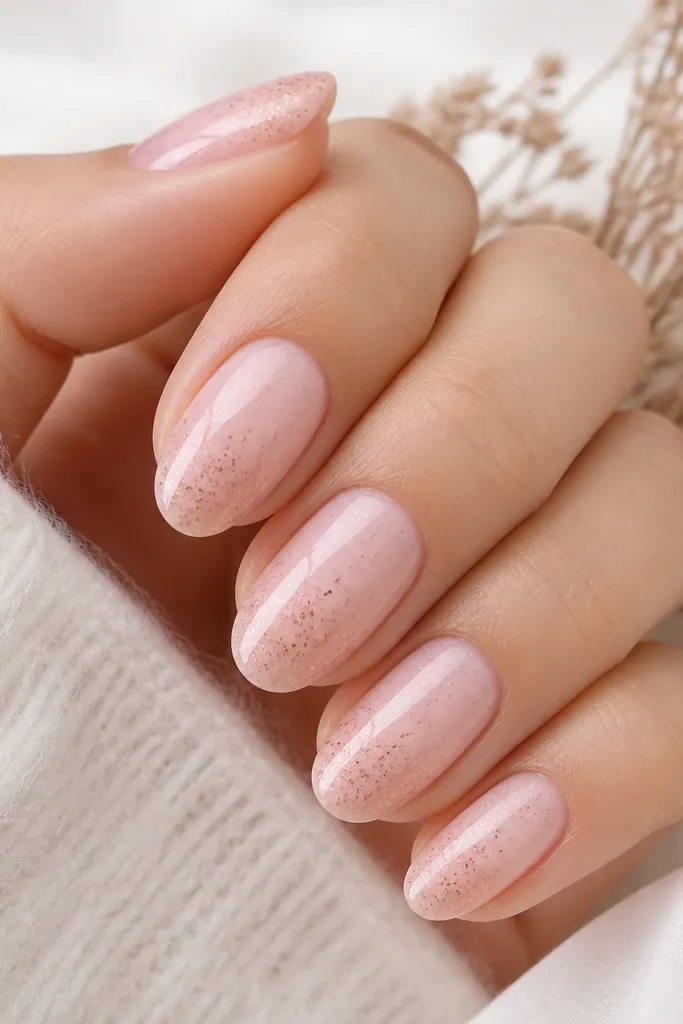
Speckle art makes manicures last because it hides wear. This pattern looks like latte foam dusting, but in nail form. I use micro fine beige-brown gel specks so it doesn't look like glitter chunks. It's warm year round and feels cozy without being seasonal.
Start with a smooth warm soft pink base. Load a toothpick or dotting tool with diluted beige-brown gel, then flick tiny dots onto the center third of the nail. Add a few clusters near the tip for balance and cure. Finish with glossy topcoat to lock the specks down.
Pro tipDilute your speck gel with a clear gel so the dots stay tiny and light.
Watch outAvoid big dots - they catch on fabric and start to peel.
7. Soft Pink Milky Aura (Center Fade)
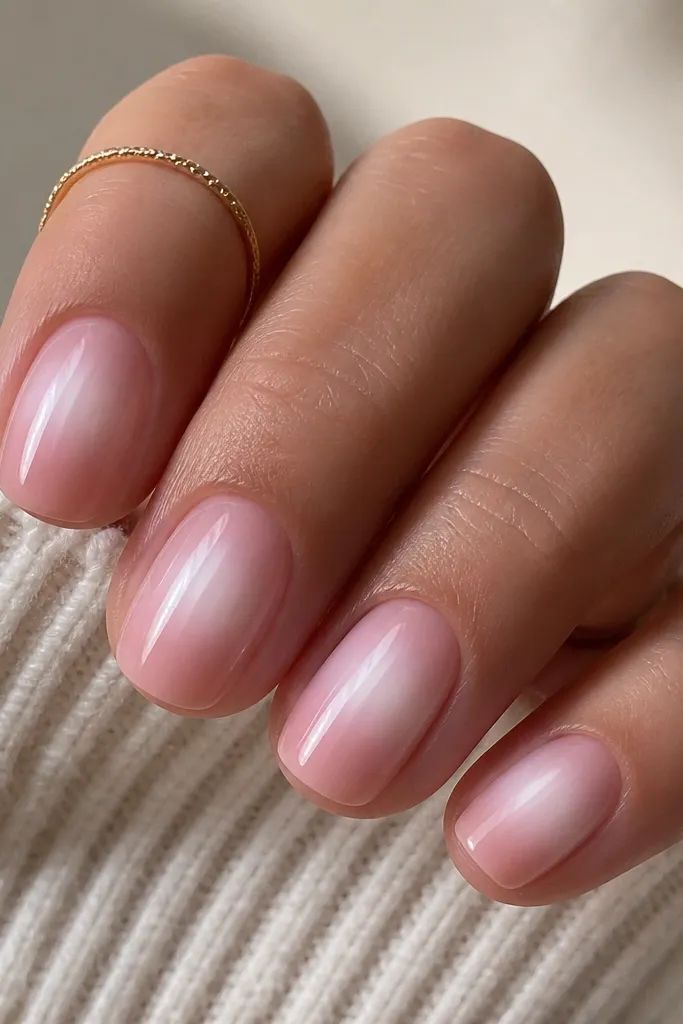
Aura nails are flattering because they draw the eye to the center of the nail. The milky white glow makes the soft pink look brighter and warmer. Because the aura fades, it doesn't look harsh as your nail grows - the center focus stays the same. It's a cozy winter-to-summer design that always reads clean.
Paint base in two coats warm soft pink. Use a makeup sponge to dab milky white gel in the center, then blend outward with gentle tapping. Keep the aura height around 1/3 of the nail length. Cure, then topcoat glossy for a smooth gradient.
Pro tipDo a thin first aura pass, cure, then add a second pass only where you want more glow.
Watch outDon't make the aura too wide - if it reaches the sides, it looks messy.
8. Soft Pink Velvet Matte with Tiny Gold Dots
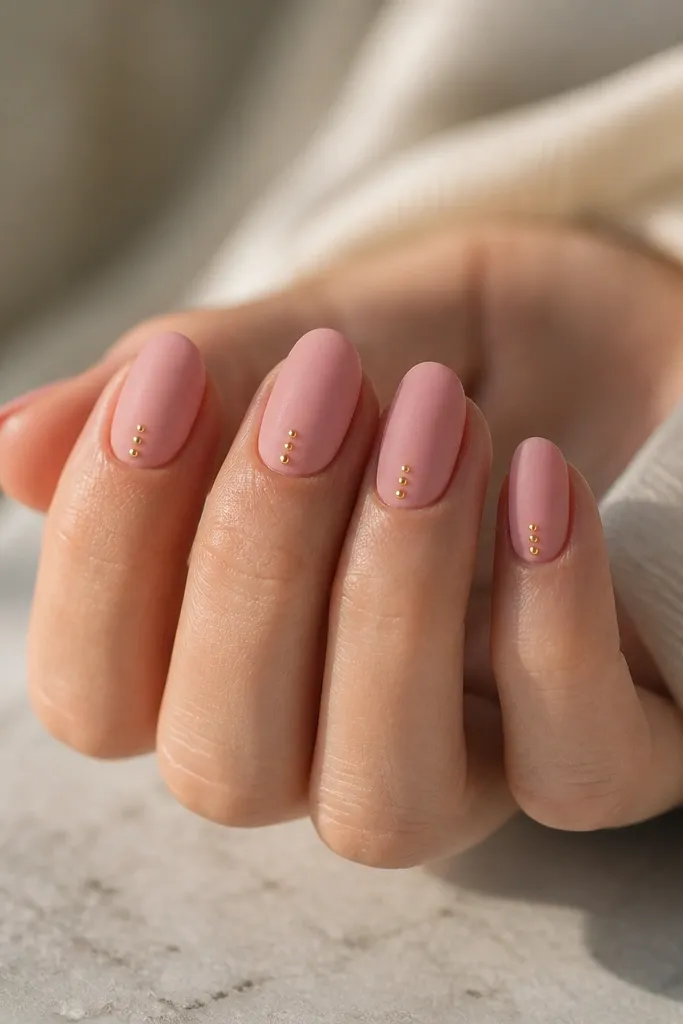
Velvet matte makes soft pink feel warm and plush. The tiny gold dots add just enough sparkle without turning it into a party nail. I like dot placement slightly off-center so the manicure looks hand-arranged, not stamped. It's also forgiving when your nails are growing out because the matte finish hides surface wear.
Apply warm soft pink base and cure. Topcoat with matte topcoat. Place gold dots with a dotting tool using gel gold pigment, then cure again. Seal with a very thin matte topcoat layer only if your gold stays raised; otherwise, skip extra topcoat to keep the gold crisp.
Pro tipUse gold pigment paste, not gold leaf flakes, for clean dot edges.
Watch outDon't add too many dots - five or six makes it look cluttered.
9. Soft Pink Ombre with Peachy Tips
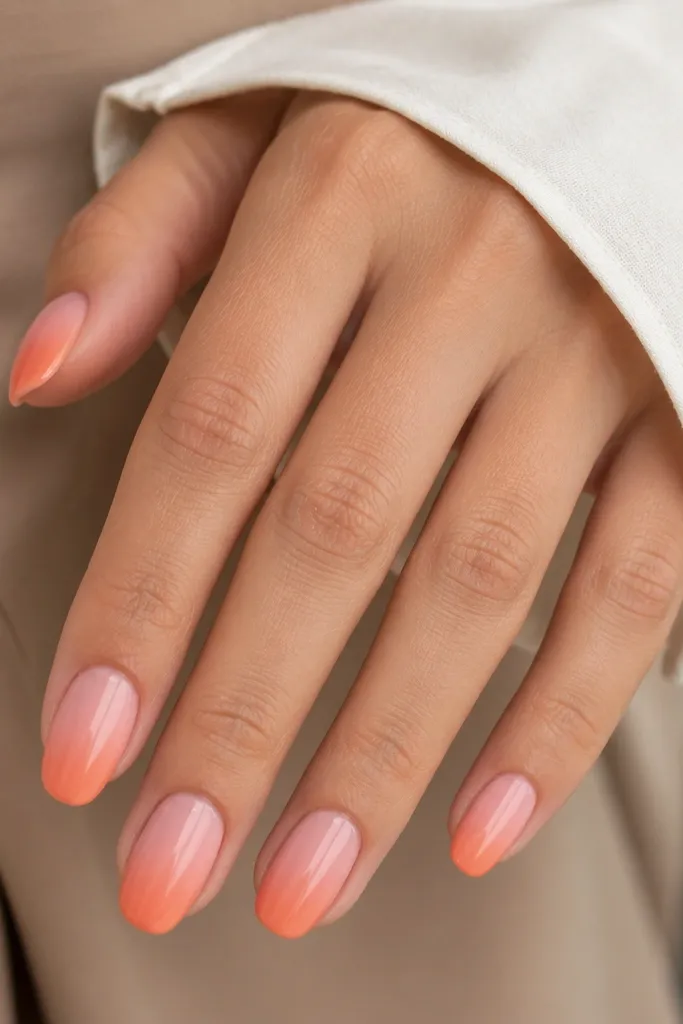
Ombre is my go-to for grown-out nails because the transition hides the grow line. The peachy tips keep it cozy warm year round instead of looking pale and washed out. A smooth ombre also looks more "designer" than a hard French line. When you do it with gel, it stays glossy and even longer than polish fades.
Use warm soft pink gel near the cuticle. Sponge on peach gel at the tips, then blend upward with a clean sponge section. Keep the gradient about 2-3 mm tall at the tip before fading into the base. Cure each step if your brand needs it, then topcoat glossy.
Pro tipWipe your sponge between colors - leftover peach from the edges causes muddy blending.
Watch outSkip harsh straight-line ombre - it looks like a gradient sticker.
10. Soft Pink Half-Moon Cuticle with Sheer Blush
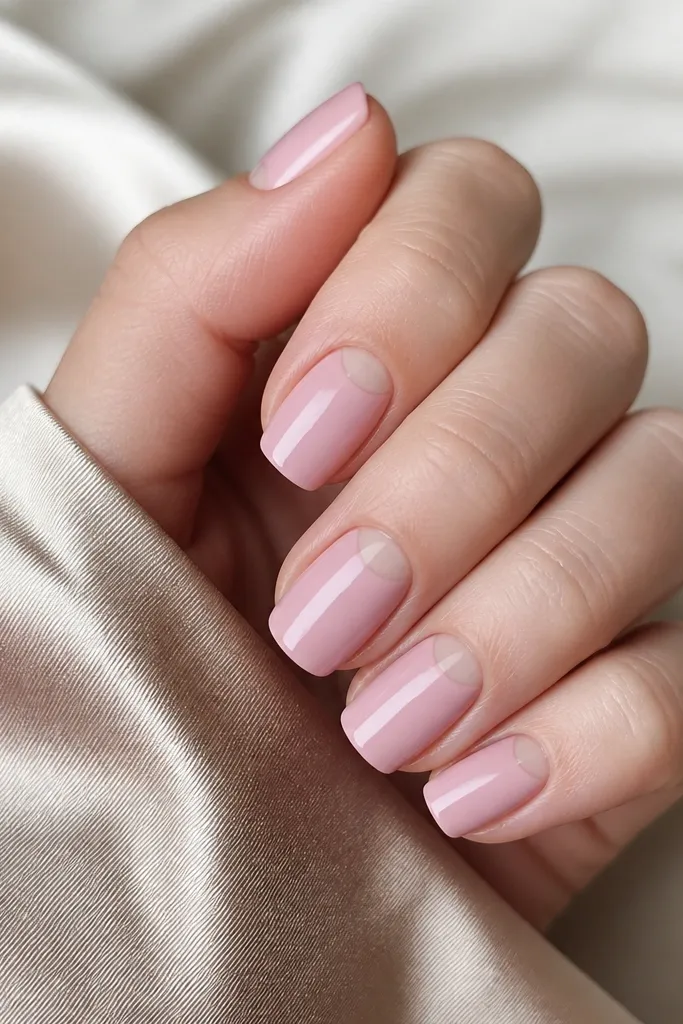
Half-moons look clean and intentional, and they grow out better than full cuticle decals. I use a sheer blush gel that's lighter than the base so the contrast is soft, not stark. This design makes the nail bed look longer and more awake. It's perfect when you want something pretty but not loud.
Base coat in warm soft pink. For the half-moon, use a sheer blush gel and paint only the crescent shape - about 2-3 mm wide at the center. Cure, then topcoat glossy. Keep the half-moon slightly rounded, not sharp.
Pro tipIf your cuticle area floods, clean the edges with a brush dipped in slip solution before curing.
Watch outDon't make the half-moon too opaque - it can look like a patch.
11. Soft Pink Glitter Fade (No Chunky Bits)
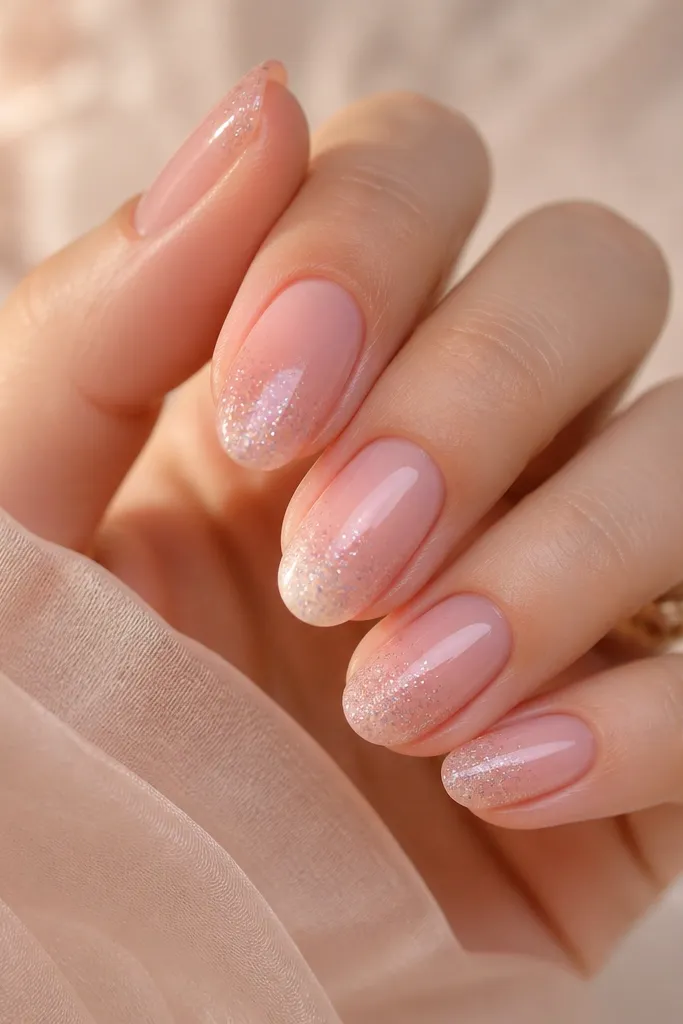
Fine glitter fade makes soft pink feel cozy and celebratory without looking like full-on party nails. Concentrating glitter at the tips hides tip wear and keeps the center smooth. The key is using micro shimmer that doesn't feel gritty under your fingers. It stays pretty longer because the sparkle doesn't show chips as clearly as big glitter.
Paint a full warm soft pink base. Apply clear gel at the tips, then sprinkle or paint fine micro glitter, fading it upward with a brush. Cure and then cap the glitter with a thin layer of clear gel so it feels smooth. Finish with glossy topcoat.
Pro tipCap the glitter - if you feel roughness, it will catch and lift sooner.
Watch outAvoid chunky glitter mixes - they snag on sleeves and lift at the edges.
12. Soft Pink Botanical Line Art (Tiny Leaves)
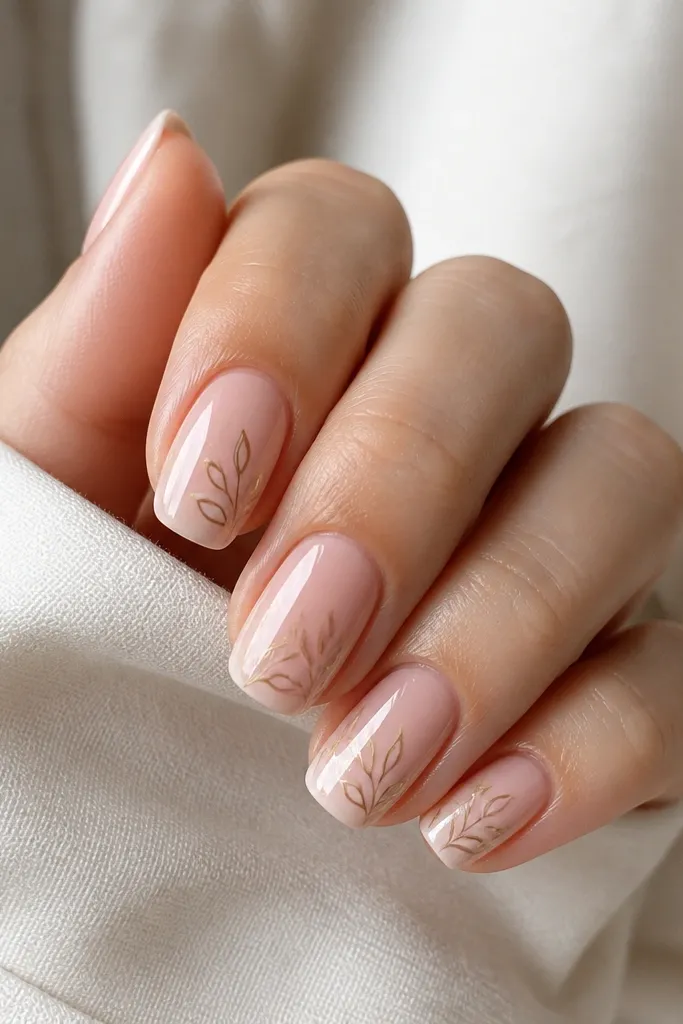
Tiny botanical line art looks warm and grown-up. Thin taupe lines keep it subtle, and pale gold adds a soft glow. I like placing the leaves on one side of the nail so the manicure looks balanced even as the nail grows. This is one of those designs that always gets compliments because it looks hand-drawn.
Base in warm soft pink. Use a fine liner brush and warm taupe gel paint to draw one leaf shape and one tiny sprout. Add one small pale gold dot at the base. Keep the art in the center third and leave breathing room near the sidewalls.
Pro tipUse a liner brush with a sharp tip and load less gel than you think - line art should look airy.
Watch outDon't thicken the lines - thick botanical art looks cartoony.



