
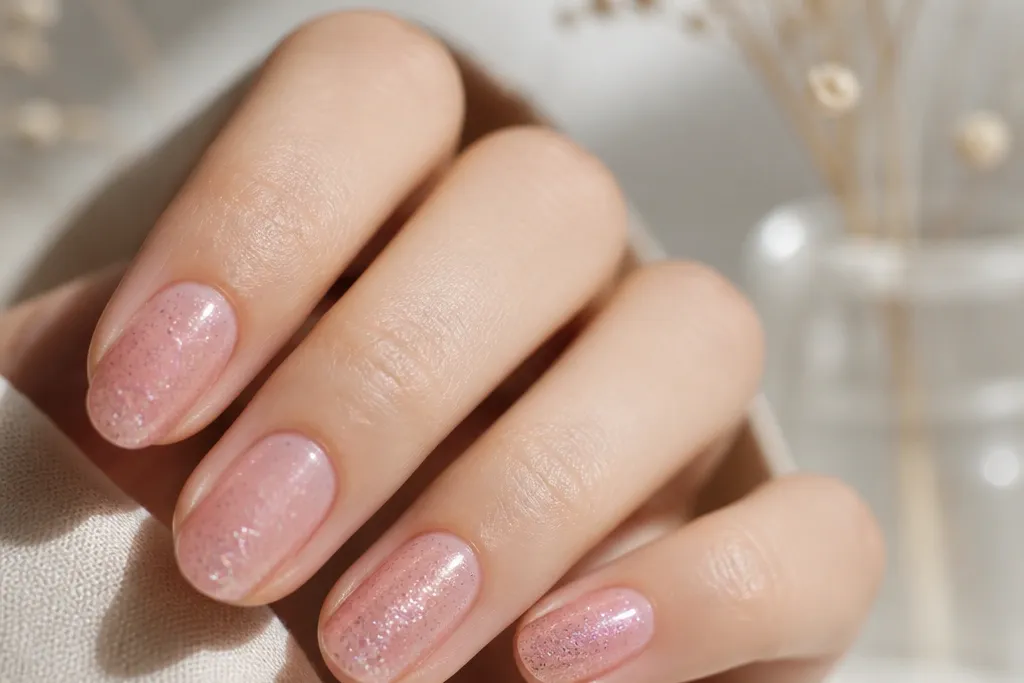
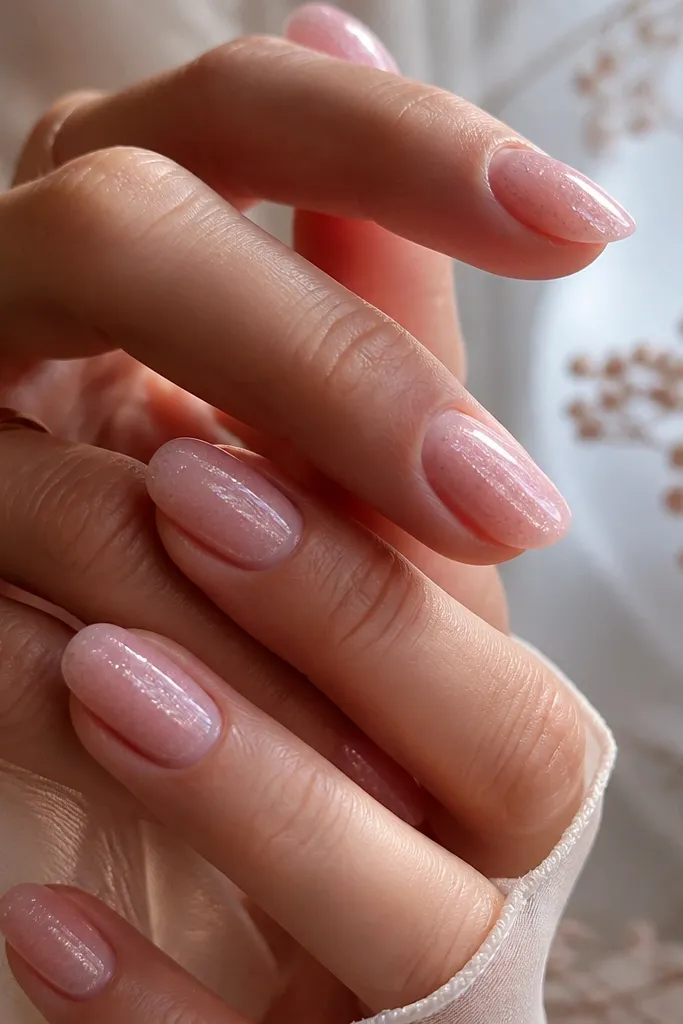
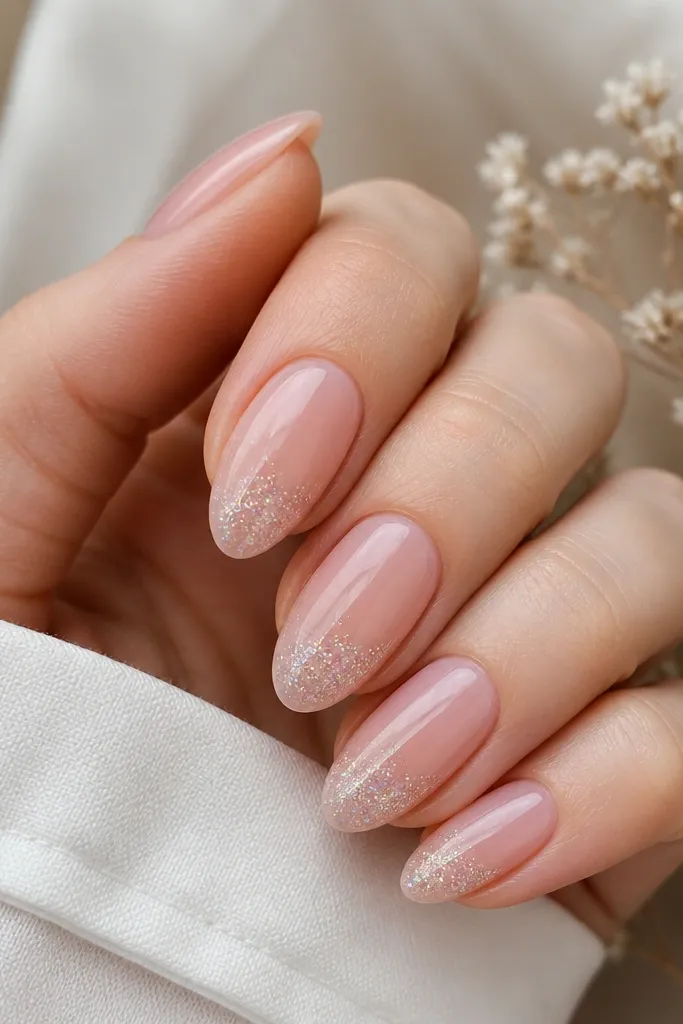
1. Ballet Sheer Pink + Micro Shimmer Fade Tips
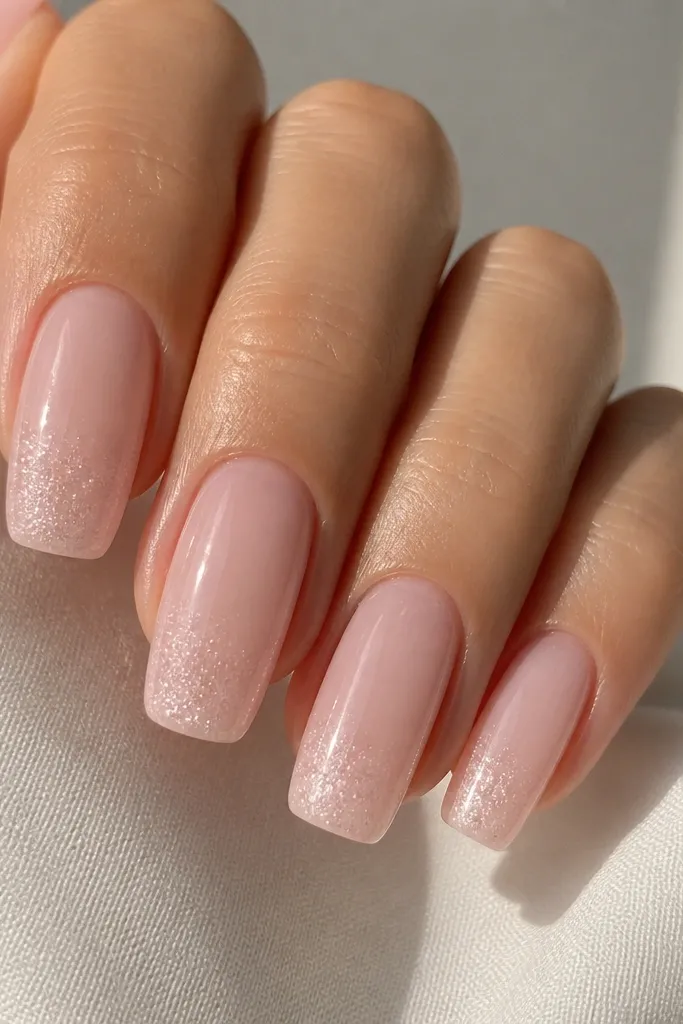
This one is my go-to when I want "soft" without losing sparkle. The base is sheer enough that your nail still looks like your nail, but the micro shimmer at the tips catches light like a soft camera flash. It's flattering on short and medium lengths because the fade doesn't create a hard line. The glitter texture stays smooth because it's fine and evenly distributed in a gradient.
Start with a sheer ballet pink gel (thin coats, don't flood the cuticle). Add micro shimmer only on the last 2-3 millimeters of the free edge, then pull it upward about 1-2 millimeters with a flat brush. Seal with glossy top coat, making sure the top coat covers the very edge so it doesn't lift.
Pro tipIf your shimmer looks dusty, stop adding more glitter - add another thin top coat layer instead to smooth the surface.
Watch outAvoid thick glitter layers at the cuticle; they shrink and leave gaps.
2. Rosy Blush Pink + Holographic Dust Half-Moons
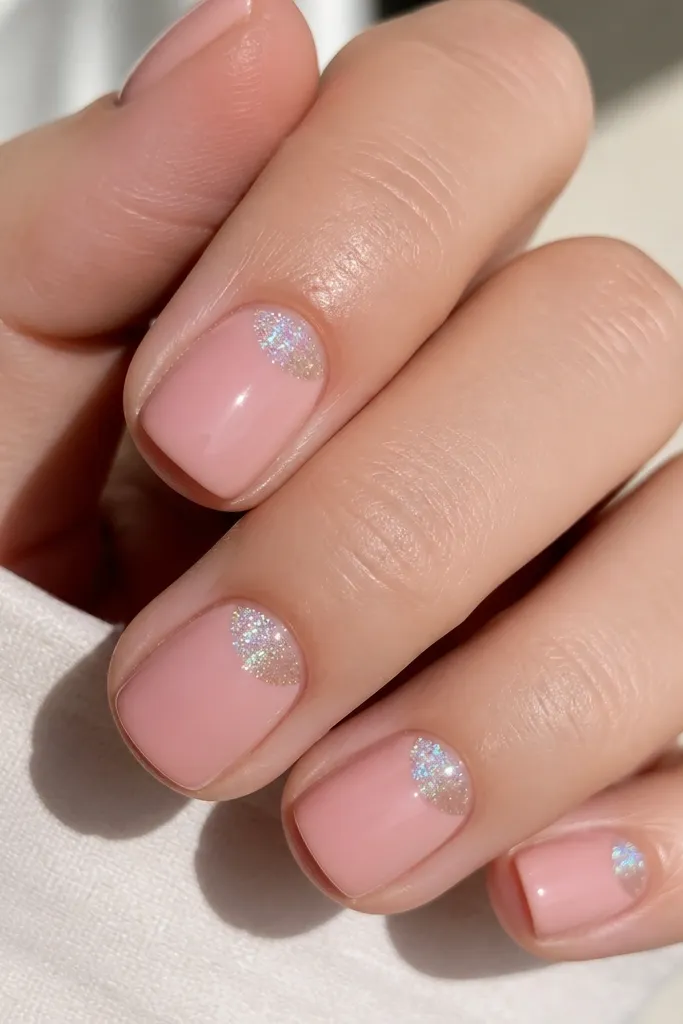
Half-moon glitter is delicate in a way full coverage never is. The holographic dust is lightly concentrated where your eye naturally checks the nail near the cuticle, so it looks intentional instead of random. The rosy blush base keeps the holographic from looking silver-gray. Under indoor light it reads soft; outdoors it throws little flashes.
Use a rosy pink that is slightly opaque (one to two coats) so the half-moon area doesn't look patchy. Place a small amount of holographic dust with a detail brush in a curved half-moon shape, then tap off excess so it stays crisp. Top coat over the half-moon with a slightly thicker layer only in that area to smooth the glitter texture.
Pro tipClean the half-moon edge with a small brush dipped in gel cleaner before curing so it looks sharp, not blurry.
Watch outAvoid dusting glitter over the whole nail; it kills the clean half-moon shape.
3. Soft Pink Base + Fine Iridescent Glitters in a Diagonal Sweep
Diagonal glitter flatters every nail shape because it draws the eye across the finger. Fine iridescent glitter reads like a sheen rather than a pile, so your nails look polished even in daylight. The soft pink base keeps the iridescence warm instead of icy. This design also hides small nail imperfections because the shimmer line breaks up the surface.
Paint two thin coats of soft pink nude. Load a small amount of fine iridescent glitter on a flat brush and swipe it diagonally, leaving one edge lighter for a gradient. Cure, then add a second micro layer only along the center of the diagonal so it stays smooth and not chunky.
Pro tipUse painter's tape as a guide for the first nail, then freehand the rest; the line stays consistent without looking too "sticker-like."
Watch outAvoid a straight, thick stripe that hits the sidewalls hard; it looks like glitter spilled.
4. Milky Pink + Glitter Cuticle Halo (Tiny Ring)
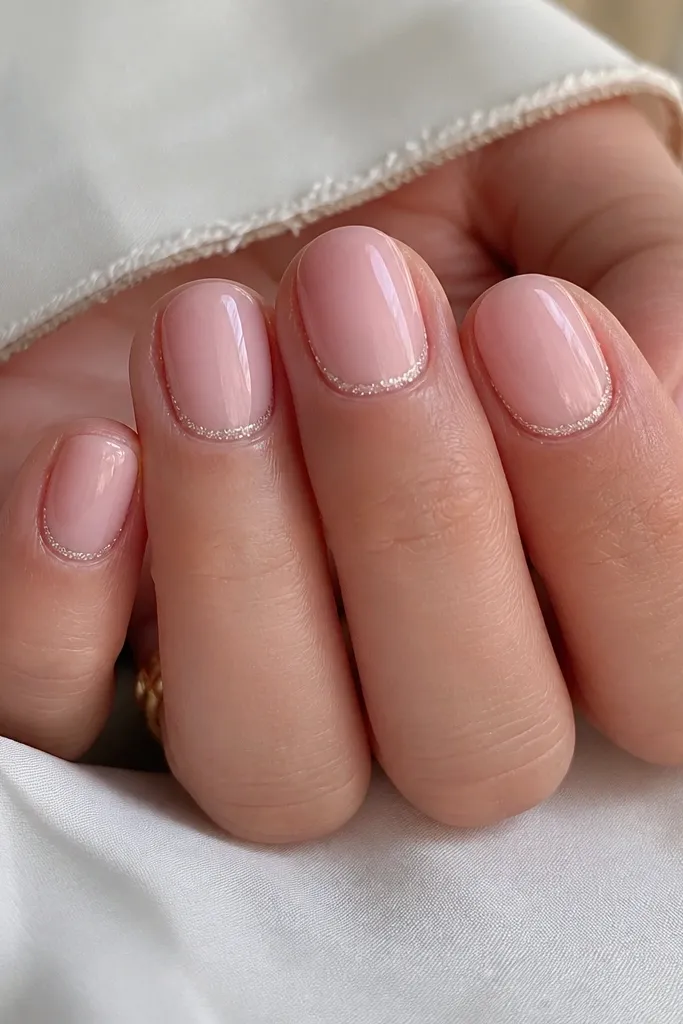
A tiny glitter halo makes soft pink look intentional and expensive. The halo is close enough to catch light when you move your hands, but leaving a small gap keeps it from looking messy. Fine glitter gives a smooth ring effect without texture bumps. This design works when you want sparkle but hate full glitter nails.
Use a milky pink that is semi-opaque so the nail looks creamy. With a detail brush, place fine glitter in a thin curve around the cuticle, stopping about 0.5 mm away from skin. Top coat carefully around the cuticle line so the ring stays defined and doesn't blur.
Pro tipAfter curing, run a soft brush under the free edge to remove any top coat dust so the halo edge stays crisp.
Watch outAvoid glitter touching the skin; it lifts faster and looks uneven.
5. Soft Pink Gel + Chunky Glitter Tip with a Clean Straight Line
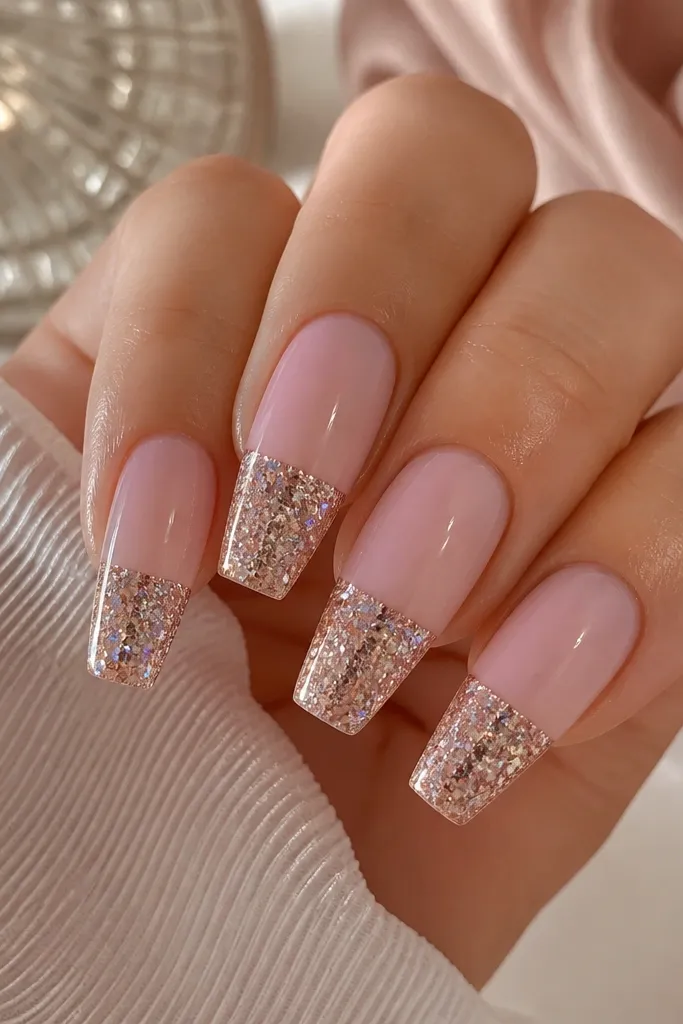
This is the "I want sparkle" version that still looks neat. The straight line keeps chunky glitter from spreading and turning into a messy ombré. Chunky glitter looks best when it's confined to the free edge where it has room to reflect light. Soft pink underneath keeps it wearable, not Halloween.
Build the soft pink base with two thin coats. For the tip, press chunky glitter onto the last 3-4 mm, then clean the line using a small brush with gel cleaner. Add a thick enough top coat to lock the chunky pieces flat so you don't get snaggy edges.
Pro tipIf your glitter feels rough, add an extra top coat layer and cap the glitter-free edge hard.
Watch outAvoid blending chunky glitter upward; it makes the line disappear and looks messy.
6. Pink Chrome Shimmer + Soft Pink Matte Accent on One Nail
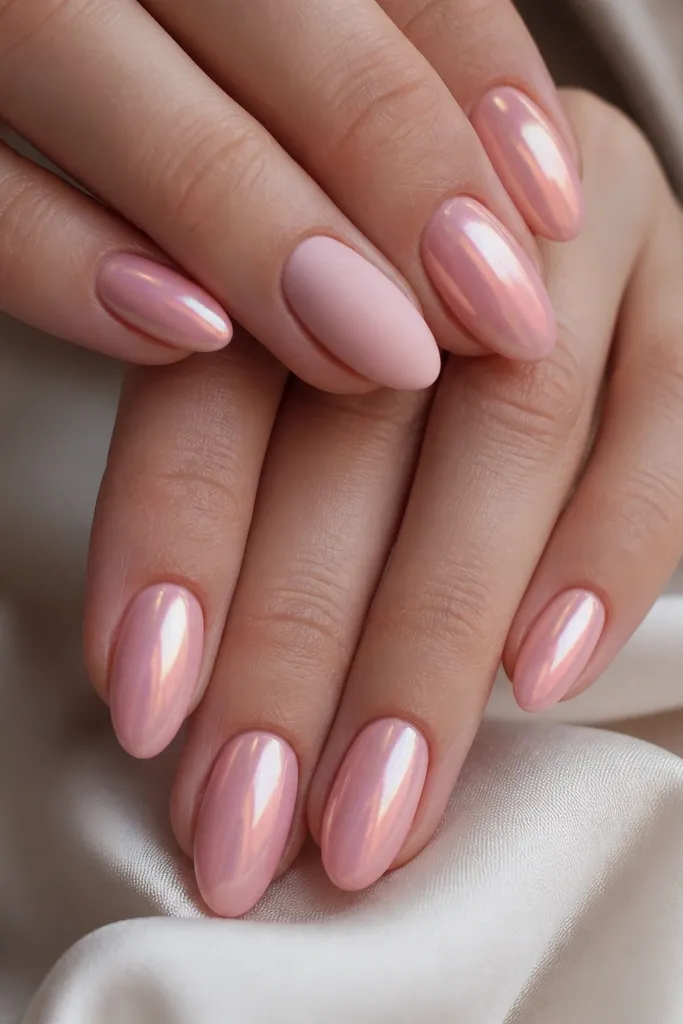
This is the only time I like matte with glitter - because the contrast is the whole point. Pink chrome shimmer on glossy nails looks like liquid light. The matte accent nail makes the set feel designed, not accidental. It also covers small cuticle lines because matte hides surface shine.
Use glossy top coat under chrome so it reflects. Apply pink chrome powder or spray lightly, then buff for a smooth, even glow. For the accent nail, skip chrome and finish with matte top coat only on that one nail.
Pro tipSeal the chrome with a gel top coat made for chrome; regular top coats can dull it fast.
Watch outAvoid putting matte top coat over chrome; it turns patchy.
7. Soft Pink Gradient Base + Silver-Foil Flakes at the Tip
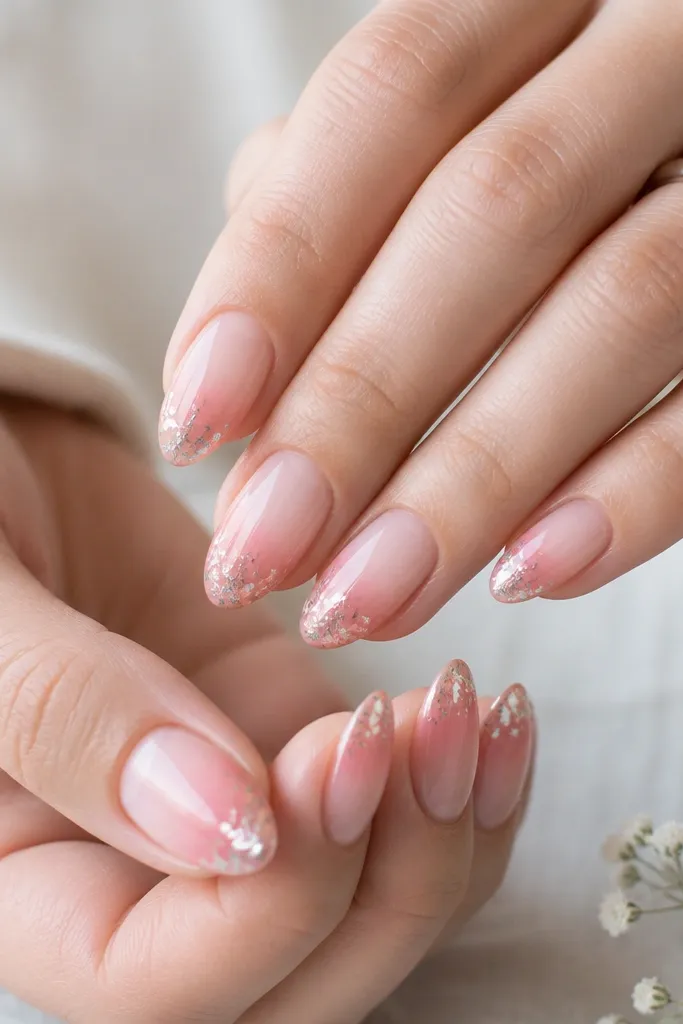
Foil flakes add sparkle that looks dimensional without needing heavy glitter. The flakes catch light in irregular flashes, so even a thin layer looks rich. Keeping the foil only at the tips prevents the set from looking busy. A soft pink gradient makes the foil feel like it belongs there instead of floating on top.
Paint a soft pink base and build a gentle gradient by adding slightly more pigment toward the tip. Press foil flakes into the tip area with a gel adhesive or sticky layer, then cure. Top coat in two layers: first to trap flakes, second to smooth and gloss.
Pro tipPress foil with a silicone tool, not a cotton pad; it tears flakes and creates uneven clumps.
Watch outAvoid foil across the whole nail; it looks like loose craft glitter.
8. Sheer Pink Jelly + Fine Glitter Jelly Bean Effect
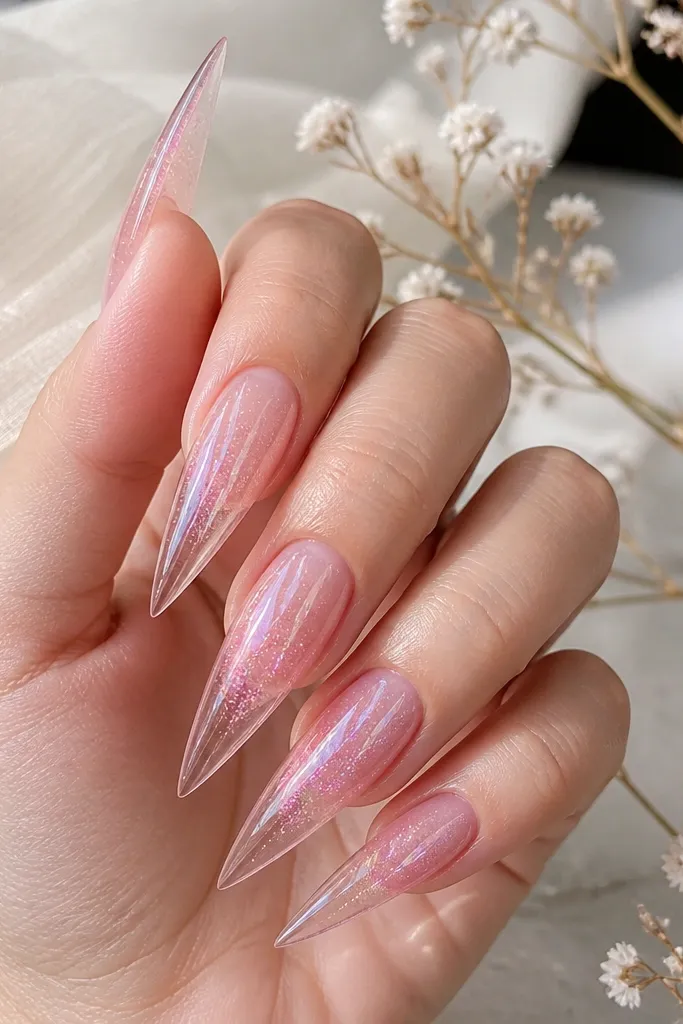
This is the jelly look that looks best on camera because the glitter looks trapped in glass. A sheer jelly base makes your nail look fuller and smoother. The glitter density shift (center slightly heavier) creates depth, not just sparkle. It's also forgiving - if your glitter isn't perfect, the jelly finish hides the roughness.
Use a sheer pink builder gel or jelly gel. Sprinkle fine glitter into the center area while the gel is still tacky, then cap with a clear gel layer. Shape carefully so the jelly stays uniform - thick only in the center can create a dome.
Pro tipDon't overfill. If you can see glitter shadows under the gel, it's enough.
Watch outAvoid using matte top coat on jelly; it ruins the glass effect.
9. Soft Pink French Tips + Tiny Glitter Line Under the Smile
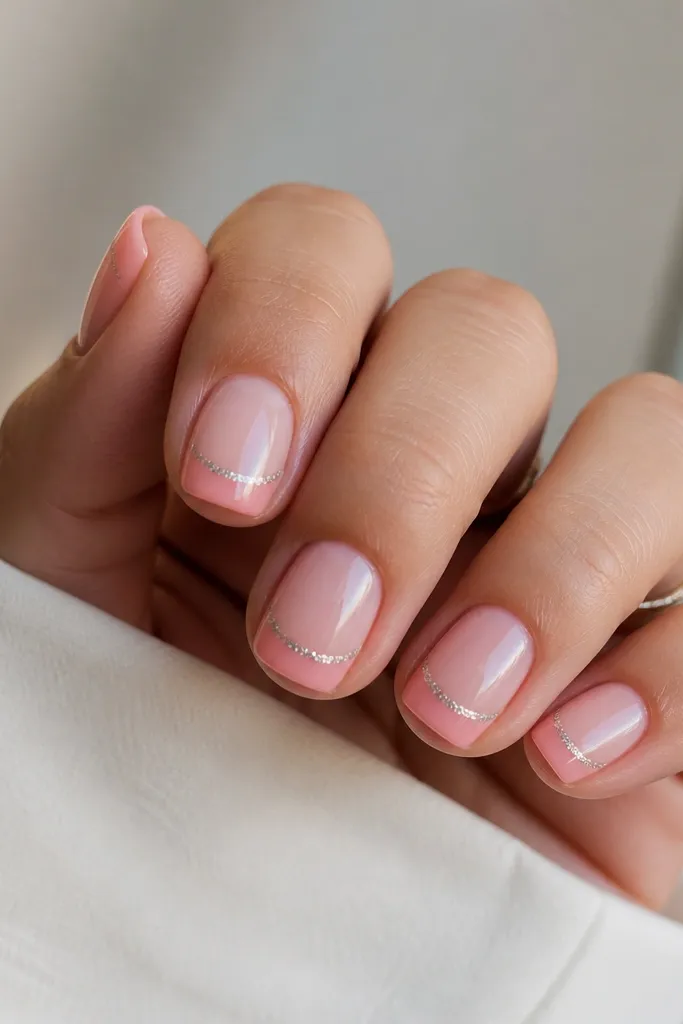
This is a clean way to add sparkle without going full glitter. The glitter line under the smile makes the French look sharper and more graphic. Fine shimmer keeps it smooth and wearable. Because the sparkle is thin, it doesn't catch on hair or clothing the way chunky glitter can.
Paint a sheer soft pink base. Create the French tips in a similar rosy pink, then leave a small gap under the smile. Place fine glitter in that gap as a thin line and cure, then top coat over everything to lock it down.
Pro tipUse a thin brush for the glitter line and let the line be slightly uneven - perfect symmetry can look sticker-like.
Watch outAvoid thick French tips; the glitter line looks bulky against a heavy smile.
10. Pink Blush + Rose-Gold Glitter Nebula (Swirl Accent)
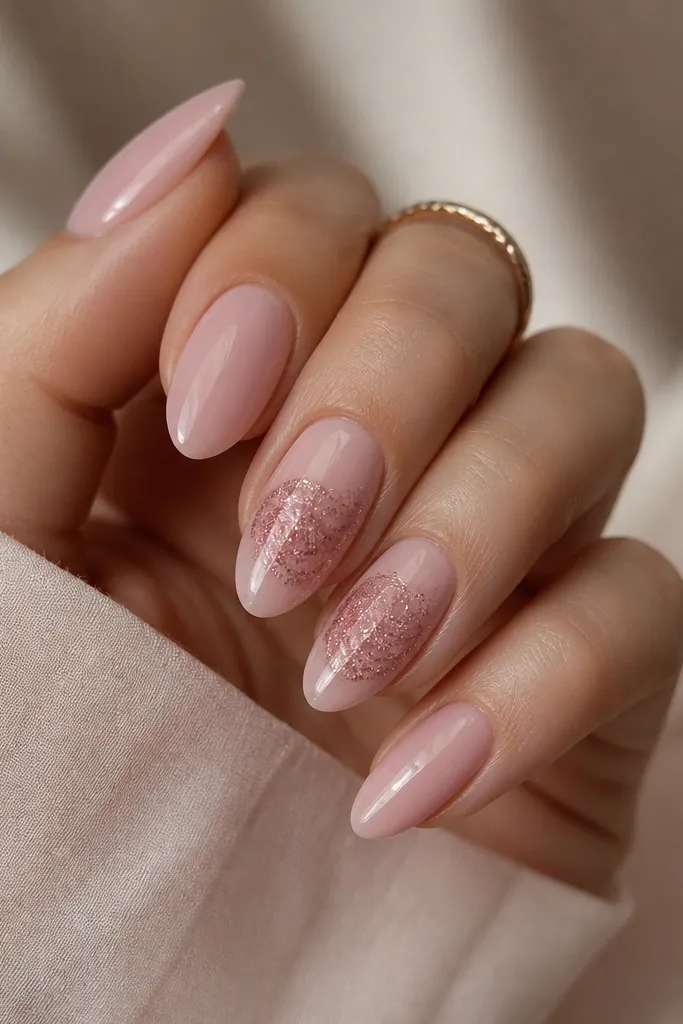
Nebula swirls look artsy without being messy because the glitter is swept, not scattered. Rose-gold glitter warms the whole set and looks flattering against pink skin tones. Keeping the effect only on two nails makes it feel intentional. The glossy top coat makes the swirl look like it's under the surface.
Use a blush pink base on all nails. On the accent nails, pull a small amount of rose-gold glitter with a liner brush in a loose spiral, then soften edges with a clean brush before curing. Top coat in two layers so the swirl stays smooth and doesn't lift.
Pro tipDo the swirl on a practice nail first; the brush pressure changes the "smoke" look fast.
Watch outAvoid scattering glitter with your fingers; it creates random dots that read cheap.
11. Soft Pink Marble Base with Micro Glitter Veins
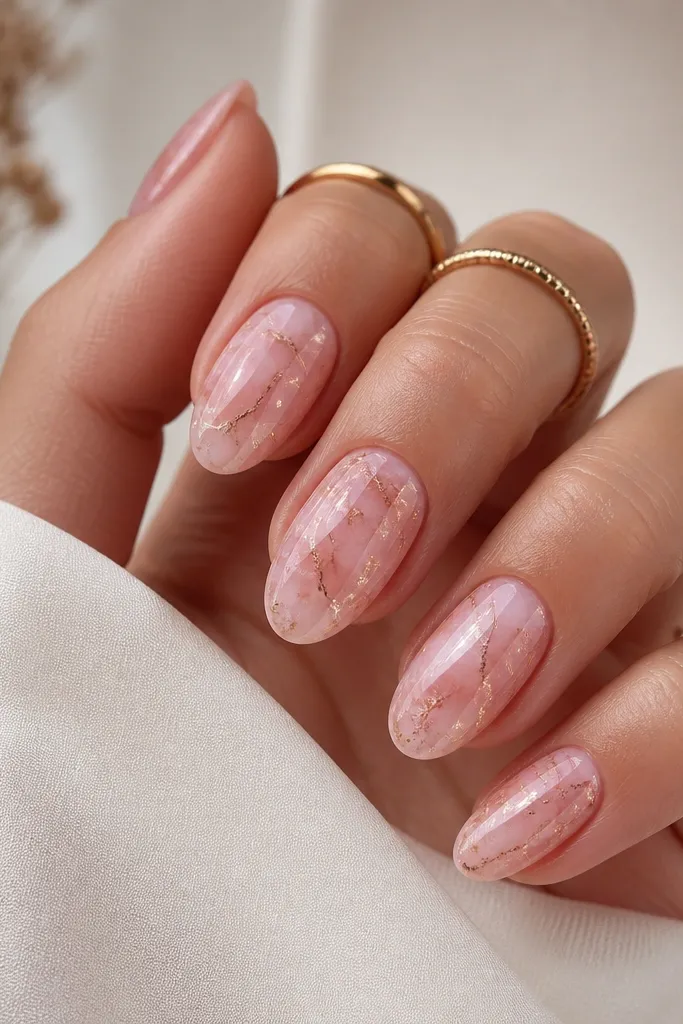
Marble designs look expensive when the veins are fine. Micro glitter veins mimic the look of metallic marbling without turning the nail into a glitter bomb. The soft pink marble keeps everything cohesive, and the glitter only in the vein lines makes it feel detailed rather than noisy. It's one of the few glitter looks that still feels classy when it's subtle.
Start with a pale pink base. Add darker pink and white gel in tiny amounts and swirl with a marbling tool or thin brush. While the marble layer is still tacky, place micro glitter only along one or two vein directions, then cure and top coat.
Pro tipKeep the glitter veins thin - they should look like lines, not chunks.
Watch outAvoid heavy marble layers; thick swirls make glitter look buried and dull.
12. Soft Pink Base + Silver Glitter "Stipple" at the Tip Edge
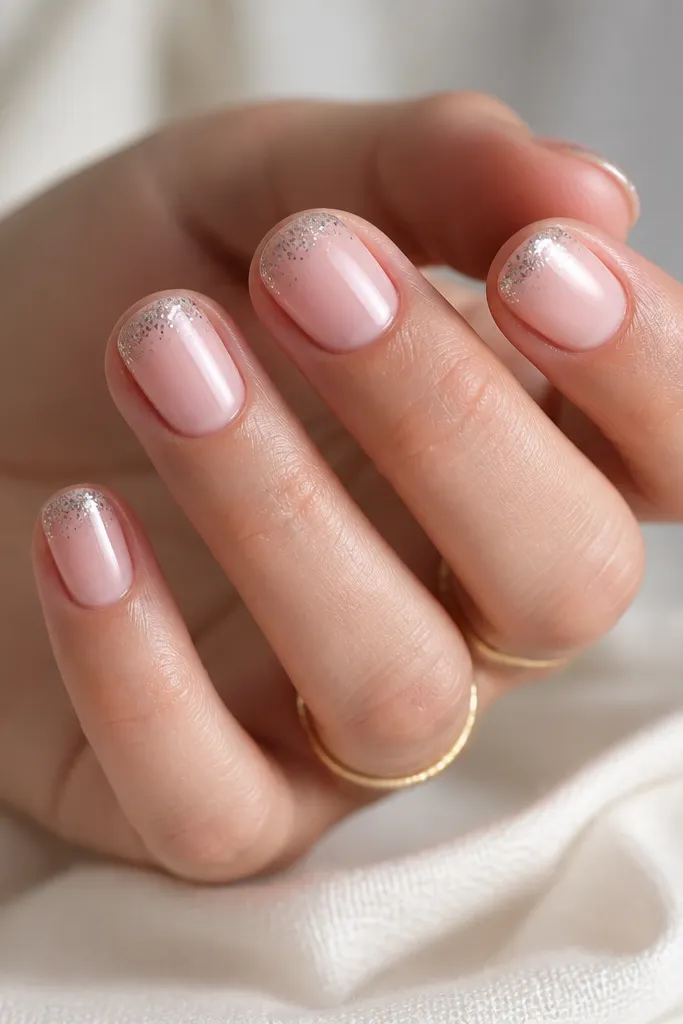
Stippling gives sparkle without the flat glitter coat. Those tiny dots catch light from different angles, so it looks like movement even when your hands are still. Silver glitter keeps the look cool and crisp, which balances warm soft pink. This one also hides small tip imperfections because the sparkle border draws attention to the edge.
Apply soft pink base and cure. Use a dotting tool or the tip of a small brush to tap silver glitter along the free edge in a dotted line, then pull it slightly inward for a border thickness of about 1 mm. Seal with a glossy top coat, focusing on the edge so dots don't snag.
Pro tipTap glitter onto a palette first, then pick up tiny amounts. Too much glitter makes blobs.
Watch outAvoid dragging glitter across the tip; stipple should look like dots, not streaks.



