
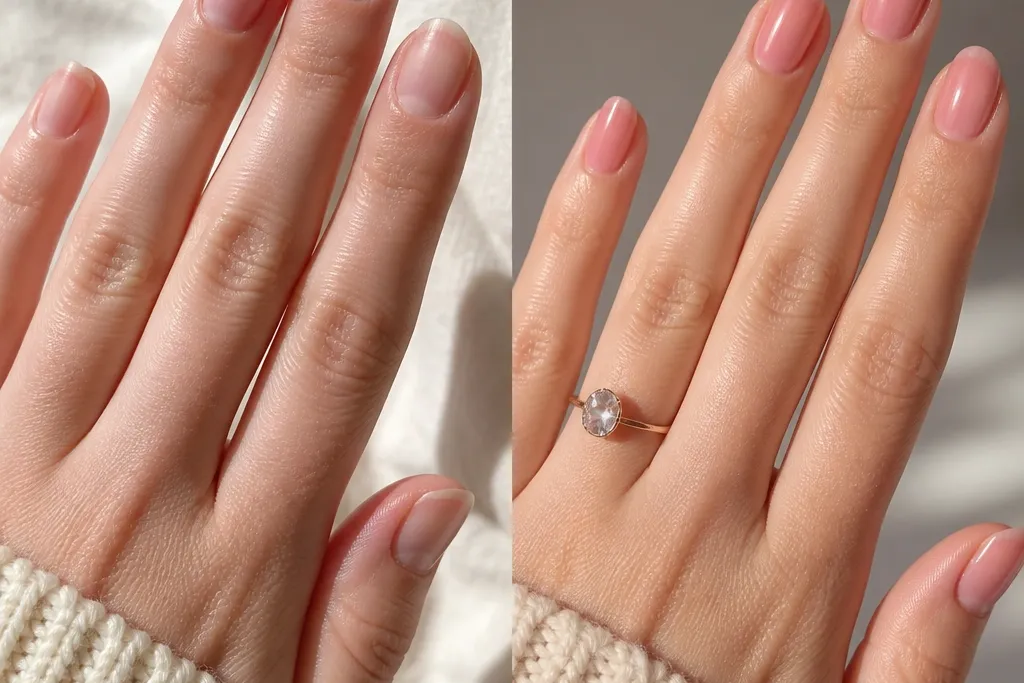
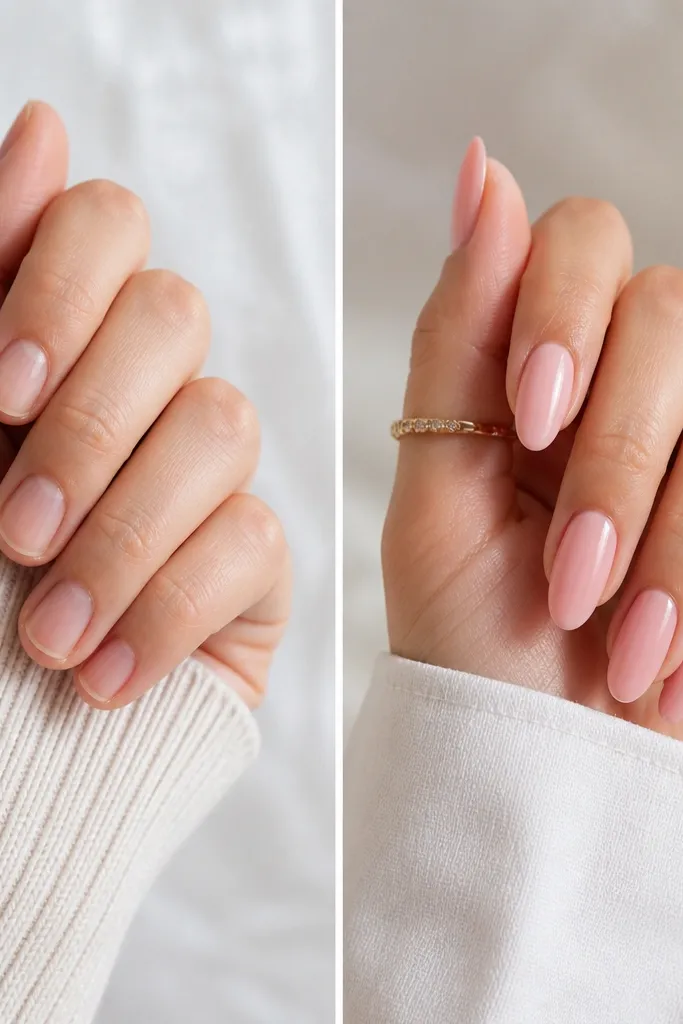
1. Peach-Rose Soft Pink French with 1.5mm Smile Line
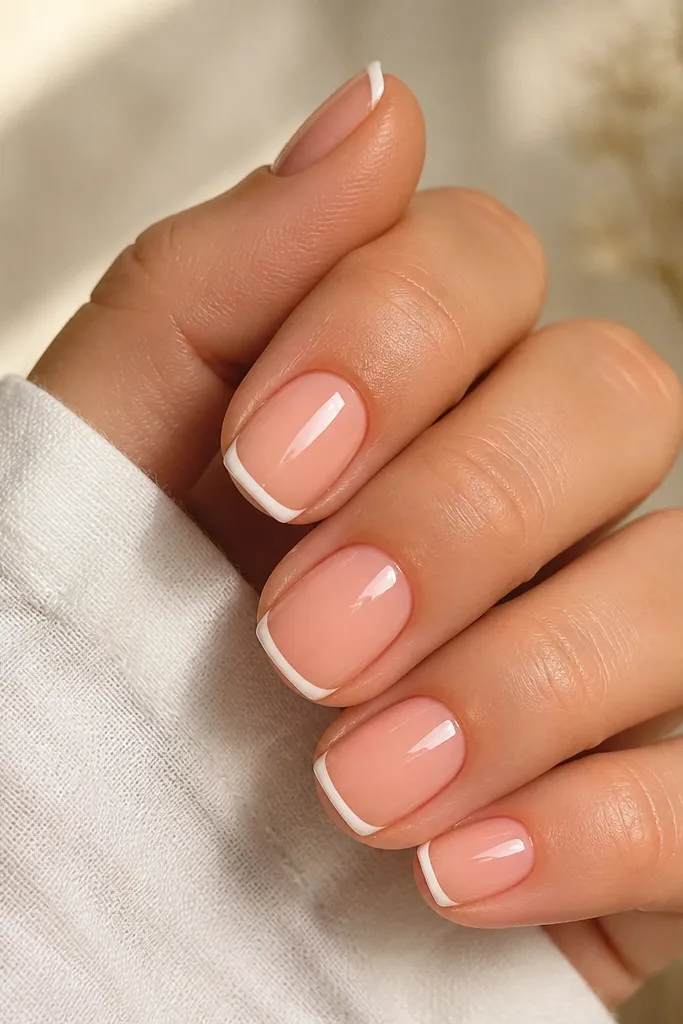
This is the transformation combo when your nails look stubby or your cuticle area looks messy. The warm peachy-rose base blends with skin so the nail bed looks even. The thin French line creates a clean boundary at the free edge, which makes nails look longer without adding length.
Use a sheer warm pink as the base, then paint the tip with a gel builder or opaque white-pink tinted liner. Keep the tip width around 1.5mm at the center and slightly thinner at the corners. File to squoval so the French line stays sharp without over-thickening.
Pro tipBefore curing, wipe the brush edge on a lint-free pad so the tip line stays razor-thin.
Watch outAvoid thick French tips - they make short nails look wider and heavier.
2. Cool Rosy Soft Pink Jelly Base with Glassy Topcoat
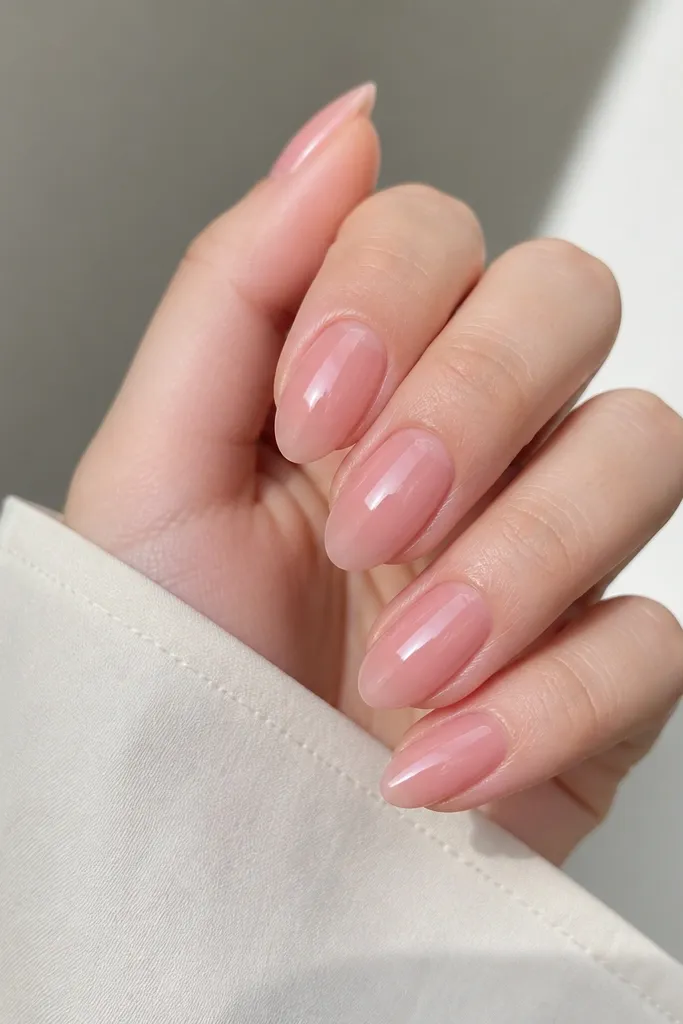
Jelly polish changes everything when your nails look dry or your old polish grabs at texture. The cool rosy tone brightens the nail bed, and the semi-sheer jelly makes the nail surface look smoother. A thick glassy topcoat turns it into that "healthy nail" look.
Apply jelly polish in two thin coats so it stays translucent and doesn't turn milky. Cap the free edge on both coats. Finish with a high-gloss gel topcoat and cure long enough that it doesn't dull.
Pro tipIf your jelly looks too sheer, add a third ultra-thin coat only in the center of the nail.
Watch outSkip dense opaque pinks if you want the jelly effect - they kill the depth.
3. Soft Pink Cuticle-to-Edge Glaze Gradient (No Harsh Line)
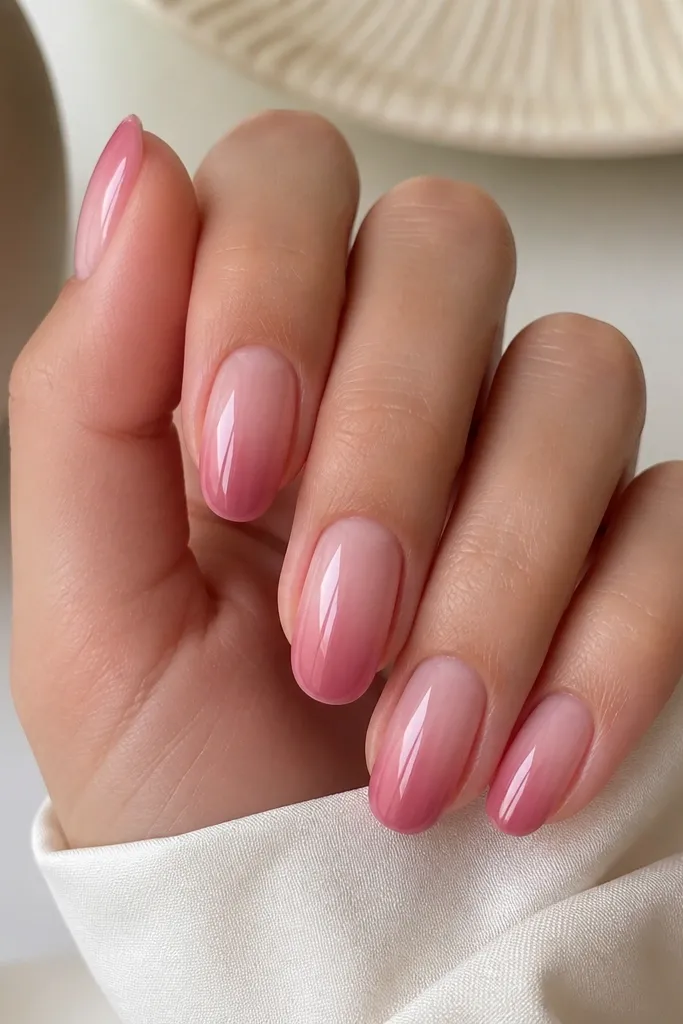
A glaze gradient makes nails look naturally fuller. The lighter cuticle area gives the illusion of a longer nail bed, while the slightly deeper edge adds dimension. This is the kind of design that looks expensive even when it's minimal.
Use three products: a sheer soft pink for the cuticle, a slightly richer pink for the middle, and the same shade in a deeper tone for the tip. Blend with a makeup sponge or a soft ombre brush using light taps, then cure and topcoat.
Pro tipBlend less than you think. If you chase a perfect fade, you end up with a cloudy middle.
Watch outDon't use one thick layer and try to "smudge" it after curing - it looks patchy.
4. Micro-Glitter Edge Veil on Sheer Soft Pink
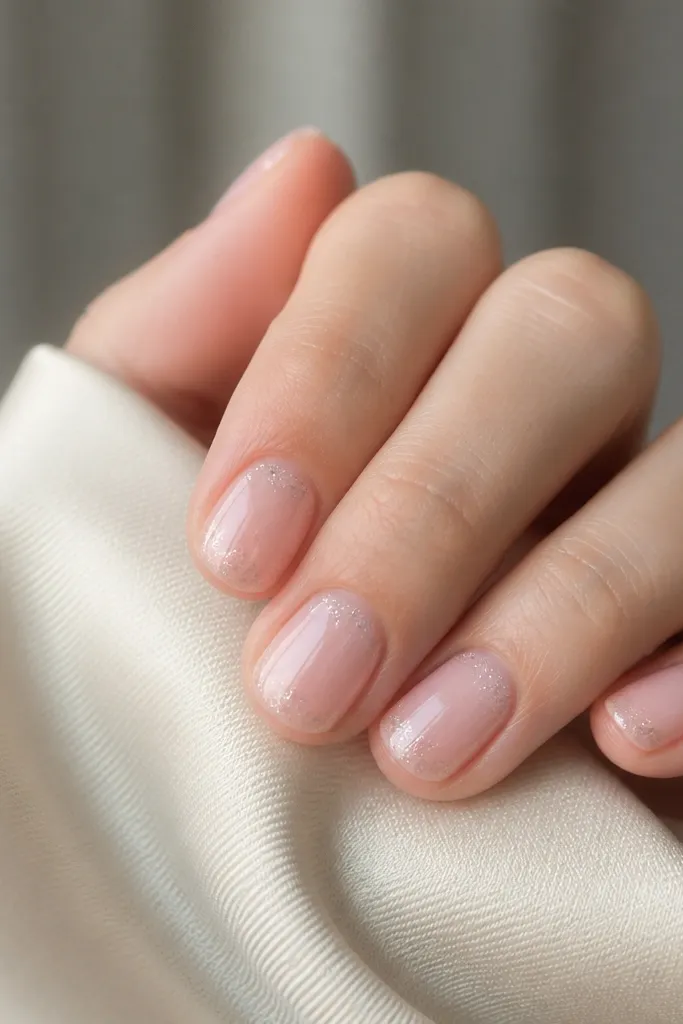
This design gives you sparkle without turning your nails into a glitter bomb. The sheer soft pink keeps the look clean, and the micro-glitter only at the edge makes the free tip look dimensional. It's also forgiving if your nail shape isn't perfectly symmetrical.
Paint a sheer soft pink base, then use a fine glitter gel or loose micro-glitter mixed into clear gel. Apply it only from about 1/5 up the nail, then lightly sweep downward with a dry brush to feather the edge. Seal with topcoat to smooth the texture.
Pro tipUse a tacky layer on the glitter coat so the micro-glitter sticks evenly before you cure.
Watch outAvoid chunky glitter - it catches on hair and makes the nails feel rough fast.
5. Soft Pink Half-Moon Negative Space (Clean Cuticle Outline)
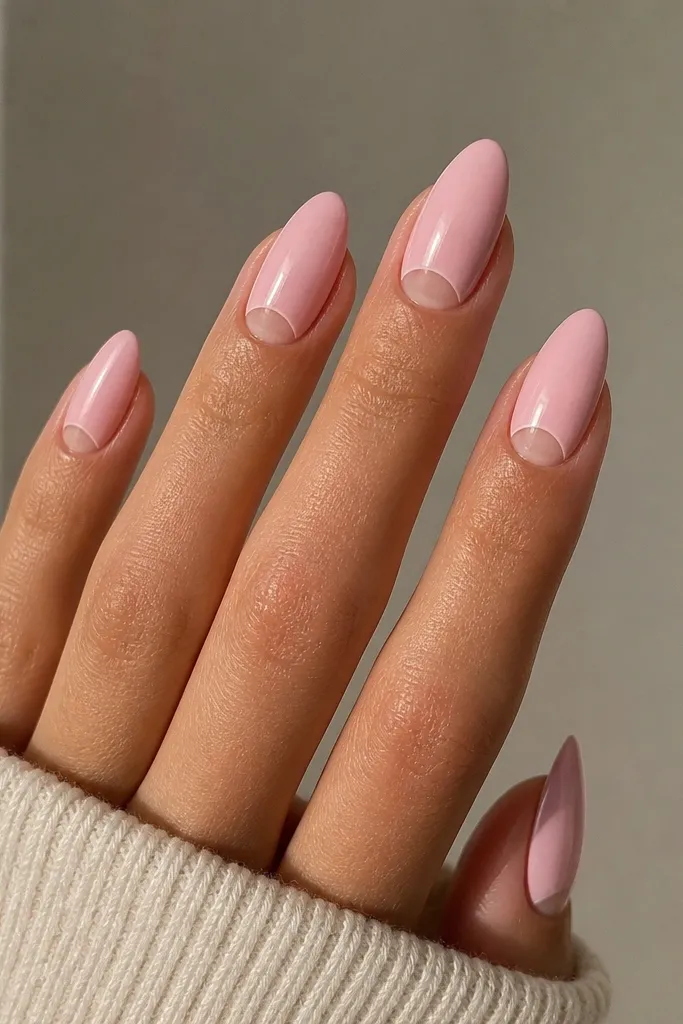
Negative space makes the cuticle area look intentional instead of "painted over." When the half-moon is clean and centered, your nails look longer and tidier. Soft pink keeps it feminine, and the half-moon adds structure.
Apply soft pink to the nail, then use a small half-moon stencil or a thin strip of tape to mask the cuticle area before topcoat. Outline the half-moon with a gel liner in the same pink family if you want a slightly sharper look. Keep the half-moon width about 1/3 of the nail width.
Pro tipWipe your liner brush with gel cleanser before each stroke so the outline stays crisp.
Watch outDon't over-paint the negative space during cleanup - smudges ruin the shape.
6. Single-Nail Rosy Lace Stamp on Soft Pink Base
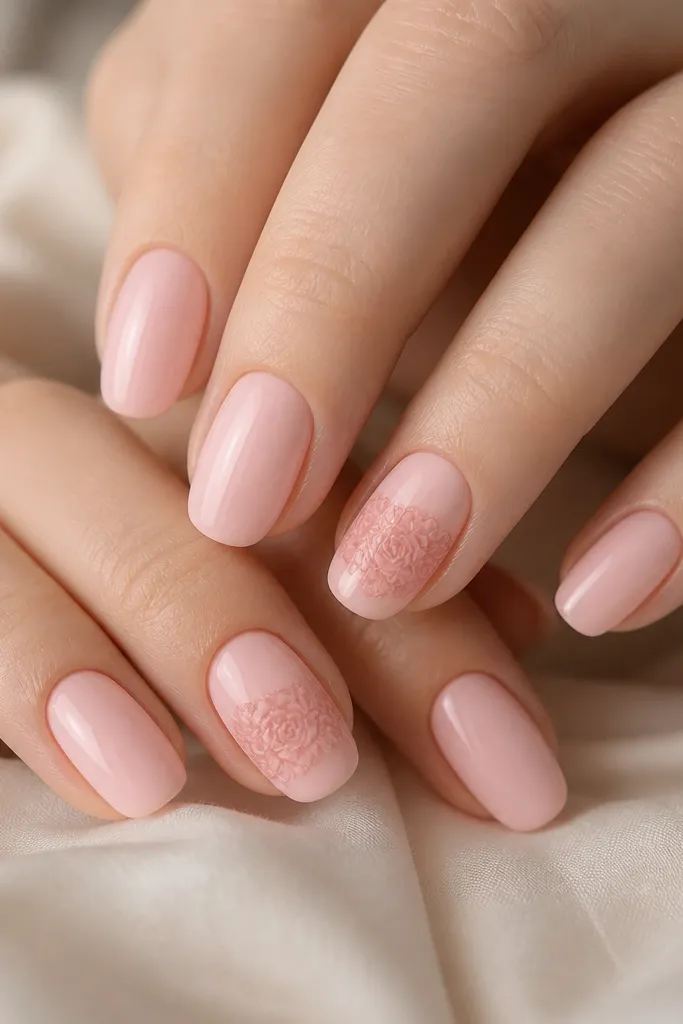
Lace patterning looks romantic, but you don't need it on every nail to make it feel special. By stamping lace only on the ring finger and maybe the middle finger, the rest stays calm. The darker rosy lace lines create a "before and after" clarity because your eye has a focal point.
Use a soft pink base in two thin coats. Stamp lace with a medium-coverage pink stamping polish, then seal with a gel topcoat that doesn't smear. Stop the stamp about 1mm from the sidewalls and leave the free edge plain.
Pro tipPractice on a nail tip first. Lace stamps look different depending on nail curvature.
Watch outSkip thick lace over the sidewalls - it lifts at the edges.
7. Soft Pink Aura Spot at Center (Airbrush Look with Gel)
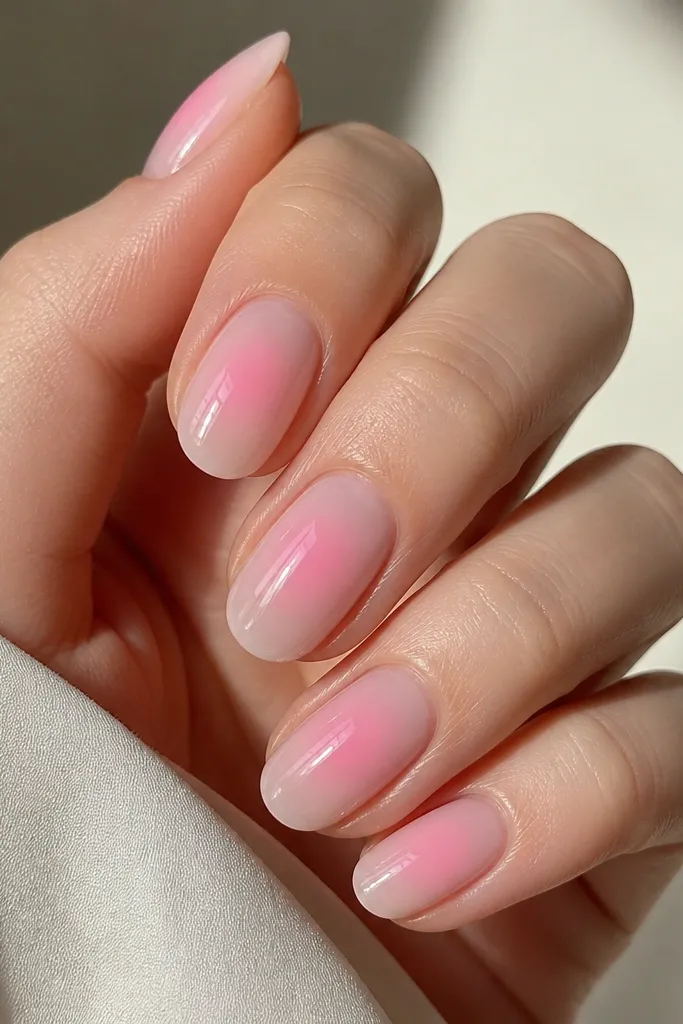
Aura nails are flattering because they guide the eye to the center of the nail. This one keeps everything soft by using only two shades of pink - one sheer base and one brighter aura dot. It looks like you airbrushed, but gel gradient keeps it controlled.
Dot a brighter pink in the exact center, then blend outward with a damp sponge or aura brush. Keep the aura diameter around 2mm-3mm smaller than the nail width. Cure, then topcoat fully and cap the edges.
Pro tipIf the aura looks too strong, add one more sheer base coat over the whole nail after blending.
Watch outDon't blend too far to the cuticle - it makes nails look uneven.
8. Soft Pink Chrome Pearl Overlay on Ring Fingers
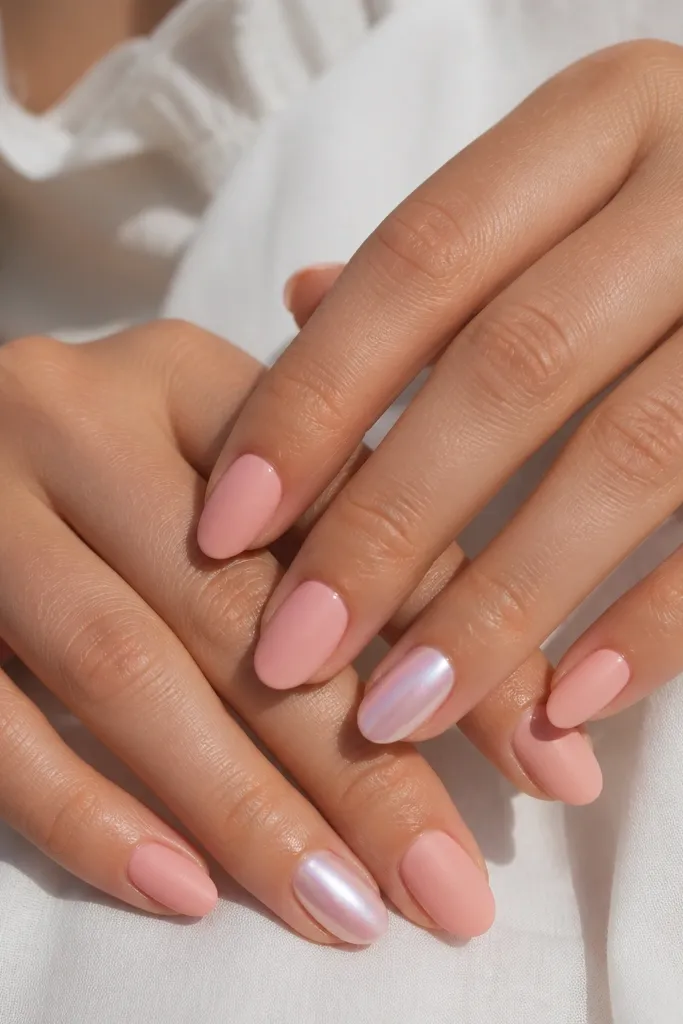
This is a finish trick that reads as "done" even when the design is simple. Matte soft pink hides minor ridges, while chrome pearl shifts light and makes your nails look smoother and brighter. The ring finger becomes the focal point without adding lines.
Paint the base soft pink and cure. Topcoat matte on all nails, then apply a chrome pearl powder over the ring finger only using a chrome gel base. Seal with a thin topcoat that won't kill the chrome effect (use a chrome-friendly topcoat).
Pro tipBuff chrome powder gently. Pressing too hard makes it look dull.
Watch outDon't matte everything and then add chrome without a base - chrome needs grip.
9. Soft Pink Marble Veins with Micro-White Lines
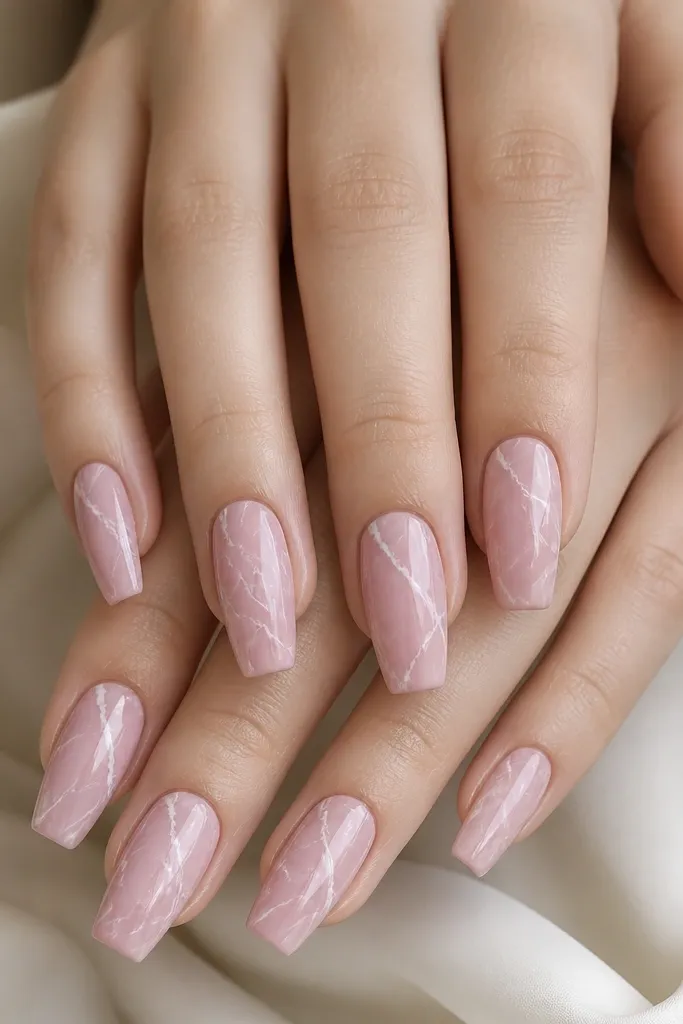
Thin veins keep marble feminine instead of busy. Soft pink as the base makes the marble feel delicate, while micro-white lines create movement and depth. It also photographs well because the veins catch light under the gel topcoat.
Use a sheer-to-mid soft pink base. With a liner brush, drag micro white gel across the nail in short strokes, then lightly blur the edges with a tiny amount of clear gel. Cure and finish with glossy topcoat to unify the surface.
Pro tipKeep veins mostly centered. Side-heavy marble can look messy on wider nail beds.
Watch outAvoid thick white swirls - they look like paint, not marble.
10. Soft Pink Double-Line French with Clear Negative Center
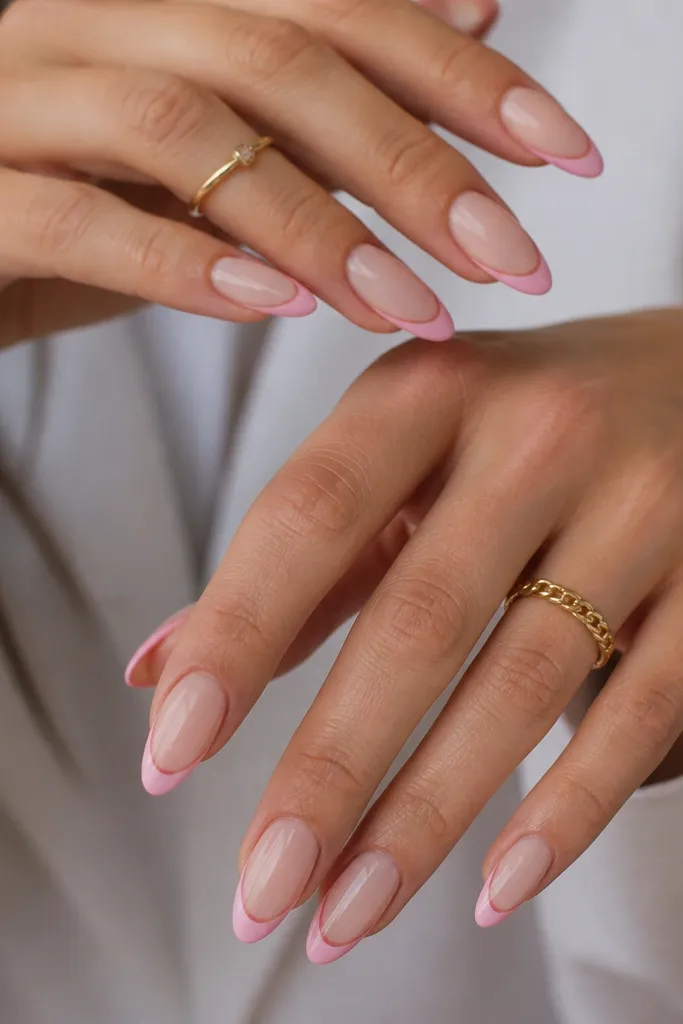
This is the "clean girl" French that still looks special. The double line creates crisp structure, and the clear center keeps it airy so your nails look longer. Because the base is sheer soft pink, your nail bed looks natural instead of painted on.
Use a sheer soft pink base. Mask the tip center with a small strip of tape and paint two thin lines on either side, then remove the tape before curing. Keep line thickness under 0.5mm and seal with topcoat.
Pro tipUse gel liner brushes - regular polish brushes smear on double lines.
Watch outSkip thick tape masking - it leaves ridges you'll see after topcoat.
11. Soft Pink "Sculpted" Topcoat Shine with Builder Gel Layers
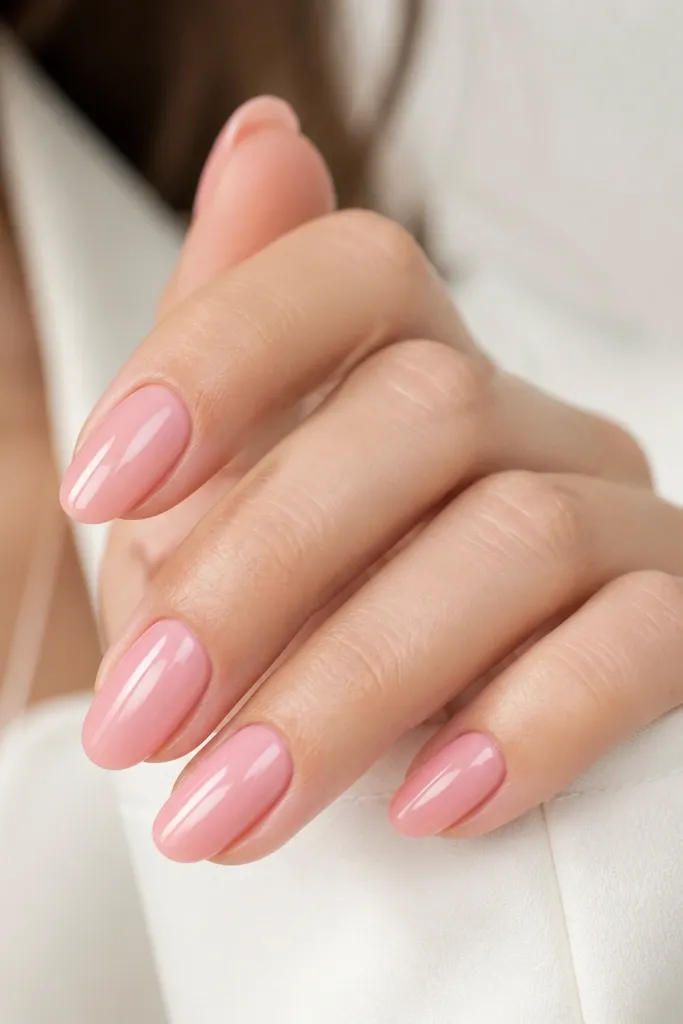
When soft pink looks flat, it often needs shape more than decoration. Builder gel layering gives you that domed, reflective look that makes nails appear thicker and healthier. The "before" is thin or uneven nails; the "after" is smooth and glossy.
After base color, apply builder gel in a thin layer, then pinch the shape by capping the free edge. Focus gel thickness at the center ridge, then cure. File lightly for smoothness and finish with a high-gloss topcoat.
Pro tipCheck your nails under a phone flashlight from the side. You want one clean bright streak across the center.
Watch outDon't over-file the builder gel after curing - you kill the dome and shine.
12. Soft Pink Striped Side Accent (One Nail Each Hand)
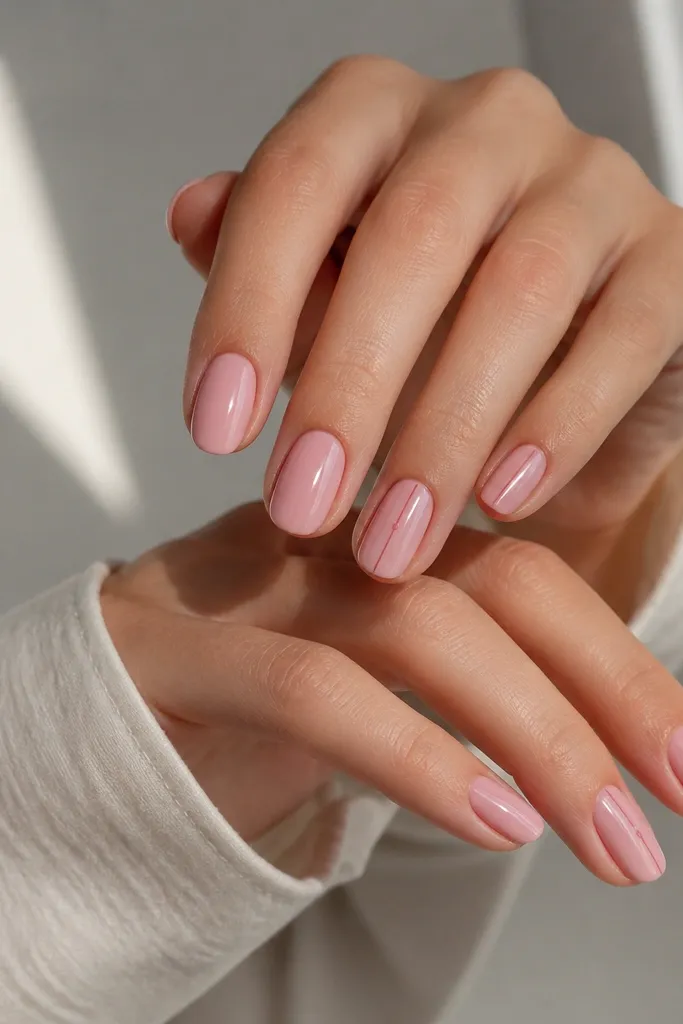
Side accents trick the eye into seeing length and narrowness. A single thin stripe keeps it modern, and the tiny dot makes it look intentional instead of unfinished. Soft pink keeps the whole set from looking harsh.
Paint solid soft pink base on all nails. On accent nails, place the stripe about 1mm away from the sidewall and keep it straight from cuticle to tip. Add a micro dot in the middle, then topcoat.
Pro tipDrag the stripe once. Going back and forth creates bumps under topcoat.
Watch outAvoid placing stripes too close to the sidewall - it lifts at the edge.



