
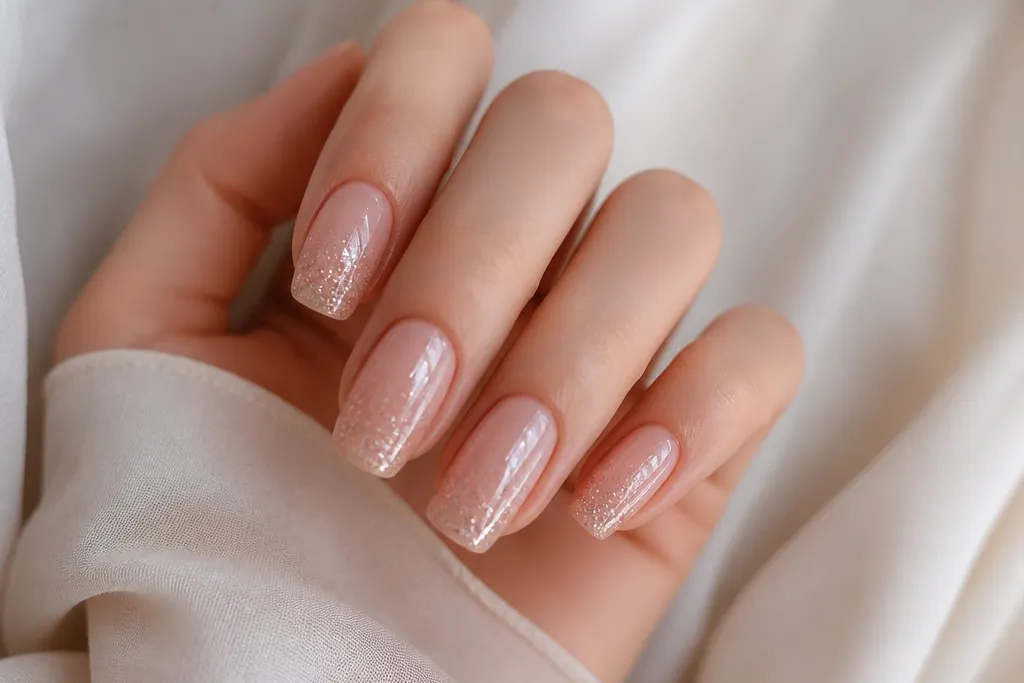
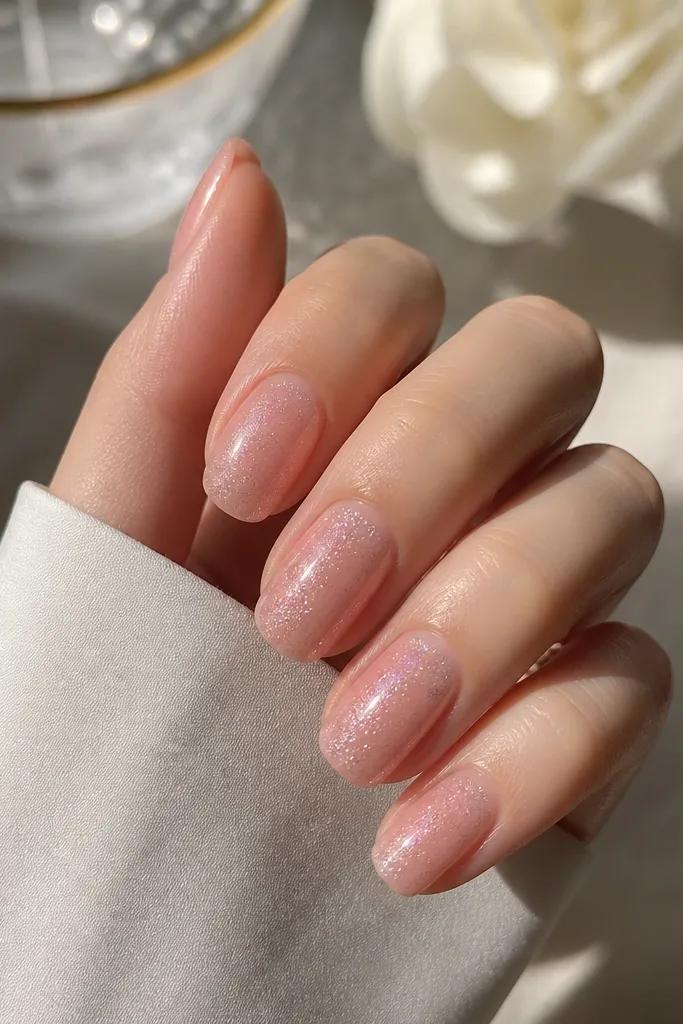
1. Micro-glitter French with a sheer blush base
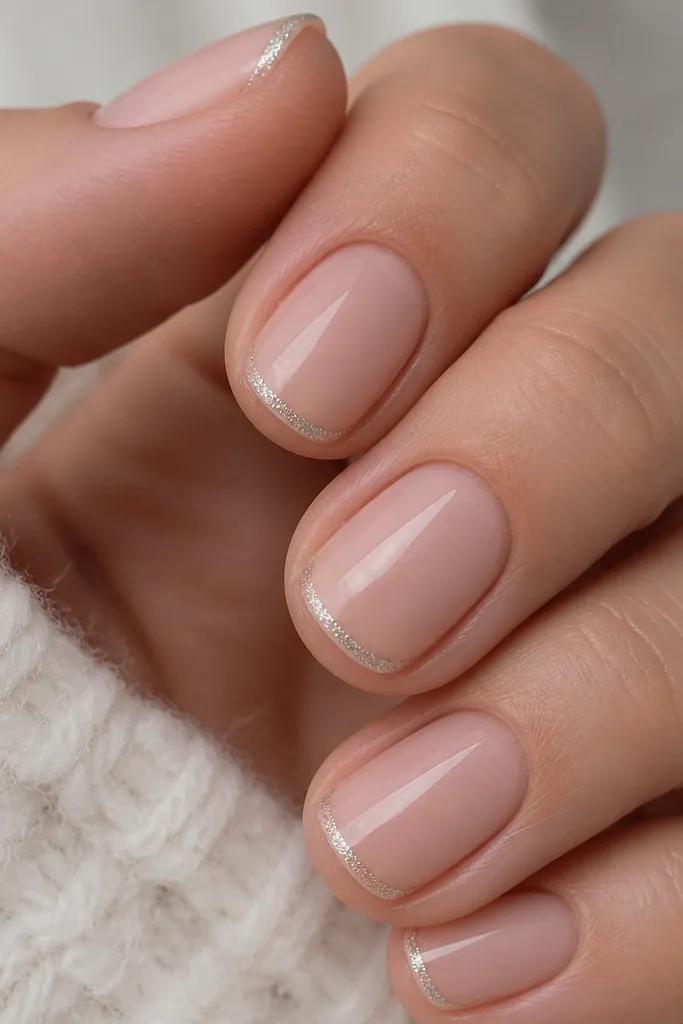
This looks expensive because the glitter stays only on the tip and stays fine. The sheer base lets your nail bed show through, so the pink looks like it's coming from under the glitter instead of sitting on top of it. Icy silver micro-glitter also makes soft pink look cooler and brighter, like clean jewelry.
Start with a sheer blush gel (one to two thin coats) and cure. Use a French guide or freehand a very narrow tip line - about 1.5 to 2 mm from the free edge. Press micro-glitter onto the cured tack layer using a flat detail brush, then seal with two thin top coats. This is best for short to medium nails and looks great for weddings and dinner photos.
Pro tipIf your line looks fuzzy, wipe the brush with gel cleanser, then draw the edge again before curing.
Watch outAvoid thick glitter lines - chunky or over-packed tips turn the whole set gritty.
2. Center-streak glitter highlight on soft pink
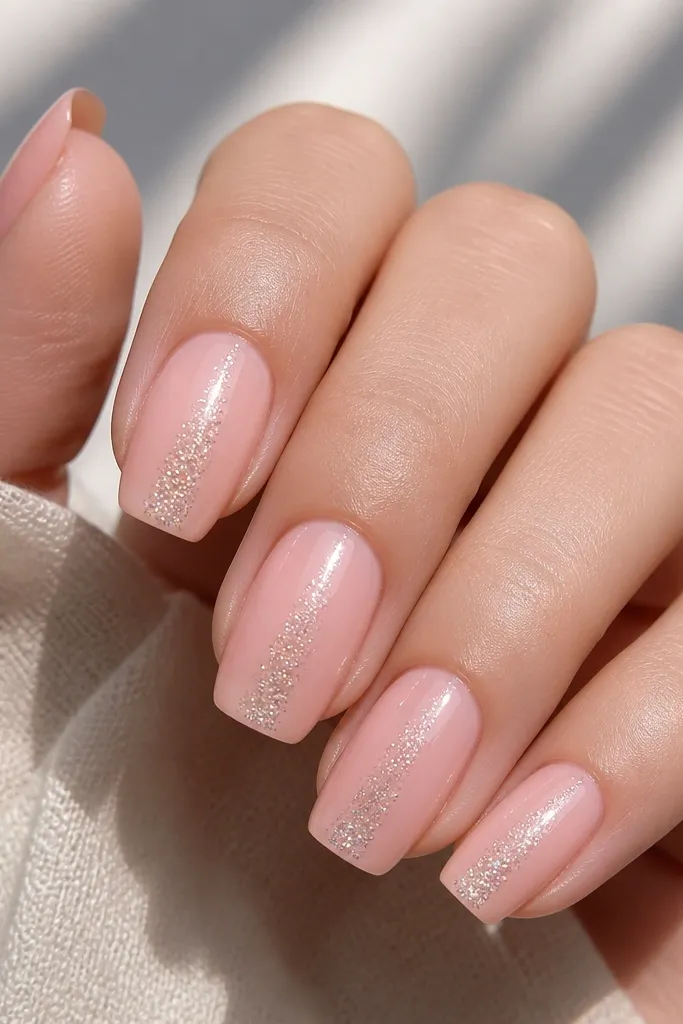
Center placement makes nails look longer and slimmer. When glitter is concentrated in the middle, it behaves like a spotlight, and the surrounding soft pink reads smooth and clean. I like fine holographic glitter here because it shifts between pale silver and faint rose tones against blush.
Use a sheer soft pink base and cure. Create a thin center stripe with clear gel, then tap fine holographic glitter into the stripe using a sponge tip or a stippling brush. Keep the stripe width around 1/8 of the nail. Seal with two top coats, paying extra attention to the stripe edges so it feels glassy.
Pro tipTo taper the glitter, pull the brush away while the gel is still tacky so the glitter naturally thins out.
Watch outSkip full-coverage glitter - the set loses that long, expensive silhouette.
3. Rose-gold micro-glitter half-moon
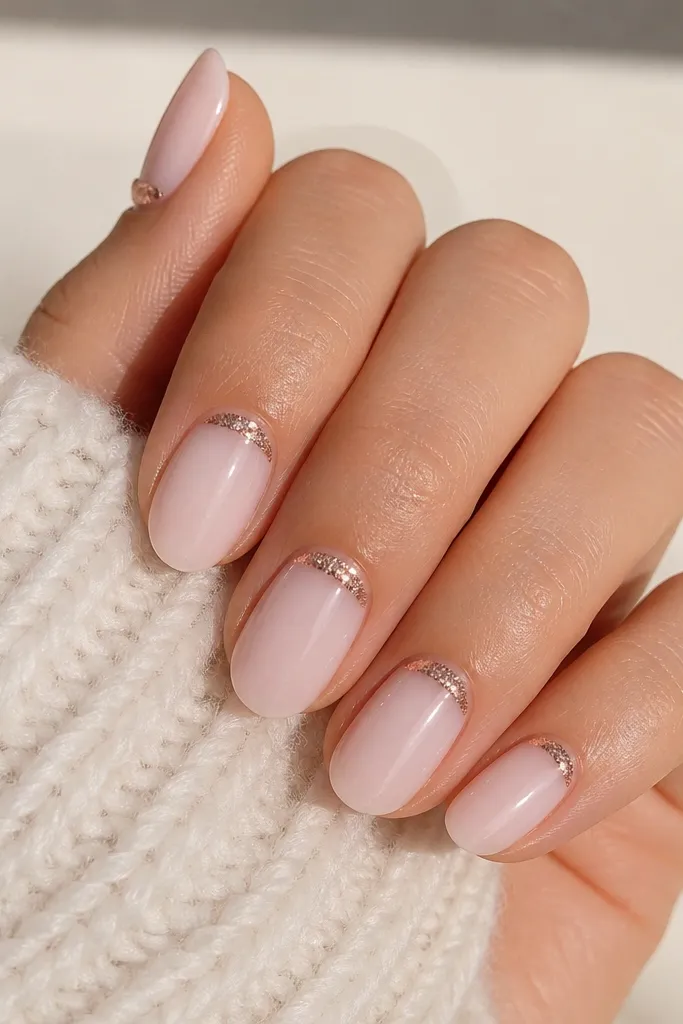
Half-moon glitter reads delicate and "done" because it frames the nail bed without covering the nail. Rose-gold micro-glitter flatters warm undertones and makes soft pink look creamy instead of dusty. It also hides tiny growth lines because the glitter sits where the eye expects detail.
Apply a milky soft pink base (not fully opaque, just cloud-like) and cure. Use a small half-moon stencil or a cuticle brush to place a thin crescent of clear gel at the base. Tap rose-gold micro-glitter into the crescent, then cap with clear gel and cure. Finish with one extra top coat around the cuticle edge to keep it smooth.
Pro tipIf glitter creeps, clean the brush tip with cleanser and re-sculpt the half-moon edge before curing.
Watch outDon't overfill the crescent - too much glitter makes the cuticle area feel bulky.
4. Soft pink "nude marble" with glitter veins
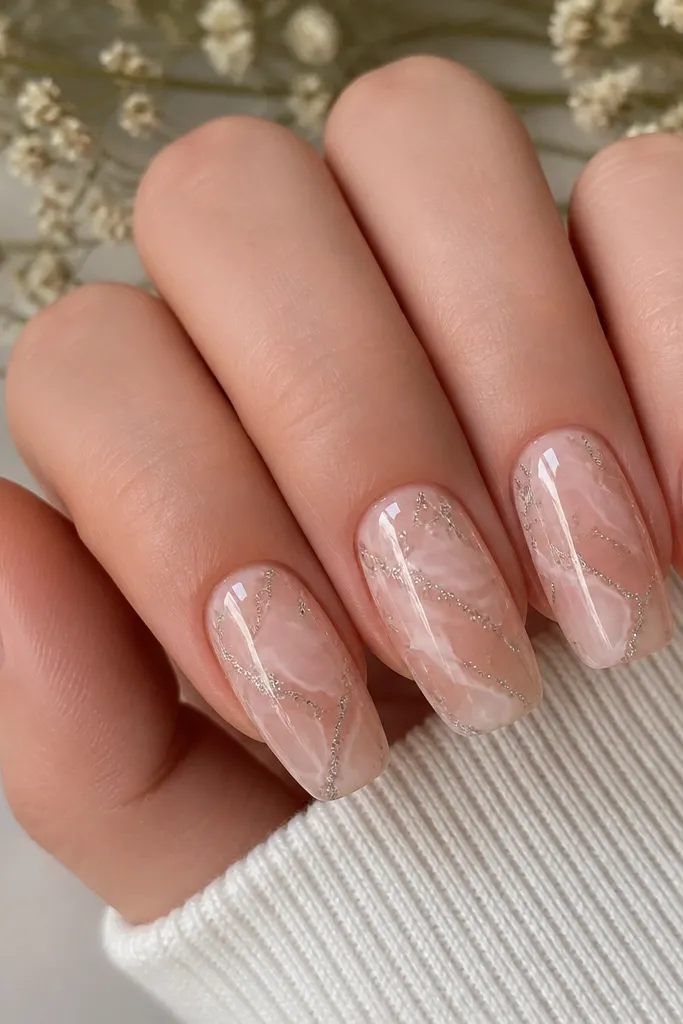
Marble works because it adds variation inside the soft pink family, and glitter veins make it look like polished stone. Fine silver glitter on top of a marble gel layer catches light but still looks controlled. The result reads higher-end because the pattern is subtle and intentional.
Start with a sheer nude-pink base. Use a small nail art brush to drag creamy white and a slightly deeper blush through the base in thin wisps. Add thin lines of clear gel, then tap fine silver glitter only along those lines. Cap with a clear builder gel layer if you want extra smoothness.
Pro tipKeep the marble lines thin - thick swirls make it look like sticker art.
Watch outAvoid glitter on every marble area - it should only ride the "veins."
5. Glitter ombre tip fade (not full sparkle)
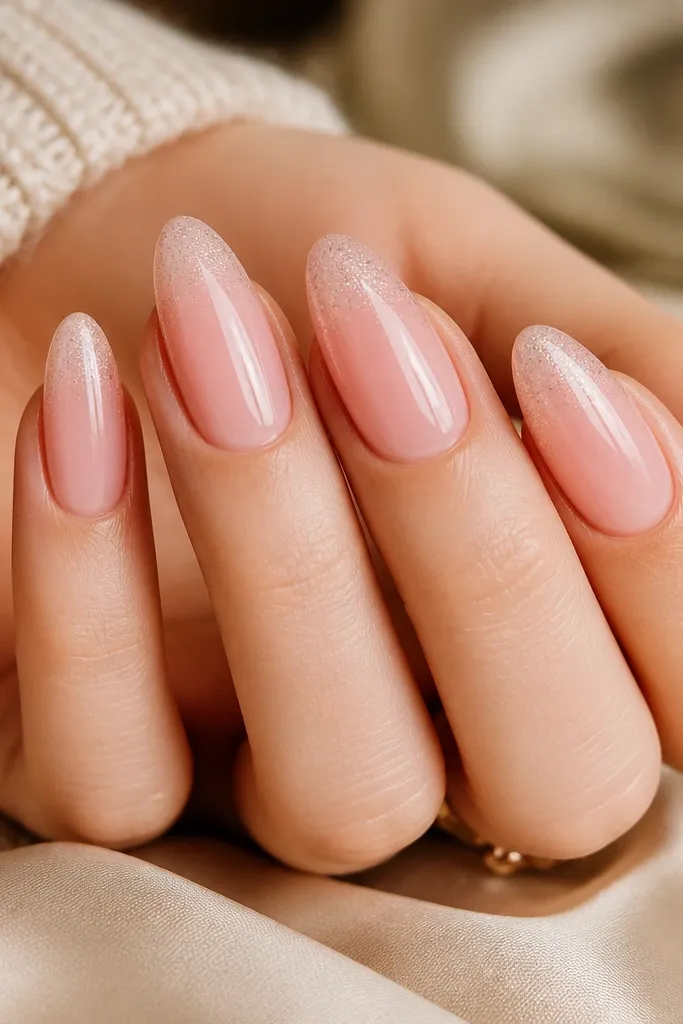
An ombre fade looks expensive because the sparkle intensity changes gradually, like light reflecting off fabric. It also avoids the harsh look of a straight glitter line. I use micro-glitter so the fade stays soft instead of looking like glitter dust.
Paint a sheer soft pink base and cure. Apply a thin layer of clear gel to the tip area only. Tap micro-glitter at the very tip, then lightly drag a clean brush upward to thin it out before curing. Seal with two top coats so the gradient feels even.
Pro tipUse a flat brush to "feather" the glitter upward while it's still tacky.
Watch outDon't pack glitter all the way to the middle - the ombre loses its fade effect.
6. Soft pink glitter "stained glass" diagonal
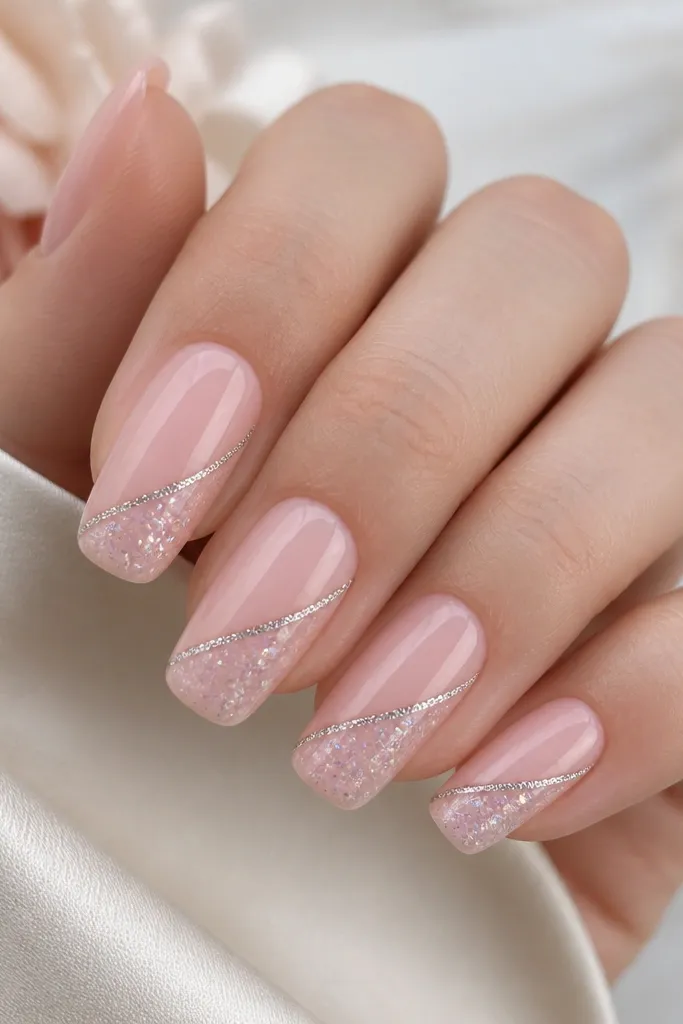
Stained glass looks luxe because it has defined sections and crisp edges. The soft pink stays the main color, while the glitter outlines act like metal frames. I like this with holographic specks because they look like tiny reflections inside the panel.
Base coat in sheer soft pink and cure. Paint two diagonal lines of clear gel to form a narrow panel, about 2-3 mm wide. Fill inside with translucent pale pink gel, then tap holographic micro-glitter lightly over the panel. Outline the edges again with clear gel and micro-glitter, then seal with top coat.
Pro tipOutline after filling - it keeps the panel edges clean.
Watch outAvoid thick silver chunks - thin "frame" glitter is the whole point.
7. Tiny crystal-like glitter dots on one nail only
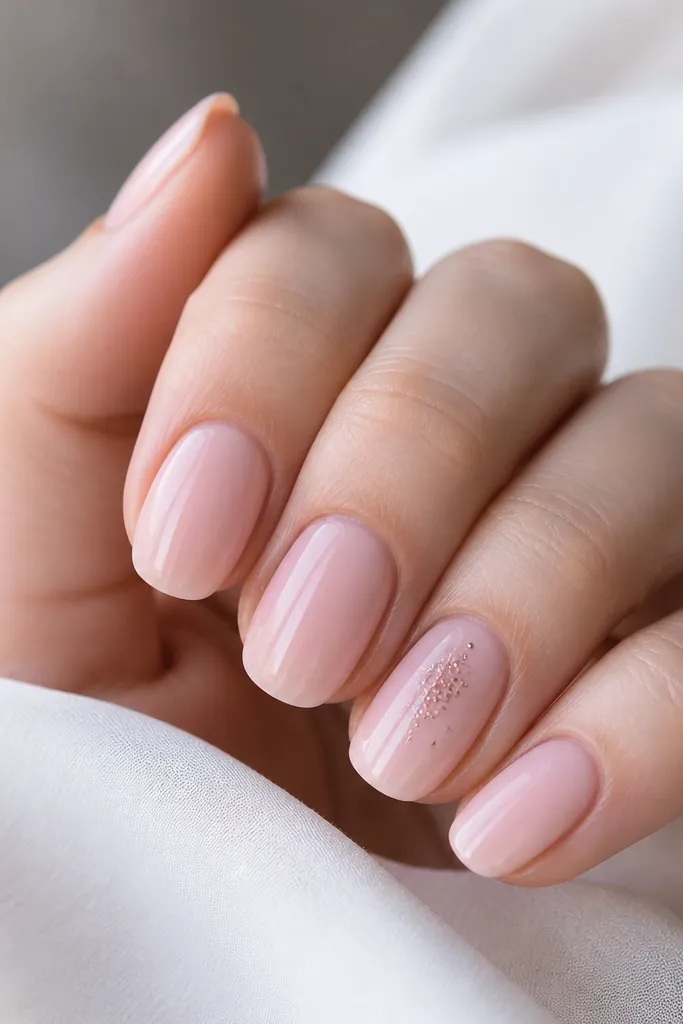
This is my go-to when someone wants the "sparkle but still classy" look. One accent nail keeps the glitter aesthetic expensive without turning the set into a full-on party manicure. Micro-dots look like tiny crystals when you cap them smoothly with top coat.
Do all nails in sheer soft pink. On the accent nail, place 6-10 micro-glitter dots using a dotting tool dipped in clear gel, then tap glitter on each dot. Cap with a thick-enough top coat so the dots sink and feel smooth. Cure well to avoid texture.
Pro tipUse a dotting tool with a tiny tip - big dots show texture.
Watch outAvoid placing dots too close to the free edge - they catch on hair.
8. Soft pink glossy "half cap" glitter at the tip
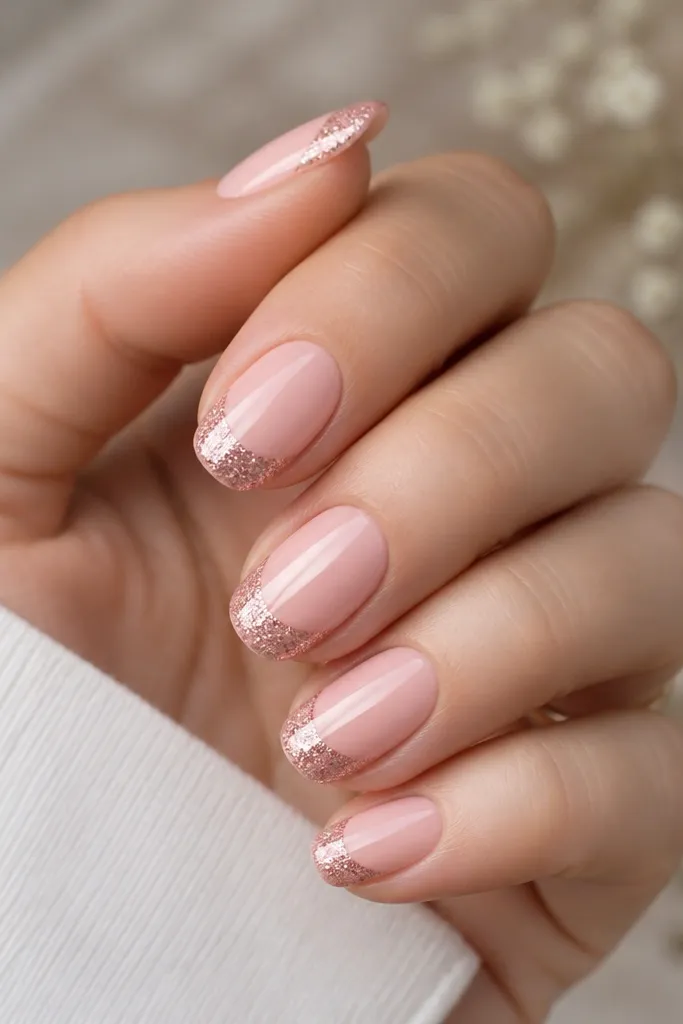
The half-cap shape is flattering because it adds sparkle only where the nail catches light. It also keeps the bottom edge clean, which makes the manicure look more expensive and less messy. Fine glitter here looks like a soft halo over your tip.
After applying soft pink base, place a thin layer of clear gel only on the top half of the tip. Tap micro-glitter into that area and stop halfway down the nail. Seal and cap so the edge feels smooth to the touch. This works great on medium length and almond shapes.
Pro tipAngle your brush so glitter stays on the top edge during tapping.
Watch outAvoid letting glitter touch the sidewalls too much - that's where it looks uneven.
9. Glitter cuticle frame with nude-pink gradient
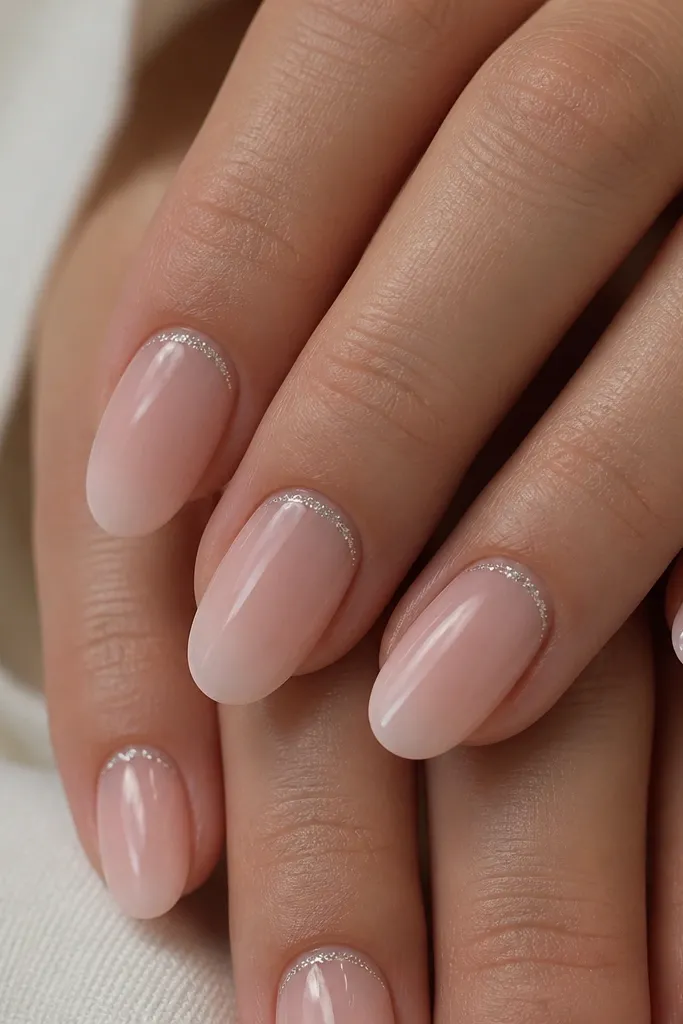
A cuticle frame makes the whole set look designed because it follows a natural curve. Pairing it with a nude-to-pink gradient adds depth without needing extra colors. Fine silver glitter gives a clean, high-end reflection instead of a chunky look.
Start with a nude base near the cuticle, then blend into soft pink mid-nail using a sponge or airbrush effect if you have it. Trace the cuticle curve with clear gel, keeping a hairline gap from skin. Tap fine silver micro-glitter along the trace, then cap with gel. Finish with two top coats for that smooth, salon-gloss feel.
Pro tipLeave a tiny gap at the skin line so the glitter never looks flooded.
Watch outAvoid thick cuticle glitter - it lifts and catches on sleeves.
10. Soft pink glitter French swirl
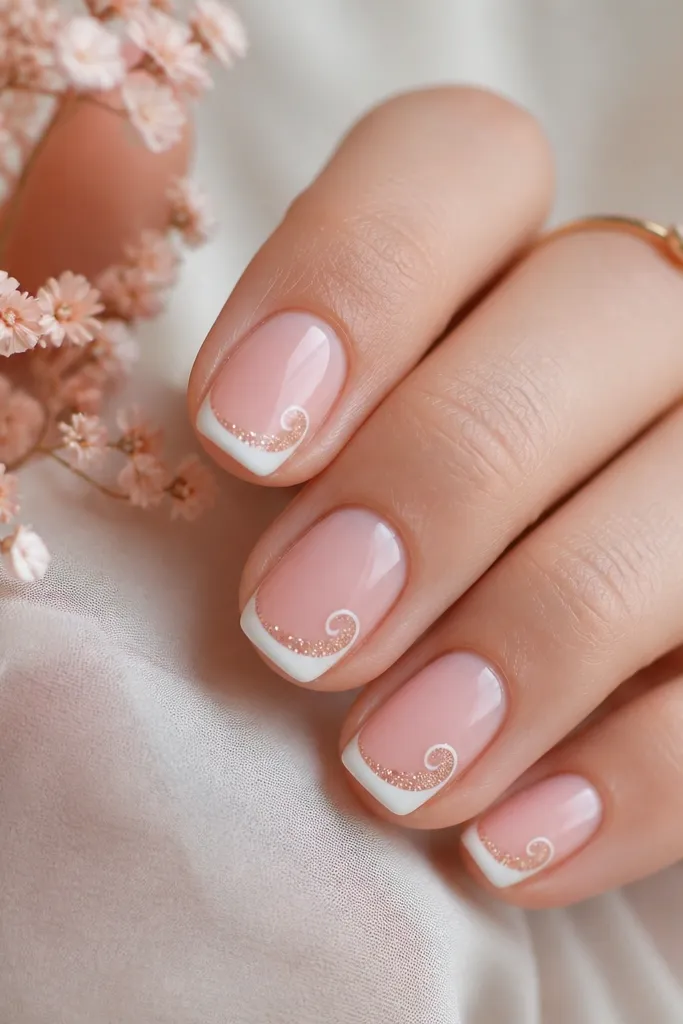
A swirl makes the design look custom and more expensive than a straight French line. The glitter path stays thin and intentional, so it reads like a detail on jewelry. Rose-gold micro-glitter warms soft pink and looks especially good in daylight.
Paint sheer soft pink and cure. Draw a narrow French arc at the tip using a liner brush. Then add a small swirl at one side of the French arc with clear gel and tap rose-gold micro-glitter along the swirl. Seal with top coat, and keep the swirl width under 2 mm.
Pro tipUse gel liner consistency - it holds the swirl shape better than runny top coat.
Watch outAvoid uneven tip arcs - the swirl can't save a crooked base.
11. Soft pink ombre base with silver glitter "cap"
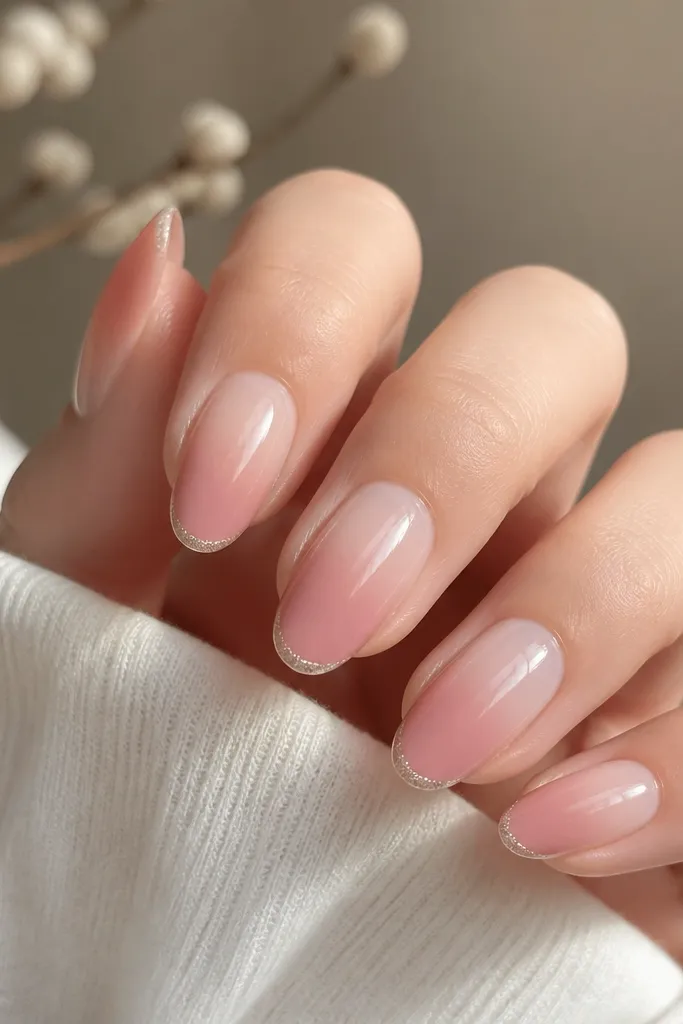
This works because both the color and the glitter change gradually. The ombre base looks smooth and modern, while the glitter cap adds an "expensive" finishing touch without covering the entire nail. Silver micro-glitter on a deeper blush tip makes the glow pop.
Apply a sheer base, then add a second layer that deepens toward the tip. You can do this with a sponge: blush at the tip, sheer near the cuticle. For the glitter cap, paint a thin clear gel strip at the tip edge and tap silver micro-glitter only there. Cap with top coat and cure fully.
Pro tipBlend the ombre edges with a clean sponge - harsh lines look cheap.
Watch outAvoid thick glitter cap - it should look like a thin layer, not a mound.
12. Soft pink with glitter bow accent (two nails)
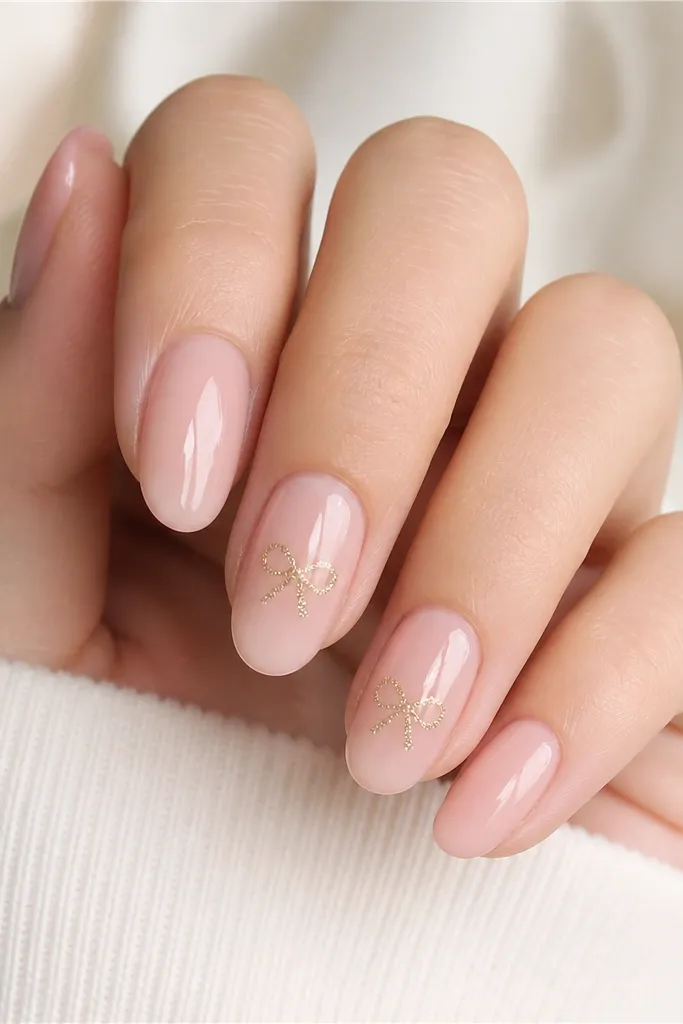
Bows look cute, but the expensive version is all about scale. A small bow with fine micro-glitter looks like a tiny accessory, not a sticker. Soft pink keeps it sweet and wearable.
Do most nails in sheer soft pink. On two accent nails, draw the bow outline with clear gel and use gold micro-glitter to fill the bow shapes. Keep the bow about the size of a pencil eraser - small. Seal with top coat so the bow edges don't snag.
Pro tipUse a thin strip of tape as a guide to keep bow symmetry while you place glitter.
Watch outAvoid big bows - they turn the manicure into costume territory.



