
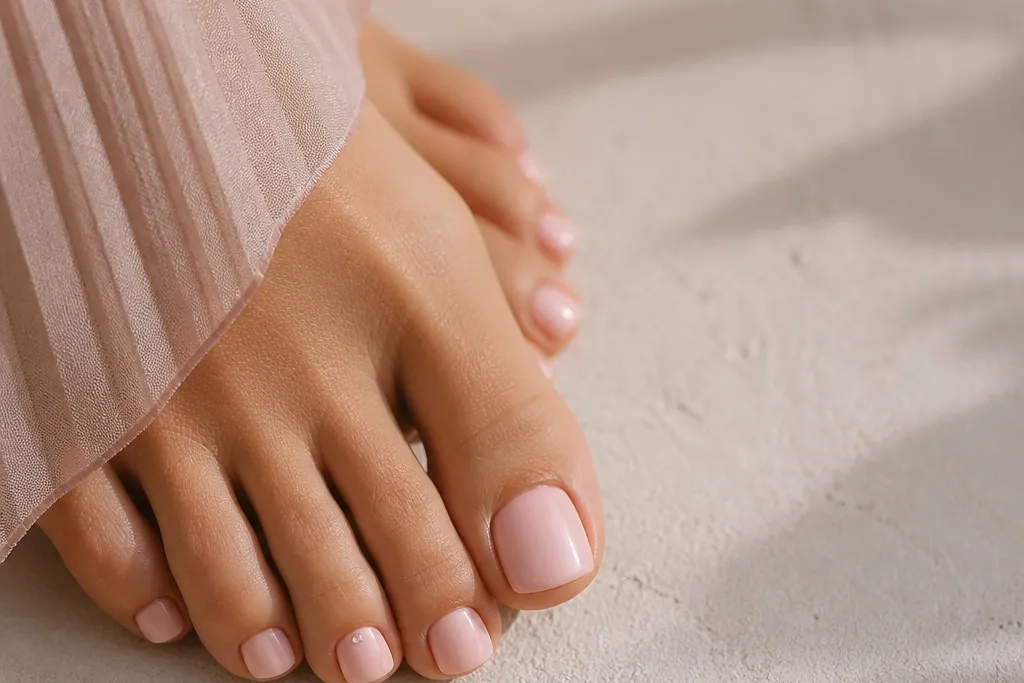
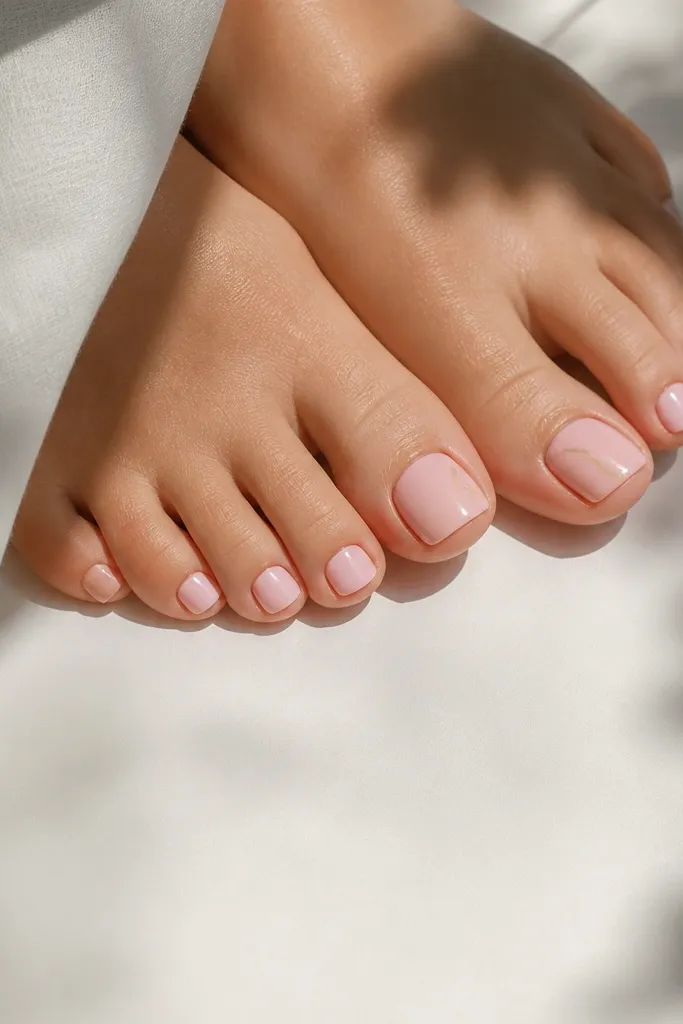
1. Milky Blush Matte Base with One Glossy Stripe
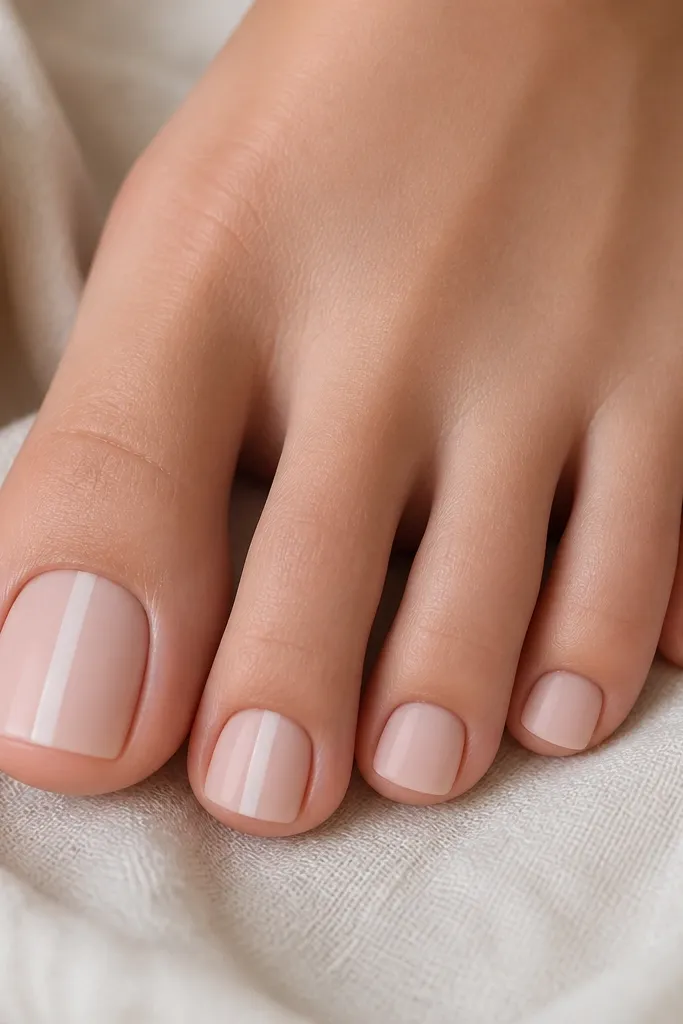
This is the minimalist trick that makes matte look expensive instead of dusty. The matte milky base hides texture and makes the pink feel "skin-like," while the glossy stripe adds one clean highlight. Because the stripe is centered and narrow, it elongates the nail without turning into nail art. It reads modern even with short toes.
Start with two thin coats of milky soft pink gel, then cure. Apply a matte top coat to all nails. For the accent, use a striping brush and a thin line of clear glossy gel top coat (or glossy clear builder gel) down the center of the big toe and second toe. Cure again, then lightly buff the edges so the stripe doesn't catch.
Pro tipUse a 00 or 000 striping brush and keep the line around 0.5 to 0.8 mm wide.
Watch outDon't paint a wide glossy band - it turns matte minimal into "split nail" quickly.
2. Soft Pink Sheer Base with Tiny Cuticle Heart
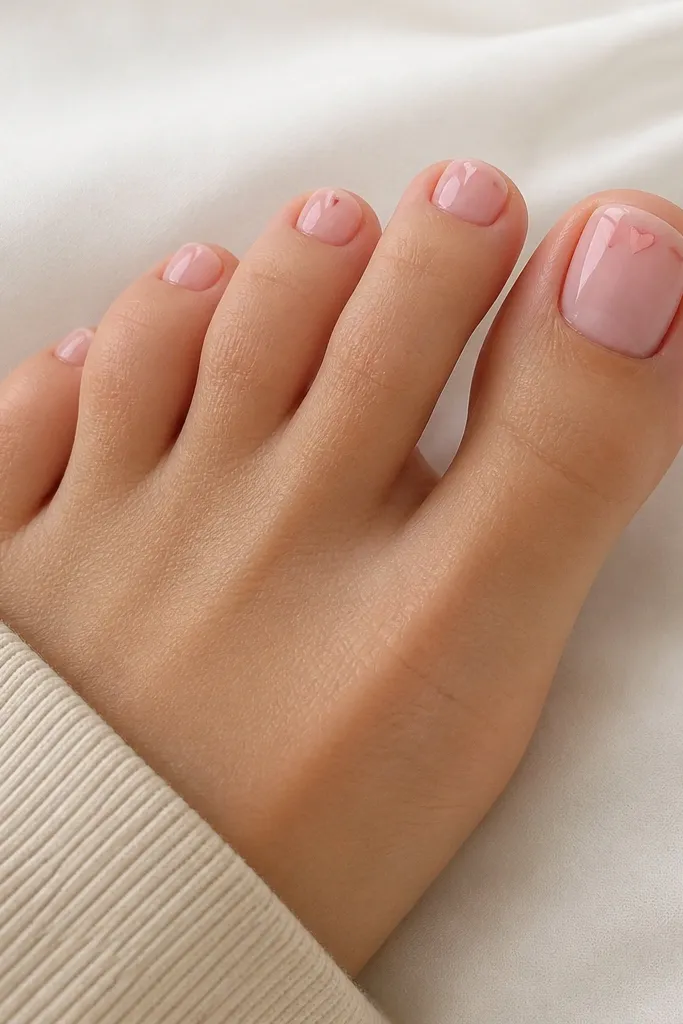
A micro heart near the cuticle is cute without looking childish. The sheer base keeps it airy, and the heart uses a deeper soft pink so it blends rather than shouting. This design looks especially good on toes because the heart sits where the eye naturally lands. It also grows out gracefully since it's close to the cuticle.
Apply three thin coats of sheer soft pink until you get an even milky look, curing between coats. For the heart, mix or choose a deeper blush gel (a shade about 1-2 steps darker). Use a dotting tool to place two small dots, then drag a tiny line between them with a fine detail brush. Seal with glossy top coat.
Pro tipKeep the heart centered and tiny - if it touches the sidewalls, it stops reading minimalist.
Watch outSkip black or hot pink hearts; they look harsh on soft pink toes.
3. Half-Moon Negative Space at the Cuticle
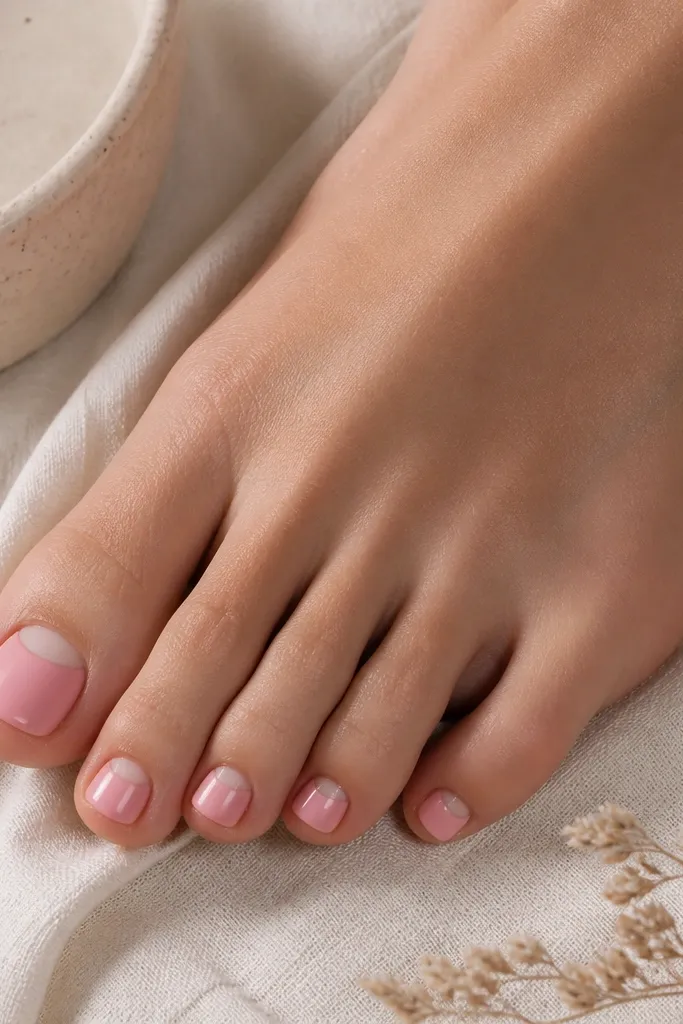
Negative space is what makes soft pink feel modern instead of like a basic pedicure. The half-moon cuticle shape creates structure and makes short toes look longer. Because the bare nail area matches your natural nail, the design looks tidy even as it grows out. It also photographs well with sandals because the contrast is subtle.
Use a nude-pink or sheer soft pink as your base and apply two thin coats. Before curing, place a small half-moon sticker (or use liquid latex/edge tape) to protect the cuticle area. Fill around it with soft pink, then remove the guide while the gel is still tacky so edges stay sharp. Finish with a glossy top coat.
Pro tipIf you don't have half-moon stickers, use edge tape cut into tiny arcs and press it lightly - not hard.
Watch outDon't leave the bare area messy at the sides; uneven half-moons look DIY.
4. Soft Pink French Tips with a Thin Nude Line
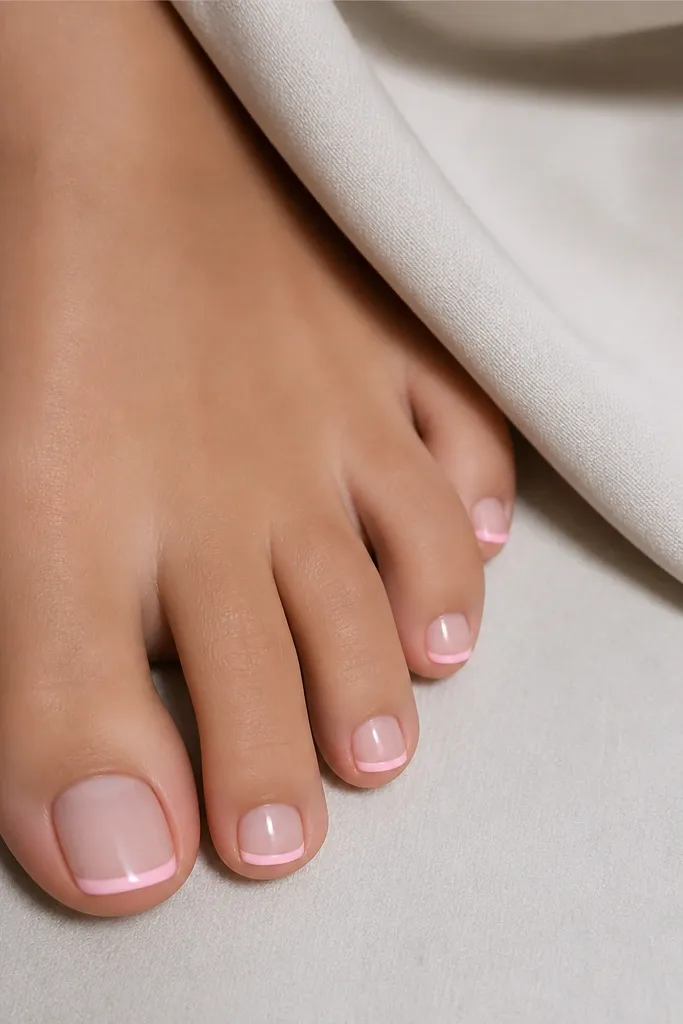
This is French, but softened. The sheer base keeps it natural, and the soft pink tips echo the base so it never looks stark. The ultra-thin nude line adds definition and makes the French edge look intentional. It works for every season because it doesn't rely on color trends.
Start with sheer soft pink as the base, then cure. Use French tip guides to paint the tips with a slightly richer soft pink, about 1 to 1.5 mm from the nail edge. After curing, paint a single hairline of nude gel between base and tip using a striping brush. Seal with glossy top coat.
Pro tipKeep the French tip width narrow on toes; wide French looks bulky on small nails.
Watch outDon't freehand a thick tip - it rounds off and makes the nail look uneven.
5. Glazed Soft Pink with Micro Glitter Only at the Center
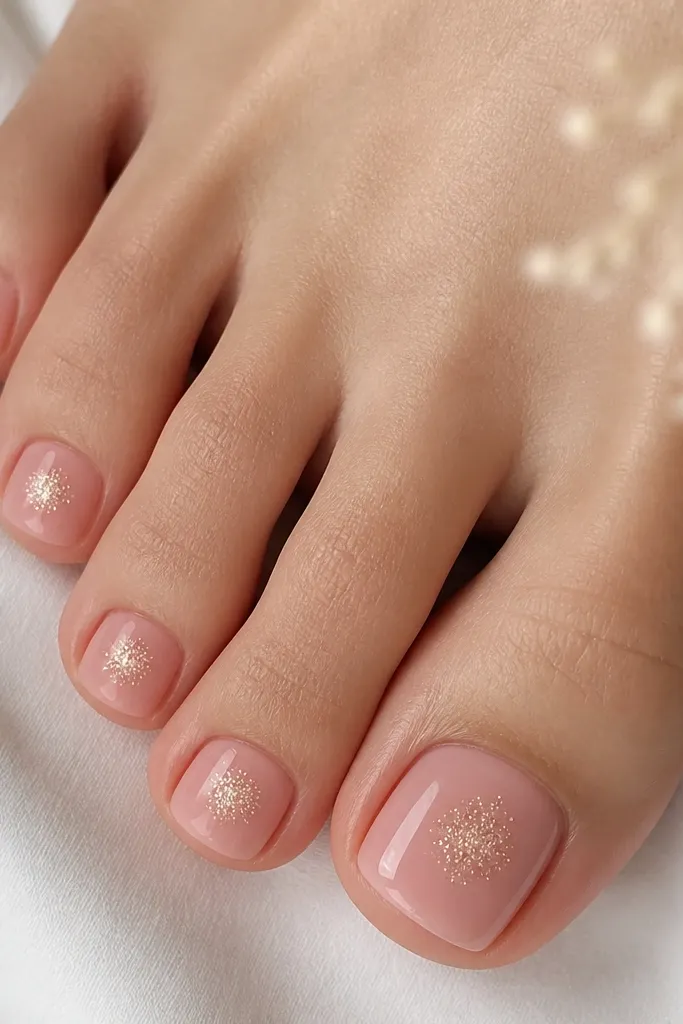
Glazed shine makes soft pink look smooth and expensive, and micro glitter in only the center gives movement without turning into full sparkle. I like ultra-fine "holographic dust" glitter because it reads as a shimmer, not chunks. The center placement keeps the nail looking minimal and balanced. It's perfect for events but still wearable for daily life.
Apply two coats of soft pink gel, then add a glossy top coat and cure. Tap a micro amount of fine glitter gel onto the center using a toothpick, then cure. Keep the glitter patch small - around the width of a pencil eraser section. Finish with one more thin glossy top coat to lock it in.
Pro tipUse less glitter than you think. If you can see glitter all the way to the sides, it stops looking minimalist.
Watch outDon't use chunky glitter; it catches on socks and looks gritty fast.
6. Soft Pink Ombré Fade into Bare Nail
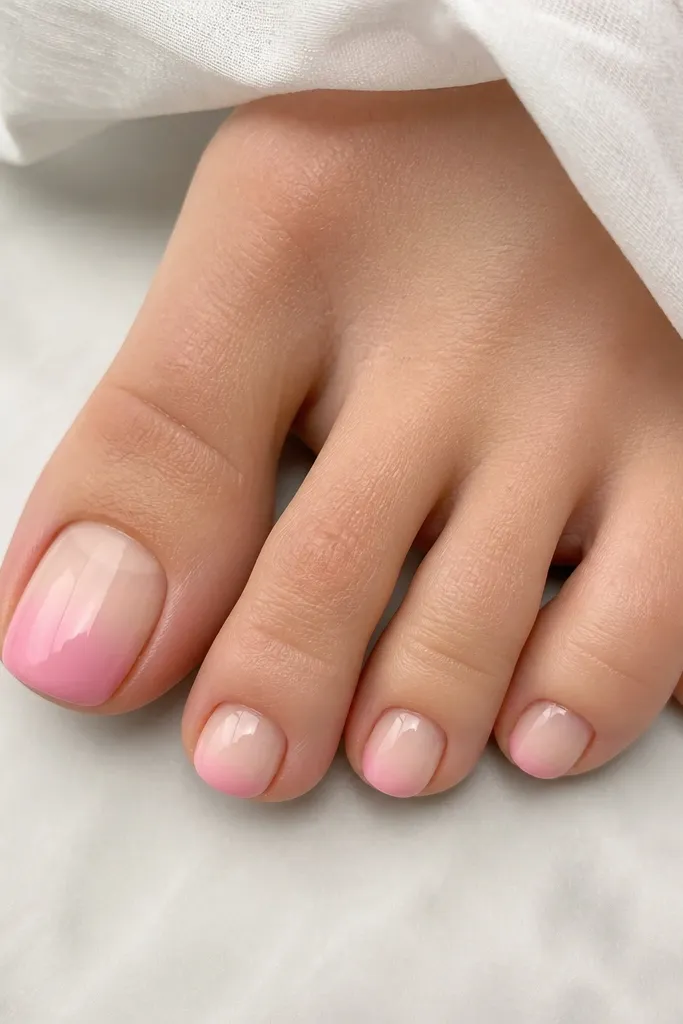
An ombré fade that starts with bare nail keeps the look light and modern. Soft pink at the tip gives a fresh pedicure vibe, but leaving the cuticle area natural makes it feel intentional. This is one of the easiest ways to get that "expensive glow" without adding patterns. It also grows out better than fully opaque polish.
Prep and shape short rounded-square tips. Sponge on soft pink gel starting from about 1/3 down the nail, blending upward with a makeup sponge or ombré tool. Wipe off excess on a palette before touching the nail so you don't flood the cuticle. Cure in thin layers until the fade looks smooth. Seal with glossy top coat.
Pro tipBlend in two passes: first for color placement, second for the fade edge.
Watch outDon't make the pink too opaque at the top - it stops reading as a soft ombré.
7. Soft Pink Dot Cluster on One Toe
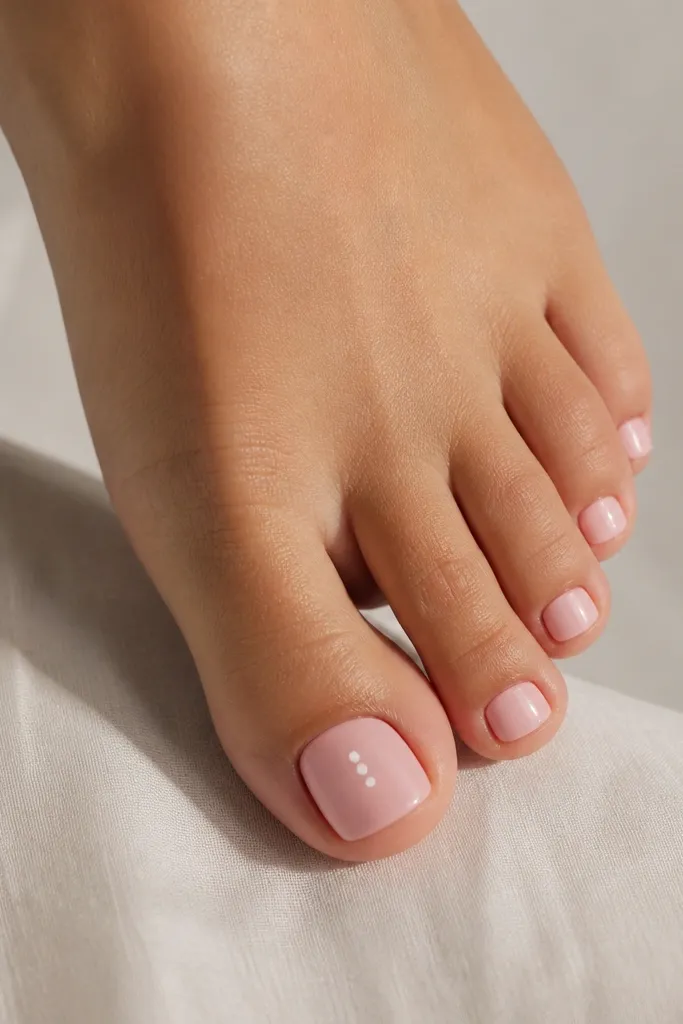
A dot cluster is the smallest "design" that still looks like nail art. White dots on soft pink feel clean, not icy, especially when they're tiny and spaced. I like placing them slightly off-center toward the sidewall so it looks playful but still minimalist. One accent toe keeps the set cohesive.
Paint all toes with two coats of glossy soft pink gel. On the big toe, place three dots using a dotting tool size 2 or 3, spacing them about 1 mm apart. Cure, then top coat all nails. If you want a slightly warm look, use an off-white (creamy white) rather than stark white.
Pro tipKeep dot size consistent. If one dot is bigger, the whole nail reads messy.
Watch outSkip big dots - they look like accidental fingerprints.
8. Soft Pink Striped Sidewall Accent
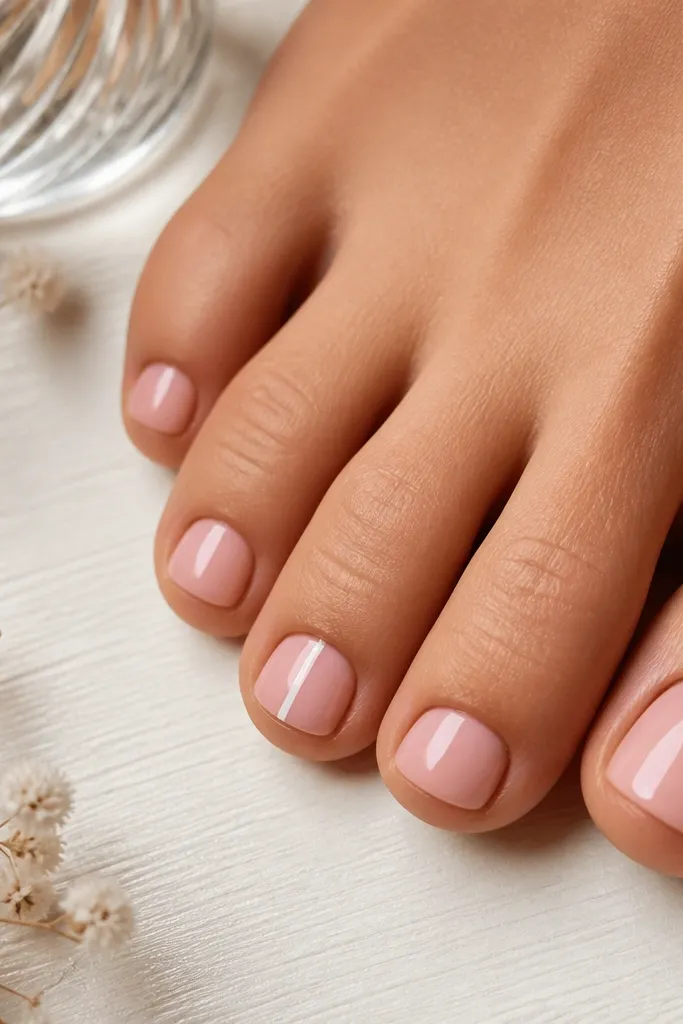
Sidewall stripes lengthen the nail visually and keep the design strictly minimalist. The stripe also makes soft pink look more "designed" because the eye has a line to follow. I like using the same soft pink family for the stripe - a slightly deeper blush - so it stays subtle. It looks good on short nails where other patterns feel too busy.
Apply soft pink gel in two thin coats and cure. Use striping tape along one sidewall to protect the rest of the nail. Paint the stripe with a deeper blush gel, cure, remove tape carefully, then top coat. Leave a small gap at cuticle and tip so it doesn't look harsh.
Pro tipAim for a stripe width around 0.5 mm for toes.
Watch outDon't run the stripe all the way to the tip; it makes the nail look narrow.
9. Soft Pink Marble Vein in One Corner
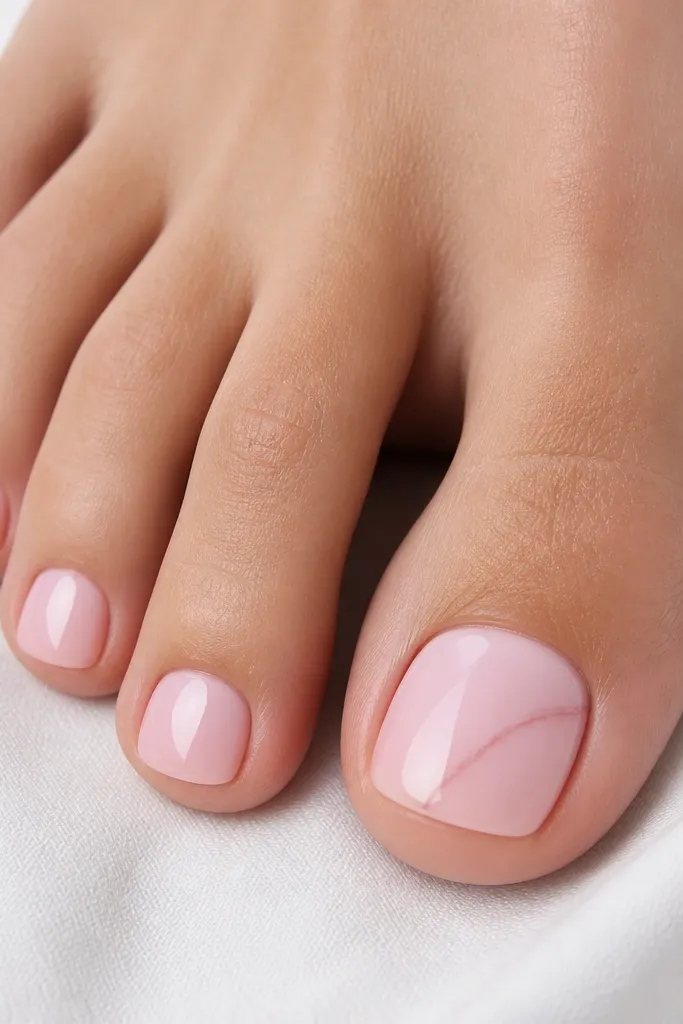
Marble sounds like it should be busy, but one corner vein stays modern and light. The key is using a darker soft pink, not gray or white, so it blends with the base. It adds dimension without turning into full nail art. I've worn this during winter with closed shoes - it still looks neat up close.
Start with two coats of glossy soft pink. For the vein, use a thin liner brush and draw one curving line, then add 2-3 tiny offshoot lines. Keep the veining inside a 1 cm square area near the cuticle corner. Cure fully and seal with a thick glossy top coat to smooth the texture.
Pro tipDraw the vein first in one stroke, then add tiny breaks. Overworking makes it look smudged.
Watch outAvoid gray marble; it turns the set cold and dated.
10. Soft Pink Checker Micro Accent on the Big Toe
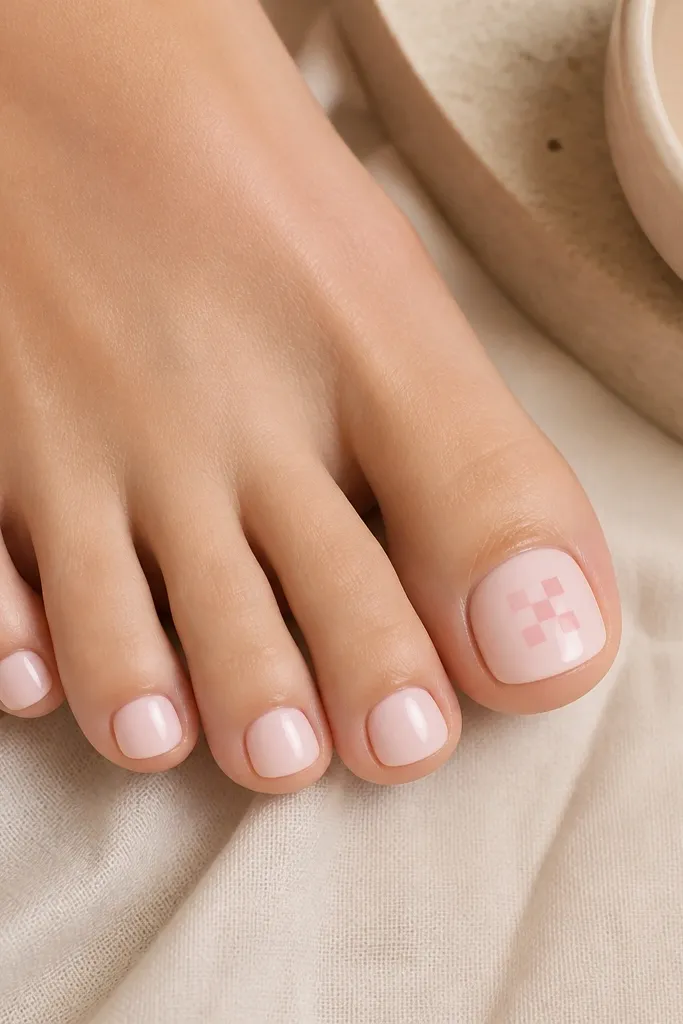
A micro checker is graphic but still minimal because it's small. The pattern adds texture and makes soft pink look intentional. I like using two close shades of pink so it doesn't look like a kids' craft. This works well when you want something different without going full design.
Paint all toes with glossy soft pink. On the big toe, use a dotting tool or stripped brush to place four squares in a 2x2 grid. Use a slightly deeper blush for the alternating squares. Cure, then apply top coat carefully so the squares stay crisp.
Pro tipKeep the grid centered and no wider than the width of your cuticle line.
Watch outDon't make the squares too big - toe nails look cramped fast.
11. Soft Pink Jelly Base with Bare Nail Edge
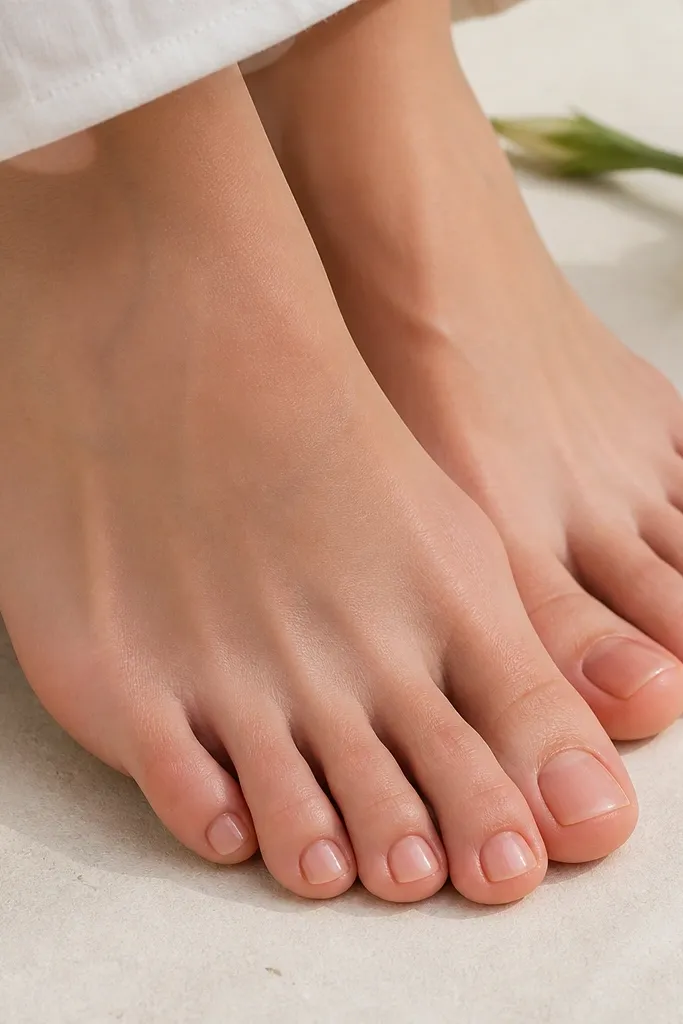
Jelly soft pink looks fresh because it's see-through like a tinted gloss. Leaving a thin bare edge at the tip keeps it clean and modern. It also hides minor unevenness because the border acts like a guide. If you want that "my nails but better" vibe, this is it.
Use a jelly soft pink gel that's translucent. Apply two thin coats, cure. Before the second coat, place a tiny strip of edge tape at the tip line to protect the bare edge, then paint up to the tape. Remove tape after curing and apply top coat.
Pro tipUse edge tape with a very light press so it doesn't pull gel when you remove it.
Watch outDon't overbuild the jelly - thick jelly looks lumpy and drags at the cuticle.



