
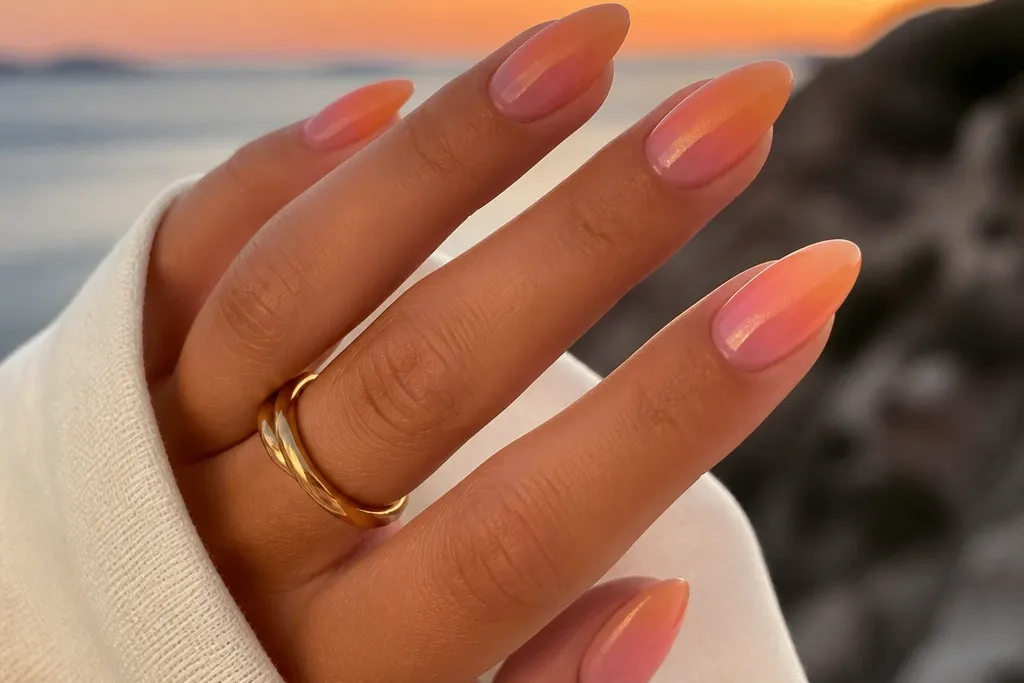
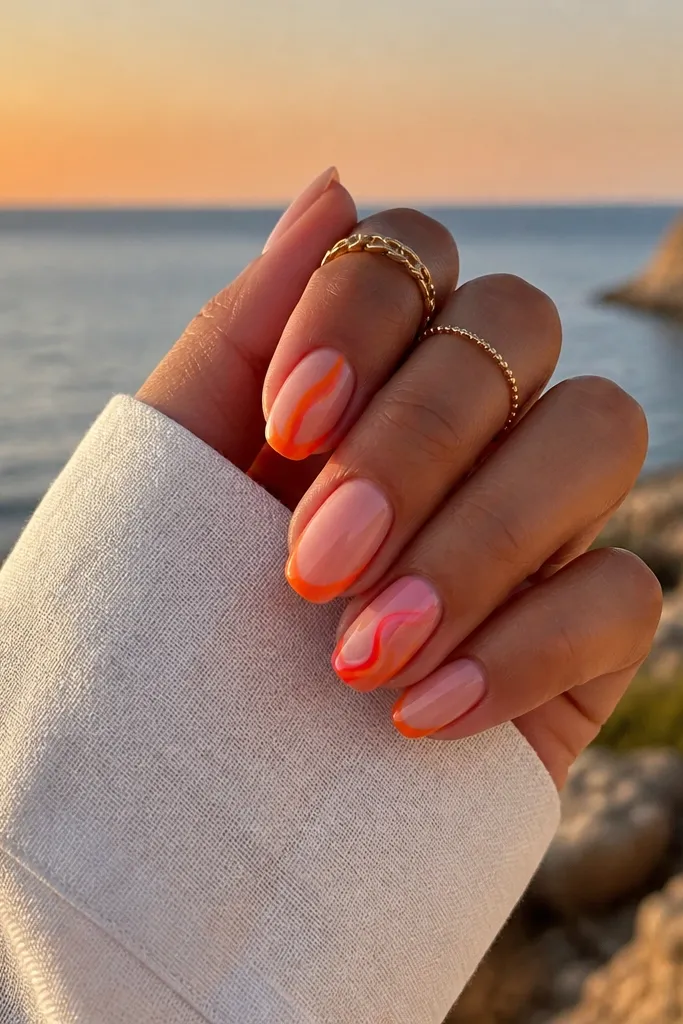
1. Peach-to-Tangerine Horizon Ombré
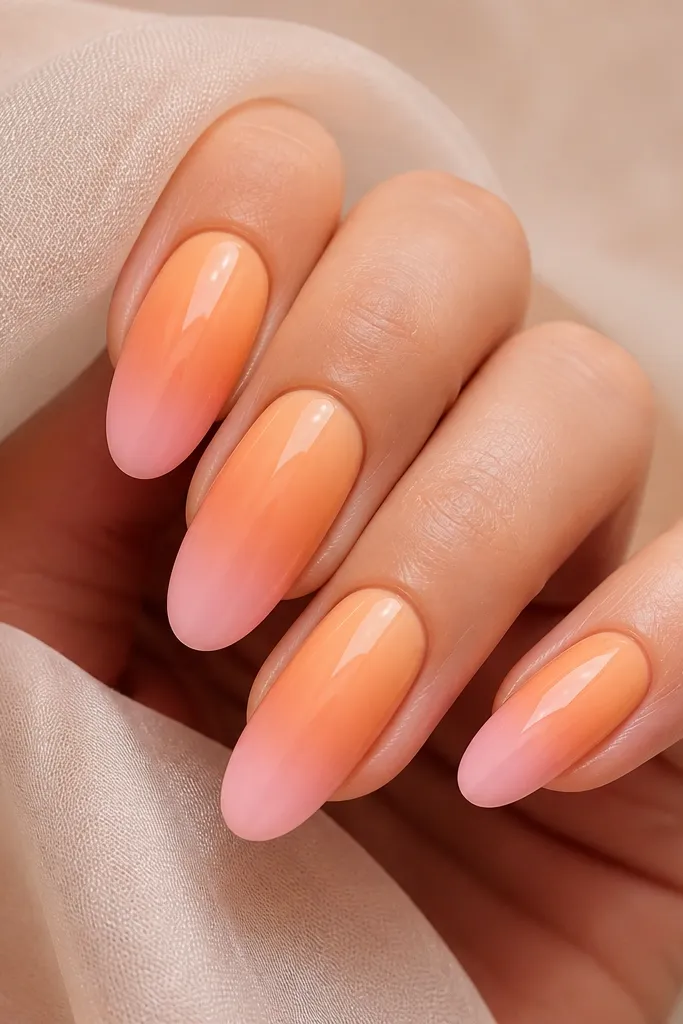
This design looks like a real sunset because the brightest orange sits around the middle, not at the tip. I use a sheer peach base so the gradient stays breathable and doesn't look like a thick sticker. The last third of the nail stays lighter, which helps the set look clean and not "painted on." It works because your nails catch light on the glossy finish, making the gradient shift throughout the day.
Start with a milky nude gel base. Sponge on peach, then sponge tangerine just in the center band. Blend the edges with a third dab of the peach so there's no harsh line. Seal with a high-gloss top coat, paying extra attention to the free edge.
Pro tipIf your ombré looks stripey, wipe your sponge on a paper towel first so the color goes on sheer.
Watch outDon't push tangerine all the way to the tip - that's what makes it look like a blocky manicure instead of a sky.
2. Gold Sunbeam Chrome Ring Finger
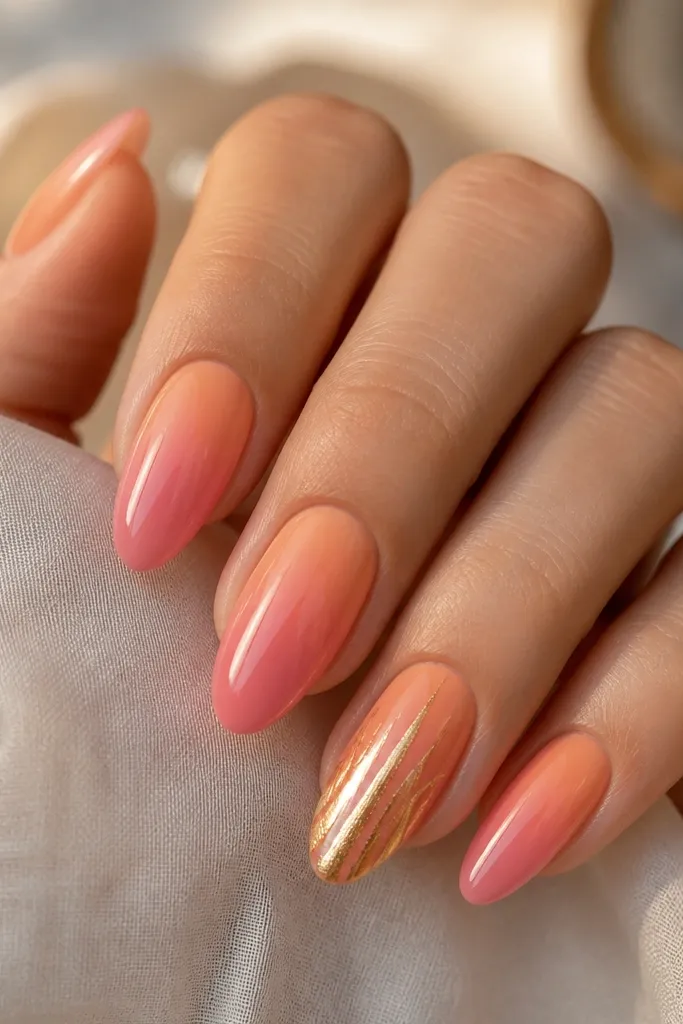
I love this because it's sunset energy with restraint. The chrome sunbeam gives you that bright "sunlight" effect that still looks good with jeans and a winter coat. The rest of the nails stay in a gentle gradient so the chrome doesn't overpower your hands. This works especially well on short almond and squoval because the chrome line reads clean rather than busy.
Paint a coral-to-pink ombré on all nails using sponge blending. On the ring finger only, apply a thin line of gold chrome gel (or chrome powder over tacky gel) in a diagonal beam. Make the beam start around mid-nail and taper toward the cuticle. Top coat over chrome carefully - use a chrome-safe top coat if you have one.
Pro tipUse striping tape to place the beam before you apply chrome so your line looks straight even if your hand shakes.
Watch outAvoid putting chrome on every nail - you'll lose the sunset focus and it starts looking like a random foil set.
3. Sunset French Tip With Blended Base
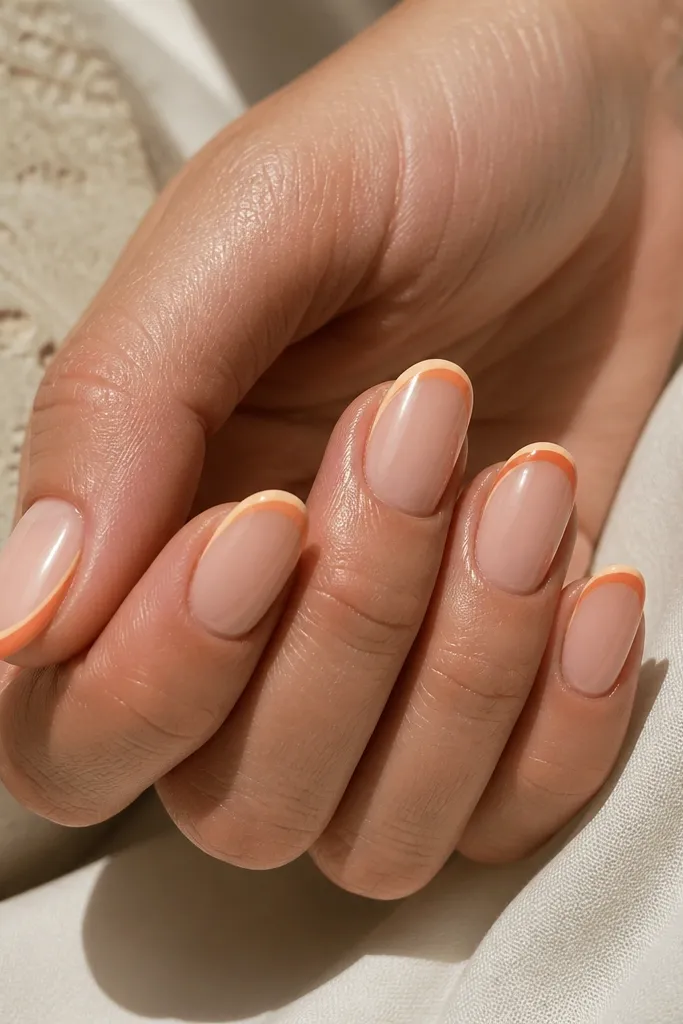
This one is for people who want sunset nails but still need a "work appropriate" look. The nude base keeps it clean, and the French tip gives you a crisp shape. The gradient at the tip mimics the last glow of sunset without turning your whole nail into a mural. It works year round because the color is warm but muted, and the French structure makes it feel polished.
Use a nude jelly base. Create the French gradient using two tiny sponge wedges - peach first on the inner half of the tip, then orange on the outer half. Wipe any spill back toward the center so the tip edge stays crisp. Finish with a glossy top coat, then clean the underside of the free edge with a lint-free wipe.
Pro tipDo your French gradient with the nail slightly angled under the light - you can see where the orange stops.
Watch outDon't skip a crisp nude border at the sides, or the gradient bleeds and looks sloppy.
4. Matte Sky With Glossy Orange Glow
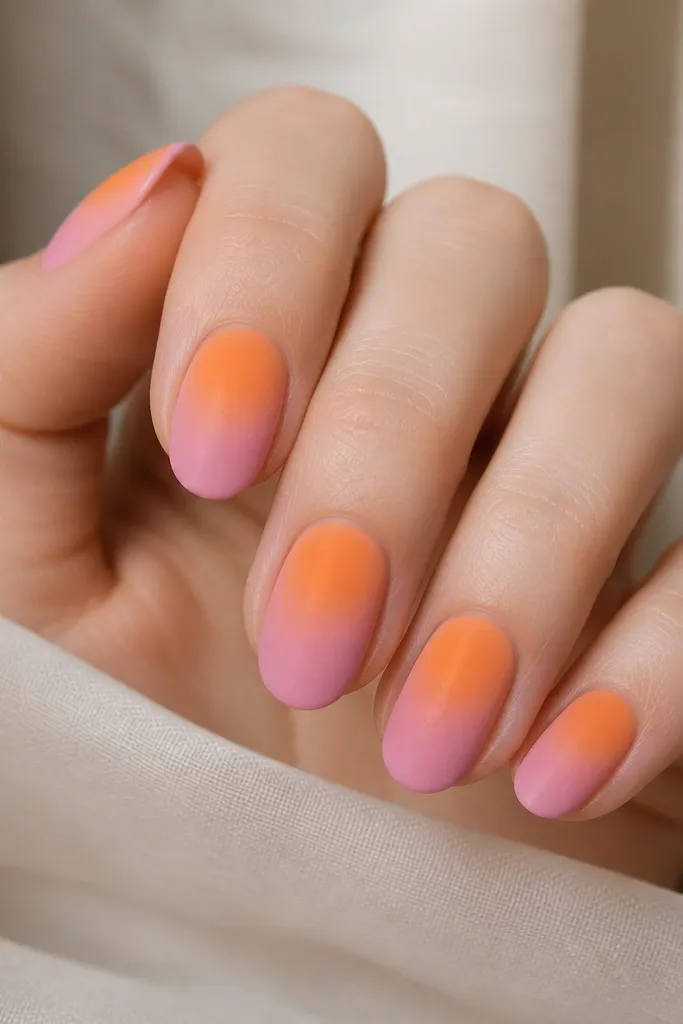
The contrast is the whole point. Matte pink makes the "sky" feel soft and cloudy, and the glossy orange glow looks like the sun heating the air. This set photographs insanely well because matte absorbs light and glossy reflects it. I've worn this in summer and winter - it still reads sunset because the colors stay warm, not neon.
Paint a matte pink base over the whole nail and cure. Sponge a sheer orange in an oval in the center, then seal just that oval with glossy top coat (or apply a thicker glossy layer over the orange area only). Use matte top coat on the sky areas so you get a true two-finish look.
Pro tipKeep the orange oval small - about the width of your cuticle - or it can look like a sticker.
Watch outDon't matte the entire nail if you're using a thick orange - the texture can look uneven.
5. Sunset Ombre With Micro-Glitter Fade
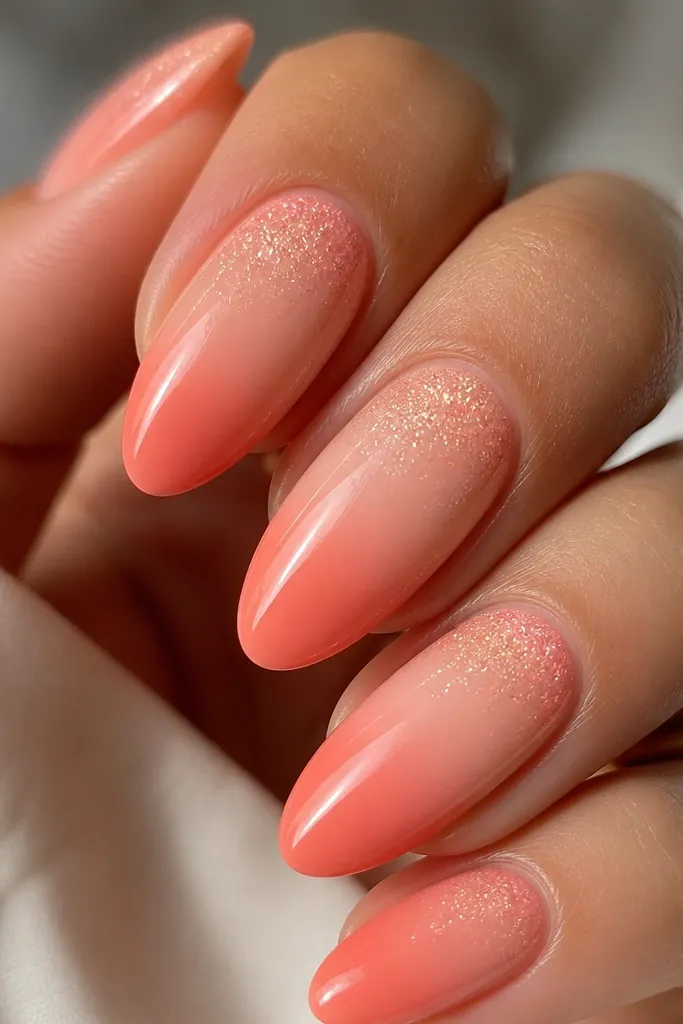
Glitter works when it fades like light, not when it covers the nail like confetti. I use ultra-fine micro glitter in a warm gold-peach tone. The glitter sits around the "sun" area and disappears toward the tips, which keeps the set wearable. This design is flattering on both short and medium nails because it doesn't add bulk.
Sponge your peach-to-coral ombré. Tap micro glitter gel onto the center band with a foam applicator, then blend edges by lightly pressing with a clean sponge. Top coat everything, but keep glitter area slightly thicker so it looks like a glow.
Pro tipIf your glitter looks chunky, use a glitter gel that lists "fine" or "micro" on the label and cure in thin layers.
Watch outAvoid full-coverage glitter - it kills the sunset gradient.
6. Tangerine Cuticle Halo
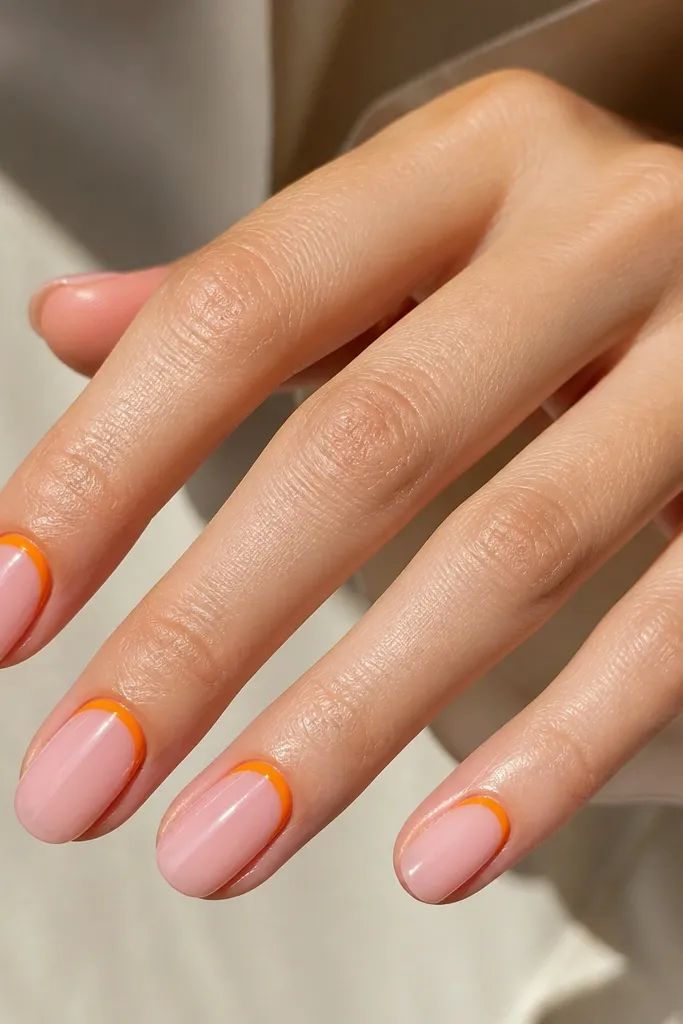
This is the easiest sunset look that still feels intentional. The halo around the cuticle makes your nail look brighter at the base, like sunlight starting to warm the air. It's a good option when you want color but you hate full ombré mess. I like it because it grows out well - the halo stays near the cuticle line.
Use a sheer pink jelly base. With a fine liner brush, paint a thin tangerine arc following your cuticle curve. Leave a tiny gap between the arc and the skin line so it doesn't flood. Finish with a glossy top coat for a smooth, glassy look.
Pro tipUse a tiny dotting tool to place two anchor points at each side of the cuticle, then connect them with the brush.
Watch outDon't make the halo too thick. Thick lines look like a stripe, not a sun glow.
7. Sunset Watercolor Wash

Watercolor sunsets look expensive because they're imperfect in the right way. The blending is softer than ombré, so it hides small nail shape issues. I use three shades: pale peach, bubblegum pink, and a whisper of gold shimmer. This design works year round because the colors are low-contrast and gentle rather than high-saturation.
Start with a sheer nude base. Sponge or brush on pale peach and pink in loose patches, then blend while still tacky. Add gold shimmer with a dry brush for dust-like placement. Cure and top coat glossy so the watercolor looks smooth.
Pro tipWet your brush with alcohol or cleanser (not water) so the pigment spreads instead of streaking.
Watch outAvoid using bright neon pigments - watercolor needs soft warmth to look like sunset, not candy.
8. Orange Foil Sunset Strip
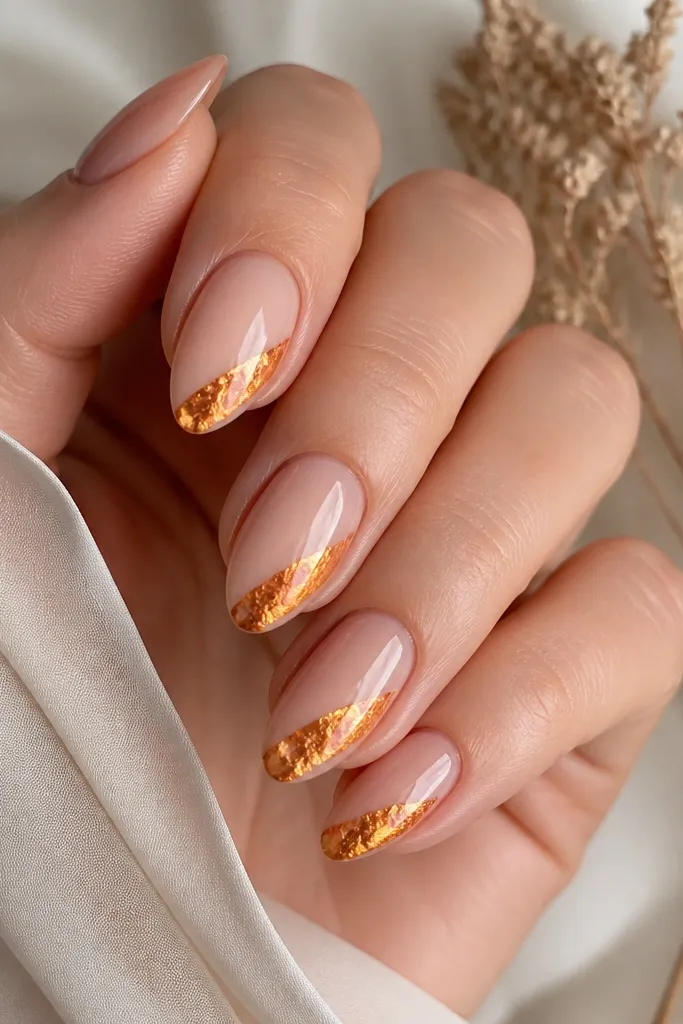
Foil gives you that instant "sunlight hits the horizon" look. The key is placement: one diagonal strip per nail keeps it from turning into disco. I use orange-gold foil flakes so the color shifts between copper and gold. The nude base keeps it wearable and makes the foil look like it belongs to the sunset gradient.
Paint a nude-pink base and cure. Apply foil adhesive gel where you want the strip, then press orange-gold foil flakes onto it. Add a thin layer of adhesive over the edges if any bits lift. Seal with a glossy top coat, curing fully.
Pro tipCut the foil strip slightly shorter than the nail so it doesn't hit the sidewalls.
Watch outDon't cover the whole nail in foil - it looks like a foil wrap, not a sunset.
9. Peach Sunset Half-Moon + Thin Line
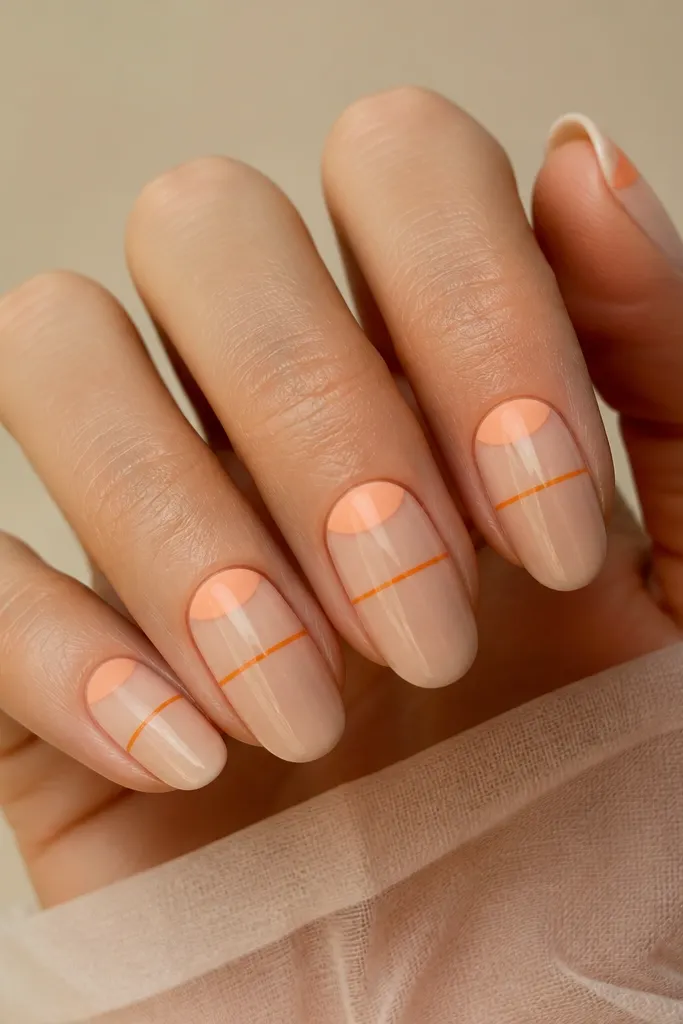
This is a graphic sunset. The half-moon is the sun at the horizon, and the thin line is the glow band. It looks clean on short nails and looks sharp on almond. I like it because it's fast once you've done it a couple times - the lines hide messy blending.
Use a sheer nude jelly. Paint a peach half-moon at the cuticle with a small brush or stencil. Then draw a thin orange line across the nail at mid-point - keep it straight, not wavy. Finish with glossy top coat and cure.
Pro tipUse gel liner and cure between nails if you're slow. It prevents smears.
Watch outDon't make the orange line too thick - thick lines look like a warning sign.
10. Coral Skies With Pink Cloud Tips
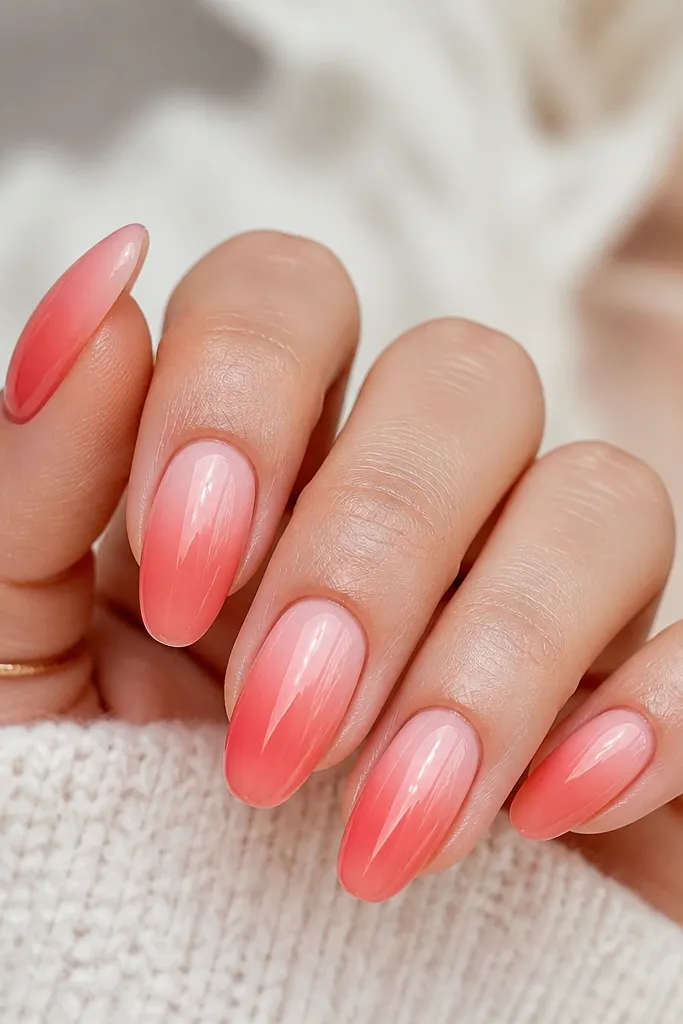
Cloud tips read like sunset because the tip area looks like the last haze. I keep the cloud section milky and semi-sheer, so it's airy instead of opaque. The coral base gives warmth, and the milky pink keeps it light. This one looks great on oval nails because the cloud shape follows the curve.
Sponge coral over the lower part of the nail, fading upward. Then use a milky pink to "fog" the top third with a dry sponge - press lightly and lift. Don't fully cover the cloud area; you want it translucent. Seal with glossy top coat.
Pro tipIf the cloud edge looks harsh, tap over it with a clean brush dipped in top coat.
Watch outAvoid opaque tip blocks. Opaque tips make it look like a manicure sticker.
11. Sunset Stripe Nail Art (3-Step Gradient)
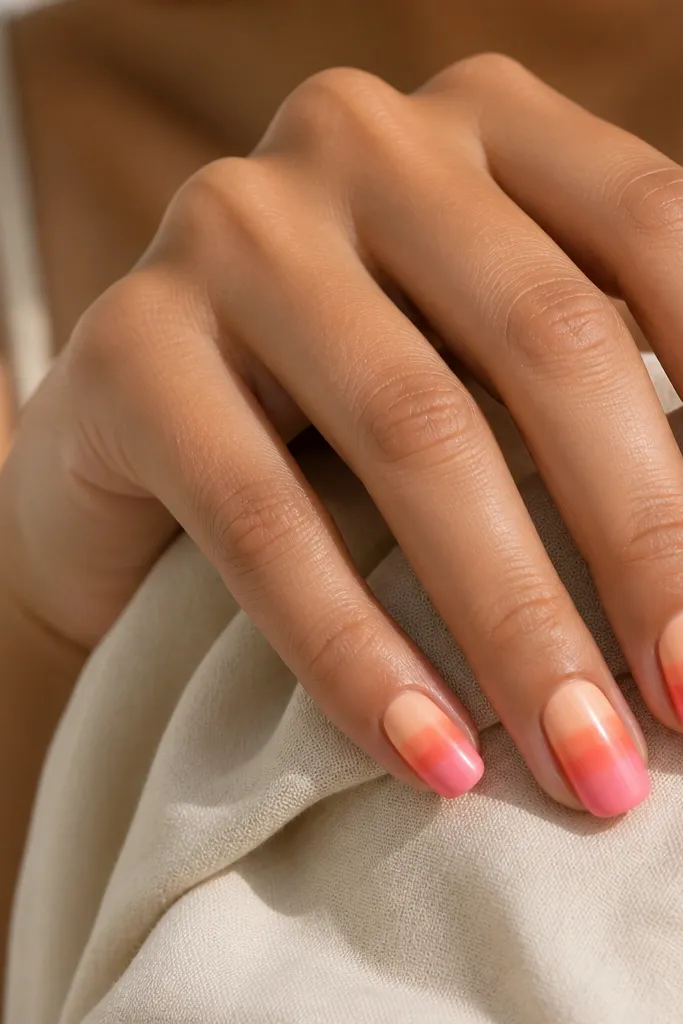
Horizontal stripes are sunset in a graphic way. The reason it works is that the stripes are close together and slightly blended at the edges, so it still feels like a sky. I use three shades max so it stays clean. This design also hides uneven nail ridges because the color blocking draws attention to the middle.
Start with a nude base. Paint pale peach as the top stripe next to the cuticle, coral in the center band, and warm pink at the tips. Use a tiny sponge to soften the boundaries between each band by pressing for 1-2 seconds. Cure and top coat glossy.
Pro tipKeep stripe heights consistent: about 35% cuticle band, 35% center, 30% tip.
Watch outDon't add more than three stripes. More colors make it look like a craft project.
12. Rose Pink Sunset With Copper Outline
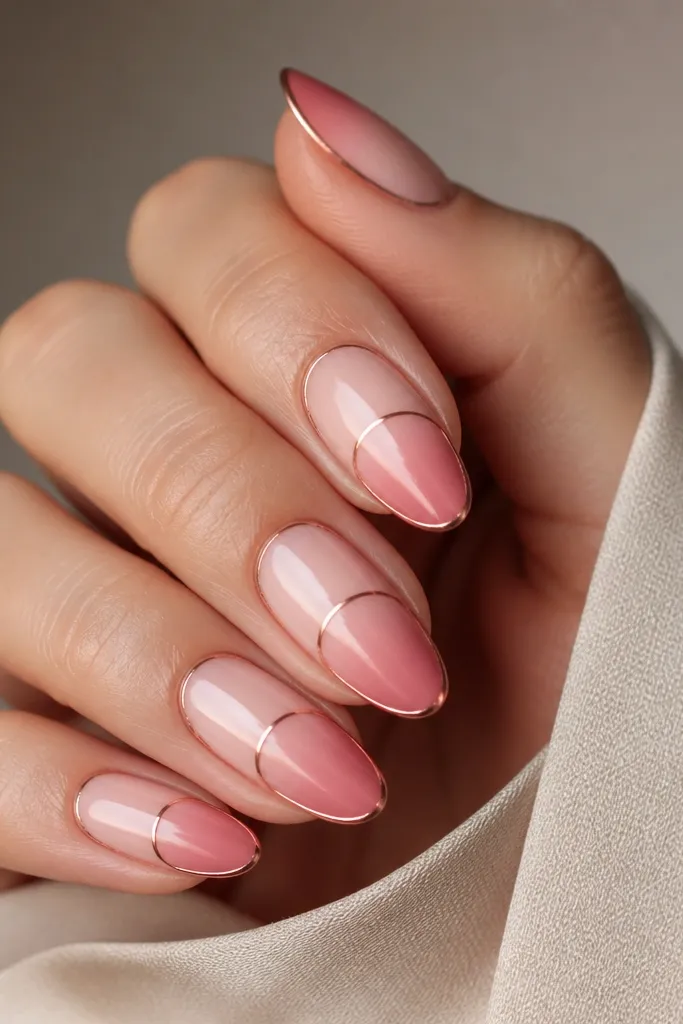
Copper outline makes the sunset feel like it has a "frame." The rose ombré keeps the color story soft, and copper adds warmth without going full gold. I like this when I want something that still looks neat at work. The outline also makes your nail shape look sharper.
Ombre with rose pink and a lighter pink near the cuticle. Use a striping brush to draw a thin copper line along each side from near the middle down. Add a curved copper horizon line across the center. Top coat glossy carefully so the lines don't blur.
Pro tipOutline first, then top coat - if you top coat before, the lines can lift and smudge.
Watch outAvoid thick copper lines. Thick outlines look heavy and can catch on fabric.



