
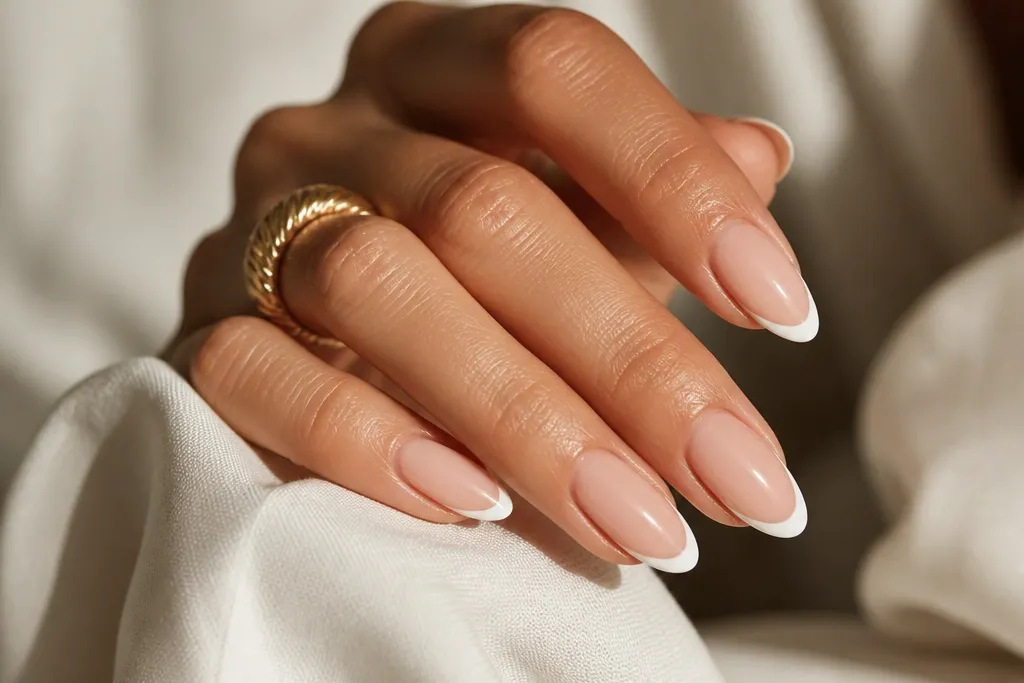
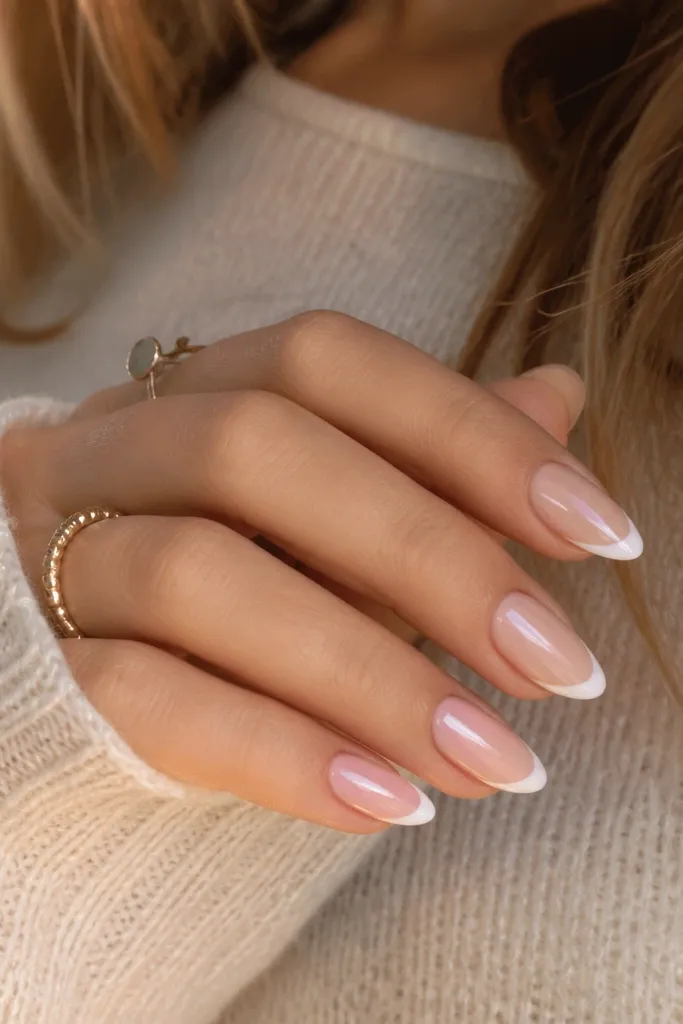
1. Latte Nude French with a Micro-Thin White Tip
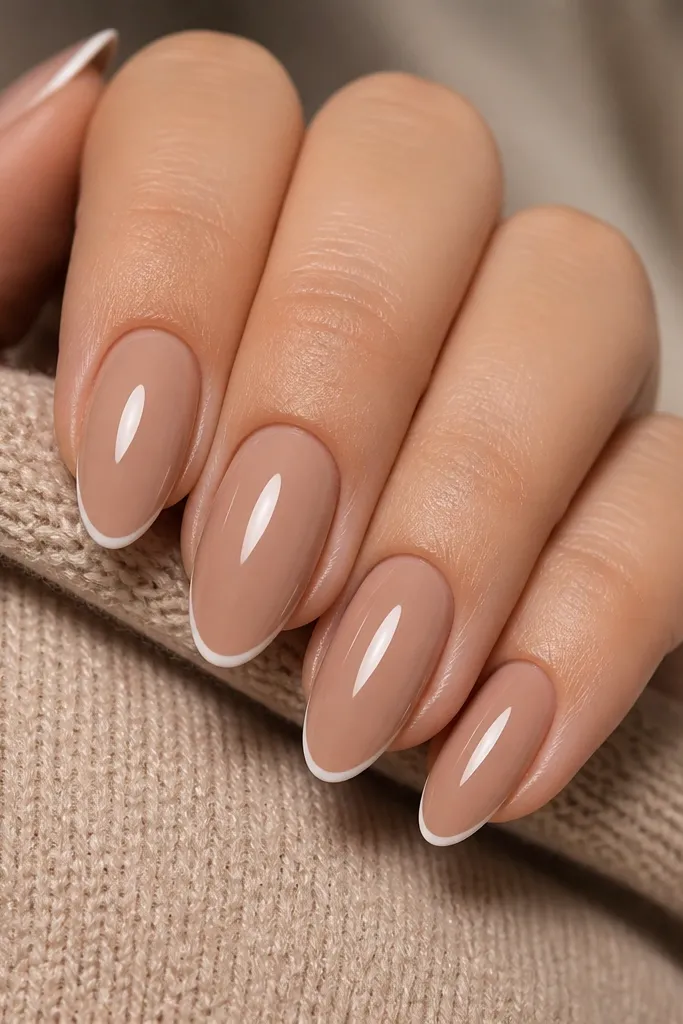
This is the "clean but cozy" version. The base is a warm nude that blurs the nail bed, and the white tip is so thin it looks like a natural highlight. Gloss keeps the white from drying matte and looking dusty. Because the almond is medium, the line stays sharp without looking harsh.
Paint warm latte nude to cover the whole nail, then place the French line using a thin brush or striping gel. Keep the tip width about 1 mm at the center and taper slightly toward the corners. Finish with a glossy top coat and one extra pass over the free edge for smoothness.
Pro tipIf your French line gets thick, clean the edges with a cotton swab dipped in gel cleanser before curing.
Watch outDon't use icy white on a cool pink base - it makes the whole set look colder than you want.
2. Creamy White French with Peachy Base and Soft Smile Line
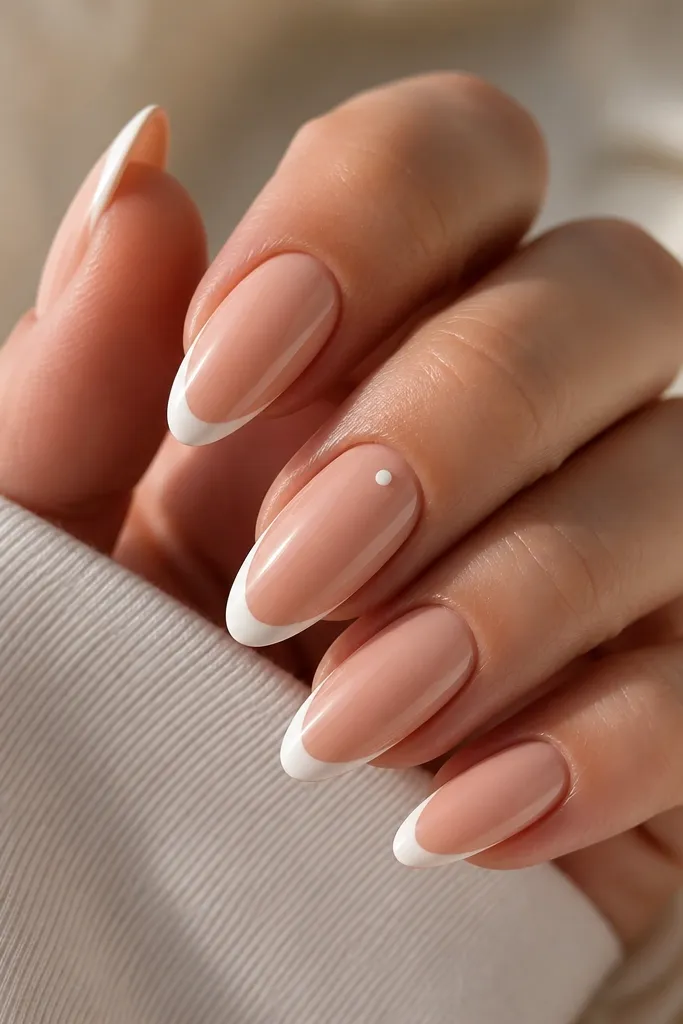
The peachy base warms everything up, and the soft smile curve makes the French feel friendly. The white is opaque but not stark, so it reads cozy in photos and in real life. A tiny dot detail adds interest without turning the set into full nail art.
Use a peachy nude gel or polish, then draw the smile line with a small dotting tool for control and a liner brush for the curve. Keep the smile line slightly higher on the sidewalls so it matches the almond taper. Add the dot on one accent nail only, placed 1-2 mm above the cuticle.
Pro tipStamp or dot the accent nail after the French is fully cured so the white doesn't smear.
Watch outAvoid a straight-across French - it fights the almond shape and looks like press-on tips.
3. Warm Nude French Tips with a Half-Moon Nude Gap
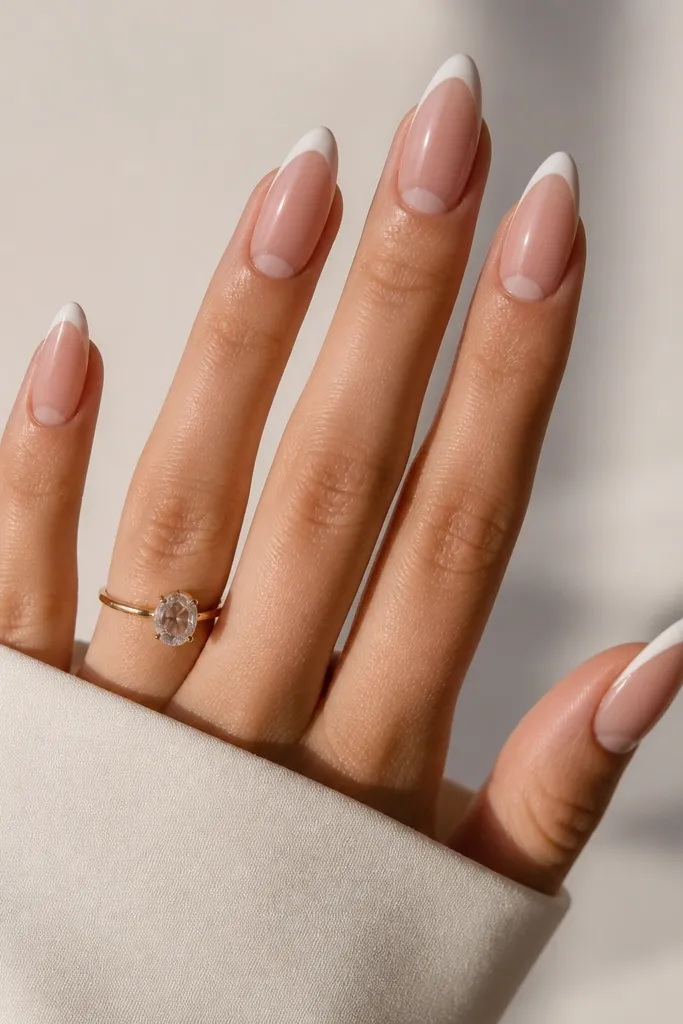
This one tricks the eye into making nails look longer. The white sits on the tip, and the negative space at the cuticle keeps the center of the nail airy. A warm nude gap prevents the design from looking like a harsh "cut line." It's cozy because the nude and white blend smoothly instead of snapping.
Apply warm nude base. Use a French strip guide or sticky stencil to mask a half-moon area at the cuticle, then paint the creamy white tip. Remove the stencil after the polish is tack-free (or after gel is applied but before full cure) for a crisp edge.
Pro tipIf you're doing this with regular polish, let the base dry fully and use tape to mask; peel slowly from the side so the half-moon stays clean.
Watch outDon't paint the half-moon gap with nude too late - it will creep under the stencil and blur the shape.
4. Mocha Marble Accent French on Two Nails
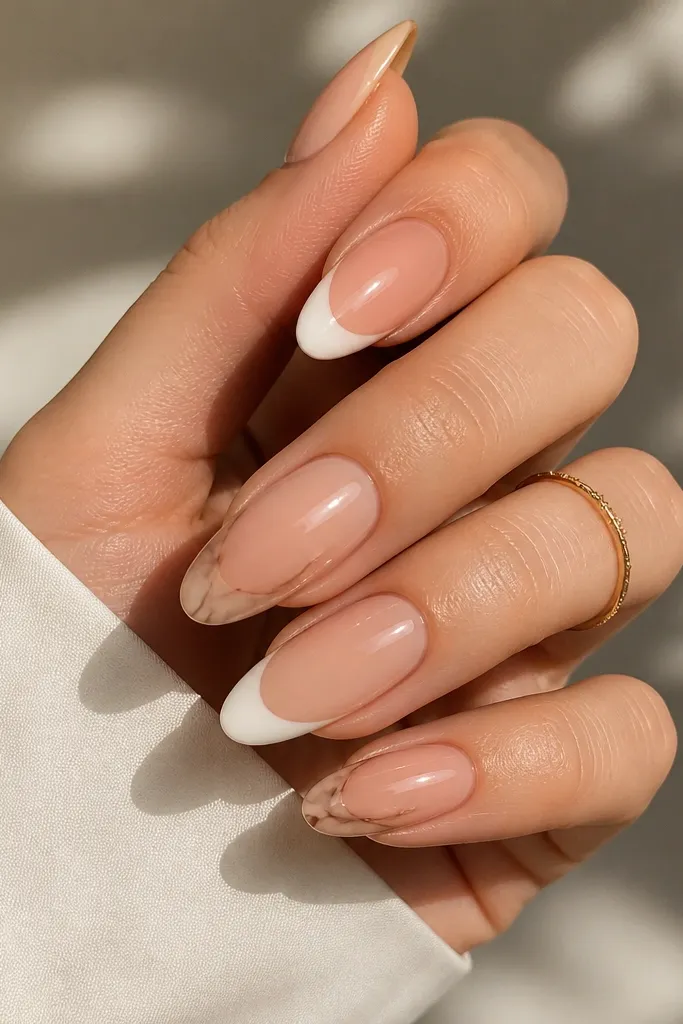
You get the cozy warmth of French tips plus a grown-up accent. The marble lines are brown-taupe, so they feel like coffee steam instead of gray winter. Keeping the marble only on two nails keeps the look classy and not busy.
Do a standard warm nude + creamy white French on all nails. On the accent nails, add thin brown-taupe marbling over the nude area, staying within the top third. Seal with glossy top coat so the lines look dimensional.
Pro tipUse a toothpick to drag the marble lines - it gives thinner, more natural streaks than a brush.
Watch outSkip thick blobs of "marble" - it reads like smudged paint.
5. Matte Cozy French with Glossy White Line
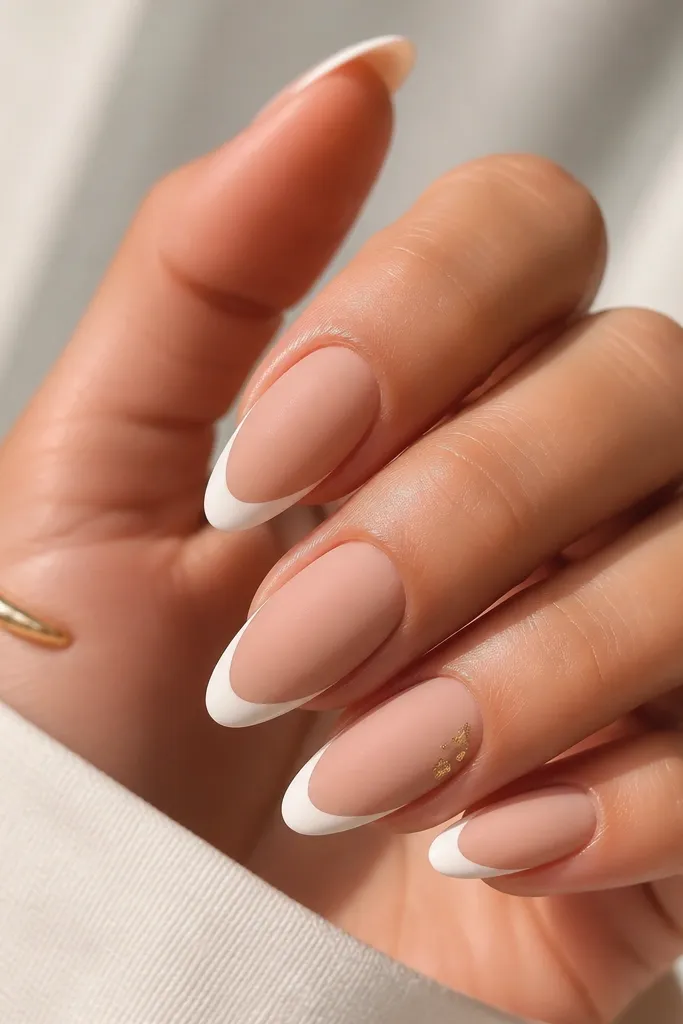
This combo looks expensive because you get two textures in one set. Matte nude makes the skin tone look soft, and the glossy white tip catches light like a highlight. The contrast is still cozy because the white is creamy and the nude is warm. One gold fleck adds warmth without turning it into a glitter set.
Cure or paint your warm nude and seal with a matte top coat. Then paint the French tip in creamy white and keep it glossy by sealing that tip area with a glossy top coat only. Add the gold fleck after the white is set, then re-seal the whole nail carefully.
Pro tipUse a small flat brush to apply glossy top coat only on the French area so the matte finish doesn't turn shiny everywhere.
Watch outDon't matte the entire nail after you gloss the French - you'll lose the contrast.
6. Blush-Warm Base French with Tiny Rhinestone Corner
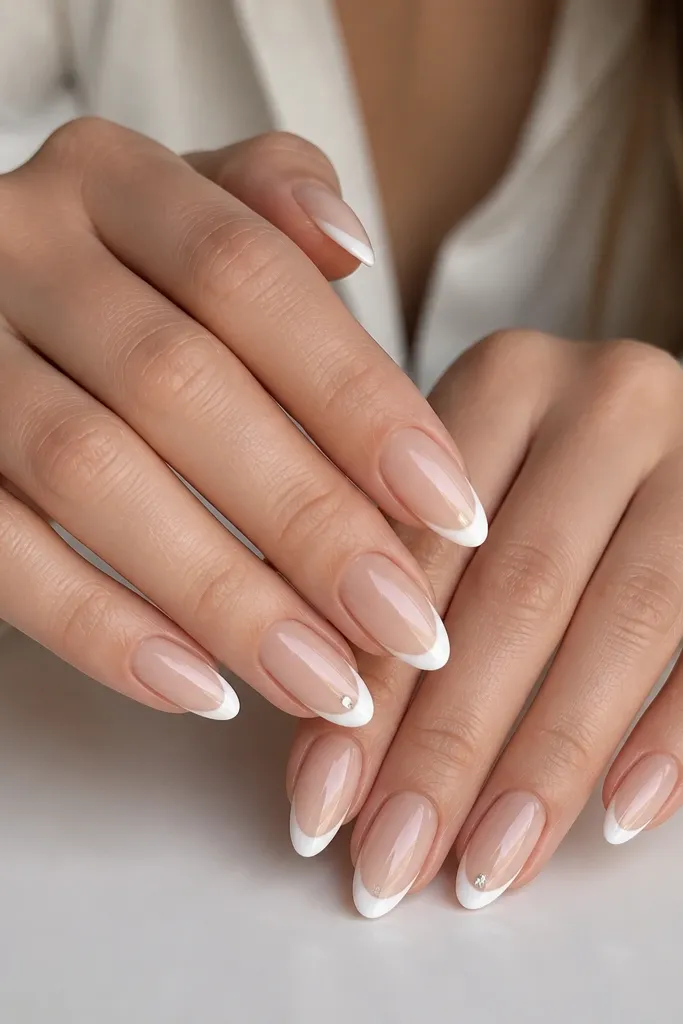
A single rhinestone at the outer corner makes the French tip feel intentional. The warm blush base keeps it cozy, while the small stone adds sparkle without looking like a full festival set. Because the stone sits on the white, it reads crisp against the almond curve.
Paint warm blush nude, then apply creamy white French with a thin line. Place one 1.0-1.5 mm rhinestone near the outer edge of the French tip, not on the free edge tip - it should sit just inside the white area. Use gel glue or a dab of clear gel, then cure and top coat over it.
Pro tipIf your rhinestone catches on fabric, add an extra thin top coat layer and cap the edges of the stone.
Watch outAvoid placing stones too close to the cuticle - they chip faster there.
7. Warm Nude French with Micro Gold Outline
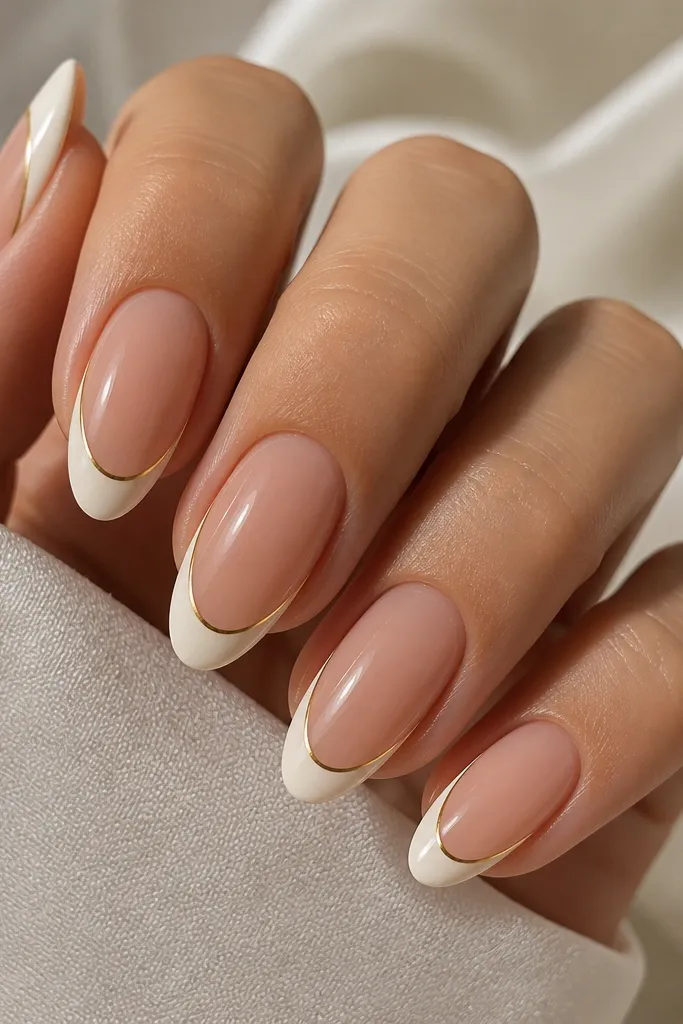
The gold outline makes the French line look sharper without making the white thicker. It's cozy warm because the gold is thin and sits right on the boundary where light naturally lands. This is a great option for events where you want something polished but still clean.
Apply warm nude base and a creamy white French tip. After curing, use fine gold striping tape or a gold gel liner to trace the outer edge of the French. Keep the gold line about half the width of the white tip so it doesn't become a thick frame.
Pro tipIf you use gold gel liner, wipe excess from the brush first - otherwise you get a messy blob at the apex.
Watch outDon't outline both inside and outside edges - it looks like a border on a label.
8. French Tip with Warm Nude Fade Ombré at the Cuticle
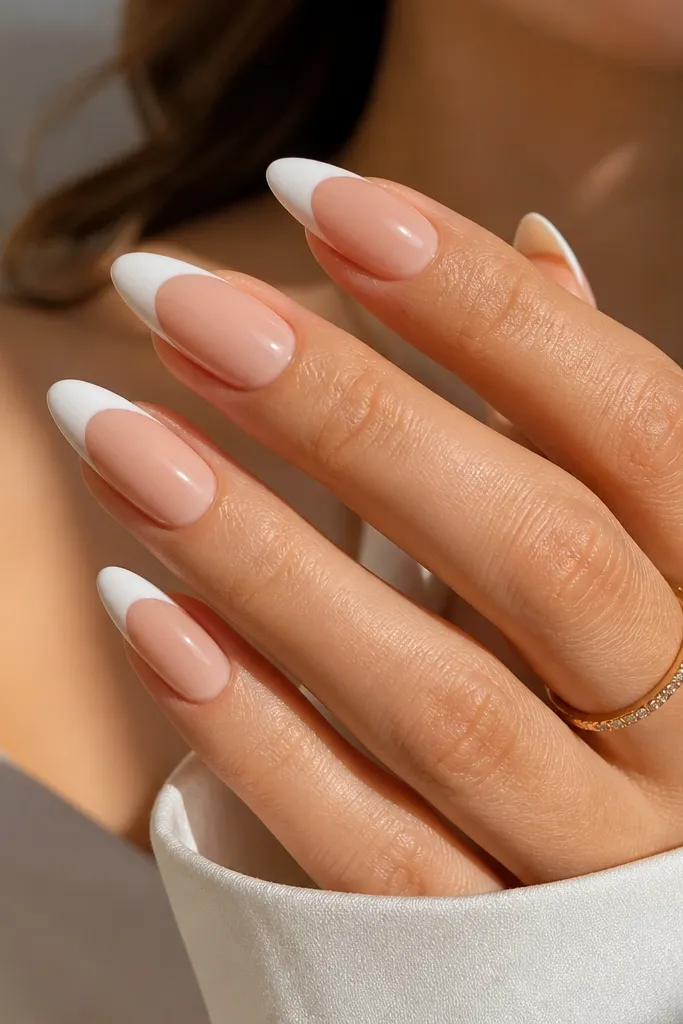
This design keeps the French tip but softens the transition at the cuticle. The fade makes your nails look fuller in the center and more natural, especially on shorter almond lengths. Warm nude to lighter nude reads cozy and skin-like.
Start with warm nude base. Use an ombré sponge to blend a slightly lighter nude (one shade lighter) right under the cuticle, feathering toward the middle. Then paint creamy white French on the tip and blend the bottom edge of the white into the gradient with a fine brush.
Pro tipWork in thin layers on the sponge - you should barely see the gradient after each coat so it builds evenly.
Watch outAvoid a hard line between nude and white - it kills the softness.
9. Classic French with Warm Nude Base and Blended Edge
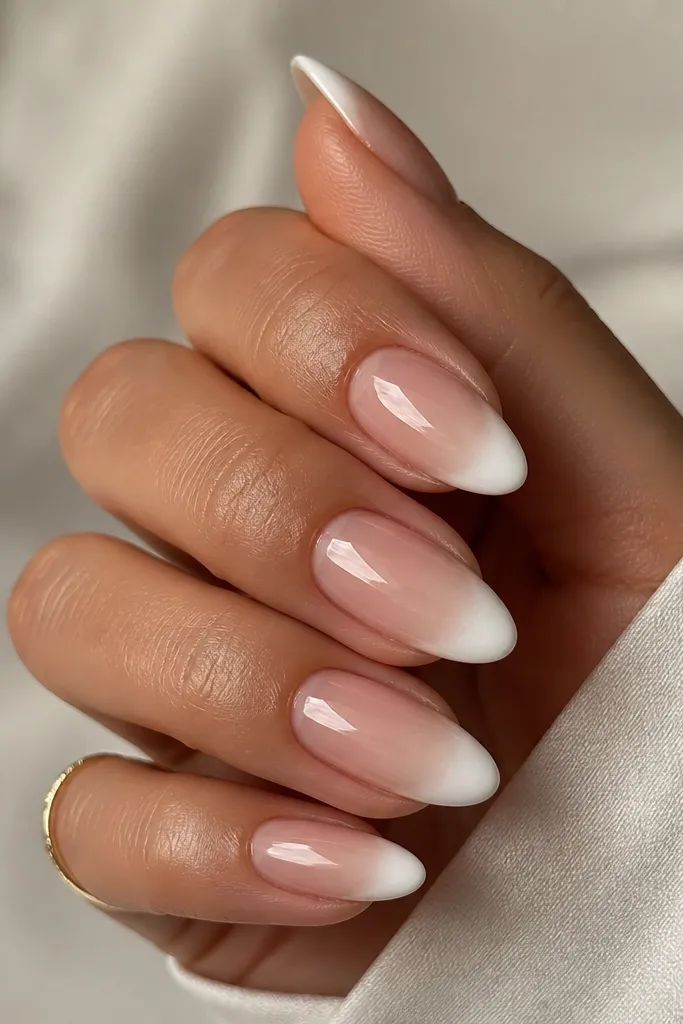
A blended edge looks cleaner than a hard masked line, and it's more forgiving if your smile line isn't perfect. The warm nude base keeps it cozy. This is also my go-to when you want a French set that still looks good on day 10 as it grows out.
Apply warm nude and cure. For the French, use a French brush with light pressure and blend the lower edge of the white using a makeup sponge lightly dabbed with white. Keep the blend only on the bottom edge; the top of the French should stay crisp.
Pro tipUse a small amount of white on the sponge - heavy pigment makes the edge look gray.
Watch outDon't over-blur the entire tip - the French loses its definition.
10. Cozy Checker Accent on One Nail per Hand
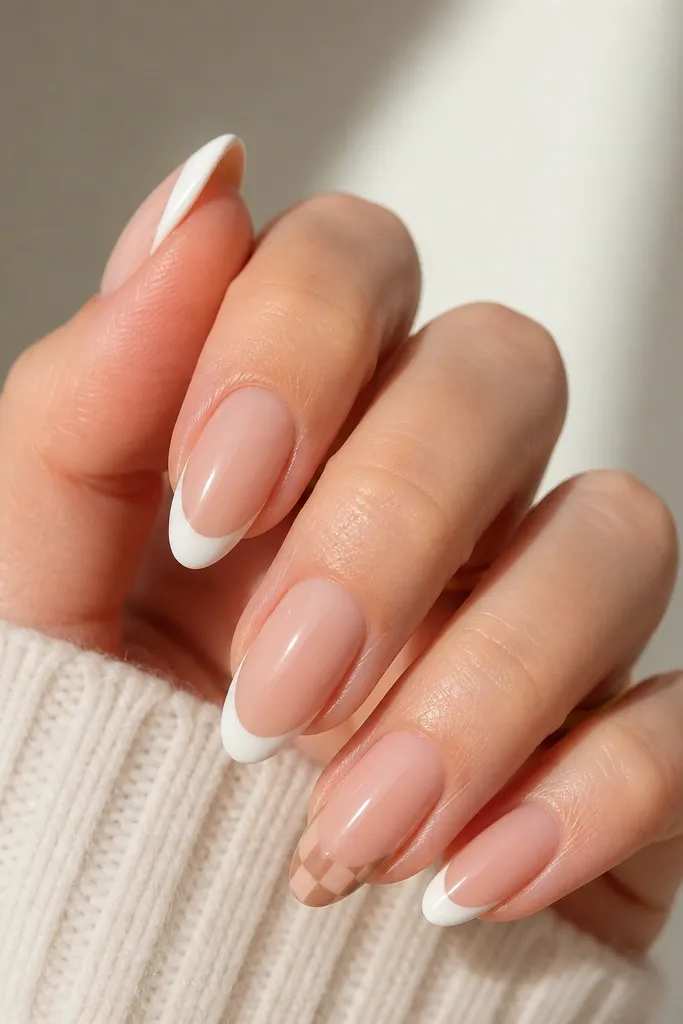
Tiny checker detail adds a cozy, retro feel while staying grounded in warm neutrals. Because it's only on one nail, it doesn't break the clean French vibe. Warm beige and soft brown keep it from reading childish.
Do the standard warm nude + creamy white French on all nails. On one accent nail, draw a small checker grid about 3-4 mm wide near the outer corner of the French. Use a thin striping brush and alternate warm beige and soft brown squares.
Pro tipOutline each square lightly first, then fill - it keeps the grid straight on an almond curve.
Watch outAvoid large checker blocks - they look like nail stickers and get messy fast.
11. French Tip with Tan "Knit" Line on the Side
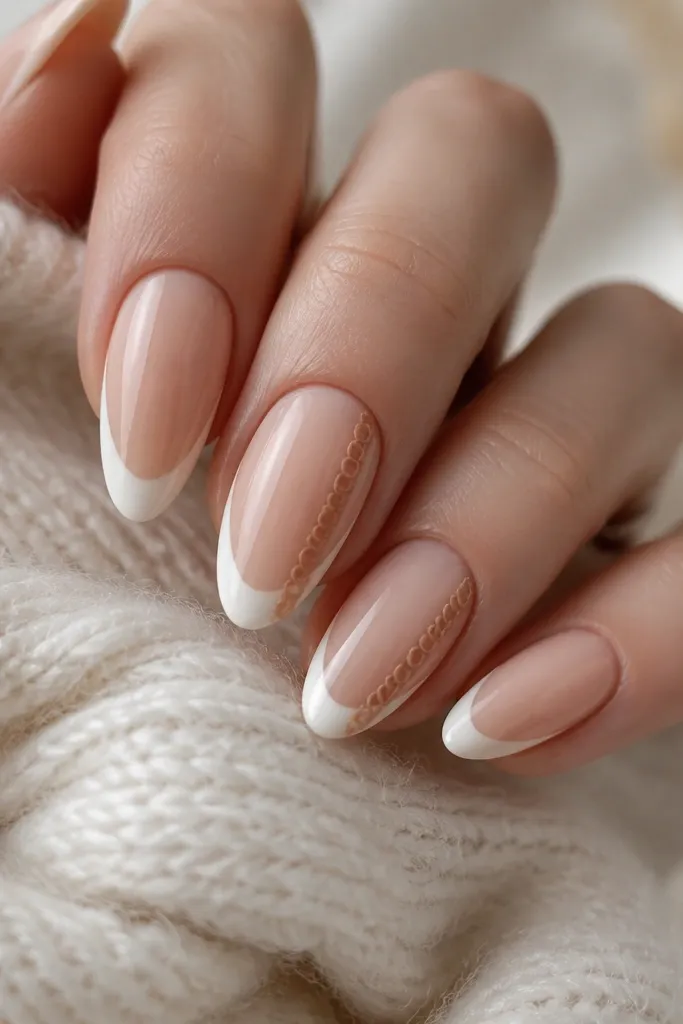
Knit texture reads cozy instantly. The tan loops look like a sweater seam when placed vertically along the side, not across the whole nail. It works with French tips because the knit detail is small and focused.
Paint warm nude and creamy white French. On two nails, use a thin liner brush to draw a single vertical line on the sidewall, then add tiny loop marks with the tip of a toothpick. Keep the loops consistent in size and stop the detail before the tip ends.
Pro tipLet the tan line dry or cure before adding loops so they don't smear into a blob.
Watch outDon't cover the entire nail with knit texture - it gets heavy visually.
12. Pearlized Nude Base and French Tip with Soft Glow
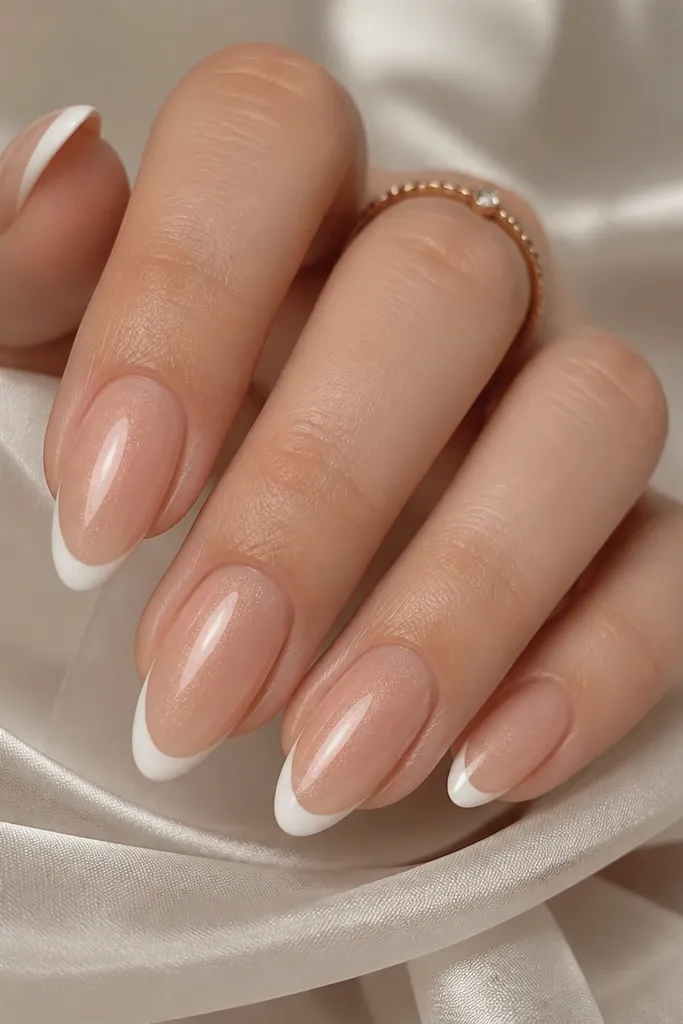
Pearlized nude makes the cozy warm look feel luminous without adding glitter chunks. The French tip stays creamy and crisp, but the base adds a soft glow under the white. This set is beautiful for winter light and evening photos.
Use a pearlized warm nude gel or polish (fine shimmer, not chunky). Cure, then paint creamy white French tips. Avoid adding extra shimmer on the white - keep it clean so the glow stays in the nude layer.
Pro tipIf your pearl polish looks streaky, apply two thin coats instead of one thick coat.
Watch outSkip glitter base - it makes the French edge look messy.



