
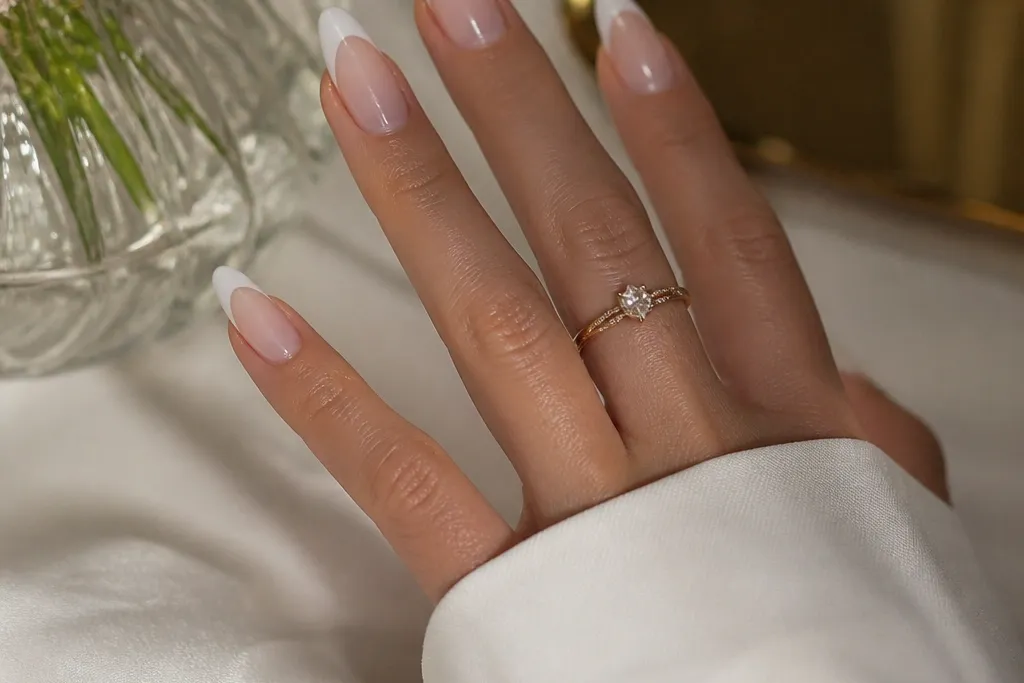
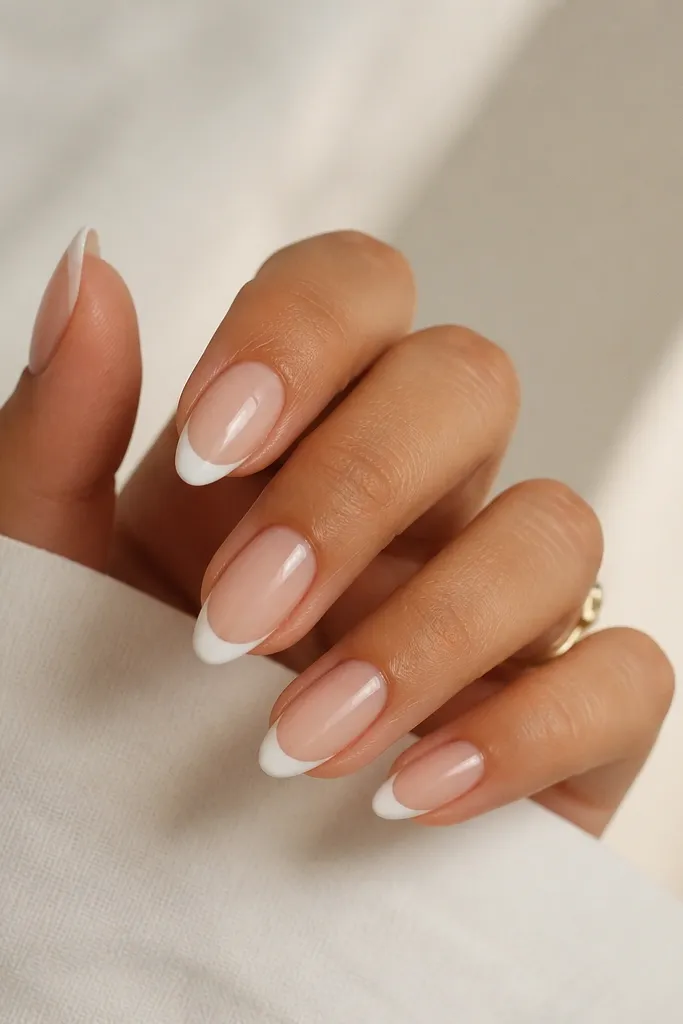
1. Classic Almond French in Bright White + Sheer Pink
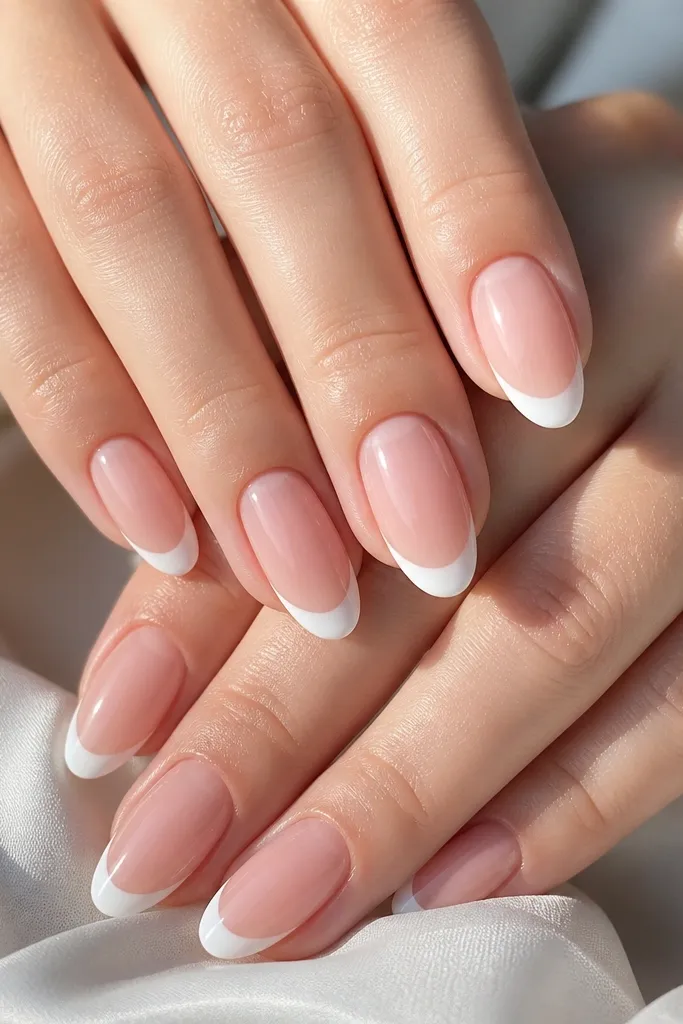
This is the cleanest version of the look. Bright white on a sheer pink base makes the nail look longer and more "real" because the natural pink underneath blends with your nail bed. Almond shape matters here - the French line should follow the curve without thickening at the corners.
Choose almond tips in a medium length that reaches about 1/4 inch beyond your fingertip. Keep the base sheer pink (not opaque nude), and pick a French tip that's pre-curved for almond. Apply with a thin layer of removable nail glue, then press along the center first and hold the sides for 10-15 seconds.
Pro tipAfter applying, run a fine buffer lightly along the free edge only, not the top surface, to remove any tiny lip at the seam.
Watch outAvoid using an off-white tip or an opaque base - it makes the French look dusty and cheap.
2. Matte White French with Glossy Nude Stripe
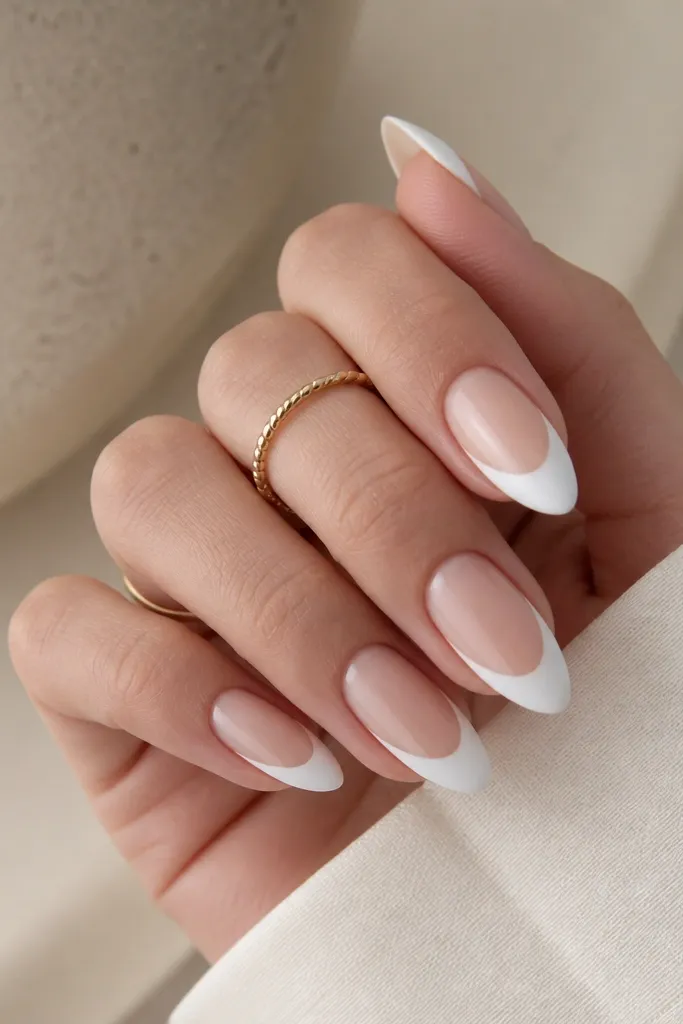
Matte white hides tiny surface imperfections and makes the French look sharper because there's no glare. The glossy nude stripe under the white adds dimension and keeps it from looking flat. This combo photographs really well because matte reads "soft," while the glossy stripe catches light.
Use matte-finish white tips or paint white and seal with a matte top coat. Keep the base nude sheer so the glossy stripe looks like a highlight, not a band. Place the stripe about 1 mm below the French line to mimic a natural shadow.
Pro tipIf your tips are glossy, add a matte top coat only on the white area. Leave the base glossy so the stripe stays crisp.
Watch outSkip a full matte top coat over everything if you want that highlight - flat matte across the whole nail looks one-note.
3. Micro French in White with a Thin Gold Arc
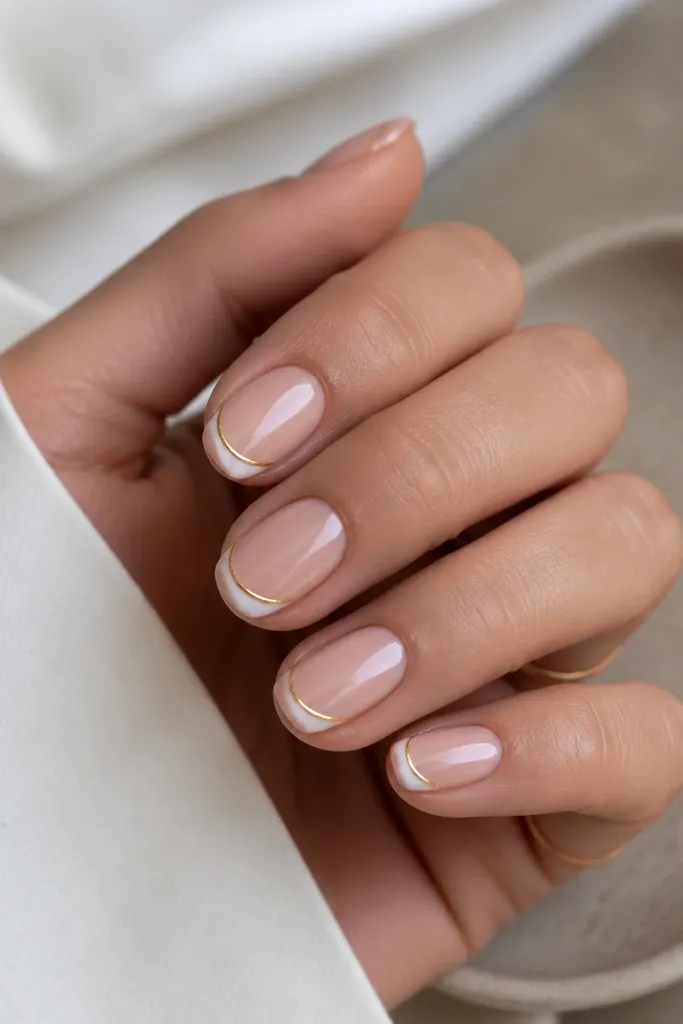
Micro French looks modern and clean because the white area is minimal. The thin gold arc adds a jewelry effect without turning the nails into glitter overload. It also helps define the almond curve when your natural tips are slightly uneven.
Pick shorter almond length (about 1/8-1/4 inch past fingertip). Use a micro French tip design or use a white tip that's narrow. Add a gold line using a striping brush or a thin gold foil transfer, then top coat over the line only after it dries flat.
Pro tipKeep the gold arc centered - if it runs too close to the sidewalls, it makes the nail look crooked in photos.
Watch outDon't use chunky gold flakes - the texture catches on hair and lifts faster.
4. White French Ombre Fade on Almond Tips
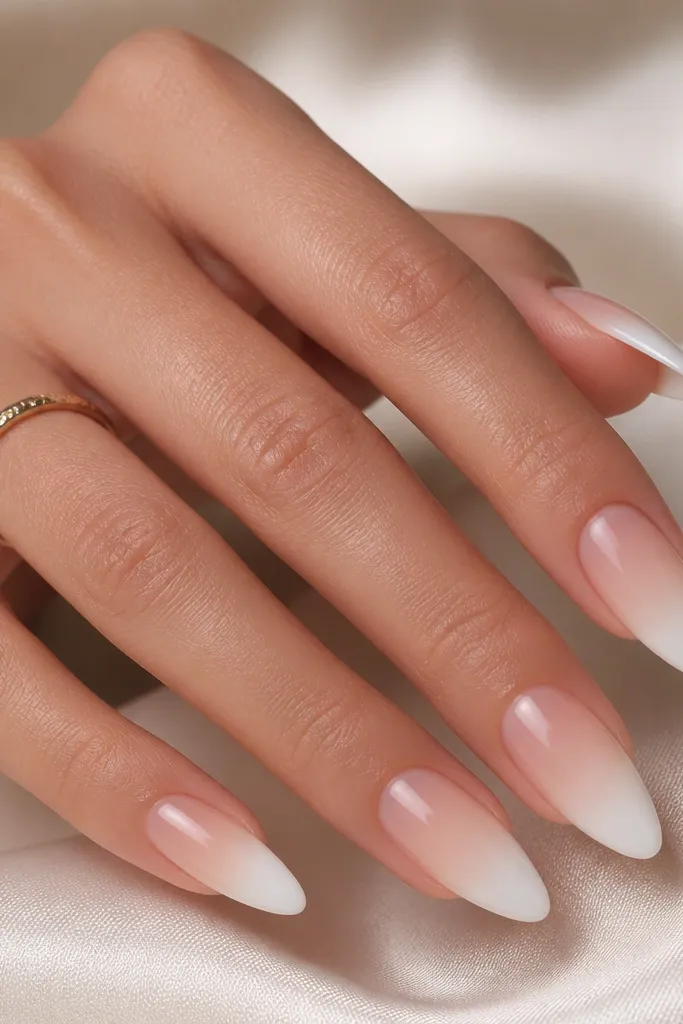
This version removes the "hard line" and makes nails look softer and more expensive. The fade also disguises tiny application gaps at the side edges because the gradient blends. Creamy white tones read warmer than pure white, especially in indoor lighting.
Choose press-ons or tips labeled as French ombre or gradient. If you're painting, use three thin layers: bright white at the outer edge, then off-white in the middle, then creamy white near the base. Blend with a sponge using light dabs, not swipes.
Pro tipSeal with a glossy top coat right after the gradient sets, so the fade stays smooth and doesn't look chalky.
Watch outAvoid thick paint layers - they create ridges that show under a top coat.
5. Double Line French with White + Clear Negative Space
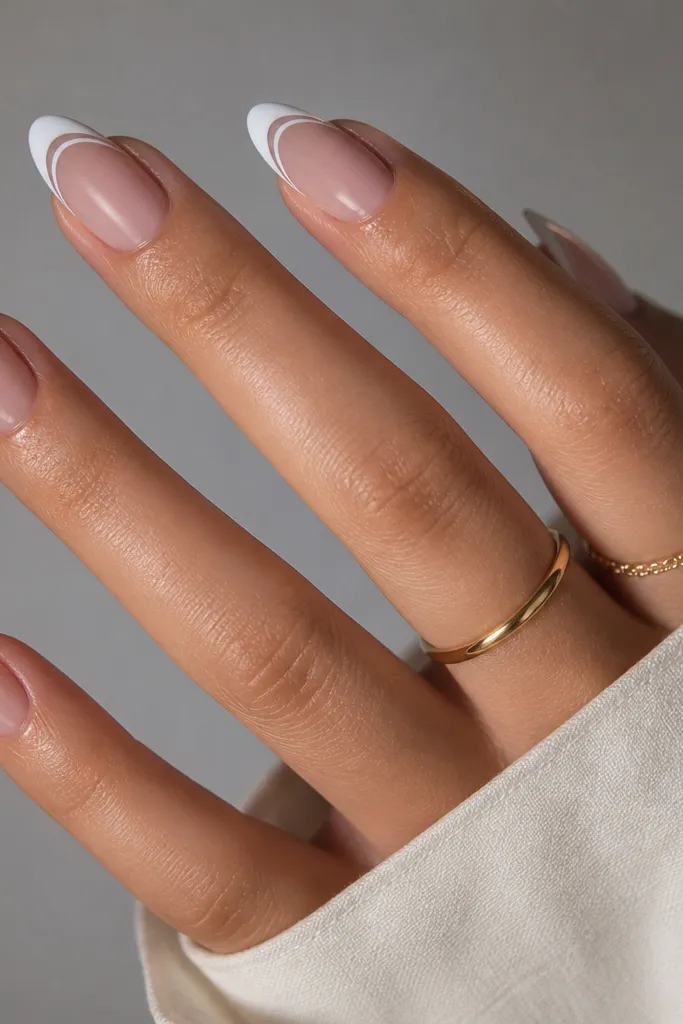
The trick here is the negative space. Two thin white borders with a clear gap makes the French look graphic and intentional. It also makes your almond shape look extra crisp because the clear gap gives visual separation.
Use a French tip set that includes a built-in double-line look, or apply a single white tip then add a second thin line with striping tape as a guide. Leave the clear gap about 0.5-1 mm. Top coat carefully so the lines stay defined and don't smear.
Pro tipPress striping tape down firmly at the corners - lifted tape edges cause uneven double lines.
Watch outDon't overfill the clear gap with white paint; it turns into a thick block.
6. White French with Tiny Pearl Cluster at the Cuticle
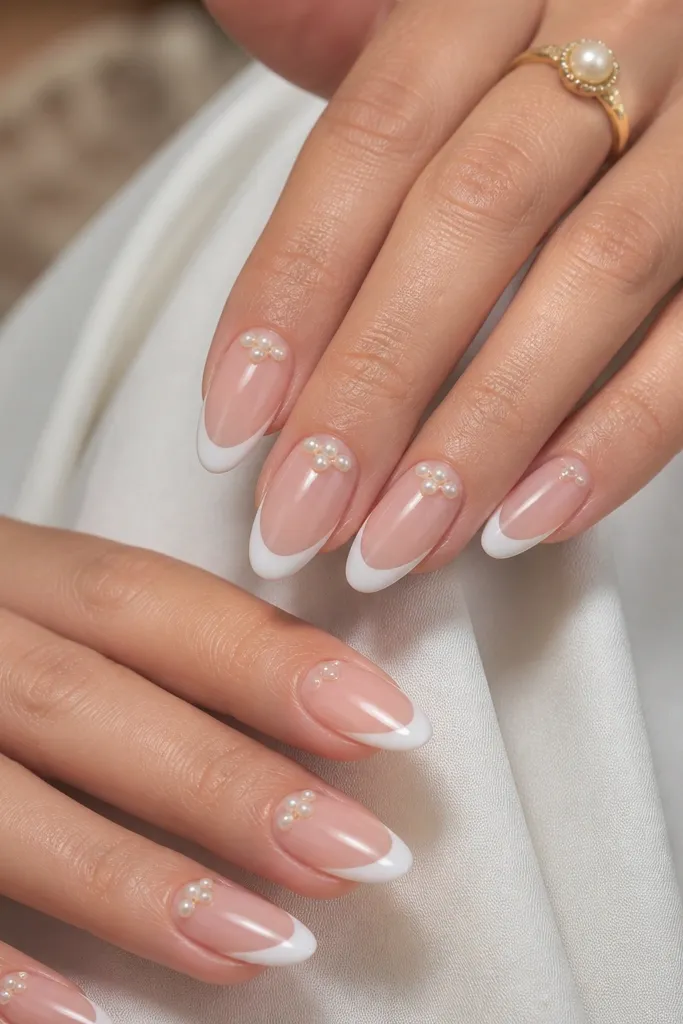
Pearls at the cuticle make the set look dressed up without covering the whole nail. White French keeps the look clean, and the pearl cluster brings texture and shine. I like a small cluster of 3-5 pearls per nail so it reads "intentional," not bulky.
Pick a glossy white tip set. Use a dot of clear gel or removable nail glue at the cuticle center, then place pearls with tweezers. Keep pearls 1-2 mm away from the sidewalls so they don't snag. Seal with a clear top coat that covers the base of the pearls, not just the tops.
Pro tipLet pearl glue set 2-3 minutes before you touch water so they don't shift.
Watch outAvoid oversized pearls - they lift faster on a no-drill set because they add weight at the base.
7. White French Tips with Silver Foil Half-Moon Accent
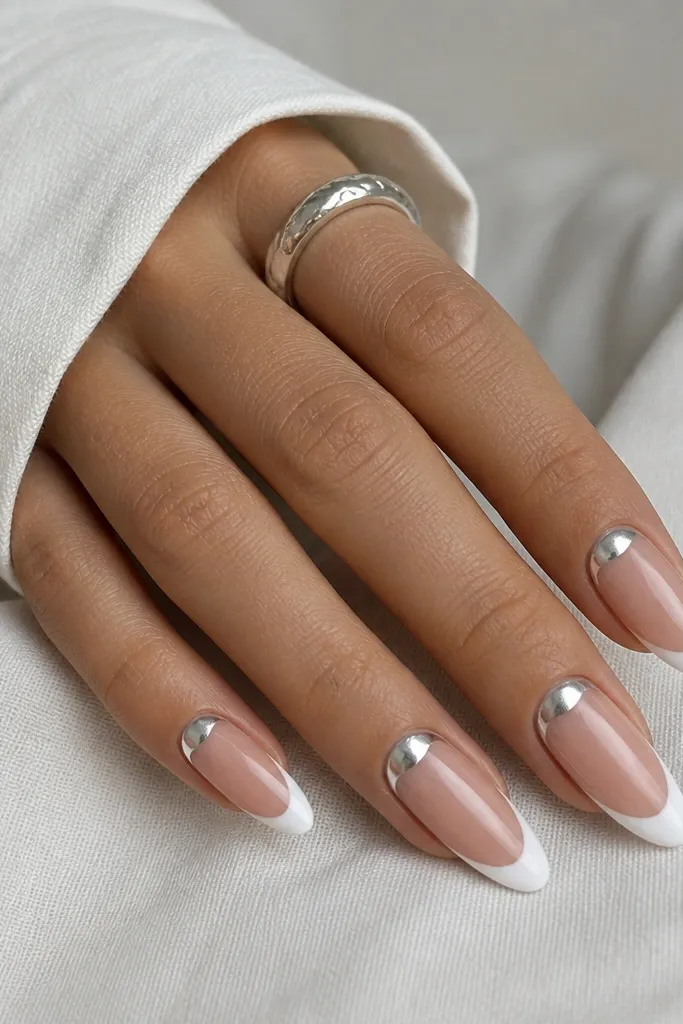
The half-moon foil gives a "French but upgraded" look while keeping the white tip as the star. Silver foil reflects light in a way that makes fingers look brighter, and the shape stays flattering on almond. It also helps disguise the transition line where tips meet your nail.
Choose a glossy white French set with a sheer base. Apply a tiny amount of removable gel or foil adhesive at the cuticle center and press silver foil onto it. Keep the half-moon small, about the width of your cuticle and 1/3 the nail length. Seal with a flexible top coat so foil doesn't peel.
Pro tipRub the foil gently with a dry cotton pad after pressing - it helps the foil adhere to the edges.
Watch outSkip chunky rhinestones - they catch on sleeves and lift at the corners.
8. Matte Sheer Pink Base with Glossy White French
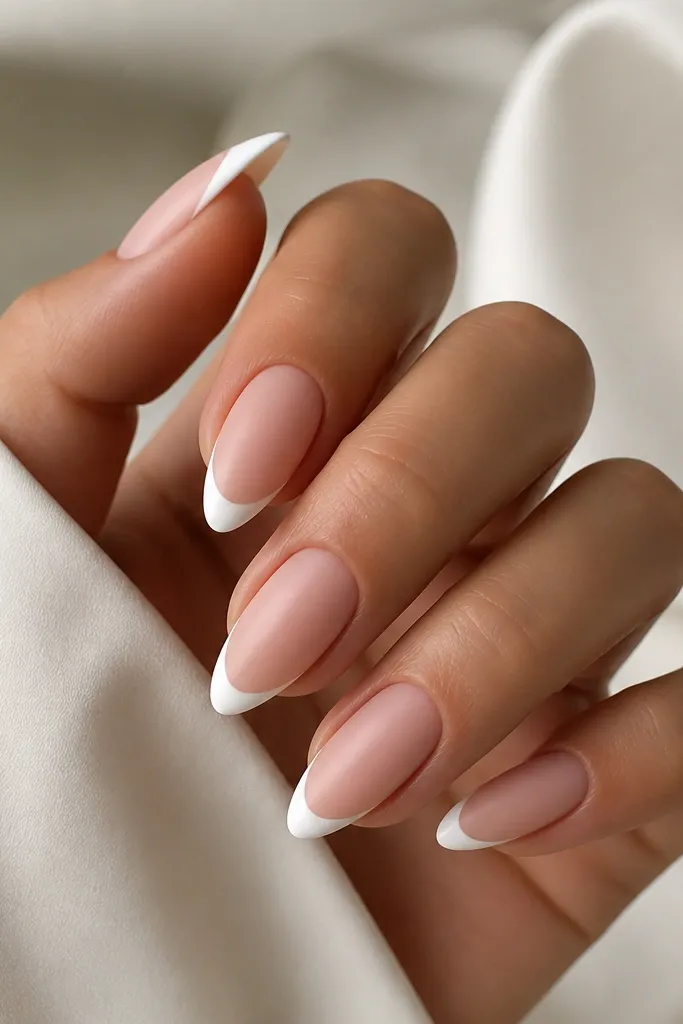
This is the "two-texture" version that makes nails look like gel salon work. Matte sheer pink softens the overall look, and glossy white at the tip keeps the French crisp. The contrast also hides minor unevenness in the base application.
Start with sheer nude or pink tips. Add matte top coat only to the base area, leaving the French tip glossy by masking with a small piece of tape. Apply white French tips with a glossy finish or paint them glossy and seal. Keep the matte boundary clean so it doesn't smear onto the white.
Pro tipUse micro tape for the boundary - painter's tape is too thick and leaves a jagged edge.
Watch outDon't matte the entire nail if you want that sharp French - matte on the tip flattens the look.
9. White French with Blush Micro-Gradient Under the Tip
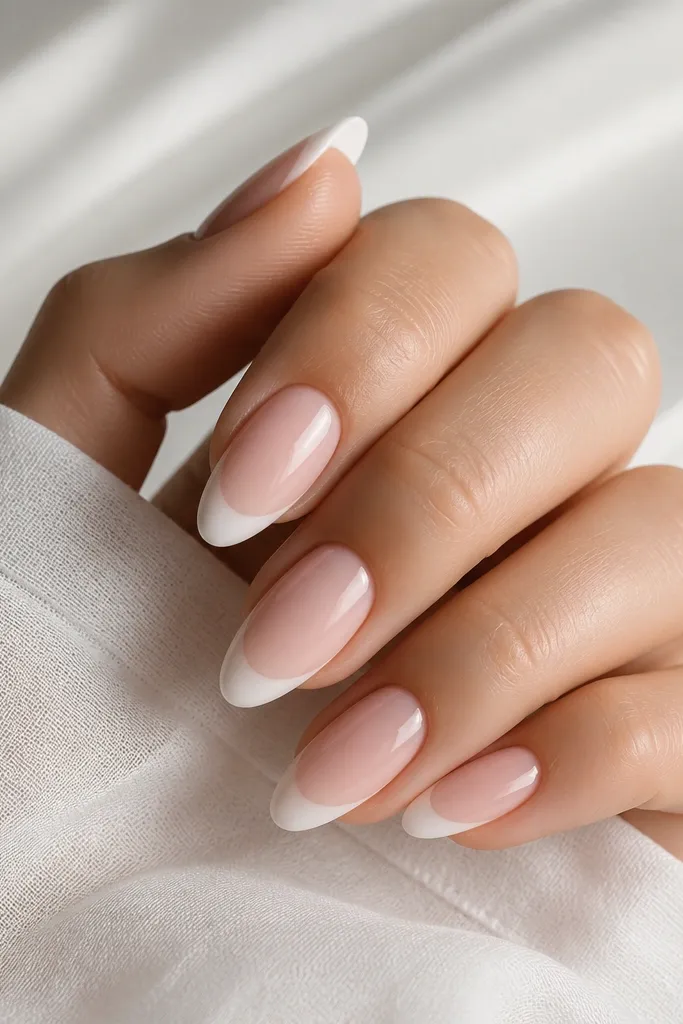
This adds warmth to the classic French. The blush micro-gradient creates a subtle "shadow" that makes the white tip look more dimensional. I like it when I'm wearing warm-toned makeup or blush-heavy outfits because it ties everything together.
Use a sheer pink base and bright white French tips. Add blush gradient with a sponge: dab blush near the underside of the white line and blend 2-3 mm downward. Keep it translucent so you don't turn the nail into a pink ombre. Seal with a glossy top coat to smooth the gradient.
Pro tipDo gradient placement on one nail first, then copy the height on the rest so they match.
Watch outAvoid using too much pigment - heavy blush turns the French into a pink tip.
10. French Tip with White Swirl Lines (No-Angle Look)
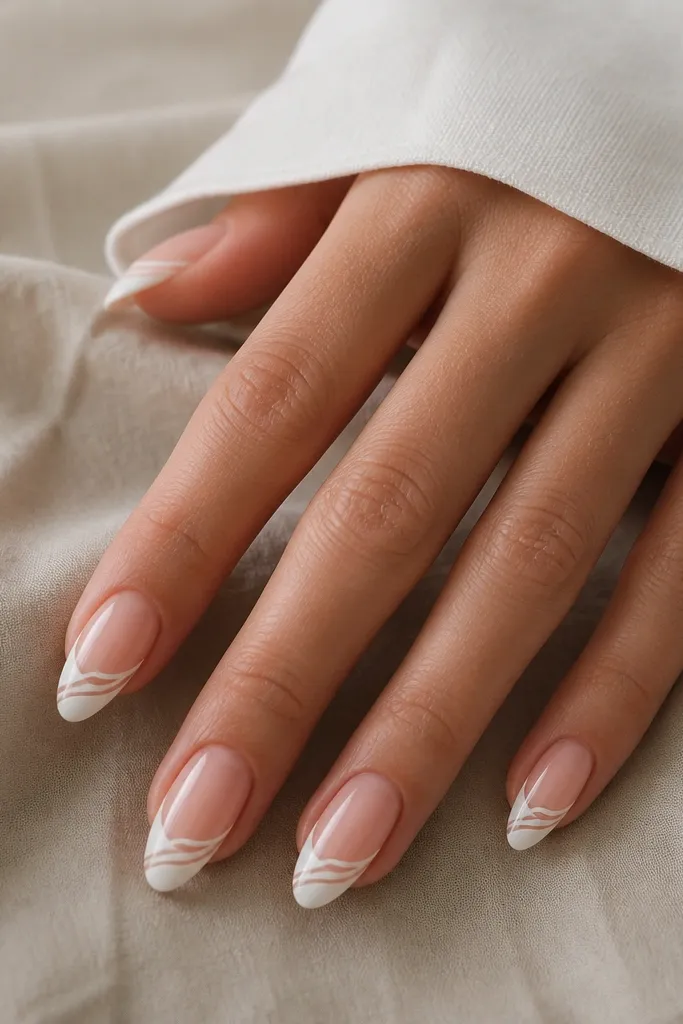
Swirl lines make the French feel artistic without needing a full nail design. The swirls look best when they're thin and slightly uneven, like a fine pen. This also hides micro gaps because the linework draws the eye.
Use a clean white French tip as your base. With a striper brush or nail art pen, draw 2-3 swirl lines on each tip, starting near the center and curving outward. Keep the swirls about 1-2 mm apart so they don't merge. Seal with a glossy top coat that fills tiny gaps without flooding the lines.
Pro tipIf your pen skips, lightly wipe the tip of the pen on a paper towel - it releases pigment evenly.
Watch outSkip thick swirls - they look raised and can catch on fabric.



