
1. Classic micro French on short almond
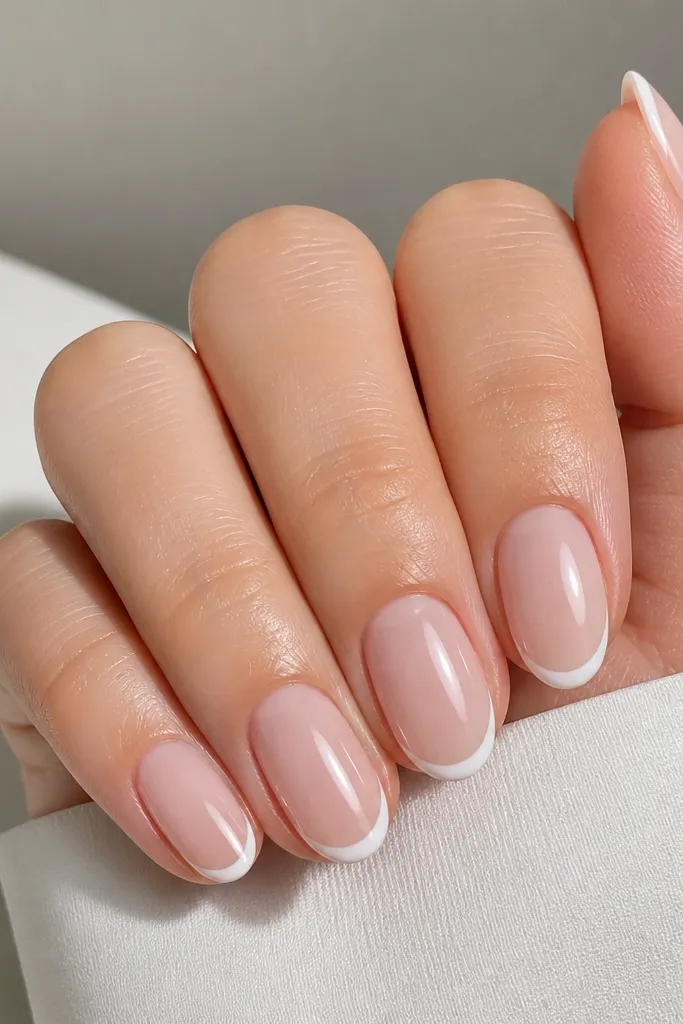
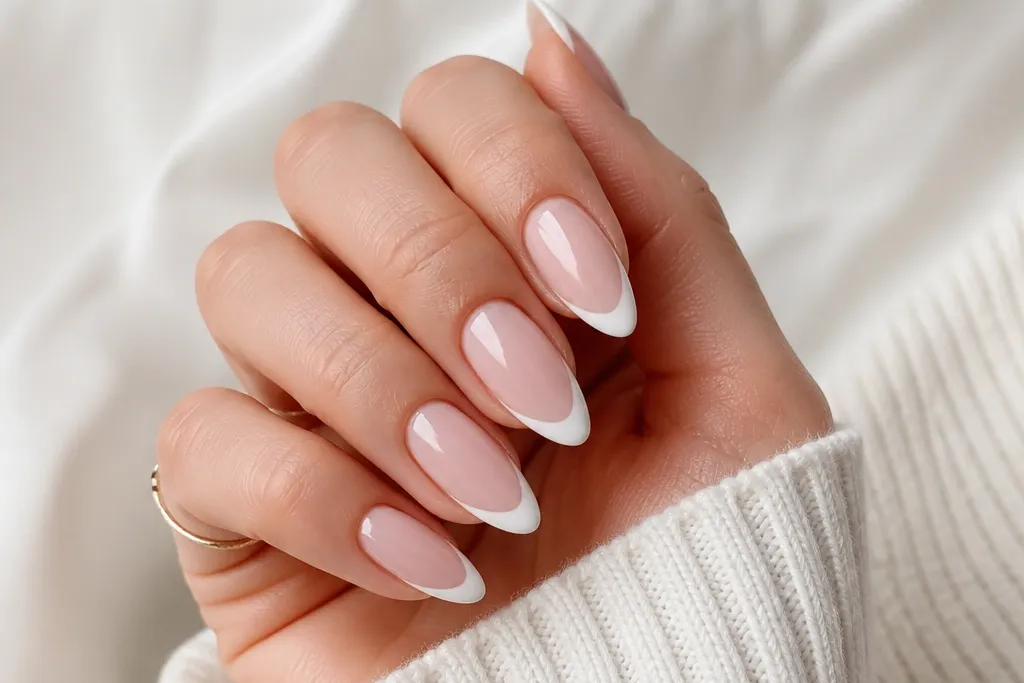
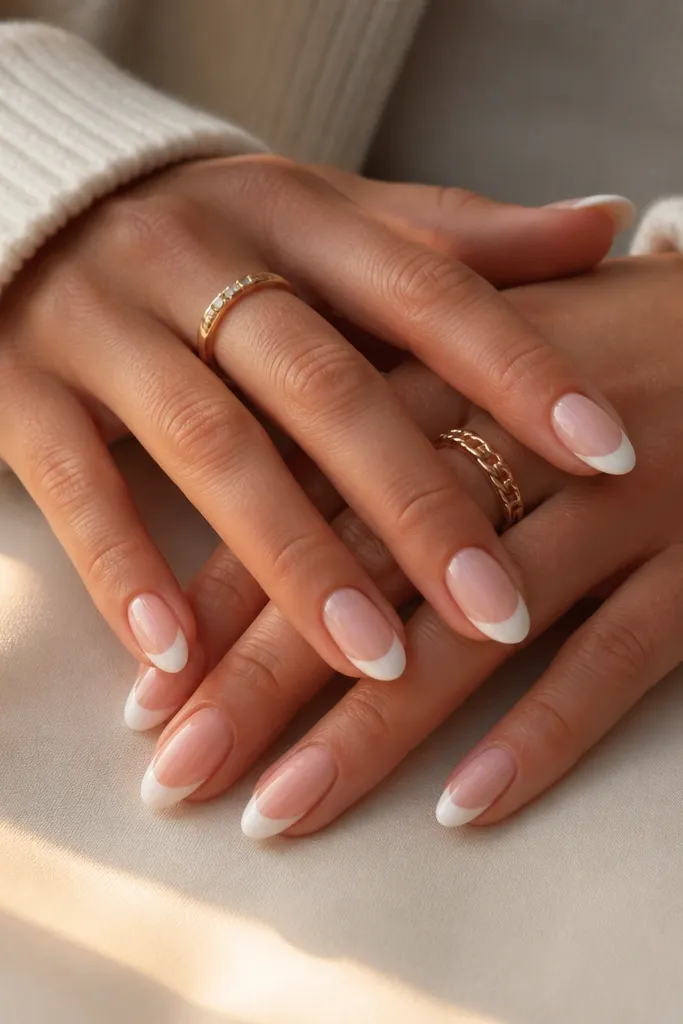
This is the "I'm put together" look. The white is narrow and close to the edge, so it hides growth and keeps your nails looking tidy even if you're doing this in a hurry. On almond nails, the micro line follows the tapered sides and makes your fingers look longer. Bright white against a sheer nude base reads sharp at arm's length.
Paint a sheer nude base in 2 thin coats, cure each. Use a French stencil that matches a short almond tip, then fill the stencil area with opaque white. Remove the stencil while the polish is still tacky (or before it fully sets if you're using regular polish) for crisp edges.
Pro tipAfter curing, use a small liner brush with a dot of white gel to correct any tiny gaps at the side corners.
Watch outAvoid a thick French line on short almond - it makes the nail look stubby.
2. Half-moon French with a tiny white arc
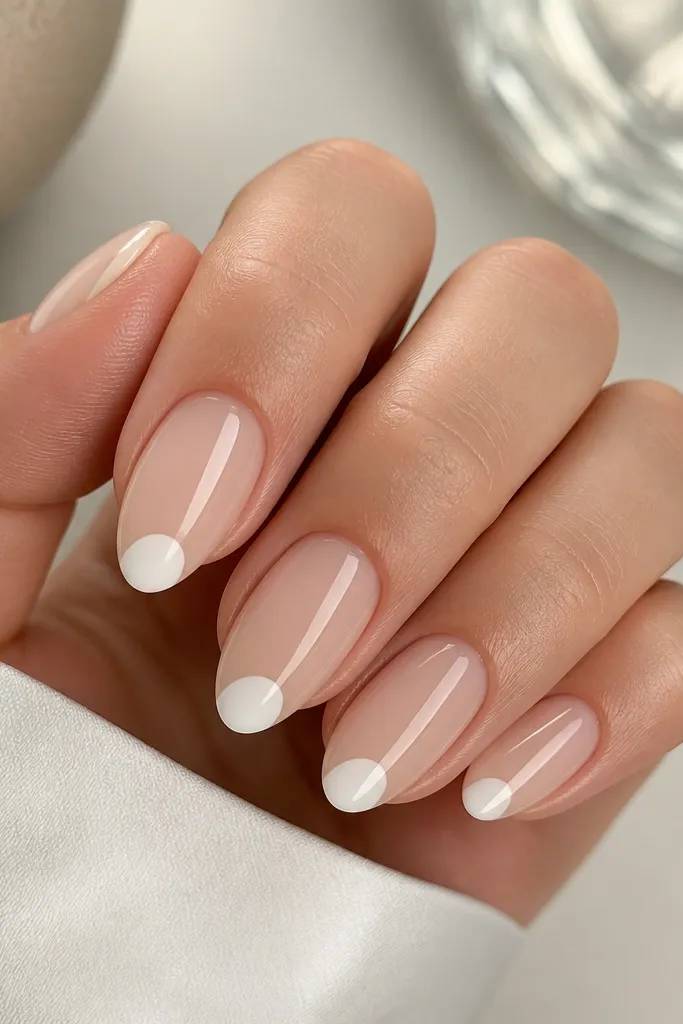
This design tricks the eye. A small white arc near the edge looks like a French tip, but it takes less coverage and is easier to keep even across nails. The arc also adds shape because it mirrors the almond taper. It looks super clean on fingers that need a "soft but polished" look.
Start with a sheer nude base. Place a tiny arc of white using either a half-moon stencil or a curved detail brush. Keep the arc width about 1-2 mm on each side, and keep it centered so the nail still looks balanced.
Pro tipIf your line feels shaky, lightly mark the center with a dot of nude first, then paint the white arc around it.
Watch outDon't make the arc too wide - it turns into a chunky band.
3. Reverse French almond tips (white base, nude line)
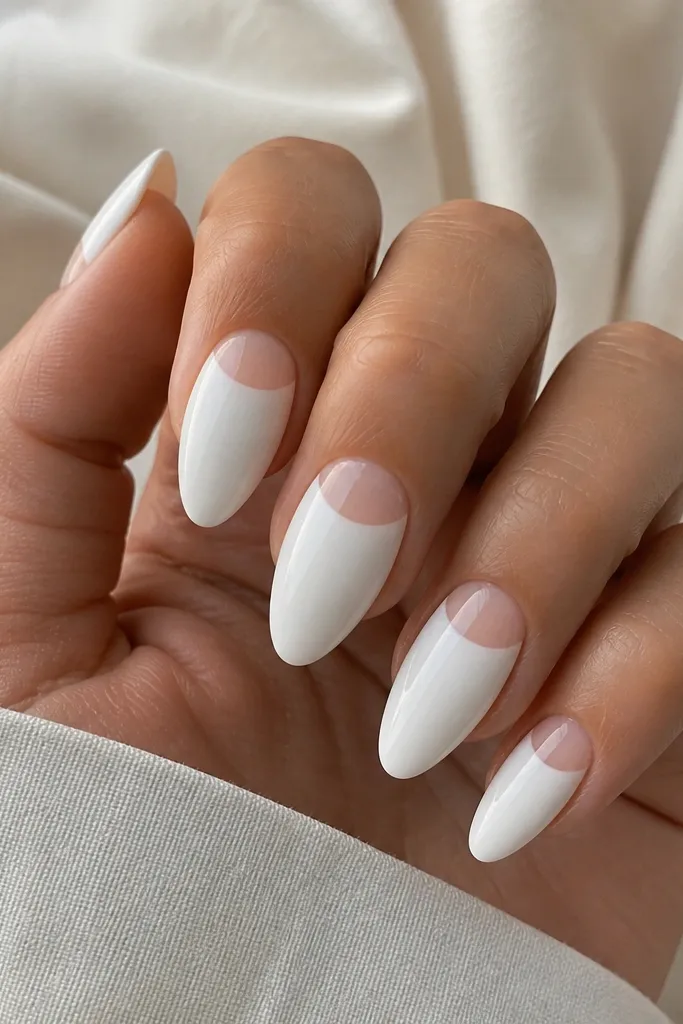
Switching where the white sits makes it feel fresh. A white base with a nude reverse line makes your almond shape look extra defined. It also hides imperfections because the white is solid and the nude line is thin. The contrast looks bold without needing crystals or extra art.
Apply a full opaque white layer as the base, cure. Then tape or stencil the reverse curve, and paint the uncovered band with sheer nude. Keep the reverse curve about halfway between the cuticle and the free edge for a clean proportion.
Pro tipUse striping tape to get the curve even - press it down firmly at the sidewalls to avoid gaps.
Watch outAvoid a reverse line that's too close to the cuticle - it can make nails look shorter.
4. Classic French with diagonal side "slashes"
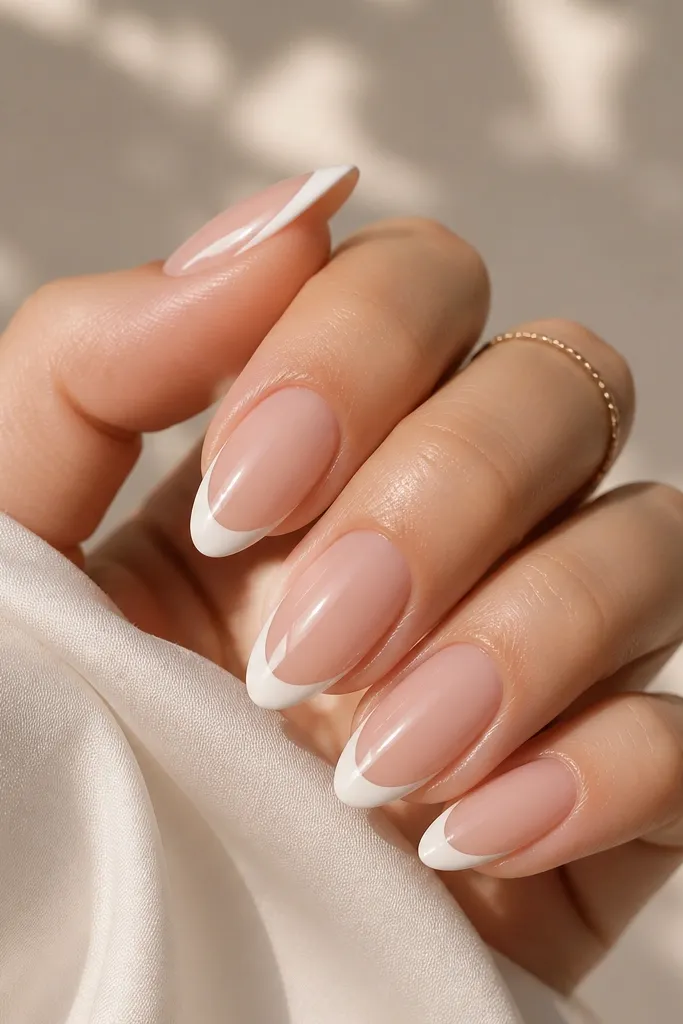
This is my go-to when you want French tips but you're bored. The diagonal slashes add movement and make the set feel custom. Because the slashes are small and on the sides, they don't overpower the almond shape. White-on-white accents look crisp when the main French line is already clean.
Do the standard French tip first with a stencil. Then, with a striping brush, paint one thin diagonal slash on each side of the tip area. Keep each slash about 2-3 mm long so it stays like an accent.
Pro tipWipe your brush on a lint-free wipe before painting the slashes so the line stays razor-thin.
Watch outDon't stack slashes on top of the smile line - it blurs the French edge.
5. Milky white French with glossy "glass" shine
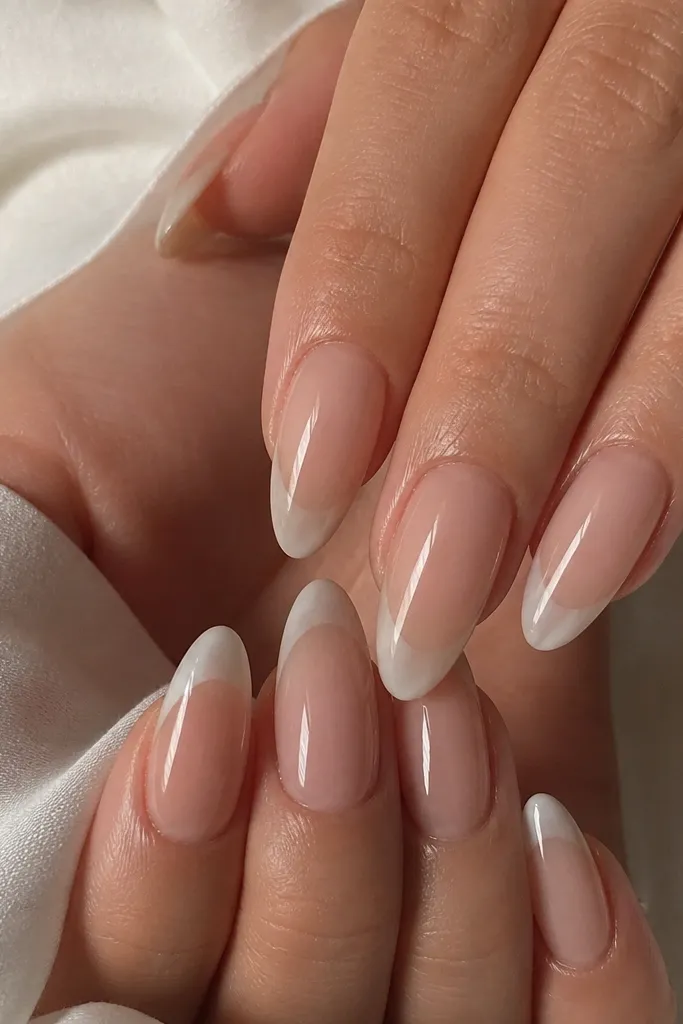
Milky white looks softer than bright white but still looks neat. The cloudy finish hides tiny brush strokes, which is perfect for quick manicures when your hands aren't steady. On almond nails, milky tips blend smoothly into the taper, so your edges look cleaner. Gloss top coat makes the milky white look richer and more "new."
Use milky white gel or mix white gel with a tiny drop of clear gel to get that creamy opacity. Apply it over a stencil for the tip shape, then cure. Finish with a thick glossy top coat to get that glassy reflection.
Pro tipIf the milky white looks streaky after curing, add a second thin milky coat just on the tip area.
Watch outAvoid a flat matte top coat here - milky white can look chalky.
6. French tip with a thin gold outline
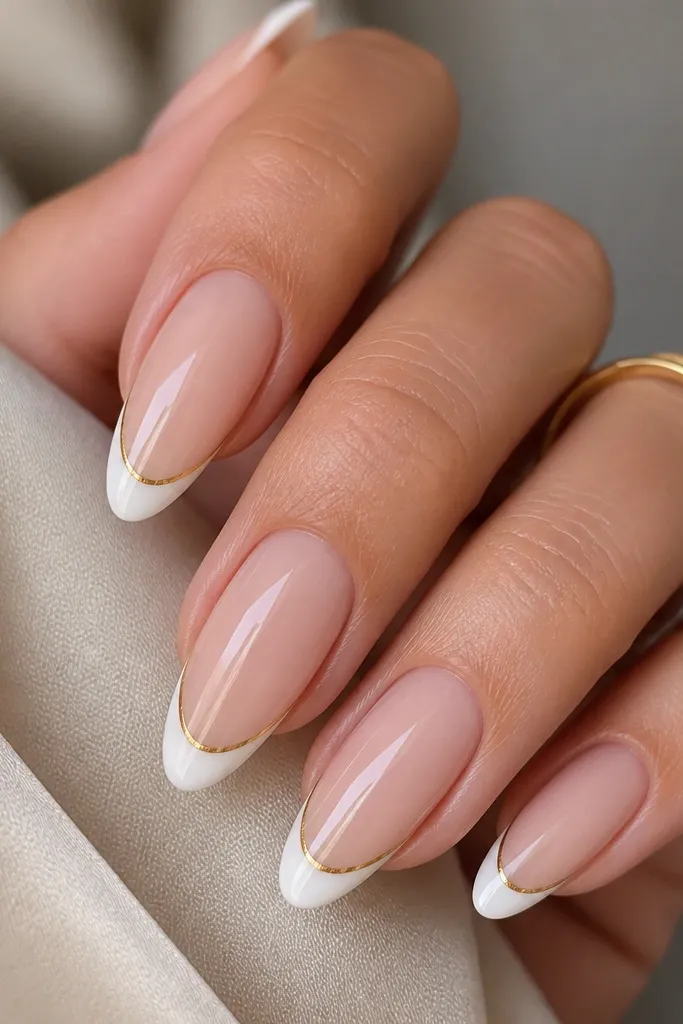
This turns a plain French tip into something date-night without adding bulk. The gold outline sits right on the edge, so it visually sharpens the smile line. It's also forgiving because even if your white line is slightly uneven, the gold border makes the boundary look intentional. The effect is crisp and clean, not blingy.
Do your white French tip with a stencil. Then paint a thin line of gold striping gel right along the top edge of the white. Cure and seal with top coat so the gold doesn't catch on fabric.
Pro tipUse a gel liner brush that's 0.5 mm wide or thinner - thicker brushes make the gold look like a sticker.
Watch outDon't put gold inside the white tip - keep it on the edge.
7. White French with one "ghost" nail
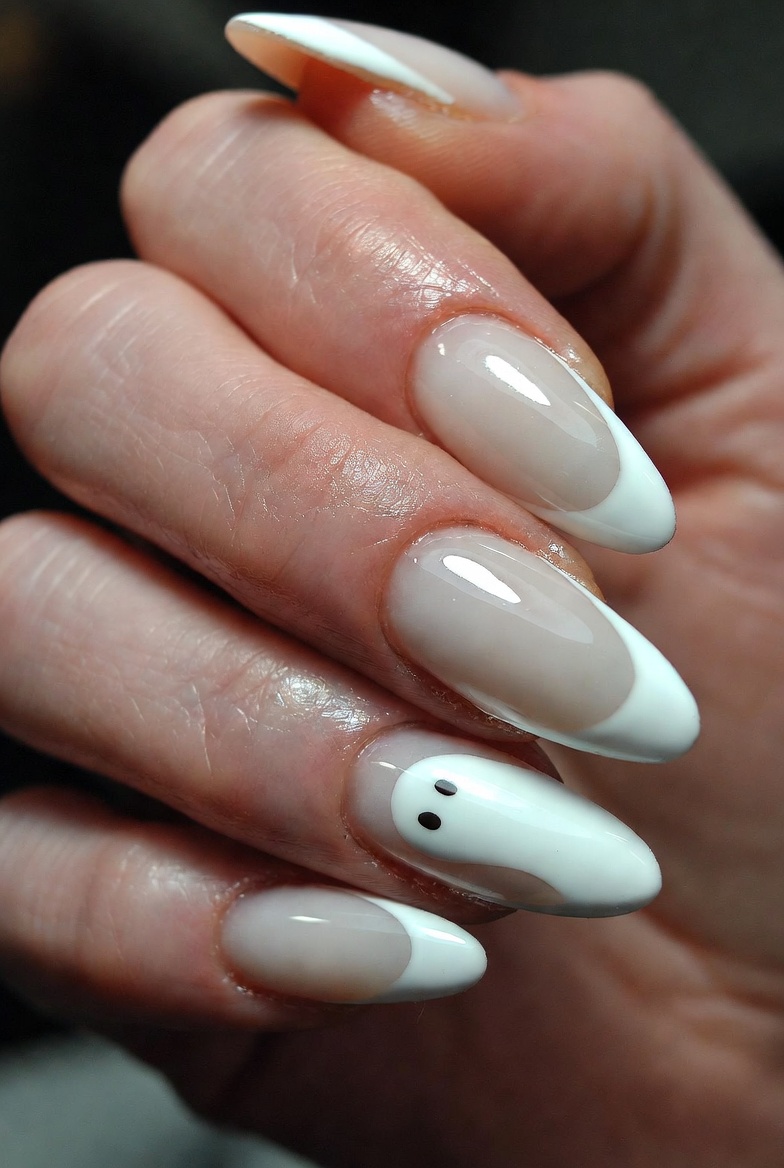
One accent nail keeps the set interesting without making it complicated. The "ghost" French tip looks airy and trendy, and it hides any tiny unevenness because it's intentionally soft. It also makes the rest of the nails feel extra clean by contrast. This is great if you want white almond nails quick in 5 minutes but still want something that looks like a full manicure.
Paint regular French tips on four nails using a stencil. For the accent nail, use a lighter opacity white by thinning white gel with clear gel, then stamp or dab it lightly within the tip area. Cure and finish with glossy top coat on all nails.
Pro tipKeep the ghost nail's tip slightly lower than the others for a more natural look.
Watch outAvoid making the ghost nail too opaque - then it stops looking like an accent.
8. Half-glow French tips (white fade on almond)
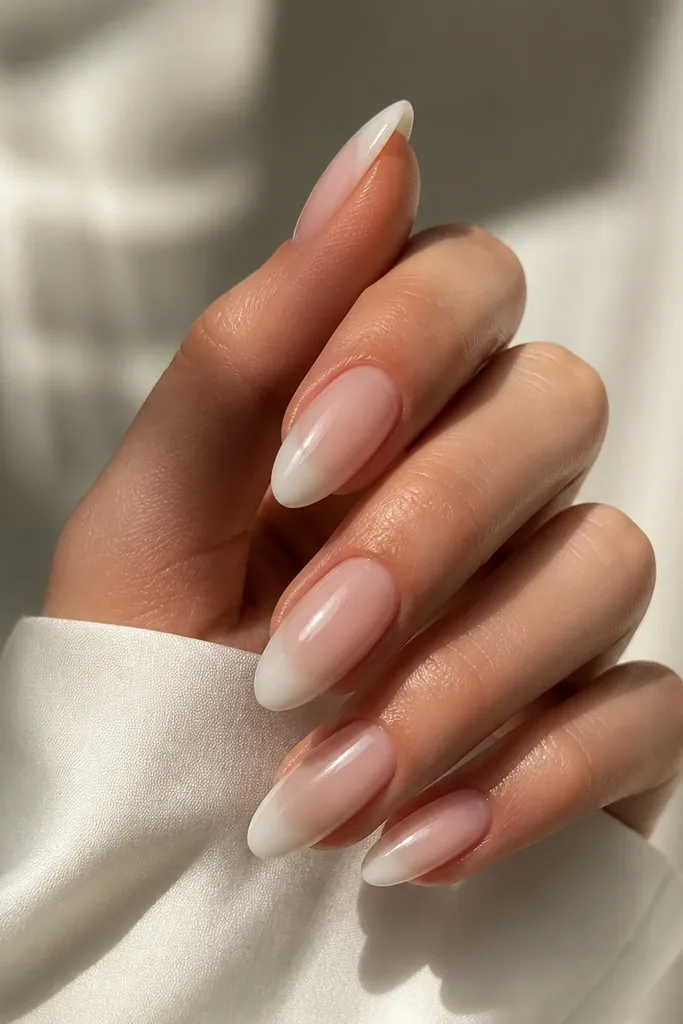
A fade makes the tip look smoother than a hard border. It's still "French," but the transition is forgiving if your stencil line isn't perfect. On almond nails, the fade follows the taper and looks polished even with quick application. The glossy finish makes the fade look like it's glowing from within.
Use a stencil to block the tip area. Paint the very edge of the tip with opaque white, then blend upward with a makeup sponge lightly loaded with white gel (not clear). Feather the blend so you keep a clean outer edge and a softer inner transition.
Pro tipBlend with a nearly dry sponge for a smoother fade - wet gel smears the base.
Watch outDon't blend all the way to the cuticle - keep it only in the tip zone.
9. White French with tiny dot corners
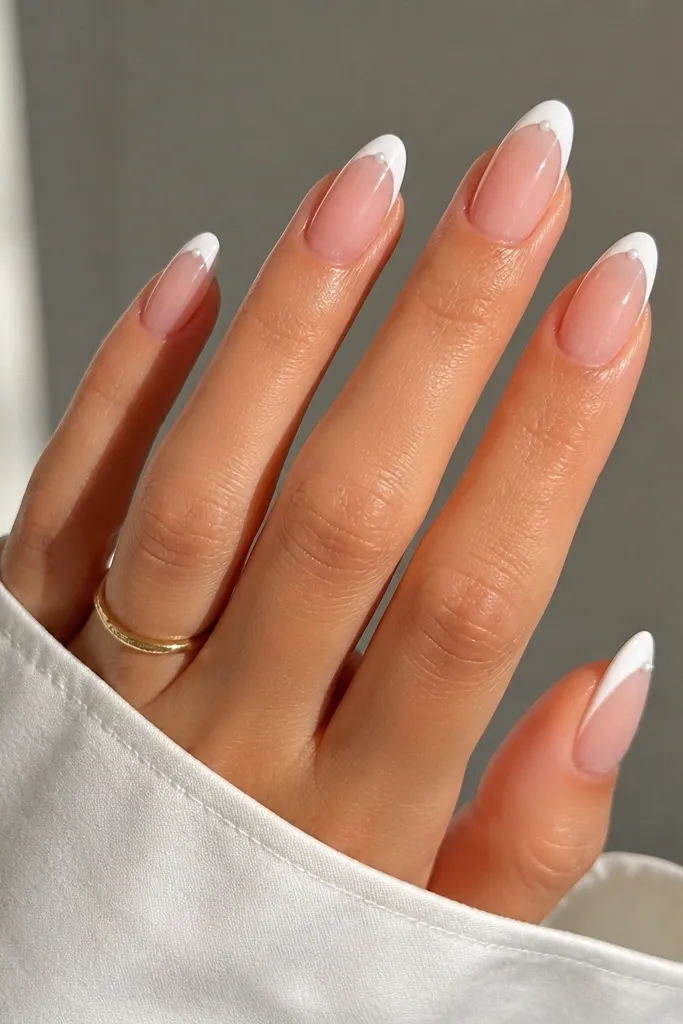
These little dots make the French tip look intentional and symmetrical. Because the dots sit at the side corners, they emphasize the almond taper. The dots also help hide micro gaps you might get at the side edges of the French line. It's a small detail that reads "done," not "rushed."
Apply your white French tip with a stencil. With a dotting tool, place two tiny dots on the inside corner of each tip (one left, one right). Cure and seal with top coat so the dots don't snag.
Pro tipKeep dot size to about 0.3-0.5 mm - bigger dots look like accidental smudges.
Watch outAvoid uneven dot heights - one side bigger makes it look off fast.
10. French tip with a negative-space V at the center
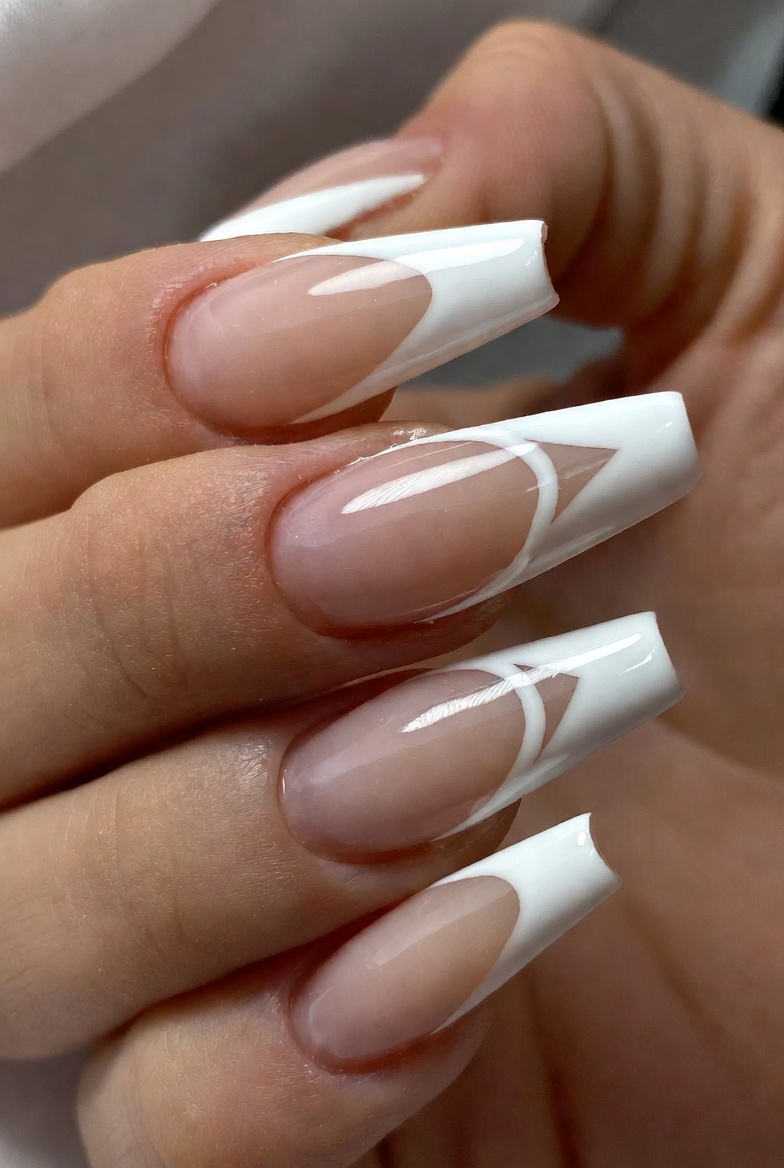
That center V makes the tip look modern and sharp. Negative space also hides small alignment issues because your eye is drawn to the V shape. It's surprisingly easy if you use a V-shaped nail guide or thin striping tape. The look is clean, not busy, and it still screams "French" from a distance.
Stencil the French tip first and paint it white. Then place two small strips of tape to form a V in the center and remove the tape so nude shows through. Paint over the tape edges with white again if needed, then cure and seal.
Pro tipPress tape down hard at the V point so the edges stay razor clean.
Watch outDon't make the V too wide - narrow looks sharper on almond.
11. Cloudy white French with a matte nude base
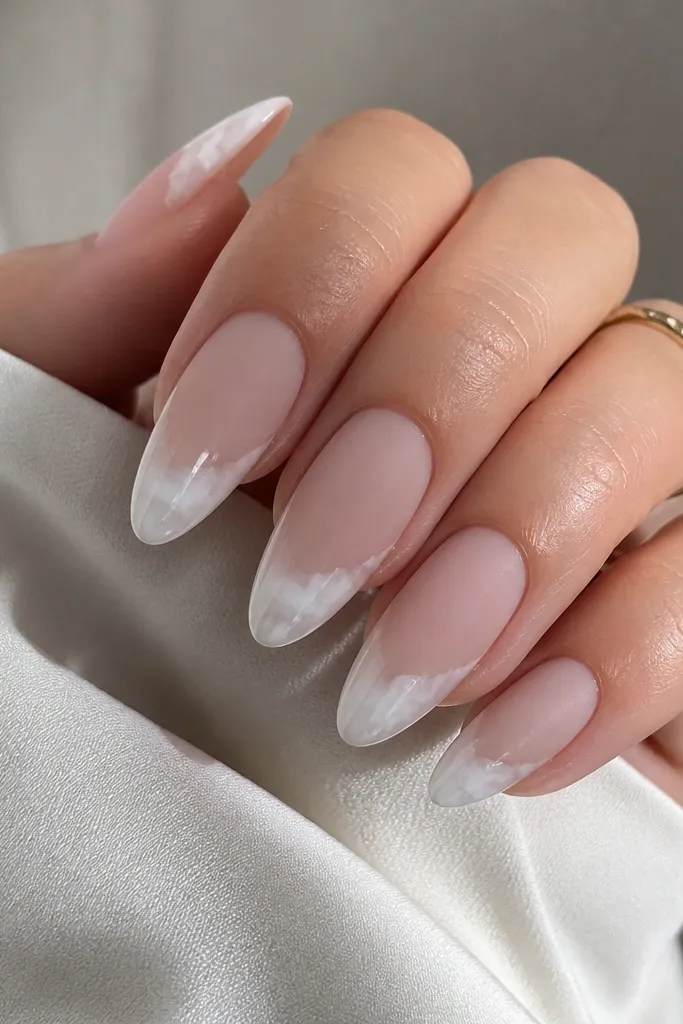
This is the texture contrast trick. Matte nude makes the white tip look cleaner and more defined, while glossy on the tip makes it feel fresh. The cloudy edge is forgiving and looks artistic instead of messy. On almond nails, the glossed tip catches light and makes the shape look smoother.
Do your base in matte finish (either matte top coat over nude or a matte base gel). For the French tip, paint white with a stencil, then lightly tap the outer edge with a brush for a soft cloud effect. Seal the tips with glossy top coat only on the tip area.
Pro tipUse a small piece of sponge to blur the white edge - tap, don't swipe.
Watch outDon't matte the entire nail after adding gloss - you'll lose the contrast.
12. White French with a micro rhinestone line
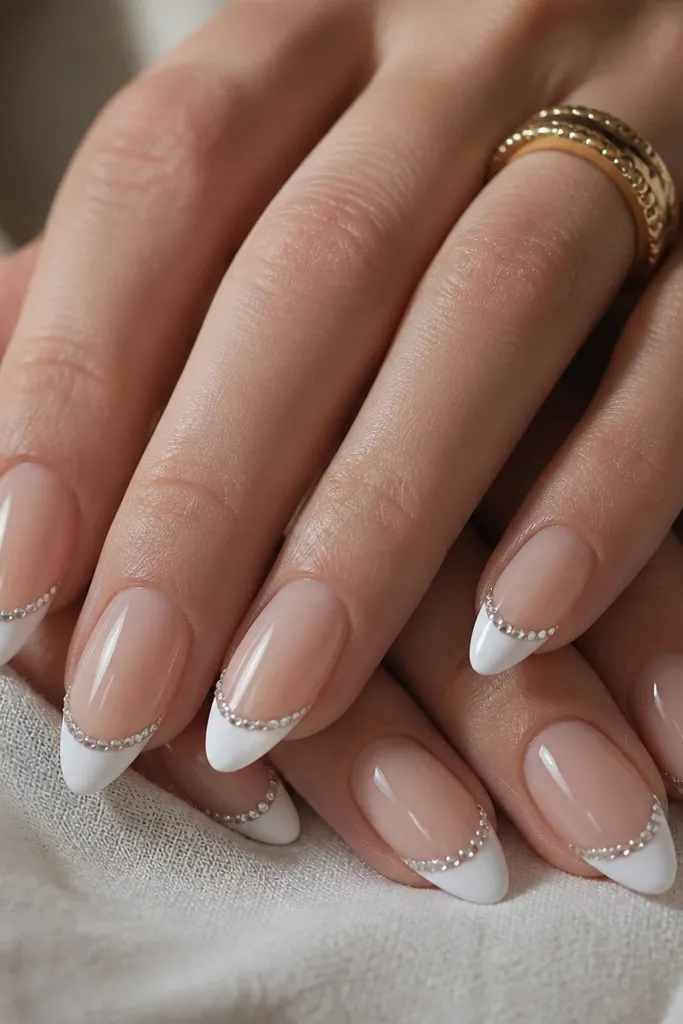
If you're going to add one thing, add it along the curve. A micro rhinestone line makes the French edge look crisp and expensive, and it also covers any tiny unevenness where the stencil meets the nail. I've worn this to events where my manicure had to survive photos and handshakes. The key is tiny stones and a thin placement line.
Apply the French tip and cure. Add a thin line of rhinestone gel or clear gel where you want stones, then place 3-5 micro rhinestones per nail along the curve. Cure and top coat around the stones without flooding over them.
Pro tipPlace stones with tweezers under a bright light so you can keep the line straight.
Watch outAvoid big stones - they look heavy and ruin the quick French vibe.



