
1. Milky white almond with micro French tips
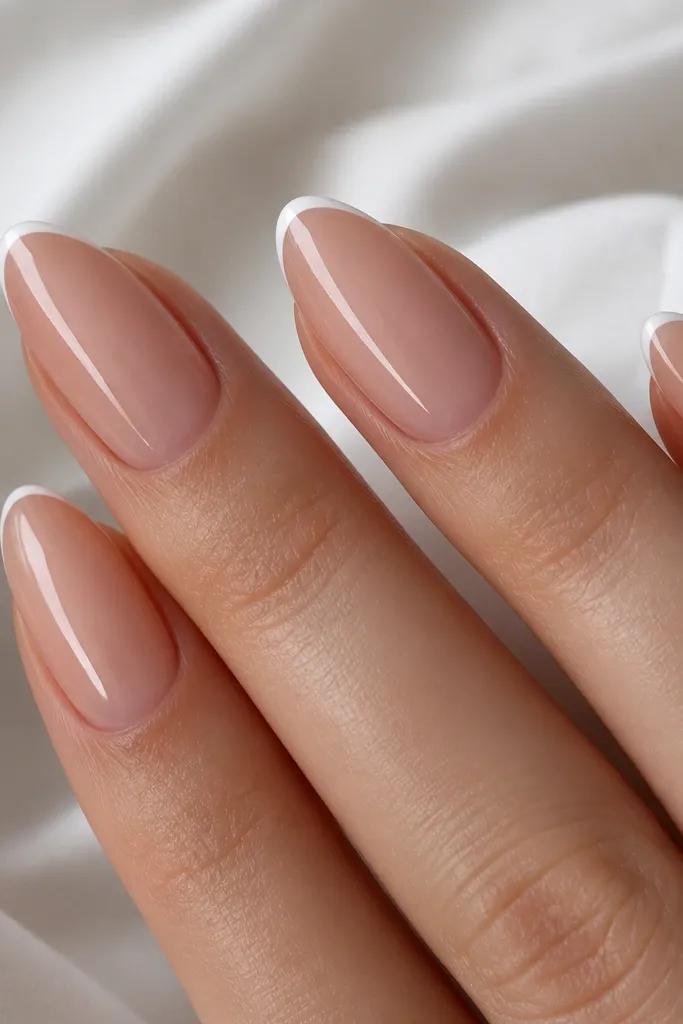
This is the cleanest year-round white almond nail look because it reads "fresh" even when you're not wearing jewelry. The nude base keeps the nail looking healthy, while the micro French keeps the white from covering too much surface. I like milky white here because it looks creamy, not stark.
File your almond shape with a soft apex, then paint a nude base in two thin coats. For the tips, use a striping brush and keep the white line narrow - about the width of a thin eyeliner line. Seal with a glossy top coat, then clean the edges with a brush dipped in acetone on a lint-free pad.
Pro tipUse a dotting tool to place a tiny white "cap" at the center of each tip before you connect it - it makes the line perfectly even.
Watch outAvoid a thick French tip - it makes white look heavy and can chip faster at the edges.
2. Icy white chrome over nude with one silver accent line
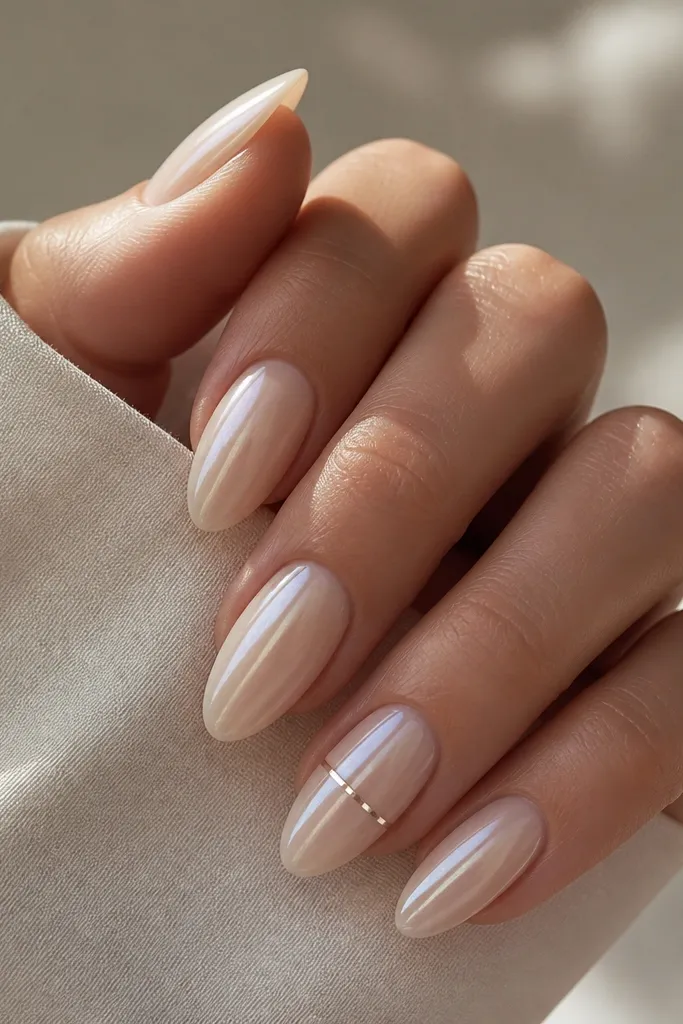
Chrome turns white into something that looks lit from within. The nude base stops the chrome from looking too stark against your skin, especially in cooler months. One thin silver line gives structure without turning it into a full "theme set."
Apply nude builder gel or nude soak-off gel, then cure. Sponge on icy white chrome powder (or rub with an applicator) and press lightly so it doesn't streak. For the accent, paint a straight silver stripe with gel polish on the ring finger only, then top coat all nails.
Pro tipPress the chrome with a firm, flat motion for 5-7 seconds per nail so it stays smooth under light.
Watch outSkip the thick top coat right away - if you flood it, chrome can dull and look dusty.
3. White almond nails with tiny gold outline hearts
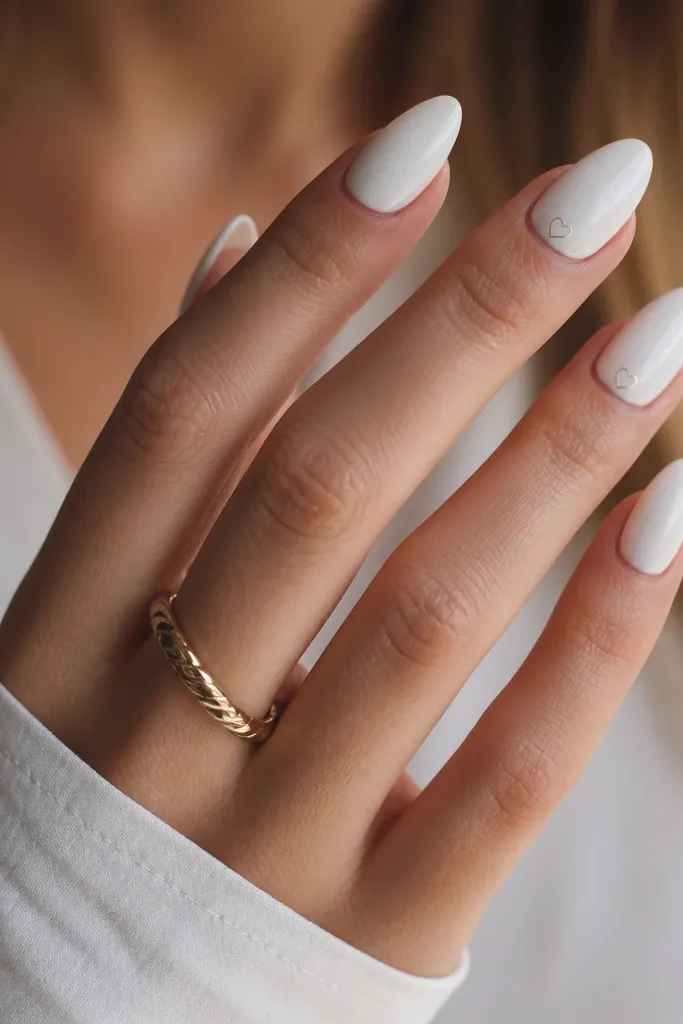
Gold outline hearts look cute without getting childish, and they sit perfectly with white because the contrast is crisp. The hearts are small enough to look intentional even after a week of growth. I like doing them near the cuticle because it pulls the design upward and makes the nail look longer.
Use a fully opaque milky white base. With a fine liner brush and gold gel, draw a simple heart outline (two arcs and a point). Place hearts on the index and ring fingers only, and keep them about 2-3 millimeters wide.
Pro tipLet the gold gel self-level for 20 seconds before curing so the line stays smooth.
Watch outDon't fill the hearts in with gold - outline only looks cleaner on white and avoids chunky edges.
4. Creamy white almond with black micro dots and a matte top
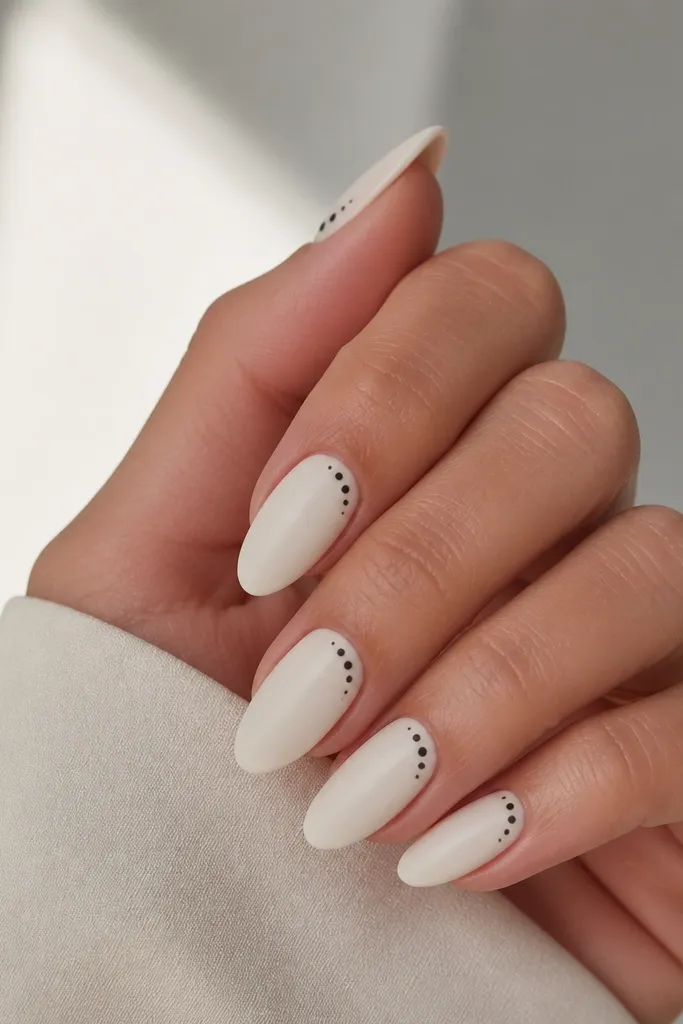
Matte changes everything about white - it stops looking glossy and "clinic clean," and it feels softer. The black micro dots add rhythm and give your nails a graphic look without heavy art. This is the design I reach for when I want something stylish but still office-friendly.
Paint two coats of creamy white gel, cure fully. Add dots using a 1-2 mm dotting tool, placing them in a diagonal pattern across 4 nails. Finish with matte top coat only after the dots cure - glossy top over matte dots can make them look raised.
Pro tipKeep dot spacing consistent: about half a dot width between each dot.
Watch outAvoid large dots - they look like nail stickers and ruin the delicate vibe.
5. White almond with periwinkle swirl tips
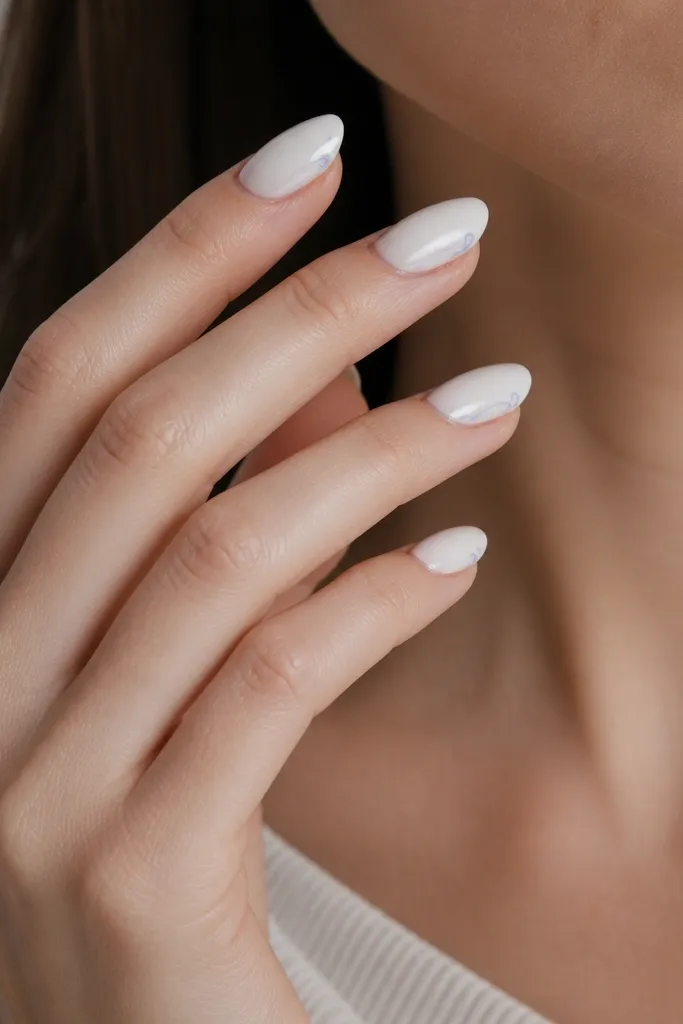
Periwinkle is a perfect cool partner for white because it doesn't fight your skin tone the way neon pastels do. Swirl tips feel playful but still look intentional when the rest of the nail stays solid white. This is a great "year-round spring" look that doesn't scream a season.
Use opaque white across the full nail. With a thin liner brush, pull one periwinkle swirl starting from the side of the tip and curling inward. Add a single tiny dot at the end of the swirl for a finished look. Cure and seal with glossy top coat.
Pro tipPractice one swirl on a spare nail tip: the best swirl starts as a light touch and thickens slightly at the mid-curve.
Watch outSkip thick paint swirls - they look lumpy under light.
6. Negative space white almond with half-moon cuticles
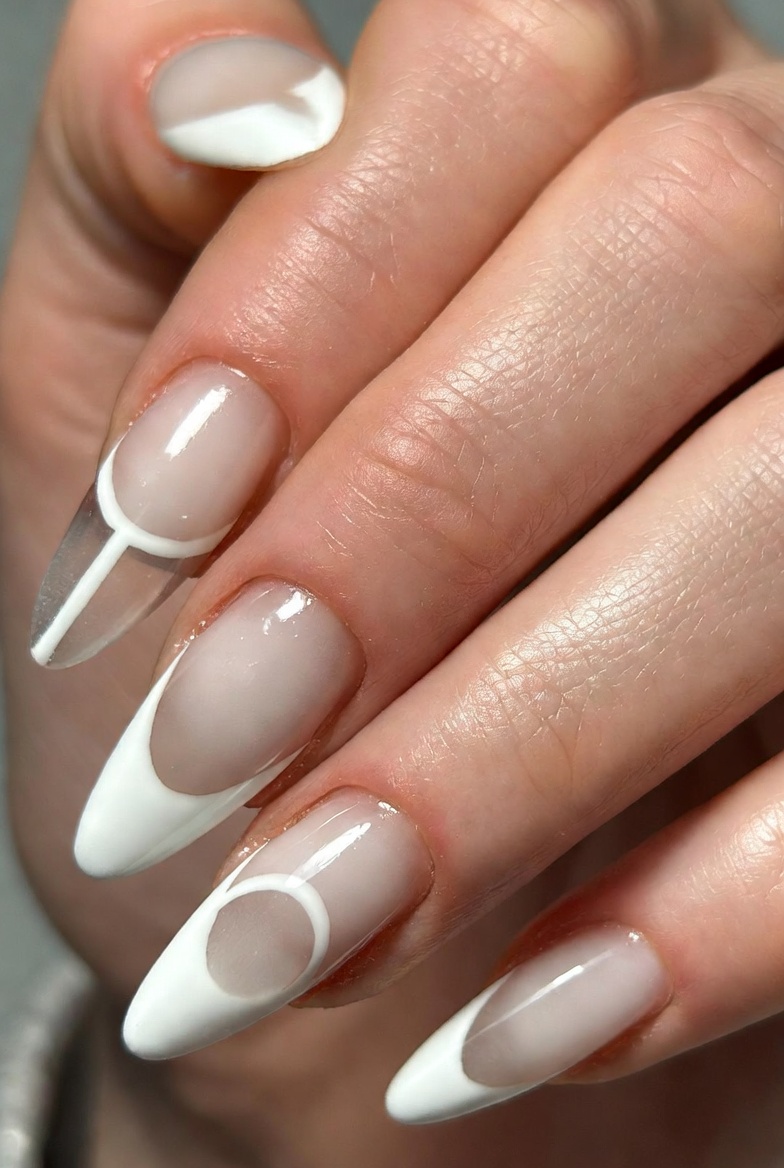
Half-moon cuticles are flattering because they frame the nail bed and make the nail look longer. Negative space keeps the look breathable and helps it grow out without turning into a block of color. White in the cuticle area also hides any slight unevenness in your base polish.
Start with a sheer nude base. Use a small angled brush to paint a crisp white half-moon that curves just under the living cuticle line. Keep the half-moon thickness around 1 millimeter. Seal with a glossy top coat.
Pro tipUse a guide: place the brush at the center first, then mirror the curve to the other side.
Watch outDon't paint the half-moon too high - it can look like a thick sticker line.
7. White almond with marble streaks in soft gray
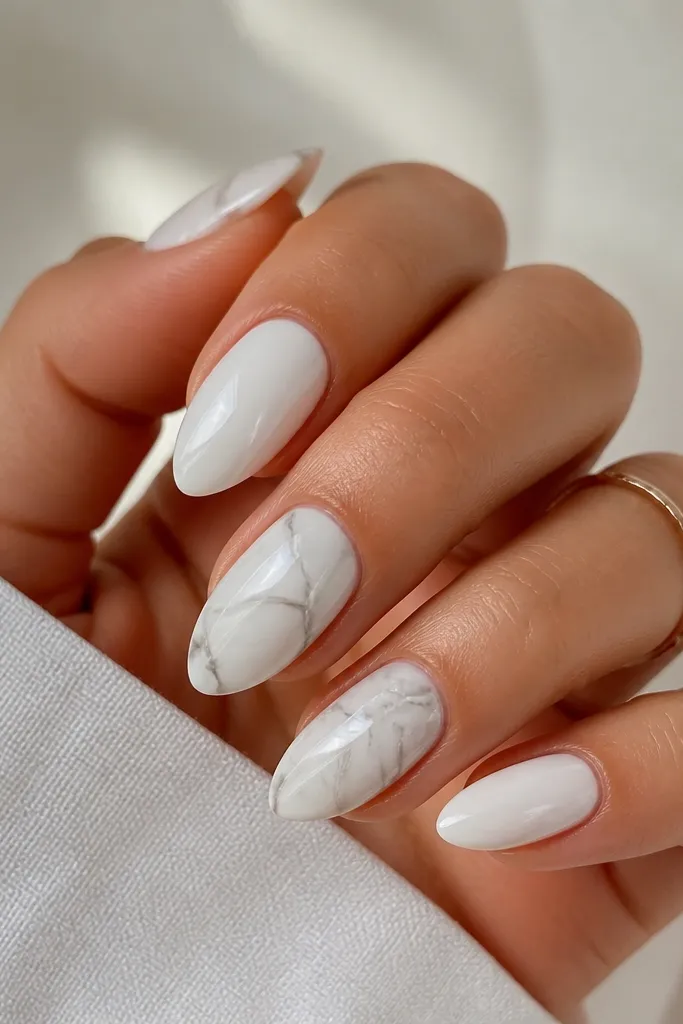
Marble streaks make white look expensive because the movement adds depth. Soft gray keeps it modern and prevents the marble from reading dirty. I like placing the marble on two nails per hand so your set looks designed, not busy.
Paint all nails white. On the ring and middle fingers, drag a thin gray gel line across the nail and then pull it with a toothpick for feathered edges. Add 2-3 tiny offshoot lines so it looks natural. Cure, then top coat with high shine.
Pro tipLess gray is more - start with two streaks and build only if it looks too plain.
Watch outAvoid chunky marble blobs; thin streaks read like marble, thick ones read like paint.
8. White almond with tiny rhinestone "tear" on the side
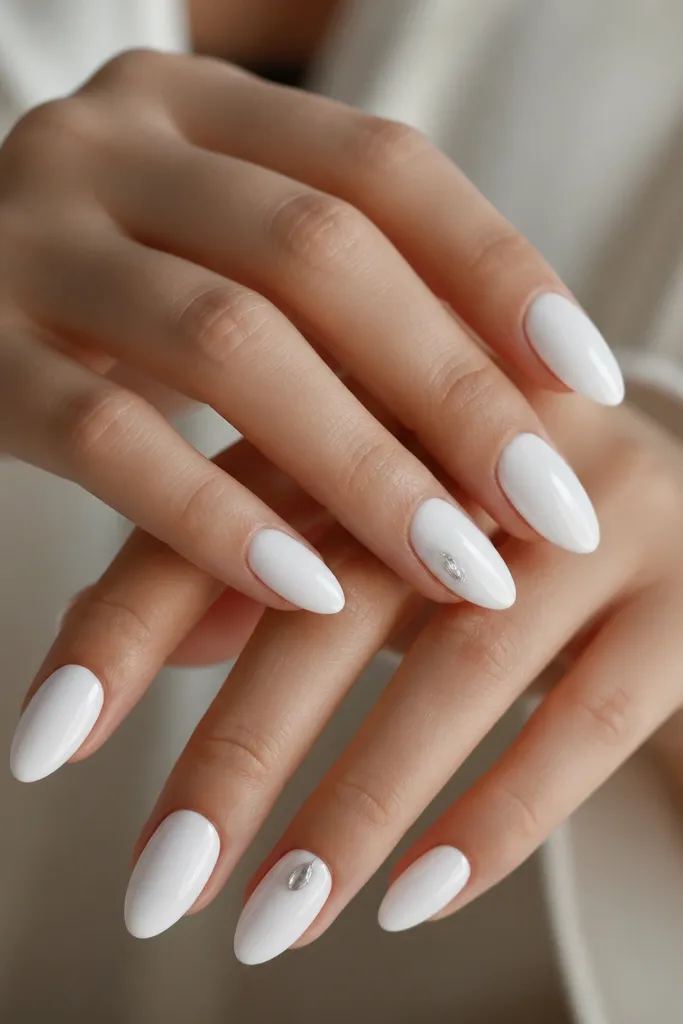
Side rhinestones look sharp because they catch light without covering the whole nail. A single teardrop placement feels intentional and clean, especially when the nail is fully white. This is my go-to for date night because it looks fancy in photos but still minimal in real life.
Do opaque white on all nails. On the ring finger, place one small rhinestone (about 1.5-2 mm) near the lateral side, slightly below the midpoint. Use gel adhesive, cure, then top coat carefully around the stone to avoid lifting.
Pro tipLeave the top coat thin around the stone so the sparkle stays crisp.
Watch outSkip large stones - they make the nail look uneven and can snag.
9. White almond with gold leaf freckles
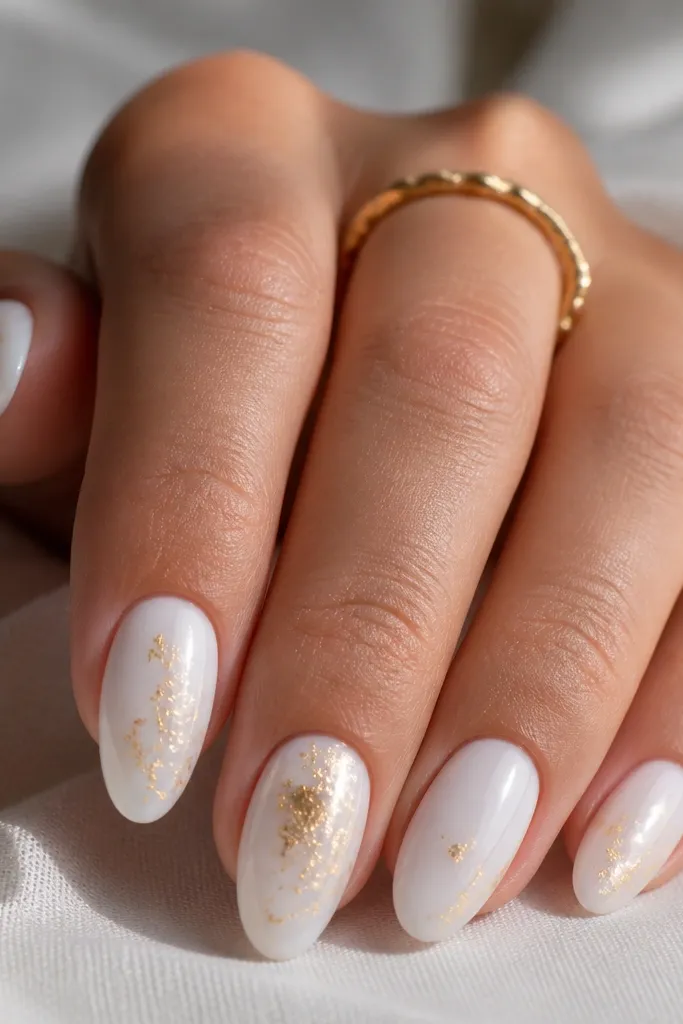
Gold leaf freckles make white feel textured and expensive without needing a full design. The irregular pieces catch light differently as you move your hands, so it looks alive. I like this when I want a "special" set that still feels wearable.
Use opaque white as your base. Apply a thin tack layer or gold leaf adhesive gel in small patches, then press gold leaf pieces onto it with tweezers. Concentrate on the middle and ring fingers, leaving lots of white space around the flakes. Seal with a gel top coat in thin layers.
Pro tipPress leaf pieces gently - too much pressure smears them and kills the sparkle.
Watch outAvoid covering the whole nail - full coverage leaf looks messy and hard to clean.
10. White almond with navy thin-line anchor on index finger
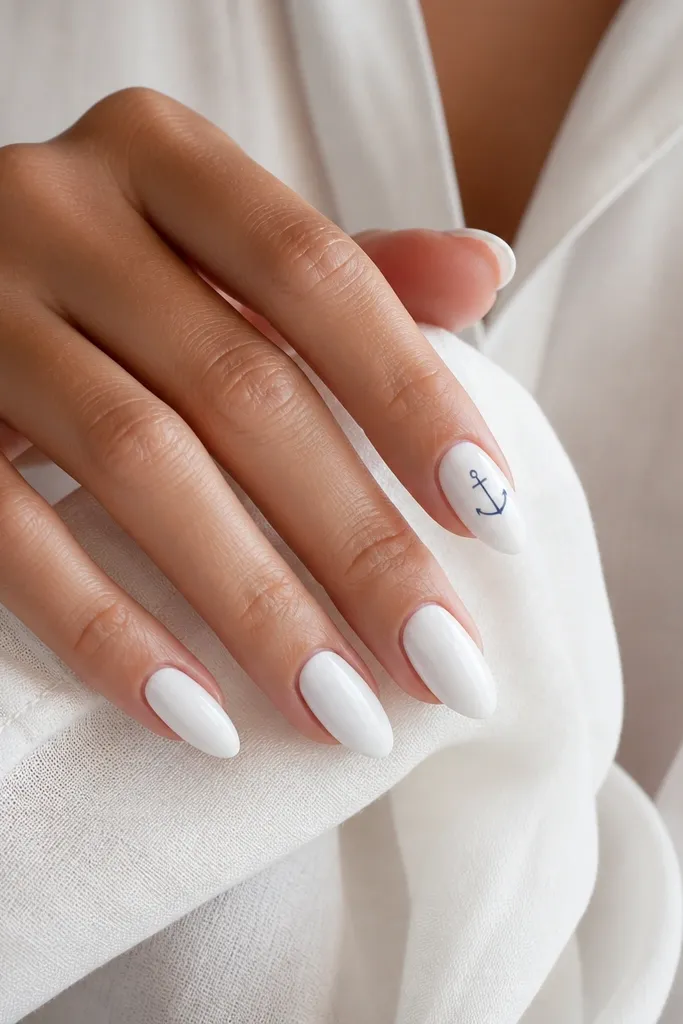
Navy on white looks crisp and clean, like a classic shirt. A single anchor line drawing gives a theme without turning your nails into a sticker sheet. This stays cute even when the weather changes because it's more graphic than seasonal.
Paint white on all nails. On the index finger, draw a simple anchor outline using navy gel and a fine liner brush. Keep the rope line short and add one tiny dot to anchor the composition. Cure and top coat.
Pro tipUse a steady hand by resting your pinky on your table while you draw.
Watch outDon't thicken the outline - thick lines look cartoonish on almond shape.
11. Pearl white almond with subtle shimmer ombre
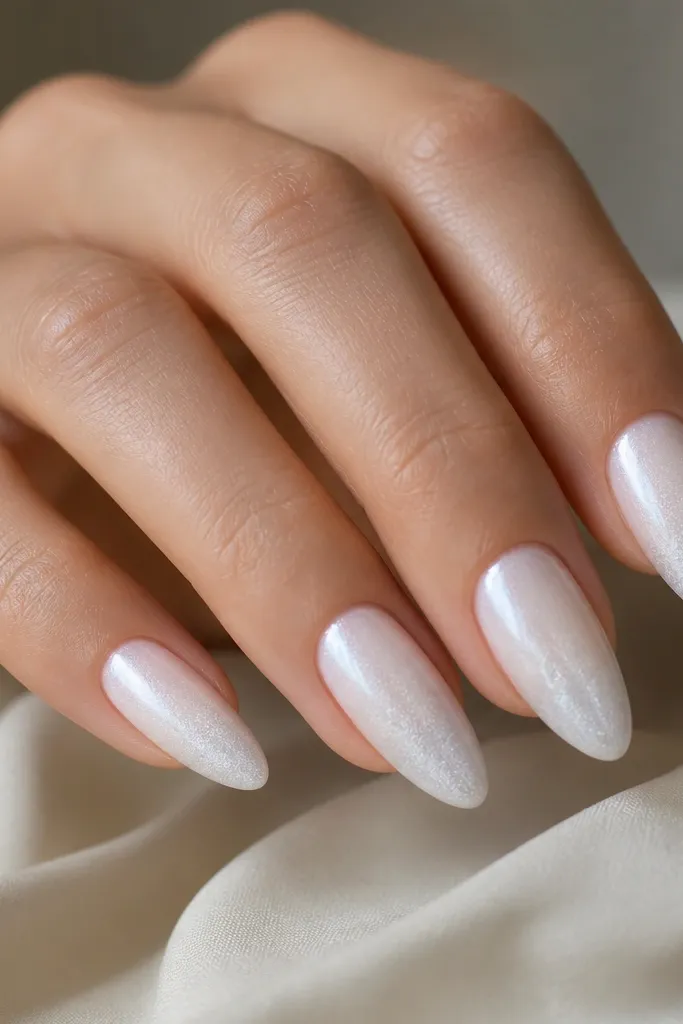
This is white almond nails year round in the most flattering way because it looks polished even when it grows out. The shimmer is concentrated at the tip so your nails look brighter and longer. It's also less likely to show chips because the fade hides tiny wear.
Paint a base of opaque white. For the ombre, use a pearl shimmer gel or fine pearl powder mixed with clear gel, then sponge it from mid-nail to the tip. Keep the gradient soft - no harsh line. Cure and apply glossy top coat.
Pro tipBlend with a makeup sponge in two light passes instead of one heavy pass.
Watch outAvoid glitter chunks; fine shimmer looks smooth, chunky sparkle catches on fabric.
12. White almond with blush pink micro florals
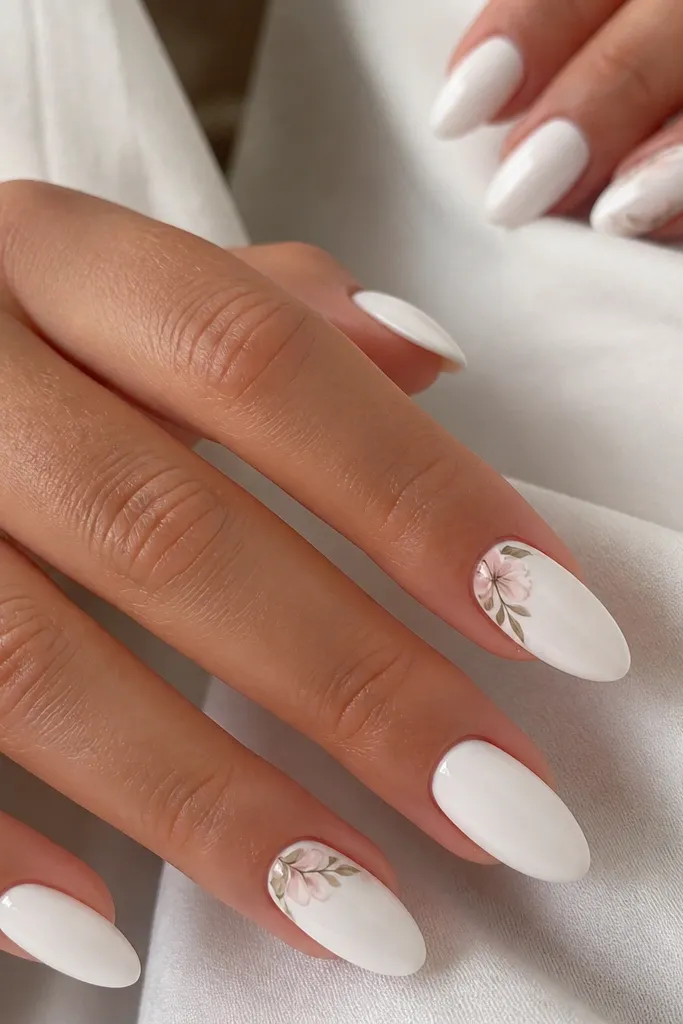
Micro florals on white look delicate without taking over your whole hand. Blush pink is warm and flattering, especially with white because it doesn't overpower. I like leaving most nails plain so the florals look like real nail art, not wallpaper.
Base coat and cure white on all nails. On two accent nails, dot small blush petals using a dotting tool, then add tiny leaf shapes with greenish-gray gel mixed with a touch of white. Keep each floral cluster under 5 mm wide. Top coat glossy.
Pro tipAdd a tiny white highlight dot in the center of each flower so it looks dimensional.
Watch outSkip big blooms - large flowers look heavy on almond and grow out awkwardly.



