
1. Milky White Gloss Almonds with Clear Glass Cuticles
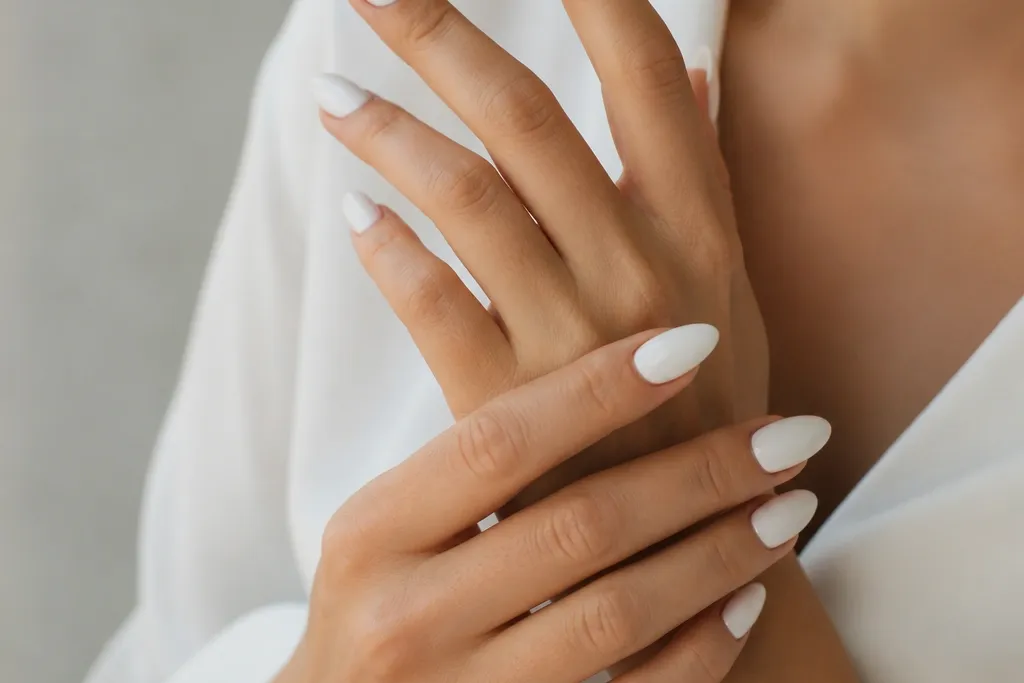
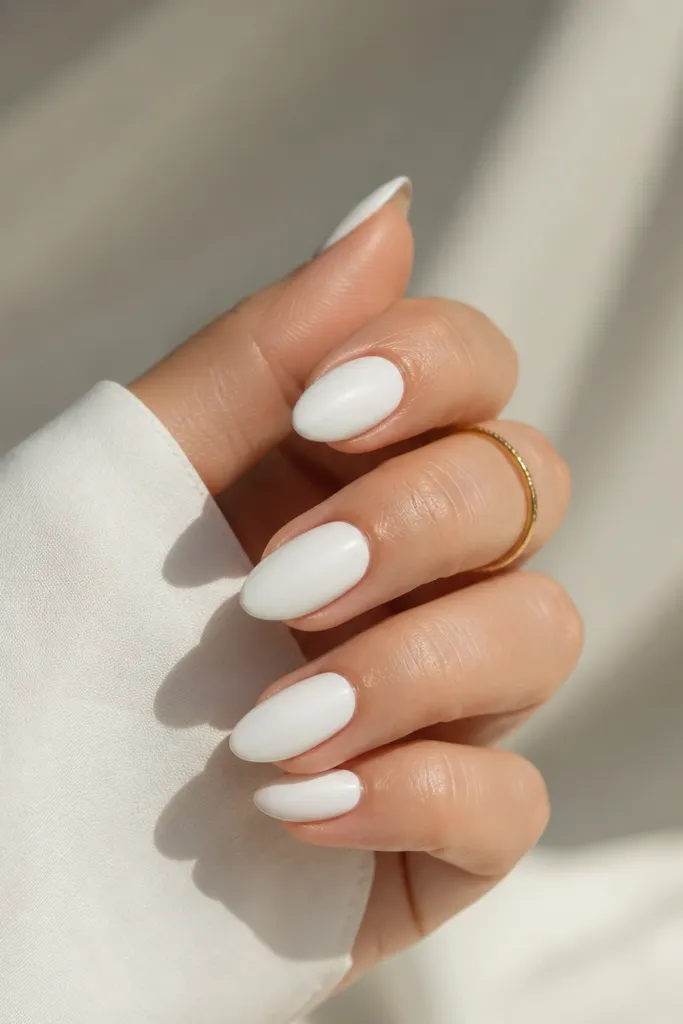
This is the "clean girl" version that still feels stylish because the cuticle stays clear. The contrast of milky white against the transparent cuticle makes your nail bed look longer, and gloss reflects light like a fresh manicure. I like it in a true milky white (not chalky) because it stays smooth and doesn't look powdery on almond tips.
Do the clear cuticle by leaving a 1 mm gap around the cuticle and blending it with a fine brush. Cap the white edge with a glossy top coat so the almond tip stays glassy. This works best on medium-long almond nails where the tip has enough surface for the white to look even.
Pro tipAfter curing your milky white, run a small amount of top coat over the sidewalls - that's where white sets usually look dull first.
Watch outAvoid flooding the cuticle area with white gel or polish - it kills the clear "glass" line and makes the set look messy.
2. French Tip Almonds in Snow White with a Micro Smile Line
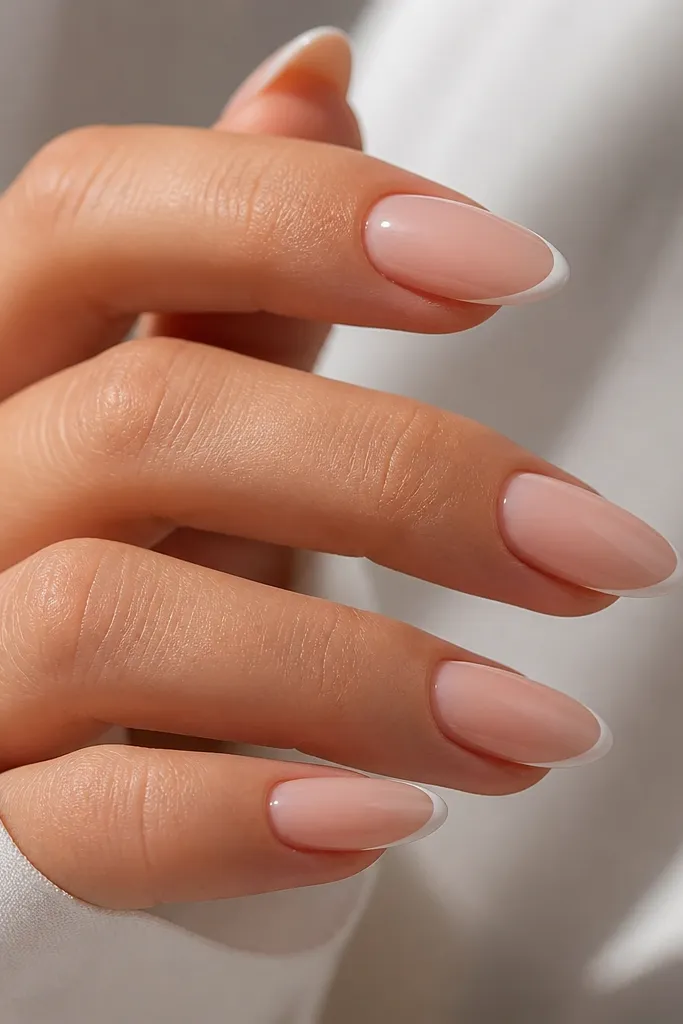
Traditional French looks stylish when the tip is thin and the smile line is controlled. Snow white at the tip makes your almond shape pop without turning the whole nail into a block of color. I keep the base sheer to show the nail bed, which makes fingers look longer and cleaner.
Use a nail guide strip and paint only the tip area with a liner brush. Aim for a 1.5 mm French band on a medium-long almond. Keep the smile line subtle - don't over-curve it or it starts looking like a thick halo.
Pro tipLet the first layer of white French cure, then do a second thin pass. Two thin coats look smoother than one heavy coat.
Watch outAvoid thick French tips; they make almond nails look like they're wearing a cap.
3. White-to-Clear Ombré Almonds (Reverse Fade)
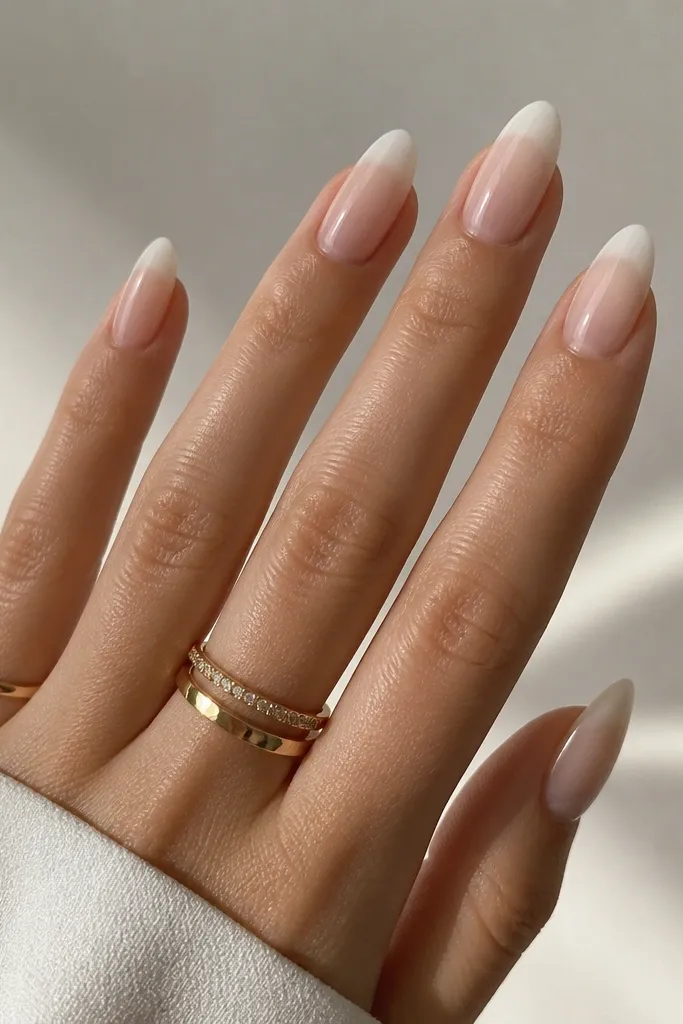
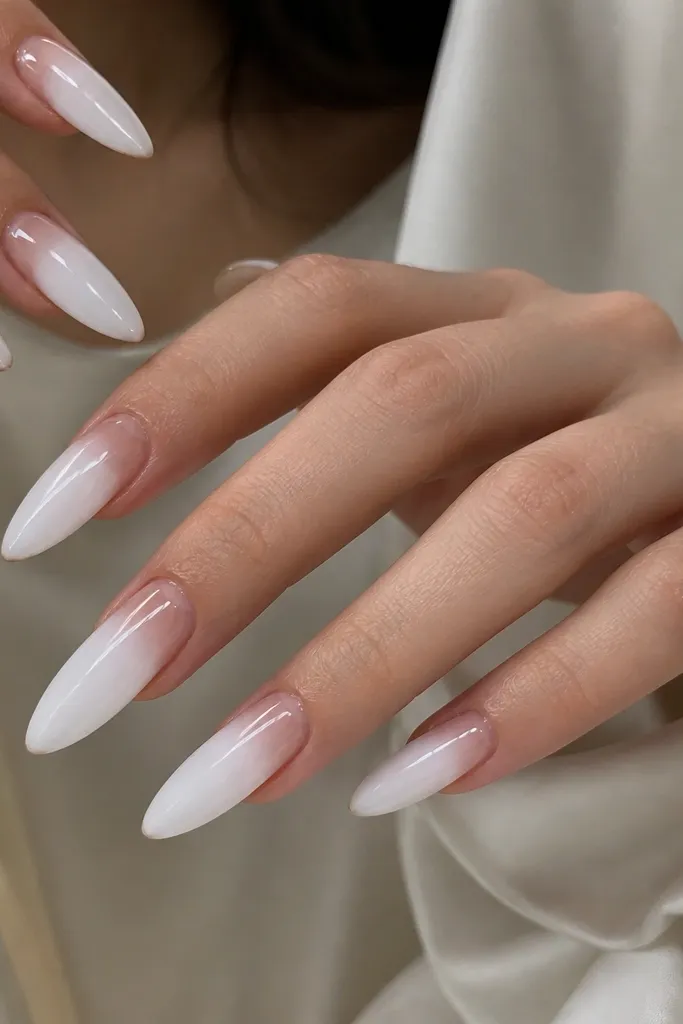
Reverse fade is stylish because it keeps attention at the tip while the center stays light and airy. The clear-to-white transition makes the almond look softer and more wearable than a solid white set. I like this with a milky white that blends easily, not a thick opaque paint.
Start by applying sheer base and leaving a clear center. Sponge milky white onto the tip and blend upward about 3-4 mm. Clean the edges with a lint-free wipe and a brush dipped in gel cleanser, then cap with top coat.
Pro tipUse a small makeup sponge and blot on paper first so you don't load too much white - that's what causes grainy ombré.
Watch outAvoid a harsh horizontal line where the white stops - it turns the fade into a stripe.
4. Matte White Almonds with One Glossy Accent Nail
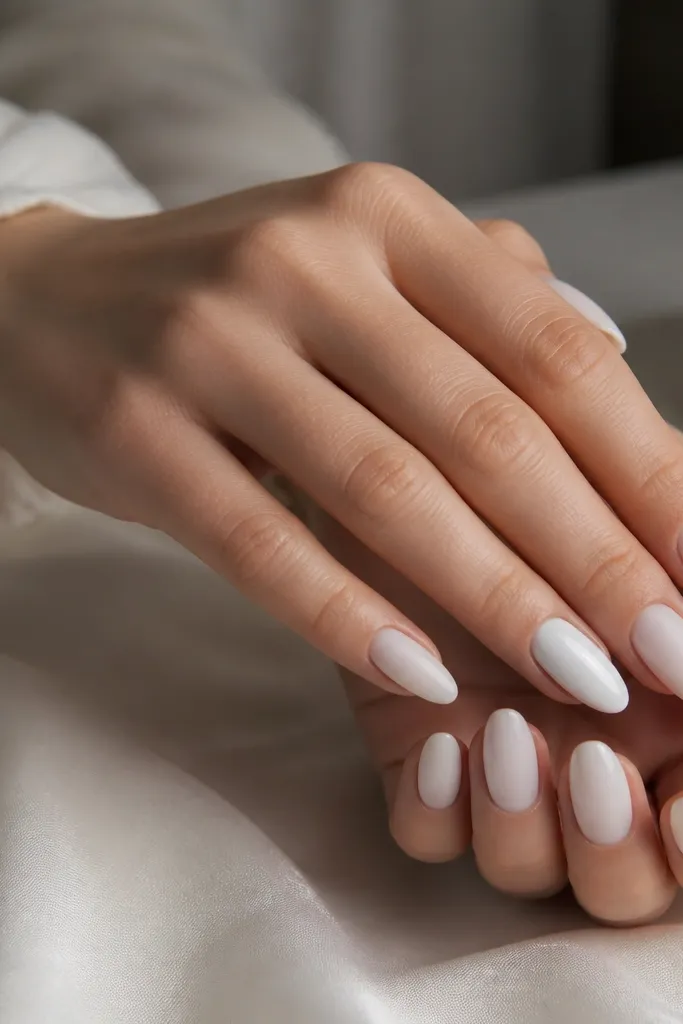
Matte white feels modern on almond because the shape looks refined without glare. The glossy accent nail creates a focal point and makes the set feel styled instead of plain. I prefer a true matte top coat over matte polish because it looks even and doesn't turn patchy at the tip.
Apply solid white in 2 thin layers, cure fully, then matte top coat on 8 nails. Leave one nail in glossy top coat only. For the contrast to look intentional, keep the white color identical on both finishes.
Pro tipDo matte top coat last on the matte nails and avoid touching them with gel brush bristles after curing.
Watch outAvoid matte top coat over a tacky layer - it can make the surface look streaky.
5. White Marble Almonds with Tiny Charcoal Veins
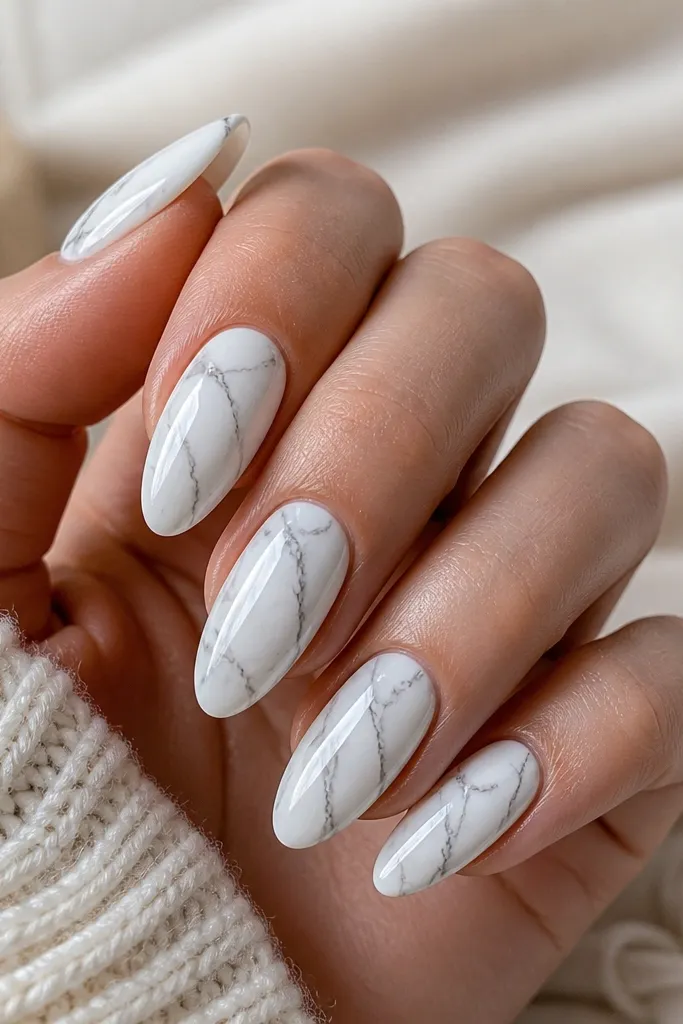
Marble works because it keeps the base white while adding movement. Charcoal veins look cleaner than black on white - they soften the contrast and keep the set classy. This design reads stylish because the veins are thin and spaced, not thick slabs.
Use a milky white base, then add 2-3 thin charcoal lines with a liner brush. Drag the lines slightly with a fine dotting tool to mimic marble flow. Seal with glossy top coat so the surface looks like gel marble.
Pro tipPractice vein placement on one nail first. Start near the center and taper the lines as they approach the tip.
Watch outAvoid big chunky marbling - it overwhelms almond nails and makes them look heavy.
6. White Almonds with Cuticle Pearls (3-Point Cluster)
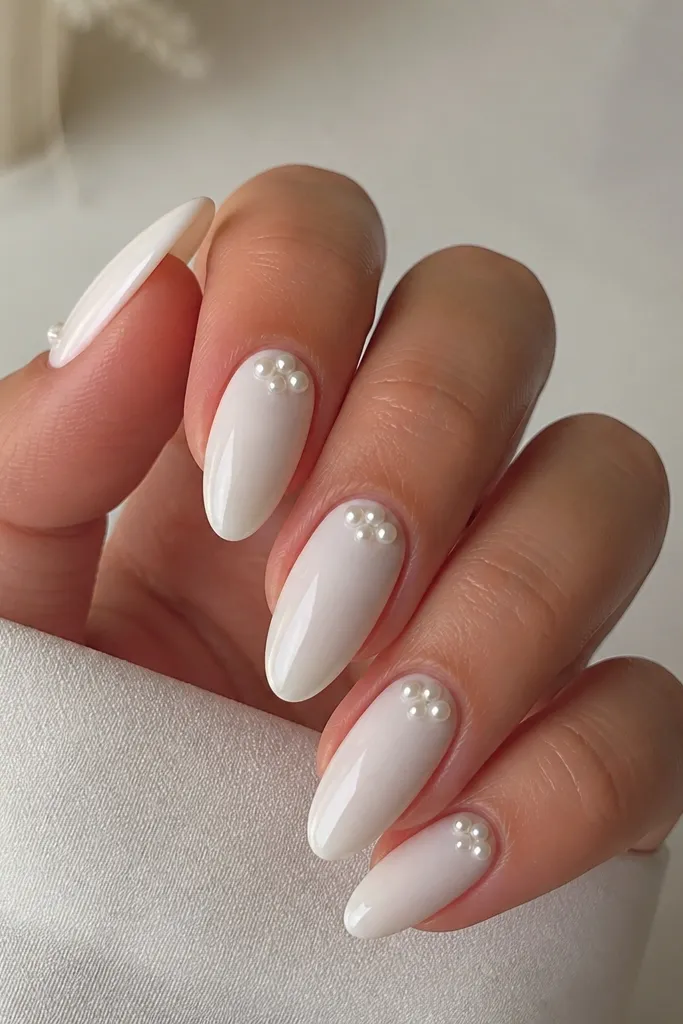
This is the kind of detail that looks expensive in photos because the pearls catch light right at the nail bed. A 3-point cluster feels balanced and doesn't look random. Keep the pearl size small (think seed pearl) so the almond shape stays sleek.
Apply glossy white base. Use gel adhesive or thick gel to place pearls in a triangle near the cuticle, leaving about 1 mm from the sidewalls. Cure, then cap pearls with a thin top coat to smooth the edges.
Pro tipSeal the pearl base with top coat in two thin layers - it stops pearls from lifting at the edges.
Watch outAvoid placing pearls too close to the free edge - they pop off faster from daily tapping.
7. Black Micro-Liner Outline on White Almonds
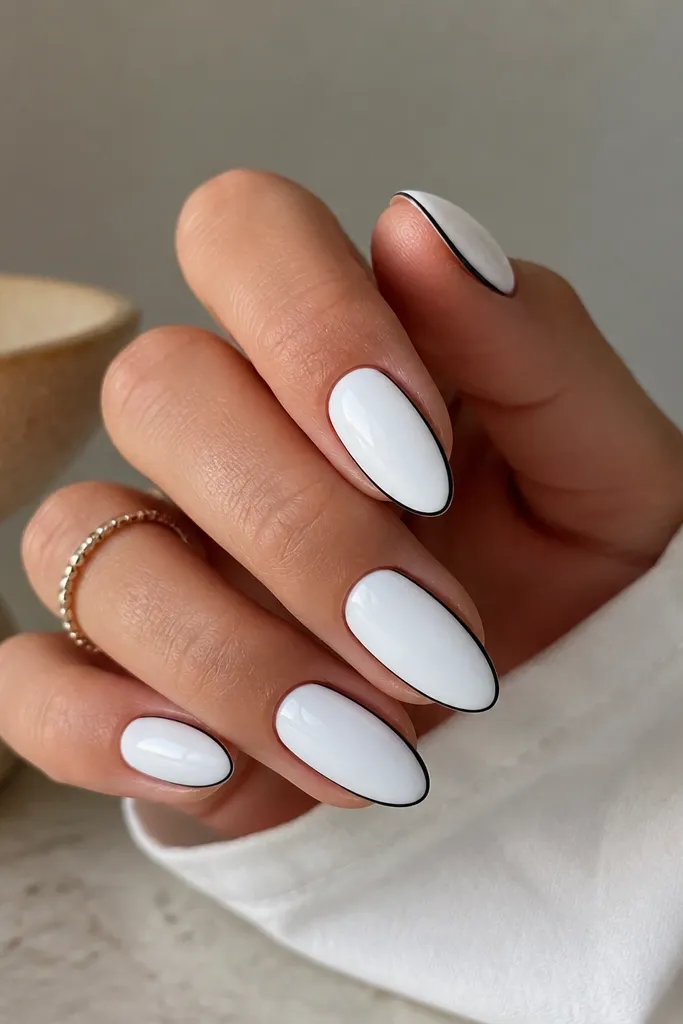
A thin black frame makes the white look intentional instead of blank. The outline emphasizes the almond geometry and makes your nails look sharper without adding bulk. Use micro-liner strokes so the frame stays delicate and doesn't turn into thick lines.
Paint solid white base, cure, then use a 10/0 liner brush or a nail art pen for black lines. Draw from near the mid-nail down to the tip on both sidewalls. Leave the center untouched and cap with glossy top coat.
Pro tipWipe your liner brush on a lint-free pad before starting so the line starts thin.
Watch outAvoid uneven thick strokes - one fat line makes the whole set look hand-drawn in a messy way.
8. White Almonds with Gold Foil Half-Moon Tips
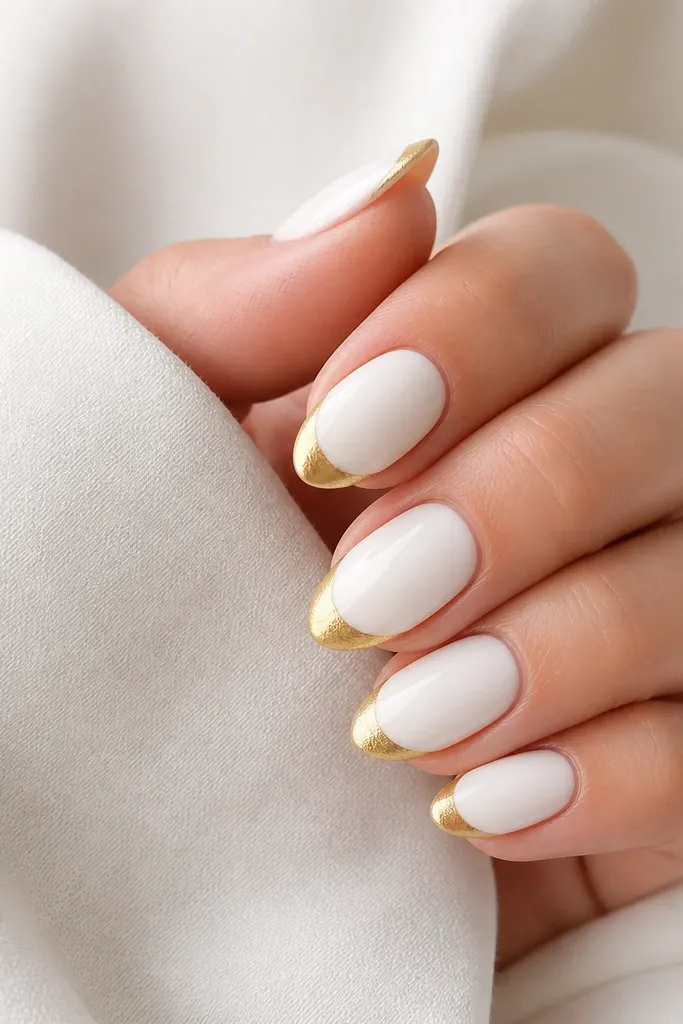
Gold foil half-moons feel stylish because they add warmth without turning the set into full gold. The half-moon placement keeps the almond tip looking clean and prevents foil from covering too much surface. I like foil because it looks textured and catches light in tiny flashes.
Apply milky or bright white base. For the half-moon, place foil on a thin wedge of sticky gel at the top of the tip, leaving a white border around it. Cure, then top coat over the foil so the gold looks smooth, not raised.
Pro tipCut small foil pieces and press them with a silicone tool. Big pieces wrinkle and look messy on almond tips.
Watch outAvoid covering the entire tip with foil - it makes almond nails look wider than they are.
9. Satin White Almonds with One Side-Stripe
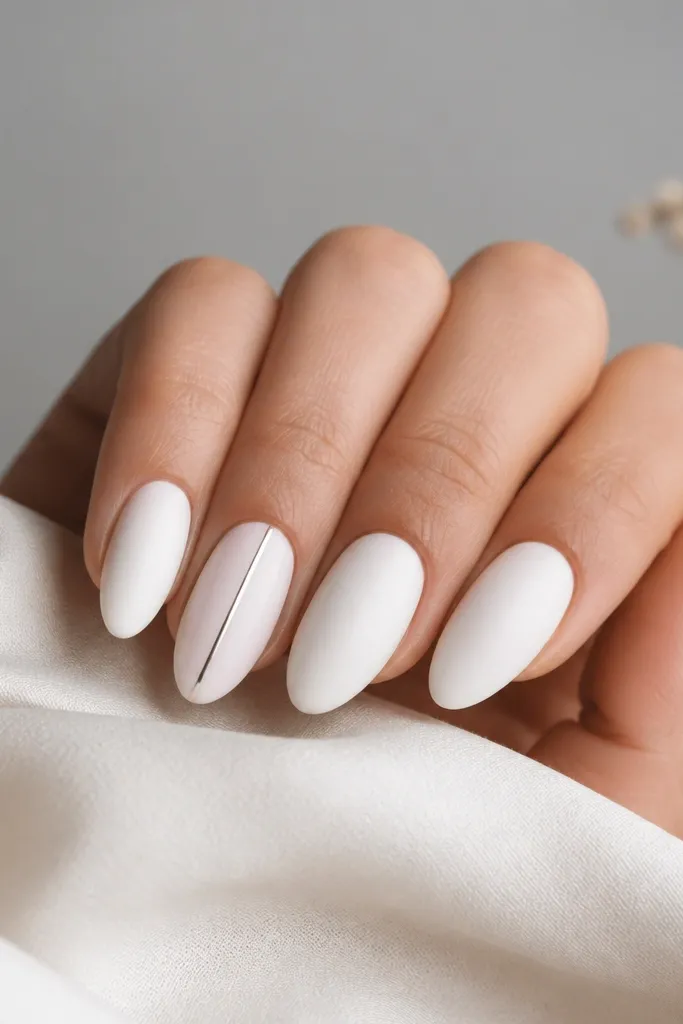
Satin white is cooler than glossy and hides tiny surface imperfections. A single vertical stripe gives a fashion look without crowding the nail. Metallic stripe color choices matter: silver looks crisp, while champagne adds warmth.
Use a satin top coat on all nails. On one accent nail per hand, paint a 1 mm vertical stripe using chrome gel or metallic nail paint, then cure and seal. Keep the stripe about 2 mm away from the sidewall so it frames the almond.
Pro tipIf you use chrome powder, rub it on with a foam applicator, then wipe lightly before top coat.
Watch outAvoid stripes that start at the cuticle - leaving a small gap keeps it classy and clean.
10. White Almonds with Tiny Blue Dots in a Diagonal Line
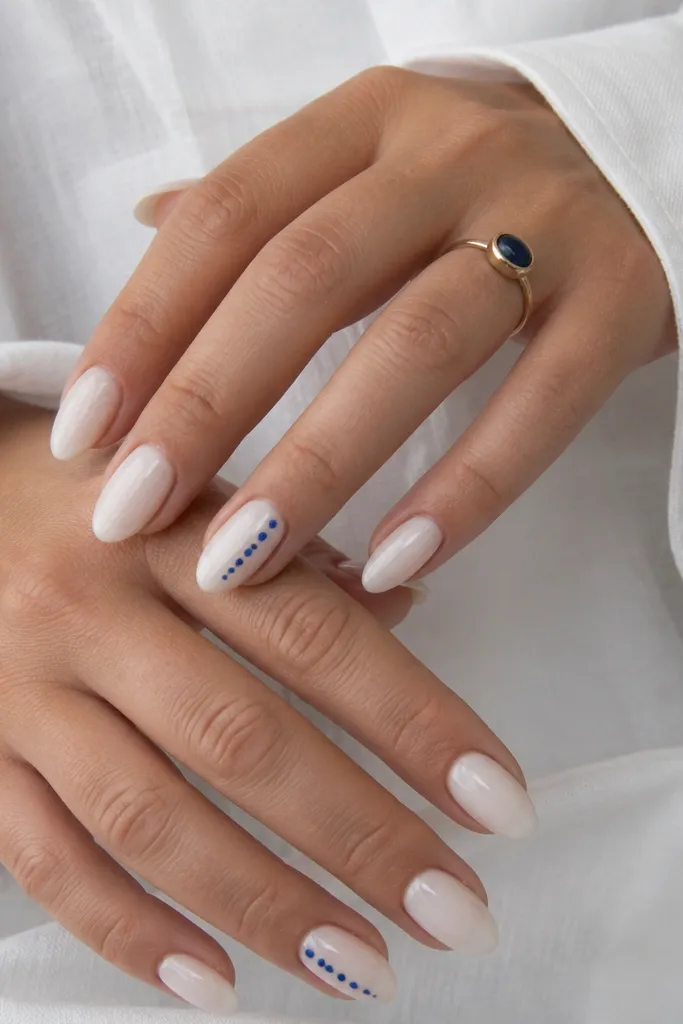
Small dots look stylish because they're graphic and controlled. Cobalt blue on white pops in a way that feels fresh, not childish, when the dots are tiny. The diagonal placement makes the almond look longer and moves your eye across the nail.
Use a milky white glossy base. On two accent nails, place 5-6 dots using a dotting tool size that makes beads about 0.8-1.0 mm wide. Start near mid-nail and angle toward the tip, then cure and top coat.
Pro tipCount your dots before you start so spacing stays even. Uneven spacing is the fastest way to make it look off.
Watch outAvoid big dots - they turn the design into polka overload on almond tips.
11. White Almond Nails with Negative Space Tip V (Half-Outline)
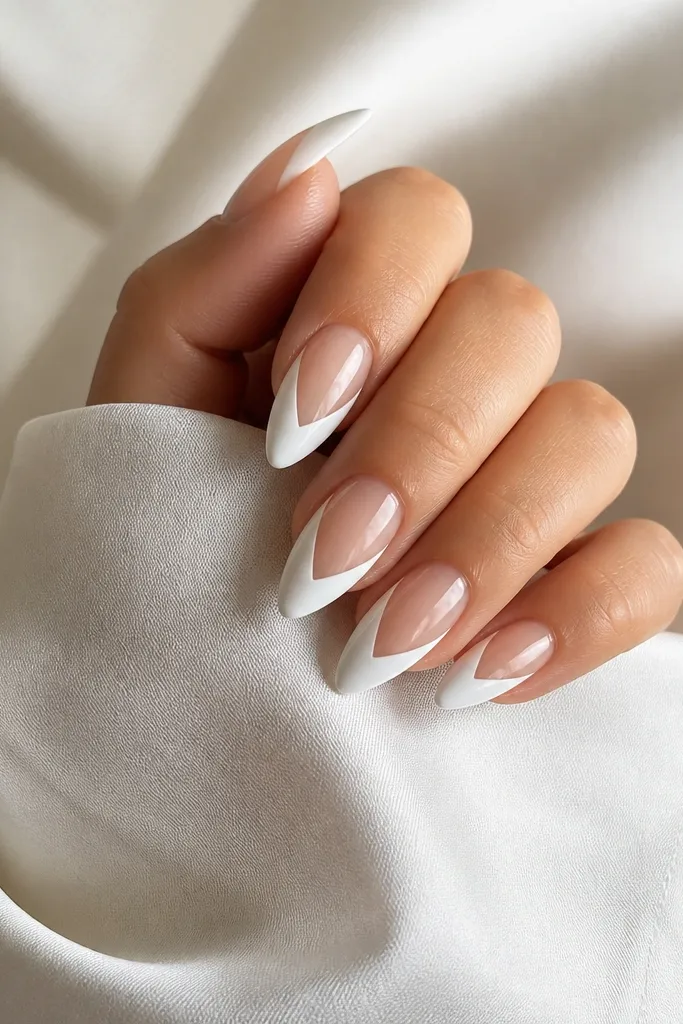
Negative space tips look stylish because they show shape and give your nails breathing room. The V outline keeps the design sharp and makes the almond tip look more pointed without going too narrow. I like this in glossy white so the negative area stays clean and defined.
Apply sheer base first. For the V, tape or guide the sides with nail striping tape, paint white between the strips, cure, then remove tape to reveal the clear V. Finish with glossy top coat and cap the edges.
Pro tipPress the tape down hard on the sidewalls so the V edge stays crisp after curing.
Watch outAvoid wobbly V lines - a crooked V makes the nail look sloppy even if the rest is perfect.



