
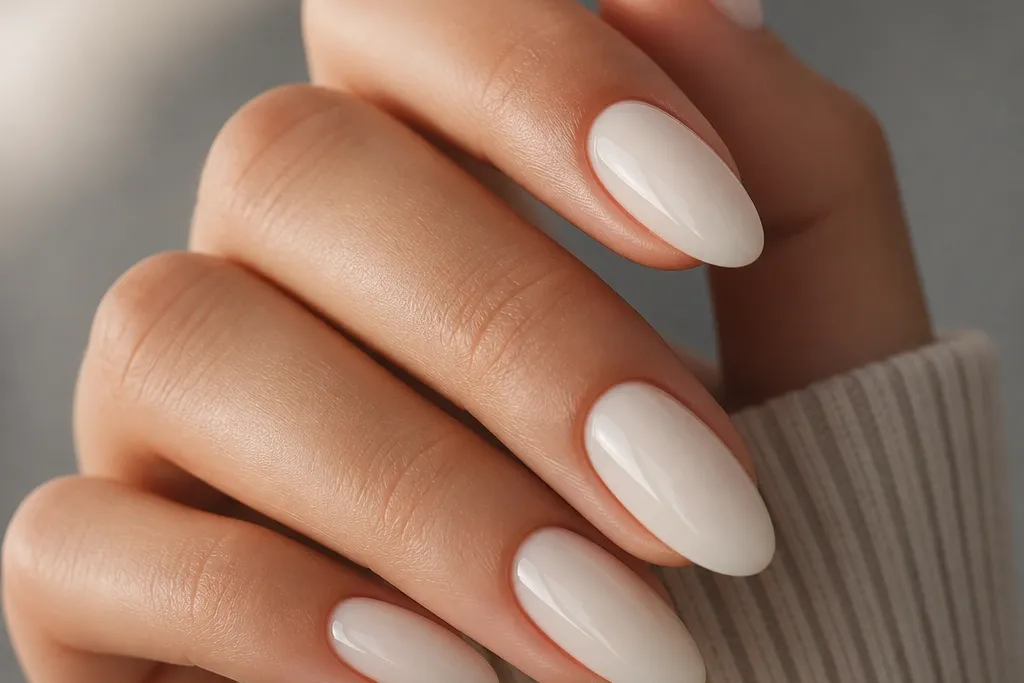
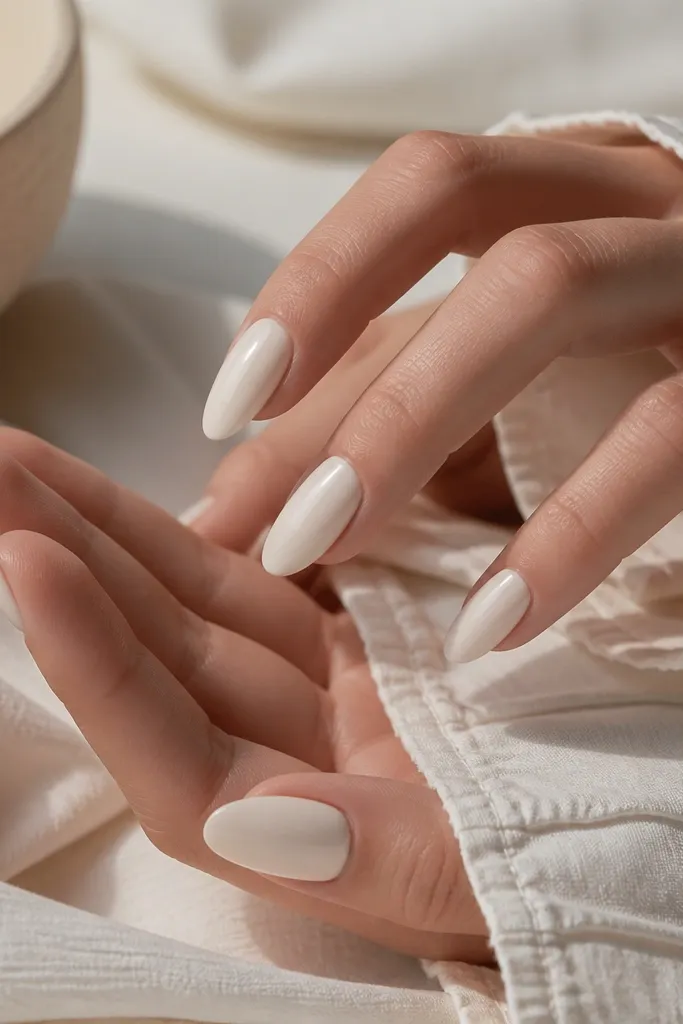
1. Icy Mirror White Almond Chrome
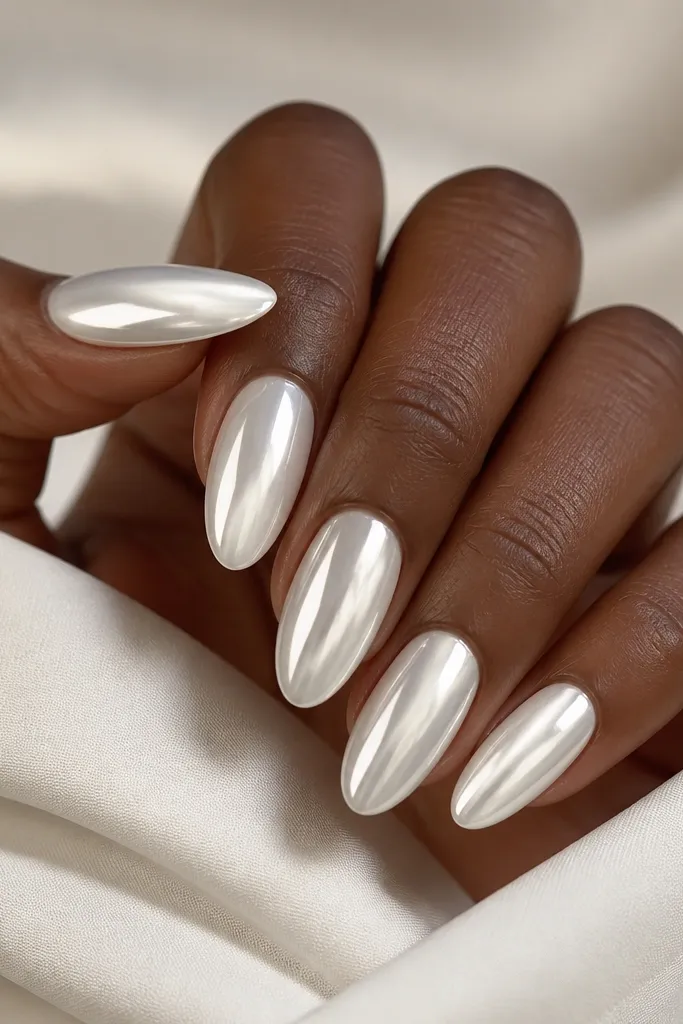
This is full-on mirror chrome in a cool white so the reflection looks like a sheet of ice. On almond, the highlight sweeps from the center to the free edge, which gives that "luxe finish" glow without any extra art. The key is keeping the base super smooth - chrome hates bumps. The result is clean, high-impact, and still wearable because the color stays icy rather than yellow.
File to a soft almond that narrows evenly, then buff the nail surface to a satin finish. Apply two thin coats of opaque white gel, cure fully, then apply chrome powder with a firm foam applicator. Seal with a thick, high-gloss top coat in one direction so the chrome doesn't streak. This looks best at medium length (about 5-7 mm free edge).
Pro tipBefore chrome, wipe nails with a lint-free pad and 70% isopropyl so residue doesn't cause dull spots.
Watch outDon't use a milky sheer white base - it makes chrome look patchy and gray.
2. Pearl-White Chrome with Pink Undertone
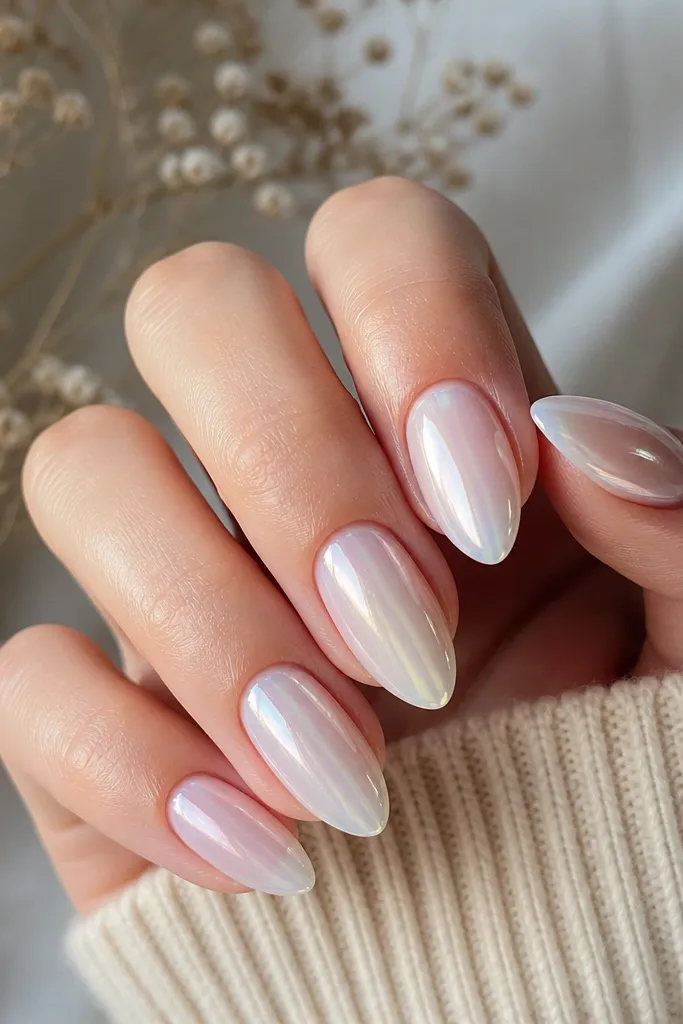
This one sits between mirror and pearl. The white is still dominant, but the undertone pulls slightly pink, so the chrome flashes warmer when you move your hand. It looks luxe because it's not flat white - it shifts. I like it for dates, weddings, and photos because it flatters skin tones without feeling loud.
Start with a bright white base gel, then apply a thin layer of pearl chrome powder (use less than you think). Focus the densest pigment on the center and blend toward the sides with a light touch. Top coat with a non-wipe, glossy gel top to lock in the flash. Keep the almond tip slightly longer than your natural nail so the pearly shift shows.
Pro tipIf your pearl looks too frosty, mix in a tiny amount of warm white gel on the base next time for smoother warmth.
Watch outAvoid over-layering pearl chrome until it looks thick and powdery at the tip.
3. Micro French Chrome with Snow Tips
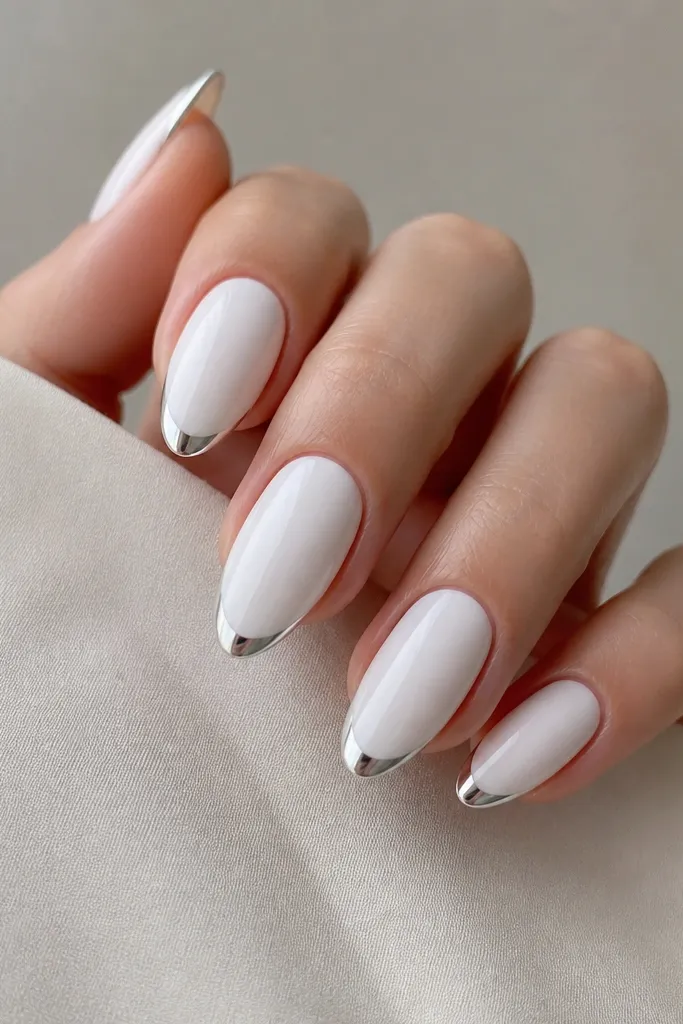
Micro French makes white chrome look intentional instead of loud. You get a crisp "frame" at the free edge, and the rest stays clean and smooth. The luxe finish comes from the contrast between the glossy white base and the mirror chrome line. It's my go-to when you want something classy that still photographs like chrome.
Apply opaque white gel to full nail, cure, then draw a micro French curve about 1-2 mm wide using white chrome powder or a chrome gel line. Use a fine brush and keep the smile line even across nails. Seal with glossy top coat, and avoid dragging the brush back through wet chrome. This works great on short almond because the French line still reads clear.
Pro tipUse a nail guide strip or tape to mark the French width, then remove it before curing.
Watch outDon't make the French too wide - it turns into chunky tips instead of luxe framing.
4. White Chrome Negative Space Half-Moon
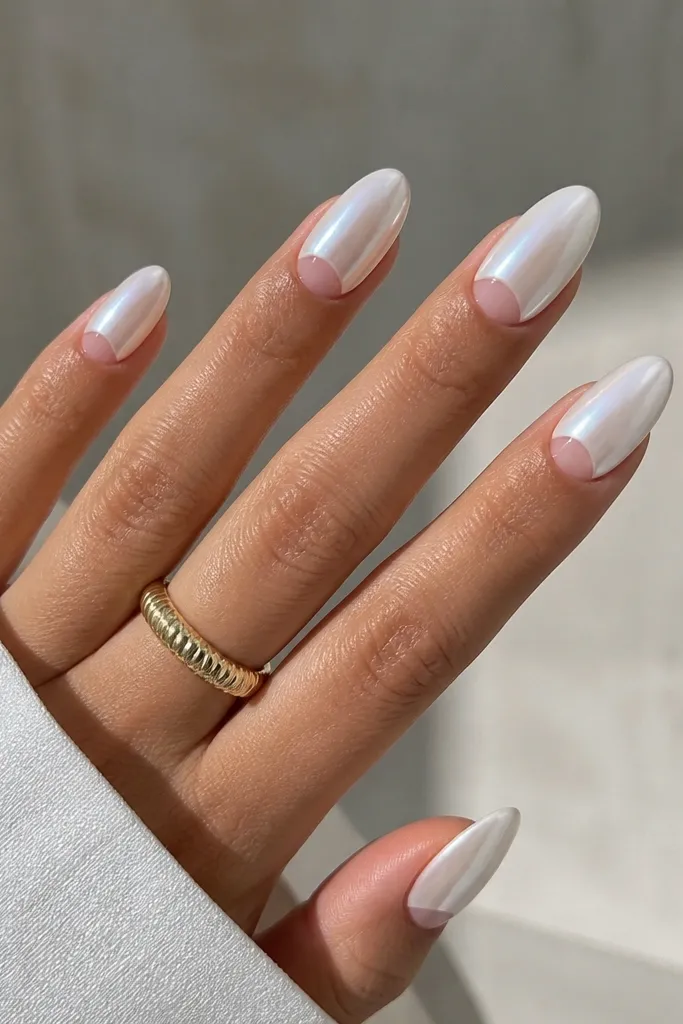
Negative space keeps white chrome from looking heavy. The half-moon area lets your natural nail (or clear gel) show, which makes the chrome look sharper and more expensive. It also gives you an automatic "lift" around the cuticle. Luxe finish comes from the contrast: clear + mirror chrome + crisp edge.
Apply a clear base or thin nude/clear gel to the cuticle area, then leave the half-moon uncovered if your clear gel is thin enough. Paint opaque white gel on the remaining nail, cure, then add chrome powder on top of the white. Use a small angled brush to clean the half-moon edge before curing. I like this on medium almond with a neat cuticle shape.
Pro tipAfter chrome, use a cotton bud dipped in isopropyl to clean the half-moon line for a razor edge.
Watch outDon't flood top coat onto the half-moon - it can blur the negative-space boundary.
5. Matte-White Base with Glossy Chrome Overlay
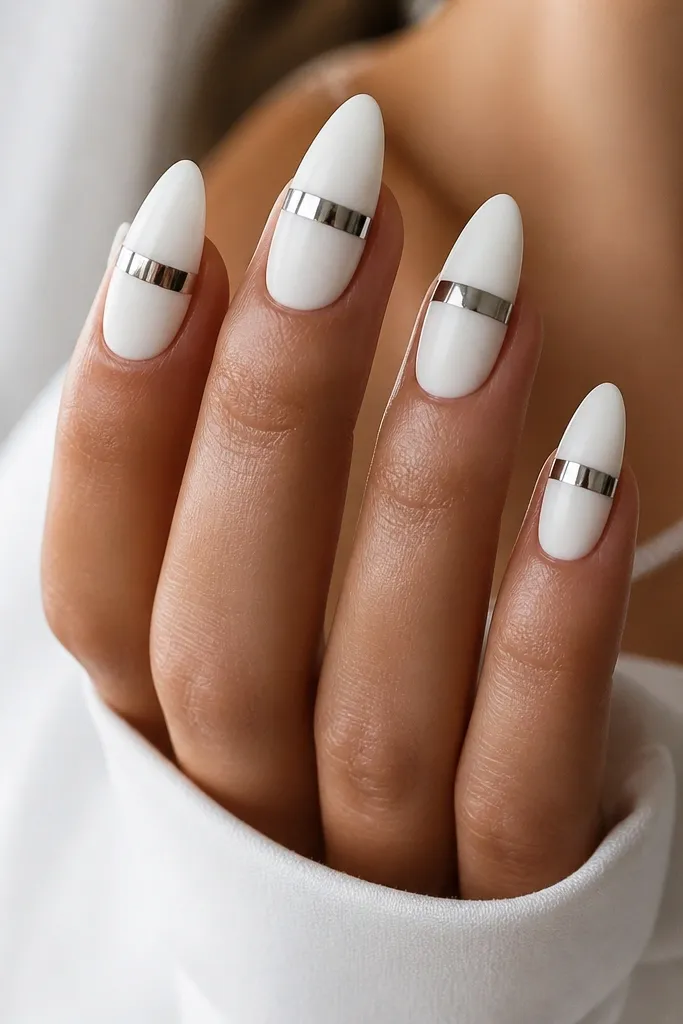
This is the "expensive texture" trick. Matte white on its own looks chic, but it can look flat. Add a chrome overlay band and the light catches like jewelry. Because the matte stays dull, the chrome reads extra bright and dimensional. The contrast is what makes it feel luxe finish, not just the color.
Build your white with opaque gel and cure. Apply a matte top coat to the whole nail, cure, then buff lightly where you plan to place chrome (just enough to remove matte haze). Add a chrome powder band in a curved strip across the center, then seal with glossy top only over the chrome area. Avoid getting glossy top on matte parts because it ruins the contrast.
Pro tipKeep the chrome band about one-third of the nail width so it looks like a deliberate design, not an accident.
Watch outDon't skip the light buff over the matte area - chrome won't stick evenly to matte.
6. White Chrome Ombré Fade into Clear
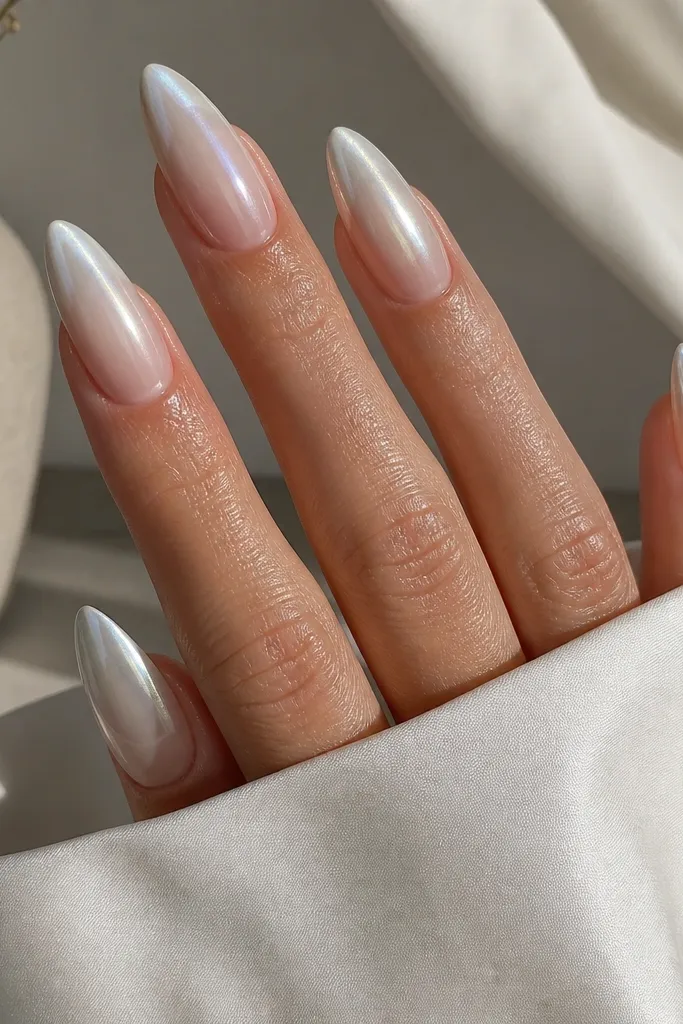
A chrome ombré looks like liquid light. The fade makes the nails look longer and thinner, which is why it flatters everyone. The luxe finish comes from the smooth gradient of shine, not from heavy art. I like it because it grows out better than a full chrome set.
Use a clear base or sheer milky nude gel near the cuticle. Build opaque white gel from mid-nail to tip, then apply chrome powder starting at the tip and tap off as you move upward. Use a soft makeup sponge for blending so you don't get hard edges. Seal with a glossy top coat, but apply it gently to keep the gradient soft.
Pro tipFor the cleanest fade, use less chrome than you think and build in two light passes.
Watch outDon't let chrome reach the cuticle - it makes regrowth obvious and can look messy.
7. Chrome Raindrop Glaze on White Almonds
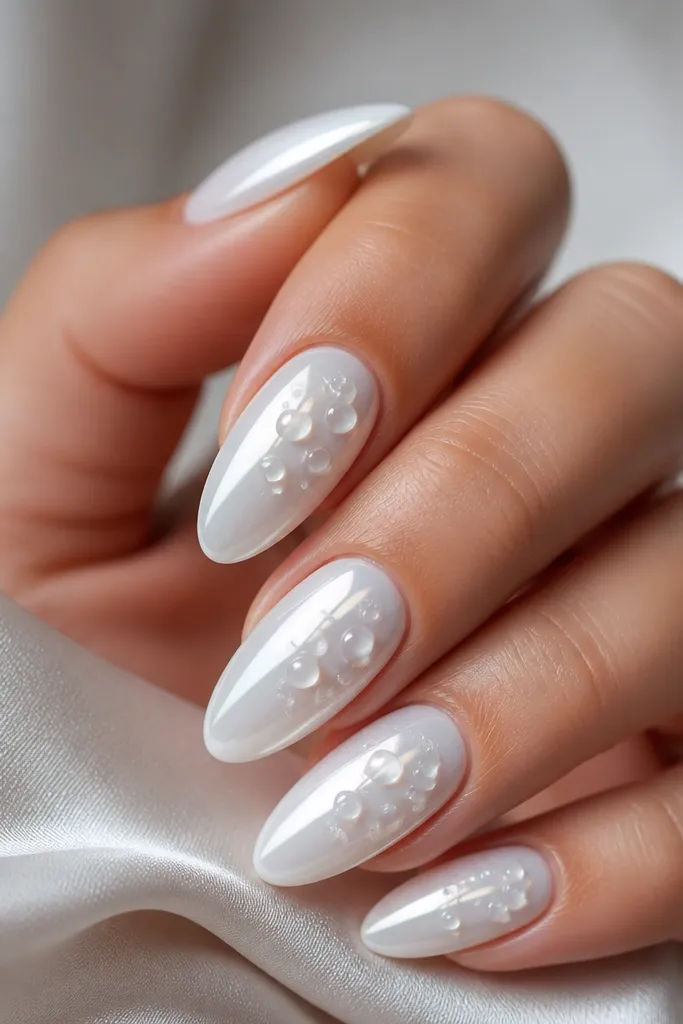
This is white chrome with a wet-glaze effect. The raindrop dots catch light and look like tiny glass beads sitting on top of the mirror finish. It reads luxe because it adds depth without turning into a busy nail. Keep the raindrops small and grouped so the set stays refined.
Do a full icy mirror chrome base first. Then dot a few clear gel "drops" (use a thick builder gel or clear gel top) near the center of each accent nail. Cure each drop in short bursts so they domes without flooding the cuticle. Finish with a high-gloss top coat that stays smooth over the domes.
Pro tipUse a dotting tool with a tiny ball size so the raindrops stay tight and jewel-like.
Watch outDon't place drops too close to the sidewalls or they catch on hair and snag.
8. White Chrome Swirl Veins on Two Accent Nails
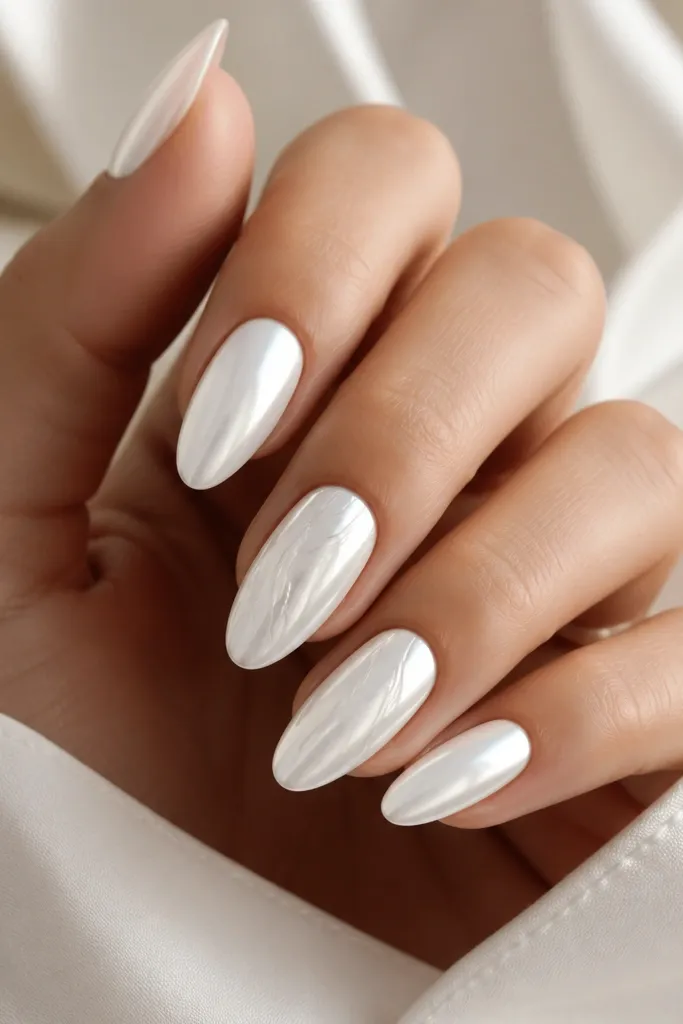
Swirls add movement, but keeping it to two nails makes the set look intentional. The veins are thin and look like marbling, except it's brighter because the chrome catches the light. Luxe finish comes from crisp line work on a mirror base. This is perfect when you want something special without full nail art on all ten.
Do solid white chrome on all nails. On two accent nails, use a liner brush to draw thin swirl lines with a chrome gel or a white gel mixed with a tiny amount of chrome pigment, then cure. Dust a light chrome powder over the lines and tap off the excess. Seal with glossy top coat, keeping the lines crisp.
Pro tipPractice the swirl on a fake nail tip first - the line thickness is what sells the luxe look.
Watch outDon't thicken the swirls - chunky lines look like sticker art.
9. White Chrome Foil Flakes on Clean Base
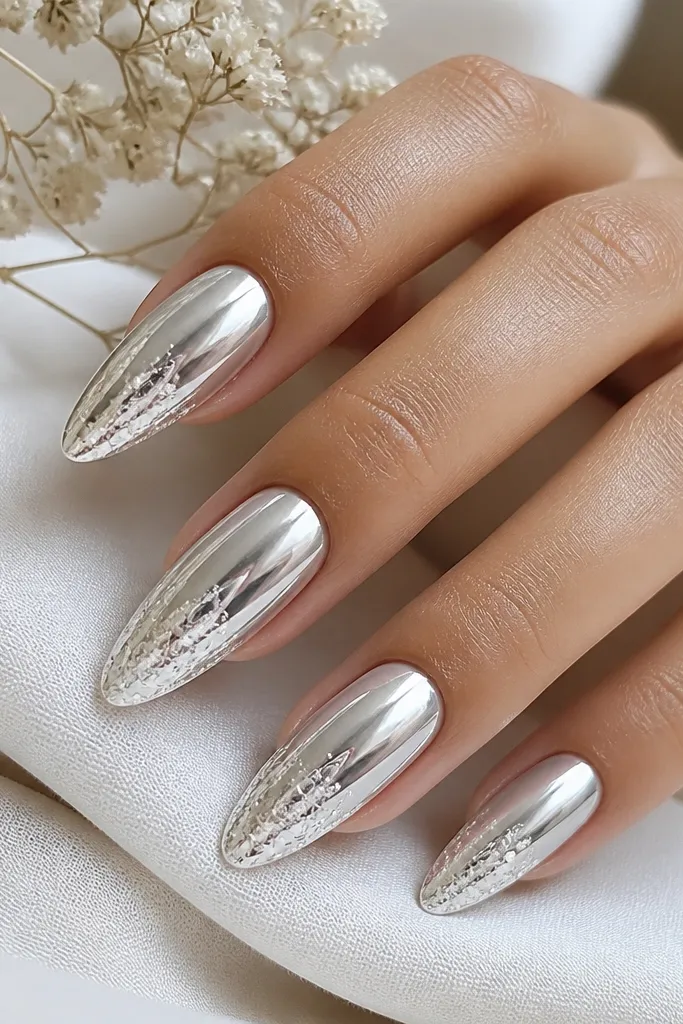
Foil flakes make chrome look like it has texture. The flakes break up the mirror surface so it doesn't read as one flat shine. I keep the foil concentrated near the tip or around one corner so it looks like light catching, not random glitter. Luxe finish comes from the foil's irregular edges against a smooth chrome base.
Build and chrome the nails first. Apply a tacky layer or thin gel spot on the tip area, then press foil fragments in small clusters. Use tweezers for flakes so you place them where you want the sparkle. Seal with a glossy top coat and avoid heavy buffing over the flakes.
Pro tipPress foil with a flat silicone tool - your fingers leave oils that dull the edges.
Watch outDon't scatter foil across every nail - it turns into festival glitter fast.
10. Silver Micro Dot Cuticle Halo
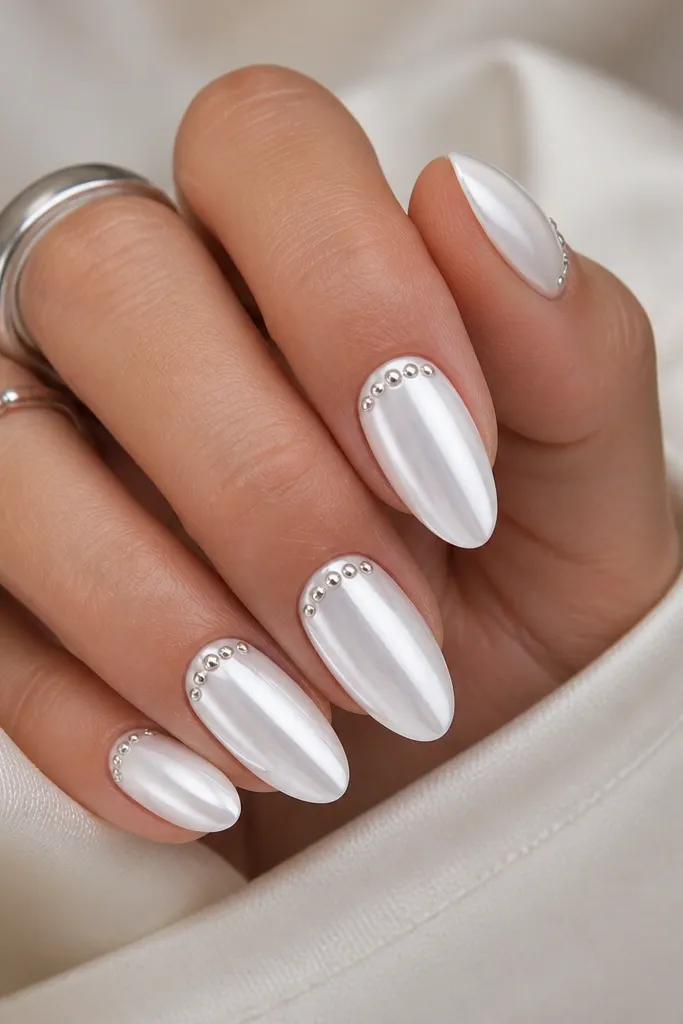
A cuticle halo is a tiny detail that reads expensive. The white base keeps everything clean, and the silver dots give a jewelry effect right where light catches when you move your hands. The luxe finish is in the dot spacing - evenly spaced dots look like a deliberate design, not decoration.
Start with full white chrome or white gel with chrome top. Use a dotting tool to place a line of micro dots along the cuticle curve, leaving a small gap at the side corners. Use silver chrome pigment or silver gel with chrome powder to make the dots mirror. Cure and seal with glossy top, but don't flood over the dot edges.
Pro tipMake the dot line slightly thicker in the center and taper at the sides for a natural "halo" shape.
Watch outAvoid uneven dot sizes - one big dot makes the whole set look messy.
11. White Chrome Glass Bead Accent
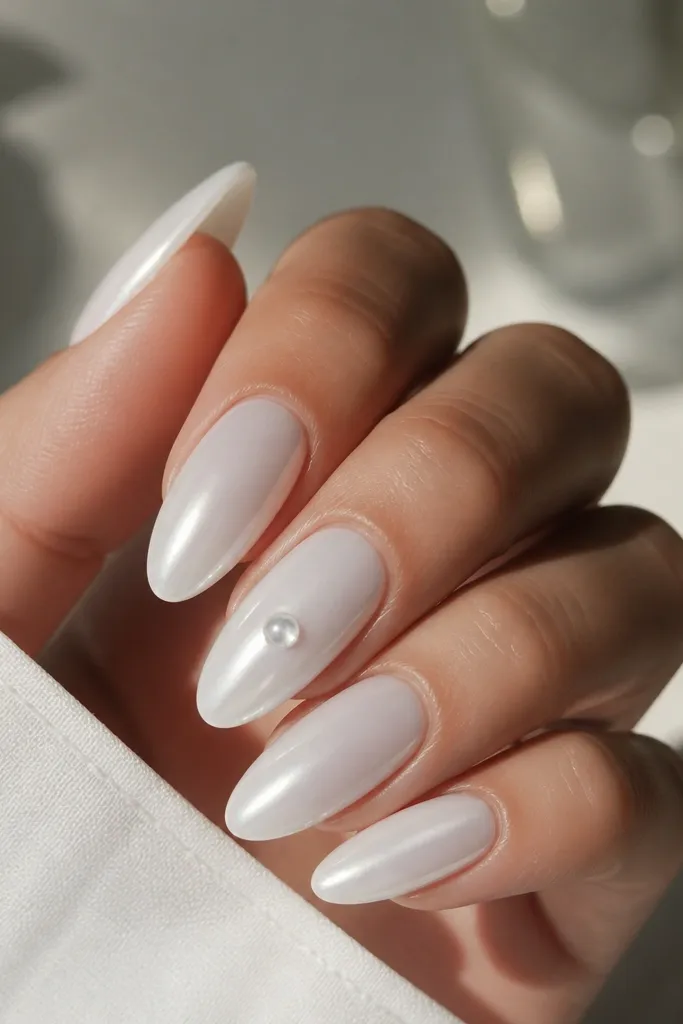
One statement bead looks cleaner than a full rhinestone layout. The clear bead creates a focal point and adds depth on top of the mirror shine. It reads luxe finish because it reflects light from multiple angles like a tiny crystal pendant. Keep it centered so the nail looks balanced.
Chrome all nails first, then choose one accent nail. Place a single clear 3D gel bead, crystal, or small glass bead using thick gel so it sits domed. Cure, then apply glossy top coat around it, not over it heavily. For best results, keep the bead height low enough that it doesn't snag on sweaters.
Pro tipIf the bead looks too tall, cap it with a thin layer of clear gel and cure flat on top.
Watch outDon't use a bead that's too big - oversized crystals look heavy on almond.
12. White Chrome Half-Sheer Top Cap
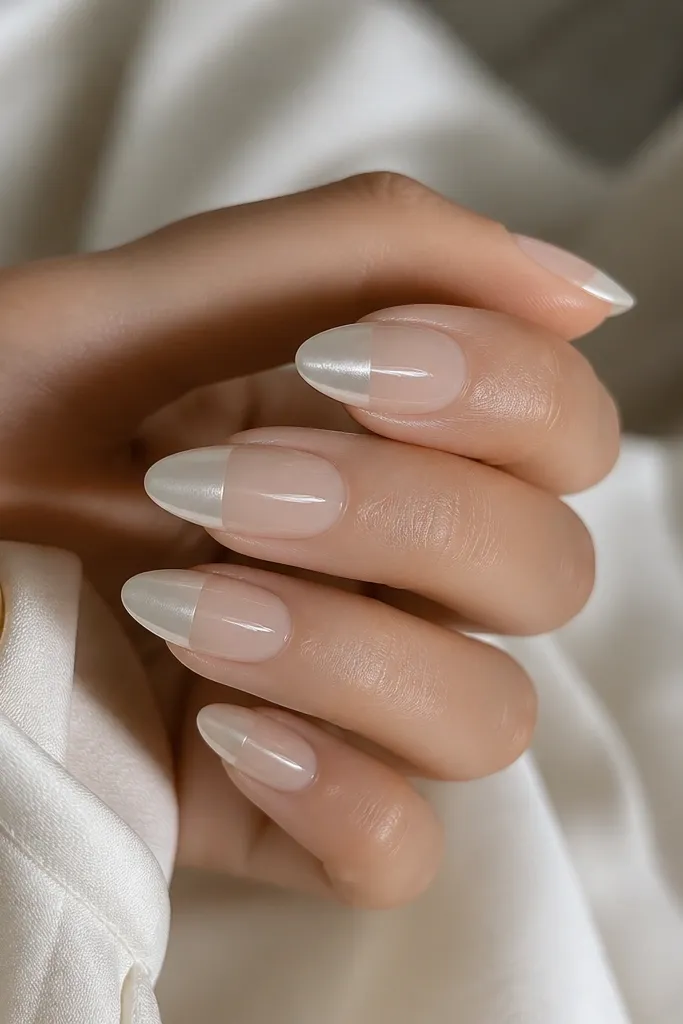
This looks like a salon ombré but with a crisp cut. The half-sheer lower area makes the chrome feel lighter and more high-end. Luxe finish comes from the sharp dividing line and the glassy shine of the sheer section. It also hides small imperfections because the lower section is more forgiving.
Apply a sheer gel base to the bottom half and cure. Then paint opaque white gel on the top half, cure, and apply chrome powder only on the white area. Use a thin strip of tape to create a straight division if you're nervous about lines. Seal with glossy top coat over both areas, but keep the tape line clean before curing.
Pro tipAngle the tape slightly so the dividing line follows the natural almond curve.
Watch outDon't blur the division - a fuzzy edge makes it look like a smudge.



