
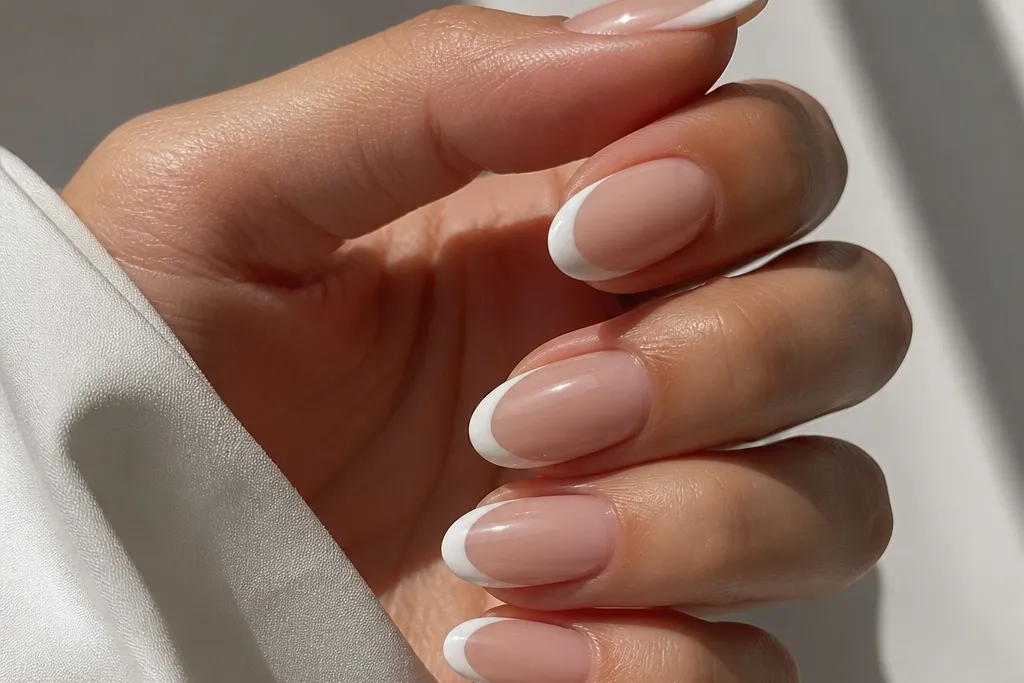
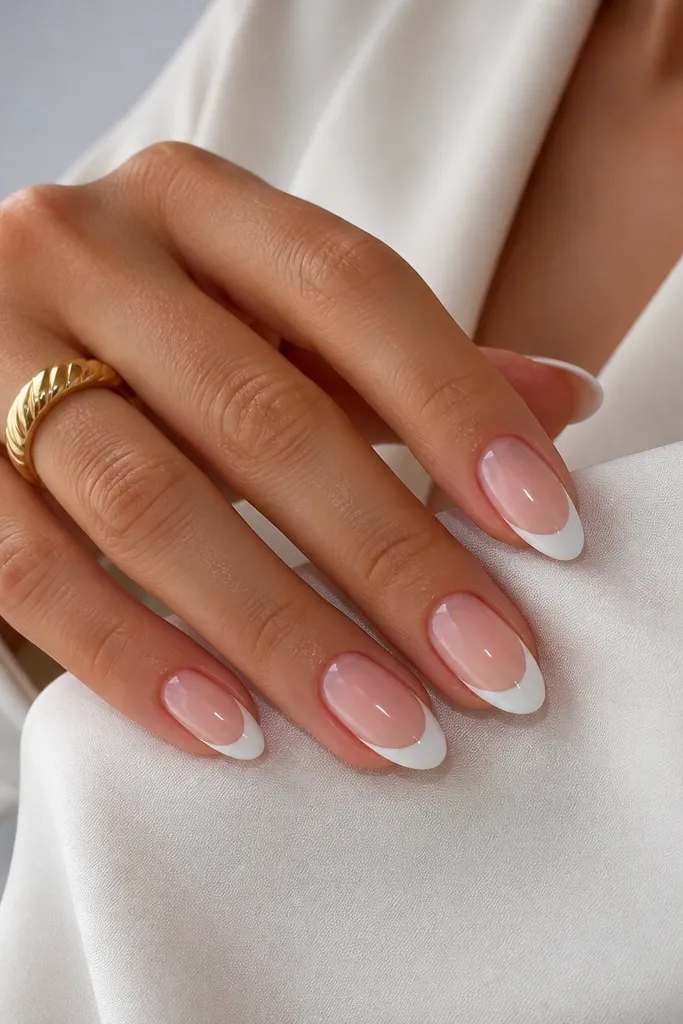
1. One-Line Micro French on Short Almond
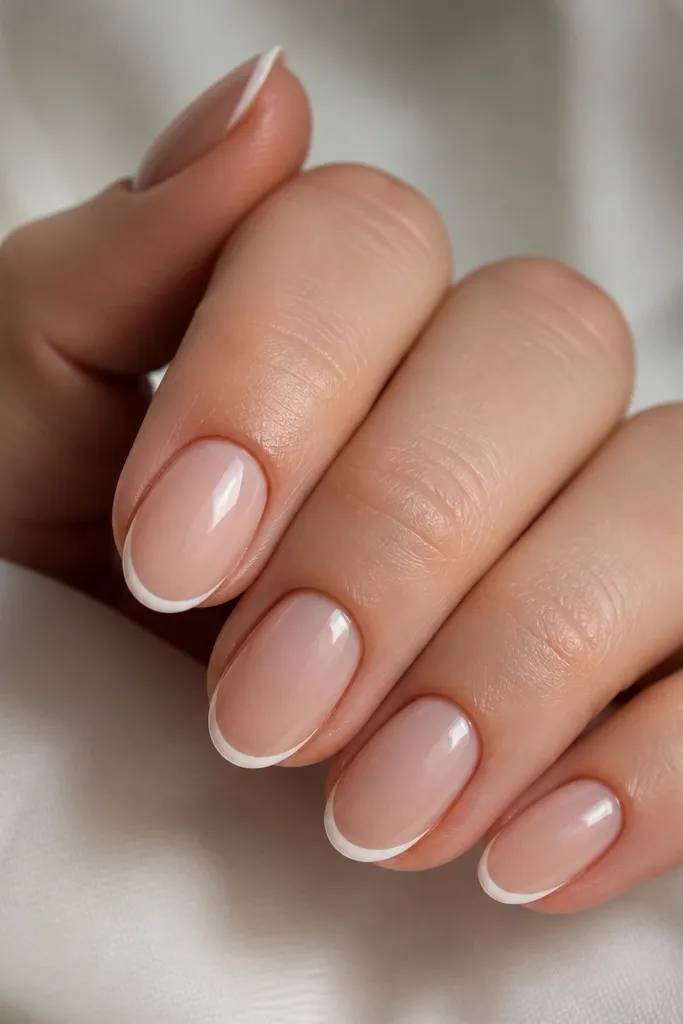
This is the minimalist look that always reads expensive because the white tip is barely there. The sheer nude base keeps your nail bed looking natural, and the micro line gives contrast without weight. I like it on short almond because the thin arc makes the nail look longer. Glossy top coat makes the white look crisp instead of powdery.
File into a short almond first, then keep the free edge narrow. Paint the nude base in two thin layers, cure fully. For the French, use a fine striping brush and place the arc so it sits about 1 mm from the sidewalls. Cap the free edge with top coat so chips don't start at the tip.
Pro tipUse a guide card under your hand so your arc stays level - I tape a thin strip of paper to the table and align the nail to it.
Watch outSkip thick French lines; they turn minimalist into "French manicure costume."
2. Classic White French with a Sheer Baby Pink Bed
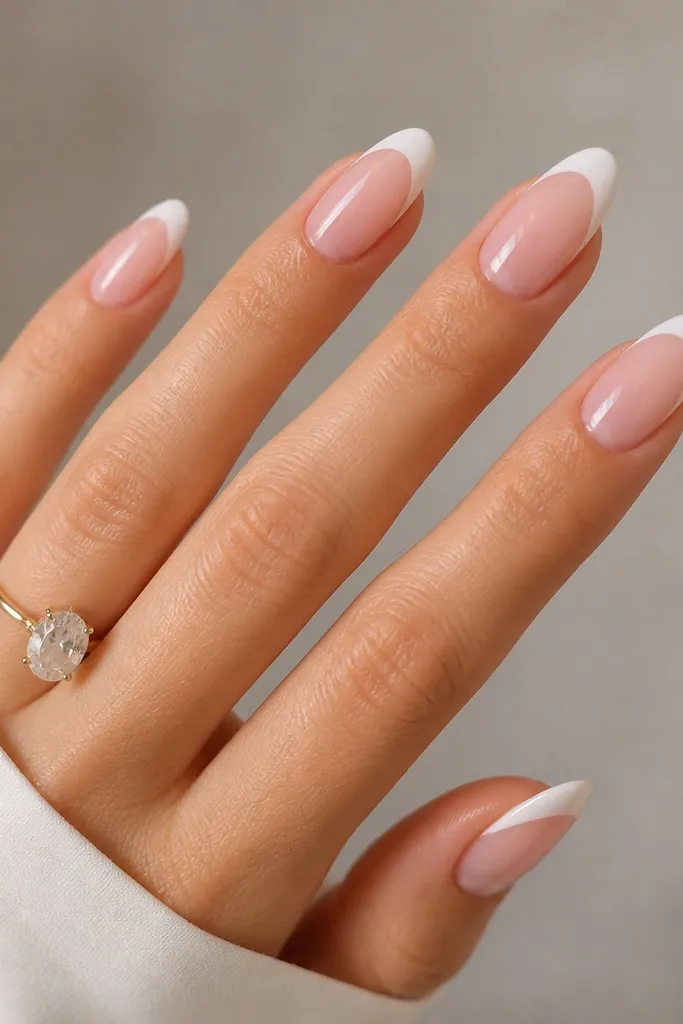
This version feels timeless because the baby pink base smooths the transition between nail bed and tip. The white looks bright without looking harsh, especially in indoor lighting. It's still minimalist because there's no extra art - just one crisp tip. The glossy finish makes the white look like it was painted by a pro.
Use a sheer baby pink gel or polish and keep it transparent enough to see your natural nail tone. Apply the white tip with a slanted brush so the arc is even. Keep the line thickness around 1/8 of the nail width. Cure, then seal with glossy top coat across the whole nail.
Pro tipAfter curing, buff only the surface lightly - don't sand the edges - then wipe with cleanser to keep the white line sharp.
Watch outDon't let the white touch the cuticle; keep a clean 1-2 mm gap for the most flattering look.
3. Negative Space Half-Moon French (No Full Tip Cover)
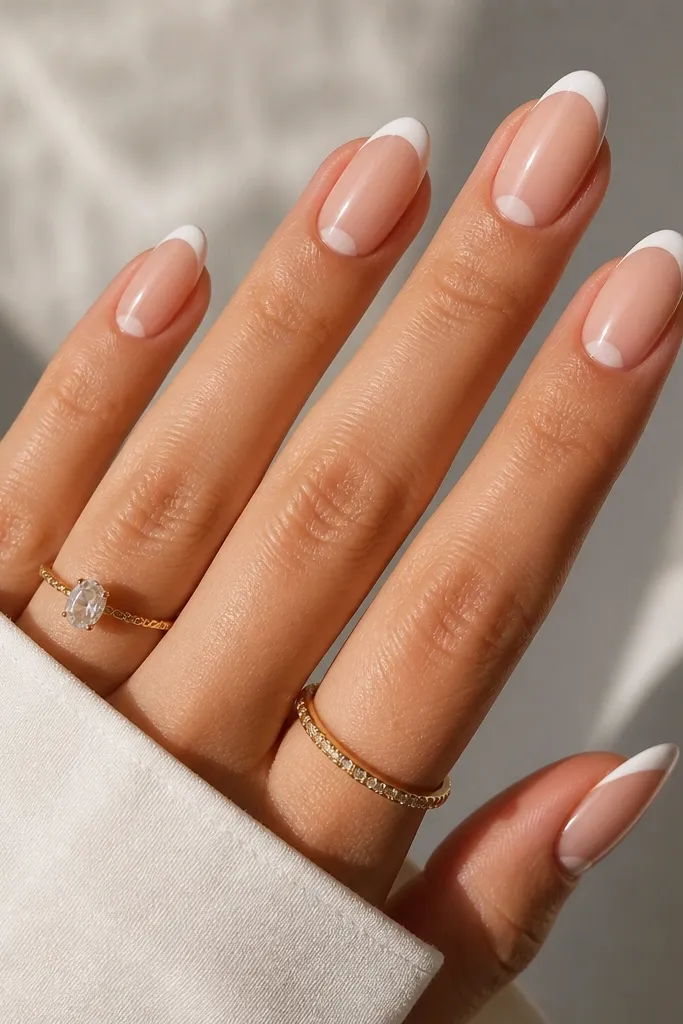
Negative space reads modern because it breaks up the solid white block. The half-moon at the base makes your nail bed look longer and adds shape without drawing extra lines. White only on the tip keeps the design light, and the sheer center keeps it minimalist. Glossy top coat makes the negative space look intentional, not unfinished.
Start with a sheer nude or clear base. Use a half-moon guide under the nail to mark where you want the negative space to stop, leaving the center clear. Paint white from the sidewalls toward the tip, but stop before the center gap. Finish by sealing carefully along the negative space edges so they don't lift.
Pro tipIf your half-moon looks wobbly, use a thin bead of white on the brush first, then drag it into place - don't reload halfway through.
Watch outAvoid thick white on a negative space design; it makes the gap look like a mistake.
4. Double Micro French with a Thin Nude Separator
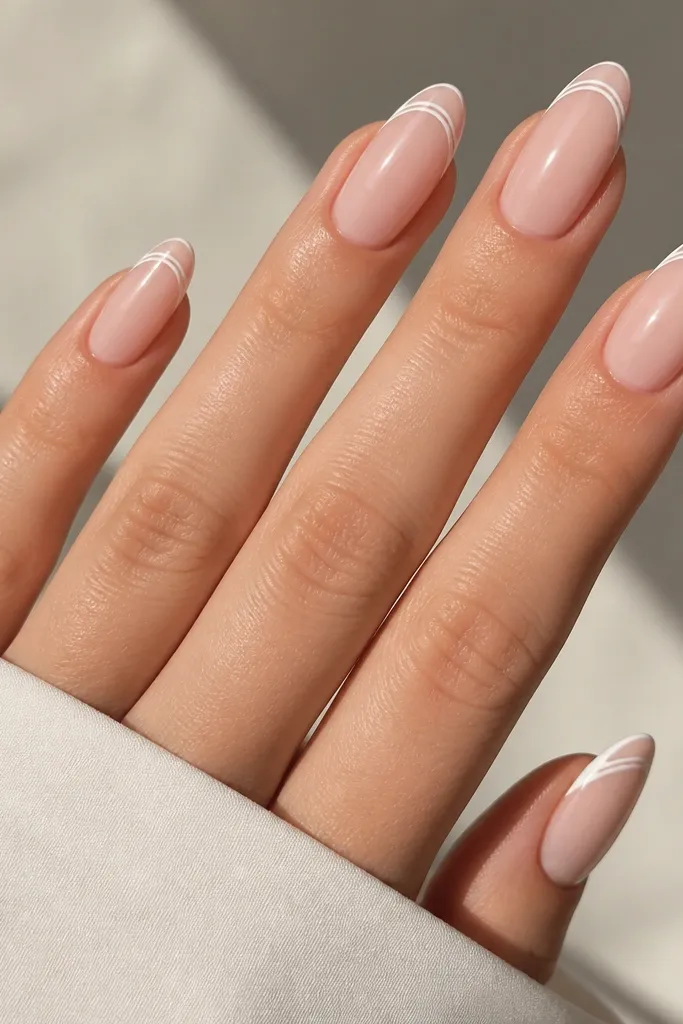
This one adds detail while staying minimalist because the lines are thin and spaced evenly. The nude separator keeps the look modern and prevents the tip from looking like a single thick stripe. It's a great choice if you want something "slightly different" without adding decals. The contrast is clean, especially on a sheer nude base.
Build your nude base in two layers. Create the outer white line first, then add the inner micro line leaving a 1 mm nude gap (eyeball it against your nail width). Cure after each line if you're using gel so you don't blur edges. Top coat in a smooth pass, then cap the tip.
Pro tipLet the first white line cure hard before you add the second - softer gel smears and you'll lose the crisp separation.
Watch outDon't make the nude gap bigger than 1 mm; wide gaps look unfinished.
5. White French Fade (Ombre Tip with a Crisp Edge)
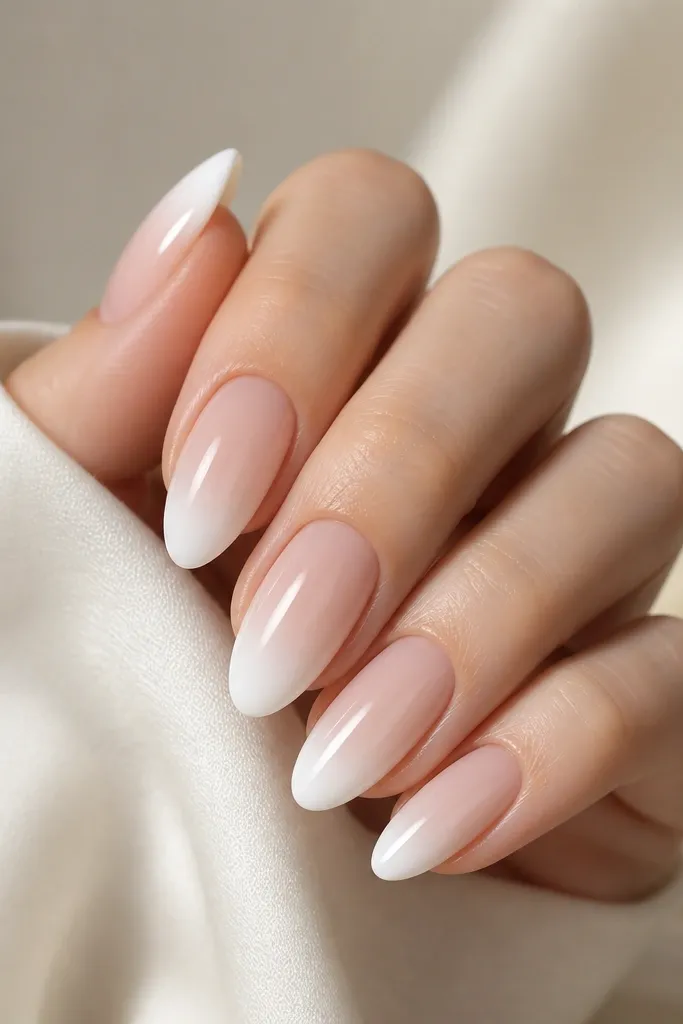
A white fade looks softer than a hard French line but still reads intentional. The crisp outer curve keeps it from turning into messy ombre. I like this when you want minimalist nails that don't look like you just drew a line. The fade also hides tiny edge imperfections because the transition is gradual.
Start with a sheer nude base. Paint a solid white band at the very tip edge, then use a small makeup sponge or a flat brush to blend downward 1/3 of the nail length. Keep the blend subtle so the curve stays visible. Cure, then top coat glossy for a smooth finish.
Pro tipBlend with light pressure and fewer strokes - heavy blending lifts pigment and creates streaks.
Watch outSkip over-blending into the sides; it makes the nail look broader than it is.
6. Matte Nude Base with Glossy White Tip
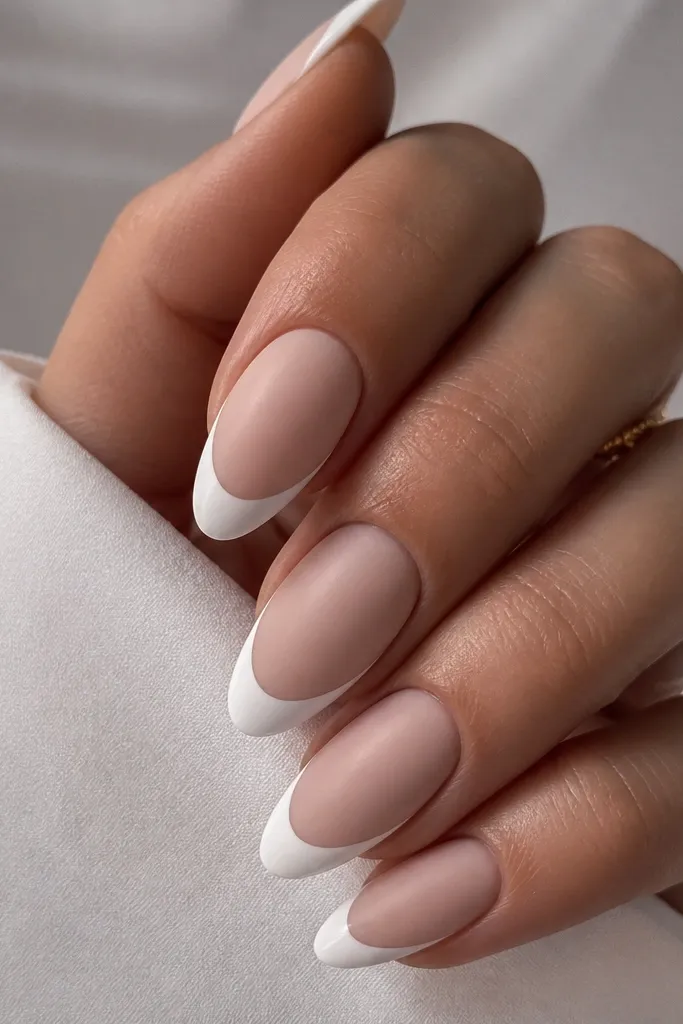
This contrast trick is my favorite when you want minimalist nails to look styled without adding art. Matte nude hides small base texture, while glossy white looks crisp and bright. The two finishes make the tip feel dimensional even if your line is simple. It looks especially good in photos because the matte base doesn't glare.
Apply a sheer nude base and cure. Seal it with matte top coat only on the base area, leaving the tip area unsmoothed for now. Paint the white French tip, cure, then apply glossy top coat on the tip only. Keep the boundary clean - a flat brush helps you control the finish switch.
Pro tipAfter matte top coat, wipe with cleanser and wait a full minute before painting the French so the surface doesn't repel the white.
Watch outDon't put matte top coat over the white; it kills the crisp look.
7. White French Tip with a Micro Clear Outline
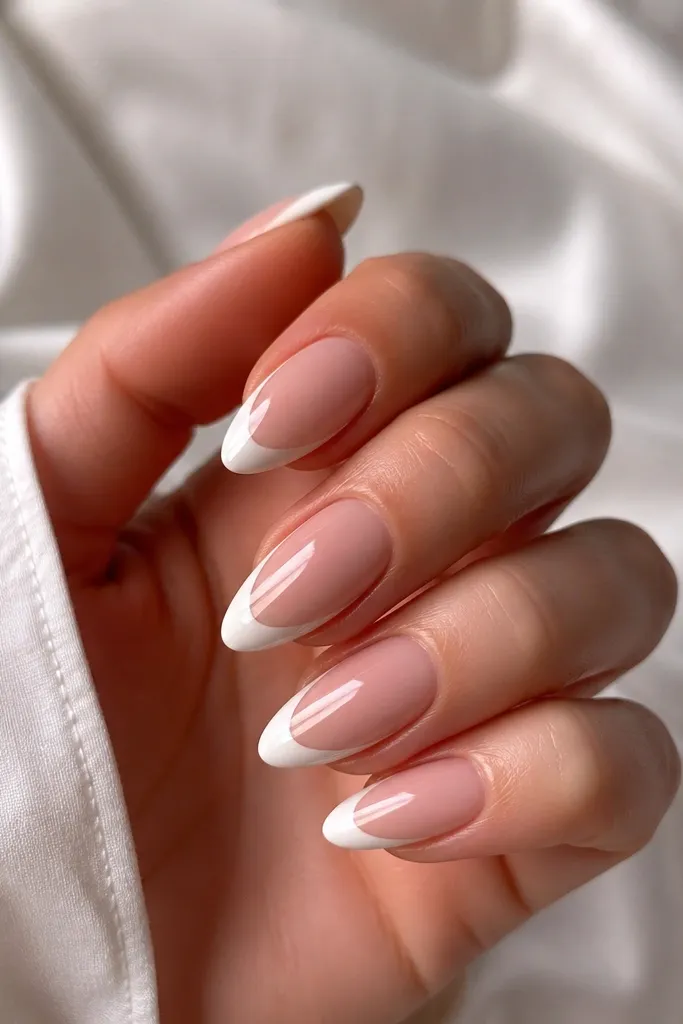
That tiny outline gives a "cut paper" effect. It's minimalist because it's still just white tip design, but the outline makes the curve look extra sharp. I use it when my French line is slightly thick because the outline creates separation and visual refinement. Glossy top coat makes the outline look like it's part of the nail.
Paint your nude base, cure. Apply the white French tip as usual, then add a thin bead of clear builder gel along the outer edge of the white curve and cure. If you want the outline more visible, use a very sheer milky clear, not opaque. Finish with a glossy top coat over everything.
Pro tipUse a dotting tool to place the clear bead at the center first, then pull it left and right to match the curve.
Watch outAvoid a thick outline; it turns into a border instead of a refined separation.
8. Thin White Tip with a Single Tiny Dot Near the Cuticle
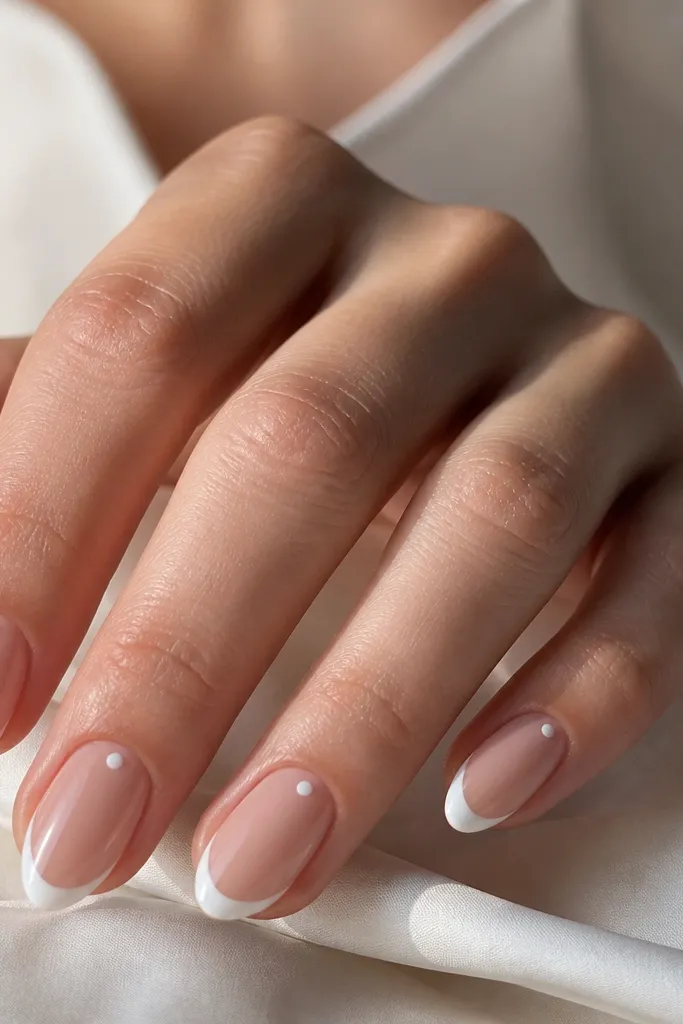
One dot is enough to make the set look designed without turning it into nail art. Placing it near the cuticle makes the nail look longer because the visual focus sits high. The dot matches the French tip so the design stays cohesive and minimalist. Glossy finish keeps the dot crisp instead of dull.
Do your nude base and thin French tip first. Use a fine dotting tool with white gel/polish and place a single dot about 2 mm from the cuticle edge, centered or slightly off-center. Cure, then top coat. Keep the dot size tiny - like a pinhead - so it doesn't compete with the French line.
Pro tipIf the dot smears, let the French cure fully and wipe the nail before dotting.
Watch outSkip multiple dots; three dots per nail stops being minimalist fast.
9. White French Tip with a Very Thin Side Stripe
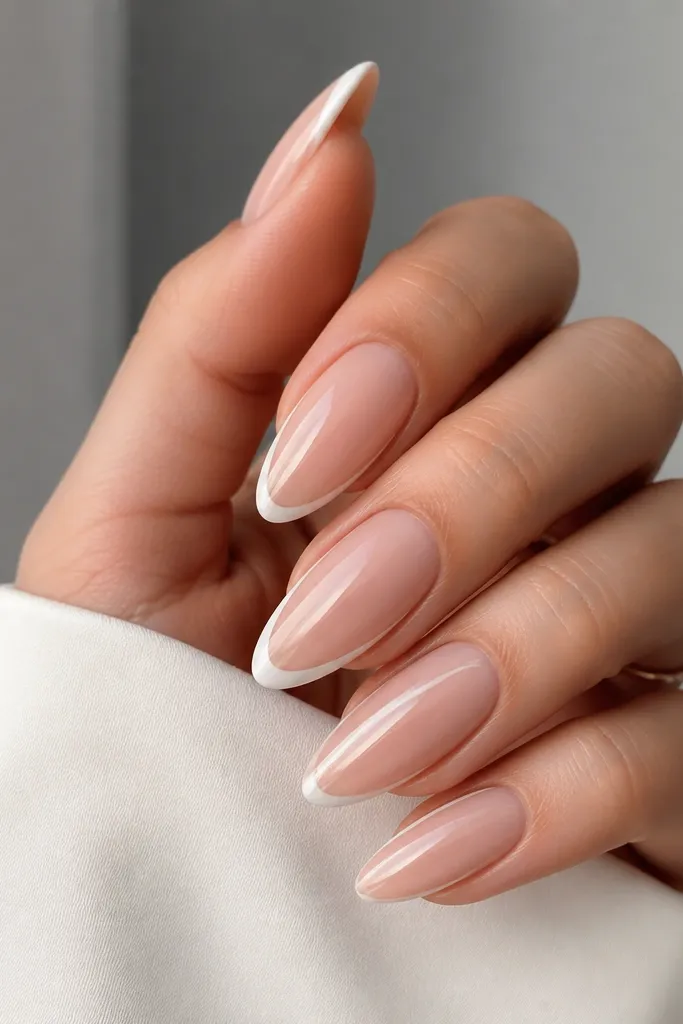
A side stripe makes the nail look slimmer and more sculpted. Because it's only on one side, it stays minimal and doesn't feel busy. The stripe also helps balance the curve of the French tip so the design looks "drawn" rather than random. Glossy top coat makes the stripe look smooth and painted.
Paint nude base and thin French tip. With striping gel, draw a line along one lateral edge from about 1 mm below the cuticle down to where the French begins. The stripe width should be hair-thin, around 0.5 mm. Cure and top coat glossy.
Pro tipUse a brush with a sharp edge - if it fans out, you'll get a thick stripe and the look turns cheap.
Watch outAvoid stripes on both sides; that symmetry makes it look like a racing stripe.
10. Wavy Minimal White Tip (Still Almond-Friendly)
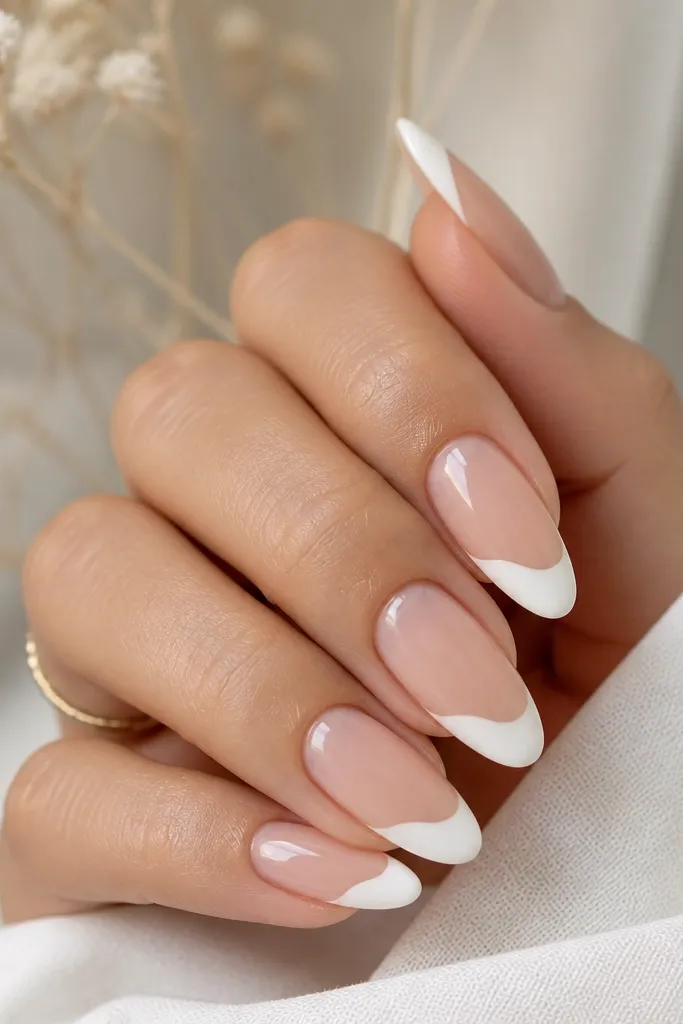
A soft wave keeps the French tip from looking like a cookie-cutter stamp. It's still minimalist because the color stays white and nude - no extra shapes. The wavy edge creates movement while keeping the nail shape elegant. It also hides tiny unevenness in your hand because the curve is meant to be imperfect.
After nude base, paint the white tip with a thin brush and a light hand. Instead of one continuous smile curve, make a gentle S-wave across the center and then taper toward the sides. Aim for a wave height of about 0.5-1 mm so it looks subtle. Cure and top coat glossy.
Pro tipPractice the wave on one nail first using a striping brush and wipe clean before curing if needed.
Watch outDon't make the wave too high; big waves look like abstract art, not minimalist French.
11. White French Tip with Micro Scattered Confetti (Barely There)
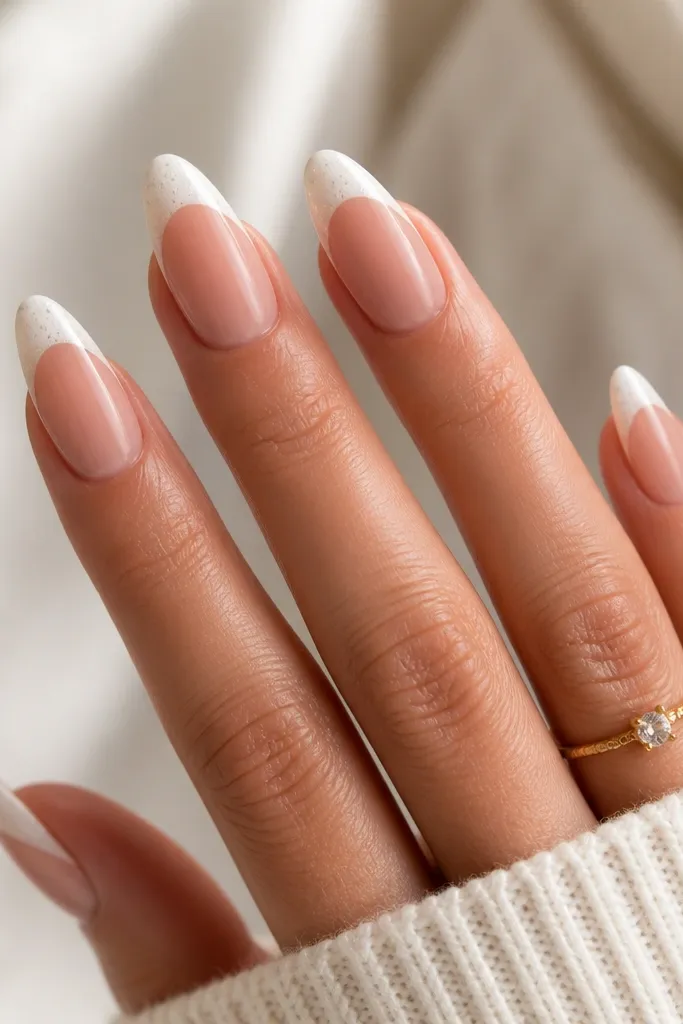
If you want minimalist with a little sparkle, place micro glitter only inside the white tip. The specks catch light but don't cover the nail, so it still reads clean. I use this for events where you want photos to pop without rhinestones. Keep the glitter sparse so the base look stays modern minimalist.
Do nude base and white French tip first. Dab a small amount of fine holographic micro glitter onto the wet white gel using a dry brush, then tap off excess. Cure and seal with glossy top coat, focusing on the tip area. This works best with very fine glitter - chunky glitter ruins the clean lines.
Pro tipUse a dry brush to remove loose glitter before curing so you don't get grit over the nude base.
Watch outSkip full glitter tips; it turns the set into "party nails" instantly.



