
1. Classic peach-to-plum horizon
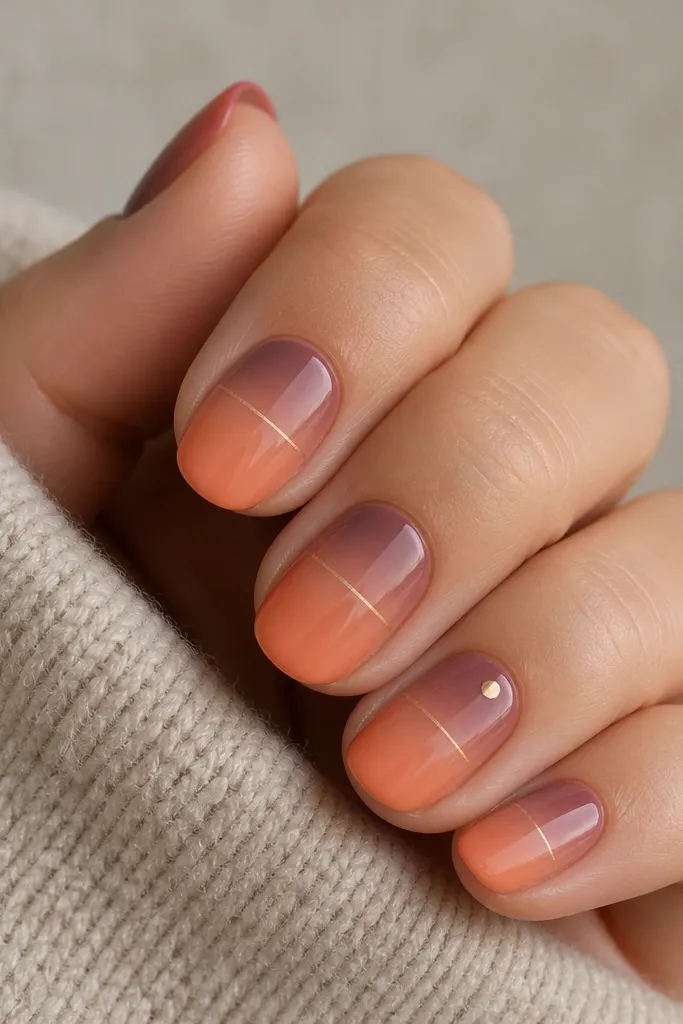
This is the sunset look that always flatters because it uses a warm glow (peach/coral) and a cool sky (mauve/plum). The thin horizon band is the trick - it gives the eye a "where the sun sits" reference point. I like finishing with a tiny gold dot or a soft gold arc so it looks like the sun is peeking rather than drawn on.
Start with a sheer nude base, then sponge a peach gel from the lower third upward about 40% of the nail. Add mauve-plum at the top, blending the edge with a second light sponge tap. For the horizon band, use a striping brush and a mix of white gel plus a touch of gold pigment. Cure each layer fully before top coat.
Pro tipIf your sponge leaves speckles, tap the sponge off on a paper towel once before touching the nail.
Watch outAvoid a harsh line between colors - it makes the sky look like two separate polishes.
2. Copper sun arc with smoky sky
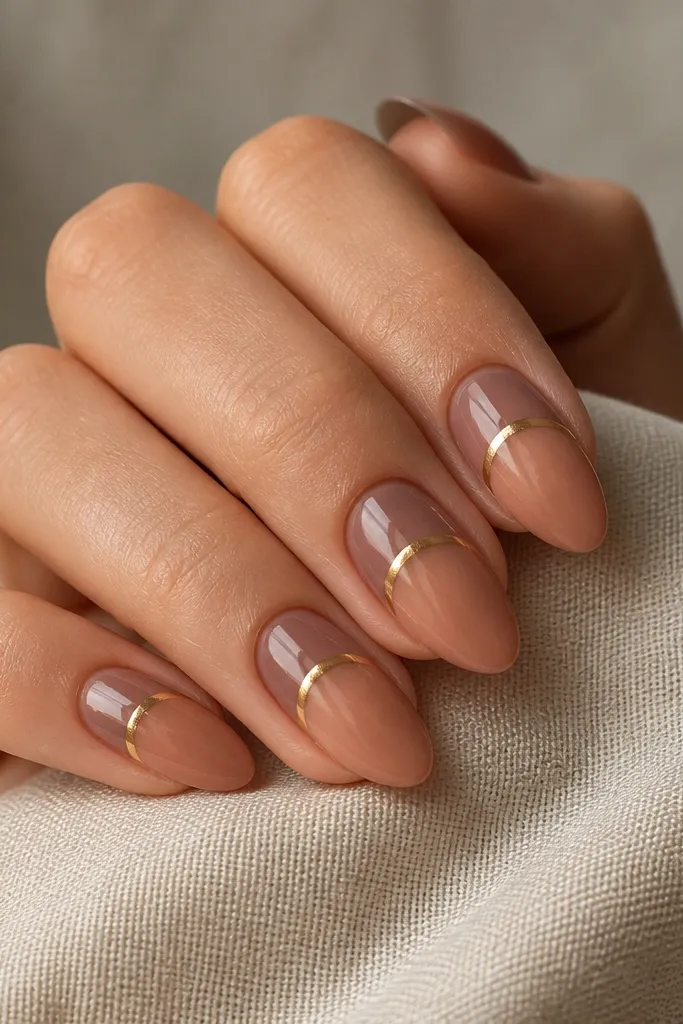
The copper arc gives you that sunset moment without needing a full painted scene. Smoke colors (rose-brown, taupe-leaning mauve) stop it from looking too bright. The arc also photographs well because it catches light like metal.
Sponge rose-brown from the top down to the middle, then blend apricot into the lower third. Use striping tape to block a straight horizon line, then paint the copper arc with a thin brush. Remove the tape after curing so the line stays crisp.
Pro tipUse gel foil glue or a metallic gel for the arc - plain chrome powder can smear if your top coat is too thick.
Watch outDon't make the arc too thick or it turns into a "stripe" instead of a sun.
3. Pink lemonade sunset on nude base
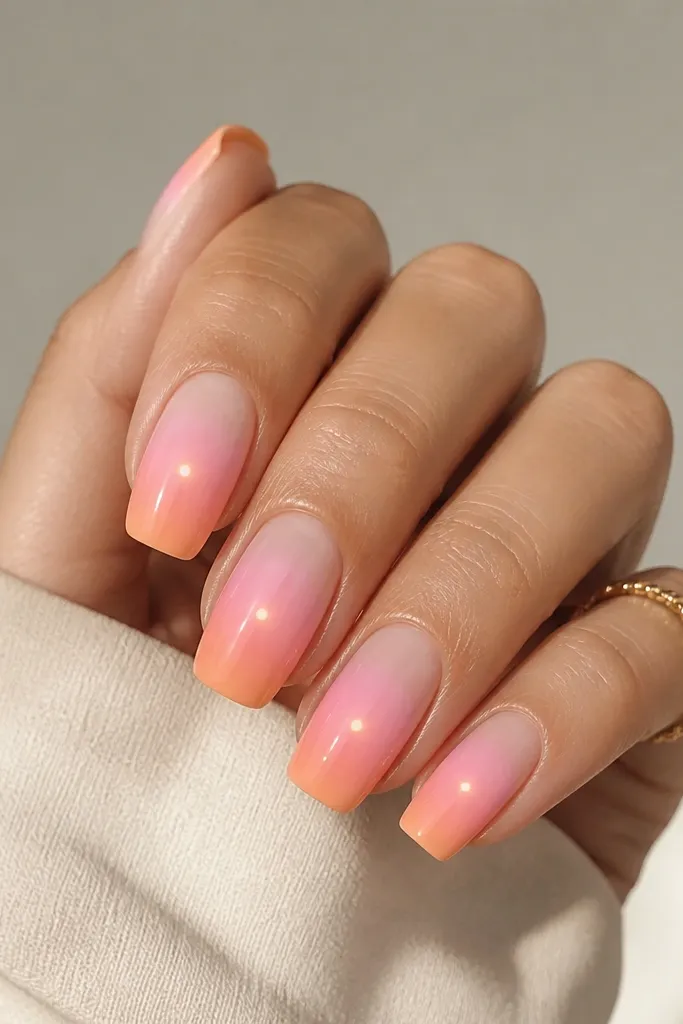
This one is bright but still wearable because the nude base keeps it light. Bubblegum pink plus soft orange gives a "lemonade stand" sunset vibe. The white dot sun reads clean and modern, and the faint halo makes it look like light instead of paint.
Apply nude sheer base, then sponge bubblegum pink at the middle and orange at the bottom edge, keeping the blend soft. Dot a white gel sun near the center using a dotting tool, then lightly tap around it with a tiny brush loaded with diluted orange to create a glow. Finish with glossy top coat.
Pro tipIf the white dot looks too stark, cure it once, then glaze a whisper of orange over it without covering the dot completely.
Watch outSkip full coverage orange - it can overpower your nude base and make the manicure look heavy.
4. Tangerine sunset tips (reverse ombre)
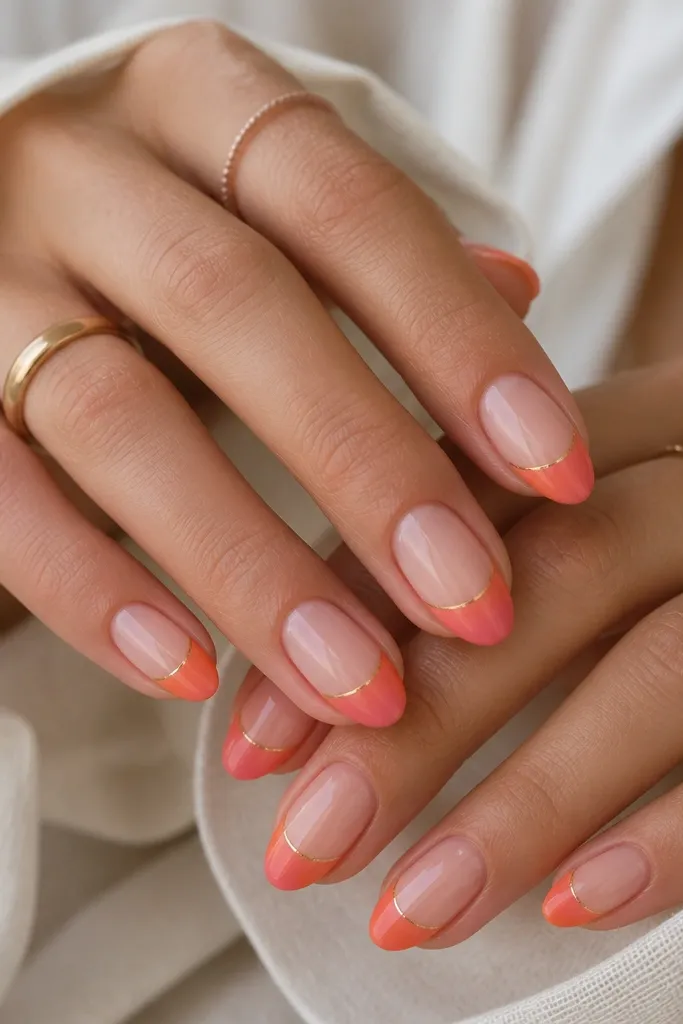
Reverse ombre on the tips gives a sunset feel without covering the whole nail. It's flattering on short nails because the nude base makes the nail look longer. The gold line is the detail that makes it feel designed instead of accidental.
Leave the nail base nude. Sponge tangerine at the very tip and fade it upward about 25% of the nail. Add rose near the outer edge, then blend the transition with a clean sponge corner. Paint a thin gold line at the fade boundary and cure.
Pro tipUse the straight edge of a sponge cut into a thin wedge for cleaner tip blending.
Watch outDon't drag the sponge too far into the nude - you'll lose the "tip sunset" look.
5. Sunset confetti with micro stars
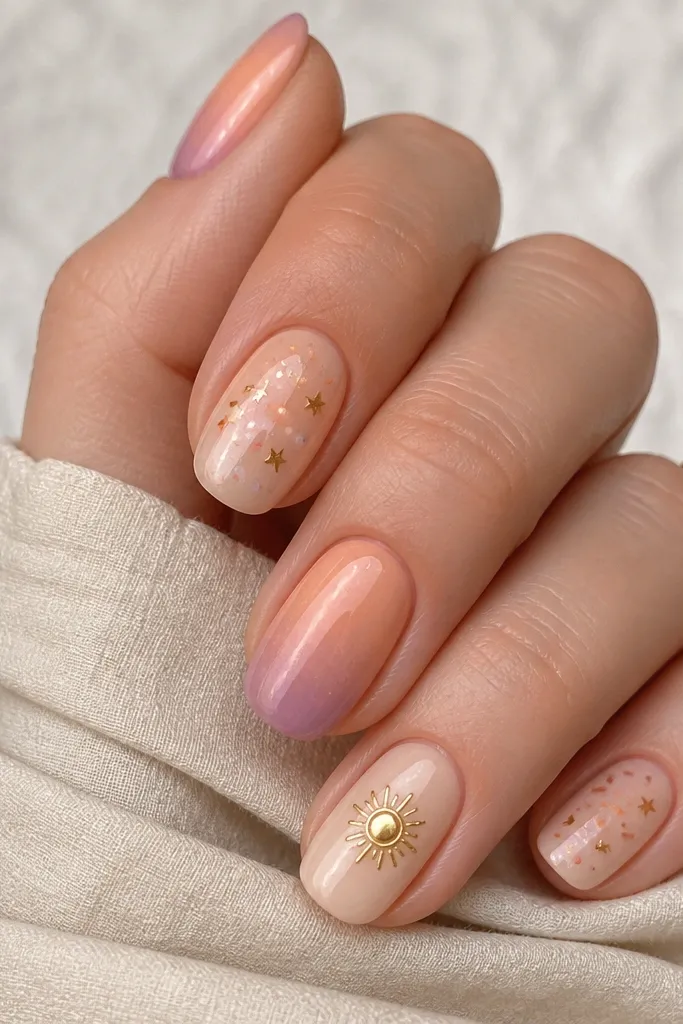
Confetti makes the sunset feel fun without needing a detailed landscape. Micro stars add that "evening sky" effect, and the gradient nails keep it grounded. I love this for parties because the tiny bits catch light and look good in motion.
Do a simple peach-to-mauve gradient on two nails using a sponge. On the other nails, apply nude base and sprinkle micro confetti using gel tack (or place tiny dots individually with a dotting tool). Add micro star stickers, then top coat with enough thickness to smooth texture.
Pro tipPress down star stickers lightly with a clean silicone tool so they don't lift at the edges.
Watch outAvoid too much confetti on every nail - one or two accent nails is the sweet spot.
6. Burnt orange sunset with sheer black skyline
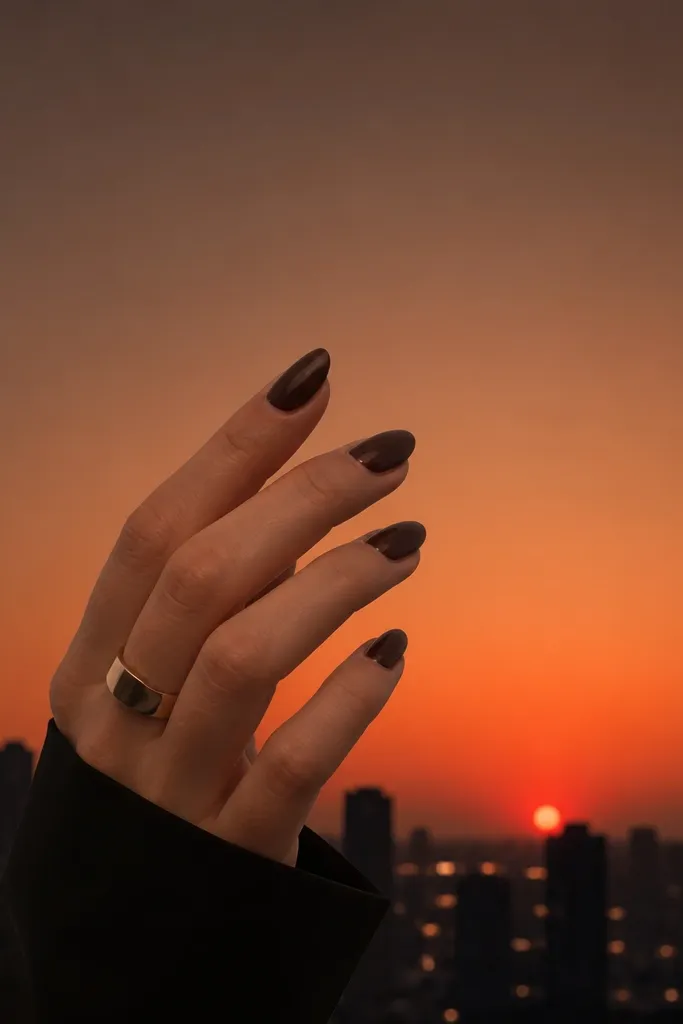
This design looks like evening over a city, and that's why it works year round - it's not tied to beach colors. The burnt orange glow stays warm, while the sheer black skyline adds depth without making the nail feel heavy. Those tiny window dots give dimension even if you keep the skyline simple.
Sponge burnt orange in the lower third and blend into smoky brown at the top. For the skyline, use a sheer black gel and a thin brush to paint jagged building shapes along the bottom edge only. Dot a few tiny windows with a lighter gray or pale gold gel.
Pro tipIf you mess up the skyline edge, wipe the line with a brush dipped in cleanser before curing - it cleans up fast.
Watch outDon't make the skyline fully opaque - it will kill the sunset glow.
7. Lavender sunset with gold foil strips
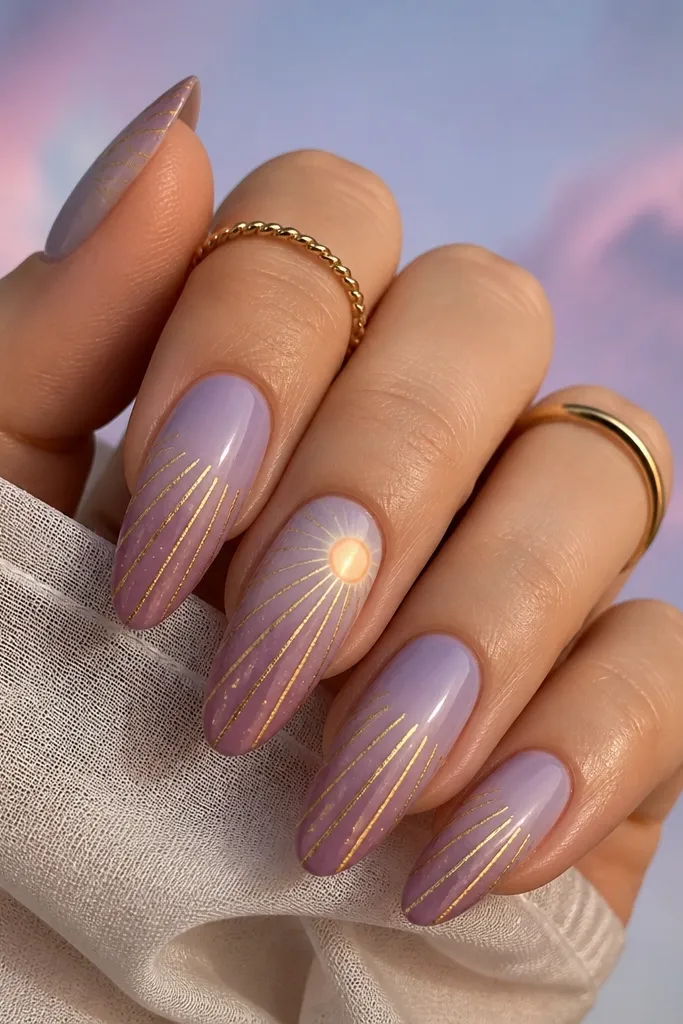
Lavender gives the sunset a cooler, modern twist. Gold foil strips create the "ray" effect without you having to paint lines perfectly. That pale apricot sun keeps the whole thing reading as sunset, not just purple art.
Sponge lavender and mauve to create a smooth sky gradient. Brush on a thin tack layer where you want the rays, then press gold foil strips in place and cure. Add the sun circle with pale apricot gel, then glaze around it lightly with white for a halo.
Pro tipCut foil strips slightly uneven - perfectly straight strips look too graphic on nails.
Watch outSkip thick foil layers - they lift and snag on coats and hair.
8. Pastel sunset ombre with white cloud swipe
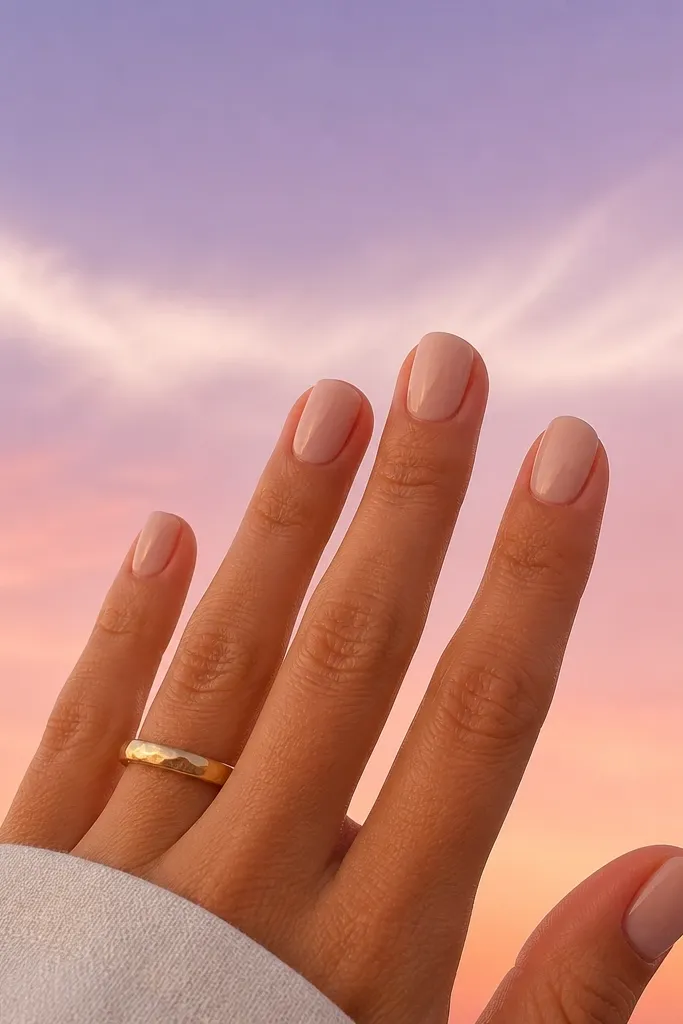
This is the "gentle sunset" version. Pastels make it feel springy, but the horizon placement still makes it read as sunset. The white cloud swipe adds movement and softness, so the design looks airy instead of flat.
Sponge peach and soft pink from the lower third into light lavender on top. Use a wide nail art brush with white gel to swipe a cloud band across the midline, then use a clean brush dampened with cleanser to soften the edges before curing. Finish with a glossy top coat.
Pro tipFor cloud edges, swirl the brush lightly - don't press down hard or you get a thick white stripe.
Watch outAvoid muddy pastel blends - cure each color stage and blend lightly.
9. Sunset checkerboard accent
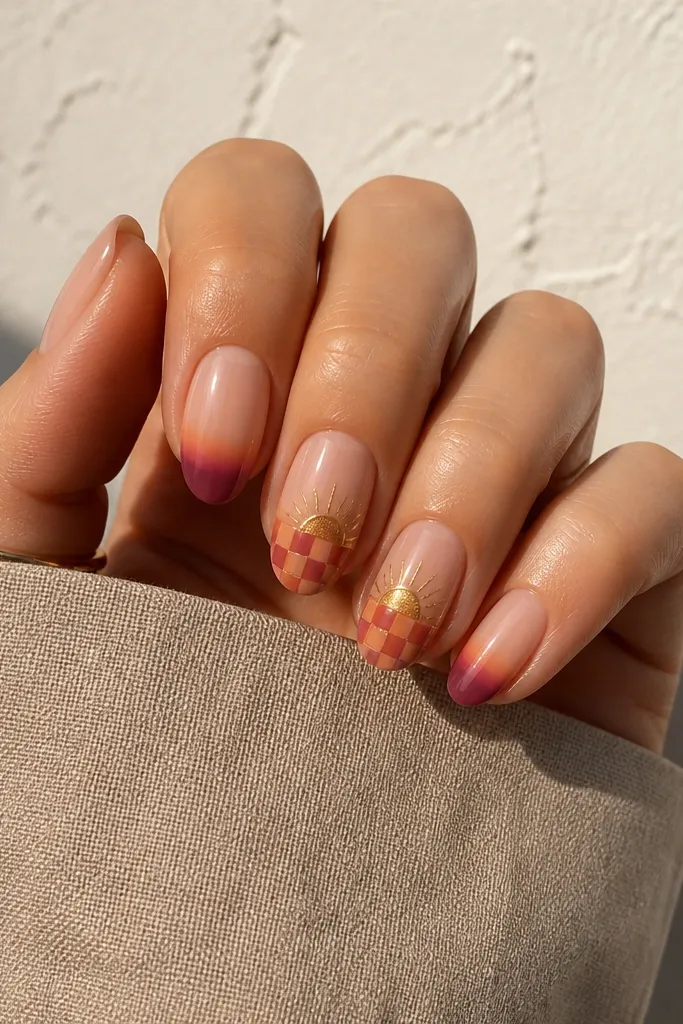
Checkerboard adds structure to the sunset theme. Keeping the pattern only on one or two nails prevents it from turning into a busy grid. The gradient base makes it still look like a sunset, not just a pattern.
Paint the gradient horizon on all nails except two. For the checkerboard, use striping tape to create small squares on the lower half, then fill with orange and rose gel. Add a thin gold arc sun above the checker area on one accent nail.
Pro tipPress tape down for 10 seconds before painting so the edges stay crisp.
Watch outDon't go too large on the squares - big checks look cartoonish on small nails.
10. Matte sunset with glossy horizon line
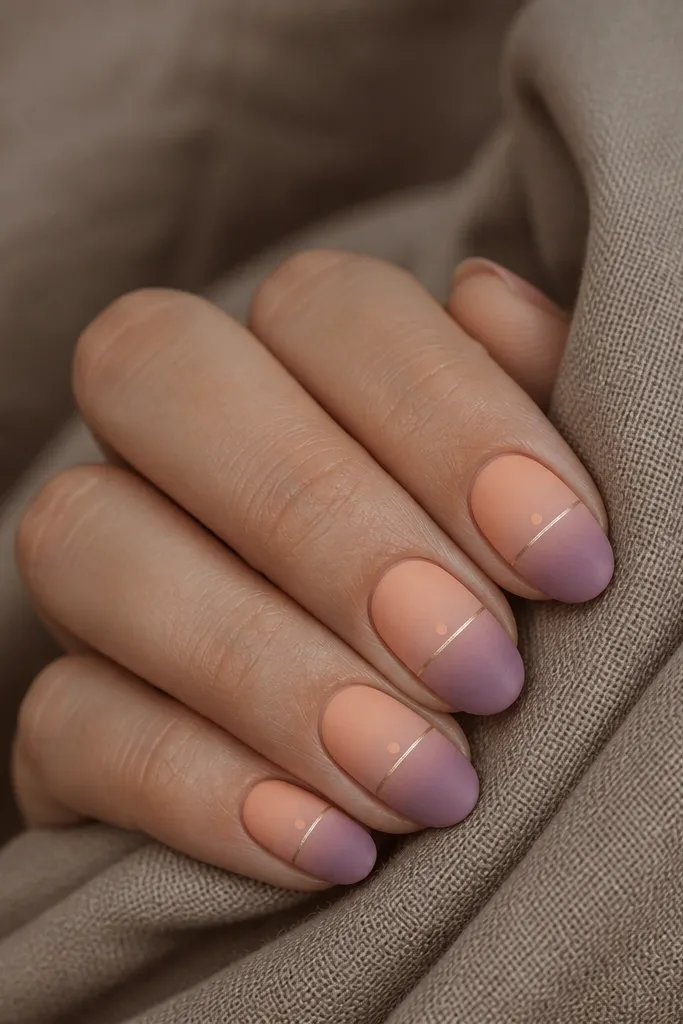
Matte makes the colors look more "fabric-like," which is why this feels stylish even in winter. The glossy gold horizon line pops because it's the only reflective element. That contrast - matte sky, shiny line - makes the design feel intentional.
Build the gradient normally, then seal with a matte top coat over the entire nail. After curing, use a thin brush to paint a metallic gold line on the horizon and cure under LED again. Keep the sun dot matte by placing it before the matte top coat.
Pro tipWait a full minute after matte top coat before touching the horizon line - it helps prevent smearing.
Watch outDon't put matte over metallic chrome - it can dull it too much.
11. Gradient French sunset (colored tip + skyline edge)
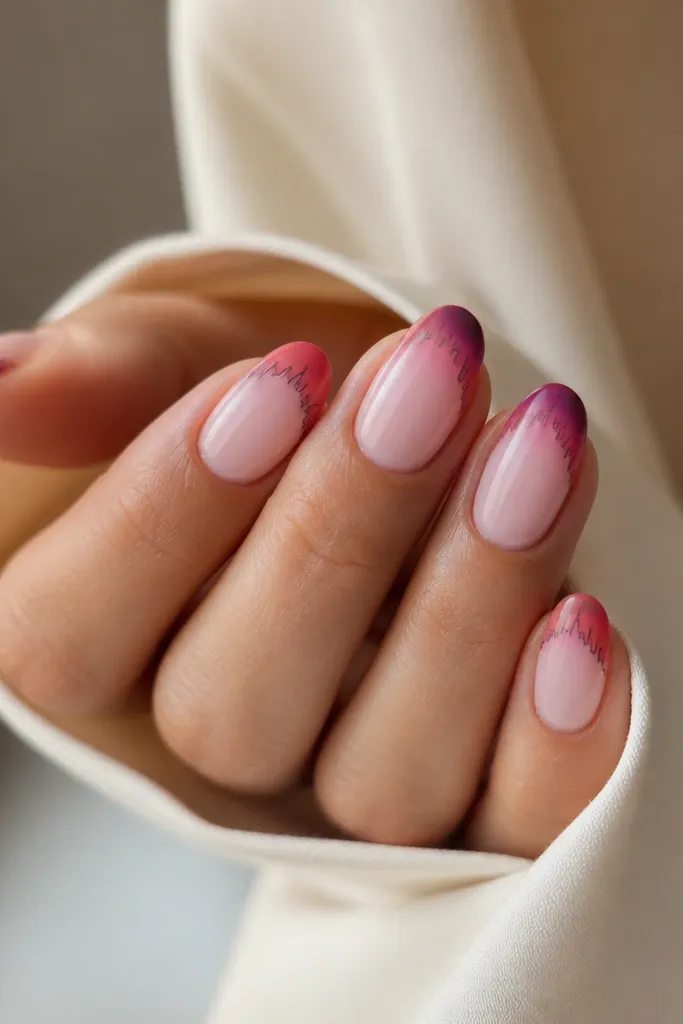
French tips already look neat. Adding a sunset gradient to the tip keeps the manicure fresh, and the skyline edge makes it feel like an evening scene. This works great if you hate full nail art but still want something special.
Use a French guide or freehand a curved tip line. Sponge coral into the tip and fade to plum near the outer edge. For the skyline edge, paint a thin black silhouette right under the French curve, staying only 1-2 mm tall so it reads subtle.
Pro tipKeep the skyline line thinner than you think - nails look cleaner that way.
Watch outAvoid thick French borders - they can look bulky and outdated.
12. Black velvet sunset with neon coral glow

Dark bases make neon coral look like it's actually glowing. The sunset still reads because you keep the warm band horizontal and place the sun near it. This one is for night events and photos - the coral looks electric against black.
Paint a near-black gel base and cure. Sponge neon coral across the middle band, then blend outward lightly so it looks like light scattering. Add a small hot orange sun circle with a dotting tool and glaze a thin halo around it. Seal with glossy top coat to keep the glow effect.
Pro tipUse a neon gel that's meant for stamping or high opacity - thin neon layers look patchy on black.
Watch outSkip matte here - matte kills the glow look.



