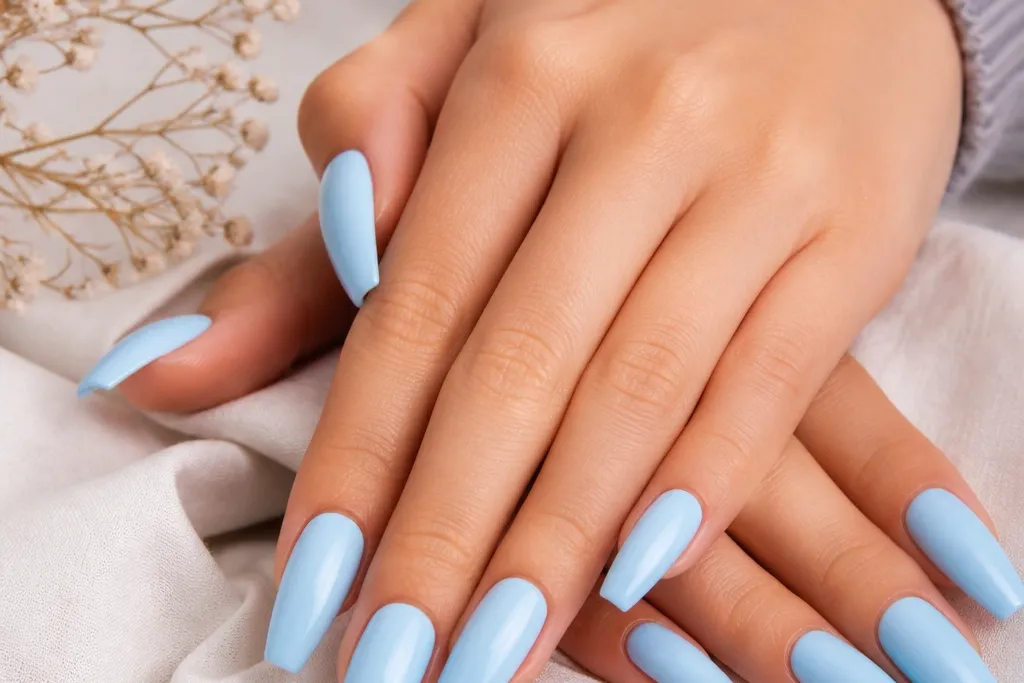
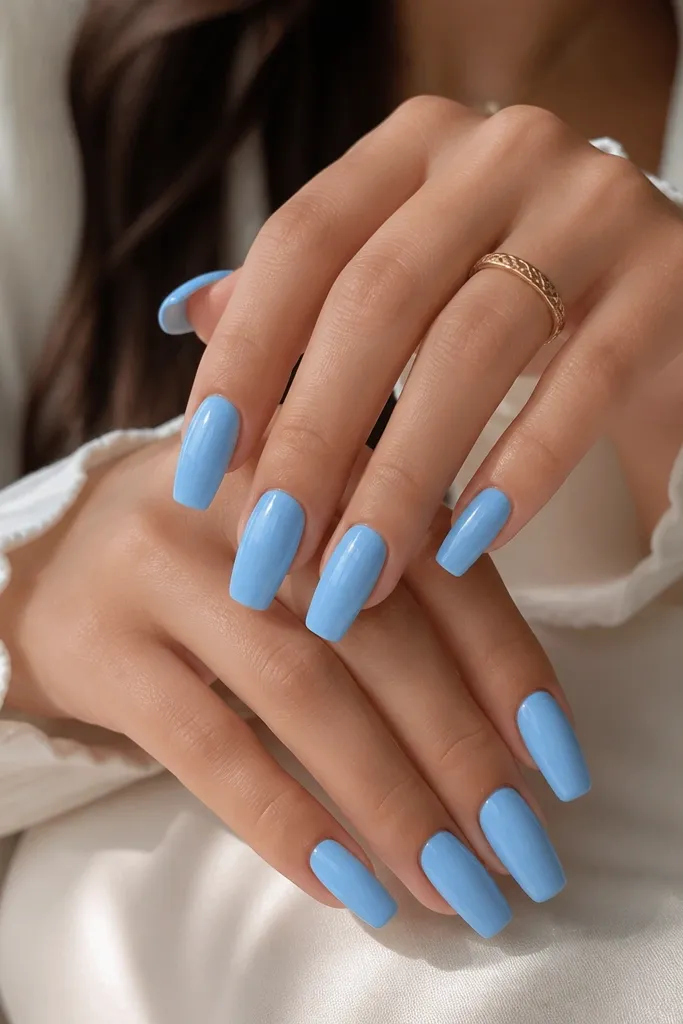
1. Glazed Powder Sky with Micro-Glitter Fade
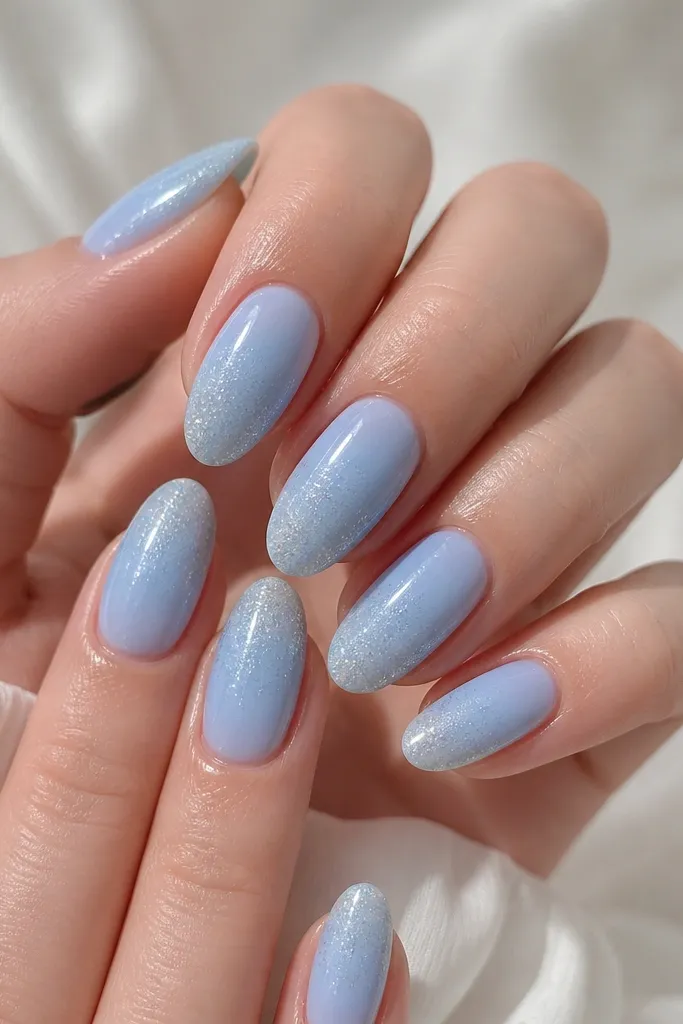
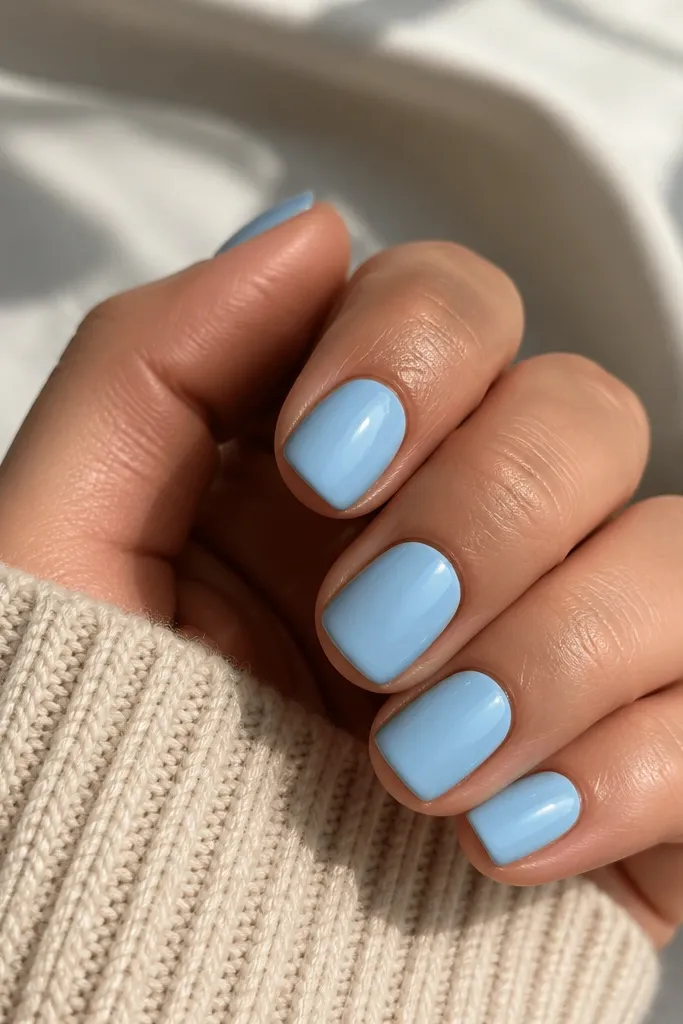
This is the set I reach for when someone wants "sky" but not loud. Powder-blue looks soft on the skin, and the micro-glitter fade keeps it from turning into chunky sparkle. The glaze effect comes from a glossy topcoat over a smooth blend, so the surface catches light even if you're not wearing jewelry.
Build the base with powder-blue acrylic, then blend a thinner bead toward the free edge so the glitter sits only at the tips. Keep length short (1/8 to 1/4 inch beyond the fingertip) so the fade looks neat. Finish with a thick final topcoat for that smooth, glassy dome.
Pro tipUse a fine glitter (0.2 mm or smaller) and press it into the last 2-3 mm of the tip with a flat brush.
Watch outDon't dump glitter all the way to the sidewalls - it makes the set look messy in photos.
2. Sky Blue French Tips with Negative Space Cuticle
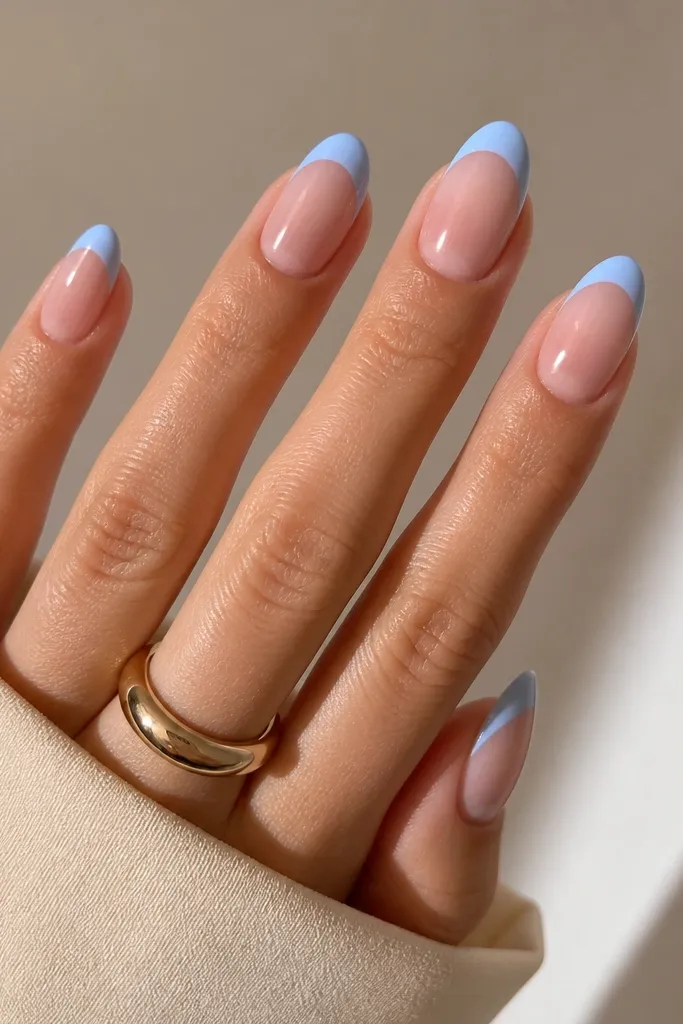
French tips look sharper when the cuticle is left clean instead of overpainted. The negative space makes the sky blue look brighter because it has contrast. This set also grows out better because the line stays crisp and you're not covering the whole nail with color.
Apply a nude-clear base, then form the French arc with a guide strip. Keep the tip width around 2 mm for short-to-medium nails. Leave a 1 mm gap around the cuticle so the negative space stays visible after topcoat.
Pro tipUse gel polish or acrylic paint to draw the arc, then cap the line with a thin clear layer so it doesn't chip at the edge.
Watch outSkip thick French tips - a bulky smile line makes the blue look uneven.
3. Icy Sky Chrome Over Clear Jelly Base
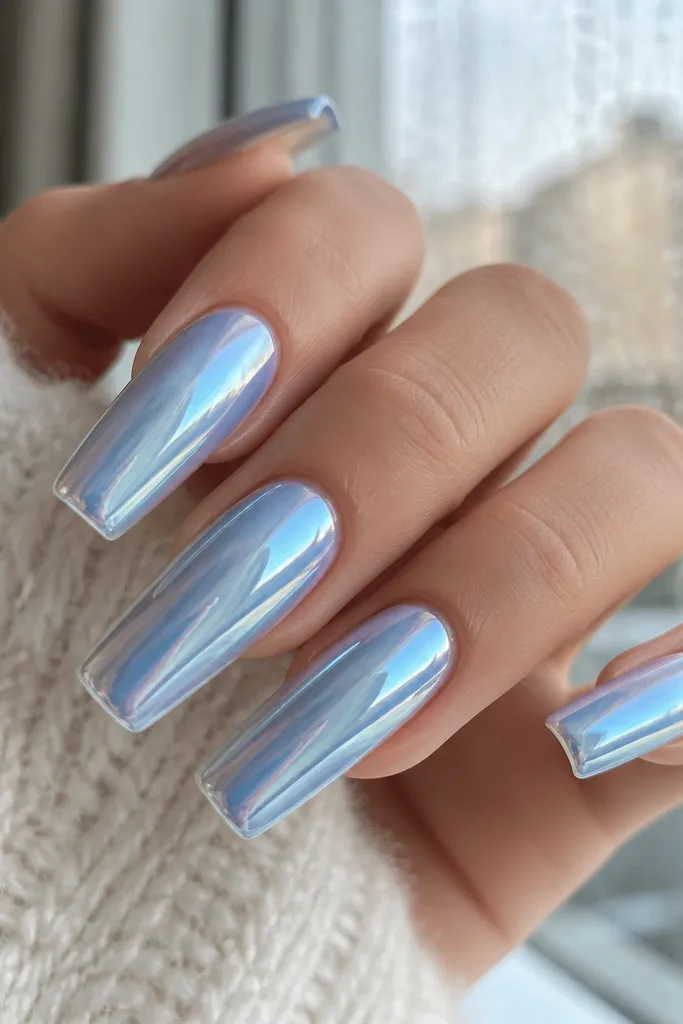
Chrome over a jelly base gives you that "cold sky" effect without turning the blue flat. The clear base makes the chrome look dimensional, especially at the edges. This is the set that makes plain rings look expensive because the nail surface throws highlights.
Start with a clear-to-jelly acrylic base so the nail looks wet. Once cured, rub a sky-blue chrome powder onto a sticky gel layer (or chrome-ready topcoat) and buff lightly. Seal with a high-gloss topcoat that doesn't dull chrome too much.
Pro tipIf your chrome looks patchy, press it longer with a soft applicator sponge instead of adding more powder.
Watch outDon't use matte topcoat on chrome - it kills the mirror shine.
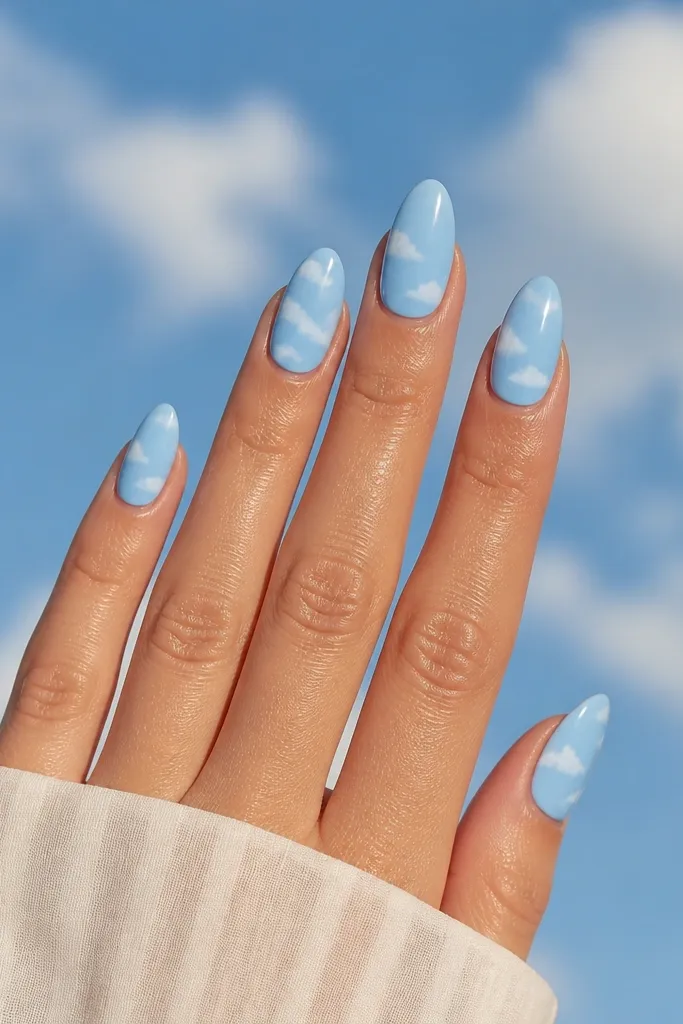
4. Cotton Candy Sky with White Cloud Doodles
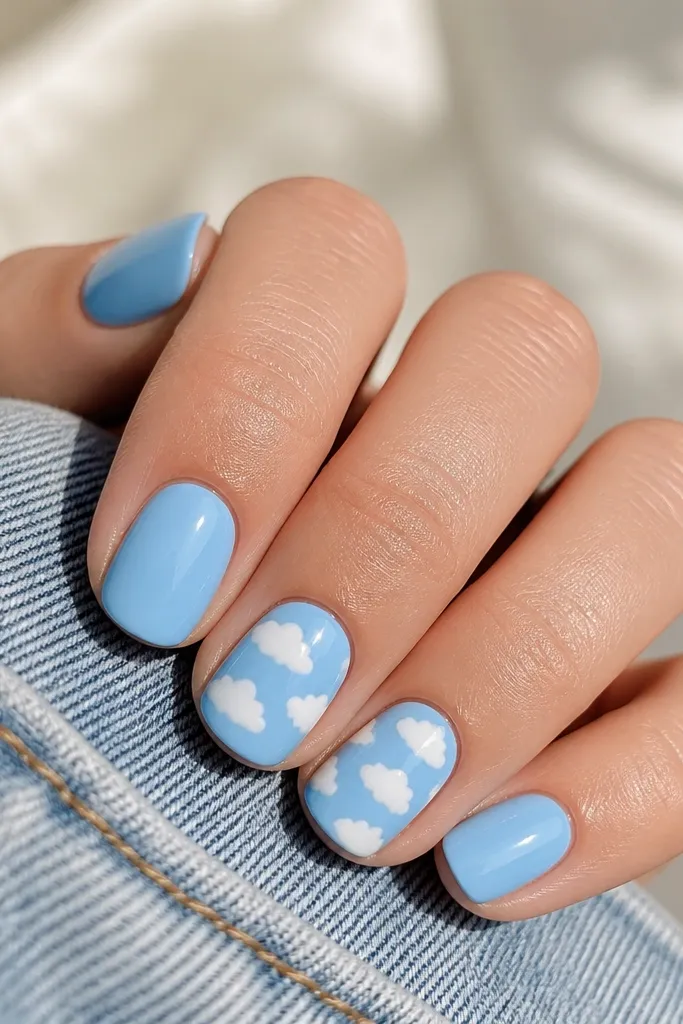
This set is fun without being childish because the clouds are small and spaced. Cotton candy sky blue is lighter and warmer than true cyan, so it flatters hands. The white doodles look like soft airbrush art when you keep the strokes uneven and hand-drawn.
Use a medium-light sky blue acrylic for the base. For clouds, paint with opaque white and add tiny highlights with a milky white on the upper left of each cloud. Cap lightly so the doodles don't puff.
Pro tipPaint clouds with a 00 liner brush and drag the edges for a fluffy outline.
Watch outAvoid perfect symmetrical clouds - they look stamped and cheap.
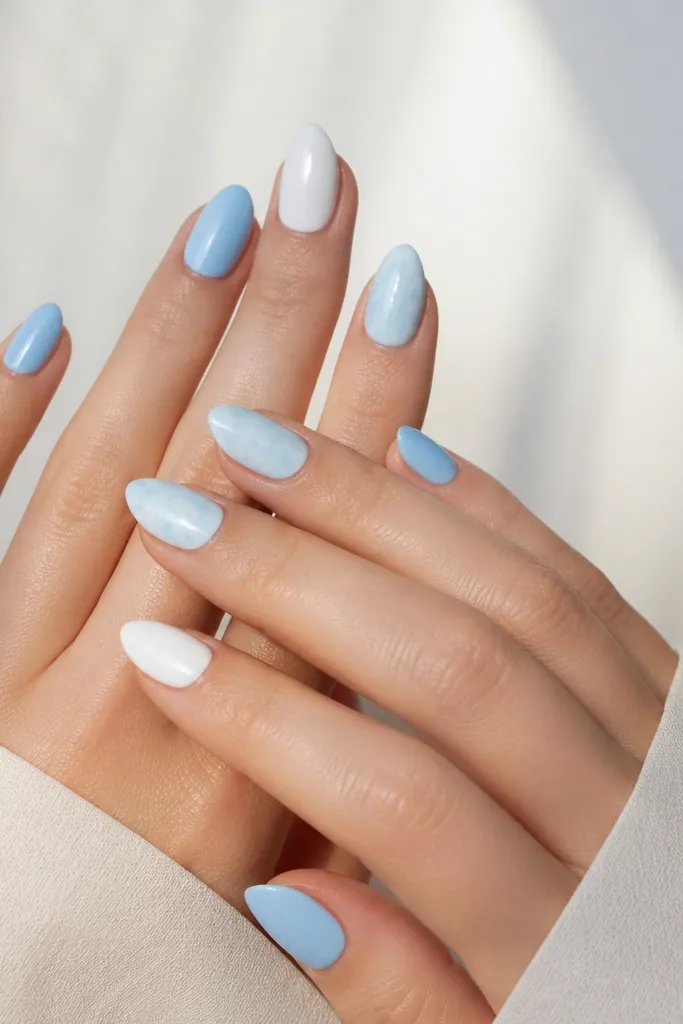
5. Sky Blue Marble with Milky Veins
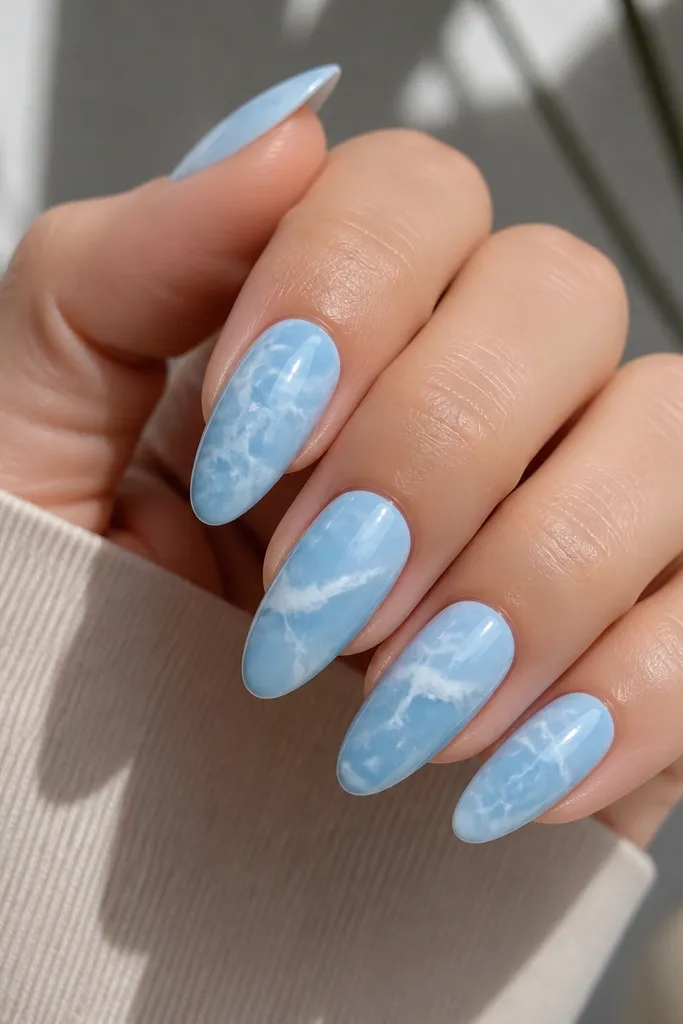
Marble works because sky blue has a clear color base, and milky veins add movement. The "crack" look comes from thin pulls instead of thick lines. When sealed under gloss, the marble reads like stone, not like paint brush strokes.
Do a solid sky-blue base, then drop milky white acrylic paint in tiny dots. Use a thin spatula or a marbling tool to pull lines in short bursts. Keep veins under 1 mm wide so the design stays delicate.
Pro tipPractice on a fake nail tip first - marble is all about speed and restraint.
Watch outDon't over-mix the marble - if it swirls too much, the blue turns gray.
6. Sky Blue Gradient to Clear at the Cuticle
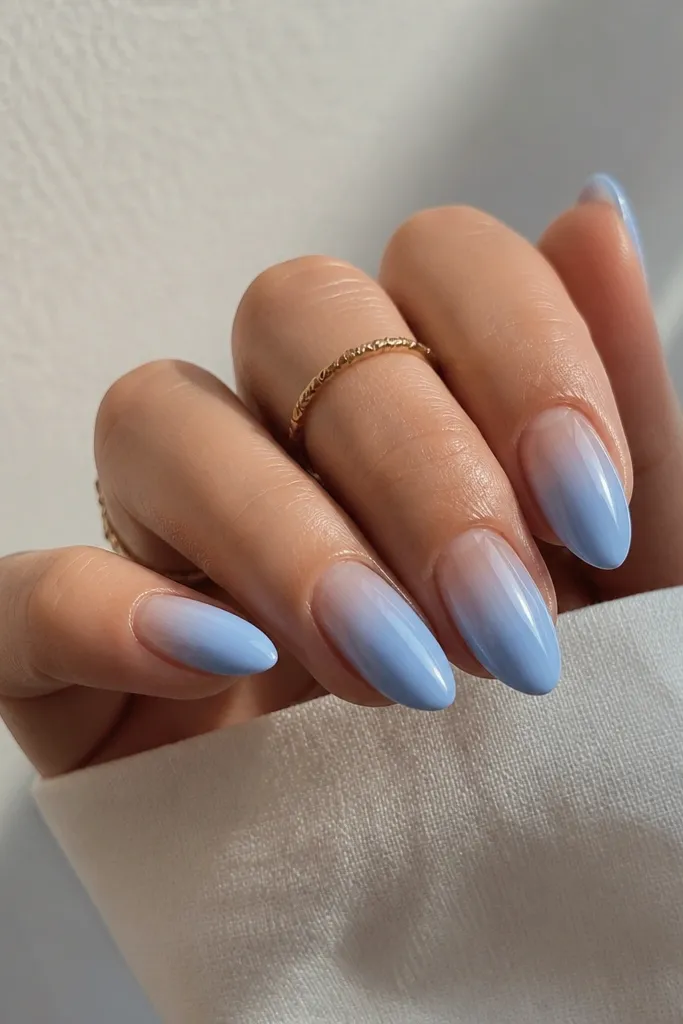
This gradient makes your nails look airy and longer because it lightens near the cuticle. Clear at the top prevents the set from looking heavy. The smooth blend is what makes it look salon-made - harsh lines scream beginner.
Start with clear acrylic at the cuticle, then place sky blue bead farther down the nail. Blend with a damp brush, working in tiny circles so the transition disappears. Cap with clear acrylic to lock in the gradient.
Pro tipUse a larger bead than you think, then blend down slowly - small beads leave patchy transitions.
Watch outDon't blend too dry - a dry brush drags and creates streaks.
7. Ocean Line Art with Fine White Stripes
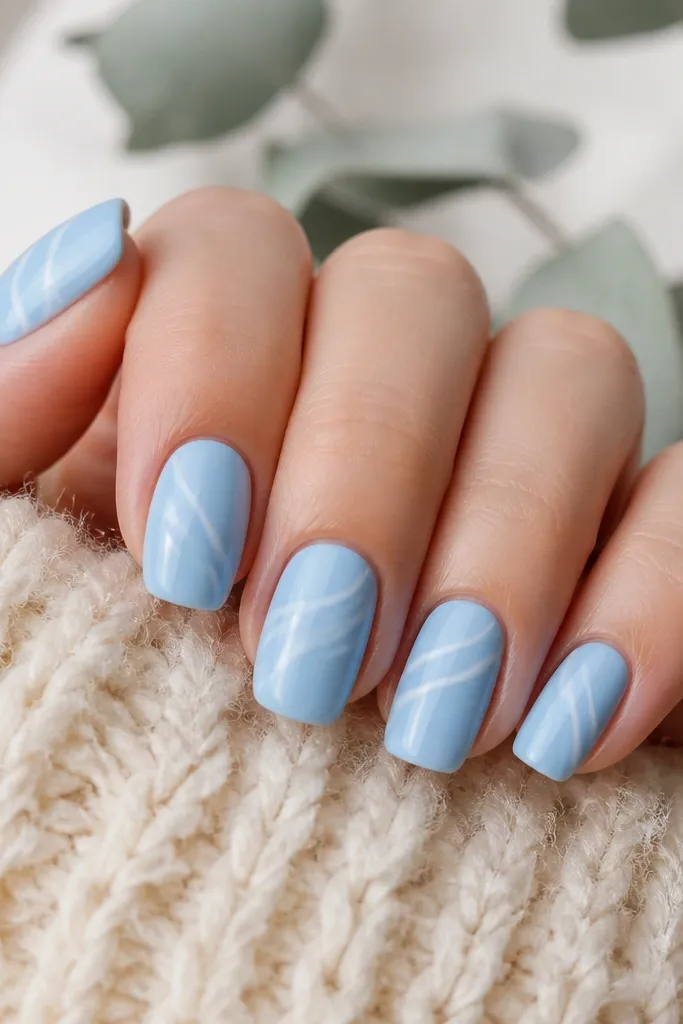
Thin line art looks clean because it doesn't cover the whole nail. Sky blue gives you the watery base, and the white stripes mimic wave highlights. This is a great set for people who want nail art but hate thick embellishments.
Paint the base in sky blue, then use a liner brush or striping tape to place a diagonal guideline. Paint white lines over the guideline, keeping them under 0.5 mm thick. Seal with a clear topcoat that's not too runny.
Pro tipLet the white line cure fully before topcoat so it doesn't smear when you brush over it.
Watch outSkip thick white borders - they look like sticker outlines.
8. Sky Blue Aura Nails with Halo Glow
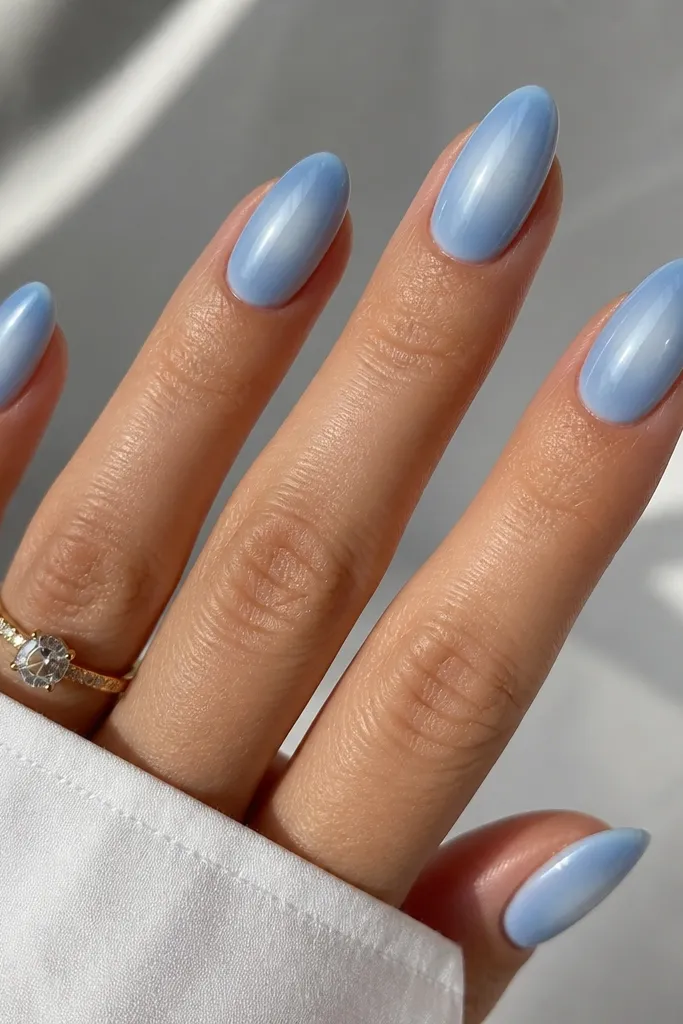
Aura nails look expensive because they create a glow without needing a ton of art. The halo effect comes from blending a darker sky blue ring around a lighter center. It's flattering on every nail shape because the glow pulls focus to the middle.
Use a light base (milky clear or pale sky). Sponge a darker sky blue ring around the center, then soften the edges with a clean makeup sponge. Finish with a glossy topcoat so the aura looks smooth.
Pro tipTap the sponge lightly in layers - one heavy swipe creates muddy edges.
Watch outDon't make the halo too close to the cuticle - it turns into a blob.
9. Baby Sky Half-Moons in Nude-Clear
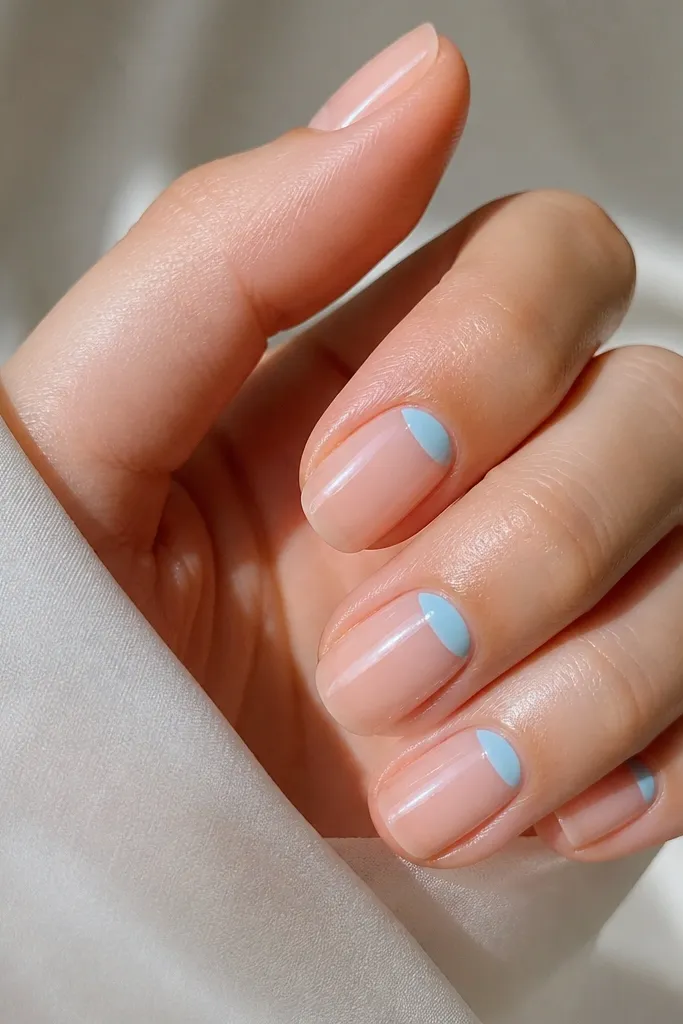
Half-moons are simple but they look sharp when the lines are clean. Leaving the nail nude-clear keeps it modern and makes the sky blue look like a tiny accent. This set also hides growth because the design sits near the cuticle where your nails change slowly.
Create a sheer nude base using a clear-pink acrylic mix. Paint or form the half-moon with baby sky blue, keeping the curve tight to the cuticle line. Cap with clear acrylic but avoid flooding the cuticle so it doesn't lift.
Pro tipUse a cuticle stencil or a small curved brush for the half-moon curve.
Watch outDon't bring the half-moon too far down the nail - it stops looking like a cuticle accent.
10. Sky Blue Rhinestone Teardrops on Accent Nail
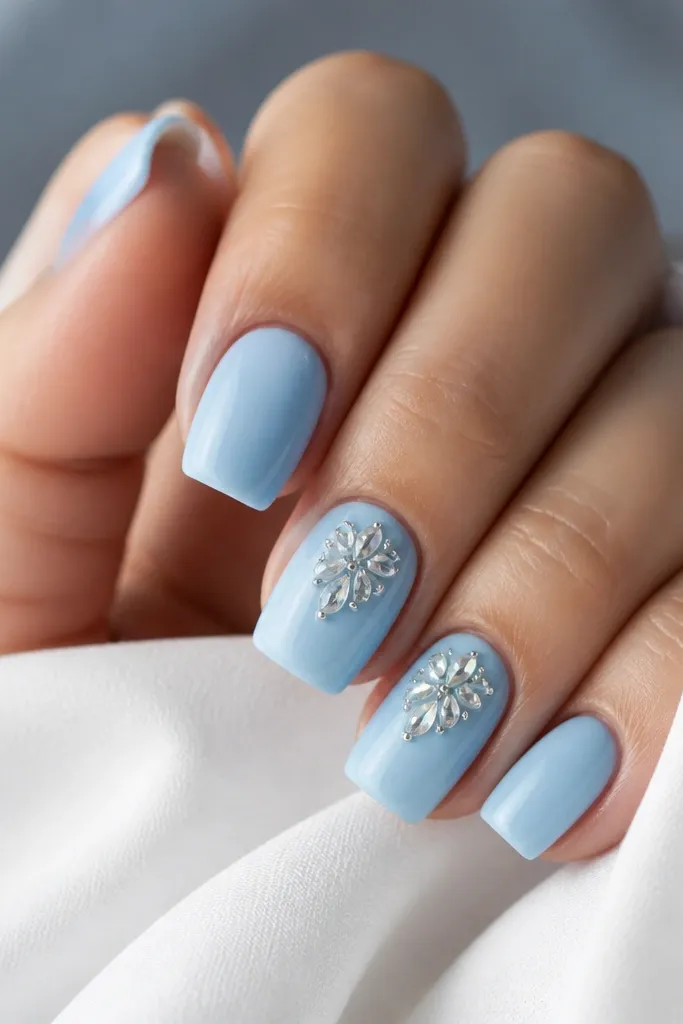
Rhinestones look best when they're grouped and sized intentionally. Teardrop stones catch light at different angles, so the accent looks busy without being chaotic. Keeping the rest of the nails solid sky blue makes the stones feel purposeful.
Do a solid sky-blue base on all nails. On two accent nails, place a small stone at the cuticle line, then stack 2-4 stones in a diagonal. Leave a tiny gap between stones so light can hit each one.
Pro tipSet stones with a dotting tool and cure each placement if you're using gel adhesive.
Watch outSkip giant stones on short nails - they look out of scale.
11. Sky Blue and Silver Starry Night Specks
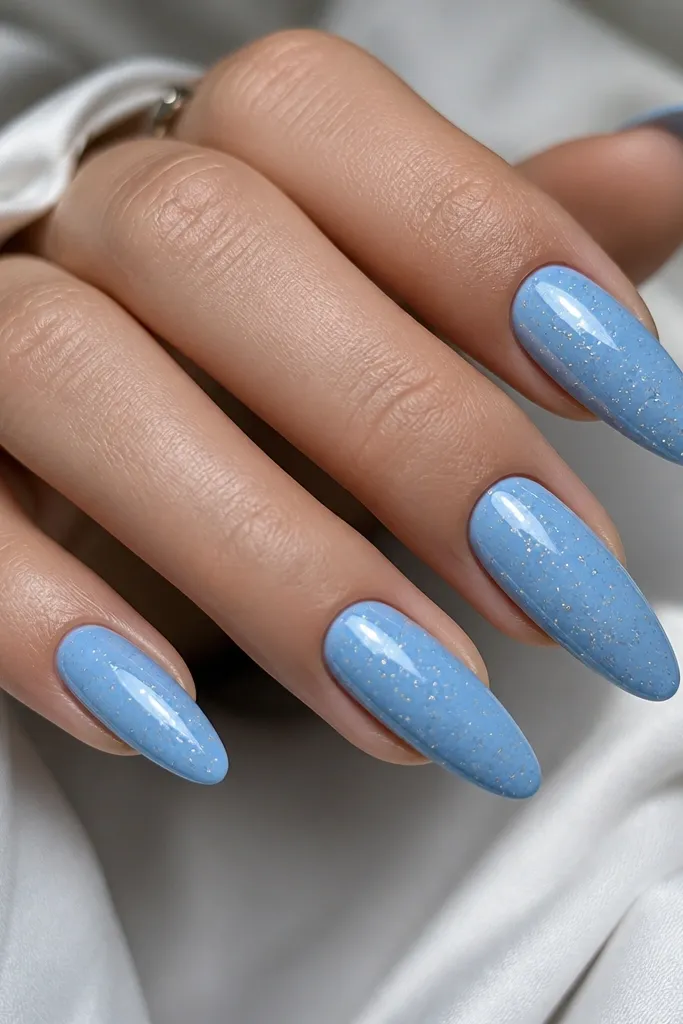
Star specks add texture without taking over the whole nail. Silver dots work because they reflect cool light, matching sky blue. This set looks good in daylight and still pops under indoor lighting.
Paint the base sky blue, then use a dotting tool with metallic silver acrylic paint or chrome dust mixed into clear gel. Tap specks lightly - start sparse and build. Seal with glossy topcoat, and cap the area lightly so dots don't snag.
Pro tipUse a toothpick to place a few larger dots for depth.
Watch outDon't cover the entire nail with dots - it turns into glitter dust.
12. Sky Blue Checkerboard with Tiny White Squares
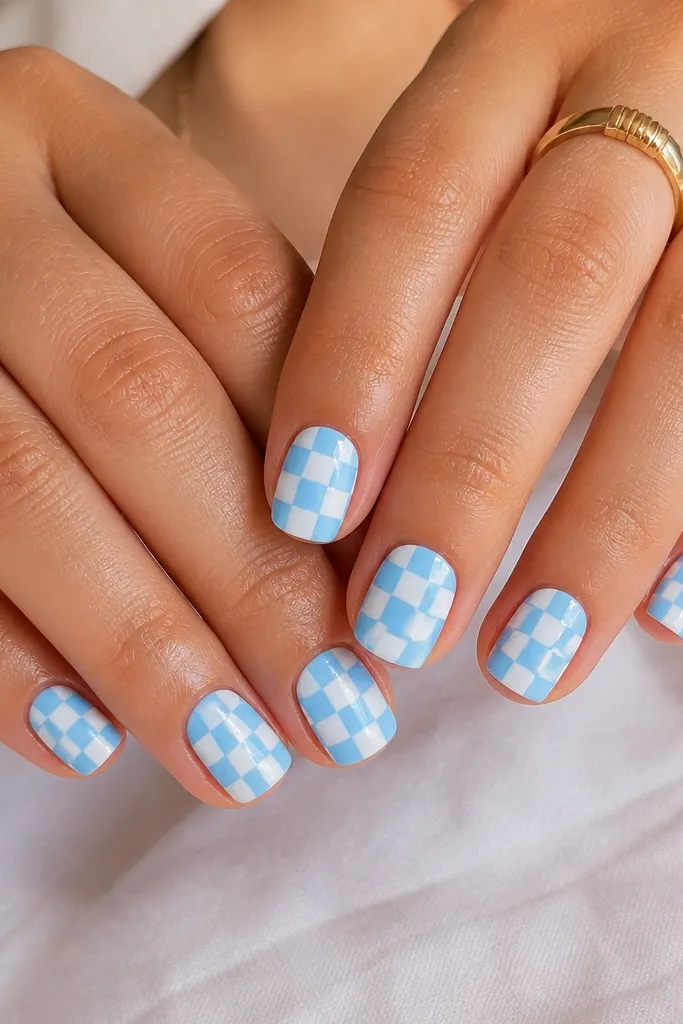
Checkerboard looks clean when the squares are small and the lines are straight. Sky blue vs white makes the pattern crisp and graphic. It's also one of the most forgiving nail arts because small mistakes blend into the grid.
Use a sky-blue base, then mark a grid with striping tape or a thin liner. Paint alternating small squares in opaque white. Keep square size around 1.5 to 2 mm for short nails so it doesn't look chunky.
Pro tipPress tape firmly along the nail edge so the corners don't bleed.
Watch outSkip uneven square sizes - it makes the pattern look handmade in a bad way.