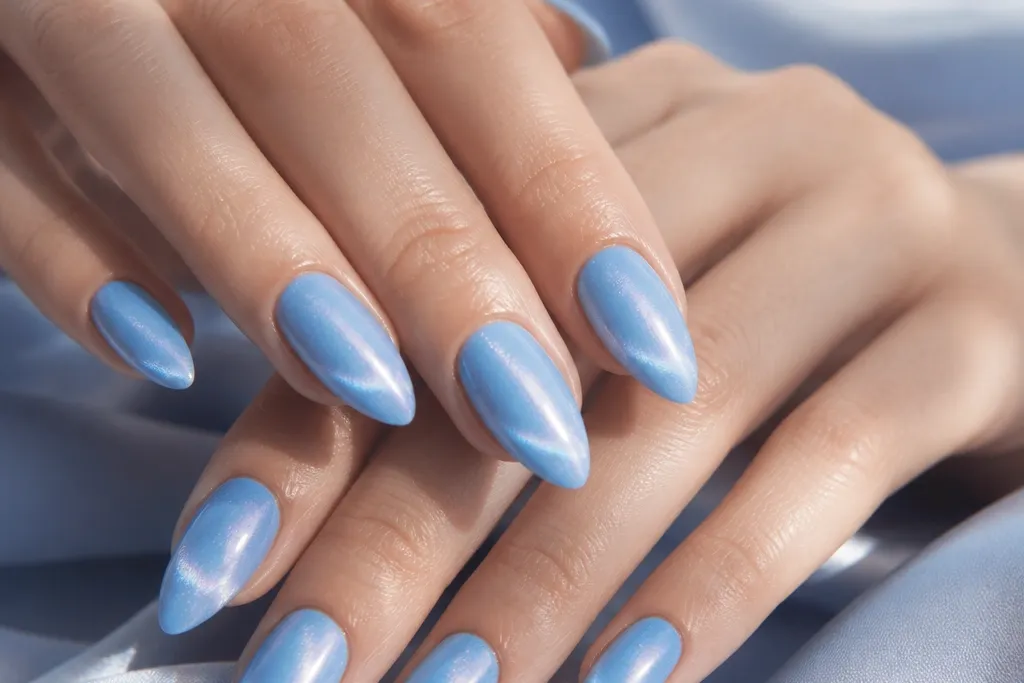
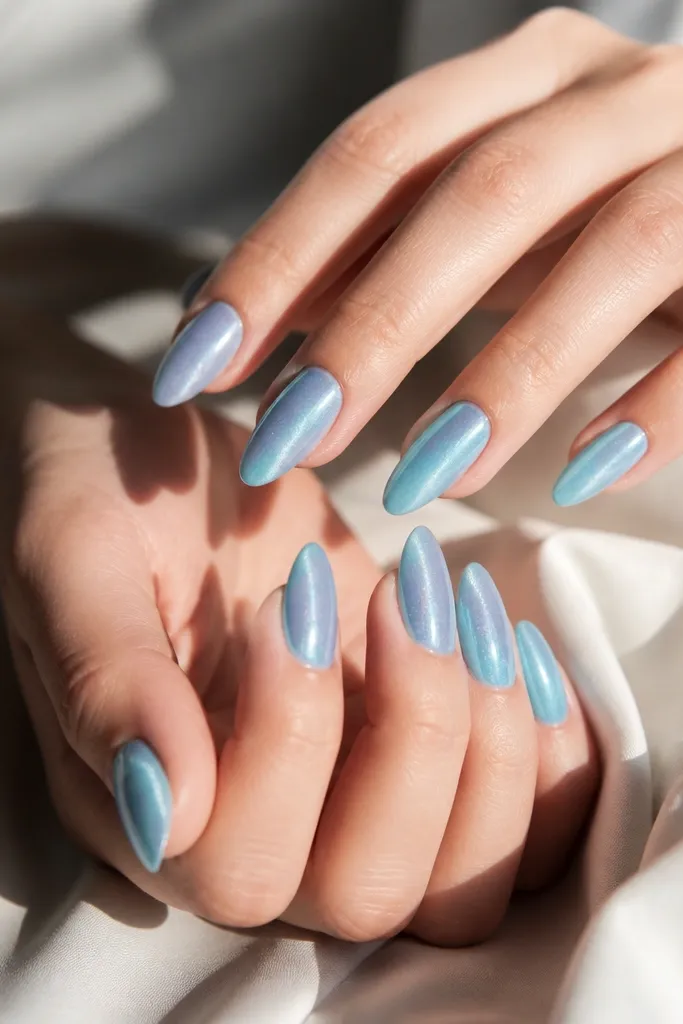
1. Icy Sky Center Line
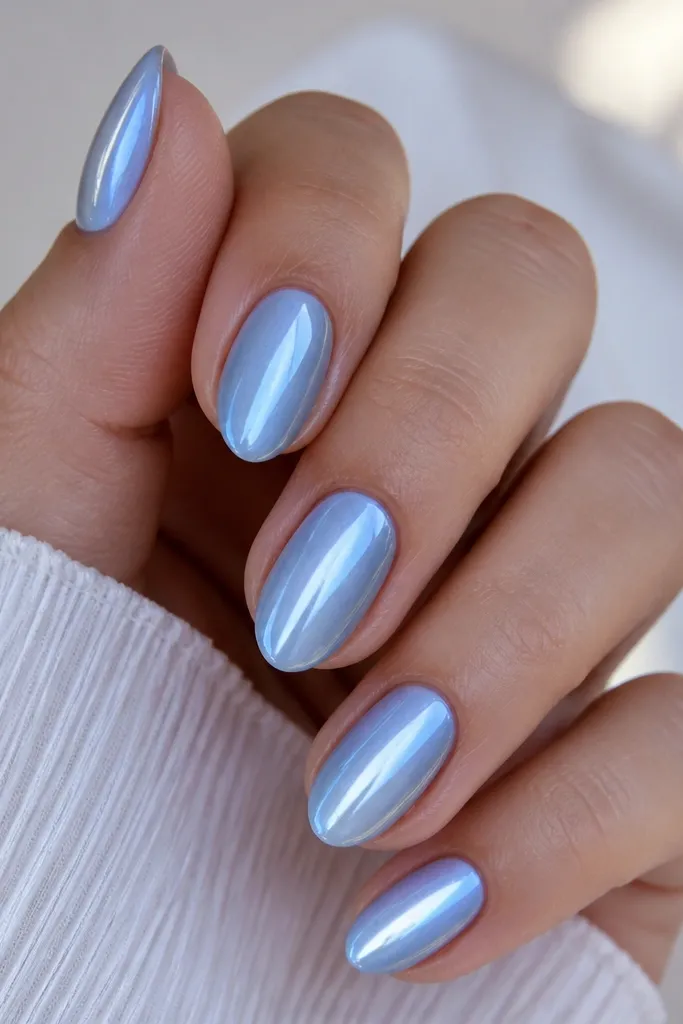
This one is your baseline design. The icy sky blue has enough clarity that the magnet line looks like a clean silver-blue beam. When the stripe stays perfectly centered, the nail looks longer and more "finished" even with minimal decoration.
Use an icy sky blue cat eye gel in one solid layer, then magnetize with a straight-line magnet. Keep the stripe dead center by starting your gel application from the cuticle area and smoothing outward without dragging back and forth. Finish with a gel top coat and cap the tips.
Pro tipIf your stripe looks fuzzy, apply a slightly thicker first layer and magnetize closer - still 2-3 mm, not touching the nail.
Watch outDon't use a watery cat eye gel or you'll get broken lines.
2. Powder Blue Halo Cat Eye
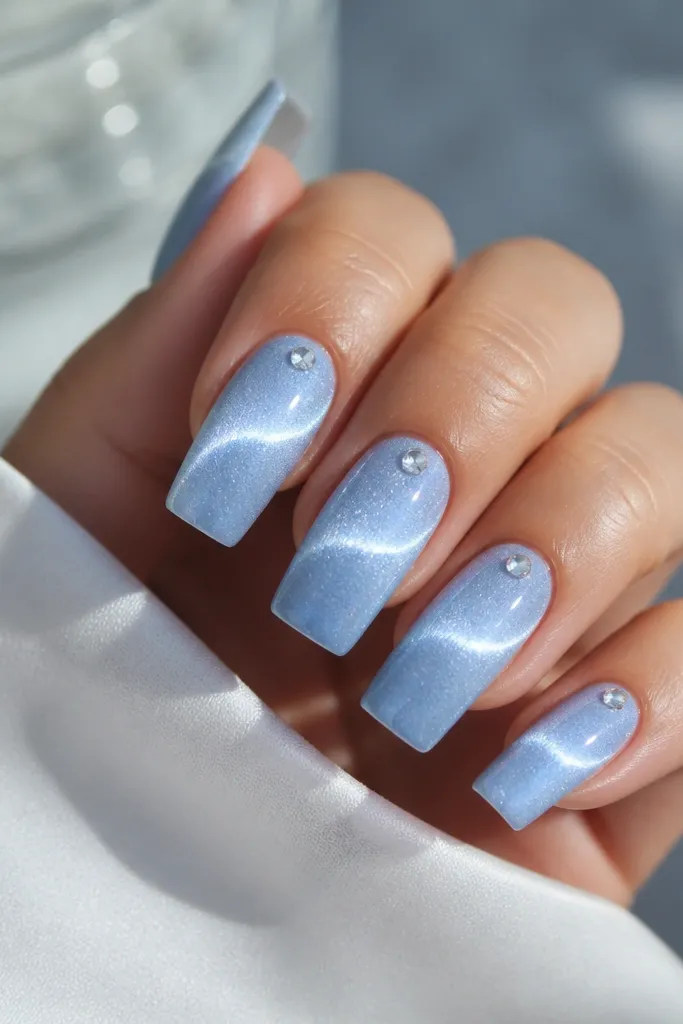
A halo arc makes the nails feel airy instead of harsh. The powder blue base stays light, while the curved magnet pattern gives a "crescent glow" effect that catches light when you move your fingers. The small cuticle crystal adds sparkle without stealing focus from the arc.
Apply powder blue cat eye gel on the whole nail, then use a curved or wavy magnet. Hold the magnet so the arc forms around the midline, then cure. Add one small clear rhinestone or a micro-glass bead at the cuticle with a thin layer of builder gel before top coat.
Pro tipPlace the halo slightly closer to the cuticle than the exact center so it looks flattering on longer nails.
Watch outSkip big rhinestone clusters - they hide the arc and make it look crowded.
3. Sky Blue Denim Smoke Line
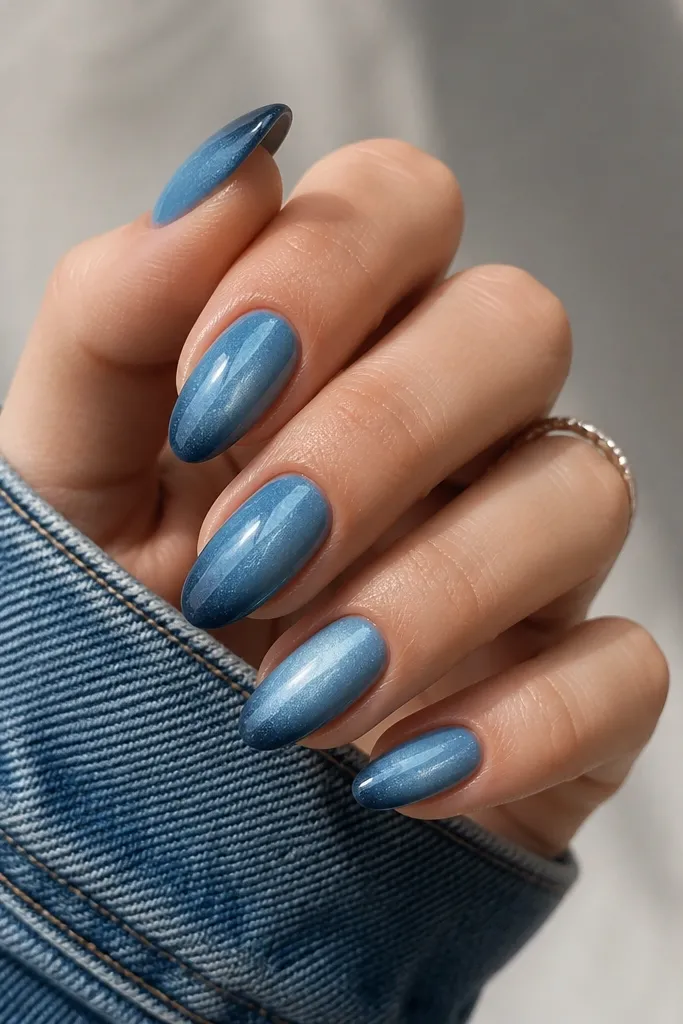
This look makes the magnetic line feel deeper and more dramatic. The denim smoke gradient creates contrast, so the stripe reads like it has depth instead of just pigment. It's the first design I recommend for anyone who thinks bright sky blue will look too "baby" in real life.
Paint the base with sky blue cat eye gel, then sponge a denim blue shadow at the free edge. Magnetize once over the whole nail so the stripe cuts through the gradient. Keep the gradient soft with a makeup sponge - tap, don't swipe.
Pro tipUse a darker denim gel only at the last third of the nail to keep the stripe sharp.
Watch outDon't blend the gradient too far up - the stripe gets muddy.
4. Two-Tone Sky Eye Divider
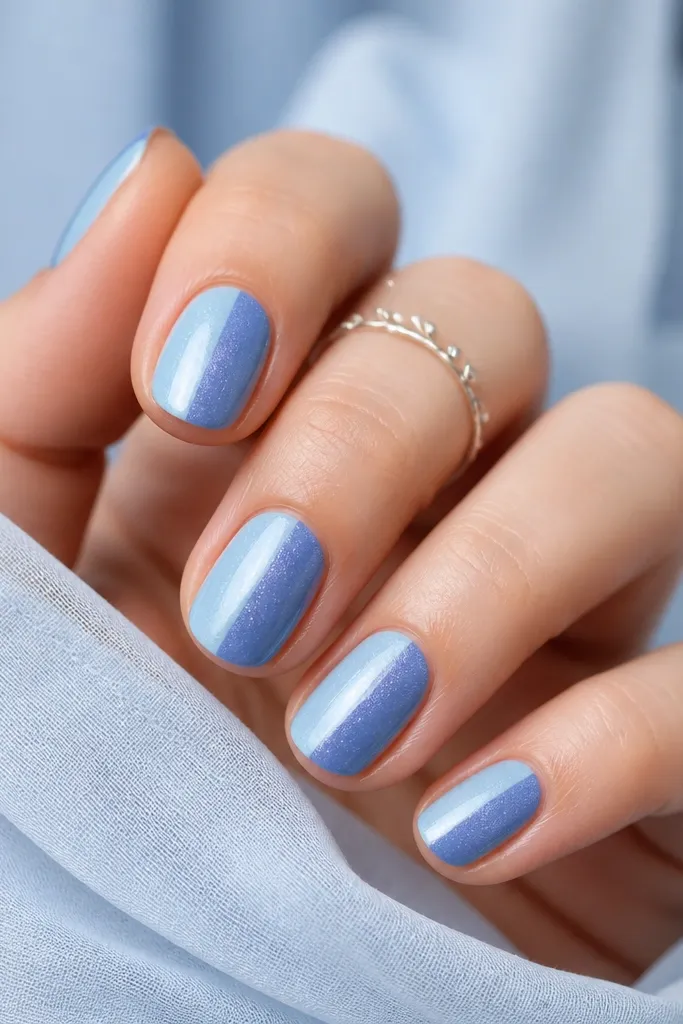
A vertical split makes the cat eye look intentional and graphic. The contrast between icy sky blue and periwinkle makes each magnetic stripe pop as you move your hand. It reads modern because the lines meet cleanly instead of blending.
Do one side at a time with tape or a silicone nail divider. Cure after each side so the stripes don't smear. Use a straight-line magnet for both halves, then remove tape and top coat.
Pro tipPress the divider edge lightly to prevent gel seepage under the tape.
Watch outDon't cure both sides at once - the stripe shapes will fight each other.
5. Glitter Fog Sky Cat Eye
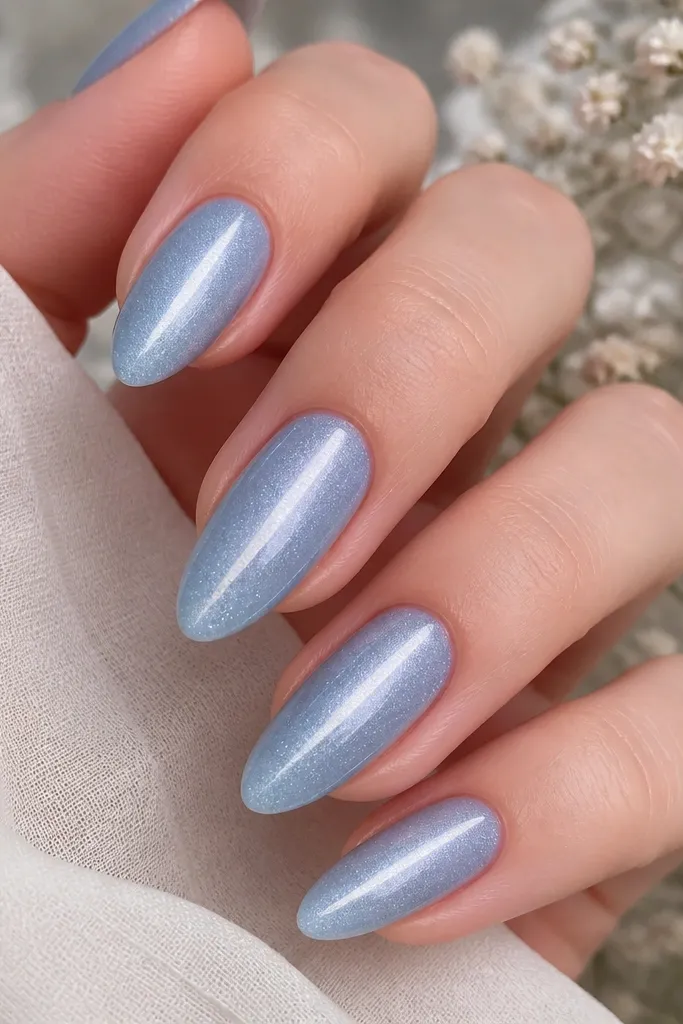
Micro-glitter changes the shine from "flat glossy" to "foggy sparkle." The cat eye stripe stays the main line, while the glitter adds flicker around it when you walk under lights. I like this for events because it photographs well without heavy bling.
Use a sky blue cat eye gel that already has micro-glitter, or mix a tiny amount of silver holographic glitter topper into your cat eye gel. Apply in one smooth layer, then magnetize to form the stripe before curing. Seal with a thick top coat so the glitter sits under glass.
Pro tipIf the glitter makes the stripe look grainy, add less glitter and keep the gel layer thicker.
Watch outAvoid chunky glitter - it turns the stripe into a textured mess.
6. Chrome Edge Magnetic Beam
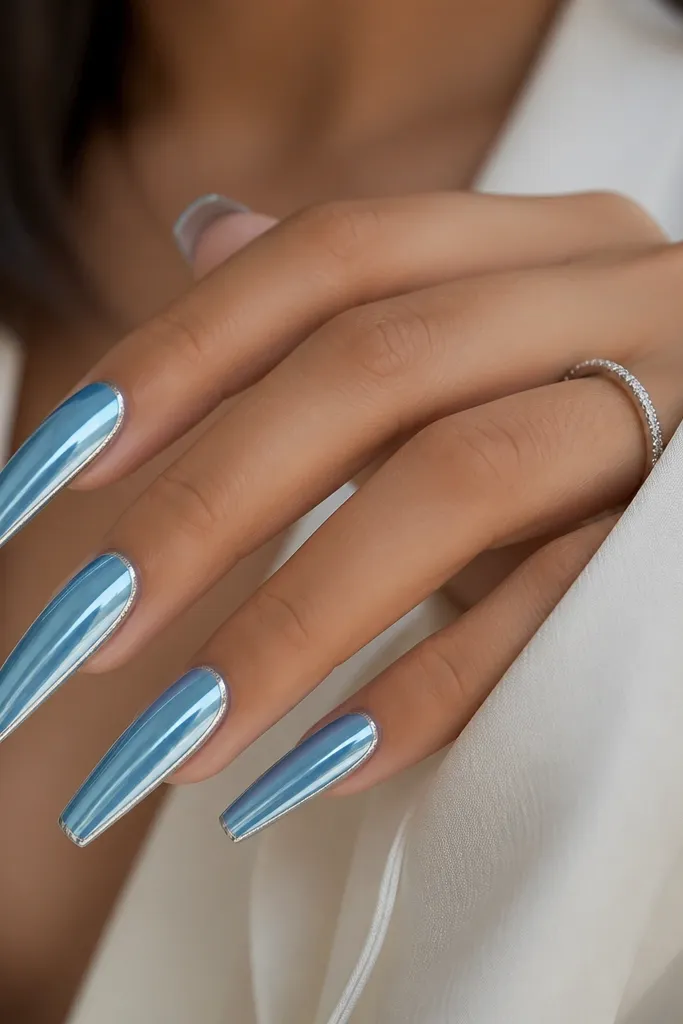
Chrome at the edge frames the magnetic line. You get a double shine: the cat eye beam in the middle and a crisp mirrored border on the sides. This is a "dress up" version that still keeps the sky blue vibe.
Magnetize your sky blue cat eye gel first and cure. Then apply chrome gel to the sidewalls only, not across the center stripe. Rub chrome powder into the chrome gel, wipe excess, and top coat.
Pro tipMask the center stripe with a thin strip of tape while applying chrome so it stays clean.
Watch outDon't smear chrome across the stripe or it dulls the cat eye effect.
7. Sky Blue Cat Eye French Tip
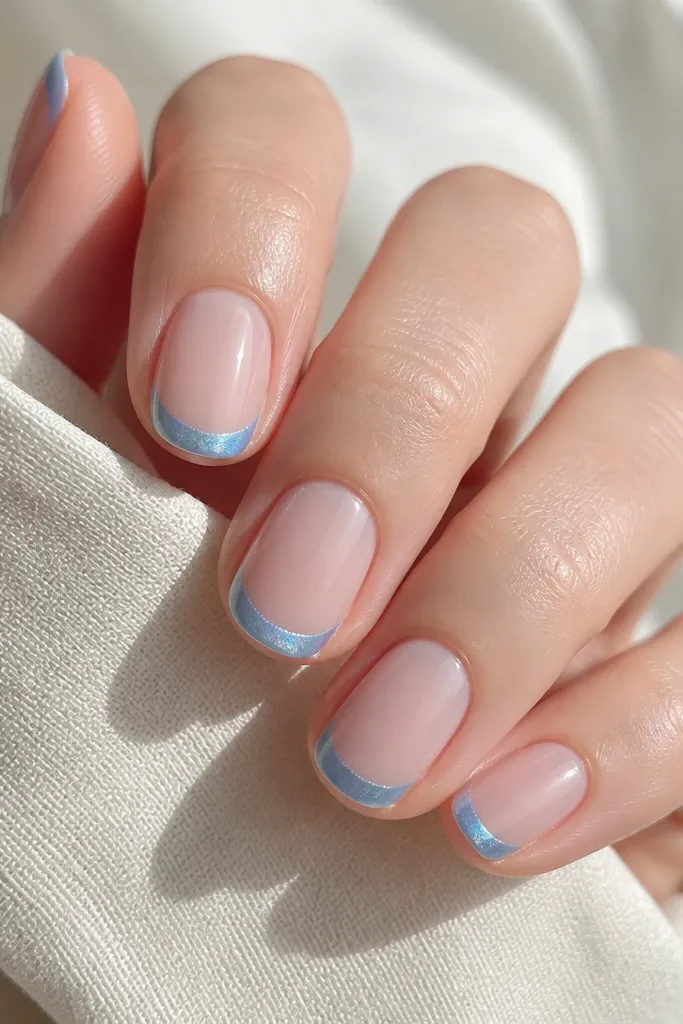
This version makes sky blue wearable for work. The nude base keeps your hands looking polished, while the cat eye French tip gives movement and shine right where it matters. The magnetic stripe on the tip looks like a glowing highlight.
Use a nude gel base, cure, then apply sky blue cat eye gel only on the tip area. Magnetize while the tip gel is still uncured so the stripe forms within the French edge. Clean up the cuticle line with a small brush and finish with top coat.
Pro tipKeep the French tip width around 2-3 mm on short nails so the stripe stays crisp.
Watch outDon't magnetize before you shape the tip - the line will drift.
8. Starry Night Sky Eye
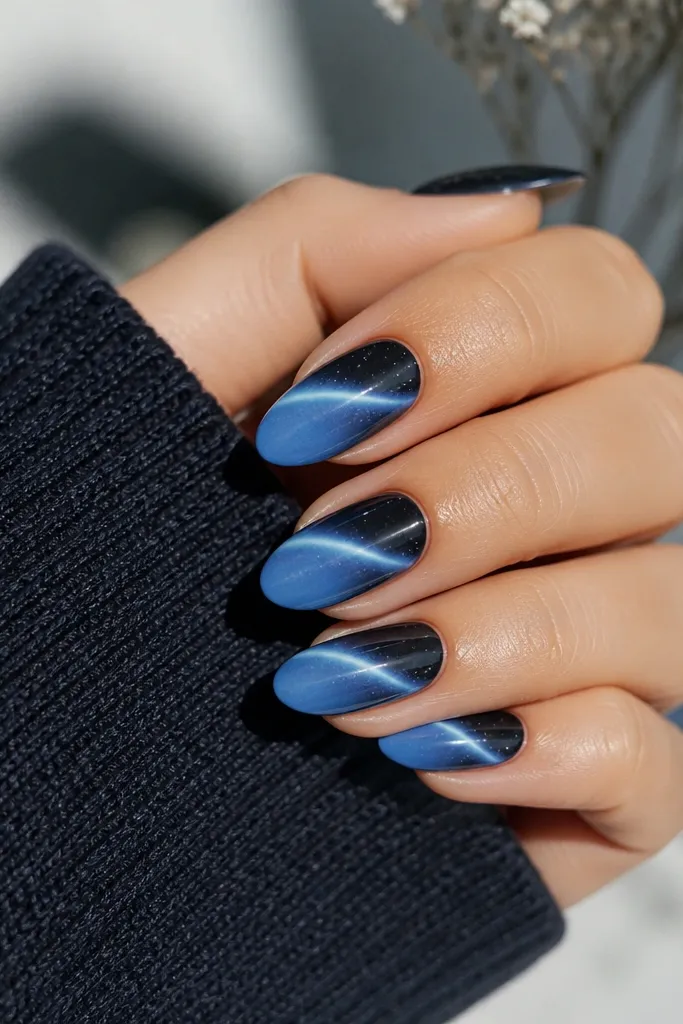
The navy-to-sky fade makes the cat eye beam look like moonlight. White specks add a "night sky" feel without turning the nails into full-on glitter chaos. The stripe keeps it cohesive, so the stars don't look random.
Create a soft gradient: navy only at the lower third, sky blue on top. Magnetize once over the whole nail. Add tiny dot stars with a fine liner brush using white gel or acrylic paint and cure before top coat.
Pro tipUse a toothpick to place the smallest dots - they look more like stars than brush dots.
Watch outSkip big star shapes - they overpower the beam.
9. Two Magnet Cross Line
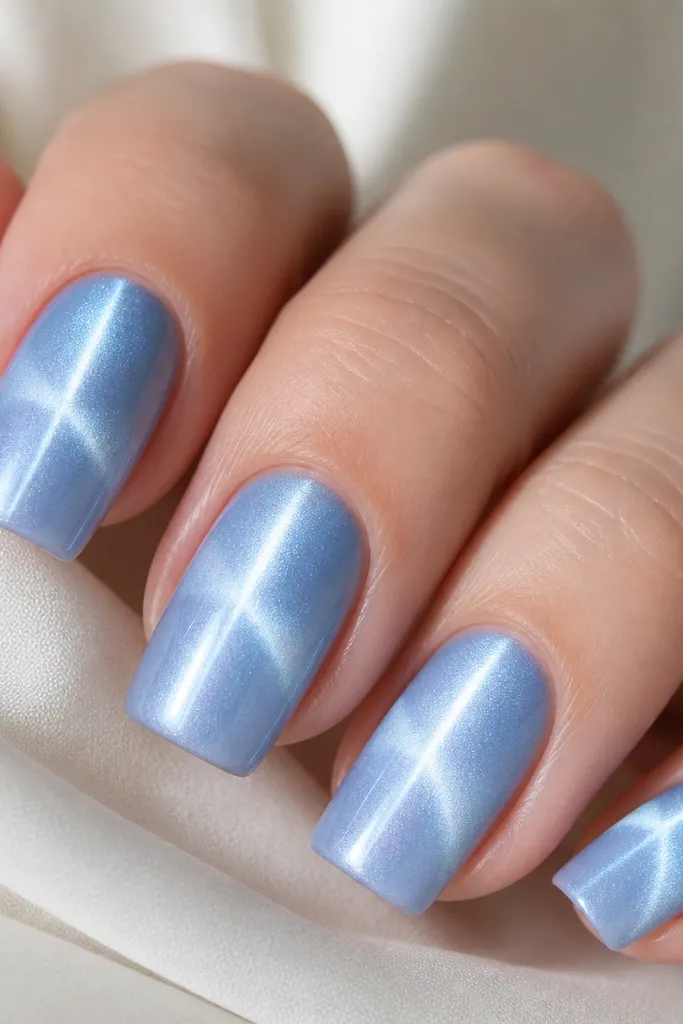
Cross lines look special because the magnet effect becomes dimensional. The vertical stripe stays crisp, and the diagonal line adds a "flare" when your fingers move. This is the one I wear when I want cat eye nails to look more custom without adding art panels.
Apply sky blue cat eye gel and cure partially only after magnetizing. Magnetize vertically first, then without wiping the nail, reposition the magnet at a diagonal angle and hold briefly before curing fully. Seal with top coat to lock in the lines.
Pro tipDo the diagonal line lighter by using a slightly weaker magnet pull (hold farther by 3-4 mm).
Watch outDon't stack two full-strength magnet pulls - the lines can blur together.
10. Baby Blue Checker Edge
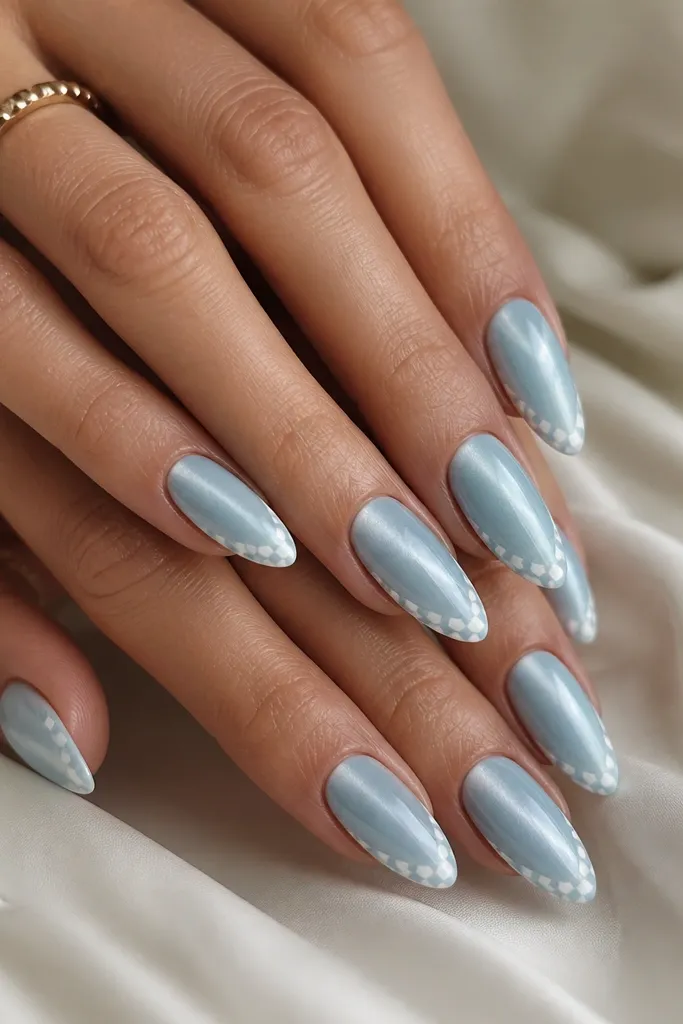
A tiny checker edge adds texture that still feels clean. The cat eye stripe gives the motion, and the checker adds pattern without heavy decals. This works best on shorter almond or oval nails where you want detail near the sides.
Magnetize your sky blue cat eye gel and cure. Then paint a narrow strip on each sidewall with white gel, and top it with a light blue mini checker using a fine nail art brush. Cure and top coat.
Pro tipKeep the checker strip under 1 mm wide so it looks like design, not nail wraps.
Watch outDon't let white bleed into the center stripe.
11. Pearlized Sky Cat Eye Shimmer
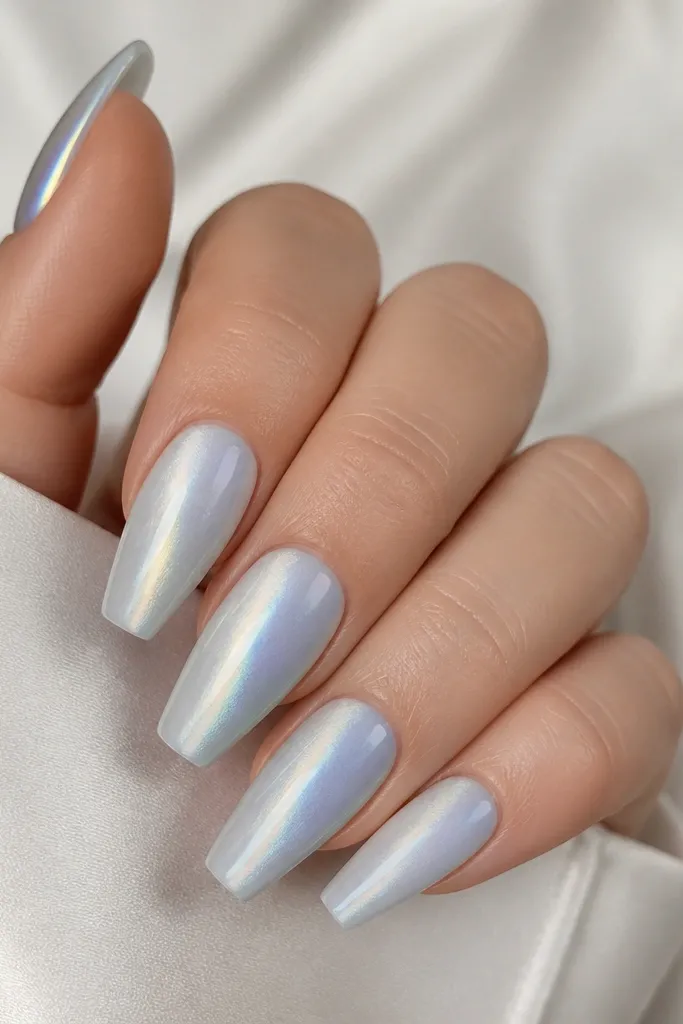
Pearlized sky blue makes the stripe look silky instead of metallic. When the light hits, the beam turns from blue to silver-white, which is why this one looks expensive in person. It's also a great choice if you hate harsh chrome vibes.
Use a pearl sky blue cat eye gel or layer: one thin pearl base, then cat eye pigment gel. Magnetize after the cat eye layer and cure. Finish with a glossy top coat, and avoid matte top coats because they kill the pearl shift.
Pro tipIf the beam looks too dark, add a thin pearl base under the cat eye layer.
Watch outAvoid thick glitter in this one - it fights the pearl glow.
12. Sky Blue Marble Swirl Beam
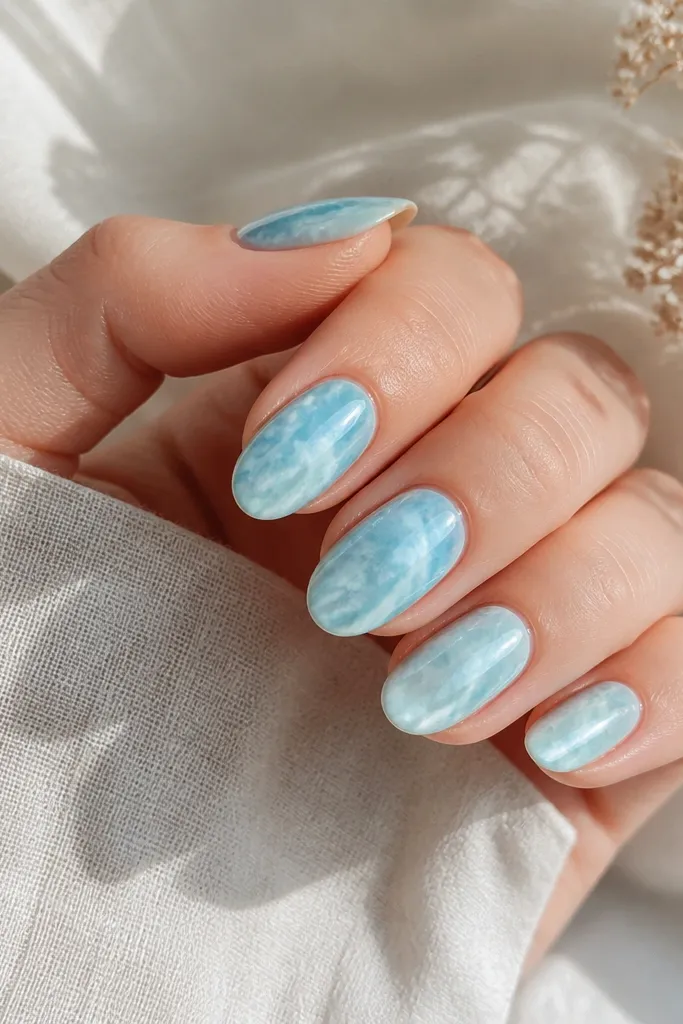
Marble plus cat eye looks like "water in glass." The white swirls create movement, and the magnetic stripe adds a sharp focal point. This is the design I use when I want something artsy but still polished.
Start with sky blue cat eye gel as the base layer. Use a thin white marble gel or diluted white acrylic to draw 2-3 swirls, then magnetize so the stripe forms over the marble. Cure, then top coat thickly to smooth the surface.
Pro tipKeep swirls sparse - three swirls per nail is enough for marble to read clearly.
Watch outDon't paint full coverage marble on top - it smears the magnetic pigment.